
Beginner's Guide to Making Apple Pie from Scratch

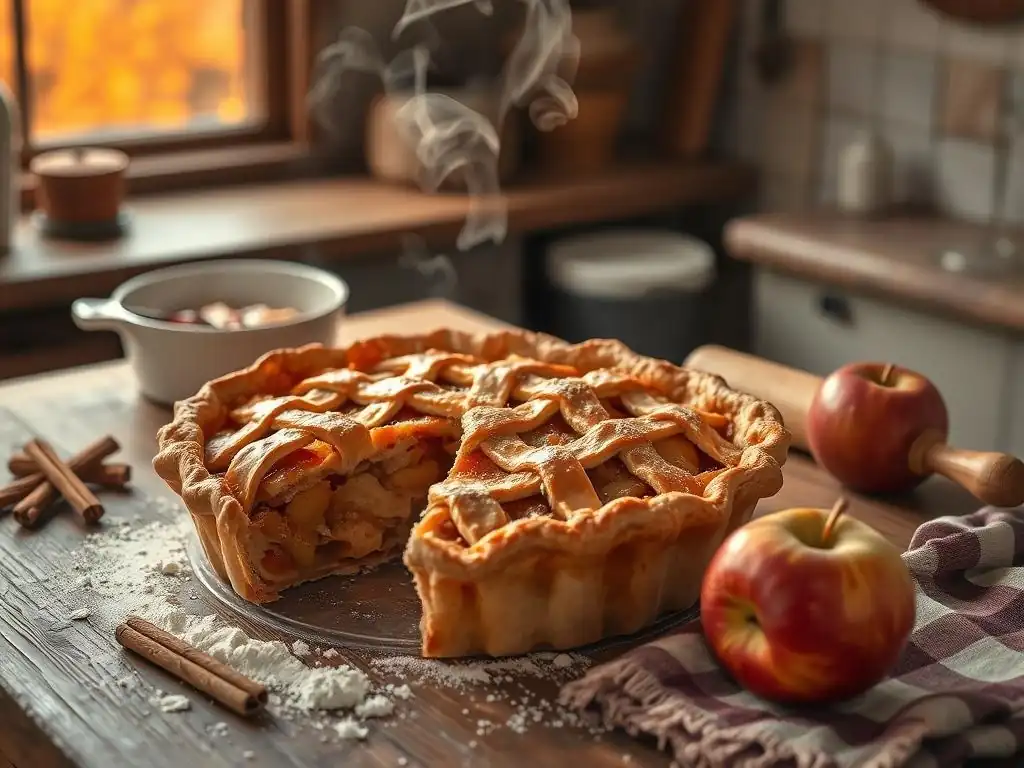
Welcome to BakeWithEase, where even the most daunting baking projects become delightfully achievable! Ever dreamed of crafting a perfect apple pie that tastes like autumn itself? You're in the right place. Dive into our Beginner's Guide to Making Apple Pie from Scratch and discover secrets to a flaky crust and a deliciously spiced filling. But that's just the beginning... what other seasonal baking delights await your discovery?
- Classic Apple Pie Recipe: A Step-by-Step Guide
- Introduction to Homemade Apple Pie
- Gathering Your Ingredients
- Step-by-Step: Making the Perfect Pie Crust
- Preparing the Apple Pie Filling
- Assembling Your Apple Pie
- Baking Your Apple Pie
- Cooling and Serving
- Troubleshooting Common Pie Problems
- Apple Pie Variations
-
Frequently Asked Questions
- What makes this apple pie recipe "easy" compared to others?
- What kind of apples are best for this "easy apple pie recipe"?
- Can I use a pre-made pie crust to make this apple pie even easier?
- How do I prevent the pie crust from getting soggy on the bottom?
- What temperature should I bake my "easy apple pie recipe" at, and for how long?
- Final Reflection: The Sweetness of Effort, the Joy of Sharing
- Unleash Your Inner Baker: Craft the Perfect Apple Pie!
Classic Apple Pie Recipe: A Step-by-Step Guide
Introduction to Homemade Apple Pie
The Satisfaction of Baking from Scratch
There's a unique satisfaction that comes from baking a pie from scratch, especially an apple pie. It's more than just following an easy apple pie recipe; it's a sensory experience.
From the feel of the flour between your fingers as you make the crust to the comforting aroma of cinnamon and baked apples filling your kitchen, each step contributes to a sense of accomplishment. Unlike store-bought options, a homemade apple pie allows you to control every ingredient, ensuring the freshest flavors and a result tailored exactly to your preference – whether you like your filling slightly tart or extra sweet, or your crust golden and flaky.
Baking from scratch connects you to a long tradition of home cooking and provides a tangible reward for your effort. Imagine pulling a bubbling, golden-brown pie from the oven, its warmth radiating and promising deliciousness. Sharing this creation with family and friends adds another layer of joy, transforming a simple dessert into a shared experience. This step-by-step guide makes tackling a classic like apple pie achievable for anyone, proving that even a seemingly complex bake can be broken down into manageable, rewarding steps.
The Comfort of Fall Flavors
Apple pie is synonymous with the cozy, comforting flavors of fall. As the leaves change color and the air turns crisp, the desire for warm, spiced desserts grows. The combination of tender baked apples, warm cinnamon, nutmeg, and a buttery crust is the epitome of autumn comfort food. This easy apple pie recipe captures that essence perfectly, bringing the taste and smell of the season right into your home. It’s a nostalgic dessert that evokes feelings of warmth, family gatherings, and harvest abundance.
Beyond just taste, baking an apple pie creates an atmosphere. The scent alone can make a house feel more like a home, inviting relaxation and warmth. It’s the perfect treat for a cool evening, a holiday celebration, or simply a weekend baking project. Embracing these seasonal flavors is a simple way to connect with the rhythm of the year and enjoy the bounty that autumn offers. This guide ensures you can easily recreate that beloved fall feeling with a delicious, homemade classic.
Gathering Your Ingredients
Ingredients for Apple Pie Filling
The heart of any easy apple pie recipe is its filling, which requires just a few key ingredients. You'll need approximately 6-8 cups of sliced apples, which usually equates to about 2-2.5 pounds or 6-8 medium apples depending on the variety. To bind the filling and prevent it from being too watery, you'll need a thickener like all-purpose flour or cornstarch; about 2-3 tablespoons is standard. Sweetness comes from sugar, typically a mix of granulated sugar (about 1/2 to 3/4 cup) and sometimes a touch of brown sugar (1/4 cup) for depth of flavor.
Spices are crucial for that classic apple pie taste. Cinnamon is non-negotiable, usually 1-2 teaspoons, often paired with smaller amounts of nutmeg (1/4-1/2 teaspoon) and sometimes a pinch of allspice or ground cloves for complexity. A tablespoon or two of lemon juice is often added to brighten the flavor and prevent browning. Lastly, a few tablespoons of butter dotted over the filling before baking melt down, adding richness and helping the spices meld beautifully. These simple components come together to create a bubbling, flavorful interior for your pie.
Choosing the Right Flour for Pie Crust
For a classic, flaky pie crust, all-purpose flour is the standard choice in an easy apple pie recipe. Its moderate protein content (typically 10-12%) strikes a good balance, allowing for some gluten development for structure while still allowing for flakiness when combined with cold fat. Using a bleached all-purpose flour can sometimes result in a slightly softer crust, while unbleached flour might offer a bit more structure. Pastry flour, with its lower protein content (around 8-9%), can yield a very tender crust, but it can also be more delicate to work with, especially for beginners.
Whole wheat flour or other alternative flours can be incorporated for flavor or nutritional reasons, but they often require adjustments to liquid content and can result in a denser, less flaky crust compared to using 100% all-purpose flour. For the most reliable and easiest outcome when starting out, stick to a good quality all-purpose flour. Approximately 2 1/2 cups of all-purpose flour is typically needed for a double-crust standard 9-inch pie.
Butter for a Flaky Crust
The secret to a truly flaky pie crust in any easy apple pie recipe lies in using cold, solid fat, and unsalted butter is the preferred choice for many bakers. Cold butter, cut into small pieces or grated, is cut into the flour. As the pie bakes, these small pockets of butter melt, releasing steam. This steam creates tiny air pockets within the dough layers, separating them and resulting in that desirable flaky texture. Using unsalted butter gives you control over the saltiness of the crust; you'll add salt separately as part of the dry ingredients.
It's crucial that the butter remains cold throughout the process, from cutting it into the flour to chilling the assembled dough. Warm or melted butter will be absorbed by the flour, leading to a tough, greasy crust rather than a flaky one. Some recipes also incorporate shortening (like Crisco) alongside butter, as shortening has a higher melting point and contributes to tenderness and flakiness, sometimes making the dough slightly easier to handle. A typical double-crust recipe might call for 1 cup (2 sticks) of very cold unsalted butter, cut into cubes.
Step-by-Step: Making the Perfect Pie Crust
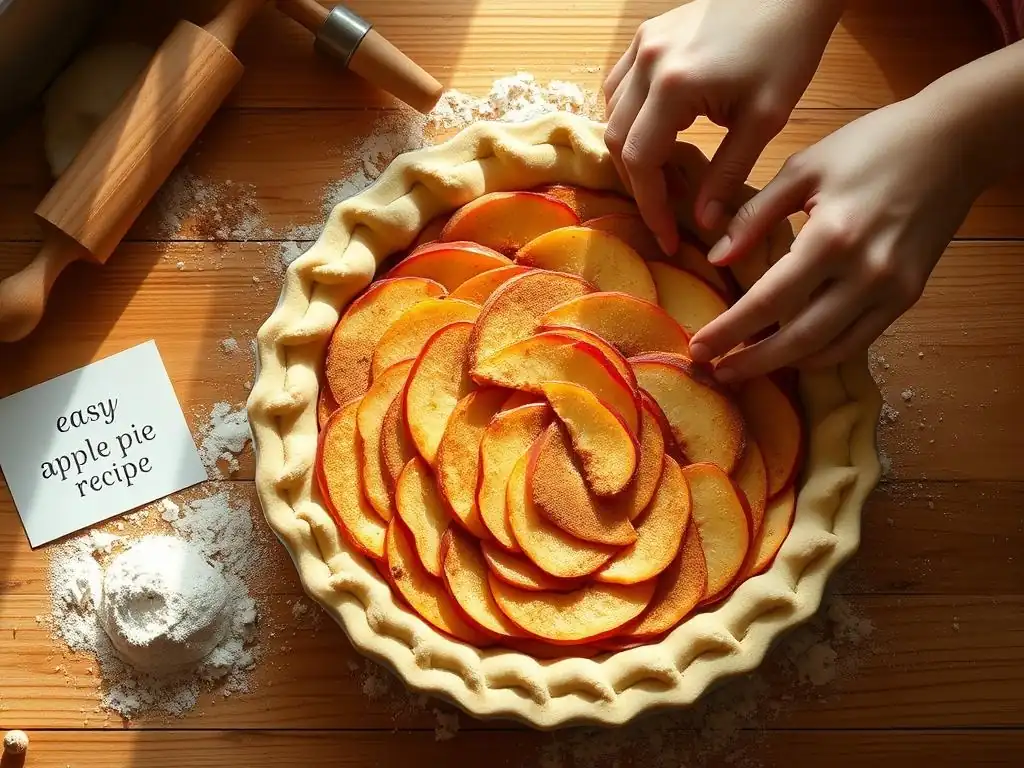
Mixing the Dough: A Simple Recipe
Creating the dough for your easy apple pie recipe starts with combining the dry ingredients. In a large bowl, whisk together the all-purpose flour (about 2 1/2 cups), granulated sugar (1-2 tablespoons for a touch of sweetness), and salt (1 teaspoon). This ensures the salt and sugar are evenly distributed throughout the flour. Next, add your very cold butter (1 cup, cut into small cubes or pieces) and, if using, cold shortening (1/4 cup).
Using a pastry blender, fork, or your fingertips, work the cold fat into the dry ingredients until the mixture resembles coarse meal with some pea-sized pieces of fat still visible. This step is critical for flakiness; don't overwork it into a fine powder. Then, gradually add ice-cold water, 1 tablespoon at a time, mixing gently with a fork or your hands until the dough just comes together.
You'll likely need about 6-8 tablespoons of water, but the exact amount can vary based on humidity and flour type. The dough should be moist enough to hold together when squeezed but not sticky.
Chilling the Dough: The Importance of Resting
Chilling the pie dough is a non-negotiable step in any good easy apple pie recipe. After mixing, divide the dough in half, flatten each half into a disk, wrap tightly in plastic wrap, and refrigerate for at least 1 hour, preferably 2 hours or even overnight. This resting period serves multiple vital purposes. Firstly, it allows the gluten, which developed slightly during mixing, to relax. This relaxation makes the dough much easier to roll out without shrinking back excessively.
Secondly, chilling re-solidifies the fat (butter/shortening) within the dough. Keeping the fat cold and solid is essential for creating those flaky layers when the pie bakes. Warm fat would simply melt and absorb into the flour, resulting in a tough, dense crust. A well-chilled dough is less sticky and holds its shape better during rolling and transferring, significantly reducing frustration and increasing your chances of a successful, flaky crust for your easy apple pie recipe.
Rolling Out the Dough: Achieving Even Thickness
Once your dough is thoroughly chilled, it's time to roll it out – a key step for a perfect crust in your easy apple pie recipe. Lightly flour a clean, flat surface (like your countertop or a large pastry mat) and your rolling pin. Take one disk of dough from the refrigerator and place it in the center of your floured surface. Begin rolling from the center outwards, rotating the dough frequently (about a quarter turn after each roll) and adding just enough flour underneath and on top to prevent sticking.
Aim for a circle approximately 12-13 inches in diameter for a standard 9-inch pie dish, ensuring the thickness is even throughout, ideally about 1/8 inch thick. Uneven thickness can lead to parts of the crust burning while others remain undercooked. If the dough becomes too soft or difficult to handle, pop it back into the refrigerator for 10-15 minutes to firm up before continuing. Patience and careful rolling will yield a beautiful, evenly cooked crust.
Transferring the Crust: Into the Pie Dish
Transferring the rolled-out dough into the pie dish can feel intimidating, but there are a couple of easy methods for your apple pie recipe. One common technique is to gently roll the dough circle loosely around your rolling pin. Then, position the rolling pin over one edge of your pie dish and unroll the dough, letting it settle into the dish. Gently ease the dough into the contours of the dish without stretching it, which can cause it to shrink during baking.
Another method is to fold the dough circle in half or quarters and then carefully unfold it into the pie dish. Whichever method you choose, ensure the dough is nestled snugly into the bottom and sides of the dish. Trim any excess dough, leaving about a 1-inch overhang around the edge. This overhang will be used later for sealing the top crust. Place the lined pie dish back into the refrigerator while you prepare the filling to keep the crust cold.
Preparing the Apple Pie Filling
Selecting the Best Apples: Granny Smith and Honeycrisp
Choosing the right apples is fundamental to a delicious easy apple pie recipe. Using a mix of apple varieties often yields the best results, combining different textures and levels of sweetness and tartness. Granny Smith apples are a classic choice, offering a bright, tart flavor that holds up well during baking and provides a pleasant contrast to the sweetness of the sugar and spices. They soften but retain some structure.
Mixing Granny Smiths with a sweeter, firmer apple adds complexity. Honeycrisp apples are excellent for this, providing sweetness and remaining relatively firm, preventing the filling from becoming mushy. Other good options include Fuji, Gala, Braeburn, or Jonagold. Avoid apples that break down too easily, like Red Delicious. A good mix ensures your filling has both great flavor and appealing texture after baking. Aim for about 2-2.5 pounds (6-8 medium apples) total for a standard 9-inch pie.
Peeling and Slicing: Consistent Slices
Properly preparing the apples is a crucial step in your easy apple pie recipe. Start by peeling the apples using a vegetable peeler or a paring knife. Then, core them. An apple corer makes this quick, or you can quarter the apples and cut out the core section from each quarter. The next step is slicing. Aim for slices that are relatively uniform in thickness, about 1/4 to 1/2 inch thick.
Consistent slices ensure that the apples cook evenly throughout the pie. If some slices are much thicker than others, the thinner ones might turn to mush while the thicker ones remain too firm. Uniformity also helps the filling settle properly during baking. Work efficiently once the apples are peeled and sliced, as they will start to brown due to oxidation. Tossing them with a bit of lemon juice, as mentioned earlier, helps mitigate this browning.
Spices: Cinnamon, Nutmeg, and Allspice
The signature flavor profile of an easy apple pie recipe comes from its warm, aromatic spices. Cinnamon is the star player, and you'll typically use a generous amount, often 1 to 2 teaspoons, depending on your preference and the potency of your spice. Ground nutmeg is another essential, adding a warm, slightly sweet depth; 1/4 to 1/2 teaspoon is usually sufficient as it can be quite strong.
For added complexity and warmth, many recipes include a pinch of ground allspice (about 1/4 teaspoon) or a tiny amount of ground cloves (just an eighth of a teaspoon, as cloves are very potent). Ensure your spices are fresh for the best flavor; old spices lose their potency. Combining these spices with the apples and sugar creates that classic, comforting aroma and taste that defines apple pie.
Mixing the Filling: Apples, Spices, and Sweeteners
Once your apples are peeled, cored, and sliced, it's time to combine them with the other filling ingredients for your easy apple pie recipe. In a large bowl, gently toss the apple slices with the sugars (granulated and brown, if using), the chosen spices (cinnamon, nutmeg, allspice, etc. ), and a tablespoon or two of lemon juice. The sugar will start to draw out juice from the apples, which is normal.
Add the thickener – all-purpose flour or cornstarch (2-3 tablespoons) – and toss again to coat the apple slices evenly. The thickener is vital for ensuring the filling isn't too runny when baked. Some recipes also include a pinch of salt to balance the sweetness. Let the mixture sit for 10-15 minutes while you prepare the top crust; this allows the flavors to meld and the thickener to begin absorbing some of the released apple juices.
Assembling Your Apple Pie
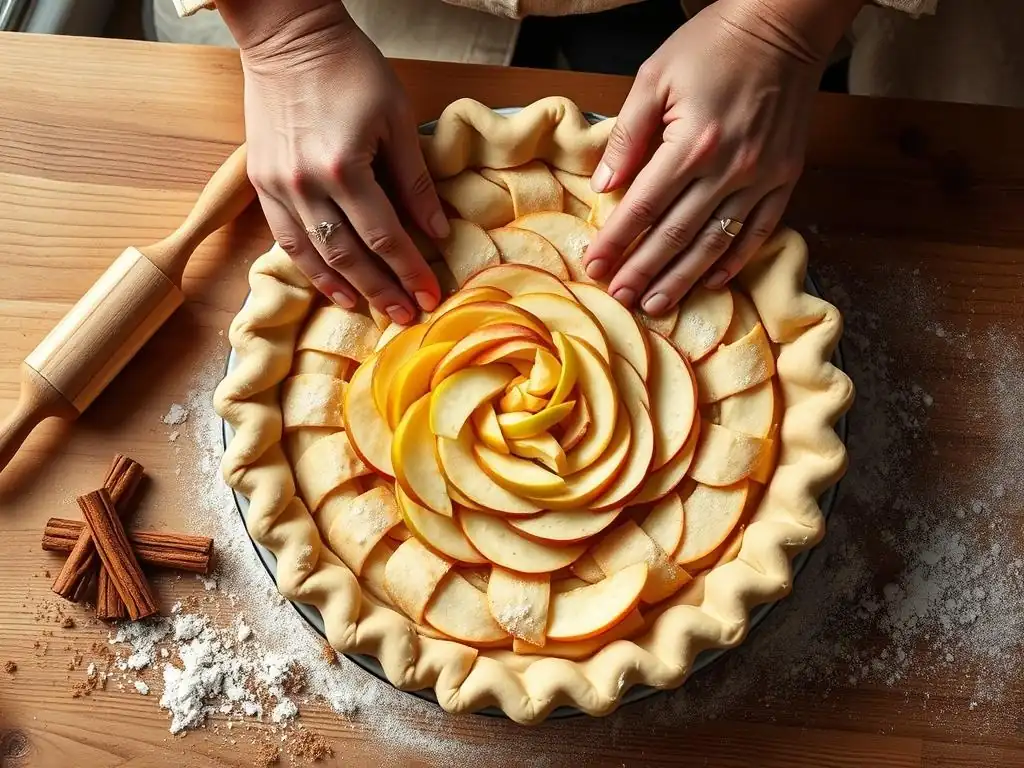
Adding the Filling: Piling High
With your bottom crust chilling in the pie dish and the apple filling mixed, it's time to assemble your easy apple pie recipe. Spoon the apple filling into the prepared pie shell. Don't be shy; pile the apples high in the center. Apples cook down significantly during baking, so starting with a generous mound ensures your pie looks full and appealing after it's baked, not sunken in the middle.
Distribute the apples evenly, making sure they fill the dish from edge to edge, with a noticeable dome in the center. This piling technique accounts for the volume reduction as the apple slices soften and shrink. Once the apples are in, dot the top of the filling with small pieces of cold butter (about 2-3 tablespoons total). These butter pieces will melt and add richness to the filling as the pie bakes.
Creating the Top Crust: Lattice or Solid
For the top of your easy apple pie recipe, you have two main options: a solid top crust or a lattice. A solid top is simpler; just roll out the second disk of chilled dough into a circle about 11-12 inches in diameter. Carefully transfer it over the mound of apple filling, either by rolling it onto your pin and unrolling it over the pie or by folding it in half/quarters and unfolding.
A lattice top is more decorative and allows steam to escape naturally, plus it shows off the bubbling filling. To make a lattice, roll out the second dough disk into a circle or rectangle. Cut the dough into even strips, about 1/2 to 1 inch wide, using a knife or pastry wheel. Arrange half the strips parallel across the top of the pie, leaving gaps. Fold back alternate strips and weave the remaining strips perpendicular to the first set, creating an interwoven pattern. Trim the ends of the strips even with the edge of the bottom crust.
Sealing and Crimping: Creating a Decorative Edge
Once the top crust (solid or lattice) is in place over the filling of your easy apple pie recipe, you need to seal the edges. Trim the excess dough from both the bottom and top crusts, leaving about a 1-inch overhang. Bring the edges of the top and bottom crusts together and press them firmly to seal. This prevents the filling from bubbling out excessively during baking.
Next, create a decorative edge. The most common method is crimping. Use your thumb and forefinger of one hand to press the dough inward while using the index finger of your other hand to push the edge of the dough outward, creating a fluted pattern. Alternatively, you can press the edges together with the tines of a fork for a simpler seal. This step not only looks nice but also reinforces the seal.
Venting the Crust: Preventing a Soggy Pie
Venting the top crust is a critical step in ensuring your easy apple pie recipe bakes properly and doesn't result in a soggy bottom. If you've opted for a solid top crust, you must cut several slits or holes into the dough using a sharp knife. These vents allow steam generated by the baking apples and filling to escape from the pie.
Without adequate venting, the trapped steam would condense, making the top and potentially the bottom crust soggy. For a standard 9-inch pie with a solid top, cutting 4-6 evenly spaced slits in the center is usually sufficient. If you've made a lattice top, the gaps between the strips provide natural ventilation, so you typically don't need to add extra vents.
Baking Your Apple Pie
Oven Temperature and Baking Time
Proper oven temperature and baking time are key to a perfectly cooked easy apple pie recipe. Preheat your oven to 425°F (220°C). Starting at a higher temperature helps set the bottom crust quickly, which is crucial for preventing a soggy bottom. Bake the pie at this temperature for the first 15-20 minutes.
After the initial high-temperature bake, reduce the oven temperature to 375°F (190°C) for the remainder of the baking time, which can be anywhere from 35 to 50 minutes, or even longer, depending on your oven and the size of the apples. The total baking time for a standard 9-inch apple pie is typically 50-70 minutes. Baking at a lower temperature for the majority of the time ensures the apples cook through and the crust browns evenly without burning.
Preventing Burning: Pie Shield or Foil
Pie crust edges, especially the decorative crimping, tend to brown and even burn faster than the rest of the pie. To prevent this in your easy apple pie recipe, use a pie crust shield or create one out of aluminum foil. A pie shield is a silicone ring that fits snugly over the edge of the pie dish, protecting the crust.
If you don't have a shield, tear off a large piece of aluminum foil. Fold it into a square or circle with a hole in the center and carefully place it over the pie so it covers only the outer edge of the crust. Place the shield or foil on the pie after the first 15-20 minutes of baking at 425°F, when you reduce the oven temperature. This protection allows the center of the pie to continue baking and browning while the edges remain golden brown.
Checking for Doneness: Visual Cues and Temperature
Knowing when your easy apple pie recipe is perfectly baked involves looking for several visual cues and potentially checking the temperature. The crust should be deeply golden brown, not just pale yellow. You should see the filling bubbling up through the vents or lattice openings; this bubbling indicates that the juices are thickening and the fruit is cooked.
To be absolutely sure the apples are tender, gently insert a sharp knife or skewer through a vent in the top crust into the filling. It should slide through the apples with little resistance. For an even more precise check, use an instant-read thermometer inserted into the center of the filling (avoiding the bottom crust). The internal temperature of a properly cooked apple pie filling should be around 200-210°F (93-99°C). If the crust is browning too quickly but the filling isn't done, lower the oven temperature slightly and continue baking with the crust shielded.
Cooling and Serving
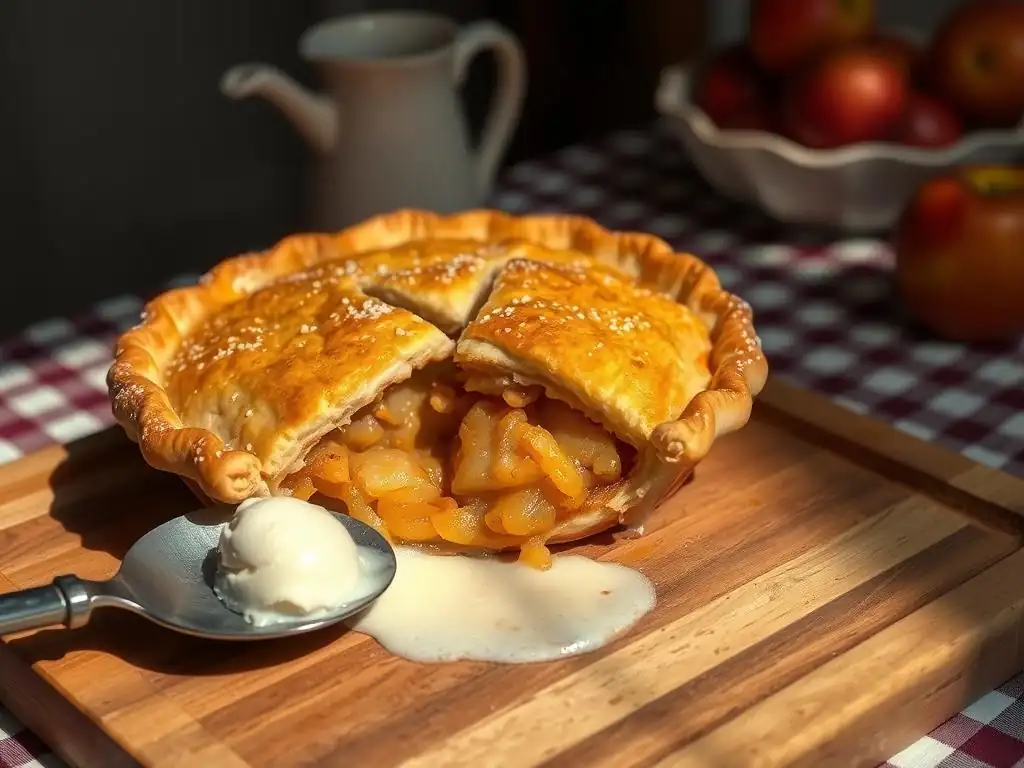
Cooling Time: Letting the Pie Set
Patience is a virtue when it comes to serving your perfectly baked easy apple pie recipe. While the aroma is tempting, it's crucial to let the pie cool completely, or at least for several hours, before slicing. Hot apple pie filling is essentially hot, thickened liquid. If you cut into it too soon, the filling will be runny and spill out, and the slices won't hold their shape.
Allow the pie to cool on a wire rack for a minimum of 2-3 hours, and ideally 4 hours or more, until it is just warm or at room temperature. During this cooling period, the filling continues to thicken and set as it cools. This ensures that when you finally slice into your pie, the filling remains neatly in place, providing beautiful, clean slices that hold their form. Rushing this step is one of the most common mistakes leading to a messy pie.
Serving Suggestions: Ice Cream or Whipped Cream
Serving a warm slice of your homemade easy apple pie recipe is one of life's simple pleasures. While delicious on its own, it's traditionally elevated with a topping. The classic pairing is a scoop of vanilla ice cream, often referred to as "à la mode." The cold, creamy ice cream provides a wonderful contrast in temperature and texture to the warm, soft pie filling and flaky crust.
Another popular topping is a dollop of freshly whipped cream. The light, airy cream adds richness without the significant temperature contrast of ice cream. A light dusting of cinnamon on top of the cream can enhance the spice notes of the pie. Whether you choose ice cream, whipped cream, or simply enjoy it plain, serve your apple pie slightly warm or at room temperature for the best flavor and texture experience.
Storing Leftovers: Maintaining Freshness
If you happen to have any leftovers of your delicious easy apple pie recipe (a rare occurrence! ), proper storage will help maintain its freshness and quality. Once the pie has cooled completely to room temperature, cover it loosely with plastic wrap or aluminum foil. You can also transfer individual slices to airtight containers.
A baked apple pie can be stored at room temperature for 1-2 days. For longer storage, or if your kitchen is particularly warm, it's best to refrigerate the pie. Refrigerated pie will last for 3-4 days. When you're ready to enjoy a slice from the refrigerator, you can eat it cold, or gently reheat it in a microwave or oven until warm to restore some of that fresh-baked feel. Avoid covering a warm pie tightly, as this can trap steam and make the crust soggy.
Troubleshooting Common Pie Problems
Soggy Bottom Crust: Prevention Techniques
A soggy bottom crust is a common frustration for pie bakers, but several techniques can help prevent it in your easy apple pie recipe. Firstly, ensure your oven is properly preheated, and start baking at a higher temperature (like 425°F for 15-20 minutes) to help set the bottom crust quickly before the filling releases too much liquid.
Secondly, use a thickening agent in your filling – flour, cornstarch, or tapioca starch are standard. Ensure you use the correct amount (typically 2-3 tablespoons for a 9-inch pie). Some bakers also "blind bake" the bottom crust partially before adding the filling.
This involves baking the empty crust (lined with parchment paper and filled with pie weights or dried beans) for 10-15 minutes until it's slightly set before adding the filling and top crust and finishing the bake. Ensure your dough is well-chilled when assembling, and don't stretch it when lining the pie dish, as stretching can make it thinner and more prone to sogginess.
Burnt Edges: Shielding the Crust
As mentioned earlier in the context of baking your easy apple pie recipe, burnt edges are a frequent issue because the thinner edges of the crust cook faster than the rest of the pie. The most effective solution is to use a pie crust shield or a homemade foil shield. These shields protect the delicate edges from direct heat, allowing the center of the pie to catch up in terms of browning.
Apply the shield relatively early in the baking process, usually after the first 15-20 minutes at a higher temperature, when you reduce the heat. If you notice the edges browning too quickly even before this point, it's fine to apply the shield sooner. Ensure the shield covers just the outer edge of the crust, leaving the top surface of the pie exposed to brown.
Runny Filling: Thickening Solutions
A runny filling can result in a disappointing, soupy easy apple pie recipe. This usually happens if not enough thickener was used, or if the apples used released an excessive amount of juice. To prevent this, ensure you're using the recommended amount of thickener (2-3 tablespoons of flour, cornstarch, or tapioca) and that it's evenly distributed throughout the apple slices. Letting the filling mixture sit for 10-15 minutes before adding it to the pie allows the thickener to start absorbing some of the initial juices.
If, after baking and cooling (remembering that cooling is essential for setting! ), your filling is still too runny, there's not much you can do for that specific pie. However, for future pies, consider using a mix of apples that includes firmer varieties less prone to breaking down, like Granny Smith or Honeycrisp. You can also experiment with slightly increasing the amount of thickener or using tapioca starch, which is often considered more effective than flour or cornstarch for fruit pies as it thickens at lower temperatures.
Apple Pie Variations
Salted Caramel Apple Pie
Elevate your standard easy apple pie recipe by adding salted caramel. Start with your classic apple filling, but before adding the top crust, drizzle a generous amount of homemade or store-bought salted caramel sauce over the apple mixture. About 1/2 to 3/4 cup works well for a 9-inch pie. The caramel will mingle with the apple juices as it bakes, creating a richer, more decadent filling.
For an extra touch, you can brush the top crust with an egg wash and sprinkle with flaky sea salt before baking. The salt crystals on the crust provide a delightful contrast to the sweet caramel and tart apples. Bake as usual, shielding the edges if necessary. The result is a pie with complex layers of flavor – sweet, tart, and a hint of saltiness that makes each bite irresistible.
Dutch Apple Pie with Streusel Topping
A Dutch apple pie, also known as apple crumble pie, is a variation of the easy apple pie recipe that foregoes the top pastry crust in favor of a crumbly streusel topping. Prepare your bottom crust and apple filling as usual. Instead of rolling out a second crust, make a streusel by combining flour, sugar (white, brown, or a mix), cinnamon, and cold butter. Cut the butter into the dry ingredients until coarse crumbs form.
Generously sprinkle the streusel topping evenly over the apple filling in the pie shell. Bake the pie according to the standard instructions, shielding the edges if needed, until the streusel is golden brown and the filling is bubbling. The streusel provides a wonderful textural contrast to the soft apples and a rich, buttery flavor that complements the fruit beautifully.
Apple Galette: A Rustic Alternative
For a simpler, more rustic take on an easy apple pie recipe, consider making an apple galette. A galette is essentially a freeform tart, baked directly on a baking sheet, without a pie dish. Prepare a single batch of pie dough and roll it out into a rough circle, about 12-14 inches in diameter.
Place the rolled dough on a parchment-lined baking sheet. Pile the apple filling (prepared just like for a traditional pie) in the center of the dough, leaving a border of about 2-3 inches clear around the edge. Fold the dough border up and over the edge of the filling, pleating it as you go. Brush the crust with an egg wash and sprinkle with sugar. Bake at a slightly higher temperature (around 400-425°F) for 30-40 minutes, until the crust is golden and the apples are tender. Galettes are less fussy than traditional pies and offer a charmingly rustic appearance.
Frequently Asked Questions
What makes this apple pie recipe "easy" compared to others?
This recipe focuses on simplified steps and uses easily accessible ingredients. We prioritize a no-fuss approach, minimizing complex techniques for a beginner-friendly experience.
What kind of apples are best for this "easy apple pie recipe"?
We recommend using a mix of apples like Granny Smith for tartness and Honeycrisp for sweetness. This balance creates a more complex and delicious flavor profile in your pie.
Can I use a pre-made pie crust to make this apple pie even easier?
Yes, absolutely! Using a pre-made pie crust is a great shortcut. Just be sure to choose a high-quality crust for the best results.
How do I prevent the pie crust from getting soggy on the bottom?
Blind baking the crust for a short time before adding the filling is a good idea. Also, make sure that the apple filling isn't too watery.
What temperature should I bake my "easy apple pie recipe" at, and for how long?
Bake the pie at 375°F (190°C) for approximately 45-55 minutes, or until the crust is golden brown and the filling is bubbly. Keep an eye on it to prevent burning.
Final Reflection: The Sweetness of Effort, the Joy of Sharing
The seemingly simple act of baking an apple pie from scratch connects us to a rich culinary history while offering a surprisingly accessible path to deliciousness. More than just a recipe, this guide unlocks a world of satisfaction, proving that even seemingly complex tasks can be broken down into manageable steps, leading to rewarding results. The ease with which you can now craft this classic dessert is a testament to the power of clear instruction and a little bit of patience.
The enduring appeal of apple pie transcends generations; it's a symbol of comfort, home, and the simple pleasures in life. It's a dish that fosters connection, whether shared with loved ones around a table or gifted to a friend. The aroma alone evokes feelings of warmth and nostalgia. A pie is a love letter to the earth.
- This sentiment, while not directly about apple pie, perfectly captures the essence of using fresh ingredients and the care that goes into creating something truly special. The process itself, from peeling the apples to the final golden-brown crust, is a meditative experience, a welcome respite from the hurried pace of modern life.
Now, I invite you to roll up your sleeves, gather your ingredients, and embark on your own apple pie adventure. Don't be intimidated by the seemingly long list of steps; embrace the process, savor each moment, and revel in the satisfaction of creating something delicious and meaningful with your own two hands. The reward? A slice of homemade heaven, and the pride of knowing you baked it yourself. Share your creations, share your experience, and let the sweet aroma of apple pie fill your home and your heart.
Unleash Your Inner Baker: Craft the Perfect Apple Pie!
Thanks for joining us on this delicious journey into the world of homemade apple pie! We hope you've gained the confidence and knowledge to create a truly memorable dessert. Now it's time to put your new skills to the test.
- Bake your masterpiece! Gather your ingredients, follow the recipe, and experience the joy of creating something delicious from scratch. This is your chance to shine!
- Share your success! Post a picture of your finished pie on social media and tag us – we’d love to see your creation!
- Explore other BakeWithEase recipes: Discover more delightful baking adventures on our website, from classic cakes to innovative cookies. There’s a whole world of baking waiting for you.
What unique twist will you add to your apple pie to make it truly your own?