
Sfogliatelle at Home? Your Simple Guide

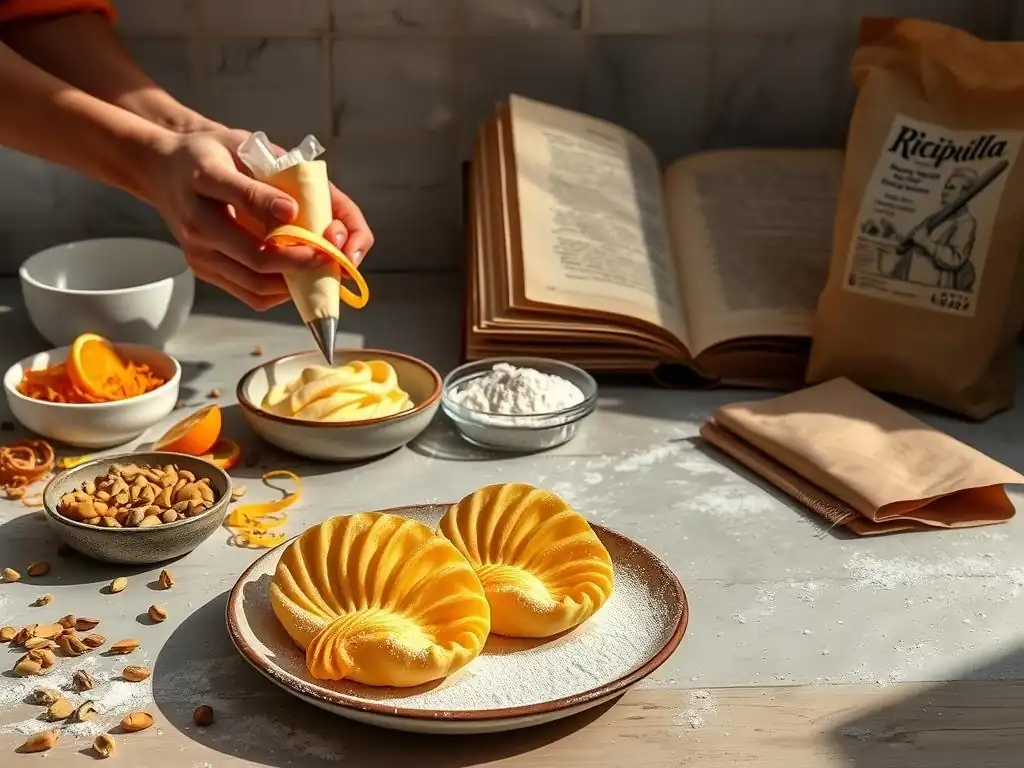
Welcome to BakeWithEase, your companion in the delightful world of baking! Ever dreamt of creating authentic Italian pastries right in your own kitchen? This week, we're diving into a regional favorite that's surprisingly achievable. Get ready to unlock the secrets to a flaky, decadent treat with our Easy sfogliatelle recipe tutorial. Intrigued? Discover how to craft these iconic shell-shaped delights and impress your friends and family with a taste of Italy! Let's get baking!
- Sfogliatelle at Home? Your Simple Guide | BakeWithEase
- Introduction to Homemade Sfogliatelle: An Italian Baking Tradition
-
Easy Sfogliatelle Recipe Tutorial: Step-by-Step Guide
- Gathering Your Ingredients: What You'll Need for Perfect Sfogliatelle
- Making the Sfogliatelle Dough: A Simplified Approach
- Creating the Sfogliatelle Filling: A Sweet Ricotta Dream
- Shaping the Sfogliatelle: The Art of the "Lobster Tail"
- Baking Your Sfogliatelle: Achieving Golden Perfection
- Cooling and Serving Your Homemade Sfogliatelle
- Troubleshooting Your Sfogliatelle: Common Issues and Solutions
- Storing Your Sfogliatelle: Keeping the Freshness
- Mastering the Art of Sfogliatelle: Advanced Techniques and Tips
- Conclusion: Enjoy Your Homemade Sfogliatelle!
-
Frequently Asked Questions
- What exactly is sfogliatelle, and why should I try this Easy Sfogliatelle Recipe Tutorial?
- Is this Easy Sfogliatelle Recipe Tutorial really suitable for beginners?
- What are the key ingredients I'll need to follow this Easy Sfogliatelle Recipe Tutorial?
- How long does it take to make sfogliatelle using this Easy Sfogliatelle Recipe Tutorial?
- What if my sfogliatelle doesn't look perfect after following this Easy Sfogliatelle Recipe Tutorial?
- Final Reflection: The Sweet Symphony of Sfogliatelle, Made Simple
- Unleash Your Inner Sfogliatella Maestro!
Sfogliatelle at Home? Your Simple Guide | BakeWithEase
Introduction to Homemade Sfogliatelle: An Italian Baking Tradition
Discover the Magic of Sfogliatelle: A BakeWithEase Tutorial
Embarking on the journey to create homemade sfogliatelle is a delightful way to connect with Italian baking traditions. These iconic "lobster tail" pastries, originating from Campania, Italy, are renowned for their incredibly flaky layers and sweet, creamy filling. While they might seem intimidating at first glance, our easy sfogliatelle recipe tutorial is designed to break down the process into manageable steps, making this Neapolitan delicacy accessible to home bakers. Imagine pulling a tray of golden, crispy sfogliatelle from your own oven – the aroma alone is worth the effort!
This tutorial focuses on simplifying the techniques involved, allowing you to achieve impressive results without needing specialized equipment. We'll guide you through preparing the unique dough, crafting the classic ricotta filling, and shaping those distinctive layers. By following this simple sfogliatelle recipe, you'll gain confidence in handling delicate doughs and mastering a truly rewarding bake. Get ready to impress your friends and family with authentic, homemade sfogliatelle that rival those found in Italian pasticcerias.
What Makes Sfogliatelle Special? The History and Unique Texture
Sfogliatelle, particularly the riccia (curly) variety, are celebrated for their extraordinary texture: countless thin, crisp layers that shatter with every bite, contrasting beautifully with a warm, smooth filling. This unique texture is achieved through a laborious process of creating a very thin dough, coating it generously with lard or butter, and rolling it into a tight log before slicing and shaping.
The history dates back centuries, believed to have originated in the Santa Rosa monastery in Conca dei Marini, near Amalfi, around the 17th century. The nuns reportedly used leftover semolina dough and ricotta to create an early version, the Sfogliatella Santa Rosa, which included a black cherry and custard filling.
The distinct "lobster tail" shape and the classic semolina and ricotta filling were later popularized in Naples by Pasquale Pintauro in the 19th century. What truly sets sfogliatelle apart is the lamination process, which differs significantly from puff pastry. Instead of folding butter into dough, layers of dough are created by rolling a single piece extremely thin and then rolling it upon itself with fat in between.
This creates a spiral log that, when sliced and shaped, fans out into the many delicate leaves ( sfoglie) that give the pastry its name. Mastering this technique is key to a successful easy sfogliatelle recipe tutorial.
Easy Sfogliatelle Recipe Tutorial: Step-by-Step Guide
Gathering Your Ingredients: What You'll Need for Perfect Sfogliatelle
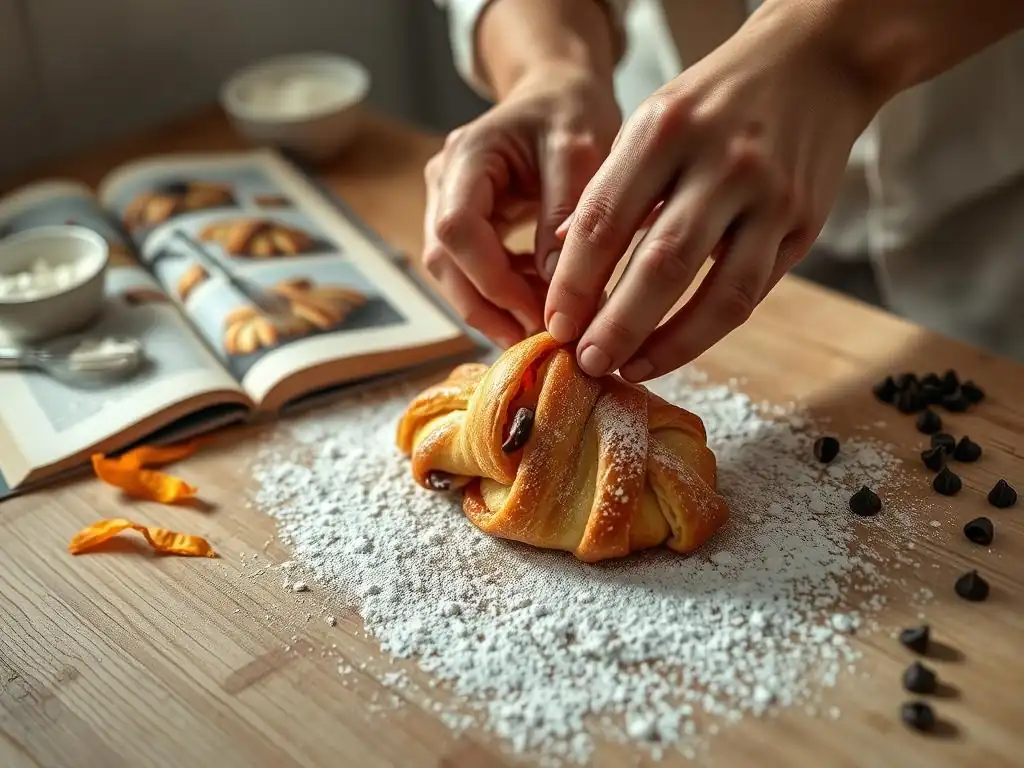
Having all your ingredients measured and ready before you begin is crucial for a smooth baking process. For our easy sfogliatelle recipe, you'll need standard pantry staples and a few key items that contribute to the authentic flavor and texture. This includes high-quality all-purpose flour, granulated sugar, salt, water, and a significant amount of lard or unsalted butter for the dough's lamination. Using lard is traditional and contributes to a unique crispness, but unsalted butter can also yield excellent results for a home bake.
For the classic filling, you'll require fine-grain ricotta cheese (drained overnight is essential to remove excess moisture), semolina flour, sugar, water, and flavorings like orange zest, cinnamon, or candied fruit. The semolina is cooked with water and sugar to form a thick paste, which is then combined with the ricotta. Ensure your ricotta is full-fat for the creamiest result. Approximate quantities might include around 500g of flour for the dough and about 300g of ricotta for the filling, but precise measurements will be detailed in the recipe steps of this homemade sfogliatelle tutorial.
Key Ingredients for Authentic Sfogliatelle Flavor
The soul of a sfogliatella lies in its filling, and a few key ingredients elevate it from simple ricotta to a truly authentic experience. Freshly grated orange zest is paramount, providing a bright, citrusy counterpoint to the sweetness. Many traditional recipes also include finely diced candied citron or orange peel, adding bursts of chewy texture and intense flavor. A pinch of cinnamon or a few drops of vanilla extract can enhance the overall aroma and taste.
Beyond the filling, the fat used in the dough lamination significantly impacts the final texture. While lard is traditional and provides an unparalleled crispness, unsalted butter offers a rich flavor and is often more readily available for home bakers. Using a generous amount of chilled fat is critical for creating distinct layers that separate during baking. This simple sfogliatelle recipe will guide you on how to incorporate these key ingredients effectively.
Making the Sfogliatelle Dough: A Simplified Approach
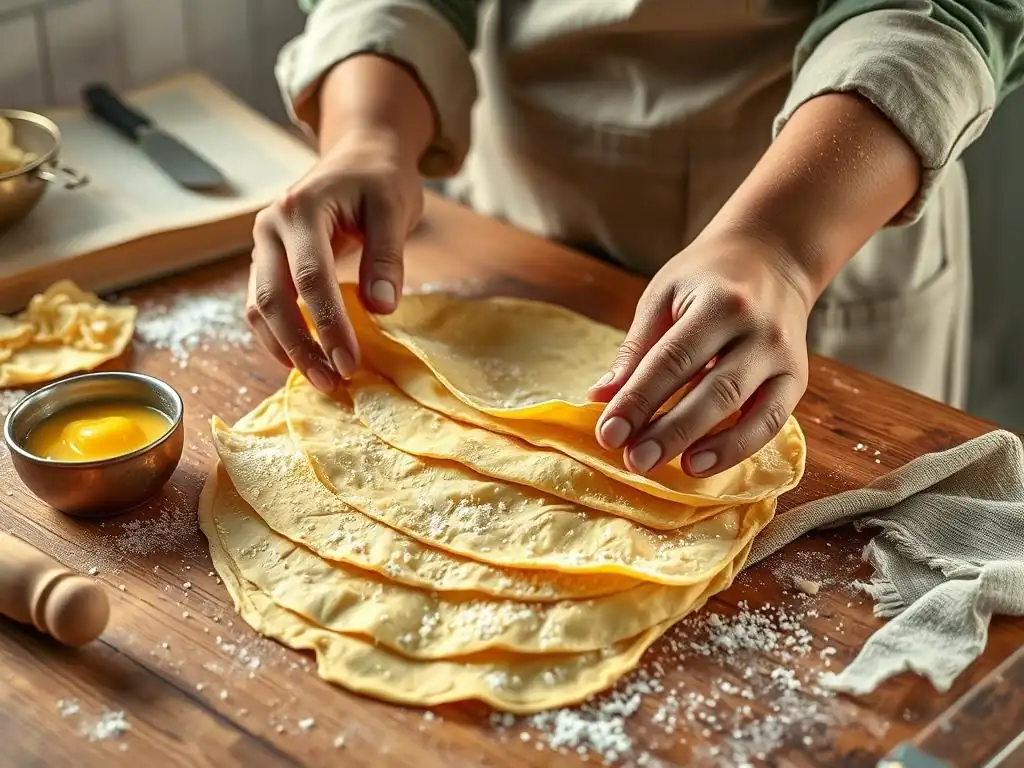
The dough for sfogliatelle is unique – it's a simple mixture of flour, water, salt, and sometimes a little sugar or honey, but it's worked extensively to develop gluten. Unlike puff pastry where the dough encases butter, sfogliatelle dough is rolled incredibly thin and then coated with melted fat (lard or butter) before being rolled into a tight cylinder. This process creates the potential for hundreds of thin layers.
Our approach simplifies this by focusing on proper kneading and chilling. Start by combining your flour, salt, and sugar (if using) with water. Knead the dough vigorously for 10-15 minutes until it is very smooth, elastic, and passes the "windowpane" test (you can stretch a small piece thin enough to see light through it without tearing).
Once kneaded, the dough needs to rest. Wrap it tightly and refrigerate for at least 2-3 hours, or preferably overnight. Chilling makes the dough easier to handle and roll thinly. The next step involves rolling the dough into a very large, thin rectangle.
This is where practice helps; aim for a thickness of maybe 1-2 millimeters. Don't worry if it's not perfect; the fat and rolling will help mask minor imperfections. This rolled sheet is then brushed generously and evenly with melted, but not hot, fat before being rolled into a tight log. This is a critical stage in our easy sfogliatelle recipe tutorial.
Tips for Achieving the Perfect Sfogliatelle Dough Consistency
Achieving the right dough consistency is key to successful sfogliatelle layers. The dough should be firm but pliable after kneading – not sticky, but not so dry it tears easily. If your dough feels too stiff, a tiny bit more water can be incorporated during kneading. If it's too sticky, add flour sparingly. The extensive kneading is vital; it develops the gluten structure needed to stretch the dough incredibly thin without it snapping back excessively. Think of it like stretching pizza dough, but aiming for an even thinner result.
When rolling, work on a lightly floured surface. If the dough resists stretching, let it rest for 5-10 minutes under a clean towel; the gluten needs to relax. Rolling the dough evenly is important so that the log has a consistent thickness. As you brush the melted fat onto the thin dough sheet, ensure complete coverage right to the edges. This fat is what prevents the layers from sticking together and allows them to separate into those characteristic flakes during baking. A well-executed dough is the foundation of this homemade sfogliatelle tutorial.
Creating the Sfogliatelle Filling: A Sweet Ricotta Dream
The classic sfogliatelle filling is a delightful combination of cooked semolina and ricotta cheese, sweetened and flavored. To prepare it, you first cook fine-grain semolina with water and sugar over medium heat, stirring constantly, until it thickens into a smooth, porridge-like consistency. This usually takes about 5-7 minutes. Remove it from the heat and let it cool completely. It's important that the semolina mixture is cold before combining it with the ricotta; otherwise, it can warm the ricotta and affect the filling's texture.
Once the semolina mixture is cold, gently fold in the well-drained ricotta cheese, sugar, and any desired flavorings like orange zest, cinnamon, or candied fruit. The key here is to use ricotta that has been thoroughly drained, preferably overnight in a fine-mesh sieve lined with cheesecloth, to remove as much whey as possible. Excess moisture in the filling can cause it to leak during baking and prevent the layers from crisping properly.
Mix until just combined; don't overmix. The filling should be relatively firm but smooth. This sweet, aromatic filling is the perfect counterpoint to the crispy layers in this easy sfogliatelle recipe.
Variations on the Classic Ricotta Filling: Orange Zest and Candied Citron
While the semolina-ricotta base is standard, the flavorings are where you can truly personalize your homemade sfogliatelle. The most traditional and beloved addition is fresh orange zest. The vibrant citrus notes cut through the richness of the cheese and sweetness of the sugar, adding a characteristic brightness. Use a microplane grater to get finely grated zest, avoiding the bitter white pith. For a batch using 300g of ricotta, the zest of one large orange is typically sufficient.
Another classic Italian touch is the inclusion of finely diced candied citron or candied orange peel. These chewy bits provide bursts of intense, slightly bitter-sweet citrus flavor that is signature to many Italian pastries. If you don't have candied citron, good quality candied orange peel works well. Roughly 30-50 grams of finely diced candied fruit can be folded into the filling mixture. For a simpler variation, you could also add lemon zest instead of orange, or a splash of vanilla extract for pure sweetness. Experimenting with these variations is part of the fun of this simple sfogliatelle recipe.
Shaping the Sfogliatelle: The Art of the "Lobster Tail"
Shaping the sfogliatelle is arguably the most unique and visually striking step in this easy sfogliatelle recipe tutorial. After you have rolled your dough incredibly thin, brushed it with melted fat, and rolled it into a tight log, you need to chill this log thoroughly again. This makes it firm enough to slice without distorting the layers. Once chilled (at least 1-2 hours), use a sharp knife to cut the log into slices about 1-1.5 cm thick. Each slice will reveal a spiral pattern of dough layers.
To form the "lobster tail" shape, you take one slice and, using your thumbs, gently press and push the center of the spiral outwards and upwards, rotating the slice as you go. This unfurls the layers into a cone or pocket shape. The goal is to create a cavity while keeping the layers distinct and intact. This takes a little practice; the dough should be pliable enough to shape but cold enough that the fat layers don't melt. This process creates the space to hold the generous amount of filling required for a perfect sfogliatella.
Step-by-Step Instructions for Forming the Signature Sfogliatelle Shape
Let's break down the shaping process for this homemade sfogliatelle tutorial.
- Ensure your chilled dough log is firm.
- Using a sharp knife, slice the log crosswise into disks approximately 1.5 cm thick.
- Take one disk. Place it cut-side down on your work surface or in the palm of your hand.
- Using the thumbs of both hands, gently press into the center of the spiral.
- As you press, simultaneously push outwards and upwards, rotating the disk slowly. The layers should begin to fan out and form a cone shape.
- Continue this process until you have created a pocket, leaving the outer edge slightly thicker to form the base of the "tail."
- The shaped pocket should resemble a cone or a small cup with distinct, separated layers along the sides.
It might help to keep your hands lightly floured if the dough is sticking. The layers should be visible and separate. Don't worry if your first few aren't perfect; the more you practice this easy sfogliatelle recipe, the better you'll become at shaping.
Visual Guide: Folding and Shaping Sfogliatelle Dough
Imagine the sliced dough log like a tightly wound spring or a snail shell. When you press the center, you're essentially unwinding that spring outwards. As you push, the layers, separated by the fat, will want to peel away from each other, forming the characteristic fanned shape.
Think of it this way:
- Start: A flat disk showing a spiral.
- Action: Pressing and pushing the center outwards with thumbs.
- Result: Layers peeling open, forming a cone/pocket.
Once the pocket is formed, you spoon a generous amount of the cold ricotta filling into the cavity. Then, you gently press the edges of the cone together to seal the sfogliatella, creating that iconic curved "tail" shape at the top. Ensure the seal is firm so the filling doesn't leak during baking. Place the shaped sfogliatelle seam-side down on a baking sheet. This shaping step is crucial for achieving the beautiful appearance in our simple sfogliatelle recipe.
Baking Your Sfogliatelle: Achieving Golden Perfection
Baking is where the magic happens for sfogliatelle, transforming the layered dough into crispy flakes and warming the sweet filling. For this easy sfogliatelle recipe, preheat your oven to a relatively high temperature, typically around 375°F (190°C). A hot oven helps the layers separate and crisp up quickly before the filling has a chance to leak excessively. Place the shaped sfogliatelle on a baking sheet lined with parchment paper.
Bake the sfogliatelle for approximately 15-25 minutes, depending on their size and your oven. You'll know they are ready when they have puffed up slightly, the layers are clearly defined, and they are a beautiful golden-brown color all over. The bottoms should also be golden and firm. Resist the urge to open the oven door too frequently, as this can cause the temperature to drop and affect the crisping. This baking step is the culmination of your efforts in this homemade sfogliatelle tutorial.
Optimal Baking Temperature and Time for Sfogliatelle
The ideal temperature range for baking sfogliatelle is generally between 375°F and 400°F (190°C to 200°C). A slightly lower temperature, like 375°F, gives the layers a bit more time to cook through before the exterior becomes too dark, which can be beneficial for home ovens that might have hot spots. A higher temperature, like 400°F, promotes rapid puffing and crisping, which is excellent if your shaping and chilling were perfect.
The baking time varies based on the exact size of your sfogliatelle and the specifics of your oven. For pastries cut from a log around 5-6 cm in diameter, 18-22 minutes is a common range. Keep a close eye on them during the last few minutes. They should look deeply golden and the layers should appear separated and flaky. If they seem to be browning too quickly on top, you can loosely tent them with foil. Achieving this golden perfection is the final reward in this simple sfogliatelle recipe.
Cooling and Serving Your Homemade Sfogliatelle
Once your sfogliatelle emerge from the oven, golden and fragrant, the wait isn't quite over. It's best to let them cool on the baking sheet for a few minutes before transferring them to a wire rack to cool further. While they are often served warm in Italian bakeries, allowing them to cool for at least 10-15 minutes helps the filling set slightly and prevents burns from the hot pastry and filling.
Sfogliatelle are traditionally served simply, often dusted with a generous amount of powdered sugar just before serving. The contrast of the sweet powder, the crispy layers, and the warm, aromatic filling is divine. They are perfect enjoyed with a cup of espresso or a strong coffee. This easy sfogliatelle recipe tutorial culminates in this moment of enjoyment, savoring a classic Italian pastry you made yourself!
Troubleshooting Your Sfogliatelle: Common Issues and Solutions
Dough Too Dry or Too Wet? How to Adjust
Getting the initial dough hydration right is important, but slight adjustments are possible. If your dough feels too dry and isn't coming together during kneading, add water very slowly, perhaps a teaspoon at a time. Knead after each addition to see if it incorporates. The goal is a smooth, elastic dough, not a sticky mess. Over-wet dough will be difficult to knead and roll thinly. If it's too wet, add a tablespoon of flour at a time and continue kneading until the desired consistency is reached.
Remember that environmental factors like humidity can affect dough hydration. A kitchen scale for measuring flour is always more accurate than volume measures like cups, which can help with consistency in this homemade sfogliatelle tutorial. If the dough is tearing excessively when you try to roll it thin, it might be too dry, or it hasn't rested long enough. Let it rest, covered, at room temperature for 15-20 minutes to allow the gluten to relax before trying again.
Filling Leaking During Baking? Prevention Tips
Filling leakage is a common issue when baking sfogliatelle. It often happens if the filling is too wet or if the sfogliatella wasn't sealed properly. Ensure your ricotta is extremely well-drained – pressing it in a sieve overnight is highly recommended. The semolina mixture should also be cooked until quite thick. If the filling still seems loose, chilling it thoroughly before filling the pastries can help.
When shaping, make sure the edges of the dough pocket are firmly pressed together to create a secure seal. Any gaps will allow the filling to bubble out during baking. Don't overfill the sfogliatelle; while you want a generous amount, stuffing them too full makes sealing difficult and increases the chance of leaks. Placing the shaped sfogliatelle seam-side down on the baking sheet also helps prevent leakage as the weight of the pastry helps keep the seal intact. Following these steps in your easy sfogliatelle recipe will minimize leaks.
Achieving the Crispy, Flaky Texture: Secrets Revealed
The signature crisp, flaky texture of sfogliatelle relies on several factors: the thinness of the rolled dough, the amount and even distribution of fat, and the high baking temperature. Ensure you roll the dough as thin as possible – aim for almost translucent. Don't skimp on the fat when brushing the dough; it needs to be generously coated to separate the layers. Using melted lard is often preferred for its crisping properties, but butter works if applied correctly.
Chilling the dough log thoroughly before slicing is crucial. This hardens the fat, allowing you to slice and shape the pastries without smearing the layers together. A cold dough log means distinct fat layers, which melt in the hot oven, creating steam that pushes the dough layers apart. Baking at a high temperature (375-400°F) provides the necessary heat for this steam production and rapid crisping before the fat can simply run out. Patience during the chilling phases is key to mastering this simple sfogliatelle recipe.
Storing Your Sfogliatelle: Keeping the Freshness
Homemade sfogliatelle are best enjoyed fresh, ideally within a few hours of baking when their layers are at their crispiest. However, if you have leftovers or are baking ahead, proper storage is necessary to maintain quality, though the texture will inevitably change slightly over time.
Best Practices for Storing Baked Sfogliatelle
To store baked sfogliatelle, allow them to cool completely on a wire rack. Once cool, store them in an airtight container at room temperature for up to 2 days. Avoid refrigerating them, as the humidity in the fridge can soften the delicate layers. While they will lose some of their initial crispness when stored, they can be refreshed. To recrisp, place them on a baking sheet and warm them in a preheated oven at about 300°F (150°C) for 5-10 minutes until they feel warm and the layers seem to have crisped up again.
Freezing Sfogliatelle: Can You Freeze Them?
Yes, you can freeze sfogliatelle, and it's generally better to freeze them before baking rather than after for optimal results. To freeze unbaked sfogliatelle, shape them, place them on a baking sheet, and freeze until solid. Once frozen, transfer them to an airtight container or freezer bag, separating layers with parchment paper, and store for up to 1-2 months.
When you're ready to bake, place the frozen sfogliatelle on a baking sheet lined with parchment paper. You can bake them directly from frozen; they may just require a few extra minutes in the oven compared to fresh ones. This is a great tip for making this easy sfogliatelle recipe ahead of time for entertaining. Freezing baked sfogliatelle is possible, but the layers tend to become less crisp upon thawing and reheating.
Mastering the Art of Sfogliatelle: Advanced Techniques and Tips
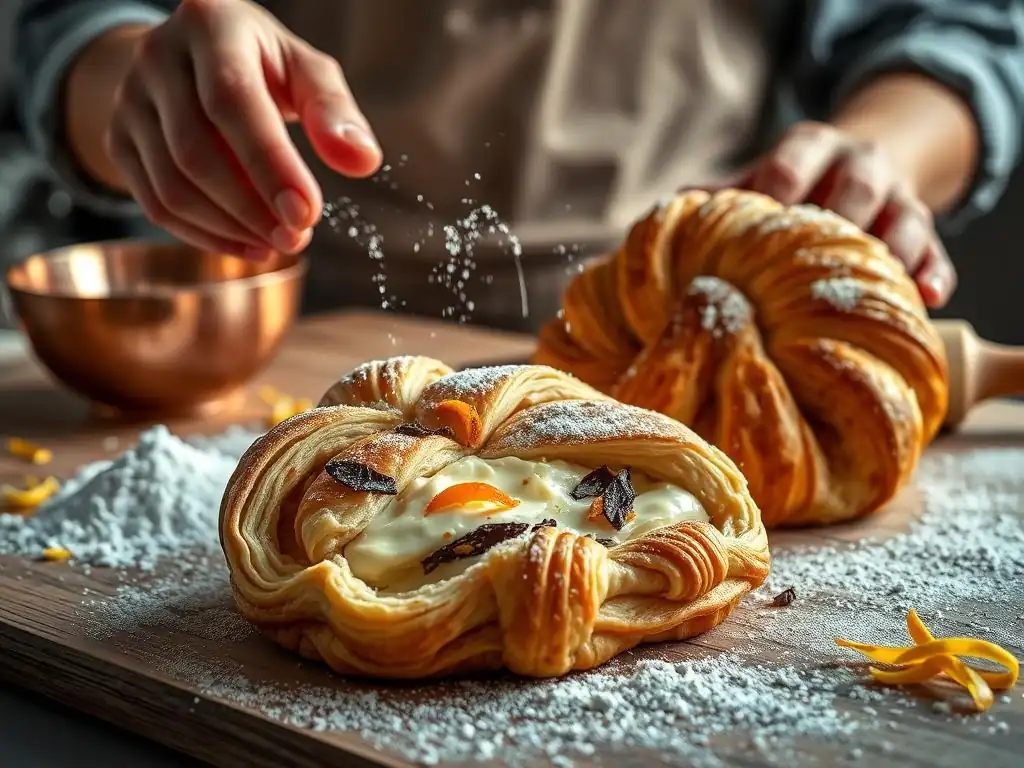
Once you've successfully made your first batch using our easy sfogliatelle recipe tutorial, you might be ready to explore more advanced techniques or variations to truly master this Italian pastry. This could involve refining your dough rolling technique to achieve even thinner layers or experimenting with different fats.
Exploring Different Sfogliatelle Variations: Santa Rosa and Riccia
While our tutorial focuses on the classic riccia (curly) sfogliatella with the semolina-ricotta filling, there are other notable variations. The Sfogliatella Santa Rosa, the original monastery version, is typically larger, often has a slightly different shape (more like a shell), and traditionally includes a filling with black cherry jam and sometimes custard mixed with ricotta. Trying this variation offers a taste of the pastry's history.
Another variation is the Sfogliatella frolla. This version uses a shortcrust dough ( pasta frolla) instead of the layered dough. It has a smooth exterior rather than the flaky layers. While easier to make, it offers a completely different texture experience. Mastering the riccia is the true challenge and reward of this homemade sfogliatelle tutorial.
Level Up Your Sfogliatelle: Adding Lemon Zest and Vanilla Extract
While orange zest is traditional, adding lemon zest can provide a different, equally delightful citrus note to the filling. Use the zest of one medium lemon for a batch using around 300g of ricotta for a noticeable tang. Ensure you use only the yellow part of the zest.
Vanilla extract or the seeds scraped from half a vanilla bean can also enhance the filling, adding a warm, sweet aroma and flavor that complements the ricotta beautifully. For a batch of filling, half a teaspoon of good quality vanilla extract or the seeds from half a vanilla bean are usually sufficient. These simple additions can elevate your simple sfogliatelle recipe and add a personal touch.
Conclusion: Enjoy Your Homemade Sfogliatelle!
Congratulations! You've navigated the steps of our easy sfogliatelle recipe tutorial and created these beautiful, delicious Italian pastries in your own kitchen. The process might seem involved, but the result – those countless crispy layers giving way to a warm, sweet, aromatic filling – is incredibly rewarding. Making sfogliatelle is not just baking; it's participating in a rich culinary tradition.
Whether you followed the classic recipe or experimented with variations, you've accomplished a truly impressive feat. Enjoy your homemade sfogliatelle, share them with loved ones, and savor the taste of Naples. This homemade sfogliatelle tutorial is just the beginning of your journey with this fantastic pastry.
We love seeing what our community bakes! If you made sfogliatelle using this simple sfogliatelle recipe, we encourage you to share photos of your creations. Tag us on social media or send us an email. Seeing your success is incredibly inspiring, and it helps others see what's possible with a little patience and guidance. Your beautiful sfogliatelle could inspire the next baker to try their hand at this wonderful Italian classic!
Frequently Asked Questions
What exactly is sfogliatelle, and why should I try this Easy Sfogliatelle Recipe Tutorial?
Sfogliatelle is a shell-shaped Italian pastry, traditionally filled with a ricotta-based mixture. You should try it because this tutorial provides a simplified approach to making this complex pastry at home.
Is this Easy Sfogliatelle Recipe Tutorial really suitable for beginners?
Yes! While traditional sfogliatelle is challenging, this tutorial focuses on simplified techniques and easy-to-find ingredients, making it accessible even for novice bakers.
What are the key ingredients I'll need to follow this Easy Sfogliatelle Recipe Tutorial?
You'll primarily need pastry dough (puff pastry is often used for easier versions), ricotta cheese, sugar, eggs, and flavoring ingredients like orange zest or vanilla. The tutorial will provide a detailed ingredients list and quantities.
How long does it take to make sfogliatelle using this Easy Sfogliatelle Recipe Tutorial?
While the entire process involves several steps, including dough preparation (or thawing), filling creation, and shaping, this tutorial aims to streamline the process. Expect to spend approximately 2-3 hours from start to finish.
What if my sfogliatelle doesn't look perfect after following this Easy Sfogliatelle Recipe Tutorial?
Don't worry! Achieving the classic shell shape can be tricky. Focus on the taste and texture. Imperfect-looking sfogliatelle can still be delicious and satisfying.
Final Reflection: The Sweet Symphony of Sfogliatelle, Made Simple
The pursuit of authentic Italian pastry at home is no longer a daunting task. This simple guide has demystified the seemingly complex art of sfogliatelle creation, proving that the delicate, shell-like pastry and its rich ricotta filling are achievable even for novice bakers. The joy of crafting these beautiful treats, from the initial layering of dough to the final dusting of powdered sugar, is a testament to the power of accessible recipes.
The enduring appeal of sfogliatelle lies not just in their exquisite taste, but in their ability to connect us to a rich culinary heritage. These pastries, often associated with family gatherings and celebrations, represent more than just a dessert; they are a symbol of tradition, passion, and the comforting warmth of home. Food is symbolic of love when words are inadequate.
– Alan D. Wolfelt. This quote perfectly encapsulates the emotional resonance of sharing homemade sfogliatelle with loved ones, creating memories as sweet as the pastry itself.
Now, it's your turn. Don't let the perceived complexity of sfogliatelle recipes hold you back. Gather your ingredients, embrace the process, and experience the satisfaction of creating something truly special. The journey of making these delicate pastries is as rewarding as the final taste, a testament to your own culinary creativity and a delicious way to share a piece of Italian culture with those you cherish. So, roll up your sleeves, and let the sweet symphony of sfogliatelle begin!
Unleash Your Inner Sfogliatella Maestro!
Thanks for taking the time to explore the wonderful world of sfogliatelle with us! We hope you're feeling inspired and ready to conquer this seemingly intimidating pastry. Now it's time to put your newfound knowledge to the test.
- Dive into the recipe: We've provided a detailed, step-by-step guide, and we're confident you can create delicious sfogliatelle at home. Give it a try – you might surprise yourself!
- Share your baking journey: Snap a picture of your sfogliatelle creation and share it on social media using #BakeWithEaseSfogliatelle. Let's build a community of sfogliatella enthusiasts!
- Challenge a friend: See if they can beat your sfogliatelle-making skills! It's a fun way to share this delicious experience with others.
What unique twist will you add to your sfogliatelle masterpiece? Let us know in the comments below!