
The Key to a Stable Layer Cake: Assembly Secrets

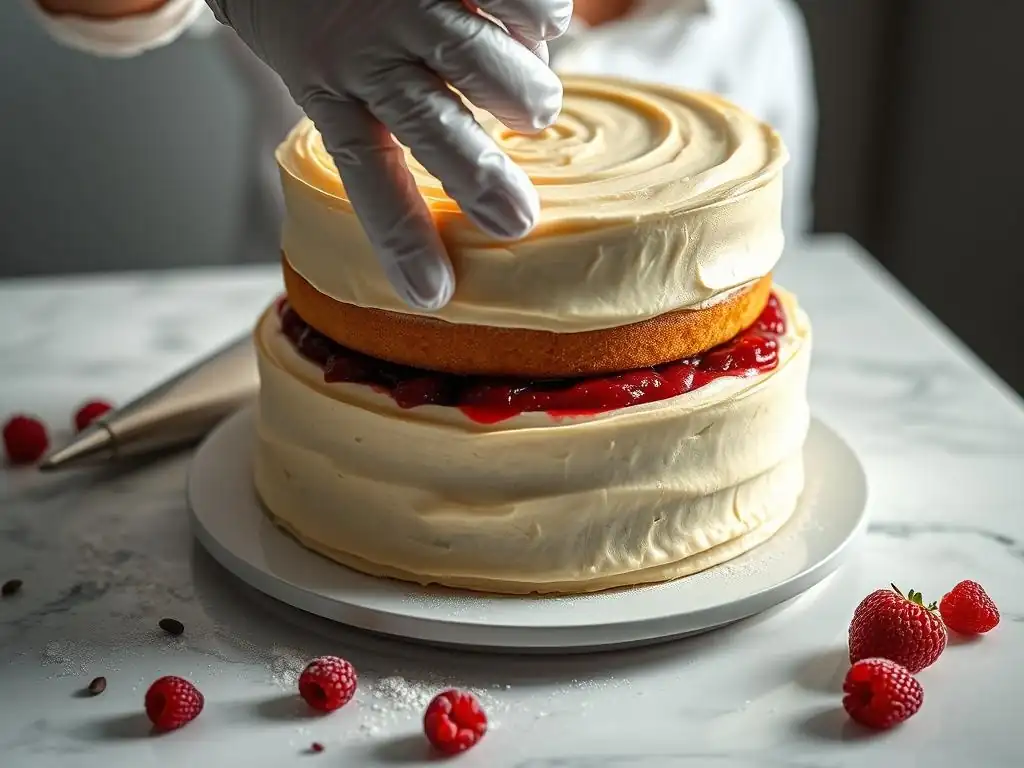
Welcome to BakeWithEase, where baking dreams come true! Ever wondered why your layer cakes lean, crumble, or simply lack that professional polish? This article unlocks the secrets to flawless layer cake assembly. Discover techniques that will transform your baking, ensuring every slice is a masterpiece. Ready to create cakes that stand tall and taste even better? Let's dive in!
- Achieving Layer Cake Stability: An Assembly Guide
- BakeWithEase's Guide to Perfect Layer Cake Assembly
- Understanding Layer Cake Stability Fundamentals
- Layer Cake Assembly: A Step-by-Step Guide
- Troubleshooting Layer Cake Assembly
- Advanced Layer Cake Assembly Tips
- Layer Cake Decoration Techniques
- Mastering Layer Cake Stability: A Recap
-
Frequently Asked Questions
- How important is leveling my cake layers before assembling a layer cake?
- What's the best type of frosting to use when assembling a layer cake?
- How can I prevent my layer cake from sliding around during assembly?
- What is a crumb coat, and why is it important for layer cake assembly?
- How long should I chill my layer cake after assembling it but before decorating?
- Final Reflection: The Enduring Allure of the Perfectly Assembled Layer Cake
- Unlock Your Inner Cake Artist: Mastering Layer Cake Assembly!
Achieving Layer Cake Stability: An Assembly Guide
BakeWithEase's Guide to Perfect Layer Cake Assembly
Creating a stunning layer cake is a rewarding baking challenge, but achieving perfect stability can sometimes feel like a balancing act, quite literally! A wobbly or leaning cake isn't just frustrating; it can ruin the presentation and even make slicing difficult. Mastering key layer cake assembly techniques is essential for a structure that stands tall and proud, ready to be admired and enjoyed. This guide from BakeWithEase will walk you through the fundamental principles and step-by-step methods to build a sturdy, beautiful cake every time.
From selecting the right cake base to applying that crucial crumb coat and using clever support systems, each stage of layer cake assembly contributes to the overall stability. Whether you're stacking two simple layers or aiming for a towering masterpiece, understanding these techniques will elevate your baking skills and ensure your creations don't collapse under pressure – or frosting! Let's dive into the secrets of building a rock-solid foundation for your next layered delight.
Understanding Layer Cake Stability Fundamentals
Choosing Cake Recipes Ideal for Layering
The foundation of a stable layer cake begins with the cake itself. Not all cake recipes are created equal when it comes to stacking. Lighter, airier cakes like chiffon or angel food cake, while delicious, can be too delicate and prone to compression under the weight of multiple layers and frosting. They lack the internal structure needed for height.
For robust layer cake assembly techniques, opt for recipes that yield a denser, sturdier crumb. Butter-based cakes, pound cakes, and even some oil-based cakes like classic vanilla or chocolate cake, often provide the necessary structure. These cakes have a tighter crumb that can better support fillings and subsequent layers without squishing or breaking apart. A good rule of thumb is to choose a recipe that isn't excessively moist or crumbly.
Achieving Perfectly Level Cake Layers
Uneven cake layers are a primary culprit for instability in a stacked cake. A domed or sloped layer creates gaps and uneven pressure points, making the whole structure prone to leaning or sliding. Precision in achieving level layers is a fundamental layer cake assembly technique.
One effective method is to use cake strips soaked in water and wrapped around your cake pans before baking. These strips help the cake bake more evenly, reducing the size of the dome. Alternatively, once the cakes are cooled, you can use a serrated knife or a specialized cake leveler to carefully slice off any dome, creating a flat surface. Aim to remove just enough to make the top perfectly parallel to the bottom. Discarded cake scraps? They make excellent cake pops or trifles!
Selecting Stable Filling Options
The filling between your cake layers plays a significant role in stability. While a light and fluffy whipped cream might sound appealing, it can cause layers to shift or compress, especially in warm conditions or with multiple layers. Soft, unstable fillings are a common pitfall in layer cake assembly.
For maximum stability, choose fillings that are firm and hold their shape well at room temperature. Buttercream (American, Swiss meringue, Italian meringue), ganache, and cream cheese frosting are excellent choices. These fillings act like mortar between bricks, providing solid support. If you want to use a softer filling like fruit compote or pastry cream, create a "dam" of firmer frosting (like buttercream) around the edge of the layer before adding the softer filling in the center. This dam prevents the softer filling from squeezing out and causing bulges or slides.
Layer Cake Assembly: A Step-by-Step Guide
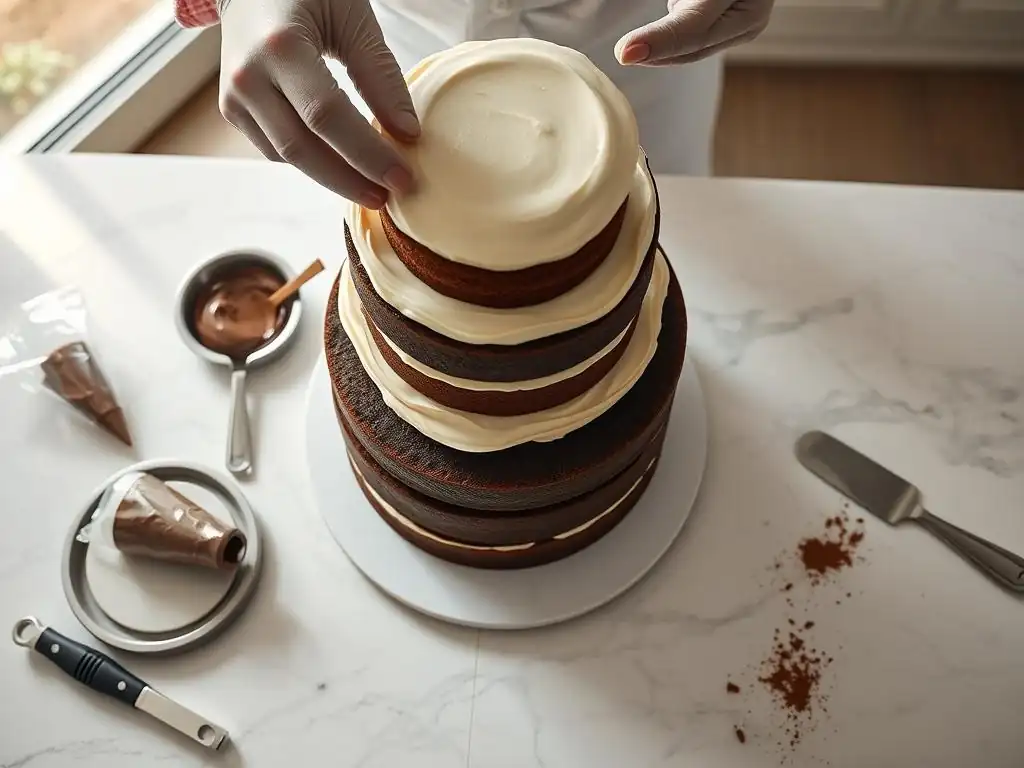
Step 1: Preparing Your Workspace
Successful layer cake assembly starts with preparation. Having everything ready before you begin stacking saves time and minimizes errors.
Gathering Tools and Ingredients
Ensure you have all necessary tools and ingredients laid out. This includes your cooled, level cake layers, your chosen filling(s), frosting for the crumb coat and final layer, an offset spatula (various sizes are helpful), a cake scraper or bench scraper, a rotating cake stand (highly recommended! ), and a sturdy cake board slightly larger than your cake diameter. Having everything within reach allows for a smooth, continuous process, which is vital for efficient layer cake assembly techniques.
Leveling Cake Layers for Even Stacking
As mentioned earlier, perfectly level layers are non-negotiable for a stable cake. After your cakes have cooled completely on a wire rack (ideally for several hours, or even chilled in the fridge for easier handling), place each layer on a flat surface. Use a long serrated knife or a cake leveler to carefully slice off the dome, if any, making the top surface flat. Aim to remove only what is necessary to achieve a level surface. This step is critical for preventing leaning during the layer cake assembly process.
Step 2: Applying the Crumb Coat
The crumb coat is a thin layer of frosting applied directly to the bare cake layers. It's one of the most important layer cake assembly techniques for a clean finish.
The Purpose of a Crumb Coat
The primary purpose of the crumb coat is to trap any loose crumbs from the cake. Cakes, especially those that have been trimmed or are slightly drier, can shed crumbs that would otherwise get mixed into your final layer of frosting, resulting in a messy, unappealing finish. A crumb coat creates a smooth, sealed surface for the final frosting layer.
Applying a Thin and Even Crumb Coat
Using an offset spatula, apply a very thin layer of frosting all over the cake – top and sides. Don't worry about getting it perfectly smooth; the goal is just to cover the cake and catch crumbs. Use your offset spatula or a cake scraper to gently smooth it out, removing any excess. You should still be able to see the cake through the frosting in some spots. This thin, even application is a key step in effective layer cake assembly.
Step 3: Chilling the Crumb Coat
Chilling the crumb-coated cake is a non-negotiable step for professional-looking results.
Why Chilling is Crucial
Chilling allows the thin crumb coat to set and firm up. This locks in all those pesky crumbs and creates a stable, non-sticky surface. When you apply your final layer of frosting, it will glide on smoothly without picking up crumbs or tearing the cake. This chilling period significantly contributes to the ease and success of the subsequent layer cake assembly steps.
Optimal Chilling Time
Place the crumb-coated cake in the refrigerator for at least 30 minutes, or until the frosting is firm to the touch. For even better results, especially with softer frostings or in warm environments, chilling for 1-2 hours is ideal. You can even chill it overnight. The firmer the crumb coat, the easier it will be to apply the final frosting layer cleanly.
Step 4: Applying the Final Frosting Layer
With the crumb coat chilled and firm, you're ready for the final, thicker layer of frosting. This is where the cake's appearance truly comes together.
Frosting Options for a Polished Look
The type of frosting you use for the final layer affects both taste and appearance. American buttercream is popular for its ease and stability, offering a smooth or textured finish. Swiss meringue or Italian meringue buttercreams are silkier and less sweet, providing a very smooth canvas. Ganache offers a decadent, smooth coating. Choose a frosting consistency that is smooth and spreadable but not too thin, which could lead to drips or difficulty achieving a smooth finish.
Techniques for Smooth Frosting
Apply a generous amount of your final frosting to the top and sides of the chilled, crumb-coated cake. Use an offset spatula to spread it evenly. For smooth sides, hold a cake scraper or bench scraper against the side of the cake (at a 90-degree angle to the cake board) and slowly rotate the cake stand, keeping the scraper stationary. This technique helps create straight, smooth sides.
Scrape off excess frosting from the scraper frequently. For the top, use an offset spatula to gently pull the excess frosting from the edge towards the center, smoothing as you go. Mastering these techniques enhances your overall layer cake assembly skills.
Step 5: Adding Decorations and Final Touches
Once the final frosting layer is applied smoothly, you can add decorations. This is where your creativity shines!
Fresh Fruit Arrangements
Fresh fruit adds vibrant color and flavor to a cake. Arrange berries, sliced stone fruits, or citrus segments directly onto the frosted cake. For fruits that might release a lot of juice (like sliced strawberries), consider brushing them with a thin layer of melted clear jelly or piping a small dot of frosting underneath to help them adhere and prevent staining the frosting.
Securing Decorations with Edible Glue
For heavier decorations, sugarpaste figures, or delicate elements, consider using edible glue or a small dab of frosting to secure them in place. This prevents them from sliding off, especially during transport. Place decorations strategically to maintain balance and visual appeal, complementing the overall layer cake assembly design.
Troubleshooting Layer Cake Assembly
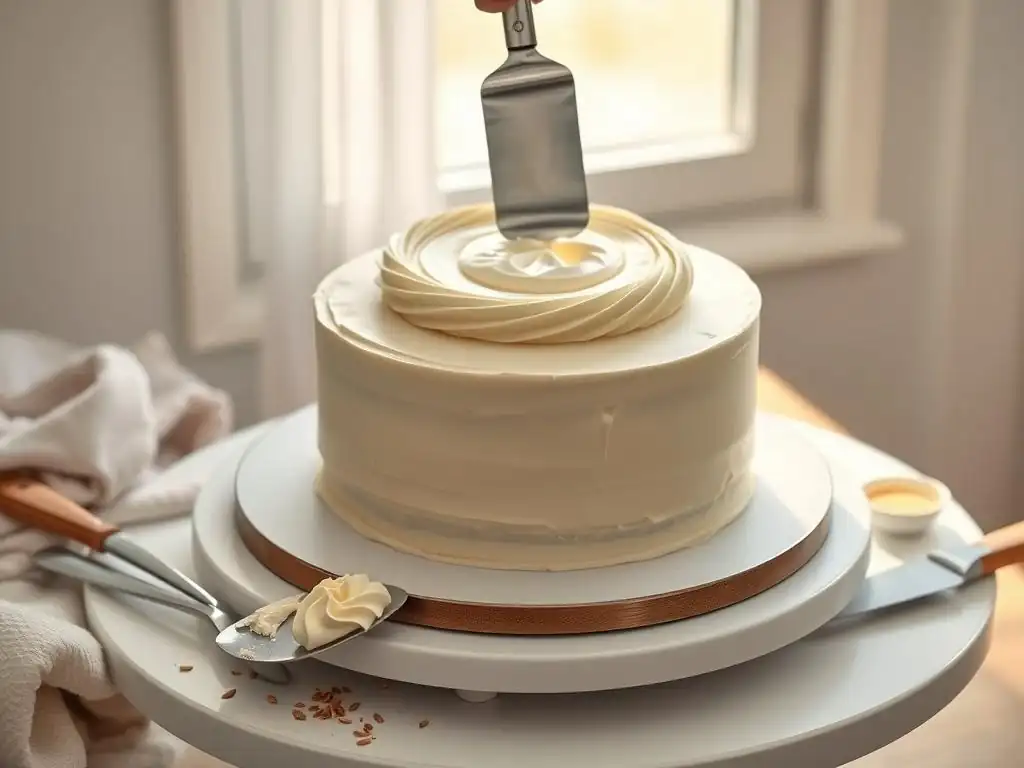
Even with the best intentions, sometimes things don't go perfectly. Here's how to tackle common issues during layer cake assembly.
Preventing Cake Layer Sliding
A shifting cake is a common frustration. This often happens when layers aren't level, the filling is too soft, or the cake hasn't been properly chilled between steps.
Using Dowels for Support
For cakes taller than two or three layers, internal support is crucial. Food-safe plastic dowels or wooden skewers (cut to the height of the cake layer plus frosting) can be inserted into the bottom layers. Place a sturdy cake board (cut slightly smaller than the layer above) on top of the dowels, then stack the next layer onto the board. This distributes the weight and prevents the upper layers from crushing the lower ones. This is a vital technique in multi-tier layer cake assembly.
Choosing a Sturdy Cake Board
Always assemble your cake on a sturdy cake board or drum that is at least the same diameter as the bottom layer, or preferably 1-2 inches larger. A flimsy board can bend, causing the cake structure to become unstable. For multi-tiered cakes, use thick cake drums for each tier.
Correcting Uneven Cake Layers
If you notice a slight tilt after stacking, there are ways to correct it before the final frosting layer.
Filling Gaps with Extra Frosting
Sometimes, despite leveling, a small gap or slight slope remains between layers. You can use extra frosting to fill these gaps around the perimeter of the cake before applying the crumb coat. Press the frosting into the gap with an offset spatula, smoothing it flush with the cake layers. This creates a more even surface for frosting and adds a bit more stability.
Preventing Bulging Layers
Bulging frosting is usually a sign that the filling is too soft or that too much filling was used, causing it to squeeze out under the weight of the layers.
Even Filling Distribution Techniques
When applying filling, create that buttercream dam around the edge first, then fill the center. Don't overfill the center; keep the filling level slightly below the height of the dam. This ensures the softer filling stays contained. Also, ensure your layers are level and stack directly on top of each other to distribute weight evenly across the filling, preventing it from being pushed outwards.
Advanced Layer Cake Assembly Tips
Ready to take your layer cake assembly techniques to the next level? These tips can help achieve even more polished results.
Creating a Perfectly Level Cake
Beyond trimming domes, ensuring your cakes bake level in the first place saves effort later.
Using a Cake Leveler
While a serrated knife works, a dedicated cake leveler is a fantastic tool for consistent results. These adjustable wire cutters allow you to slice through cakes horizontally at a precise height, ensuring all your layers are exactly the same thickness. This precision is invaluable for tall, multi-layer cakes where even a slight difference can cause noticeable leaning.
Achieving Sharp Edges
Sharp, crisp edges on your frosted cake give it a professional, modern look.
The Inverted Frosting Method
One popular technique for sharp edges involves frosting the cake upside down. Apply frosting to the top (which will become the bottom) and sides of the chilled, crumb-coated cake. Smooth the sides with a scraper. Then, place a cake board or serving plate on what is currently the top of the cake. Carefully invert the cake. Now, fill in the "new" top (which was originally the bottom) with frosting and smooth it perfectly flat using an offset spatula, pulling frosting from the edges towards the center. Once chilled, the edges will be incredibly sharp when the cake is righted.
Layer Cake Decoration Techniques
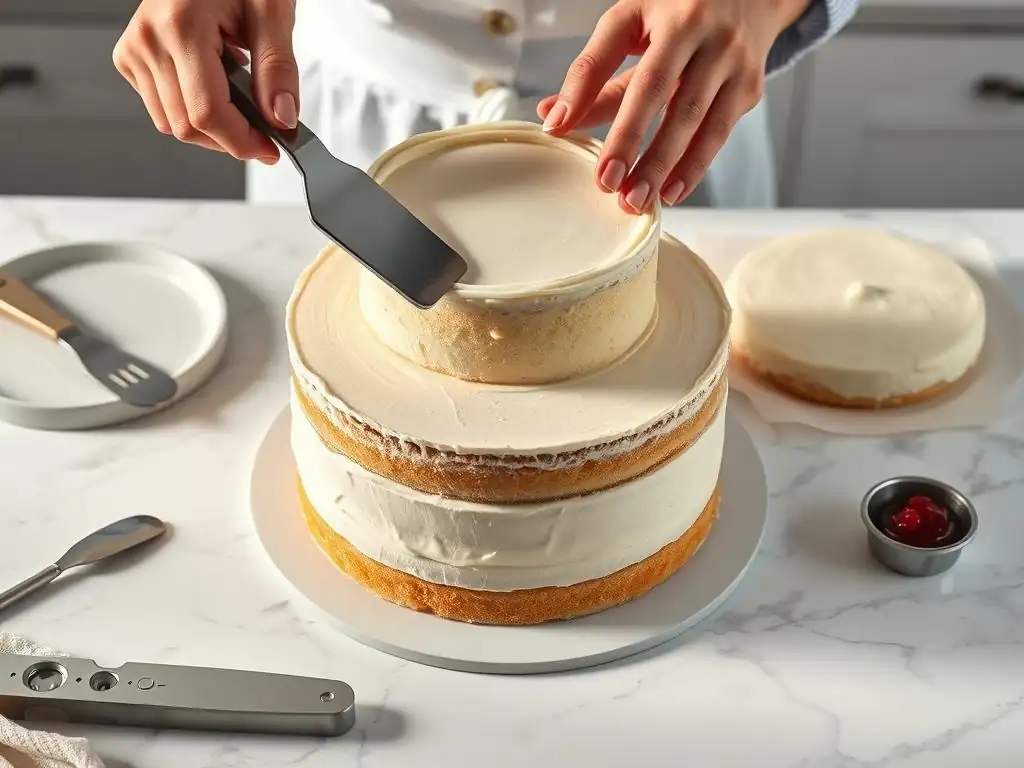
Once your stable structure is built using solid layer cake assembly techniques, it's time to decorate!
Frosting Techniques for Visual Appeal
The final frosting layer is your canvas. Different techniques can create stunning textures and patterns.
Rosette Piping
A classic and beautiful technique is piping rosettes. Using a star tip (like a 1M or 2D), hold the piping bag perpendicular to the cake surface. Start in the center of where you want the rosette, squeeze firmly while keeping the tip in place for a moment, then swirl outwards in a circular motion, stopping pressure and pulling away to finish the swirl. Repeat across the cake for a lovely textured look.
Creating Eye-Catching Designs
Beyond simple smoothing, you can create intricate and beautiful designs with frosting.
Ombre Frosting
Ombre frosting creates a gradient effect, transitioning from one color to another. Divide your frosting into several bowls, tinting each bowl a progressively lighter shade of your chosen color (or from a dark color to white). Apply the darkest color to the bottom section of the cake, the next shade above that, and so on, up to the top. Then, use a cake scraper to smooth the colors together vertically, blending them into a beautiful gradient. This technique adds visual depth to your layer cake assembly.
Mastering Layer Cake Stability: A Recap
Building a stable layer cake is a skill that combines careful preparation, smart technique, and patience. By focusing on the fundamentals of layer cake assembly – choosing the right cake, leveling layers, selecting stable fillings, and utilizing crucial steps like the crumb coat and chilling – you can create cakes that not only look spectacular but also hold up beautifully from assembly to the final slice. Don't be discouraged by early attempts; practice makes perfect!
Key Takeaways
- Use sturdy cake recipes and level your layers precisely.
- Choose stable fillings like buttercream or ganache.
- The crumb coat and chilling step are essential for a clean, stable base.
- Use internal supports (dowels, cake boards) for taller cakes.
- Assemble on a sturdy cake board.
- Practice frosting techniques for a smooth or decorative finish.
More Layer Cake Resources on BakeWithEase.com
Ready to try your hand at assembling your next masterpiece? Find recipes for stable cake layers, delicious buttercream, and more detailed tutorials on various frosting techniques right here on BakeWithEase.com. Keep practicing these layer cake assembly techniques, and soon you'll be creating stable, stunning cakes with ease!
Frequently Asked Questions
How important is leveling my cake layers before assembling a layer cake?
Leveling cake layers is crucial for stability. Uneven layers can cause the cake to tilt or collapse, especially with multiple layers. A sharp serrated knife is recommended for achieving perfectly level layers.
What's the best type of frosting to use when assembling a layer cake?
While personal preference plays a role, sturdy frostings like buttercream or ganache are ideal. Avoid runny frostings that won't provide structural support during assembly. Consider the room temperature as well.
How can I prevent my layer cake from sliding around during assembly?
A small amount of frosting on the cake board or plate acts as a "glue" to secure the bottom layer. You can also use parchment paper strips underneath the edges of the bottom layer for easier cleanup.
What is a crumb coat, and why is it important for layer cake assembly?
A crumb coat is a thin layer of frosting applied to the entire cake to trap loose crumbs. It prevents crumbs from appearing in the final frosting layer, resulting in a cleaner and more professional finish.
How long should I chill my layer cake after assembling it but before decorating?
Chilling the assembled layer cake for at least 30 minutes, or preferably longer, allows the frosting to firm up and stabilize the cake. This makes it easier to apply the final layer of frosting and decorations without damaging the cake.
Final Reflection: The Enduring Allure of the Perfectly Assembled Layer Cake
The art of layer cake assembly isn't merely about stacking; it's about creating a culinary masterpiece that transcends the sum of its parts. A flawlessly assembled layer cake is a testament to patience, precision, and a deep understanding of texture and balance. In a world increasingly focused on instant gratification, the deliberate process of building a layer cake offers a welcome counterpoint, a reminder of the beauty found in meticulous craftsmanship.
The impact of a perfectly executed layer cake extends far beyond the simple act of eating. It's a symbol of celebration, a centerpiece at gatherings, a source of joy and shared experience. A cake is a celebration of life, a symbol of joy and happiness.
This sentiment, though simple, encapsulates the profound emotional connection we have with this seemingly humble dessert. From childhood birthday parties to sophisticated wedding receptions, the layer cake holds a consistent and powerful place in our collective cultural memory, a testament to its enduring appeal.
Consider the lessons learned within these pages. The careful leveling of layers, the strategic application of frosting, the delicate balance of flavors – these are not just baking techniques; they are metaphors for life itself. You, too, can build something beautiful and lasting, one careful layer at a time. Embrace the process, find joy in the details, and create your own masterpiece, whether it's a magnificent layer cake or a fulfilling life journey. The key, as always, lies in the careful assembly.
Unlock Your Inner Cake Artist: Mastering Layer Cake Assembly!
Thanks for diving into the world of perfectly layered cakes! We hope you now feel confident tackling even the most ambitious designs. Ready to put your new skills to the test?
- Bake your dream cake: Use the techniques you've learned to create your own masterpiece – don't be afraid to experiment with flavors and fillings!
- Share your creation: Show us your stunning layer cakes on social media using #BakeWithEaseLayerCakes – we'd love to see your results!
- Consider challenging yourself with a unique cake flavor combination you haven't tried before – what exciting flavors will you explore next?
What incredible cake creation will you bake next? Let's see those masterpieces!