
Simple Ice Cream Cake: Layering Your Way to Dessert Glory

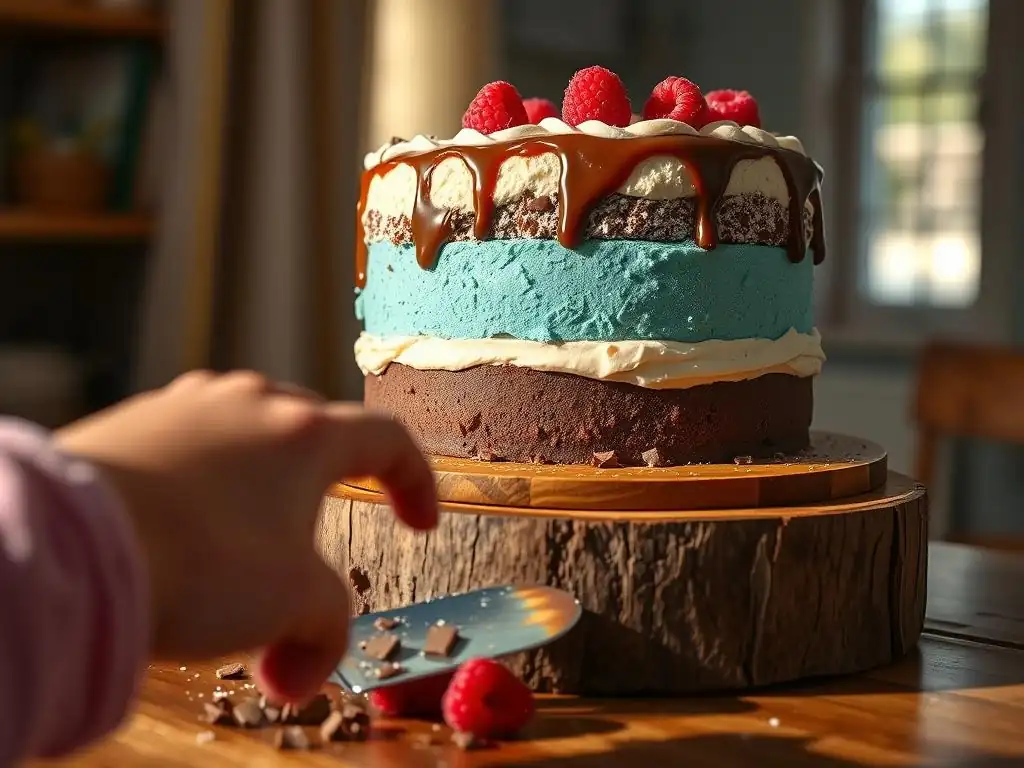
Welcome to BakeWithEase, your guide to baking brilliance! Ever dreamt of creating a show-stopping dessert without the fuss? Dive into the secrets of our featured article, " Easy Layered Ice Cream Cake," and discover how to layer your way to dessert glory. Intrigued? Get ready to unlock a world of simple techniques and delightful flavors that will have everyone asking for seconds. Let's get baking!
- Chocolate Peanut Butter Ice Cream Cake: A No-Bake Delight
- BakeWithEase Presents: The Easiest Chocolate Peanut Butter Ice Cream Cake Recipe
- Why This Chocolate Peanut Butter Ice Cream Cake is Perfect for Any Occasion
- Essential Ingredients for Your Homemade Ice Cream Cake
-
Step-by-Step Guide to Assembling Your Layered Ice Cream Cake
- Step 1: Preparing Your Springform Pan
- Step 2: Softening the Chocolate Ice Cream for Easy Spreading
- Step 3: Layering the Ice Cream and Peanut Butter Cups
- Step 4: Freezing Between Layers for Stability
- Step 5: Adding the Final Layer of Whipped Topping
- Step 6: Decorating Your Chocolate Peanut Butter Ice Cream Cake Masterpiece
- Step 7: Freezing for Optimal Texture and Enjoyment
- Tips and Tricks for the Best Chocolate Peanut Butter Ice Cream Cake
- Variations and Customizations: Elevate Your Ice Cream Cake
- Serving and Enjoying Your Chocolate Peanut Butter Ice Cream Cake
- Make This Chocolate Peanut Butter Ice Cream Cake Today!
- Frequently Asked Questions
- Final Reflection: The Sweet Simplicity of Layered Joy
- Unlock Your Inner Pastry Chef: Make This Ice Cream Cake!
Chocolate Peanut Butter Ice Cream Cake: A No-Bake Delight
BakeWithEase Presents: The Easiest Chocolate Peanut Butter Ice Cream Cake Recipe
Welcome to BakeWithEase, where we believe that creating show-stopping desserts should be fun, not frustrating! Today, we're diving into the delightful world of frozen treats with a recipe that's guaranteed to impress without requiring you to turn on your oven. Get ready to master the easy layered ice cream cake, specifically a decadent Chocolate Peanut Butter version that's perfect for any celebration or just because. This simple approach means less time stressing and more time enjoying a truly spectacular dessert.
This easy ice cream cake is built on simple layers, making it incredibly forgiving for beginners while still offering complex flavors that taste like they came from a professional bakery. We'll guide you through selecting the best ingredients, assembling your layers with precision, and adding those final touches that make it truly special. Forget complicated techniques; our goal is to show you how simple it can be to create a memorable layered ice cream cake recipe.
Why This Chocolate Peanut Butter Ice Cream Cake is Perfect for Any Occasion
No-Bake Dessert: Perfect for Summer Parties
One of the biggest advantages of this easy layered ice cream cake is that it requires absolutely no baking. This makes it an absolute lifesaver, especially during warmer months when turning on the oven can heat up your entire kitchen. Imagine preparing a stunning dessert without adding a single degree to your home's temperature! This no-bake quality also saves significant energy compared to baking a traditional cake, potentially reducing energy consumption for the dessert by 100% as the oven is not used at all.
Furthermore, the no-bake nature frees up your oven for other dishes if you're hosting a party. It's also incredibly quick to assemble, often taking less than 30 minutes of active preparation time before chilling. This efficiency is a game-changer when you're juggling multiple tasks or simply want a delicious treat without spending hours in the kitchen. It’s the definition of a simple ice cream cake that delivers on flavor and convenience.
Customizable Flavors: Adapt to Dietary Needs
While our focus here is the irresistible combination of chocolate and peanut butter, the beauty of an easy layered ice cream cake lies in its inherent adaptability. The fundamental layering technique can be applied to virtually any ice cream flavor, mix-ins, and toppings you can imagine. This allows for incredible flexibility to cater to different tastes or even specific dietary requirements with simple substitutions.
For instance, if you need a dairy-free option, you can easily swap regular ice cream for a high-quality plant-based alternative and use a vegan whipped topping. Similarly, incorporating gluten-free cookies for a crust (if you choose to add one, though this recipe is crustless) or ensuring your mix-ins are certified gluten-free makes this simple ice cream cake accessible for those with sensitivities. The core method remains the same, making it easy to create a personalized dessert masterpiece.
Impress Guests with Minimal Effort
Let's be honest: a tall, beautiful layered ice cream cake looks incredibly impressive. The distinct layers, the creamy texture, and the fun mix-ins create a visual feast that guests will talk about. What they don't need to know is how truly simple it was to put together! This recipe allows you to achieve a professional-looking result with minimal technical skill or specialized equipment.
Think about the impact: presenting a slice of this gorgeous chocolate peanut butter creation at a gathering. The combination of rich chocolate ice cream, crunchy peanut butter cups, and light whipped topping is a crowd-pleaser. It tastes complex and decadent, giving the impression of significant effort, when in reality, the assembly process is straightforward and enjoyable. It's the perfect dessert for when you want maximum impact with minimum fuss.
Essential Ingredients for Your Homemade Ice Cream Cake
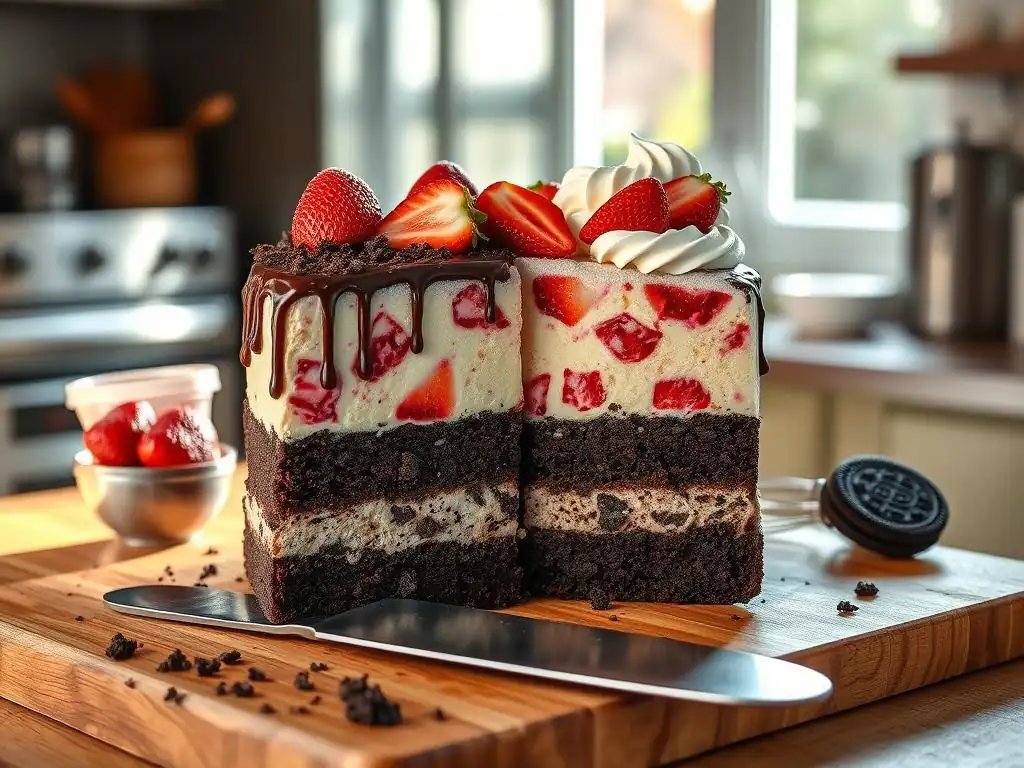
High-Quality Chocolate Ice Cream: The Foundation of Deliciousness
The quality of your chocolate ice cream is paramount, as it forms the bulk of this easy layered ice cream cake. Opt for a brand you love with a rich, deep chocolate flavor and a smooth, creamy texture. Avoid ice creams that are too icy or have artificial-tasting flavors. A premium ice cream with a higher fat content will typically result in a smoother, more decadent cake texture that holds up well when sliced.
Consider the percentage of cocoa or chocolate content if listed on the packaging; a higher percentage usually indicates a richer flavor. Some premium brands might boast upwards of 8-10% cocoa solids, contributing significantly to the depth of flavor in your simple ice cream cake. Using a high-quality base ensures that every bite of your layered creation is packed with intense chocolate goodness.
Peanut Butter Cups, Crushed: Adding Texture and Flavor
Crushed peanut butter cups are the star mix-in for this specific easy layered ice cream cake recipe. They provide delightful pockets of salty-sweet flavor and crucial textural contrast against the smooth ice cream and whipped topping. You can use standard-sized peanut butter cups or the miniature ones; about 1 to 1.5 cups of crushed pieces is a good approximation for a typical 9-inch cake, though you can adjust based on your preference for how much peanut butter goodness you want in each layer.
Crushing them doesn't need to be precise; a rough chop or even placing them in a bag and gently breaking them with a rolling pin works perfectly. The goal is bite-sized pieces that distribute well throughout the layers. Their distinct flavor profile pairs exceptionally well with chocolate, making this a classic and beloved combination for any easy ice cream cake.
Whipped Topping: The Perfect Finishing Touch
Whipped topping serves multiple purposes in this easy layered ice cream cake. It provides a light, airy contrast to the dense ice cream layers, making the overall dessert feel less heavy. It's also incredibly easy to spread smoothly over the top of the cake, creating a clean, finished look without needing frosting skills. A standard tub of frozen whipped topping, thawed according to package directions, is usually sufficient for a single cake.
Using whipped topping simplifies the process considerably compared to making homemade whipped cream, which can sometimes deflate or become unstable. The stability of pre-made whipped topping ensures your simple ice cream cake looks great and holds up well during slicing and serving. It adds a lovely visual appeal and another layer of creamy texture.
Optional: Chocolate Sauce and Peanut Butter Drizzle for Decoration
To take your easy layered ice cream cake from great to absolutely stunning, consider adding drizzles of chocolate sauce and peanut butter. These aren't strictly necessary for the structure or core flavor, but they add an extra layer of visual appeal and intensify the chocolate peanut butter theme. A good quality hot fudge or chocolate syrup works well, as does a smooth, pourable peanut butter (sometimes labeled as "drizzle" or "topping").
Approximately 1/4 to 1/2 cup of each drizzle can be used, depending on how generous you want to be with your decoration. Applying them in swirls or lines over the whipped topping creates an inviting look that hints at the flavors within. This simple decorating step elevates your homemade ice cream cake, making it look even more festive and professional with minimal effort.
Step-by-Step Guide to Assembling Your Layered Ice Cream Cake
Creating this easy layered ice cream cake is a straightforward process involving just a few simple steps. The key is working efficiently to keep the ice cream frozen between layers and ensuring each component is properly prepared. Follow these steps for a perfect result every time.
Here is a simple breakdown of the assembly process:
- Prepare your pan.
- Soften the ice cream.
- Layer ice cream and mix-ins.
- Freeze to set layers.
- Add the top layer.
- Decorate.
- Freeze thoroughly.
Let's delve into each step in detail.
Step 1: Preparing Your Springform Pan
A springform pan is highly recommended for an easy layered ice cream cake as it allows for effortless removal once the cake is frozen solid. A standard 9-inch springform pan is ideal for this recipe. To prepare it, lightly grease the bottom and sides or line the bottom with a circle of parchment paper for extra insurance against sticking.
Some bakers also like to line the sides of the pan with strips of parchment or acetate to create perfectly smooth edges, extending slightly above the rim to contain the layers. This isn't strictly necessary for a delicious simple ice cream cake, but it can make for a cleaner presentation if desired. Ensure the springform latch is securely closed before you begin layering.
Step 2: Softening the Chocolate Ice Cream for Easy Spreading
Working with rock-hard ice cream makes layering difficult and messy. You need the chocolate ice cream to be soft enough to spread evenly but not so melted that it's liquid. Take the container of ice cream out of the freezer about 10-15 minutes before you plan to use it. The exact time will vary depending on your freezer temperature and kitchen warmth.
You should be able to easily scoop and spread the ice cream with a spoon or spatula, but it should still hold its shape somewhat. If it becomes too soft, simply pop it back into the freezer for a few minutes until it reaches the right consistency. This step is crucial for creating smooth, even layers in your easy layered ice cream cake.
Step 3: Layering the Ice Cream and Peanut Butter Cups
Now for the fun part: building your easy ice cream cake layers! Start by spreading half of the softened chocolate ice cream evenly over the bottom of the prepared springform pan. Use an offset spatula or the back of a spoon to smooth it into an even layer. This first layer is the foundation of your simple ice cream cake.
Next, generously sprinkle half of your crushed peanut butter cups over the first ice cream layer. Try to distribute them relatively evenly so you get pieces in every slice. Gently press them down slightly into the ice cream. Repeat this process with the remaining half of the chocolate ice cream, spreading it carefully over the peanut butter cups, and then sprinkle the remaining crushed peanut butter cups over the top.
Step 4: Freezing Between Layers for Stability
This is a critical step for achieving clean, distinct layers in your easy layered ice cream cake. After spreading the first layer of ice cream and adding half the peanut butter cups, place the pan back into the freezer for at least 30-60 minutes, or until that layer is firm again. This prevents the next layer of ice cream from sinking into or mixing too much with the first layer.
Once the first layer is firm, you can add the second layer of ice cream and the remaining peanut butter cups. Again, return the cake to the freezer immediately after completing the second ice cream layer for another 30-60 minutes to ensure it's firm before adding the final whipped topping layer. This intermittent freezing is key to a successful layered ice cream cake recipe.
Step 5: Adding the Final Layer of Whipped Topping
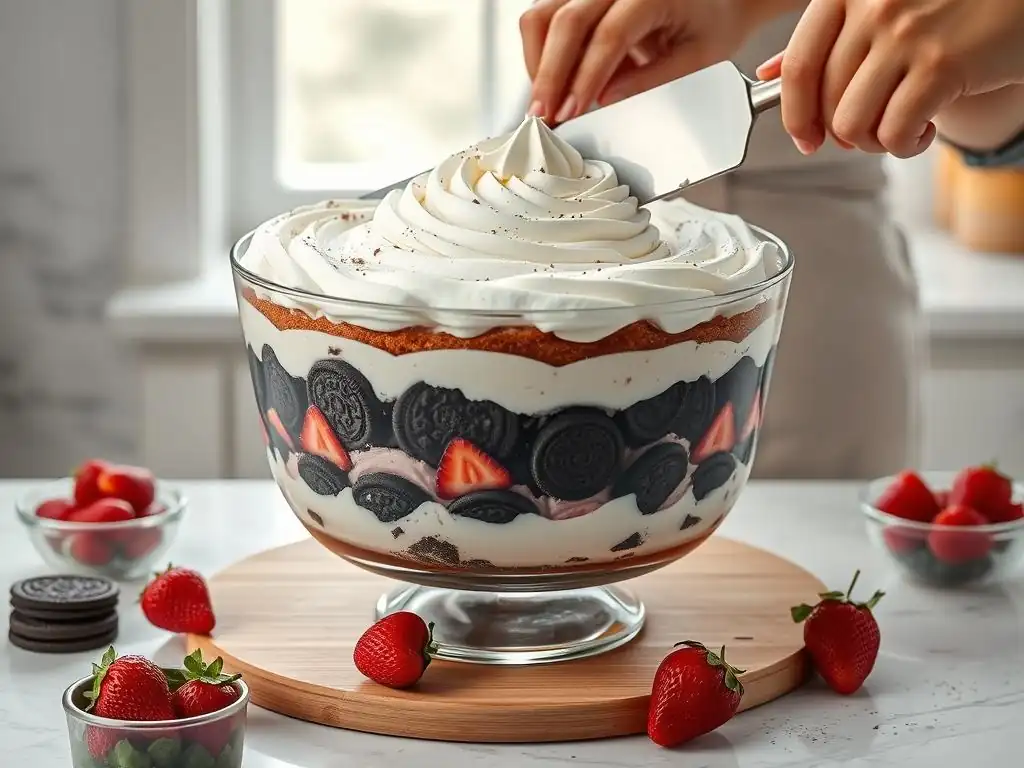
Once your ice cream layers are solid, it's time to add the final touch: the whipped topping. Thaw your whipped topping according to package instructions if using a frozen variety. Gently spoon the whipped topping over the top ice cream layer.
Using an offset spatula or the back of a spoon, carefully spread the whipped topping evenly across the entire surface of the cake, smoothing it out to the edges. You can create swirls or peaks for a more decorative look, or simply keep it smooth for a clean finish on your simple ice cream cake. Ensure the entire top surface is covered.
Step 6: Decorating Your Chocolate Peanut Butter Ice Cream Cake Masterpiece
With the whipped topping layer in place, it's time to add those optional but highly recommended drizzles of chocolate sauce and peanut butter. If using bottled sauces, you can drizzle directly from the bottle. For peanut butter, you might need to warm it slightly in the microwave for about 15-30 seconds to make it pourable.
Drizzle the chocolate sauce in a pattern of your choice over the whipped topping – think zigzags, swirls, or concentric circles. Then, repeat with the melted peanut butter. You can use a toothpick or knife to swirl the drizzles together slightly for a marbled effect if desired. This step really makes your easy layered ice cream cake look professionally made.
Step 7: Freezing for Optimal Texture and Enjoyment
After all the layers are assembled and decorated, the easy layered ice cream cake needs a final, substantial freeze to become completely solid and easy to slice. Cover the springform pan tightly with plastic wrap, ensuring it doesn't touch the whipped topping too much if you've created peaks.
Place the covered cake back into the freezer for at least 4-6 hours, but preferably overnight. Freezing it completely allows the layers to set firmly, making it easy to cut clean slices. This final freeze is crucial for the structural integrity and the perfect frozen texture of your simple ice cream cake.
Tips and Tricks for the Best Chocolate Peanut Butter Ice Cream Cake
Making a truly great easy layered ice cream cake involves more than just following the steps; a few simple tips can elevate your result from good to outstanding. Paying attention to these details will ensure your cake is not only delicious but also looks fantastic and holds up well.
Consider these helpful hints as you prepare your easy ice cream cake:
- Select the right ice cream type.
- Work quickly with frozen components.
- Master spreading techniques.
- Store it properly.
Let's expand on these valuable tips.
Choosing High-Quality Chocolate Ice Cream
As mentioned earlier, the quality of your chocolate ice cream significantly impacts the final taste and texture of your easy layered ice cream cake. Look for ice creams made with real cream and high-quality cocoa or chocolate. Reading the ingredient list can be helpful; fewer stabilizers and artificial ingredients often mean a better product.
Some premium brands contain less air churned into them, resulting in a denser, richer ice cream that holds its structure better in a layered cake. While a budget option will still yield a tasty simple ice cream cake, investing in a higher quality ice cream truly makes a difference in the overall decadence and mouthfeel of the finished dessert.
Preventing Ice Cream from Melting Too Quickly
Working with ice cream means battling the clock, especially in a warm kitchen. To prevent your ice cream from melting too quickly during assembly, have all your ingredients measured and ready before you even take the ice cream out of the freezer. Work quickly and efficiently during the layering steps.
If your kitchen is particularly warm, consider placing a baking sheet in the freezer beforehand and working on that surface to help keep things cold. Returning the cake to the freezer between layers is also non-negotiable for preventing a melted mess and ensuring a stable layered ice cream cake recipe. Keep the freezer door open for the shortest time possible!
Techniques for Smooth and Even Layers
Achieving smooth, even layers is key to the aesthetic appeal of your easy layered ice cream cake. When spreading the softened ice cream, use an offset spatula if you have one; its shape makes it easier to spread evenly to the edges of the pan without disturbing the layer below. Dip your spatula in warm water and dry it off between spreading layers if the ice cream starts to stick.
Don't overwork the ice cream once it's in the pan; spread it gently and quickly. For the whipped topping layer, take your time smoothing it out. If you desire perfectly straight sides, lining the pan with acetate strips helps create a barrier that results in sharp edges once the pan is removed from your simple ice cream cake.
Storage Tips for Maintaining Freshness
Proper storage is essential to keep your easy layered ice cream cake fresh and prevent freezer burn. Once the cake is completely frozen, remove the springform ring. If you used acetate lining, you can gently peel it away. Wrap the cake tightly in several layers of plastic wrap, followed by a layer of aluminum foil or placing it in an airtight freezer-safe container.
This double layer of protection helps prevent ice crystals from forming on the surface and keeps the cake tasting fresh. Stored correctly, a homemade ice cream cake can last in the freezer for up to 1-2 months, though for the best quality, enjoying it within the first month is recommended. Always keep it in the coldest part of your freezer.
Variations and Customizations: Elevate Your Ice Cream Cake
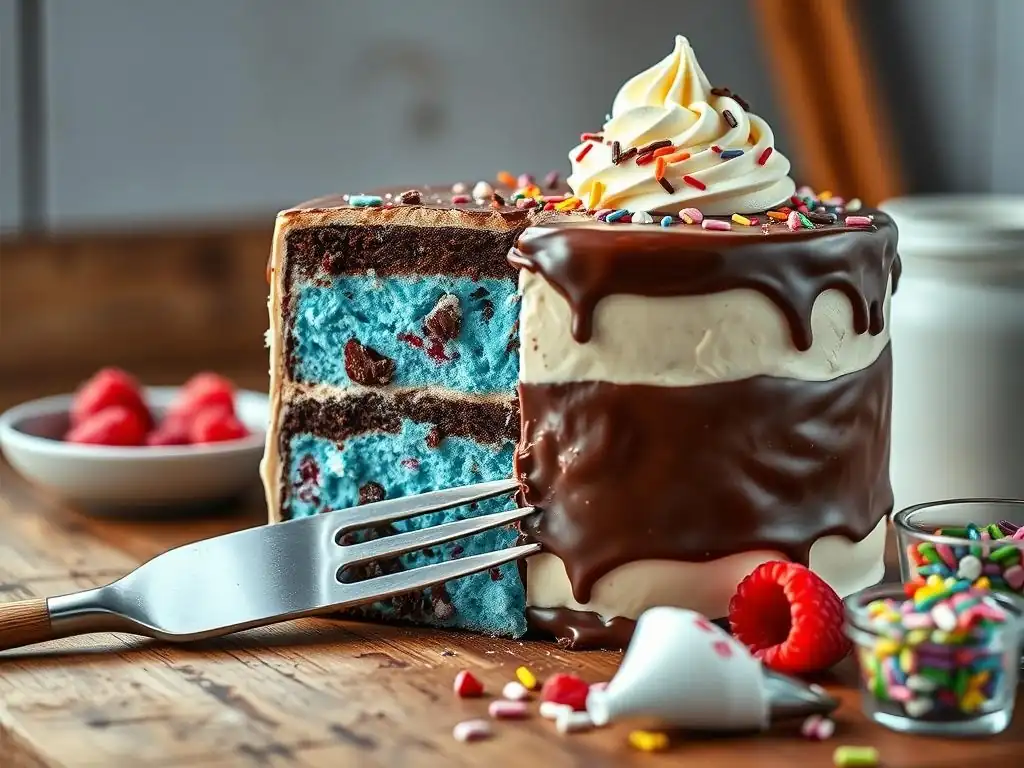
The beauty of this easy layered ice cream cake recipe is how easily you can adapt it. While chocolate and peanut butter is a winning combination, feel free to experiment with different flavors and additions to create your own unique frozen masterpiece. The core technique remains the same, making it simple to venture into new flavor territories.
Explore these exciting variations for your next easy ice cream cake:
- Go dairy-free and vegan.
- Make it gluten-friendly.
- Add a baked component.
Let's look at how you can modify the recipe.
Vegan Chocolate Peanut Butter Ice Cream Cake: A Dairy-Free Delight
Creating a vegan version of this easy layered ice cream cake is completely achievable thanks to the growing availability of plant-based products. Simply swap the standard chocolate ice cream for a dairy-free chocolate ice cream made from almond milk, oat milk, coconut milk, or soy milk. Ensure the peanut butter cups you use are vegan-friendly (some brands are, but always check the label).
Instead of traditional whipped topping, use a vegan whipped topping substitute, often found in the freezer section alongside regular whipped topping or in the dairy-free section. The assembly steps remain identical. The market for vegan desserts has seen significant growth, with plant-based ice cream sales alone reaching hundreds of millions annually in some regions, showing just how accessible and popular these alternatives are becoming.
Gluten-Free Chocolate Peanut Butter Ice Cream Cake: A Delightful Alternative
For those avoiding gluten, transforming this easy layered ice cream cake is also straightforward. The main components – ice cream, peanut butter cups, and whipped topping – are often naturally gluten-free, but it's crucial to check the labels of all ingredients to be absolutely sure, especially for the peanut butter cups and any added drizzles.
If you decide to add a crust layer (though this specific recipe omits one), use crushed gluten-free cookies or a gluten-free graham cracker substitute. Ensure your workspace and utensils are free from cross-contamination if preparing for someone with Celiac disease. This simple ice cream cake base makes it easy to accommodate dietary needs without sacrificing flavor or fun.
Add a Brownie Layer: For Extra Decadence
Want to make your easy layered ice cream cake even more indulgent? Add a layer of fudgy brownie! You can use a box mix (prepared according to instructions and cooled) or your favorite homemade brownie recipe. Bake the brownie in a pan that fits inside your springform pan, or bake it as a larger sheet and cut a circle to fit.
Once the brownie layer is completely cooled, place it at the bottom of your prepared springform pan before adding the first layer of softened chocolate ice cream. The combination of cold, creamy ice cream, crunchy peanut butter cups, and dense, chewy brownie is absolutely divine and adds another dimension of texture and flavor to your layered ice cream cake recipe. Ensure the brownie is fully cooled before adding the frozen elements.
Serving and Enjoying Your Chocolate Peanut Butter Ice Cream Cake
After all the hard work (which wasn't much for this easy layered ice cream cake! ), it's time to enjoy the fruits of your labor. Serving an ice cream cake requires a little finesse to ensure it's easy to cut and looks its best on the plate.
Here are some tips for the perfect presentation and enjoyment:
- Allow it to soften slightly before cutting.
- Choose a complementary beverage.
- Use the right cutting technique.
Let's look at the best ways to serve this simple ice cream cake.
Optimal Serving Temperature
Taking your easy layered ice cream cake directly from the deep freeze and attempting to cut it can be a challenge. For the best texture and easiest slicing, remove the cake from the freezer about 10-15 minutes before you plan to serve it. This allows the ice cream to soften just enough to be easily cut without becoming too melty.
The exact time will depend on your kitchen temperature. Watch it closely; you want it firm enough to hold its shape but soft enough that a knife glides through it with minimal resistance. A slightly softened simple ice cream cake also has a creamier, more enjoyable texture on the palate.
Pairing Suggestions: Milk or Coffee
When serving a rich dessert like this chocolate peanut butter easy layered ice cream cake, consider offering beverages that complement its intense flavors. A cold glass of milk is a classic pairing, especially for chocolate and peanut butter; its coolness and simple flavor provide a perfect contrast.
For adult guests, a cup of hot coffee or an espresso can be a wonderful accompaniment. The bitterness of the coffee cuts through the sweetness and richness of the ice cream and peanut butter, creating a balanced and sophisticated pairing. A simple ice cream cake like this pairs well with uncomplicated drinks that let its flavors shine.
Cutting and Presenting Your Ice Cream Cake
To get clean, beautiful slices of your easy layered ice cream cake, the best trick is to use a sharp knife that has been warmed. Fill a tall glass with hot water and dip your knife into it for a few seconds, then quickly wipe it dry before making each cut. Warming the blade helps it glide through the frozen layers smoothly.
Clean the knife with the hot water and dry it again between each slice to prevent dragging ice cream between cuts. Once sliced, use a sturdy spatula to lift the portions onto plates. Presenting a clean slice with visible layers of chocolate ice cream and peanut butter cups truly showcases the beauty of your homemade easy layered ice cream cake.
Make This Chocolate Peanut Butter Ice Cream Cake Today!
Frequently Asked Questions
What is an easy layered ice cream cake?
It's a dessert made by layering ice cream flavors with cookie crumbs, brownies, or other complementary textures. It requires no baking and is relatively quick to assemble.
What kind of ice cream works best for a layered ice cream cake?
Any ice cream flavor you enjoy works! Consider contrasting flavors and textures like vanilla with chocolate or cookies and cream with strawberry. Softened ice cream is easier to spread.
You can use crushed Oreo cookies, brownie pieces, graham crackers, fudge sauce, or even a thin layer of hot fudge. Get creative with your flavor combinations!
How long does a layered ice cream cake need to freeze?
It should freeze for at least 4 hours or preferably overnight to ensure the layers are firm and the cake holds its shape. This prevents melting upon serving.
How can I easily cut and serve a layered ice cream cake?
Let the cake sit at room temperature for a few minutes before cutting. Use a warm knife dipped in hot water between slices for clean, easy cuts.
Final Reflection: The Sweet Simplicity of Layered Joy
The art of creating a delicious layered ice cream cake isn't just about assembling ingredients; it's about crafting a moment of pure, unadulterated joy. In a world often filled with complicated recipes and time-consuming processes, the simplicity of this dessert stands as a refreshing beacon, proving that extraordinary experiences can arise from the most straightforward methods. This ease of creation makes it accessible to everyone, regardless of baking skill, allowing for spontaneous celebrations and moments of sweet indulgence.
The enduring appeal of layered desserts, and ice cream cakes in particular, lies in their inherent adaptability and the sheer delight they bring. They represent a canvas for creativity, allowing for personalized flavor combinations and decorative flourishes. The act of layering itself becomes a meditative process, a mindful construction of flavor and texture. As the great Julia Child once said, Find something you're passionate about and keep tremendously interested in it.
And for many, that passion is found in the simple pleasure of creating and sharing a delicious ice cream cake.
Now, consider your own kitchen. Imagine the possibilities: a spontaneous birthday celebration, a comforting treat after a long day, or a delightful surprise for a loved one. This isn't just a recipe; it's a gateway to creating memories, fostering connections, and experiencing the simple joy of deliciousness. So, gather your favorite ice cream flavors, your favorite toppings, and embrace the sweet simplicity of layering your way to dessert glory. Let the creation process be as enjoyable as the final product, and savor each delicious bite.
Unlock Your Inner Pastry Chef: Make This Ice Cream Cake!
Thanks for joining us on this delicious journey into ice cream cake creation! We hope you've gained some fun and inspiring ideas for your next dessert masterpiece. Ready to take the plunge?
- BakeWithEase's Challenge: Try your hand at this recipe today – even a simple variation will be a triumph! Share a photo of your creation on social media using #BakeWithEaseIceCreamCake for a chance to be featured!
- Explore our other no-bake dessert recipes: We’ve got plenty more easy treats waiting for you on our website.
- Leave a comment: Let us know what flavour combinations you’re planning on making your own!
What inventive flavor combinations will you unleash in your next ice cream cake creation?