
Foolproof Simple Vanilla Sponge Cake for Beginners

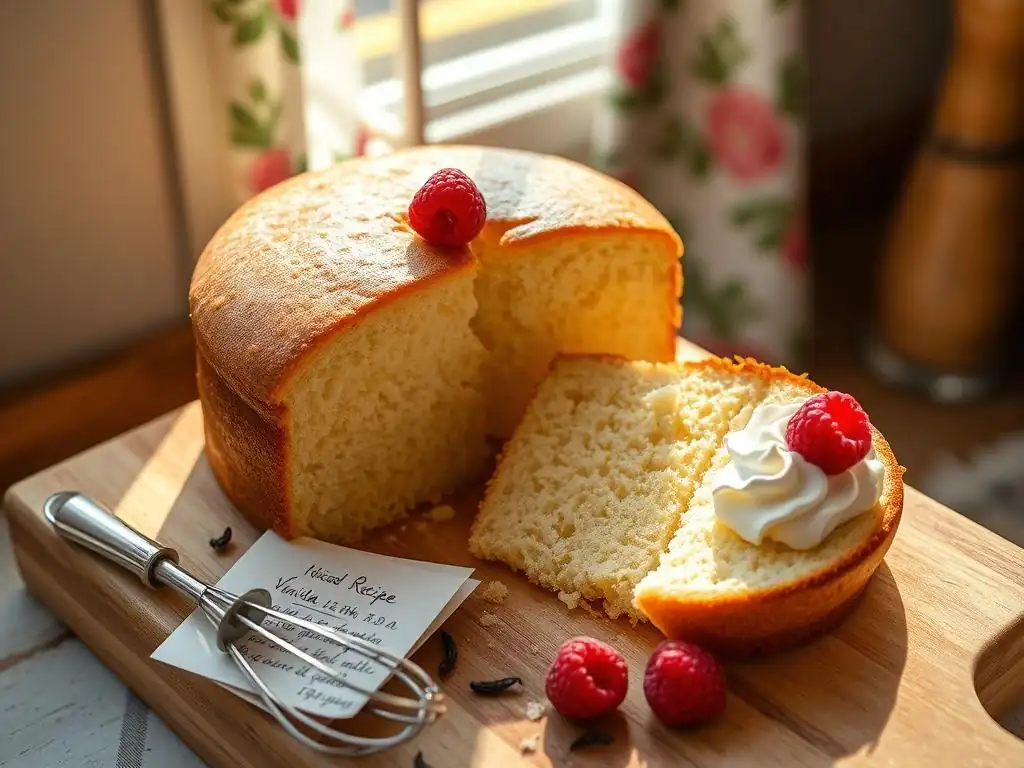
Welcome to BakeWithEase, your guide to unlocking the sweet secrets of baking!
Ever dream of creating a light and airy vanilla sponge cake that's truly foolproof? You're in the right place! Discover our simple and delicious recipe, perfect for beginners, and start your baking journey with confidence. Intrigued? Keep reading to uncover the tips and tricks that will guarantee a perfect bake, every single time.
- Bake a Perfect Victoria Sponge Cake: An Easy Recipe
- Why This Victoria Sponge Cake Recipe is Reliable
-
Victoria Sponge Cake Recipe: Step-by-Step Instructions
- Step 1: Preparing Your Baking Pans
- Step 2: Creaming Butter and Sugar [Measurements and Tips]
- Step 3: Adding Eggs and Vanilla Extract [Technique]
- Step 4: Combining Dry Ingredients [Preventing Lumps]
- Step 5: Baking Your Victoria Sponge Cake [Oven Temperature and Timing]
- Step 6: Cooling Your Sponge Cake
- Essential Tips for a Victoria Sponge Cake
- Variations on the Victoria Sponge Cake Recipe
- Serving and Storing Your Homemade Victoria Sponge Cake
- Building Baking Confidence
-
Frequently Asked Questions
- How truly foolproof is this vanilla sponge cake recipe?
- What are the key ingredients that make this vanilla sponge cake successful?
- Can I substitute any ingredients in this recipe, and if so, what are my options?
- What baking equipment is absolutely essential for making this sponge cake?
- How do I prevent my vanilla sponge cake from being dry or dense?
- Final Reflection: The Joy of Baking Made Simple
- Unleash Your Inner Baker: Bake Your First Perfect Sponge Cake!
Bake a Perfect Victoria Sponge Cake: An Easy Recipe
Welcome to the wonderful world of baking! If you're just starting out or looking for a reliable classic, the Victoria Sponge Cake is your perfect companion. This iconic cake, traditionally filled with jam and cream, is not only delicious but also surprisingly simple to master. Our aim is to provide you with a foolproof vanilla sponge cake recipe that guarantees a light, fluffy result every time, even if you've never baked before.
Forget complicated techniques and intimidating ingredient lists. This easy sponge cake recipe focuses on clear steps and common ingredients, making it accessible for any beginner baker. By following our straightforward instructions and helpful tips, you'll be able to confidently bake a beautiful sponge cake that tastes as good as it looks. Get ready to impress yourself and your loved ones with your newfound baking skills!
Why This Victoria Sponge Cake Recipe is Reliable
This particular foolproof vanilla sponge cake recipe is designed with simplicity and consistency in mind. It relies on the classic creaming method, which is fundamental in baking and provides a stable base for a light texture. By focusing on precise measurements and gentle handling of the batter, we minimize common pitfalls that can lead to dense or uneven cakes, making it genuinely reliable for beginners.
Furthermore, the recipe is structured to guide you through each step logically, building your confidence as you go. We highlight the 'why' behind certain techniques, like sifting or mixing methods, helping you understand the process rather than just following instructions blindly. This educational approach ensures that you're not just baking a cake, but learning the principles that make this foolproof vanilla sponge cake recipe work so well.
The Secret to a Light and Airy Victoria Sponge Cake
The key to achieving that coveted light and airy texture in a Victoria Sponge Cake lies primarily in two stages: creaming the butter and sugar, and gently incorporating the dry ingredients. When you cream softened butter with sugar, you're not just mixing them; you're trapping tiny air bubbles within the mixture. As the cake bakes, these air bubbles expand, helping the cake rise and creating a tender, open crumb structure. Beating until the mixture is pale and fluffy is crucial for maximizing this initial aeration.
Following the creaming, the method for adding dry ingredients is equally important. Overmixing flour once it's added develops gluten, which is desirable in bread but makes cakes tough and dense. The secret here is gentle folding. Sifting the flour and baking powder beforehand helps distribute the leavening evenly and prevents lumps. Then, carefully folding it into the wet ingredients just until combined ensures those precious air bubbles aren't knocked out and the gluten isn't overworked, resulting in a wonderfully light and airy sponge. This careful balance is what makes this a truly foolproof vanilla sponge cake recipe.
Key Ingredients for a Delicious Victoria Sponge Cake
Using the right ingredients, and having them prepared correctly, is fundamental to the success of any foolproof vanilla sponge cake recipe. You'll need softened unsalted butter, which creams beautifully with sugar to create that airy base. Caster sugar (superfine sugar) is preferred as its smaller crystals dissolve more easily, leading to a smoother batter and finer crumb than granulated sugar. Large eggs, preferably at room temperature, are essential for emulsifying the mixture and contributing to richness and structure.
For the dry ingredients, self-raising flour is common, containing both flour and leavening. If using plain flour, you'll need to add baking powder – typically about 1-2 teaspoons per 100g of flour – to ensure adequate rise. Good quality vanilla extract is non-negotiable; it provides the signature flavour. Ensure your baking powder isn't expired; fresh leavening is critical for a good rise. Using these standard, quality ingredients is the first step to a delicious and reliable sponge cake.
Victoria Sponge Cake Recipe: Step-by-Step Instructions
Step 1: Preparing Your Baking Pans
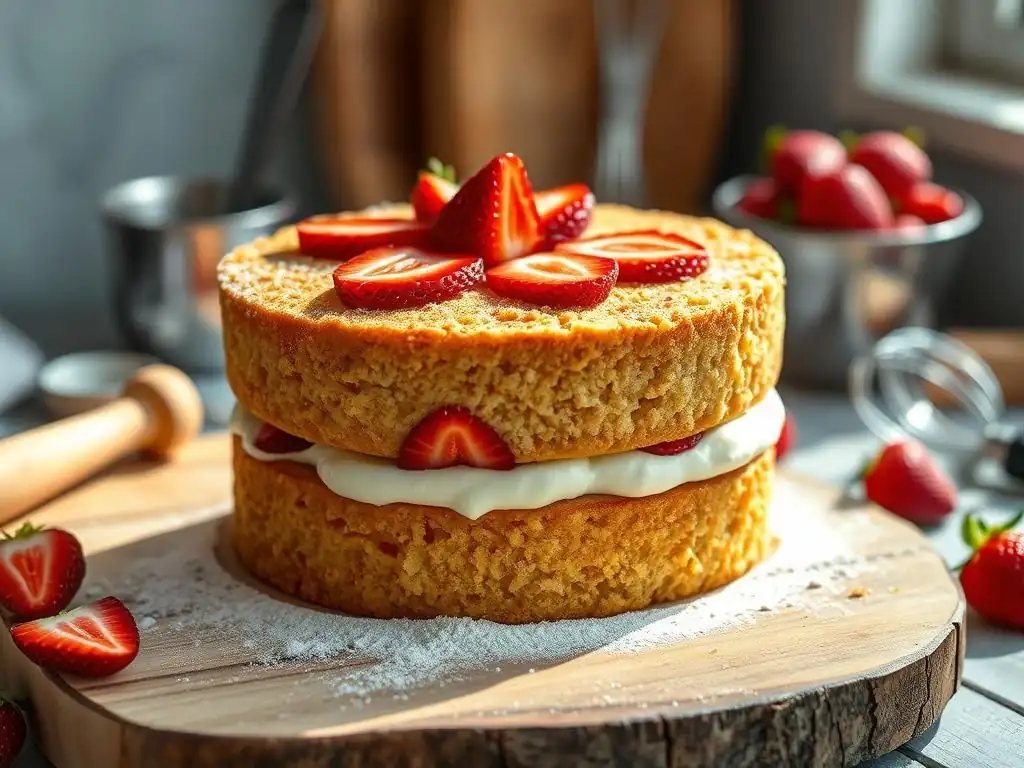
Proper pan preparation is a vital first step in this foolproof vanilla sponge cake recipe to prevent sticking and ensure your cakes release cleanly. Begin by greasing your baking pans generously with butter or a non-stick baking spray. Make sure to get into all the corners and up the sides. This initial layer of grease provides a barrier between the batter and the pan surface.
Next, line the bottom of each greased pan with parchment paper (also known as baking paper). You can trace the bottom of the pan onto the paper and cut out a circle. Press the parchment circle firmly onto the greased bottom. Some bakers also like to grease the parchment paper itself for extra security, though it's often not strictly necessary if the pan was well-greased initially. For a standard Victoria Sponge, two 8-inch (approx. 20cm) round pans are typical. Proper preparation ensures your beautiful sponge layers don't stick!
Step 2: Creaming Butter and Sugar [Measurements and Tips]
The creaming method starts with combining softened butter and sugar. For a standard recipe using two 8-inch pans, you'll typically use around 200g of softened unsalted butter and 200g of caster sugar. Ensure your butter is truly softened – it should be pliable enough to make a slight indentation when pressed, but not melted or greasy. Cold butter won't cream properly, and melted butter will ruin the texture.
Place the softened butter and caster sugar in a large mixing bowl. Using an electric mixer (or a wooden spoon and plenty of elbow grease! ), beat the mixture together until it becomes pale yellow, light, and fluffy. This process can take 5-10 minutes with an electric mixer. You're essentially beating air into the mixture, which is crucial for the cake's rise and texture. Scrape down the sides of the bowl occasionally to ensure everything is evenly combined. This well-creamed base is foundational to a successful and foolproof vanilla sponge cake recipe.
Step 3: Adding Eggs and Vanilla Extract [Technique]
Once your butter and sugar are light and fluffy, it's time to incorporate the eggs. For the quantities mentioned earlier (around 200g butter/sugar), you'll typically need 4 large eggs. It's best to add the eggs one at a time, beating well after each addition until it is fully incorporated before adding the next. This gradual approach helps prevent the mixture from curdling, which can happen if too much liquid is added at once.
After the eggs are incorporated, stir in the vanilla extract. About 1-2 teaspoons is usually sufficient to infuse the cake with lovely vanilla flavor without being overpowering. Mix just until the vanilla is distributed. If the mixture looks slightly curdled despite adding eggs gradually, don't worry too much; adding the dry ingredients in the next step will often bring it back together. The key is to ensure each egg is fully mixed in before adding the next.
Step 4: Combining Dry Ingredients [Preventing Lumps]
With the wet ingredients combined, it's time to add the dry components. For a recipe using around 200g flour, you'll sift the flour (either self-raising or plain with added baking powder) directly over the wet mixture in the bowl. Sifting helps aerate the flour further, removes any small lumps, and ensures the leavening agent (if added separately) is evenly distributed throughout the flour, leading to a more even rise.
Now comes the crucial part: combining the dry and wet ingredients gently. Use a large metal spoon or a spatula and employ a folding motion. Cut down into the center of the mixture, scoop up the mixture from the bottom, and fold it over the top. Rotate the bowl as you fold.
Continue folding just until no dry streaks of flour are visible. Avoid vigorous stirring or beating, as this develops gluten and will result in a tough cake. A few small lumps of flour are better than an overmixed batter. This gentle handling is key to keeping the batter light for a foolproof vanilla sponge cake recipe.
Step 5: Baking Your Victoria Sponge Cake [Oven Temperature and Timing]
Preheating your oven is essential for successful baking; ensure it's at the correct temperature before you put the cakes in. A common temperature for Victoria Sponge is around 180°C (350°F) or 160°C (320°F) for fan/convection ovens. Divide the batter evenly between your two prepared baking pans. Gently smooth the tops with a spatula, or make a slight dip in the center – sometimes this helps the cake rise more evenly with less of a dome.
Carefully place the pans in the preheated oven, typically on a middle shelf. The baking time for 8-inch cakes is usually between 20 and 25 minutes, but this can vary depending on your oven. Don't open the oven door during the first 15-20 minutes, as the sudden temperature change can cause the cakes to sink. Look for visual cues: the cakes should be golden brown, have pulled away slightly from the sides of the pan, and spring back gently when lightly pressed in the center.
Step 6: Cooling Your Sponge Cake
Once your Victoria Sponge cakes are beautifully baked and pass the doneness test (more on that soon! ), carefully remove them from the oven. Leave the cakes in their pans for about 5-10 minutes. This initial cooling period in the pan allows the cakes to firm up slightly, making them less fragile to handle when you transfer them. Trying to move them too soon can cause them to break or collapse.
After the initial cooling period, invert the pans onto a wire cooling rack. The cakes should slide out easily thanks to your careful pan preparation. Gently peel off the parchment paper from the bottoms. Allow the cakes to cool completely on the wire rack before attempting to fill or decorate them. Cooling racks allow air to circulate around the entire cake, preventing the bottom from becoming soggy and ensuring even cooling throughout. Patience during the cooling process is vital for assembling your perfect foolproof vanilla sponge cake recipe creation.
Essential Tips for a Victoria Sponge Cake
Measuring Ingredients Accurately
Accurate measurement is perhaps the single most important factor in ensuring this foolproof vanilla sponge cake recipe works perfectly every time. Unlike some recipes where you can be a bit flexible, baking is a science, and the ratios of ingredients are carefully balanced. Using kitchen scales to weigh your flour, sugar, and butter is significantly more accurate than using volume measures like cups, as density can vary. For example, a cup of flour can weigh differently depending on how packed it is.
For smaller quantities like baking powder and vanilla extract, use proper measuring spoons rather than standard cutlery spoons. Level off dry ingredients in measuring spoons with a straight edge. Precision in measurement ensures the correct chemical reactions occur during baking, the texture is just right, and the cake rises as expected. Think of it as following a scientific formula – small deviations can lead to big differences in the final result of your easy sponge cake.
Importance of Room Temperature Ingredients
Using room temperature ingredients, especially butter and eggs, is crucial for a successful sponge cake. Softened butter creams much more effectively with sugar, incorporating significantly more air than cold, hard butter. This aeration is vital for the cake's light texture and rise. If your butter is too cold, your creamed mixture will be lumpy and dense, and the resulting cake will likely be heavy.
Similarly, room temperature eggs emulsify better with the creamed butter and sugar mixture. They integrate more smoothly into the batter, creating a uniform consistency. Cold eggs can cause the mixture to curdle, affecting the final texture of the cake. Planning ahead to take your butter and eggs out of the refrigerator about 30-60 minutes before you start baking (or using gentle warming methods if you're short on time) is a simple step that makes a big difference in this foolproof vanilla sponge cake recipe.
Avoiding Overmixing
Once you add the dry ingredients to the wet mixture, the goal is to combine them with minimum fuss. Overmixing the batter after the flour has been added develops gluten, the protein structure that gives bread its chewiness. While great for bread, too much gluten in a cake results in a tough, dense texture rather than the desired light and tender crumb of a classic Victoria Sponge.
Use a gentle folding technique with a spatula or large spoon, cutting through the batter and folding it over, rotating the bowl as you go. Mix only until you no longer see streaks of dry flour. It's perfectly acceptable to have a few tiny lumps of flour remaining – these will usually disappear during baking. The batter should look just combined, not smooth and elastic like bread dough. Mastering this gentle folding is a key skill in creating a truly light easy sponge cake.
Checking for Doneness: The Skewer Test
Knowing exactly when your sponge cake is baked through is essential to prevent it from being undercooked (soggy center) or overcooked (dry). The most reliable method is the skewer test. Towards the end of the estimated baking time (e.g., around the 20-minute mark for 8-inch cakes), gently open the oven door and insert a thin skewer or toothpick into the very center of one of the cakes.
Carefully withdraw the skewer. If it comes out clean, with no wet batter attached, your cake is done. If there are wet crumbs or batter sticking to the skewer, the cake needs more time. Check again every few minutes until the skewer comes out clean. A few dry crumbs clinging to the skewer are fine, but wet batter means it needs longer. This simple test ensures your easy sponge cake is perfectly baked through.
Troubleshooting Common Sponge Cake Issues
Even with a foolproof vanilla sponge cake recipe, sometimes things don't go exactly as planned, especially when you're new to baking. A common issue is a cake with a sunken center. This is often caused by opening the oven door too early, the oven temperature being too low, expired leavening agent, or overmixing the batter. Ensure your oven is accurately preheated, resist opening the door until near the end of baking, check your baking powder's date, and practice gentle folding.
Another frequent problem is a dense or heavy texture. This usually points back to either not creaming the butter and sugar enough to incorporate sufficient air, or overmixing the batter once the flour is added, developing too much gluten. Ensure your butter is soft, cream until truly pale and fluffy, and fold the dry ingredients gently. If your cake is dry, it was likely overbaked; use the skewer test and check slightly earlier next time. Patience and practice with this easy sponge cake recipe will help you avoid these issues.
Variations on the Victoria Sponge Cake Recipe
Lemon Victoria Sponge Cake
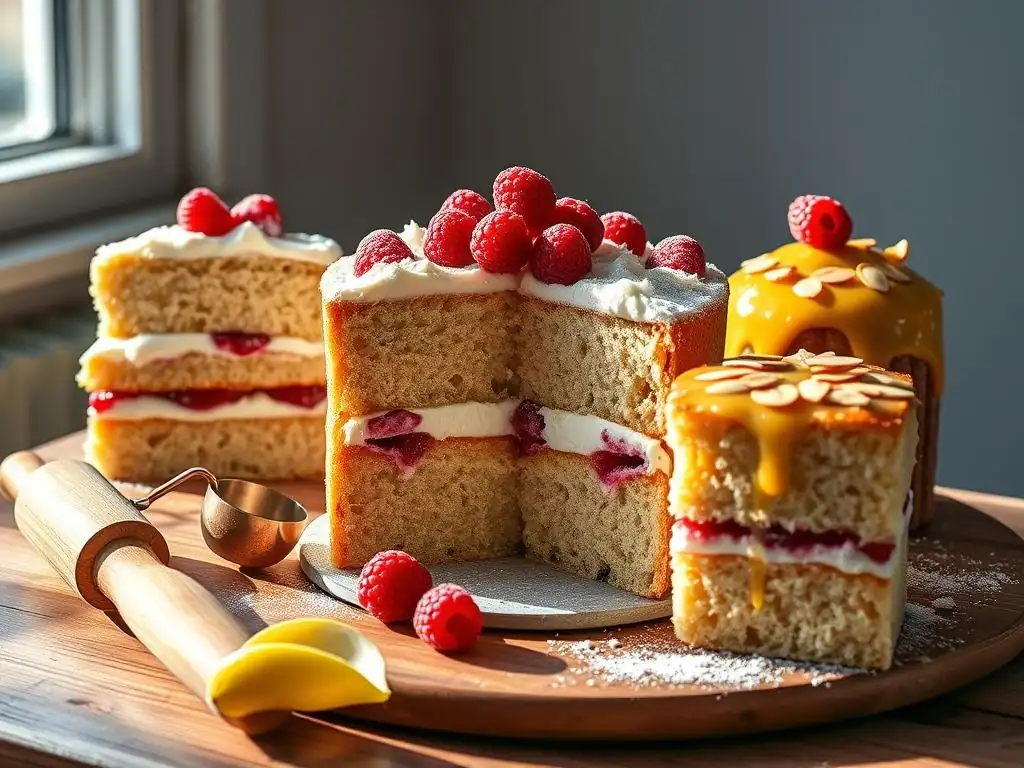
Adding citrus is a wonderful way to brighten up this classic foolproof vanilla sponge cake recipe. To make a Lemon Victoria Sponge, simply add the finely grated zest of 1-2 lemons to the butter and sugar mixture during the creaming stage. The oils in the zest infuse beautifully into the fat, distributing the lemon flavor throughout the cake.
For an extra burst of lemon, you can also add a tablespoon or two of fresh lemon juice to the batter along with the eggs and vanilla. Be mindful that adding liquid can sometimes slightly affect the texture, so ensure your other measurements are precise. Fill the cake with lemon curd and whipped cream for a truly vibrant and refreshing treat.
Chocolate Victoria Sponge Cake
Transforming this vanilla base into a Chocolate Victoria Sponge is quite simple. The most common method is to replace a small amount of the flour with unsweetened cocoa powder. For instance, if your recipe calls for 200g flour, you might use 170g flour and 30g good quality cocoa powder. Sift the cocoa powder along with the flour and baking powder to avoid lumps.
The process for creaming butter and sugar, adding eggs, and gentle folding remains the same. The resulting cake will have a lovely cocoa flavour and a slightly darker crumb. This variation of the easy sponge cake pairs wonderfully with chocolate buttercream, fresh raspberries, or even a simple dusting of icing sugar.
Raspberry Victoria Sponge Cake
While the classic Victoria Sponge filling involves raspberry jam, you can also incorporate raspberries into the cake itself. For a simple addition, you can gently fold a handful of fresh raspberries (perhaps 100-150g) into the batter just before dividing it into the pans. Be very gentle to avoid crushing the delicate berries.
Baking with fresh fruit can sometimes introduce extra moisture, so the baking time might be slightly longer. Ensure you still use the skewer test, aiming to insert it between berries. A Raspberry Victoria Sponge is delightful filled with whipped cream and more fresh raspberries, enhancing that lovely pairing of vanilla, cream, and tart fruit that makes the classic so beloved.
Serving and Storing Your Homemade Victoria Sponge Cake
Ideas for Filling and Decorating
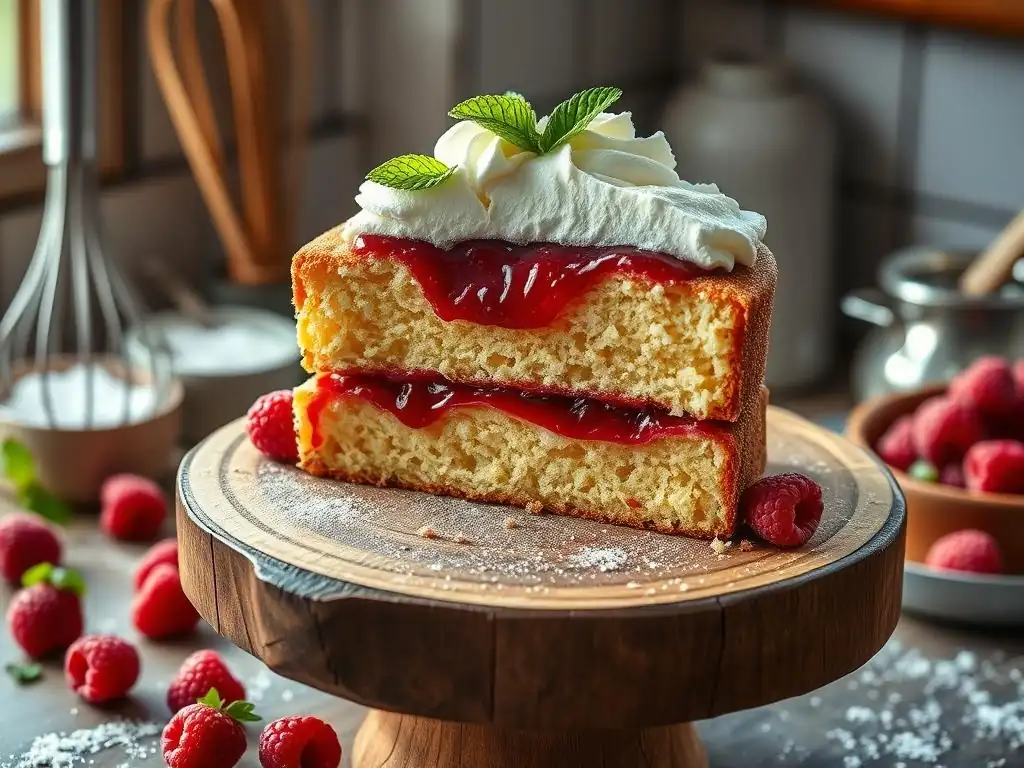
The beauty of this foolproof vanilla sponge cake recipe is its versatility when it comes to filling and decoration. The absolute classic Victoria Sponge features a layer of good quality raspberry jam and a generous layer of freshly whipped cream sandwiched between the two sponge layers. Ensure the cream is whipped to firm peaks but not overwhipped.
Beyond the classic, the possibilities are endless. You could use buttercream (simply butter and icing sugar beaten together, perhaps with a little vanilla or milk) instead of whipped cream, or a combination of buttercream and jam. Lemon curd, chocolate ganache, or fresh berries like strawberries and raspberries are also popular and delicious filling options for your easy sponge cake. A simple dusting of icing sugar over the top is the traditional decoration, though you could also spread buttercream or add fresh fruit.
Storing Your Victoria Sponge Cake
A Victoria Sponge Cake is best enjoyed on the day it's made when the sponge is at its freshest and the cream is perfectly whipped. However, if you need to store it, it's generally best to store the unfilled sponge layers separately from the filling. Wrap the cooled sponge layers tightly in plastic wrap to prevent them from drying out.
Store the wrapped sponge layers at cool room temperature for up to 2-3 days. Whipped cream filling should be stored in the refrigerator in an airtight container. Assemble the cake just before serving for the best texture and food safety, especially with fresh cream. If the cake is already assembled with fresh cream, it must be stored in the refrigerator and is best eaten within 1-2 days.
Freezing Your Sponge Cake
One great way to get ahead or save leftover sponge layers from your foolproof vanilla sponge cake recipe is to freeze them. Ensure the cake layers are completely cooled. Wrap each layer individually and tightly in plastic wrap, then add a layer of aluminum foil or place the wrapped layers in a freezer-safe bag or container.
Properly wrapped sponge cake layers can be frozen for up to 2-3 months. To thaw, simply remove the layers from the freezer and leave them wrapped at room temperature for a few hours until completely defrosted. Once thawed, they are ready to be filled and decorated as usual. Freezing is a fantastic option if you bake ahead or find yourself with extra cake!
Building Baking Confidence
From Beginner to Baker
Congratulations! By successfully baking this foolproof vanilla sponge cake recipe, you've taken a significant step on your baking journey. This classic cake is a cornerstone for many other baking adventures. You've practiced fundamental techniques like creaming, folding, and judging doneness, skills that are transferable to countless other recipes.
Don't be discouraged if your first attempt isn't absolutely perfect. Baking is a skill that improves with practice. Each cake you bake, whether it's this easy sponge cake again or something new, will teach you more about ingredients, techniques, and how your own oven behaves. Embrace the learning process, and celebrate your successes – you are well on your way from beginner to confident baker!
More Easy Cake Recipes
Now that you've mastered this foolproof vanilla sponge cake recipe, you might be wondering what to bake next. The principles you've learned here apply to many other simple cakes. Consider trying a simple loaf cake, muffins, or cupcakes, many of which also use the creaming method or similarly straightforward techniques.
Our website is filled with easy-to-follow recipes designed for bakers of all levels. Look for other beginner-friendly cakes like basic chocolate cake, lemon drizzle cake, or even simple traybakes. Each new recipe is an opportunity to build upon the skills you've gained with this easy sponge cake and expand your baking repertoire. Happy baking!
Frequently Asked Questions
How truly foolproof is this vanilla sponge cake recipe?
This recipe is designed to be beginner-friendly with clear instructions and common ingredients. We focus on simple techniques to minimize common baking errors and ensure a light and airy sponge.
What are the key ingredients that make this vanilla sponge cake successful?
The recipe relies on accurate measurements of flour, sugar, and eggs. Using room temperature eggs is also crucial for proper emulsification and volume in the cake.
Can I substitute any ingredients in this recipe, and if so, what are my options?
While we recommend sticking to the recipe for best results, you can try gluten-free flour blends or dairy-free milk alternatives. However, these substitutions may slightly alter the texture.
What baking equipment is absolutely essential for making this sponge cake?
You'll need a mixing bowl, a whisk or electric mixer, a measuring cup and spoons, and a round cake pan. Parchment paper is also highly recommended for easy removal.
How do I prevent my vanilla sponge cake from being dry or dense?
Avoid overmixing the batter, which can develop gluten and lead to a tough cake. Also, be careful not to overbake the cake; use a toothpick to test for doneness.
Final Reflection: The Joy of Baking Made Simple
Baking is an art that transcends generations, and the foolproof vanilla sponge cake recipe serves as a gateway for beginners to explore this delightful craft. In a world where convenience often overshadows tradition, the ability to create something as timeless as a vanilla sponge cake brings a sense of accomplishment and joy. This simple recipe not only demystifies the baking process but also empowers individuals to embrace their culinary creativity, reminding us that everyone can create delicious moments in their own kitchen.
The influence of baking extends far beyond the kitchen; it fosters connection, nurtures creativity, and creates lasting memories. As we gather around the table to share a slice of cake, we are reminded of the warmth and love that home-baked goods bring into our lives. Baking is both an art and a science, and it has the power to bring people together.
This sentiment resonates deeply, as the act of baking often transforms a solitary task into a communal experience, bridging gaps between generations and cultures.
As you reflect on the lessons of this article, I invite you to take a moment to consider how you can incorporate the joy of baking into your life. Whether you are a seasoned baker or just starting out, remember that every cake begins with a simple recipe. Embrace the process, experiment with flavors, and share your creations with loved ones. Let the humble vanilla sponge cake be your starting point, inspiring you to explore the endless possibilities that await in the world of baking.
Unleash Your Inner Baker: Bake Your First Perfect Sponge Cake!
Thanks for taking the time to explore the world of baking with us! We hope you’ve gained the confidence to tackle even the simplest of cakes. Now, let's put that knowledge into action:
- Bake your own vanilla sponge today! Grab those ingredients and follow the recipe – you'll be amazed at how easy it is.
- Share your baking journey! Post a picture of your creation on social media and tag us @BakeWithEase – we'd love to see it!
- Explore more beginner-friendly recipes on our website for even more baking inspiration!
What delicious variations of this vanilla sponge will you create next?