
Easy Guide to Pie Weights: Why You Need Them

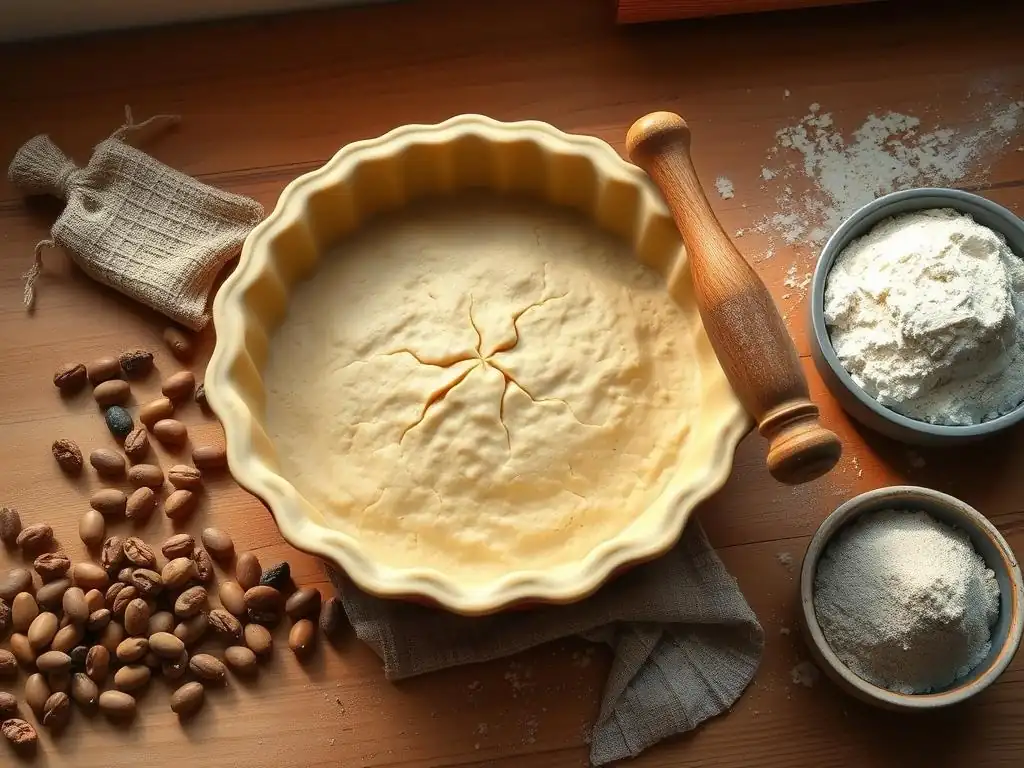
Welcome to BakeWithEase, where baking becomes a joy, not a chore! Ever wondered how to achieve that perfectly crisp, evenly baked sourdough pie crust? The secret might just be simpler than you think. This week, we're diving deep into the often-overlooked, yet essential, world of pie weights for sourdough crust. Discover how these little gems can transform your baking and banish soggy bottoms forever. Ready to unlock the secret to perfect pie crusts?
- Easy Guide to Pie Weights: Why You Need Them for Perfect Pie Crusts
- Understanding Pie Weights: Achieving the Perfect Pie Crust
- Preventing Soggy Bottoms and Warped Crusts: The Role of Pie Weights
- Types of Pie Weights: Choosing the Right Option for You
- How to Use Pie Weights: A Step-by-Step Guide
- Blind Baking: A Detailed Explanation
- Caring for Your Pie Weights: Maintaining Longevity
- Beyond Fruit Pies: Other Uses for Pie Weights
- Achieving Baking Perfection: Pie Weights and Beyond
-
Frequently Asked Questions
- What are pie weights and why are they important when making sourdough pie crust?
- Can I use something else if I don't have pie weights?
- How do I use pie weights with my sourdough pie crust?
- Do I need to pre-bake my sourdough pie crust even if I'm using a filling that requires baking?
- Where can I buy pie weights?
- Final Reflection: The Humble Pie Weight: A Baker's Unsung Hero
- Unleash Your Inner Pie Master!
Easy Guide to Pie Weights: Why You Need Them for Perfect Pie Crusts
Understanding Pie Weights: Achieving the Perfect Pie Crust
What are Pie Weights and Their Purpose?
Pie weights are small, oven-safe objects used during the process of blind baking a pie crust. Their primary purpose is to provide ballast, applying gentle pressure to the raw pastry dough as it bakes. This pressure prevents the dough from bubbling up from the bottom or shrinking and slumping down the sides of the pie plate. Think of them as essential anchors holding your delicate pastry in place against the forces of heat and steam.
When you blind bake, you are pre-baking the crust before adding a filling. This is crucial for pies with wet fillings, like many fruit pies, or those with no-bake fillings, such as cream or pudding pies. Without the stabilizing effect of pie weights, the crust would likely warp, shrink significantly, or develop large, uneven bubbles, resulting in a misshapen and potentially unusable base for your pie. Using pie weights ensures a flat, even bottom and stable sides, creating a perfect vessel for your delicious filling.
Why Pie Weights are Essential for Preventing Soggy Crusts
One of the most common baking disappointments is a soggy pie crust bottom, especially when dealing with juicy fillings like berries or a rich custard. This happens because the moisture from the filling seeps into the underbaked pastry before it has a chance to set and crisp up. Blind baking the crust provides it with a head start, allowing it to firm up and partially brown, creating a barrier against moisture.
Pie weights are essential in this process because they ensure the entire bottom surface of the crust makes even contact with the hot pie plate. This promotes uniform heat transfer, allowing the bottom crust to bake through properly. Without the weights, certain areas might lift, remaining pale and undercooked, which are prime spots for sogginess once the filling is added. Using pie weights for sourdough crust, for instance, helps manage the unique structure of sourdough pastry, ensuring it achieves a sturdy, moisture-resistant base crucial for a successful bake.
Preventing Soggy Bottoms and Warped Crusts: The Role of Pie Weights
Avoiding Shrinkage in Your Pie Crust
Pie crust dough, particularly those rich in butter or other fats, has a tendency to shrink as it bakes. This occurs because the fat melts and moisture evaporates, causing the gluten structure (if present) to contract and gravity to pull the dough down the sides of the pie plate. This can result in a crust that doesn't reach the rim of the plate, leaving an unattractive gap, or worse, one that pulls away from the sides entirely.
Pie weights counteract this shrinkage by physically holding the dough against the sides and bottom of the pan. When you fill the lined crust completely with weights, they exert enough pressure to keep the dough anchored as it sets during the initial stages of baking. This is particularly important for recipes where aesthetics matter, ensuring your lattice top or decorative edge sits perfectly on the rim of a full-sized crust, whether it's a classic shortcrust or a robust sourdough pie crust.
Preventing Bubbling and Uneven Baking with Pie Weights
During baking, the heat of the oven turns the moisture within the pie dough into steam. If this steam is trapped, it can cause large, unsightly bubbles to form in the bottom of the crust. These bubbles create an uneven surface, making it difficult to pour in filling and resulting in a pie with an inconsistent texture. Furthermore, areas that bubble up won't be in direct contact with the hot pie plate, leading to uneven baking and pale spots alongside potentially burned areas.
Pie weights provide an even layer of pressure across the entire surface of the crust bottom. This pressure helps to suppress the formation of large steam bubbles, forcing the steam to escape through the small pricks (docking) made in the dough or along the edges. By keeping the crust flat and in contact with the pan, weights ensure uniform heat distribution. This leads to a crust that bakes evenly across the bottom, developing a consistent color and texture, essential for any pie, including those made with specialized doughs like pie weights for sourdough crust preparations.
Types of Pie Weights: Choosing the Right Option for You
Ceramic Pie Weights: Pros and Cons
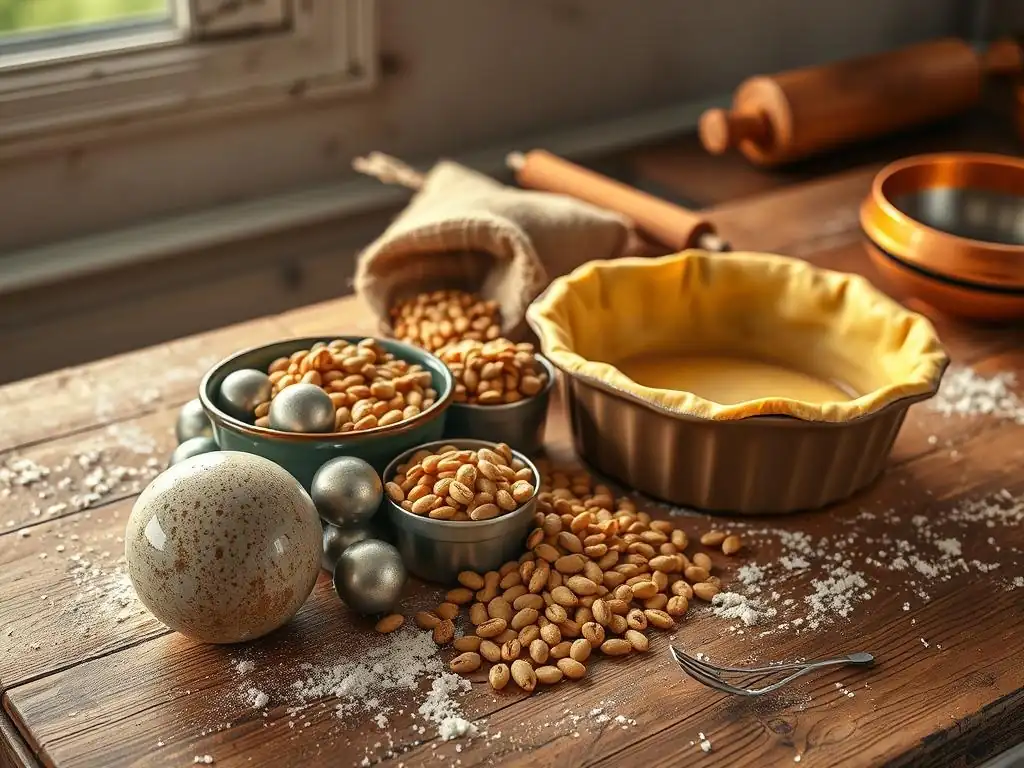
Ceramic pie weights are perhaps the most traditional and widely recognized type. They are typically small, round beads made from ceramic material. A standard set often includes around 1.5 to 2 pounds of these weights, sufficient for a 9 or 10-inch pie plate. Their porous nature allows them to absorb and retain heat well, contributing to even baking of the crust.
Pros include their widespread availability and effectiveness at distributing weight. Cons are that they can be somewhat fragile and prone to breaking over time, especially if dropped. They also require careful cleaning, as oils and dough residue can get into their pores. While effective for general blind baking, their performance is consistent across various crust types, including those requiring specific techniques like blind baking a sourdough pie crust.
Metal Pie Weights: Pros and Cons
Metal pie weights, often made from aluminum or stainless steel, are another popular choice. They come in various forms, from small balls to linked chains designed to fit the contours of a pie plate. Metal heats up faster and retains heat differently than ceramic, which can sometimes lead to quicker browning of the crust bottom.
Pros of metal weights include their durability – they are virtually unbreakable and easy to clean, usually just requiring a quick wash. They can also be more compact to store. A potential con is that because they heat quickly, you might need to monitor the crust closely to prevent over-browning, especially in hotter ovens. They are a reliable alternative and work just as effectively as ceramic ones when using pie weights for sourdough crust or any other pastry dough.
DIY Pie Weights: Dried Beans and Other Alternatives
If you don't have dedicated pie weights on hand, common kitchen staples like dried beans, rice, or even popcorn kernels can serve as effective substitutes. Dried beans, such as navy or pinto beans, are a particularly popular DIY option. You'll need enough to fill the pie plate, typically several cups, amounting to 1.5 to 2 pounds of material.
The main pro of using dried beans or rice is convenience and cost-effectiveness – you might already have them. However, there's a significant con: once used for blind baking, the intense dry heat makes them hard, brittle, and slightly toasted, rendering them unsuitable for cooking afterwards. They can, however, be stored and reused only for future blind baking. Other alternatives like sugar or salt can also be used, but they heat up intensely and hold heat for a long time, potentially leading to over-browning, so beans or rice are generally preferred for their more moderate heat retention.
How to Use Pie Weights: A Step-by-Step Guide
Preparing Your Pie Crust for Blind Baking
Proper preparation is key to a successful blind bake using pie weights. First, roll out your pastry dough and fit it into your pie plate, gently pressing it into the corners and up the sides. Trim any excess dough, leaving about a half-inch overhang, which you can then crimp or flute decoratively.
Crucially, the dough needs to be well-chilled and firm before baking. After fitting it into the pan, chill the assembled crust in the refrigerator or freezer for at least 30 minutes. This firms up the fat in the dough, which helps prevent shrinkage and holds the shape better under the weight.
Next, "dock" the bottom of the crust by pricking it all over with a fork, about 1/2 inch apart. This creates small vents that allow steam to escape, further preventing large bubbles from forming. While pie weights suppress major bubbling, docking handles the smaller steam release. This step is vital whether you're working with a standard butter crust or preparing a sourdough pie crust for blind baking.
Applying Pie Weights Correctly
Once your chilled and docked crust is ready, you need to line it before adding the weights. Use a sheet of parchment paper or aluminum foil large enough to cover the inside of the pie shell and extend over the edges – typically a 12-inch square piece works well for a 9-inch pie.
Gently press the paper or foil into the contours of the crust. Then, pour your pie weights onto the liner, filling the entire bottom surface and pushing them gently up the sides of the crust, ensuring the weights support the pastry all the way to the rim.
The goal is to distribute the weight evenly and completely cover the bottom. For a standard 9-inch pie, you'll typically need about 1.5 to 2 pounds of weights or enough dried beans/rice to fill the shell about two-thirds to three-quarters full. Ensure the weights are nestled into the corner where the bottom meets the side to prevent shrinkage and slumping there. This even distribution is critical for achieving a perfectly baked crust, especially when using pie weights for sourdough crust which can be quite robust.
Baking Time and Temperature with Pie Weights
Blind baking with pie weights is usually done at a moderate to hot oven temperature, commonly between 375°F (190°C) and 425°F (220°C), depending on the recipe and whether you are partially or fully blind baking. For a partial blind bake, where the crust is only par-baked before adding a filling that requires further baking, the crust with weights might bake for 15 to 20 minutes. The edges should look set and perhaps lightly golden, but the bottom under the weights will still be pale.
For a full blind bake, necessary for pies with no-bake fillings, you bake with weights first, then remove them and continue baking. The initial bake with weights might be at 375°F (190°C) for about 15-20 minutes until the edges are set. Then, the weights are removed, and the crust is baked for another 10-15 minutes (or longer) at the same or slightly lower temperature until the bottom is golden brown and crisp. Always follow your specific recipe's temperature and timing guidelines, as they can vary based on the dough type and oven.
Removing Pie Weights and Finishing the Crust
After the initial baking period with weights, carefully remove the pie from the oven. Using the edges of the parchment paper or foil liner as handles, gently lift the entire bundle of hot pie weights out of the crust. Be cautious, as the weights and liner will be very hot. Set them aside to cool completely before handling further.
If your recipe calls for a full blind bake, return the crust to the oven after removing the weights. Bake for the additional time specified, typically 10-20 minutes, until the bottom surface is visibly golden brown and appears dry and crisp. This second bake without weights is crucial for developing color and texture on the bottom, creating that desirable sturdy base that won't become soggy when filled. For a sourdough pie crust, this step is particularly important to ensure its unique texture fully develops.
Blind Baking: A Detailed Explanation
What is Blind Baking and Why is it Important?
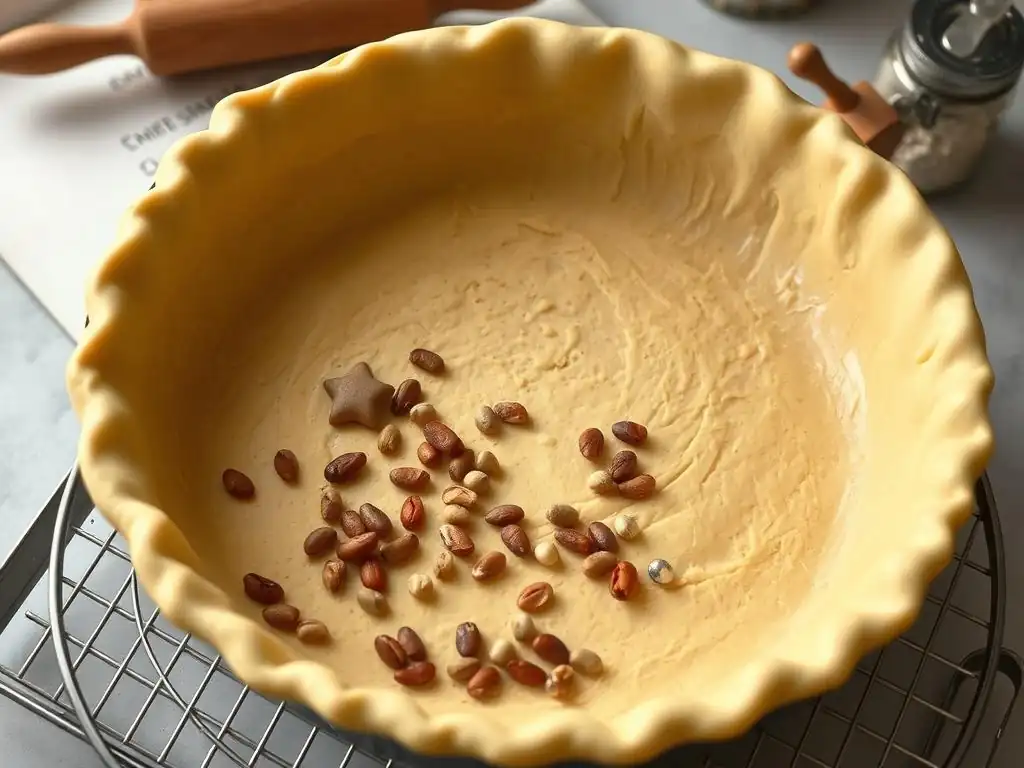
Blind baking, also known as pre-baking, is the process of baking a pie or tart crust before adding the filling. This technique is fundamental in pastry making for several key reasons. Primarily, it's used for pies with wet fillings (like fruit pies or quiches) to prevent the bottom crust from becoming soggy, as discussed earlier. By giving the crust a head start in the oven, it sets its structure and develops a degree of crispness before being exposed to moisture from the filling.
Secondly, blind baking is essential for pies and tarts with no-bake fillings (such as chocolate pudding, fresh fruit tarts with pastry cream, or lemon meringue). In these cases, the crust needs to be fully baked, golden, and crisp on its own because it won't receive any further baking time with the filling. Blind baking with pie weights ensures the crust holds its shape and bakes evenly, providing a stable and visually appealing base for delicate, uncooked fillings.
The Importance of Parchment Paper or Foil
Using a liner, typically parchment paper or aluminum foil, is a non-negotiable step when blind baking with pie weights. This liner serves as a barrier between the raw dough and the weights. Without it, the weights would press directly into the soft dough, potentially sticking to it and making them incredibly difficult to remove without damaging the delicate, partially baked crust.
The liner also helps distribute the weight more evenly across the crust's surface and makes removing the hot weights incredibly simple. Once the initial baking time with weights is complete, you can simply lift the edges of the paper or foil to remove the entire bundle of weights in one go. This protects the integrity of your partially baked crust, whether it's a classic pate brisee or a more complex sourdough pie crust.
Troubleshooting Common Issues with Blind Baking
Even with pie weights and careful technique, blind baking can sometimes present challenges. One common issue is the crust shrinking excessively despite using weights. This often happens if the dough wasn't sufficiently chilled before baking or if not enough weights were used to cover the surface completely and extend up the sides. Ensure your dough is cold (at least 30 mins chilling in the pan) and you use enough weights – typically 1.5 to 2 pounds for a 9-inch pie.
Another problem is the weights sticking to the crust, usually indicating the liner wasn't used or didn't fully cover the dough beneath the weights. Always use a generous piece of parchment or foil. Uneven browning can occur due to hot spots in your oven; rotating the pie halfway through the blind bake can help. If the edges brown too quickly while the bottom is still pale, you can loosely tent the edges with foil for the remainder of the baking time. These tips apply whether you're using standard pie weights for sourdough crust or other types of pastry.
Caring for Your Pie Weights: Maintaining Longevity
Cleaning and Storing Pie Weights
Proper care ensures your pie weights last for many baking projects. After using ceramic weights, allow them to cool completely. They can usually be washed in warm, soapy water to remove any residue from the parchment paper or stray dough bits. Ensure they are thoroughly rinsed and dried completely before storing, as moisture can damage porous ceramic over time.
Metal pie weights are even easier to clean; a simple wash with warm, soapy water is usually sufficient. Ensure they are dried well to prevent rust, especially if they are not stainless steel. Dried beans or rice used as DIY weights cannot be cooked afterward but can be stored specifically for future blind baking.
Store all types of pie weights in a cool, dry place. An airtight container, jar, or even a dedicated cloth bag works well to keep them together and free from dust or moisture, ready for your next pie, tart, or even a sourdough pie crust project.
When to Replace Your Pie Weights
While durable, pie weights don't last forever, especially ceramic ones. Ceramic weights should be inspected periodically. If they start to crack, chip significantly, or become excessively porous and difficult to clean (retaining odors or residue), it's time to replace them. Broken weights won't distribute weight evenly and can pose a risk.
Metal weights are very durable and rarely need replacing unless they show signs of significant rust or damage that could affect their performance or hygiene. As mentioned, dried beans or rice are single-use for consumption after baking, but they can be reused indefinitely only for blind baking until they start to crumble or show signs of mold if not stored properly. Keeping an eye on the condition of your weights ensures they continue to perform effectively, helping you achieve perfectly blind-baked crusts every time, including when you reach for those pie weights for sourdough crust recipes.
Beyond Fruit Pies: Other Uses for Pie Weights
Using Pie Weights for Quiches and Tarts
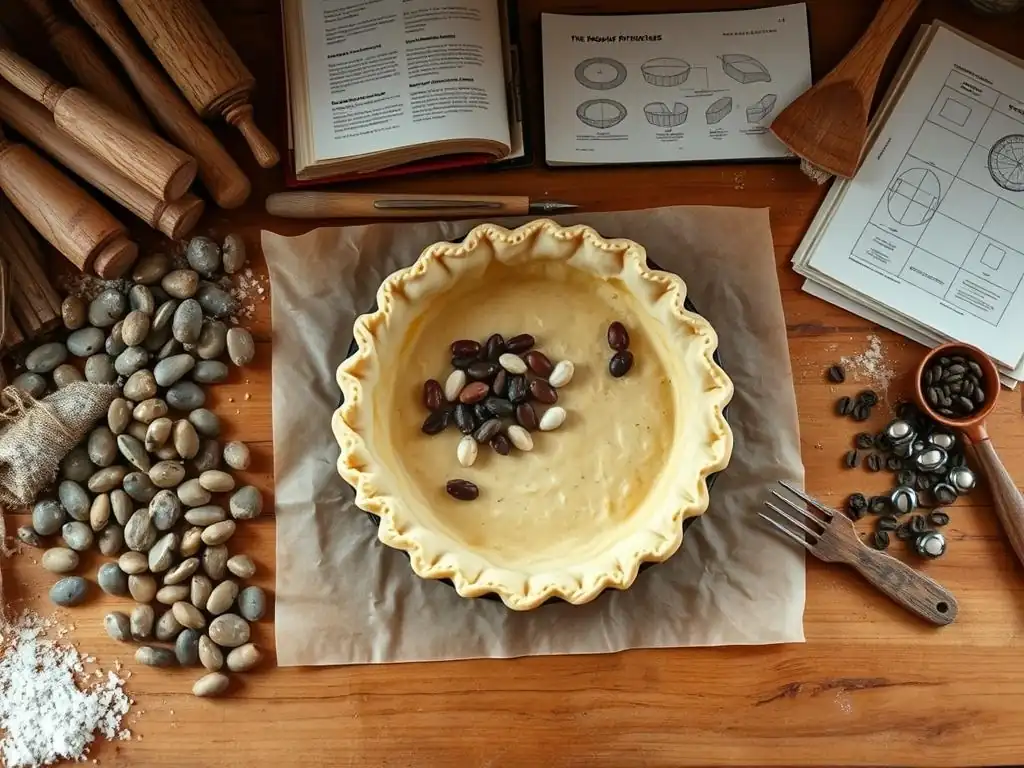
Pie weights aren't just for sweet fruit pies! They are absolutely essential for baking quiches and other savory tarts with pastry crusts. Quiche fillings, typically a mixture of eggs, cream, cheese, and vegetables or meat, are very wet. Blind baking the crust beforehand is crucial to prevent a soggy bottom, which is perhaps even more unappetizing in a savory dish.
For quiches and tarts, you'll usually perform a partial blind bake. The crust is lined with parchment and filled with weights, then baked until the edges are set and lightly golden (typically 15-20 minutes at 375-400°F or 190-200°C). The weights are then removed, the filling is added, and the quiche bakes fully. This ensures the base is sturdy enough to support the heavy, wet filling and bakes through properly alongside it, resulting in a beautifully structured quiche or tart.
A less traditional but clever use for pie weights is when baking cookie cups or cookie bowls. When you press cookie dough into muffin tins or other molds to create a cup shape, the dough tends to puff up significantly in the center as it bakes, obliterating the intended cavity.
To prevent this, bakers often press a smaller, heatproof object into the center of the dough cup before baking. Small ceramic pie weights or even dried beans contained within a small piece of foil can be placed in the center of each cookie cup indentation before baking. As the cookie bakes and tries to rise, the weight holds down the center, preserving the cup shape. Once baked, the weights (and liner) are removed, leaving a perfect cavity ready to be filled with ganache, frosting, fruit, or ice cream.
Achieving Baking Perfection: Pie Weights and Beyond
Tips for a Flaky and Flavorful Pie Crust
While pie weights are key for structure, achieving a flaky and flavorful crust starts with the dough itself.
- Keep ingredients cold: Use cold butter (or other fat) cut into pieces, ice water, and work quickly to keep everything chilled. Cold fat melts in the oven, creating steam pockets that separate the dough layers, resulting in flakiness.
- Don't overwork the dough: Mix just until the dough comes together. Overmixing develops gluten, leading to a tough crust. You should still see visible pieces of fat in the dough.
- Chill properly: Chill the dough before rolling and again after fitting it into the pan. This allows the gluten to relax and the fat to firm up, making it easier to handle and preventing shrinkage.
- Use the right fat: Butter provides excellent flavor and flakiness. Shortening can enhance flakiness and make dough easier to handle but lacks butter's flavor. A blend is often a great compromise. Even for a sourdough pie crust, paying attention to cold ingredients and minimal handling is crucial for texture.
Pie Crust Recipe
Here is a basic double-crust pie recipe perfect for using with pie weights:
Yields: One double crust or two single crusts
Prep time: 20 minutes
Chill time: 2+ hours
Ingredients:
- 2 ½ cups all-purpose flour
- 1 teaspoon salt
- 1 cup (2 sticks) cold unsalted butter, cut into ½-inch cubes
- ½ cup ice water (may need slightly more or less)
Instructions:
- Combine flour and salt in a large bowl.
- Cut in cold butter using a pastry blender, fork, or your fingertips until the mixture resembles coarse meal with some pea-sized pieces of butter remaining.
- Gradually add ice water, one tablespoon at a time, mixing lightly with a fork until the dough just comes together. Be careful not to add too much water.
- Divide dough in half, flatten each into a disk, wrap tightly in plastic wrap, and chill for at least 2 hours (or up to 2 days).
- When ready to bake, roll out one disk for the bottom crust, fit into a 9-inch pie plate, trim, crimp edges, dock, and chill again before blind baking with pie weights.
Other Baking Resources
Mastering pie crust is just one step in your baking journey! BakeWithEase.com offers a wealth of other resources to help you perfect your skills. Explore our guides on different types of flour, understanding leavening agents, troubleshooting common cake problems, or diving into the world of bread making, including tips for working with sourdough. Whether you're interested in pastries, cookies, or mastering techniques like using pie weights for sourdough crust, we have step-by-step guides and recipes to help you bake with confidence and ease.
Frequently Asked Questions
What are pie weights and why are they important when making sourdough pie crust?
Pie weights are small, oven-safe objects used to prevent pie crust from puffing up or shrinking during blind baking. This is crucial for sourdough crusts because their unique composition can lead to uneven baking without weights.
Can I use something else if I don't have pie weights?
Yes, you can use alternatives! Common substitutes include dried beans, rice, or sugar. Just make sure they are evenly distributed and oven-safe for effective crust stabilization.
How do I use pie weights with my sourdough pie crust?
First, line your pie crust with parchment paper or foil. Then, evenly distribute the pie weights on top of the lining. This ensures even pressure and prevents crust distortion during baking.
Do I need to pre-bake my sourdough pie crust even if I'm using a filling that requires baking?
Yes, pre-baking (blind baking) is often recommended, even if the filling needs baking. It helps to create a sturdy base and prevents the crust from becoming soggy from the filling's moisture.
Where can I buy pie weights?
Pie weights are readily available at most kitchen supply stores and online retailers like Amazon. You can find them in various materials, such as ceramic or metal, to suit your baking preferences.
Final Reflection: The Humble Pie Weight: A Baker's Unsung Hero
The perfect sourdough crust, crisp and golden, isn't just about the starter; it's about mastering the fundamentals, and pie weights are key to that mastery. Ignoring this seemingly small detail can lead to a soggy bottom, a culinary tragedy for any sourdough enthusiast. This guide has highlighted the crucial role pie weights play in preventing shrinkage and ensuring even baking, ultimately elevating your sourdough pie game.
The impact of this seemingly simple tool extends beyond just the technical aspects of baking. It speaks to the dedication and attention to detail that elevates a good pie to a truly exceptional one. The details are not the details. They make the design.
- Charles Eames. This quote perfectly encapsulates the importance of seemingly minor elements like pie weights in achieving baking perfection. The pursuit of the perfect crust, the careful consideration of each step, reflects a deeper appreciation for the craft and the joy of creating something beautiful and delicious.
Now, consider your own baking journey. What seemingly small details have you overlooked? What seemingly insignificant tools might be holding you back from achieving your culinary goals? I encourage you to experiment, to embrace the details, and to discover the transformative power of the humble pie weight – and perhaps even other unsung heroes in your kitchen – in your own baking adventures. The perfect sourdough pie, with its flawlessly crisp crust, awaits.
Unleash Your Inner Pie Master!
Thanks for taking the time to learn about the magic of pie weights! You're now equipped to bake pies with perfectly crisp, golden-brown crusts every single time. Ready to put your new knowledge into action?
- Bake your dream pie today! Grab your favorite recipe and those pie weights – it's time to create a masterpiece.
- Share your pie-baking triumphs (and challenges!) with our community on social media using #BakeWithEasePie. We love seeing your creations!
- Try experimenting with different pie weight materials – beans, rice, or even sugar – and see which works best for you!
What unexpected ingredient will you use as your next pie weight? Let us know in the comments below!