
Easy Steps for Blind Baking: The Secret to Perfect Tart Shells

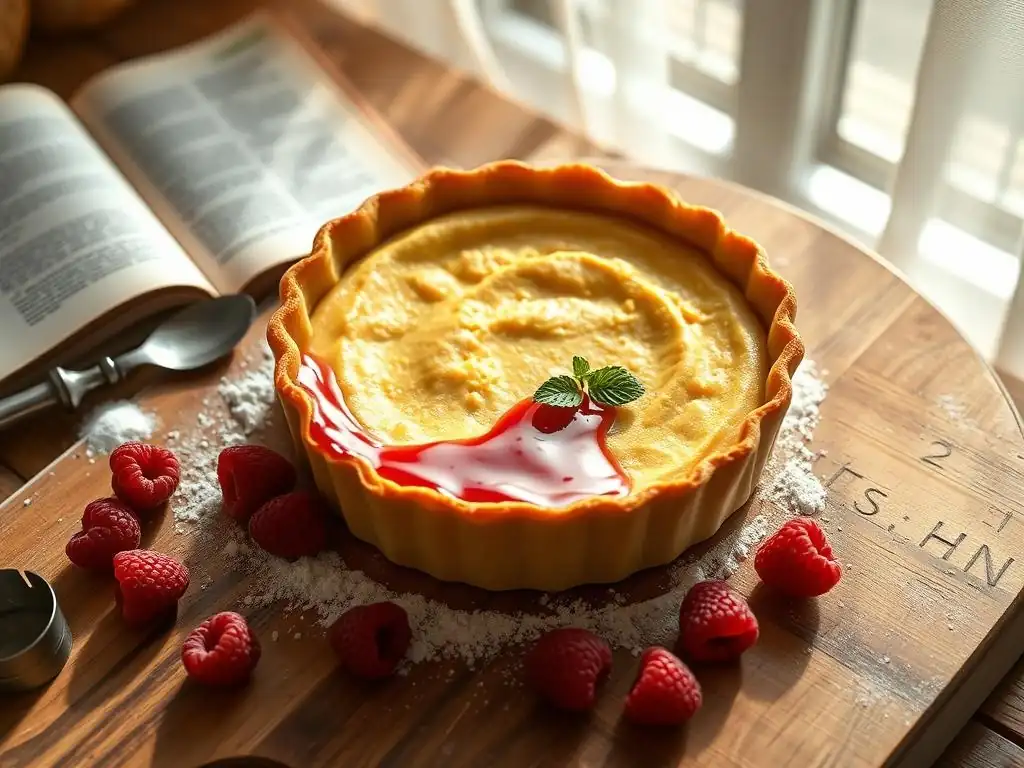
Welcome to BakeWithEase, your kitchen companion on the journey to baking brilliance! Ever wondered how to achieve that flawlessly crisp, perfectly golden base for your tarts? This article unlocks the secrets to a perfect tart shell recipe, taking the mystery out of blind baking. Discover our easy steps and expert tips to create tart shells that are not just beautiful, but also deliciously foolproof. Let's get baking!
- Mastering Blind Baking: The Key to Crisp Tart Shells
- Understanding Blind Baking: Definition and Purpose
- Preparing for Blind Baking: Essential Tools and Ingredients
-
Step-by-Step Guide to Blind Baking Tart Shells
- Step 1: Preparing the Tart Dough for Blind Baking: Rolling and Shaping
- Step 2: Docking the Tart Dough: Preventing Puffing
- Step 3: Lining the Tart Shell: Parchment Paper or Foil?
- Step 4: Choosing Your Blind Baking Weights: Ceramic Beads, Rice, or Dried Beans?
- Step 5: The First Bake: Blind Baking with Weights
- Step 6: Removing the Weights and Finishing the Bake: Achieving a Golden Crust
- Step 7: Cooling and Preparing for Filling
- Troubleshooting Common Blind Baking Problems
- Tips and Tricks for the Ultimate Tart Shell
- Serving Suggestions and Recipe Ideas
- Conclusion: Elevating Your Baking with Perfectly Blind Baked Tarts
-
Frequently Asked Questions
- What is blind baking, and why is it necessary for some tarts?
- What are the best weights to use when blind baking a tart shell?
- How do I prevent my tart shell from shrinking during blind baking?
- What temperature and for how long should I blind bake my tart shell?
- Can I reuse the beans or rice I used for blind baking?
- Final Reflection: Mastering the Art of the Perfect Tart Shell
- Unleash Your Inner Pastry Chef: Bake the Perfect Tart!
Mastering Blind Baking: The Key to Crisp Tart Shells
Why Blind Baking is Essential for Crisp, Evenly Baked Tart Shells
Achieving a truly perfect tart shell is often the difference between a good dessert and an extraordinary one. The foundation of many beloved tarts, from a classic French fruit tart to a rich chocolate ganache delight, relies on a crust that is crisp, flaky, and holds its shape beautifully. This is where blind baking comes in.
Blind baking, also known as pre-baking, is the process of partially or fully baking the tart shell before adding the filling. This crucial step prevents the common problem of a soggy bottom crust, especially when using wet fillings like custards, fruit purees, or quiche mixes. Without blind baking, the moisture from the filling can penetrate the uncooked dough during the final bake, resulting in a soft, unappealing base that detracts significantly from the overall texture and flavor of your tart.
Beyond preventing sogginess, blind baking also ensures that the tart shell bakes evenly. Tart doughs are typically thin, and without the structure provided by pre-baking, they can slump down the sides of the pan, shrink significantly, or puff up unevenly on the bottom. By blind baking, you set the structure of the dough, locking in its shape and creating a sturdy vessel capable of holding substantial fillings without collapsing.
This technique is particularly vital for tarts that have fillings which are not baked at all (like fresh fruit tarts with pastry cream) or those baked for a very short time, as the crust needs sufficient baking time on its own to develop that desirable golden color and crisp texture. Mastering this technique is a cornerstone of creating a truly perfect tart shell recipe.
A Comprehensive Guide to Perfecting Your Tart Shell Recipe
Creating a perfect tart shell recipe involves more than just mixing ingredients; it requires understanding technique, patience, and a few key tricks of the trade. This guide will walk you through every step of the blind baking process, from preparing your dough correctly to troubleshooting common issues.
We'll cover the essential tools you'll need and the science behind why blind baking works so effectively. Whether you're aiming for a sweet shortcrust for a lemon tart or a savory pastry for a quiche, the principles of blind baking remain the same and are fundamental to achieving a professional-quality result at home.
We aim to demystify blind baking, making it accessible for bakers of all levels. By the end of this guide, you'll have the knowledge and confidence to consistently produce tart shells that are not only perfectly baked but also serve as the ideal base for any filling you choose. We'll explore variations and offer tips to elevate your basic tart shell recipe, ensuring your tarts are always a showstopper. Get ready to transform your baking skills and say goodbye to soggy bottoms forever!
Understanding Blind Baking: Definition and Purpose
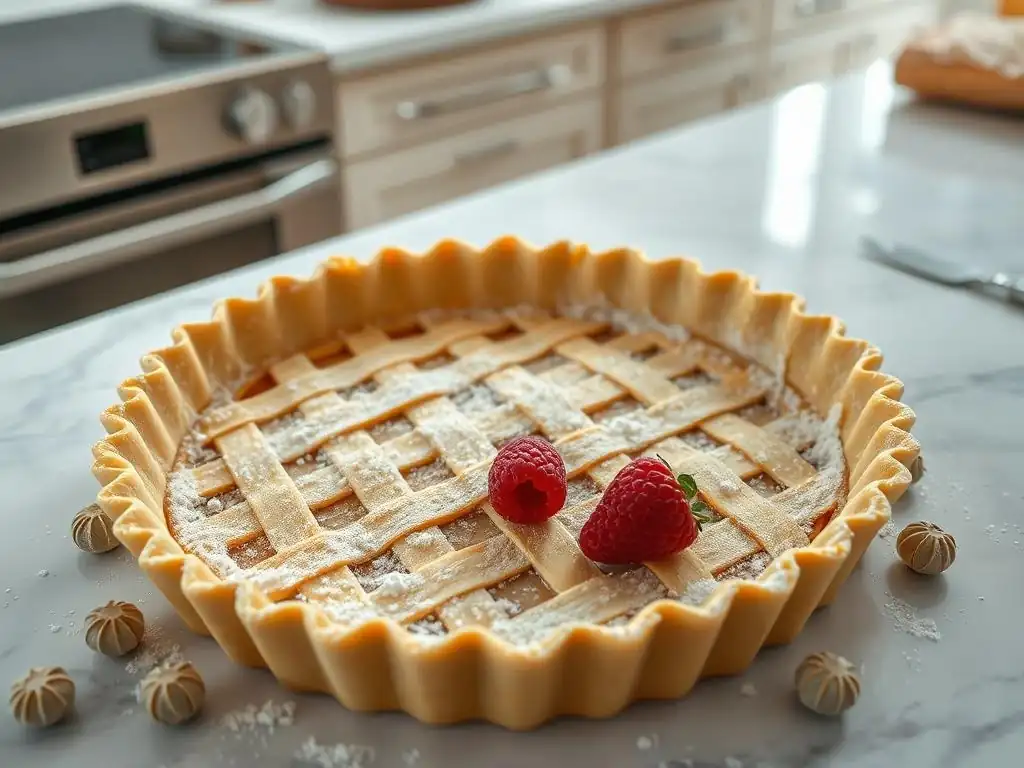
Defining Blind Baking: Preventing Soggy Crusts and Uneven Baking
Blind baking refers to the process of partially or fully baking a pie or tart crust before adding the filling. The term "blind" implies that you are baking the crust without being able to see the filling because there is none in the shell yet. This technique is indispensable for recipes where the filling is uncooked, very wet, or requires a much shorter baking time than the crust.
The primary goal is to set the structure of the dough and create a barrier against moisture, ensuring the finished tart has a firm, crisp bottom crust rather than a soggy one. Imagine a beautiful fruit tart with a custardy filling – without blind baking, the liquid from the custard would seep into the raw dough, making it soft and gummy during baking.
Furthermore, blind baking addresses the issue of uneven baking. When dough is baked empty, it's prone to shrinking away from the sides of the pan, especially if it wasn't sufficiently chilled or handled gently. It can also puff up in the center of the bottom crust.
Using weights during blind baking helps to hold the dough in place, preventing excessive shrinkage and keeping the bottom flat and even. This results in a tart shell that fits the pan perfectly and provides a stable, level base for your filling, contributing significantly to the overall aesthetic and structural integrity of your perfect tart shell recipe.
The Science Behind Preventing Shrinkage and Maintaining Shape
The science behind blind baking is rooted in the behavior of dough components under heat. Dough is primarily made of flour, fat, and liquid. When dough is heated, the water in the liquid turns to steam, causing the dough to puff. The fat melts, contributing to flakiness, but also potentially causing the dough to spread. The gluten network developed in the flour provides structure, but it can also contract when heated. Without any support, this contraction and puffing can lead to the dough shrinking down the sides of the tart pan and bubbling up on the bottom.
Using weights during the initial phase of blind baking counteracts these natural tendencies. The weight applies downward pressure on the bottom of the crust, preventing it from puffing up. It also helps to hold the dough against the sides of the pan, minimizing shrinkage.
The heat sets the structure of the dough, solidifying the fat and denaturing proteins, which helps the crust maintain its shape even after the weights are removed for the final portion of the bake. This two-stage baking process – first with weights to set the shape and prevent puffing/shrinkage, then without weights to crisp and brown the bottom – is key to achieving a stable, perfectly shaped tart shell.
Preparing for Blind Baking: Essential Tools and Ingredients
Must-Have Tools for Successful Blind Baking
Having the right tools is crucial for executing a successful blind bake and achieving a perfect tart shell recipe. First and foremost, you'll need a good quality tart pan. Tart pans typically have fluted sides and a removable bottom, which makes serving the finished tart much easier. A standard 9-inch or 10-inch tart pan is a common size, but the technique applies to smaller individual tartlets as well.
Next, you'll need something to line the tart shell before adding weights. Parchment paper is the most popular choice because it's non-stick and flexible, conforming easily to the shape of the pan. Aluminum foil is another option, especially heavier duty foil, which can be molded tightly against the dough.
Finally, you need blind baking weights. These are essential for keeping the dough from puffing and shrinking. Common options include ceramic baking beans, which are specifically designed for this purpose and can be washed and reused.
Alternatively, dried beans (like kidney or navy beans) or uncooked rice work effectively as weights, though they cannot typically be cooked for consumption afterward as they become very dry and hard. Some bakers even use sugar as a weight, which can be sifted and reused for baking (though not necessarily in recipes where the sugar itself is a primary ingredient). A rolling pin is also necessary to roll out your dough to the correct thickness before transferring it to the pan.
Key Ingredients for a Delicious and Sturdy Tart Crust
While the technique is vital, the ingredients themselves lay the foundation for a delicious and sturdy tart crust, contributing significantly to the overall perfect tart shell recipe. High-quality all-purpose flour is the standard base for most tart doughs, providing structure through its gluten content. Some recipes might call for a mix of all-purpose and pastry flour for a more tender crumb. The fat component is equally important.
Cold, unsalted butter is the classic choice for its flavor and ability to create flaky layers when cut into the flour. The coldness is key; as the butter melts in the oven, it leaves behind pockets that contribute to the desired texture. Some recipes might incorporate a small amount of shortening or lard for extra flakiness or tenderness.
Sugar adds sweetness and also contributes to the browning and tenderizing of the crust. For savory tarts, sugar is often omitted or used in very small quantities. Salt is crucial for balancing the sweetness and enhancing the overall flavor of the dough. Finally, a liquid binder, usually ice water or sometimes egg, brings the dough together without developing too much gluten, which would result in a tough crust. Using ice water helps keep the fat cold. The precise ratio of these ingredients, combined with proper technique, is what defines a successful tart crust recipe.
Step-by-Step Guide to Blind Baking Tart Shells
Step 1: Preparing the Tart Dough for Blind Baking: Rolling and Shaping
The first step towards a perfect tart shell recipe begins with preparing your dough. Ensure your tart dough recipe is made with cold ingredients and has been properly chilled for at least 30 minutes, or ideally, 1-2 hours. This chilling period is essential as it solidifies the fat, making the dough easier to roll and reducing shrinkage during baking. Lightly flour a clean work surface and your rolling pin.
Take the chilled dough and begin rolling it out from the center outwards, rotating the dough occasionally and adding just enough flour to prevent sticking. Aim for a thickness of about 1/8 inch (approximately 3mm). Roll the dough into a circle that is large enough to generously fit your tart pan, allowing for overhang on the sides.
Carefully transfer the rolled dough to your tart pan. A good technique is to gently roll the dough around your rolling pin and then unroll it over the pan. Gently press the dough into the bottom and up the fluted sides of the pan, ensuring it fits snugly into all the crevices.
Avoid stretching the dough, as this can cause it to spring back and shrink significantly during baking. Once the dough is neatly fitted, trim the excess dough from the top edges of the pan. You can do this by rolling the rolling pin over the top of the pan or using a sharp knife.
Patch any small tears or thin spots with some of the trimmed dough. Finally, return the lined tart shell to the refrigerator or freezer for at least 30 minutes. This second chilling period is vital; it hardens the fat again and relaxes the gluten, further minimizing shrinkage during blind baking.
Step 2: Docking the Tart Dough: Preventing Puffing
Docking is a simple yet crucial step in the blind baking process for achieving a perfect tart shell. After the dough has been fitted into the pan and well-chilled, use a fork to prick holes across the bottom of the dough. These small holes, or "docking marks," act as vents. As the tart shell bakes, steam is generated from the moisture in the dough. Without these vents, the steam would build up and cause large bubbles to form on the bottom of the crust, resulting in an uneven surface that is difficult to fill and visually unappealing.
Prick the entire bottom surface of the dough evenly, but avoid pricking the sides. The sides need to maintain their structure and height. While docking helps prevent large bubbles, it's not sufficient on its own to keep the bottom completely flat and prevent shrinkage, which is why the next step involving weights is necessary. Docking is typically done before lining the shell with parchment paper or foil for the weights, ensuring direct venting from the dough surface.
Step 3: Lining the Tart Shell: Parchment Paper or Foil?
Once the chilled and docked tart shell is ready, it needs to be lined before adding the baking weights. This lining serves as a barrier between the weights and the dough, preventing the weights from sticking to the crust as it bakes and making them easy to remove later. Parchment paper is the most commonly recommended material.
Take a sheet of parchment paper that is large enough to generously cover the inside of the tart shell and extend up and over the edges. Gently press the parchment paper down into the pan, fitting it snugly against the bottom and sides of the dough. You can crumple the parchment slightly first to make it more pliable and easier to fit into the corners and flutes of the pan.
Aluminum foil is another viable option, especially heavy-duty foil. Like parchment, use a piece large enough to cover the shell with overhang. Mold the foil tightly against the dough, pressing it firmly into the corners and up the sides. Some bakers find foil easier to mold precisely into the shape of the pan. Both parchment and foil work well, but parchment paper often releases slightly cleaner from the partially baked crust. Whichever you choose, ensure the lining material extends above the rim of the tart pan; this overhang provides handles for easily lifting the weights out later.
Step 4: Choosing Your Blind Baking Weights: Ceramic Beads, Rice, or Dried Beans?
Selecting the right blind baking weights is essential for ensuring your tart shell bakes evenly and maintains its shape, contributing significantly to a perfect tart shell recipe. The purpose of the weights is to provide gentle, even pressure across the bottom and up the sides of the dough lining. Ceramic baking beads are a popular, reusable choice specifically designed for this task. They are dense and retain heat well, helping the crust bake evenly. You'll typically need about 1.5 to 2 pounds (around 700-900 grams) of ceramic beads to fill a standard 9-inch tart pan adequately.
Alternatively, common pantry staples like dried beans (such as kidney, navy, or even lentils) or uncooked rice work effectively and are more readily available for many home bakers. While these are generally not edible after being used as baking weights (as they become extremely hard and dry), they are a cost-effective option. You'll need enough dried beans or rice to fill the lined tart shell almost completely, right up to the top edge of the sides.
For a 9-inch tart, this might be around 2-3 cups of dried beans or rice. Pour your chosen weights carefully into the lined tart shell, distributing them evenly so they fill the space and press the lining firmly against the dough. Ensure the weights extend slightly up the sides to support them during the initial bake.
Step 5: The First Bake: Blind Baking with Weights
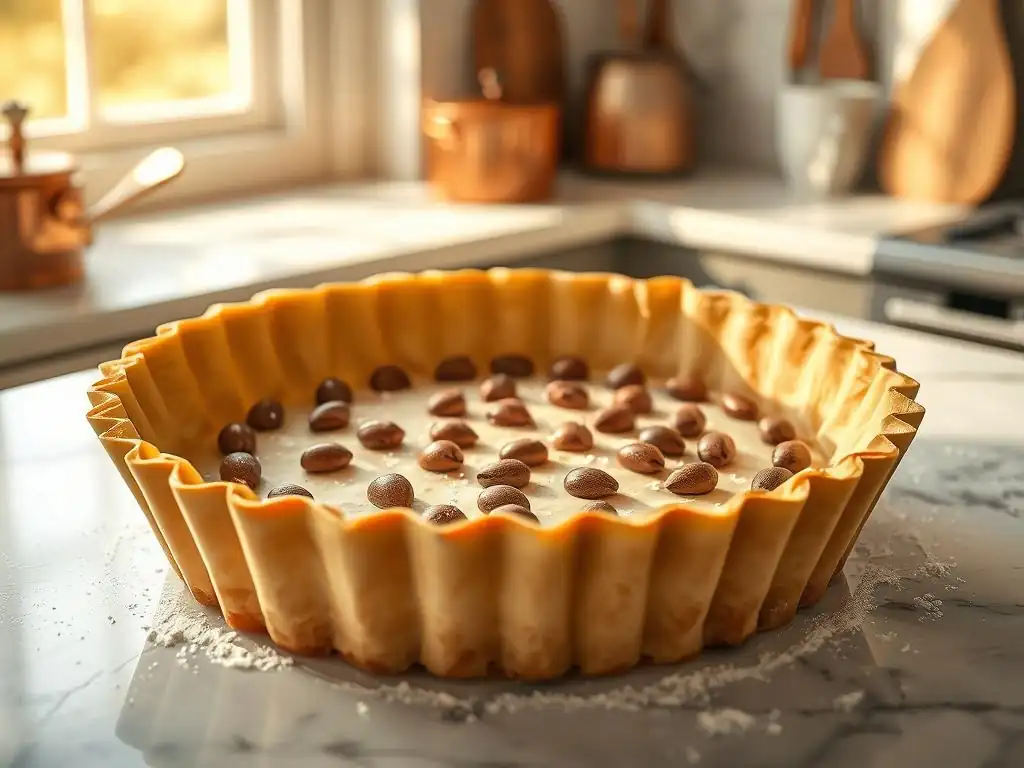
With your tart shell lined and filled with weights, it's time for the first phase of blind baking. Preheat your oven to the temperature specified in your recipe, typically between 375°F and 400°F (190°C to 200°C). Place the tart pan on a baking sheet – this makes it easier to handle and catches any potential drips. Carefully transfer the baking sheet with the tart pan to the preheated oven. The first bake, done with the weights, is intended to set the structure of the dough and partially cook it, preventing shrinkage and puffing.
Bake the tart shell with the weights for the time specified in your recipe, usually between 15 and 25 minutes. The exact time will depend on the oven temperature, the thickness of your dough, and the size of your tart pan. During this phase, the edges of the dough should start to look dry and set, and you might see them beginning to turn a very pale blonde color just above where the weights end. The bottom under the weights will remain pale. This initial bake sets the foundation for a sturdy and perfect tart shell.
Step 6: Removing the Weights and Finishing the Bake: Achieving a Golden Crust
After the initial bake with weights, carefully remove the tart pan from the oven. Using the overhang of the parchment paper or foil liner, gently lift the weights out of the tart shell. Be cautious as the weights will be hot. Set the weights aside to cool completely before storing them. Once the weights and liner are removed, the bottom of the tart shell will still look pale and slightly undercooked. This is where the second phase of blind baking comes in, essential for developing color and crispness.
Return the tart shell (without the liner and weights) to the oven. Continue baking for another 10 to 20 minutes, or until the bottom of the crust is golden brown and appears dry and fully baked. The exact time depends on how fully baked your recipe requires the shell to be (partially baked for fillings that require further baking, or fully baked for no-bake fillings) and your oven.
Rotate the tart pan halfway through this second bake if your oven has hot spots to ensure even browning. Keep a close eye on the crust during this stage, as it can go from golden to burnt relatively quickly. This final bake without weights is what gives you that desirable crisp texture crucial for a perfect tart shell recipe.
Step 7: Cooling and Preparing for Filling
Once the tart shell is perfectly golden brown and looks fully baked, carefully remove it from the oven. Place the tart pan on a wire rack to cool completely. It is absolutely vital to let the tart shell cool down fully in the pan before attempting to remove it or add any filling. Warm crusts are fragile and prone to breaking. As the crust cools, it continues to set and firm up, becoming stronger and less likely to crack when handled or filled.
Allowing the tart shell to cool completely can take anywhere from 30 minutes to over an hour, depending on the size of the tart and the ambient temperature. Once cool, if using a tart pan with a removable bottom, you can carefully push up the bottom to release the tart shell from the fluted ring.
If the crust seems slightly stuck, you can gently run a thin offset spatula or knife around the edge. Once the tart shell is cool and released, it is ready to be filled according to your recipe's instructions, providing a sturdy, crisp base for your delicious creation.
Troubleshooting Common Blind Baking Problems
Preventing a Bubbling or Warped Tart Crust
A common frustration when blind baking is dealing with a crust that bubbles up on the bottom or warps out of shape. The primary cause of bubbling is insufficient docking, allowing steam to build up beneath the crust. While docking is important (as discussed in Step 2), using proper weights is the most effective way to prevent bubbling and warping.
Ensure you are using enough weights to fill the lined shell completely, right up to the top edge of the sides. The weights need to exert even pressure across the entire bottom and partial pressure up the sides to hold the dough in place as it bakes.
Warping and excessive shrinkage are often caused by warm dough or overworking the dough, which develops too much gluten. Always start with cold dough and keep it cold throughout the process. Chill the dough before rolling, after fitting it into the pan, and just before blind baking (Step 1).
Handle the dough gently; avoid stretching it when fitting it into the pan. If you notice slight bubbling during the second bake (without weights), you can gently prick the bubble with the tip of a sharp knife to release the steam, though this should be minimal if weights were used correctly. Ensuring your oven temperature is accurate also helps; an oven that's too cool might not set the crust structure quickly enough.
Fixing Minor Cracks or Imperfections
Even with careful technique, sometimes minor cracks or imperfections can appear in your blind-baked tart shell. Don't despair – these can often be easily fixed! If you notice small cracks in the bottom or sides after removing the weights but before the second bake, you can often patch them. Simply take a small piece of the reserved raw dough scraps, soften it slightly between your fingers if needed, and gently press it into the crack, smoothing it flush with the surrounding crust.
If cracks appear after the tart shell is fully baked and cooled, patching with raw dough isn't an option. For very minor cracks, you can often "seal" them with a thin layer of melted chocolate or a light egg wash (if the filling is baked) applied before filling.
For larger cracks that might leak, consider using a thin layer of jam, melted chocolate, or even a paste made from ground nuts mixed with a little butter or egg white to seal the bottom before adding your main filling. While not ideal, these methods can save a cracked perfect tart shell recipe from becoming unusable, especially if the crack is on the bottom and will be hidden by the filling.
Avoiding Over-Browning or Burning: Monitoring and Adjusting
Over-browning or burning is a common pitfall during the second phase of blind baking when the crust is exposed directly to the heat. The key to avoiding this is diligent monitoring. Ovens can vary significantly in temperature and how evenly they bake.
Always start checking your tart shell a few minutes before the time specified in the recipe during the second bake. Look for a uniform golden brown color across the bottom and sides. If the edges are browning too quickly while the bottom is still pale, you can loosely cover the edges with strips of aluminum foil to shield them from direct heat.
If the entire bottom seems to be browning too fast, you can try moving the tart pan to a lower rack in the oven or reducing the oven temperature slightly for the remainder of the baking time. If your oven has a tendency to burn the bottom of baked goods, placing the tart pan on a baking steel or stone (if you have one) or even just a second baking sheet can help insulate the bottom from direct heat from the element.
Trust your eyes more than the clock during this final stage; the color and appearance of the crust are the best indicators of doneness for a perfect tart shell.
Tips and Tricks for the Ultimate Tart Shell
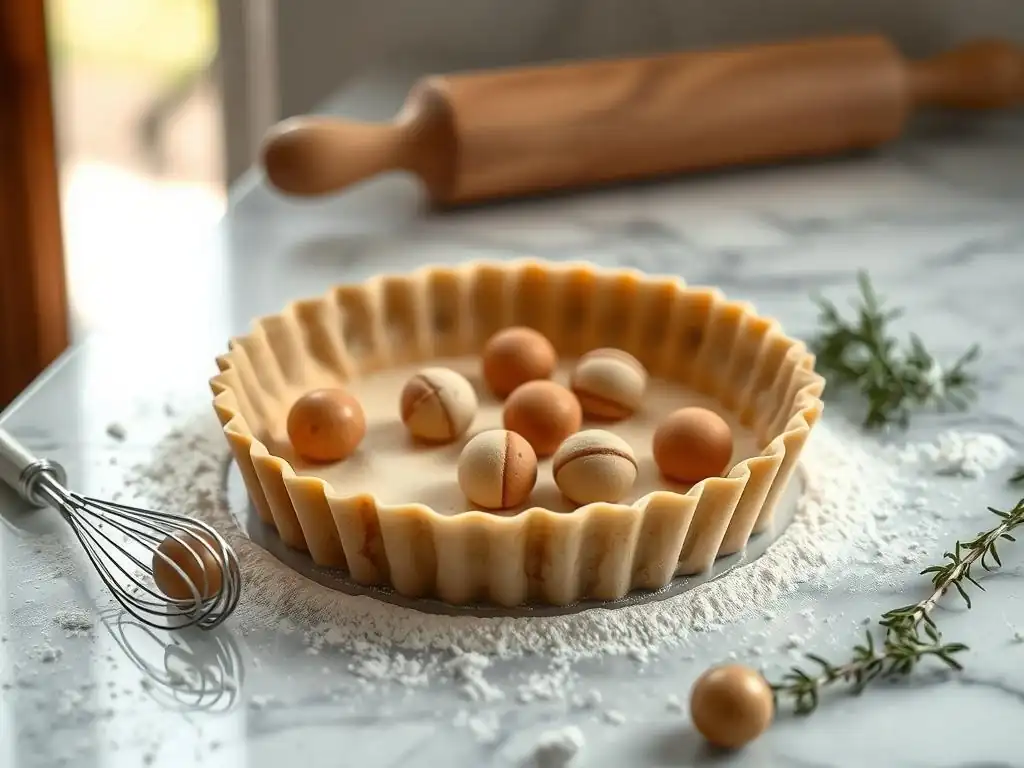
Adding Flavor: Infusing the Dough with Herbs or Extracts
Elevating your basic perfect tart shell recipe goes beyond mastering the technique; it also involves enhancing the flavor of the crust itself. For sweet tart shells, consider adding extracts like vanilla, almond, or even citrus zest directly into the dough mixture along with the liquid. About 1 teaspoon of vanilla extract or the zest of one lemon/orange per standard recipe can add a wonderful depth of flavor that complements many sweet fillings.
For savory tart shells, infusing the dough with dried herbs or spices can transform it into a flavorful base for quiches or vegetable tarts. Incorporate finely chopped fresh herbs (like thyme, rosemary, or chives) or dried herbs (like oregano or herbes de Provence) directly into the flour mixture before adding the fat. Approximately 1-2 tablespoons of fresh herbs or 1-2 teaspoons of dried herbs per batch of dough can make a significant difference.
You can also add a pinch of black pepper, paprika, or a little grated hard cheese like Parmesan for extra savory notes. These additions should be worked into the dough gently to avoid overworking.
Storing Blind Baked Tart Shells for Optimal Freshness
One of the great advantages of blind baking is that tart shells can be made ahead of time, saving valuable time when preparing for a special occasion. Once a blind-baked tart shell is completely cool (this is crucial! ), it can be stored to maintain its crispness and freshness. For short-term storage (1-2 days), simply leave the cooled tart shell in its pan or carefully transfer it to an airtight container. Store the container at room temperature in a cool, dry place. Avoid refrigerating, as the moisture in the refrigerator can make the crust soft.
For longer storage, blind-baked tart shells freeze exceptionally well. Once completely cool, wrap the tart shell (either in its pan or carefully removed) tightly in plastic wrap, followed by a layer of aluminum foil. Label and date the package. Frozen blind-baked tart shells can last for up to 1-2 months.
When ready to use, unwrap the frozen shell and let it thaw completely at room temperature for several hours. For best results and to restore crispness, you can briefly reheat the thawed shell in a preheated oven at 350°F (175°C) for 5-10 minutes before filling. This pre-baking and storage capability makes preparing a perfect tart shell recipe much more convenient.
Variations: Chocolate, Nut-Based, or Gluten-Free Tart Shells
The blind baking technique is versatile and applies to various types of tart doughs, allowing you to create a wide range of perfect tart shell recipes. A popular variation is the chocolate tart shell, which typically involves substituting a portion of the all-purpose flour with unsweetened cocoa powder (usually around 1/4 to 1/3 of the flour amount). Chocolate doughs can be slightly more delicate to work with but blind bake beautifully using the same method.
Nut-based crusts, such as those made with ground almonds (almond flour) or other nuts, offer a different texture and flavor profile. These often require less handling than traditional flour-based doughs and can sometimes be pressed directly into the pan rather than rolled. Blind baking is still essential for these crusts to set their structure and develop a slight crispness.
For those with dietary restrictions, gluten-free tart shell recipes are readily available, often using a blend of gluten-free flours and starches. While the dough handling might differ slightly depending on the specific recipe, the principle of blind baking with weights remains the standard approach to ensure a firm, non-soggy base for gluten-free tarts. Each variation requires careful attention to the chilling and baking times, but the core technique of blind baking is universally applicable for a perfect tart shell regardless of the base ingredients.
Serving Suggestions and Recipe Ideas
Sweet Tart Fillings: Fruit, Cream, Chocolate
A perfectly blind-baked tart shell is a versatile canvas for an endless array of sweet fillings. Classic choices include fresh fruit tarts, where the crisp crust provides a delightful contrast to a smooth pastry cream base and vibrant, often uncooked, fresh fruits like strawberries, raspberries, kiwi, and peaches. The blind baking is crucial here because the pastry cream is cooked separately and the fruit is added fresh, meaning the crust receives no further baking once filled. A typical 9-inch fruit tart might use 2-3 cups of pastry cream and 4-6 cups of mixed fresh fruit.
Cream-based fillings, such as lemon curd, lime curd, or various mousse fillings (like chocolate or raspberry), also rely heavily on a fully blind-baked shell. These fillings are typically cooked before being poured into the cooled crust or are simply chilled to set. A classic lemon tart often uses a filling made from lemon juice, sugar, eggs, and butter, poured into the shell and sometimes baked briefly to set, or simply chilled until firm.
Chocolate ganache is another popular no-bake filling, poured hot into a cooled, blind-baked shell and allowed to set. These examples showcase how a successful blind bake is fundamental to achieving the desired texture and stability for a perfect tart shell filled with sweet delights.
Savory Tart Fillings: Quiche, Vegetables, Cheese
Blind baking is just as important, if not more so, for savory tarts, with quiche being a prime example. Quiche fillings are typically a liquid mixture of eggs, cream or milk, cheese, and various additions like vegetables, bacon, or seafood. This wet filling would guarantee a soggy bottom crust if the shell weren't pre-baked.
For quiches, the tart shell is usually partially blind-baked. This sets the structure and provides some protection against the moisture, but the crust finishes baking alongside the filling. A standard 9-inch quiche might use 3-4 large eggs mixed with 1.5 - 2 cups of cream or milk, plus various fillings.
Other savory tart ideas include vegetable tarts featuring roasted or sautéed vegetables (like asparagus, mushrooms, or bell peppers) bound together with cheese or a light custard, or cheese tarts featuring a blend of cheeses. These also benefit significantly from a blind-baked crust. The savory perfect tart shell recipe often includes herbs or a pinch of pepper in the dough itself to complement the filling. The blind baking process ensures that the savory tart has a sturdy base that can support the weight and moisture of the filling while providing a satisfying crisp texture with every bite.
Conclusion: Elevating Your Baking with Perfectly Blind Baked Tarts
Recap: Key Steps to Achieving a Crisp, Evenly Baked Tart Shell
Mastering blind baking is a fundamental skill for any baker aspiring to create flawless tarts. We've covered the essential steps to achieve a crisp, evenly baked perfect tart shell every time. It starts with using cold dough and chilling it properly both before and after fitting it into the pan. Pricking the dough (docking) provides vital vents for steam, while lining the shell with parchment or foil and filling it generously with weights prevents puffing and shrinkage during the initial bake.
The process involves a two-stage bake: first with weights to set the structure, and then without weights to crisp and brown the bottom. Careful monitoring during the second bake is key to preventing over-browning. Finally, allowing the blind-baked shell to cool completely before filling ensures its stability. By following these steps diligently, you can consistently produce tart shells that are sturdy, flaky, and perfectly baked, eliminating the dreaded soggy bottom and setting the stage for delicious fillings, whether sweet or savory.
Enhance Your Baking Skills with Expert Techniques
Incorporating blind baking into your repertoire is a significant step towards elevating your overall baking skills. It demonstrates an understanding of how dough behaves in the oven and how to control that behavior to achieve desired results. Beyond the basic technique, experimenting with different dough recipes – from classic butter shortcrust to chocolate or nut-based variations – and practicing the blind baking process will further refine your abilities.
Remember that achieving a perfect tart shell recipe is a combination of a good recipe, careful technique, and patience. Don't be discouraged if your first attempt isn't absolutely perfect; baking is a journey of learning and practice. By understanding the purpose behind each step of blind baking and paying attention to the details, you'll gain confidence and consistency. Soon, you'll be turning out beautiful, professional-looking tarts that taste as incredible as they look, all thanks to the power of a perfectly blind-baked crust. Happy baking!
Frequently Asked Questions
What is blind baking, and why is it necessary for some tarts?
Blind baking is the process of baking a tart shell before the filling is added. It's necessary when the filling is unbaked or requires less baking time than the crust, ensuring a crisp, fully cooked bottom.
What are the best weights to use when blind baking a tart shell?
Common options include ceramic baking beans, dried beans, or even rice. The goal is to weigh down the dough to prevent it from puffing up during baking and maintain its shape.
How do I prevent my tart shell from shrinking during blind baking?
Chilling the dough before baking is crucial. Also, docking the dough (poking holes with a fork) allows steam to escape and reduces shrinkage.
What temperature and for how long should I blind bake my tart shell?
The ideal temperature typically ranges from 350-375°F (175-190°C). Baking time varies, but generally, aim for 15-20 minutes with weights followed by 5-10 minutes without until golden brown.
Can I reuse the beans or rice I used for blind baking?
Yes, you can reuse them! However, do not cook or eat them afterwards, as they won't taste very good. Label them clearly and store them specifically for future blind baking.
Final Reflection: Mastering the Art of the Perfect Tart Shell
The pursuit of the perfect tart shell is more than just a culinary quest; it's a testament to patience, precision, and the transformative power of a well-executed recipe. This seemingly simple task, often overlooked in the rush to fill a tart, is the foundation upon which a truly exceptional dessert is built. A flawlessly blind-baked shell—crisp, buttery, and delicately golden—elevates any filling, transforming a good dessert into a masterpiece.
The impact of a perfectly crafted tart shell extends beyond the immediate gratification of a delicious treat. It speaks to a deeper appreciation for the fundamentals of baking, a respect for the ingredients, and the satisfaction derived from mastering a technique. The greatest pleasure in life is doing what people say you cannot do.
This quote, while not specifically about baking, perfectly encapsulates the feeling of accomplishment that comes with conquering the challenges of blind baking. The seemingly simple act of creating a perfect shell becomes a symbol of perseverance and attention to detail, qualities that resonate far beyond the kitchen.
Now, I invite you to consider your own baking journey. Have you ever experienced the frustration of a soggy bottom or a cracked crust? Use this knowledge to refine your technique, to experiment with different flours and chilling times, and to embrace the iterative process of perfecting your craft. The next time you embark on creating a tart, remember the power of a well-executed blind bake—it's not just about the recipe, it's about the journey of mastering a craft and the pride that comes with creating something truly special. Go forth and bake!
Unleash Your Inner Pastry Chef: Bake the Perfect Tart!
Thanks for joining us on this baking adventure! You've now unlocked the secrets to flawlessly blind-baking a tart shell – a skill that will elevate your desserts to the next level. Ready to put your new knowledge into practice?
- Bake your dream tart today! Grab your favorite recipe and try out your new blind-baking skills. Don't be afraid to experiment with different fillings!
- Share your baking triumphs (and even your mishaps!) on social media using #BakeWithEaseTart. Let's inspire each other!
- Explore our other easy baking guides for more delicious recipe ideas and tips.
What delicious filling will you create for your first perfectly blind-baked tart?