
Portrait Painting on Cookies: An Advanced Baker's Challenge

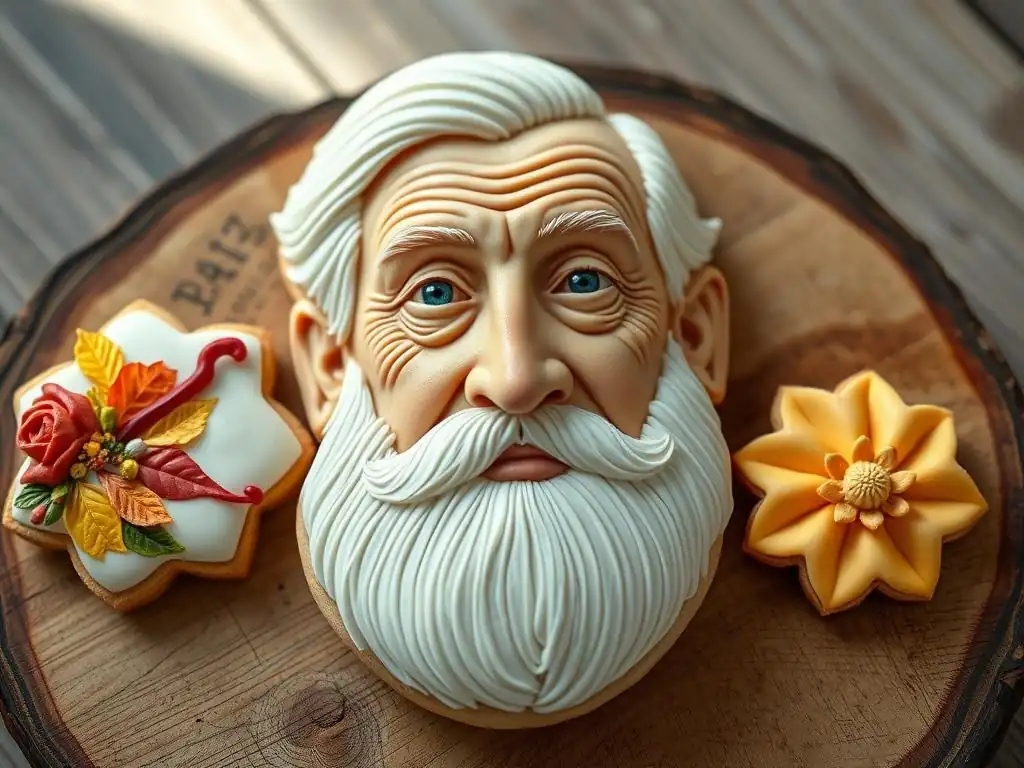
Welcome to BakeWithEase, where we transform everyday baking into extraordinary art! Ready to elevate your cookie game? Dive into our latest guide and unlock the secrets of cookie portrait painting techniques. Discover how to turn simple sugar cookies into edible masterpieces, adding a touch of artistry to every bite. Intrigued? Let's paint a delicious picture together...
- Introduction to Cookie Portrait Painting Techniques
- Essential Supplies for Cookie Portrait Painting
- Preparing Your Cookie Canvas for Portrait Painting
- Mastering Cookie Portrait Painting Techniques: A Step-by-Step Guide
- Advanced Tips and Tricks for Cookie Portrait Perfection
- Troubleshooting Common Cookie Portrait Painting Problems
- Inspiration and Ideas for Cookie Portrait Designs
- Preserving and Displaying Your Cookie Portrait Masterpieces
- Conclusion: Elevating Your Cookie Decorating Skills with Portrait Painting
-
Frequently Asked Questions
- How difficult is portrait painting on cookies compared to other baking techniques?
- What kind of edible paint is best for cookie portrait painting?
- What type of cookie is most suitable for portrait painting?
- What tools are needed for cookie portrait painting?
- Can beginners attempt cookie portrait painting, or is it strictly for experienced bakers?
- Final Reflection: The Enduring Allure of the Edible Masterpiece
- Unleash Your Inner Artist: Decorate and Share!
Delving into cookie portrait painting techniques represents a significant leap from basic cookie decorating. While flooding cookies with royal icing or piping simple designs requires precision and practice, rendering a recognizable human or animal face introduces complexities on an entirely different level. It demands a deep understanding of color theory, shading, proportion, and brush control, skills traditionally associated with fine art painting. The miniature scale of a cookie further amplifies these challenges, requiring meticulous detail work with tiny brushes.
Moreover, working with edible mediums presents unique hurdles. Food coloring pigments behave differently than traditional paints; they can bleed, fade, or react unexpectedly with the icing. The surface of the cookie, while smooth, is still fragile and requires careful handling. Achieving realistic skin tones, capturing the nuance of an eye, or rendering textured hair on a small, curved surface pushes a baker's artistic and technical limits, solidifying cookie portrait painting techniques as a true test of advanced skill.
The appeal of painting portraits on cookies lies in the stunning fusion of culinary craft and fine art. Transforming a simple baked good into a miniature, edible masterpiece that captures a likeness is incredibly rewarding and often breathtaking for the recipient. These edible portraits are perfect for special occasions like birthdays, anniversaries, or holidays, offering a highly personalized and memorable gift that goes far beyond a standard decorated cookie.
Creating edible art through cookie portrait painting techniques allows bakers to express their creativity in a unique medium. It's a chance to translate traditional artistic principles onto a sweet canvas, exploring light, shadow, and form using food-safe materials. The detailed process, from preparing the cookie base to adding the final highlights, is a meditative and engaging challenge that results in a truly one-of-a-kind piece of art, albeit one that is ultimately meant to be enjoyed and consumed.
The foundation of a great cookie portrait is the cookie itself. You need a recipe that produces a sturdy, flat cookie that won't spread excessively during baking and can withstand handling and the application of icing and paint. A classic sugar cookie recipe designed for cutouts is often the preferred choice, but recipes specifically formulated for minimal spread, sometimes including ingredients like baking powder or cornstarch in specific ratios, work even better.
The thickness of the cookie also matters. Aim for a cookie that is about 1/4 to 1/2 inch thick. Too thin, and it might break easily; too thick, and it can become cumbersome to handle and eat. Ensure the surface is as smooth and flat as possible before baking by chilling the dough thoroughly and baking at a consistent temperature, often around 350°F (175°C), until the edges are just lightly golden.
Royal Icing for Portrait Painting: Consistency is Key
Royal icing serves as the white canvas upon which your portrait will be painted, and its consistency is paramount. For the base layer that covers the cookie, you need a flood consistency icing that dries perfectly smooth and hard, without craters. This consistency is typically achieved by adding water gradually to stiff peak royal icing until a ribbon of icing dropped back into the bowl disappears within about 10-15 seconds.
For the painting itself, you'll use food coloring mixed with a small amount of water or clear alcohol (like vodka or edible alcohol) and applied to the dried royal icing base. The icing underneath must be completely dry and hardened – often requiring 6-12 hours or even overnight drying – to prevent the wet paint from dissolving or damaging the surface. The strength and composition of the royal icing, typically made with meringue powder or egg whites, powdered sugar, and water, are critical for a stable painting surface.
Achieving realistic skin tones is one of the most challenging aspects of cookie portrait painting techniques. You'll need a range of high-quality gel or liquid food colorings. Essential colors usually include red, yellow, brown, and black, along with white (often using white food coloring or titanium dioxide powder mixed with liquid). Mixing flesh tones is an art in itself, requiring tiny amounts of colors to create subtle variations.
A basic Caucasian skin tone might start with a base of white, adding a tiny touch of yellow and an even smaller touch of red. For darker skin tones, you'll incorporate more brown and potentially a touch of black or even blue or green for undertones, depending on the reference image. It's crucial to mix small test batches on a piece of parchment paper or a spare iced cookie to ensure the color is correct before applying it to your portrait canvas. Remember that colors can deepen slightly as they dry.
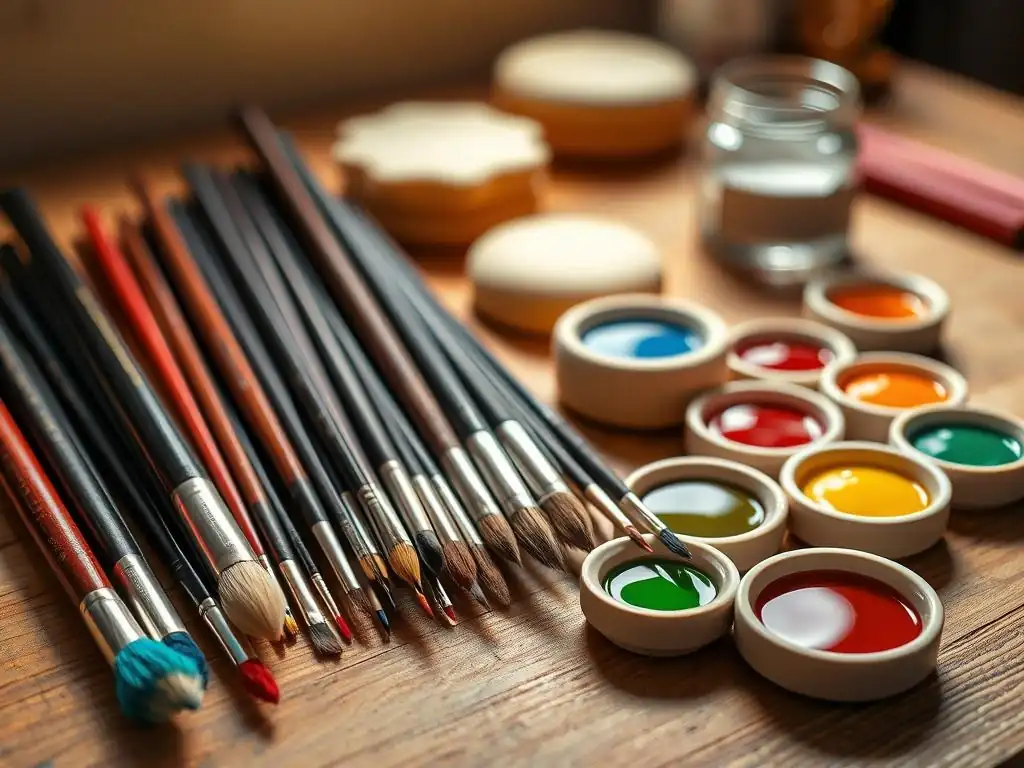
Just as a traditional painter needs a variety of brushes, so too does a cookie portrait artist. You'll need a selection of fine-tipped brushes for detail work, ranging from very small sizes like 000 or 0 to slightly larger sizes like 1 or 2. These are essential for painting delicate features like eyes, nostrils, and the edges of lips.
You will also benefit from having a few slightly larger, softer brushes (sizes 4-8) for applying base washes of color, blending, and blocking in larger areas like hair or clothing. Synthetic brushes are often preferred as they are durable, easy to clean, and hold their shape well. Ensure your brushes are designated only for food use to maintain hygiene and prevent contamination from non-edible paints or chemicals.
Other Necessary Tools: Projector, Palette, and More
Several other tools can significantly aid in cookie portrait painting techniques. A small pico projector is invaluable for transferring the outline of your portrait onto the dried royal icing surface accurately. Projecting the image allows you to trace the key features directly onto the cookie, saving time and ensuring correct proportions, especially for complex likenesses.
You'll also need a palette for mixing your food colors. A simple ceramic plate, a plastic palette specifically designed for artists, or even small plastic containers work well. Keep a cup of clean water or clear alcohol handy for rinsing brushes between colors. Paper towels or a lint-free cloth are essential for drying brushes and wiping away excess paint. Some artists also find a small fan helpful for speeding up the drying process between layers of paint.
Baking the perfect cookie base is the critical first step in cookie portrait painting techniques. Start with a reliable no-spread sugar cookie recipe. After preparing the dough, it's absolutely essential to chill it thoroughly, ideally for at least 2-3 hours, or even overnight. This chilling process firms up the butter, preventing the cookies from spreading excessively in the oven and helping them maintain sharp edges and a flat surface, which is vital for a smooth canvas.
When rolling out the dough, aim for an even thickness across the entire sheet, typically between 1/4 and 1/2 inch. Use cookie cutters to cut out your desired shapes. For portraits, circles, squares, or ovals are common. Place the cutouts onto baking sheets lined with parchment paper or silicone mats. For extra flatness, you can gently press down on the dough cutouts with a flat object before baking. Bake according to your recipe's instructions, typically at 350°F (175°C), until the edges are just set and lightly golden. Over-baking can lead to uneven surfaces or cracking.
Achieving a Smooth Royal Icing Base Coat
Once your cookies are completely cooled, it's time to apply the royal icing base coat. This layer will serve as your white canvas. Prepare a batch of flood consistency royal icing, as described earlier, ensuring it's smooth and free of air bubbles. You can achieve this by gently stirring the icing without whipping air into it.
Carefully outline the cookie with a slightly thicker consistency royal icing (often called outline consistency), then immediately flood the center with the flood consistency icing. Use a scribe tool or a toothpick to gently spread the icing to the edges and pop any surface air bubbles. Work quickly to ensure the icing dries smoothly and evenly. A perfectly smooth, level surface is crucial for applying delicate cookie portrait painting techniques without texture interference.
Drying Time: Ensuring a Stable Surface for Painting
Allowing the royal icing base coat to dry completely is non-negotiable before you begin any cookie portrait painting techniques. This process typically takes a minimum of 6-8 hours, but leaving them overnight (10-12 hours or even longer) in a dry, cool environment is highly recommended. The icing needs to harden fully so that the moisture from the food coloring paints does not dissolve, crack, or otherwise damage the underlying surface.
Humidity is the enemy of drying royal icing. If you live in a humid climate, consider using a dehydrator on a low setting (around 90-100°F or 32-38°C) for a few hours, or placing the cookies near a fan, though be careful not to blow dust onto the wet icing. The surface should feel completely hard and dry to the touch, with no tackiness whatsoever, before you attempt to transfer an outline or apply any paint. Impatience at this stage will almost certainly lead to frustrating issues later on.
Step 1: Projecting or Sketching Your Portrait Outline
The first step in applying cookie portrait painting techniques is transferring your subject's basic outline onto the dried royal icing canvas. The most accurate method, especially for beginners, is using a pico projector. Position the cookie and project your reference image onto it, adjusting the size until it fits your cookie perfectly. Then, use a very fine-tipped edible marker or a tiny brush dipped in a very dilute, light-colored food coloring (like a light grey or tan) to lightly trace the key features: the outline of the face, placement of eyes, nose, mouth, and hairline.
Alternatively, if you're confident in your drawing skills, you can freehand a sketch using an edible marker. Some artists also lightly score the surface with a scribe tool or toothpick to mark placement points. Whichever method you choose, keep the outline minimal – just enough to guide your painting. Too much detail in the initial sketch can be difficult to cover or incorporate later.
Step 2: Mixing Food Coloring for Skin Tones and Features
With the outline in place, prepare your edible paints. As mentioned earlier, use high-quality gel or liquid food colors mixed with a small amount of water or clear alcohol. Alcohol dries faster, which can be advantageous when layering colors quickly. Start by mixing your base skin tone color on your palette. Remember to mix more than you think you'll need, as it's difficult to perfectly replicate a color mix later.
Next, mix slightly darker and lighter variations of the skin tone for shadows and highlights. Prepare colors for other features as well: different shades of brown, black, blue, or green for eyes; reds, pinks, or browns for lips; and a range of colors for hair, depending on your subject. Keep your mixes relatively thin, similar to watercolor paint, as thick paint can look heavy and opaque on the cookie.
Step 3: Layering Colors for Depth and Dimension
Applying color in thin layers is fundamental to successful cookie portrait painting techniques, much like traditional painting. Start with the lightest colors first, or apply a thin wash of the base skin tone over the entire face area within your outline. Allow each layer to dry slightly before applying the next. This prevents colors from blending uncontrollably and allows you to build up depth gradually.
Begin blocking in the main areas of shadow and light using your darker and lighter skin tone mixes. Don't aim for perfection in these early layers; focus on establishing the basic form and structure of the face. Use soft brushes to apply the color smoothly. Building up layers allows you to create subtle transitions and add complexity to the skin tone, moving beyond a flat, one-dimensional appearance.
Step 4: Adding Details: Eyes, Lips, and Hair
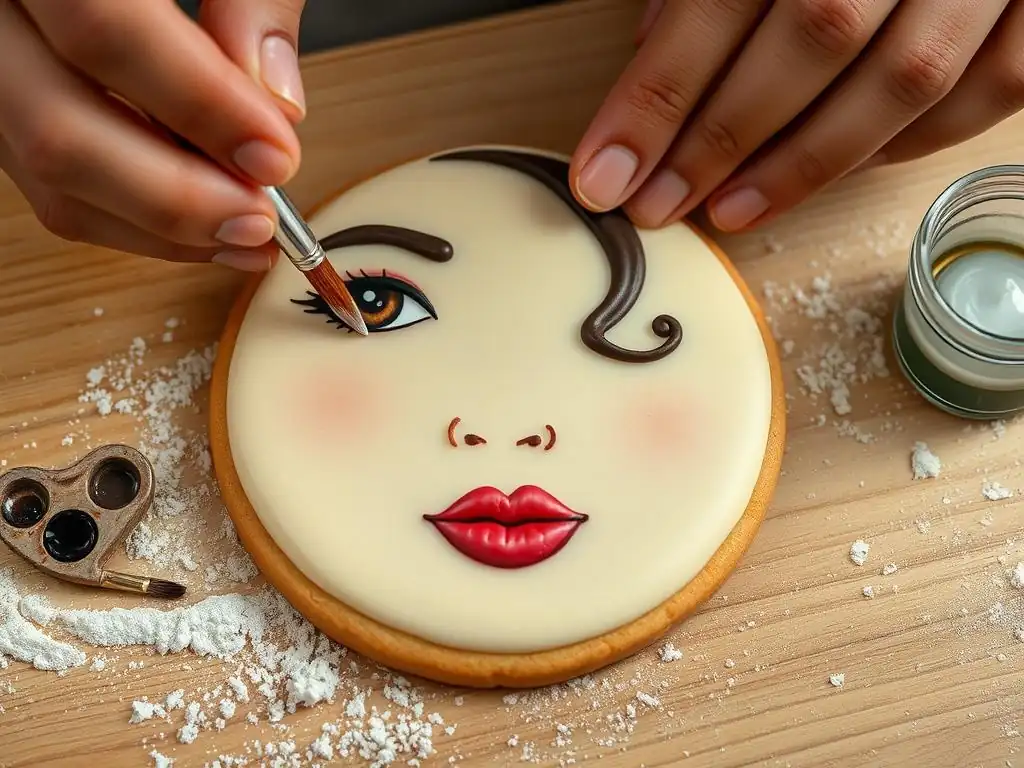
Once the base layers are established, it's time to focus on the details that bring the portrait to life. Using your finest brushes (sizes 000, 0, or 1), carefully paint the eyes. This is often the most crucial step for capturing a likeness. Pay close attention to the shape of the iris and pupil, the highlights (which add sparkle and life), and the subtle lines of the eyelids. Use very thin paint and a steady hand.
Move on to the lips, painting their basic shape and color, then adding subtle lines and highlights to make them appear more realistic. Finally, tackle the hair. Start with a base color, then add darker lines for shadow and lighter strokes for highlights and texture. Varying the pressure and direction of your brush strokes can help create the illusion of individual strands of hair. Precision and patience are key during this detailing phase of cookie portrait painting techniques.
Step 5: Highlighting and Shading for Realism
The final steps in mastering cookie portrait painting techniques involve refining the highlights and shadows to add realism and depth. Revisit the areas you previously blocked in with darker and lighter tones. Use very thin layers of darker colors to deepen shadows in areas like under the cheekbones, around the eyes, and along the hairline.
Conversely, use thin layers of lighter colors or white mixed with a tiny bit of your base skin tone to add highlights on areas like the forehead, bridge of the nose, cheekbones, and chin. Adding tiny, bright white dots in the pupils of the eyes is crucial for making them look wet and alive. Step back frequently to assess your work and compare it to your reference image. Subtle adjustments in shading and highlighting can dramatically enhance the three-dimensionality and likeness of your cookie portrait.
Blending Techniques for Seamless Color Transitions
Achieving seamless color transitions is vital for realistic cookie portrait painting techniques. One common method is wet-on-wet blending, where you apply a color and then immediately apply an adjacent color while the first is still wet, gently feathering the two together with a clean, damp brush. However, this can be tricky on royal icing and may disturb the base layer if not done carefully.
A safer and often more controlled method is layering and dry blending. Apply thin layers of color, allowing each to dry partially. Then, using a clean, dry, soft brush, gently feather the edges of the applied color to soften them before applying the next layer. You can also use a slightly damp brush (dampened with water or alcohol and then blotted almost dry) to gently coax wet paint areas together on the surface without disturbing the dry layers underneath. Practice on spare cookies to find the blending technique that works best for you.
Rendering realistic hair is a common challenge in cookie portrait painting techniques. Avoid painting hair as a solid block of color. Instead, think of it as individual or clumps of strands. Start by painting the overall shape and darkest shadows of the hair using a medium-sized brush. Once this layer is dry, switch to a fine-tipped brush.
Using slightly lighter shades, paint individual strands or small groups of hairs, following the direction of growth. Vary the pressure on your brush to create thinner and thicker lines. Add the lightest highlights last, using a very light color or even white, applied sparingly to catch the light. Observing how light hits hair in your reference photo is key. Building up the hair in layers, from dark to light, adds depth and texture.
Creating depth and dimension is what transforms a flat image into a more lifelike portrait using cookie portrait painting techniques. This is primarily achieved through the skillful application of light and shadow. Study your reference photo carefully to identify where the light source is coming from and how it creates highlights and casts shadows.
Apply darker shades in areas that recede, such as the eye sockets, under the nose and chin, and in the contours of the face. Apply lighter shades and highlights to areas that catch the light and project forward, like the forehead, cheekbones, and the tip of the nose. Using subtle color variations and building up layers gradually allows you to sculpt the face on the flat cookie surface, creating the illusion of three-dimensional form.
Mistakes happen, even with advanced cookie portrait painting techniques! The good news is that minor errors can often be corrected. For small slips or stray marks, you can sometimes gently lift wet paint using a clean, slightly damp brush and blotting it on a paper towel. For dried mistakes, you might be able to very carefully scrape away a tiny amount of the dried paint using a sharp, pointed scribe tool or the tip of an X-acto knife (used with extreme caution and for food-safe purposes only).
If a mistake is larger or has stained the royal icing, you might need to carefully apply a thin layer of white food coloring or diluted white royal icing over the area once it's dry, effectively creating a small patch. Once this patch is dry, you can attempt to repaint that section. Sometimes, a mistake can be cleverly incorporated into the design or covered by adding a bit more hair or shadow, requiring a flexible approach to your cookie art.
Royal Icing Bleeding: Causes and Solutions
One of the most frustrating issues in cookie portrait painting techniques is royal icing bleeding, where the colors spread uncontrollably into adjacent areas or stain the white base layer. This is usually caused by applying paint to a royal icing base that isn't completely dry, allowing the moisture from the paint to reactivate the icing. Using too much liquid in your food coloring paint can also contribute to bleeding.
To prevent bleeding, ensure your royal icing base has dried for the recommended time, preferably overnight. Use as little liquid as possible when mixing your food colors – clear alcohol dries faster than water and is less likely to cause bleeding. Apply paint in thin layers, allowing each layer to dry before applying the next. If bleeding occurs, you can sometimes try to absorb the excess moisture gently with the corner of a paper towel, but severe bleeding may require starting over on that section or cookie.
Uneven Color Distribution: Tips for Smooth Application
Uneven color distribution can result in a splotchy or streaky portrait. This often happens when the paint is too thick, the brush is too dry, or the application is inconsistent. To achieve smooth color application in your cookie portrait painting techniques, ensure your food coloring paint is mixed to a consistency similar to watercolor – thin enough to flow smoothly but not so watery that it pools.
Load your brush evenly with paint and apply it in smooth, overlapping strokes. For larger areas, work relatively quickly to keep the paint wet and blendable before it dries. If you are layering, ensure each layer is thin and applied evenly. Using a good quality soft brush can also help distribute the paint more smoothly. Practice applying washes of color on a spare iced cookie to get a feel for the right paint consistency and brush control.
Cracking in the royal icing base or the painted surface can ruin a cookie portrait. This can occur if the royal icing was applied too thickly, if the cookie flexes after the icing has dried, or if the cookie base itself is too brittle. Rapid changes in temperature or humidity during the drying process can also contribute to cracking.
To prevent cracks, ensure your royal icing is a proper flood consistency and applied in an even layer, not excessively thick. Handle the cookies gently once the icing is dry to avoid flexing them. Store drying cookies in a stable environment away from drafts or extreme temperature changes. Using a slightly softer cookie recipe that isn't overly crisp can also help absorb minor stresses without cracking the icing. If a small crack appears, you can sometimes carefully fill it with a tiny amount of matching color paint, though this fix is often visible upon close inspection.
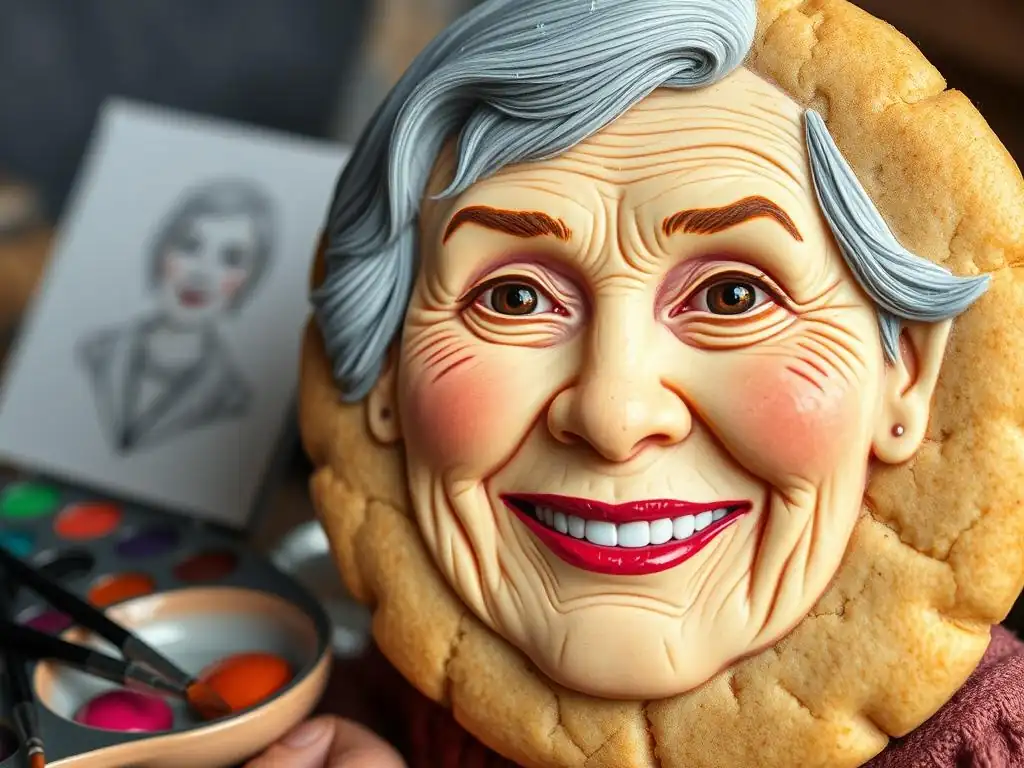
Taking inspiration from the masters is a fantastic way to practice advanced cookie portrait painting techniques. Attempting to recreate miniature versions of famous portraits like Leonardo da Vinci's Mona Lisa, Vincent van Gogh's self-portraits, or Vermeer's Girl with a Pearl Earring presents a unique challenge. Focus on capturing the essence of the painting's style, color palette, and lighting, scaled down to fit a cookie canvas.
Starting with simpler, less detailed famous portraits can be a good entry point before tackling highly complex works. This exercise not only hones your cookie painting skills but also deepens your appreciation for traditional art techniques and color theory. It's a playful yet challenging way to engage with art history through edible mediums.
Painting Family Portraits on Edible Canvases
One of the most popular and heartfelt applications of cookie portrait painting techniques is creating edible portraits of family members or loved ones. These make incredibly personal gifts for birthdays, holidays, or anniversaries. Choose clear, well-lit reference photos where the subject's features are distinct.
Start with a single portrait before attempting group shots, which add complexity due to multiple faces and interactions. Focus on capturing the individual's likeness – the shape of their eyes, their smile, the curve of their nose. While achieving perfect realism can be difficult, capturing the spirit and key features of the person is often enough to create a touching and recognizable edible tribute.
Beyond realistic portraits, cookie portrait painting techniques can be used to create detailed edible renderings of beloved characters from movies, books, or video games. This allows for more creative freedom with colors and styles, as you are often working with stylized representations rather than strict realism.
Consider painting portraits of classic Disney characters, superheroes, anime figures, or characters from popular video games. These often feature distinct, recognizable features and vibrant color palettes that translate well to edible paint. This theme can be particularly fun for themed parties or events, offering a unique and edible party favor or decoration.
While intended to be eaten, you may wish to preserve a cookie portrait masterpiece as a keepsake. The most common method for sealing decorated cookies is using an edible glaze or sealant spray. These products, often shellac-based (edible shellac derived from lac bugs) or made from food-grade resins, create a protective barrier over the dried royal icing and paint.
Apply the edible glaze or spray according to the product instructions, usually in thin, even coats, allowing each layer to dry completely. This sealant helps protect the painted surface from humidity, dust, and minor bumps. Be aware that while sealed cookies can last for a long time visually, the cookie underneath will eventually become stale. Clearly label sealed cookies as "for display only" if they are not meant for consumption.
Creative Display Ideas for Edible Portraits
Displaying your finished cookie portrait masterpieces can be as creative as the painting process itself. Individual cookies can be placed on mini easels or presented in small clear boxes. A collection of related cookie portraits could be arranged on a decorative platter or framed in a shadow box (ensuring adequate ventilation if sealed).
For special events, cookie portraits can be incorporated into a dessert table display, either standing upright with support or laid flat as part of the overall arrangement. Consider using small, food-safe stands or pedestals to elevate individual cookies. Presenting them alongside the reference photo they were painted from can also be a fun way to showcase your skill in cookie portrait painting techniques.
The world of cookie art is constantly evolving, with advanced cookie portrait painting techniques at the forefront of this innovation. Artists are experimenting with new edible mediums, exploring different types of edible paints and powders, and pushing the boundaries of realism and artistic expression on cookies. Techniques borrowed from other art forms, like airbrushing with edible colors or using palette knives for texture, are finding their way onto the cookie canvas.
As tools like edible printers become more sophisticated (though distinct from hand-painting), they may complement, rather than replace, the intricate skill required for hand-painted portraits. The future likely holds even more detailed, complex, and stunning examples of edible portraiture, inspiring a new generation of bakers and artists to combine their passions. The pursuit of mastering cookie portrait painting techniques remains a vibrant and exciting challenge in the culinary arts.
For those looking to further hone their advanced cookie portrait painting techniques and other complex decorating skills, a wealth of resources exists. Online platforms like YouTube and skill-sharing websites host tutorials from experienced cookie artists. Many professional cookie decorators offer in-person or online classes specifically focused on painting, airbrushing, and intricate detail work on royal icing.
Books and specialized blogs dedicated to advanced cookie decorating provide detailed guides and inspiration. Joining online communities and social media groups focused on cookie art allows you to connect with other decorators, share your work, ask questions, and learn from the collective experience. Continuously practicing, seeking feedback, and studying both traditional painting techniques and edible art methods are key to mastering the nuanced world of cookie portrait painting.
Frequently Asked Questions
It's considered an advanced technique requiring patience and precision. Unlike basic cookie decorating, portrait painting demands artistic skill and attention to detail to capture likeness.
Edible gel food coloring mixed with a clear extract like vodka or lemon extract is often recommended. This creates a paint that dries quickly and provides vibrant, blendable colors.
A smooth, flat cookie surface made with royal icing is ideal. Sugar cookies or gingerbread cookies covered with a smooth layer of royal icing offer the best canvas.
You'll need fine-tipped paintbrushes, a palette for mixing colors, and a reference image. Small brushes are crucial for detail, and a projector or edible marker can help transfer the initial outline.
While challenging, beginners can try it with simpler portraits and practice. Starting with basic techniques and gradually increasing complexity is key to developing essential skills.
Final Reflection: The Enduring Allure of the Edible Masterpiece
The meticulous art of cookie portrait painting transcends mere baking; it's a testament to human creativity and the enduring power of visual storytelling. This intricate process, demanding precision and patience, has found a surprising resurgence in popularity, fueled by the accessibility of online tutorials and the ever-growing desire for personalized, artistic expressions. The detailed techniques explored in this article—from precise icing application to masterful color blending—are not just skills; they are pathways to crafting truly unique and memorable gifts or self-expressions.
The impact of this art form extends beyond the delicious final product. It fosters a sense of community among bakers, connecting individuals through shared passion and the exchange of innovative techniques. The beauty of art lies in its ability to transcend language and connect us on a deeper level,
a sentiment echoed by countless artists across mediums. This holds true for cookie portrait painting, where the emotion conveyed through a carefully crafted likeness speaks volumes, regardless of the baker's or recipient's background. The act of creating itself is meditative and rewarding, offering a respite from the daily grind and a chance to cultivate patience and attention to detail.
Now, consider your own creative potential. What story do you want to tell through the medium of cookie portraiture? Perhaps it's a tribute to a loved one, a whimsical self-portrait, or a recreation of a favorite piece of art. Don't be afraid to experiment, to push your boundaries, and to embrace the inevitable imperfections that add character to your edible masterpieces. The journey of mastering cookie portrait painting is as rewarding as the final result, a testament to your dedication and a delicious celebration of your unique artistic voice.
Thanks for joining us on this sweet journey into the world of cookie portraiture! We hope you’ve gained some inspiration and new techniques to elevate your baking game. Ready to put your newfound skills to the test?
- Master a Mini-Masterpiece: Choose your favorite portrait subject (pet, celebrity, or even yourself!) and try creating a cookie version. Don't be afraid to experiment with colors and details!
- Share Your Creation: Post your cookie portrait on social media using #BakeWithEasePortraits and tag us – we'd love to see your artistic masterpieces!
- Explore different icing techniques: Try using different consistencies of royal icing or experimenting with edible paints to achieve varied textures and details.
So, what incredible cookie portrait will you create next? Let's see those artistic skills shine!