
Easy Rustic Fruit Tart Recipe: Imperfectly Perfect

Welcome to BakeWithEase, your trusted companion on your baking journey!
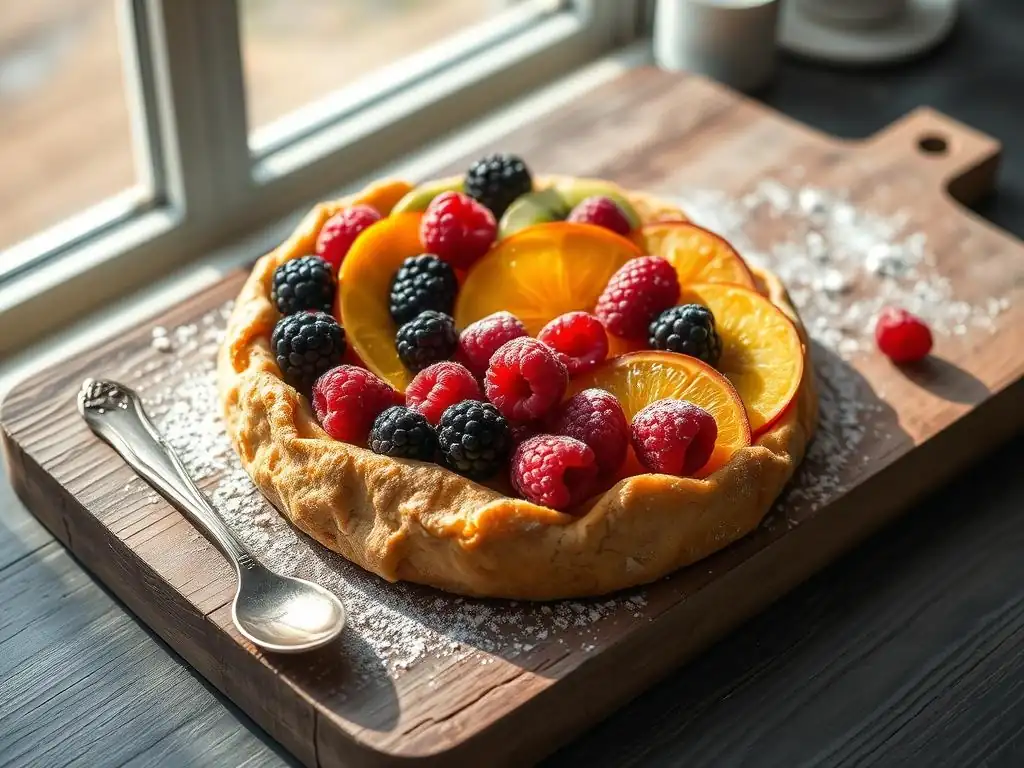
Craving a delicious dessert without the fuss? Discover the secrets to crafting a stunning, yet surprisingly simple, easy rustic fruit tart. Forget perfection; embrace the charm of rustic baking with our straightforward recipe and step-by-step guide. Intrigued? Let's unlock the magic and create a masterpiece together!
- Classic Apple Galette Recipe: A Taste of Autumn
- From My Kitchen to Yours: The Easiest Apple Galette
- What Makes This Apple Galette Recipe So Easy?
- Ingredients for Your Easy Apple Galette
- Step-by-Step Instructions: Making the Perfect Apple Galette
- Tips & Tricks for the Best Apple Galette
- Storing Your Homemade Apple Galette
- Why You'll Love This Easy Apple Galette Recipe
- Enjoy Your Delicious and Easy Apple Galette!
- Frequently Asked Questions
- Final Reflection: Embracing Imperfection in the Kitchen and Beyond
- Unlock Your Inner Baker: Craft Your Rustic Fruit Tart Today!
Classic Apple Galette Recipe: A Taste of Autumn
From My Kitchen to Yours: The Easiest Apple Galette
Embrace Simplicity: Your Guide to a Rustic Apple Galette
There's something undeniably charming about a rustic dessert. Unlike perfectly formed pies or elaborate cakes, a galette embraces imperfection. It's essentially a freeform tart, where the pastry is simply folded over a generous filling.
This lack of strict structure makes it incredibly forgiving and approachable, especially for bakers who might feel intimidated by traditional pie crusts. Think of it as an easy rustic fruit tart that celebrates the natural beauty of its ingredients without requiring fancy tools or techniques. It's the kind of dessert that looks like you spent hours in the kitchen, but in reality, comes together with minimal fuss.
This classic apple galette recipe is designed with ease in mind, making it the perfect entry point into the world of rustic baking. We'll guide you through creating a simple, buttery pastry and a sweet, spiced apple filling that captures the essence of autumn.
The beauty of an easy rustic fruit tart like this galette lies in its adaptability; while we focus on apples here, the basic technique can be applied to countless fruit combinations. Our goal is to provide you with a reliable, straightforward recipe that yields delicious results every single time, proving that beautiful baking doesn't have to be complicated.
What Makes This Apple Galette Recipe So Easy?
Simple Ingredients for a Delicious Galette
One of the key reasons this apple galette qualifies as an easy rustic fruit tart is its reliance on pantry staples and readily available produce. You won't need to hunt down obscure ingredients; everything required for both the crust and the filling can likely be found at your local grocery store. We're talking about basic flour, butter, sugar, and fresh apples. This simplicity ensures that you can decide to bake a galette on a whim, without extensive planning or a special shopping trip. The focus shifts from ingredient sourcing to the joy of assembly and baking.
Furthermore, the minimal number of ingredients means fewer measurements to manage and less room for error. For the crust, it's just flour, butter, a pinch of salt, and ice water – four fundamental components that transform into a wonderfully flaky base. The filling is equally straightforward, combining sliced apples with sugar, a touch of spice like cinnamon or nutmeg, and perhaps a binder like flour or cornstarch. This uncomplicated list underscores the recipe's commitment to being an easy rustic fruit tart experience from start to finish.
No-Fuss Pastry Dough: Perfect for Beginners
Traditional pie crust can feel daunting with its requirements for perfect crimping and precise rolling. This galette dough, however, is incredibly forgiving. Because it's freeform, the shape doesn't need to be a perfect circle; rustic edges and irregular folds are part of its charm.
This liberates you from the pressure of achieving pastry perfection. The method involves cutting cold butter into flour, a technique that creates flaky layers, followed by adding just enough ice water to bring it together. There's no need for a food processor unless you prefer one; a simple pastry blender or even your fingertips will do the job effectively.
The process is designed to minimize handling, which is crucial for tender pastry. After a brief chilling period, the dough is rolled out into a rough circle or oval. If it tears, it's easily patched. The edges are simply folded over the filling, creating a border that holds everything in place while baking. This lack of structured crimping or fitting into a pie plate drastically reduces the steps and the potential for frustration, making this an ideal recipe for anyone new to pastry or looking for a quick, reliable method for an easy rustic fruit tart base.
Classic Apple Filling: A Timeless Favorite
The heart of this easy rustic fruit tart is the apple filling, a combination that has delighted taste buds for generations. Apples, particularly varieties like Granny Smith, Honeycrisp, or Fuji, soften beautifully in the oven while retaining just enough structure to provide a pleasant texture. Their natural sweetness and slight tartness are perfectly complemented by warm spices, most commonly cinnamon, which evokes cozy, autumnal feelings. Preparing the filling is as simple as slicing the fruit and tossing it with sugar, spice, and a small amount of flour or cornstarch to absorb excess juices and prevent a soggy bottom.
The beauty of this classic filling lies in its simplicity and versatility. You don't need to pre-cook the apples; they bake directly inside the galette, softening and caramelizing as the crust turns golden. This direct approach saves time and effort compared to recipes that require pre-stewing fruit. The combination of apples and cinnamon is universally loved, guaranteeing that this easy rustic fruit tart will be a crowd-pleaser, whether served warm from the oven or at room temperature.
Ingredients for Your Easy Apple Galette
The Crust: Simple Pastry Dough Ingredients
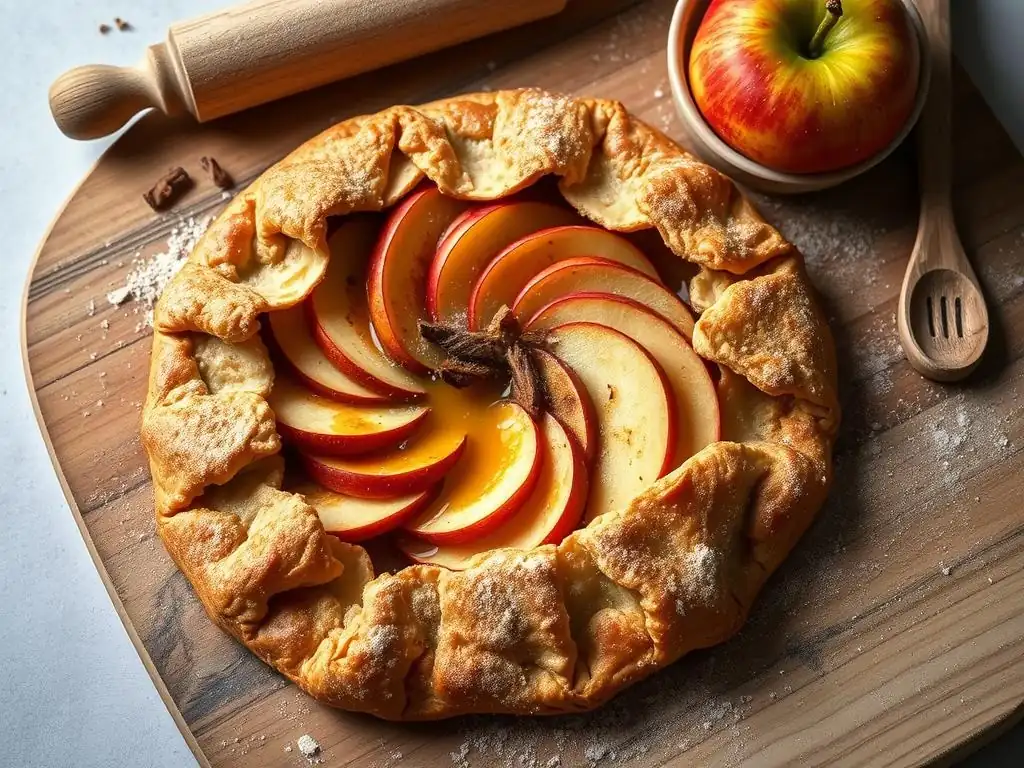
To create the flaky, rustic base for your galette, you will need just a few basic ingredients, typically measured precisely for the best results. Start with about 1 ¼ cups (approximately 150-160 grams) of all-purpose flour. Ensure it's measured correctly by spooning it into the measuring cup and leveling it off.
You'll also need ½ teaspoon of salt to enhance the flavor of the dough. The fat component is crucial: you'll use about 8 tablespoons (1 stick, or 113 grams) of unsalted butter, cut into small cubes. It is absolutely essential that this butter is very cold – straight from the refrigerator or even briefly placed in the freezer.
Finally, you will need approximately 4 to 6 tablespoons of ice water. The exact amount can vary depending on the humidity and your flour, so start with 4 tablespoons and add more, a tablespoon at a time, until the dough just comes together. Using ice water helps keep the butter cold, which is key to achieving a flaky texture.
These simple ingredients, when combined correctly, yield a dough that is both tender and sturdy enough to hold the generous apple filling. The cold butter pieces melt in the oven, creating steam pockets that push apart the layers of dough, resulting in that desirable flakiness characteristic of a great easy rustic fruit tart crust. Having all these ingredients prepped and measured before you begin mixing will make the dough-making process even smoother and quicker, reinforcing the "easy" aspect of this recipe.
The Filling: Fresh Apples & Spice Ingredients
The heart of your easy apple galette, and what makes it a delicious easy rustic fruit tart, is the flavorful apple filling. You'll need approximately 4 to 5 medium apples, which usually weighs around 1 ½ to 2 pounds (about 700-900 grams). A mix of apple varieties works well, combining tartness (like Granny Smith) with sweetness (like Honeycrisp or Fuji) for a balanced flavor. Peel, core, and slice the apples about ¼ inch thick. Uniform slices ensure they cook evenly.
For sweetness, you'll need about ¼ to ⅓ cup (50-65 grams) of granulated sugar. Adjust this amount based on the sweetness of your apples and personal preference. To bind the juices and prevent the filling from being too watery, add 1 to 2 tablespoons of all-purpose flour or cornstarch. Cornstarch tends to create a slightly clearer sauce.
Spices are essential for that classic apple pie flavor. About 1 teaspoon of ground cinnamon is standard, but you can add a pinch of nutmeg, allspice, or cardamom for extra warmth. A squeeze of fresh lemon juice (about 1 tablespoon) brightens the flavor and helps prevent the apples from browning as you prepare them.
Occasionally, recipes might call for a tablespoon of butter cut into small pieces to dot over the apples before folding the crust, adding richness. These ingredients are simple, yet they combine to create a filling that is both comforting and delicious, perfectly suited for an easy rustic fruit tart.
Step-by-Step Instructions: Making the Perfect Apple Galette
Preparing the Easy Pastry Dough
Mixing the Dough
Begin by combining the measured flour and salt in a large mixing bowl. Whisk them together briefly to ensure the salt is evenly distributed. Next, add the very cold, cubed butter to the flour mixture. Using a pastry blender, two forks, or your fingertips, quickly cut the butter into the flour until the mixture resembles coarse crumbs with some pea-sized pieces of butter still visible. This step is crucial; you want to work quickly to keep the butter cold. Avoid overmixing at this stage.
Now, it's time to add the ice water. Start with 4 tablespoons, sprinkling it over the flour-butter mixture. Use a fork to gently bring the dough together. Add additional ice water, one tablespoon at a time, only until the dough just comes together when you pinch a piece. Be careful not to add too much water, as this can make the crust tough. The dough should be shaggy and not a smooth ball.
Chilling the Dough
Once the dough has just come together, turn it out onto a clean surface. Gently press it into a flat disc shape, about 1 inch thick. Do not knead the dough; overworking develops gluten and results in a tough crust. Wrap the disc tightly in plastic wrap. This chilling step is essential for several reasons. Firstly, it allows the gluten to relax, making the dough easier to roll out without shrinking excessively. Secondly, and perhaps most importantly for an easy rustic fruit tart crust, it re-chills the butter, solidifying those crucial fat pieces that create flakiness during baking.
Place the wrapped dough disc in the refrigerator for at least 30 minutes, or up to 2 days. If chilling for longer than a couple of hours, you may need to let it sit at room temperature for 5-10 minutes before rolling to make it pliable enough. This simple chilling period is a non-negotiable step for achieving that desirable flaky texture in your easy rustic fruit tart base.
Assembling the Apple Galette
Rolling Out the Dough
Once your dough is sufficiently chilled, unwrap it and place it on a lightly floured surface. Use a rolling pin to roll the dough into a rough circle or oval shape, approximately 12 to 14 inches in diameter and about ⅛ inch thick. Don't worry about making a perfect circle; the rustic, freeform shape is part of the charm of an easy rustic fruit tart like this galette.
As you roll, lift and rotate the dough occasionally, adding a little more flour underneath if it starts to stick, to ensure it doesn't adhere to the surface. Aim for a size that will accommodate the apple filling while leaving a border of dough to fold over.
Transferring the rolled dough can be tricky. You can gently roll it onto your rolling pin and then unroll it onto a baking sheet lined with parchment paper, or carefully slide it onto the prepared baking sheet. Parchment paper is highly recommended as it prevents sticking and makes cleanup much easier. Position the dough in the center of the baking sheet, ready for the filling.
Arranging the Apple Filling
Take your prepared apple filling mixture (sliced apples tossed with sugar, spice, and binder) and arrange it in the center of the rolled-out dough. Leave a border of about 2 to 3 inches of dough uncovered around the edges. Pile the apples slightly higher in the center, as they will soften and sink down as they bake. Try to arrange the slices somewhat evenly for consistent cooking, but again, don't stress about perfection – rustic is the goal for this easy rustic fruit tart!
Ensure the filling is relatively compact in the center, allowing the dough border to remain clear. This clear border is necessary for the next step: folding the edges. Distribute any spices or binder evenly throughout the apple slices before placing them on the dough.
Folding the Edges
Now comes the signature rustic look of the galette. Starting at one point, gently fold the edge of the dough up and over the outer edge of the apple filling. Work your way around the circle, overlapping the folds as you go. The folds do not need to be uniform or neat; in fact, the more irregular and rustic they are, the better! This creates a freeform border that holds the filling in place while leaving the center of the fruit exposed.
As you fold, press the dough gently against the filling to secure the edge. The goal is to create a raised border that will contain the juices released by the apples during baking. This simple folding technique is much less demanding than crimping a traditional pie crust, contributing significantly to the ease of this easy rustic fruit tart.
Brushing with Egg Wash (Optional)
For a beautiful golden-brown and slightly shiny crust, you can brush the folded edges of the galette with an egg wash. To make an egg wash, whisk together one large egg with about 1 tablespoon of water or milk in a small bowl. Use a pastry brush to lightly coat the visible dough border. Be careful not to let the egg wash pool in the crevices.
While optional, this step significantly enhances the visual appeal of the baked galette, giving that lovely bakery-style finish. It also contributes to a slightly crispier crust edge. If you prefer a less glossy finish or want to omit the egg, the galette will still bake up nicely, just without the same pronounced golden sheen.
Sprinkling with Sugar (Optional)
After brushing with egg wash (or directly onto the dough if omitting the egg wash), you can sprinkle the folded dough edges with coarse sugar, such as turbinado or sanding sugar. This is another optional step that adds sparkle, texture, and a touch of sweetness to the crust. About 1-2 tablespoons of coarse sugar is usually sufficient.
The sugar crystals catch the light and create a delightful crunch on the outer crust. This simple addition elevates the finished look of the easy rustic fruit tart, making it even more enticing. Like the egg wash, it's not strictly necessary for flavor, but it certainly enhances the overall baking experience and final presentation.
Baking Your Apple Galette to Golden Perfection
Oven Temperature and Baking Time
To ensure your apple galette bakes evenly and the crust becomes beautifully golden and flaky, preheat your oven to 375°F (190°C). Placing the galette on a preheated baking sheet or pizza stone can help ensure a crisp bottom crust, preventing sogginess, which is a common pitfall for any easy rustic fruit tart. Slide the parchment paper with the assembled galette directly onto the hot surface in the oven.
Bake for approximately 35 to 50 minutes. The exact baking time will depend on your oven, the thickness of your apple slices, and how juicy your apples are. Begin checking for doneness around the 35-minute mark. The crust should be deeply golden brown, and the apple filling should be bubbling in the center.
Checking for Doneness
You can visually check for doneness by observing the color of the crust – it should be a rich, golden hue, not pale or just lightly browned. Look at the center of the galette; the apple filling should be visibly bubbling, indicating that the juices are thickening and the apples are softening. Another way to check if the apples are tender is to carefully insert a sharp knife or a skewer into a few of the apple slices in the center. They should feel tender with little resistance.
If the crust is browning too quickly but the apples don't seem tender or the filling isn't bubbling, you can loosely tent the galette with aluminum foil for the remaining baking time. This protects the crust while allowing the filling to finish cooking. Baking until the crust is properly browned is key to both flavor and texture in an easy rustic fruit tart.
Glazing and Serving Your Apple Galette
Making a Simple Glaze (Optional)
For an extra touch of sweetness and a beautiful finish, you can add a simple glaze to your baked galette. A classic option is a powdered sugar glaze. Whisk together about ½ cup (60 grams) of powdered sugar with 1 to 2 tablespoons of milk or lemon juice until smooth and pourable. For a slightly richer glaze, you could use melted butter mixed with powdered sugar and a tiny bit of milk or vanilla.
This glaze is entirely optional but adds another layer of flavor and visual appeal. It's a quick step that can elevate the finished easy rustic fruit tart from lovely to truly stunning, providing a sweet counterpoint to the spiced apples.
Glazing the Galette after Baking (Optional)
If you choose to glaze your galette, wait until it has cooled slightly, perhaps for 15-20 minutes on the baking sheet. This allows the structure to set a bit. Drizzle the prepared glaze over the exposed apple filling and/or the crust edges using a spoon or a whisk, allowing it to drip naturally. The rustic nature of the galette means the glaze doesn't need to be perfectly applied; a freeform drizzle fits the aesthetic.
Allow the glaze to set for another 10-15 minutes before slicing. Applying the glaze while the galette is still warm but not piping hot prevents the glaze from melting completely and becoming too transparent. This simple step adds a professional touch to your easy rustic fruit tart.
Serving Suggestions: Warm with Ice Cream
An apple galette is absolutely divine served warm. Allow it to cool for at least 15-20 minutes after coming out of the oven so the filling can set slightly, preventing it from running everywhere when sliced. The classic pairing for a warm apple galette is a scoop of vanilla bean ice cream or a dollop of whipped cream. The cold, creamy topping melts slightly into the warm, spiced apples, creating a truly comforting dessert experience.
Alternatively, the galette can be served at room temperature, which is also delicious. It holds its shape better once fully cooled, making it easier to slice cleanly. Whether warm or at room temperature, this easy rustic fruit tart is a delightful ending to any meal or a lovely treat with a cup of coffee or tea.
Tips & Tricks for the Best Apple Galette
Achieving a Flaky Crust
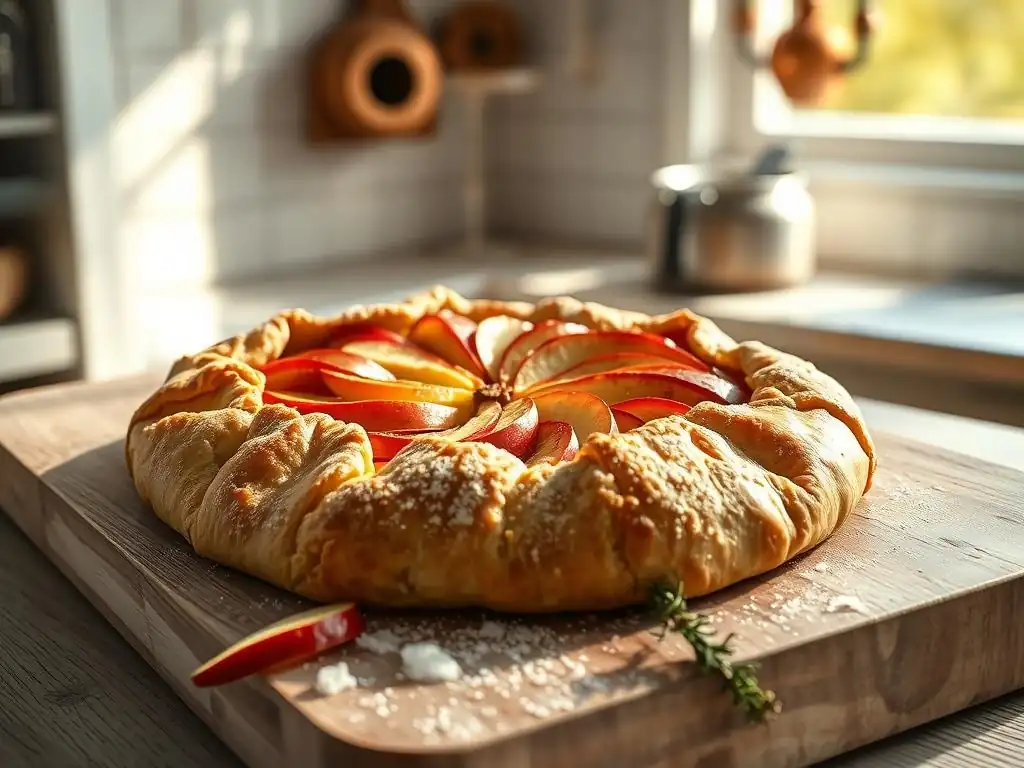
The secret to a wonderfully flaky crust in your easy rustic fruit tart lies primarily in the butter and how you handle it. Ensure your butter is very cold and cut into small pieces (pea-sized or slightly larger) before adding it to the flour. When you cut the butter into the flour, avoid overmixing; you want visible pieces of butter throughout the mixture.
These cold butter pieces will melt during baking, creating steam that puffs up the layers of dough, resulting in flakiness. Using ice water and adding just enough to bring the dough together (it should still look shaggy) also helps keep the butter cold and prevents the development of tough gluten.
Furthermore, handle the dough as little as possible during mixing and rolling. Overworking the dough activates the gluten, which leads to a tough, rather than tender and flaky, crust. Chilling the dough is a non-negotiable step; it allows the gluten to relax and re-hardens the butter, making the dough easier to roll and promoting flakiness. Rolling the dough relatively thin, about ⅛ inch, also contributes to a delicate, flaky texture once baked.
Preventing a Soggy Bottom
A soggy bottom is a common issue with fruit tarts and pies, but there are several strategies to prevent it in your easy apple galette. First, ensure you use a binder in your apple filling, such as flour or cornstarch. About 1-2 tablespoons mixed with the apples and sugar will help absorb excess juices released during baking. Make sure your apples are sliced to a consistent thickness (around ¼ inch) so they cook evenly and release their juices predictably. Avoid piling the filling too high, which can create excessive moisture.
Secondly, consider baking the galette on a preheated baking sheet or pizza stone. Placing the assembled galette on a hot surface as soon as it goes into the oven helps to quickly heat the bottom crust, promoting browning and crisping before the fruit has a chance to release too much liquid. Baking at the correct temperature (375°F-400°F depending on the recipe variation) for the full time until the crust is deeply golden is also crucial, as this ensures the bottom crust has sufficient time to cook through and become crisp.
Galette Variations: Get Creative!
While a classic apple galette is delightful, the beauty of this easy rustic fruit tart format is how easily you can adapt it to different fruits and flavors. Instead of apples, try pears, peaches, berries (strawberries, blueberries, raspberries), cherries, or a combination of your favorites. Adjust the sugar based on the sweetness of the fruit. For juicy fruits like berries, you might need to increase the amount of flour or cornstarch binder slightly to manage the moisture. You can also mix fruits; an apple-pear galette or a mixed berry galette are wonderful alternatives.
Beyond swapping the fruit, you can introduce other complementary flavors. A sprinkle of ginger or cardamom pairs beautifully with apples. Add orange zest to a berry galette. Consider incorporating other ingredients into the filling for extra texture and flavor.
Adding Caramel Sauce
For a decadent twist on the classic, you can add caramel sauce to your apple filling. Drizzle a few tablespoons of thick caramel sauce over the apple mixture before folding the dough edges. The caramel will meld with the apple juices as it bakes, creating a rich, gooey layer. Be mindful that adding extra liquid might require a bit more binder in the filling. Alternatively, you can drizzle warm caramel sauce over the baked and cooled galette just before serving. This adds intense caramel flavor without affecting the baking process.
Using a store-bought caramel sauce keeps this variation simple, maintaining the "easy rustic fruit tart" theme. If you're feeling ambitious, you could make your own quick caramel sauce, but it's not necessary for a delicious result.
Adding Nuts or Dried Fruit
Incorporating nuts or dried fruit adds wonderful texture and depth of flavor to the apple filling. Chop about ¼ to ½ cup of walnuts, pecans, or almonds and toss them with the apple slices before assembling the galette. The nuts will toast slightly as they bake, adding a pleasant crunch. Similarly, you can add about ¼ cup of raisins, dried cranberries, or chopped dried apricots to the apple mixture. These dried fruits plump up from the apple juices during baking and add chewy pockets of sweetness.
This simple addition transforms the classic apple galette into a more complex dessert, offering layers of texture and flavor while still keeping the process straightforward and fitting the profile of an easy rustic fruit tart variation. Experiment with different nut and dried fruit combinations that complement apples, such as pecans and cranberries or walnuts and raisins.
Storing Your Homemade Apple Galette
How to Keep Your Galette Fresh
Once your delicious easy rustic fruit tart has cooled completely, you can store it to keep it fresh. If you plan to eat it within 1-2 days, it can typically be stored at room temperature, loosely covered with plastic wrap or aluminum foil, or kept in a cake carrier.
Placing a paper towel underneath or on top can help absorb any residual moisture. However, if your kitchen is very warm or humid, or if the galette contains dairy elements in the filling (like cream cheese, which is not in this basic apple version but might be in variations), it's safer to store it in the refrigerator.
To store in the refrigerator, wrap the cooled galette tightly in plastic wrap or place it in an airtight container. It will keep well for 3-4 days. The crust may lose some of its crispness in the fridge, but the flavors will still be excellent. To reheat, you can warm slices in a toaster oven or oven at a low temperature (around 300°F or 150°C) for 5-10 minutes until heated through and the crust crisps up slightly. Avoid using a microwave, which will make the crust soggy.
Freezing Instructions (Optional)
If you want to make your easy rustic fruit tart ahead of time or save leftovers for longer, you can freeze it. You can freeze a baked galette or, for best results, freeze an unbaked one. To freeze unbaked, assemble the galette on a parchment-lined baking sheet.
Place the entire sheet in the freezer until the galette is solid, which usually takes 2-3 hours. Once frozen, carefully slide the galette off the baking sheet (still on the parchment paper) and wrap it tightly in several layers of plastic wrap, followed by a layer of aluminum foil or place it in a large freezer bag. Label with the date.
To bake from frozen, unwrap the galette and place it back on a baking sheet (you might need fresh parchment if the old one is damaged). Bake directly from frozen in a preheated oven (you may need to reduce the temperature slightly, perhaps to 350°F or 175°C, and increase the baking time by 15-25 minutes). Check for doneness as usual. Freezing baked galette slices is also possible; wrap individual slices tightly and reheat in a toaster oven. Freezing allows you to enjoy this easy rustic fruit tart whenever the craving strikes.
Why You'll Love This Easy Apple Galette Recipe
Impress Your Friends and Family
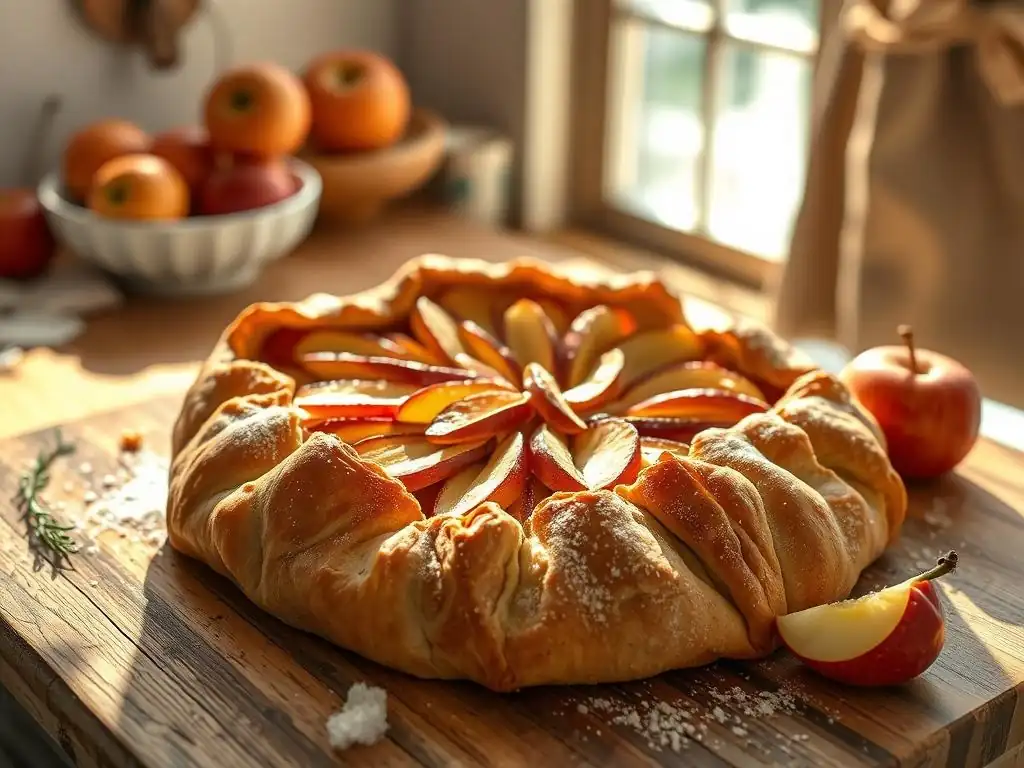
Despite its simplicity, this easy apple galette has a stunning visual appeal that is sure to impress anyone you serve it to. The rustic, freeform shape, the golden-brown crust, and the bubbling, spiced apple filling look incredibly inviting and homemade. It has the charm of a dessert that took significant effort, yet you know how truly easy it was to create. Presenting a warm slice with melting ice cream is a simple act that feels special and indulgent, making it a perfect centerpiece for a casual gathering or a weeknight treat that feels elevated.
Sharing a homemade easy rustic fruit tart like this galette is a wonderful way to show care and hospitality. The aroma that fills your home while it's baking is reason enough to make it, and the satisfied smiles of those enjoying a slice are the ultimate reward. It's a dessert that fosters connection and conversation, proving that deliciousness and beauty can go hand in hand with ease.
A Perfect Dessert for Any Occasion
The versatility of this easy apple galette makes it suitable for a wide range of occasions. Its warm, comforting flavors make it an ideal dessert for autumn gatherings, holiday meals like Thanksgiving or Christmas, or simply a cozy evening at home. However, by swapping the fruit (e.g., using berries in the summer or pears in the winter), you can adapt this easy rustic fruit tart recipe to be enjoyed year-round.
Whether you're hosting a dinner party, bringing a dish to a potluck, or just craving something sweet, this galette fits the bill. Its relatively quick preparation time means you can even whip it up spontaneously. The rustic aesthetic makes it feel appropriate for casual settings, while its delicious taste means it won't be out of place at more formal ones.
Enjoy the Taste of Fresh, Homemade Goodness
Ultimately, the most compelling reason to make this easy apple galette is the pure pleasure of enjoying fresh, homemade goodness. There's a unique satisfaction that comes from baking something yourself, especially when it's as straightforward and rewarding as this easy rustic fruit tart. The combination of flaky, buttery crust and soft, spiced apples is a classic for a reason – it's simply delicious.
Taking that first bite, you taste the freshness of the fruit, the warmth of the cinnamon, and the rich flavor of the butter in the crust. It's a taste that store-bought alternatives simply can't replicate. This recipe empowers you to create that experience in your own kitchen, proving that mastering delicious baking is well within reach, even for beginners.
Enjoy Your Delicious and Easy Apple Galette!
Frequently Asked Questions
What makes this fruit tart recipe "rustic"?
The "rustic" nature comes from the free-form shaping and less emphasis on perfect edges. It's all about embracing the natural imperfections of home baking.
Is this recipe suitable for beginner bakers?
Absolutely! The recipe focuses on simple steps and readily available ingredients, making it beginner-friendly. No complicated techniques are required.
Can I substitute the fruits in this tart?
Yes, you can! Feel free to use seasonal fruits or your personal favorites. Just ensure they are ripe but not overly soft for best results.
How long does it take to prepare and bake this fruit tart?
The recipe typically takes about 20 minutes to prepare and 30-40 minutes to bake. Total time is around an hour, making it a quick and easy dessert.
What's the best way to store leftover fruit tart?
Store leftover tart in the refrigerator, covered, for up to 3 days. To retain crispness, consider warming it slightly before serving, especially if the crust has softened.
Final Reflection: Embracing Imperfection in the Kitchen and Beyond
The pursuit of the "perfect" dessert often overshadows the joy of the process, but this rustic fruit tart recipe proves that embracing imperfection can lead to surprisingly delicious and deeply satisfying results. It's a reminder that culinary creations, much like life itself, are often most beautiful in their unique, unpolished forms. The ease of this recipe, combined with its stunning visual appeal, makes it a perfect gateway to confident baking for even the most hesitant cooks.
This recipe, for me, represents more than just a delicious tart; it's a metaphor for the beauty of imperfection in all aspects of life. We strive for perfection, but often the most memorable moments are those that deviate from the plan, those that hold a touch of the unplanned, the unexpected. The most beautiful things are not associated with perfection, but with imperfection.
This sentiment resonates deeply with the rustic charm of this tart, where slightly uneven edges and a scattering of fruit add to its unique character.
Now, I invite you to step away from the pressure of perfection and embrace the delightful chaos of creating your own rustic fruit tart. Don't be afraid to experiment with different fruits, to let your creativity flow, and to enjoy the process as much as the final product. Remember, the most important ingredient is not always found in the recipe itself, but in the joy and love you put into the creation. Let this tart be a reminder that imperfection is not only acceptable, but often, truly beautiful.
Unlock Your Inner Baker: Craft Your Rustic Fruit Tart Today!
Thanks for joining us on this delicious journey! We hope you've found inspiration and confidence to tackle a truly stunning (and surprisingly easy!) rustic fruit tart. Now it's time to roll up your sleeves and get baking!
- Bake your own masterpiece: Use this recipe as a springboard to create your unique tart. Experiment with different fruits, custards, or even add a sprinkle of your favorite nuts!
- Share your creation: Post a picture of your finished tart on social media and tag us @BakeWithEase – we'd love to see your imperfectly perfect results!
- Explore more rustic recipes: Dive into our recipe archive for more delightful, easy-to-follow baking projects designed for everyone.
Ready to transform your kitchen into a haven of delicious rustic charm? What fruit will you feature in your next baking adventure?