
How to Bake Rustic Bread in a Dutch Oven: A StepbyStep Guide

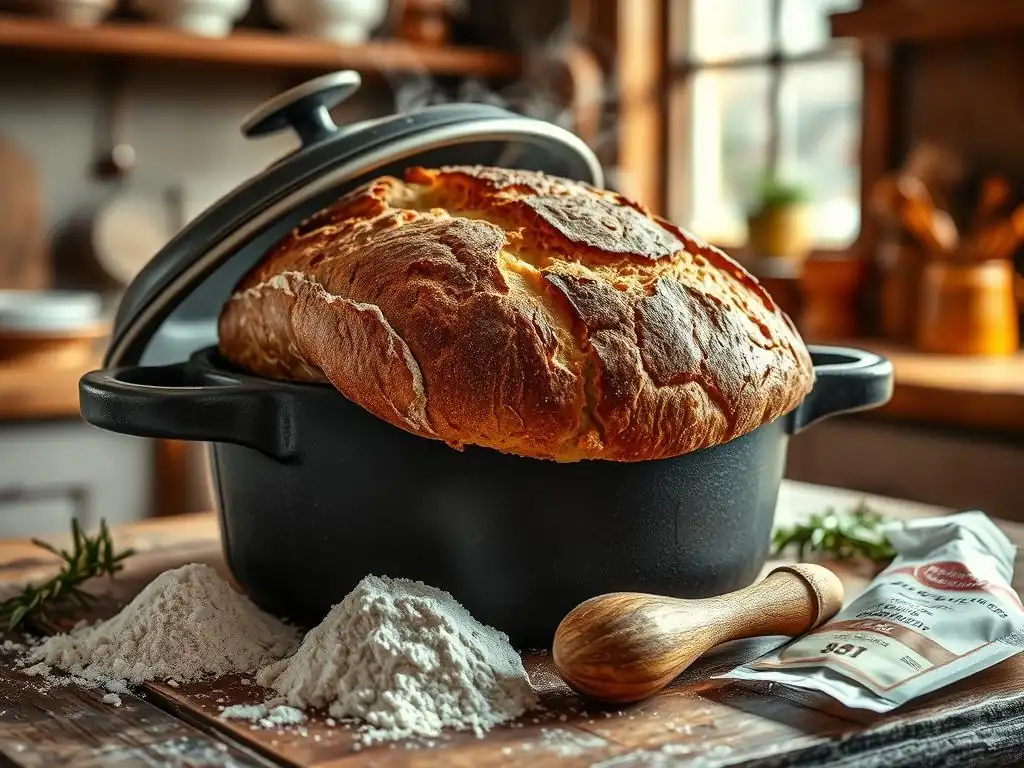
Welcome to BakeWithEase, your trusted guide to the delightful world of baking! Ever dreamt of pulling a perfectly crusty loaf from your oven, filling your kitchen with an irresistible aroma? Our latest article unveils the secrets to crafting a stunning Dutch oven rustic bread recipe. Intrigued? Discover how simple ingredients and a little patience can unlock the magic of homemade bread, even if you're a complete beginner. Read on to transform your baking game!
- Sourdough Bread Baking in a Dutch Oven: A Comprehensive Guide
- Introduction: Mastering Sourdough Baking at Home
- Dutch Oven Sourdough Recipe: Ingredients and Equipment
- Step-by-Step Guide: Baking Your First Dutch Oven Sourdough Bread
- Tips and Tricks for Baking the Best Dutch Oven Sourdough Bread
- Storing Your Dutch Oven Sourdough Bread for Optimal Freshness
- Conclusion: Enjoying the Simple Pleasure of Homemade Dutch Oven Sourdough Bread
-
Frequently Asked Questions
- What is the main benefit of using a Dutch oven for baking rustic bread?
- Can beginners successfully bake rustic bread in a Dutch oven?
- What ingredients do I need for the Dutch oven rustic bread recipe?
- How long does it take to bake rustic bread in a Dutch oven?
- Can I customize the rustic bread recipe with additional flavors?
- Final Reflection: The Simple Joy of Rustic Bread
- Unleash Your Inner Baker: Craft Your Perfect Loaf!
Sourdough Bread Baking in a Dutch Oven: A Comprehensive Guide
Introduction: Mastering Sourdough Baking at Home
Why Bake Sourdough in a Dutch Oven? The Benefits Explained
Baking sourdough bread in a Dutch oven is a technique favored by many home bakers, and for good reason. The enclosed environment of a preheated Dutch oven creates steam, which is crucial for achieving a beautiful, crackly crust. This steam keeps the surface of the dough moist during the initial phase of baking, allowing the loaf to expand fully before the crust sets. Without adequate steam, the crust forms too quickly, restricting the bread's rise and resulting in a denser loaf.
Furthermore, the heavy cast iron of a Dutch oven provides excellent heat retention and distribution. This consistent, high heat ensures that the bottom of the loaf bakes thoroughly and develops a deep golden color. Many bakers find that this method eliminates the need for separate steam pans or baking stones, simplifying the process and consistently delivering superior results compared to baking on an open tray. It's a reliable way to perfect your Dutch oven rustic bread recipe.
Understanding the Appeal of Dutch Oven Sourdough Bread
The allure of homemade Dutch oven sourdough bread lies in its distinct flavor, texture, and the satisfying process of creating it. Sourdough's characteristic tangy taste comes from the fermentation process driven by wild yeast and bacteria in the starter. This complex flavor profile is difficult to replicate with commercial yeast alone. The texture is equally appealing – a chewy, open crumb encased in a thick, shatteringly crisp crust, often achieved most effectively when baking rustic bread in a Dutch oven.
Beyond the sensory delights, there's a deep satisfaction in mastering the variables of a Dutch oven rustic bread recipe: nurturing a starter, understanding dough hydration, and witnessing the dramatic oven spring inside the pot. For many, it's a rewarding hobby that connects them to traditional baking methods. The forgiving nature of baking rustic bread in a Dutch oven makes this often-intimidating process more accessible, leading to consistently impressive loaves that look and taste professionally made.
Dutch Oven Sourdough Recipe: Ingredients and Equipment
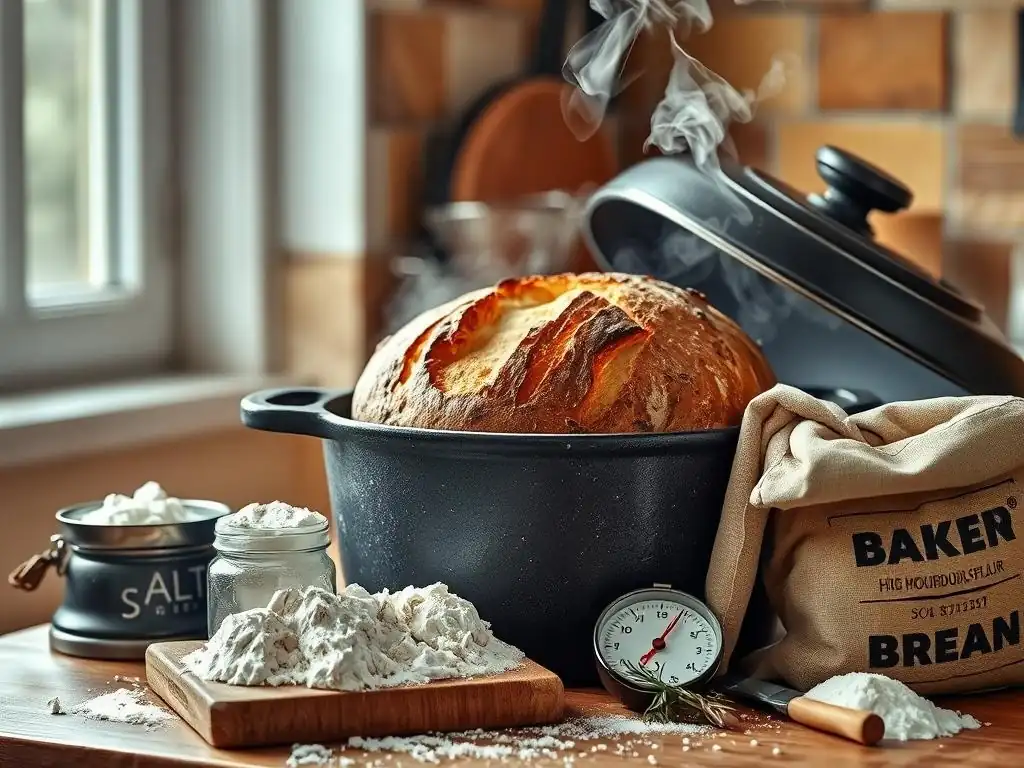
Essential Ingredients for the Perfect Dutch Oven Sourdough Loaf
High-Quality Flour: The Foundation of Your Sourdough Bread
The type and quality of flour significantly impact the final loaf. For a classic Dutch oven rustic bread recipe, a strong bread flour with a protein content of 11-13% is ideal. This higher protein level helps develop gluten, which gives the bread structure and chewiness. Many bakers also incorporate a percentage of whole wheat or rye flour (perhaps 10-20% of the total flour weight) for added flavor complexity and nutritional value. Using freshly milled flour can also enhance flavor, though it might require slight adjustments to hydration.
Water Temperature: Key to Dough Hydration
Water plays a critical role in activating the sourdough starter and hydrating the flour to develop gluten. The temperature of the water can influence the dough temperature, which in turn affects fermentation speed. While room temperature water (around 70-75°F or 21-24°C) is commonly used, slightly warmer water (up to 80-85°F or 27-29°C) can help speed up a sluggish fermentation, especially in cooler kitchens. The hydration percentage (water weight relative to flour weight) for many Dutch oven rustic bread recipes typically ranges from 70% to 80%.
Salt: Flavor Enhancer and Dough Strengthener
Salt is not just for seasoning; it's a vital component in bread baking. It enhances the flavor of the fermented dough and also helps to control the rate of fermentation. Furthermore, salt strengthens the gluten structure, making the dough more manageable and contributing to a better crumb structure. Typically, salt is added at about 1.8% to 2.2% of the total flour weight. It's usually added after the initial mixing (autolyse) to allow the flour to fully hydrate first.
Sourdough Starter: Cultivating the Wild Yeast
The heart of any sourdough bread recipe is the active sourdough starter. This is a living culture of wild yeast and lactic acid bacteria. An active starter should be bubbly, have a pleasant, slightly tangy aroma, and float when a small piece is dropped into water. Using a starter that has been recently fed (peaked activity, typically 4-12 hours after feeding depending on temperature) ensures that there is enough leavening power to make your Dutch oven rustic bread rise properly. Maintaining a consistent feeding schedule for your starter is key to its health and activity.
Necessary Equipment for Dutch Oven Bread Baking
The Importance of a Dutch Oven for Crusty Bread
A heavy-duty Dutch oven, usually made of cast iron (enameled or bare), is the star player in achieving that signature thick, crispy crust on sourdough bread. Its tight-fitting lid traps the steam released by the dough as it bakes, mimicking the conditions of a professional baker's steam injection oven. This steam prevents the surface from drying out and forming a hard crust too early, allowing for maximum oven spring. A 5-quart or 6-quart Dutch oven is a common size, comfortably accommodating a loaf made with 500g of flour.
Other Useful Baking Tools: Digital Scale, Banneton Basket, Dough Whisk
While the Dutch oven is crucial, several other tools significantly improve the process and outcome of your Dutch oven rustic bread recipe. A digital kitchen scale is essential for accurate ingredient measurements; baking is a science where precision matters. A banneton basket (proofing basket) is used for the final rise, helping the dough maintain its shape and creating attractive spiral patterns on the crust. A Danish dough whisk is excellent for the initial mixing of the wet and dry ingredients, as its open structure prevents dough from clumping inside the whisk.
Step-by-Step Guide: Baking Your First Dutch Oven Sourdough Bread
Step 1: Preparing the Dough for Sourdough Bread
The journey to a perfect Dutch oven rustic bread begins with careful dough preparation. This phase involves several steps designed to build strength, develop flavor, and achieve the right consistency. It starts with combining the active sourdough starter and water, ensuring the starter is fully dispersed before adding the flour. Accuracy with a digital scale is paramount here, perhaps measuring 500g of bread flour and 375g of water for a 75% hydration dough.
After the initial mix, the dough typically undergoes an autolyse period, followed by incorporating salt and then a series of folds during bulk fermentation. The goal is to create a smooth, elastic dough that can hold its shape. This stage often takes several hours, influenced by room temperature and starter activity.
Mixing the Ingredients: Achieving the Right Dough Consistency
Combine your active sourdough starter and water in a large mixing bowl. Stir until the starter is mostly dissolved. Add the flour and mix with a Danish dough whisk or your hands until no dry flour remains. This initial mix should result in a shaggy, somewhat sticky dough. Avoid overmixing at this stage; the goal is just to bring everything together.
Autolyse: Hydrating the Flour for Improved Dough Structure
Once the flour and water are combined (without salt), cover the bowl and let the mixture rest for 30 minutes to 1 hour. This resting period, known as autolyse, allows the flour to fully absorb the water, initiating gluten development naturally without kneading. It makes the subsequent mixing and folding steps much easier and contributes to a smoother dough texture and better crumb structure in your finished Dutch oven rustic bread.
Bulk Fermentation: Allowing the Dough to Develop Flavor
After the autolyse and adding the salt, the dough enters bulk fermentation. This is the primary rise period, typically lasting 4 to 6 hours at room temperature (around 72-78°F or 22-26°C), though cooler temperatures will require longer times. During this time, the wild yeast and bacteria in the starter work, producing carbon dioxide (which makes the dough rise) and organic acids (which develop the characteristic sourdough flavor). The dough should increase significantly in volume, perhaps by 50% to 100%, depending on the temperature and starter strength.
Folding the Dough: Developing Strength and Structure
Throughout bulk fermentation, perform a series of folds to build strength and structure in the dough. Typically, 3-5 sets of stretch and folds are done during the first 2-3 hours of bulk fermentation, with 30-minute intervals between sets. To fold, wet your hands slightly, grab one side of the dough, stretch it gently upwards, and fold it over the center.
Rotate the bowl and repeat with the remaining sides until all four sides have been folded. This process aligns the gluten strands and creates tension, which is essential for a good rise and open crumb in your Dutch oven rustic bread.
Step 2: Shaping the Sourdough Bread Loaf
Once bulk fermentation is complete and the dough is bubbly and airy, it's time to shape your loaf. This stage requires a gentle touch to avoid degassing the dough too much while still creating enough surface tension to help it hold its shape during proofing and baking. Shaping prepares the dough for its final rest before it goes into the hot Dutch oven.
Proper shaping is crucial for achieving good oven spring and a well-structured loaf. It involves creating a smooth, taut surface while ensuring the interior remains light and airy. This tension helps the loaf rise upwards rather than spreading outwards when baked.
Pre-Shaping the Dough: Creating Surface Tension
Turn the dough out gently onto a lightly floured surface. Using a bench scraper or your hands, gently form the dough into a rough ball or rectangle, depending on your desired final shape. The goal here is just to create some initial tension on the surface. Let the dough rest, uncovered, for 20-30 minutes. This bench rest allows the gluten to relax, making the final shaping much easier and preventing the dough from tearing.
Final Shaping: Preparing the Dough for Proofing
After the bench rest, perform the final shaping. The exact technique depends on whether you're making a boule (round) or a batard (oval), but the principle is the same: create a taut surface by folding the dough onto itself and sealing the seams. For a boule, gently pull the edges towards the center, then flip the dough over and use your hands to cup and rotate it against the counter, creating tension. Place the shaped dough seam-side up into a floured banneton basket or a bowl lined with a floured cloth.
Cold Proofing: Developing Flavor and Structure
Cover the banneton and place it in the refrigerator for the final proof. Cold proofing, typically for 12 to 24 hours (and sometimes up to 48 hours), significantly develops the sourdough flavor and makes the dough easier to handle and score. The cold temperature slows down fermentation, allowing complex flavors to deepen while the dough structure continues to strengthen. This slow, cold rise is a key factor in achieving the signature tangy taste and excellent texture of a Dutch oven rustic bread.
Step 3: Baking the Sourdough Bread in the Dutch Oven
This is the moment of truth! Baking in a preheated Dutch oven is what gives your sourdough its incredible crust and rise. The oven and Dutch oven need to be screaming hot to provide the initial burst of heat and steam.
Safety is important when handling a very hot Dutch oven. Use oven mitts or heat-resistant gloves at all times. The high temperature ensures that the loaf begins to bake immediately upon contact, facilitating maximum oven spring.
Preheating the Dutch Oven: Achieving a Crispy Crust
About 45-60 minutes before you plan to bake, place your empty Dutch oven with its lid in your oven and preheat it to a high temperature, typically between 450°F and 500°F ( 230°C to 260°C). This extended preheating time ensures the cast iron is fully saturated with heat, which is essential for creating the necessary steam and achieving a deeply colored, crispy crust on your Dutch oven rustic bread.
Scoring the Dough: Controlling the Oven Spring
Carefully remove the hot Dutch oven lid and gently invert the cold, proofed dough into the hot pot. Use parchment paper as a sling for easier transfer if desired. Immediately score the top of the dough with a sharp razor blade (lame) or knife. Scoring allows the dough to expand in a controlled manner during baking, preventing blowouts and directing the oven spring to create beautiful patterns. A common score is a single deep slash along the top.
Baking Time and Temperature: Finding the Sweet Spot
Place the lid back on the Dutch oven and return it to the preheated oven. Bake with the lid on for the first 20-25 minutes. This phase traps the steam, allowing the loaf to expand fully. After this time, carefully remove the lid. The bread should have significantly increased in size and appear pale but set. Reduce the oven temperature slightly (e.g., to 425°F or 220°C) and continue baking for another 20-30 minutes, or until the crust is a deep golden brown and the internal temperature reaches around 205-210°F ( 96-99°C).
Step 4: Cooling and Enjoying Your Homemade Sourdough Bread
The baking is done, but the process isn't quite finished. Proper cooling is just as important as the baking itself for the perfect texture and flavor.
Resist the urge to cut into your beautiful Dutch oven rustic bread loaf immediately! Waiting allows the internal structure to set and moisture to redistribute.
Cooling the Bread: Preventing a Soggy Crust
Once baked, carefully remove the bread from the Dutch oven and place it on a wire cooling rack. It is absolutely crucial to let the bread cool completely, ideally for at least 2-3 hours for a large loaf, before slicing. Cutting into hot bread will result in a gummy, dense interior because the internal structure hasn't finished setting and moisture hasn't fully evaporated.
Slicing and Serving: Pairing Suggestions for Your Sourdough Bread
After the long wait, your homemade Dutch oven rustic bread is ready to be enjoyed! Use a sharp serrated knife to slice through the crispy crust. Sourdough is incredibly versatile. It's fantastic simply with butter, alongside soups and stews, used for sandwiches, or toasted for bruschetta. The tangy flavor pairs beautifully with strong cheeses, ripe tomatoes, or a simple drizzle of good olive oil.
Tips and Tricks for Baking the Best Dutch Oven Sourdough Bread
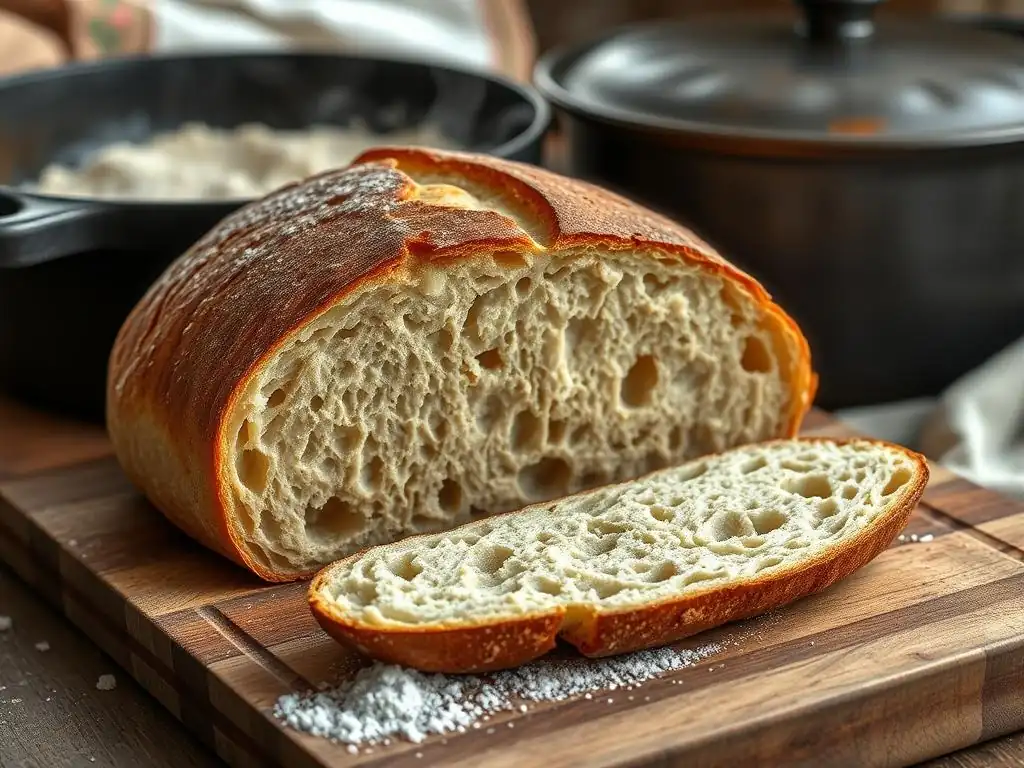
Achieving a Perfect Crust: Secrets to a Golden-Brown Loaf
A stellar crust is a hallmark of great Dutch oven rustic bread. The primary secret lies in the steam created by baking in a covered Dutch oven. Ensure your Dutch oven and oven are fully preheated to a high temperature ( 450-500°F) before dropping the dough in. The initial high heat helps the crust set quickly while the trapped steam keeps it pliable for maximum expansion.
Once the lid is removed after the initial baking phase (around 20-25 minutes), the temperature is often slightly reduced ( 425-450°F). This allows the crust to dry out and brown beautifully. Baking for the full duration (another 20-30 minutes) until the internal temperature reaches 205-210°F ensures the crust is not only golden but also firm and crispy. Don't pull it out too early!
Troubleshooting Common Issues: Dense Bread, Flat Loaf, Gummy Interior
Baking sourdough can sometimes present challenges. If your bread is dense, it might be due to an inactive starter, insufficient bulk fermentation, or underproofing. A flat loaf often indicates insufficient dough strength (not enough folding), overproofing (the dough collapsed), or not enough steam in the oven (though the Dutch oven helps with this). A gummy interior usually means the bread wasn't baked long enough or wasn't cooled completely before slicing.
Cutting the bread while hot.Using an inactive starter.Not developing enough dough strength.
Consider factors like ambient temperature impacting fermentation times. If your kitchen is cool, fermentation will take longer. Conversely, in a warm kitchen, it will be faster. Adjust your timing based on the dough's look and feel, not just the clock. Practicing your Dutch oven rustic bread recipe helps you learn these nuances.
Variations on the Dutch Oven Sourdough Bread Recipe: Adding Seeds, Herbs, or Cheese
Once you've mastered the basic Dutch oven rustic bread recipe, feel free to experiment with additions! Seeds like sesame, poppy, sunflower, or pumpkin seeds can be incorporated into the dough during mixing or sprinkled on the exterior before baking. Herbs such as rosemary or thyme add aromatic notes, while dried fruits like cranberries or walnuts offer sweetness and texture.
For a richer loaf, shredded cheese (like cheddar or Gruyere) can be folded into the dough during the final sets of folds in bulk fermentation. When adding inclusions, aim for about 10-20% of the total flour weight so they don't overwhelm the dough structure. These additions can significantly change the flavor profile of your homemade Dutch oven sourdough bread.
Storing Your Dutch Oven Sourdough Bread for Optimal Freshness
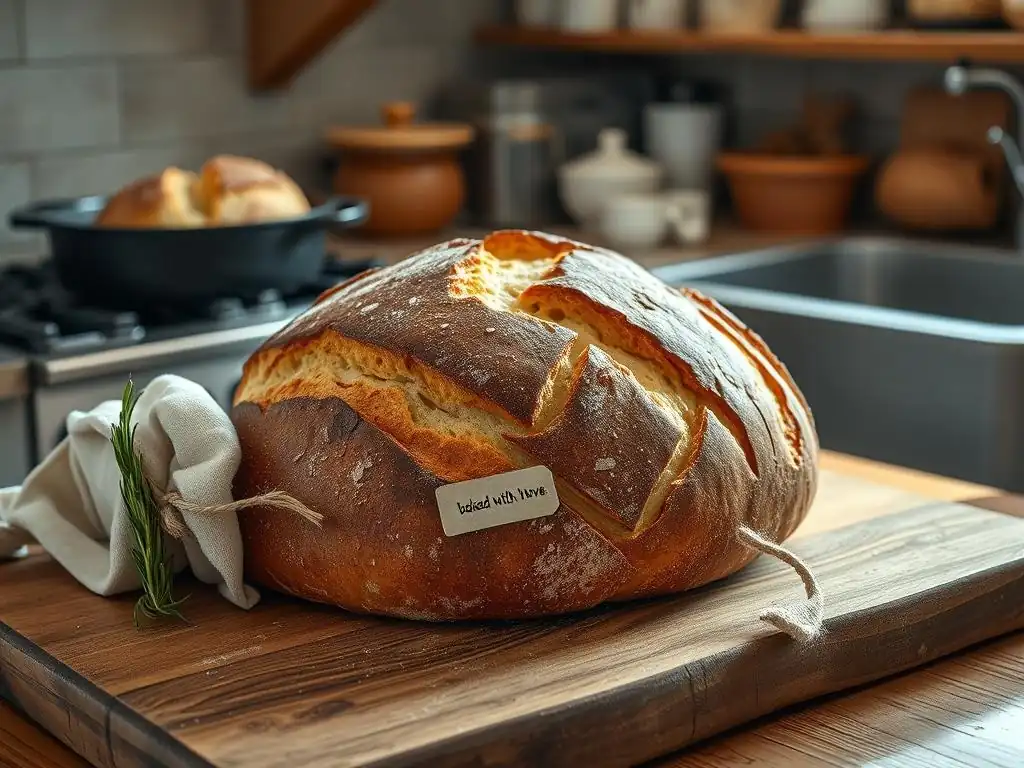
Proper Storage Techniques: Keeping Your Bread Delicious
To keep your Dutch oven rustic bread fresh, proper storage is key. Once completely cooled, the best way to store a loaf is usually at room temperature. Storing it in a paper bag allows the crust to remain crisp while protecting the interior. For longer storage, a bread box is an excellent option as it provides a balance of air circulation and moisture retention.
Avoid storing sourdough in the refrigerator, as this can actually speed up the staling process. If you won't finish the loaf within 2-3 days, consider freezing it, which is a much better method for preserving quality.
Freezing and Reheating: Extending the Life of Your Sourdough Bread
Sourdough bread freezes exceptionally well. To freeze, ensure the loaf is completely cool. You can freeze it whole, in halves, or sliced. Wrap it tightly in plastic wrap, then in aluminum foil or place it in a freezer-safe bag to prevent freezer burn. Frozen sourdough can last for several months.
To reheat a whole or half loaf, remove it from the freezer wrapping and place it directly into a cold oven. Set the temperature to 300-325°F ( 150-160°C) and bake for 20-30 minutes, or until the crust is revived and the interior is warmed through. Slices can be quickly toasted from frozen. This method allows you to enjoy that fresh-baked taste and texture from your Dutch oven rustic bread recipe whenever you like.
Conclusion: Enjoying the Simple Pleasure of Homemade Dutch Oven Sourdough Bread
Celebrate Your Baking Success
Congratulations! You've navigated the steps of a Dutch oven rustic bread recipe and baked your own loaf. Take a moment to appreciate the crackling crust, the tangy aroma, and the satisfaction of creating something truly wonderful from simple ingredients. Each loaf is a learning experience, and with practice, your skills will only grow.
Further Exploration: Links to other sourdough resources.
Making Dutch oven sourdough bread is a rewarding journey. There are many avenues for further exploration, from experimenting with different flours and hydration levels to trying advanced shaping techniques or incorporating unique inclusions. Keep baking, keep learning, and most importantly, keep enjoying the delicious results of your efforts.
Frequently Asked Questions
What is the main benefit of using a Dutch oven for baking rustic bread?
Using a Dutch oven creates a moist environment, which is essential for developing a perfect crust while allowing the bread to rise beautifully during baking.
Can beginners successfully bake rustic bread in a Dutch oven?
Absolutely! The step-by-step guide provided on BakeWithEase is designed to help bakers of all levels, making it easy for beginners to follow along and succeed.
What ingredients do I need for the Dutch oven rustic bread recipe?
The recipe typically requires simple ingredients like flour, water, salt, and yeast, all of which are easy to find and perfect for crafting delicious rustic bread.
How long does it take to bake rustic bread in a Dutch oven?
The total time can vary, but generally, it takes about 30-45 minutes to bake the bread after the initial proofing, ensuring a golden crust and soft interior.
Can I customize the rustic bread recipe with additional flavors?
Yes! Feel free to add herbs, spices, or cheese to the dough for added flavor. The flexibility of the rustic bread recipe allows for plenty of creative variations!
Final Reflection: The Simple Joy of Rustic Bread
The enduring appeal of homemade bread, especially the satisfying crust and chewy crumb of rustic loaves baked in a Dutch oven, transcends mere culinary skill; it's a connection to a simpler time and a testament to the transformative power of simple ingredients. In a world increasingly dominated by fast food and processed convenience, the act of crafting a loaf from scratch, nurturing its rise, and witnessing its transformation in the oven offers a profound sense of accomplishment and connection to the earth. This process, meticulously detailed in this guide, is more than just a recipe; it's a journey.
The influence of rustic bread baking extends far beyond the kitchen table. It's a practice that fosters mindfulness, patience, and a deep appreciation for the natural world. The rhythmic kneading, the anticipation of the rising dough, the intoxicating aroma filling the home – these are sensory experiences that ground us in the present moment. As the great baker and writer, Jim Lahey, once said: Bread baking is a meditation. It's a process that requires patience and attention to detail, and the results are incredibly rewarding.
This sentiment perfectly encapsulates the essence of this journey, reminding us of the simple pleasures often overlooked in our busy lives.
Now, I invite you to embark on your own rustic bread baking adventure. Don't be intimidated by the seemingly complex process; embrace the challenge, savor each step, and allow yourself to be fully present in the creation of something beautiful and delicious. The rewards – a warm, crusty loaf, the satisfaction of creating something with your own hands, and a deeper connection to the simple joys of life – are well worth the effort. So, gather your ingredients, preheat your oven, and let the magic begin.
Unleash Your Inner Baker: Craft Your Perfect Loaf!
Thanks for joining us on this delicious journey into the world of rustic bread baking! We hope you gained valuable insights and feel inspired to create your own masterpiece. Now it's time to put your new skills to the test!
- Bake your own rustic loaf today! Use the techniques you learned to create a beautiful, crusty bread that will impress your friends and family. Remember, practice makes perfect!
- Share your baking success on social media using #BakeWithEaseRusticBread – we'd love to see your creations!
- Explore other amazing bread recipes on BakeWithEase.com – discover new flavors and techniques to expand your baking repertoire.
Ready to transform your kitchen into a fragrant bakery? What unique ingredient will you add to your first rustic loaf?