
Advanced Sourdough Dough Handling: Gentle Techniques for Wet Doughs

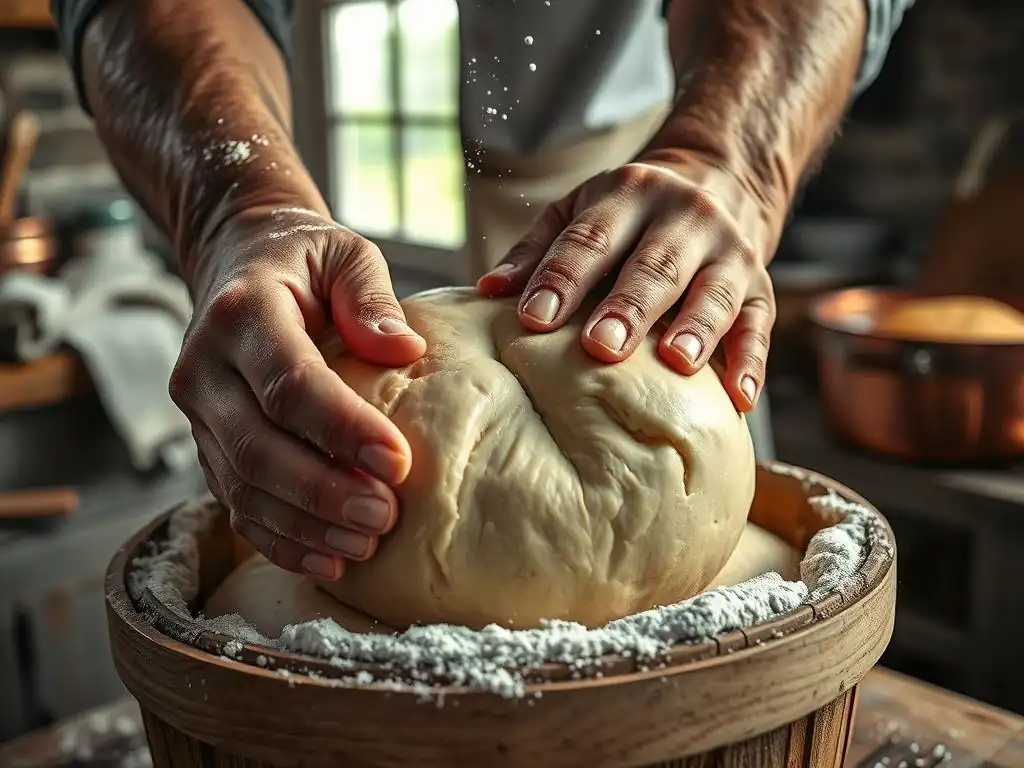
Welcome to BakeWithEase, your trusted guide to the delightful world of baking! Are you ready to conquer the challenge of wet sourdoughs? This article delves deep into the art of gentle wet sourdough handling, unveiling techniques that will transform your baking and unlock the full potential of naturally leavened breads. Discover how to work with high-hydration doughs without the stickiness and frustration, and prepare to be amazed by the improved texture and flavor you'll achieve. Let's get started – the secrets to perfect sourdough await!
- Introduction to Gentle Wet Sourdough Handling
- Preparing for Gentle Dough Handling
- Mastering Gentle Dough Handling Techniques
- Proofing Wet Sourdough
- Baking Wet Sourdough
- Troubleshooting Common Wet Sourdough Handling Issues
- Advanced Tips for Handling Very Wet Sourdough
- Conclusion: Mastering the Art of Gentle Wet Sourdough Handling
-
Frequently Asked Questions
- What makes wet sourdough doughs more challenging to handle?
- Why is gentle handling so crucial for wet sourdough?
- What are some specific techniques for gently handling wet sourdough?
- How can I prevent wet sourdough from sticking to my hands and surfaces?
- Can I use a stand mixer to handle wet sourdough, and if so, how?
- Final Reflection: The Gentle Art of Wet Dough Mastery
- Unleash Your Inner Sourdough Maestro!
Introduction to Gentle Wet Sourdough Handling
Why Gentle Handling Matters for Wet Sourdough
Mastering the art of gentle wet sourdough handling is paramount for achieving a beautiful, well-structured loaf. When you handle high-hydration dough gently, you preserve the delicate gluten network that has been painstakingly developed during fermentation. This network is like a balloon, trapping the carbon dioxide produced by the sourdough starter. Rough handling can deflate this "balloon," leading to a dense crumb and poor oven spring. Imagine a dough that has doubled in size over several hours at room temperature, showing numerous bubbles on the surface; this fragile state requires a touch that respects its structure.
Furthermore, a gentle touch minimizes the risk of tearing the dough's surface tension, which is crucial for a good crust and shape. Aggressive kneading or stretching can damage the gluten strands, making the dough slack and difficult to shape. By employing gentle techniques, you allow the dough's inherent strength, built through fermentation and strategic folds, to shine. This thoughtful approach to gentle wet sourdough handling directly translates into a more open crumb structure and a loaf that holds its shape better during baking, ultimately delivering that coveted artisanal result.
Understanding the Challenges of High Hydration Dough
High hydration sourdough doughs, typically those with a hydration level of 75% or more (meaning 750g or more of water per 1000g of flour), present unique challenges compared to lower hydration doughs. Their stickiness and fluidity can be intimidating for bakers accustomed to firmer doughs. This high water content makes the dough less cohesive initially, feeling more like a thick batter than a traditional dough. Without proper technique, it can easily stick to hands and surfaces, making manipulation difficult and potentially leading to frustration.
The primary difficulty lies in developing and maintaining sufficient dough strength to support the open crumb structure desired in wet sourdoughs. While the high water content encourages enzyme activity and can lead to a more extensible dough, it also makes the gluten network weaker and more susceptible to collapsing if not handled correctly. Building strength requires specific gentle wet sourdough handling techniques like folding, rather than aggressive kneading, to align the gluten strands and create tension without damaging the delicate structure. Understanding these inherent properties is the first step to successfully working with wet dough.
Preparing for Gentle Dough Handling
Essential Tools for Handling Wet Sourdough
Dough Scrapers: A Baker's Best Friend
Dough scrapers are indispensable allies when performing gentle wet sourdough handling. A bench scraper, typically a flat metal or plastic blade with a handle, is perfect for dividing dough, cleaning surfaces, and most importantly, gently coaxing sticky dough off your work surface without tearing it. Instead of trying to lift and peel the dough with your hands, which can stretch and damage the gluten, the scraper allows you to slide under the dough cleanly.
A bowl scraper, often a flexible plastic or rubber tool, is equally useful. It helps you scrape down the sides of your mixing bowl during initial mixing and folding, ensuring all parts of the dough are incorporated and developed evenly. This gentle scraping action keeps the bulk of the dough intact while gathering it efficiently, reducing the need for excessive handling with your hands. Using these tools correctly minimizes sticking and allows for smoother, more controlled manipulation of the wet dough.
Banneton Baskets: Providing Support and Shape
Banneton baskets play a critical role in providing support and structure to wet sourdough during its final proofing stage. Because high-hydration doughs are less able to hold their shape on their own, proofing them in a well-floured banneton prevents them from spreading out into a flat disc. The basket holds the dough vertically, encouraging it to build upward tension and maintain its form. Traditional cane bannetons wick away a small amount of moisture from the surface, which can help create a lovely crust, while plastic ones are easy to clean.
Properly preparing your banneton is key for gentle wet sourdough handling during the transfer stage. Generously dusting the basket with rice flour (or a mix of rice and bread flour) prevents the sticky dough from adhering to the basket's surface. When it's time to bake, the dough should release easily when inverted onto your baking surface. This easy release is vital; struggling to get the dough out of the basket can damage its structure and deflate it, ruining hours of careful work and gentle handling.
Wet Hands: A Simple Yet Effective Technique
Perhaps the simplest yet most effective technique for gentle wet sourdough handling is keeping your hands wet. Before you touch the dough for folds, shaping, or transferring, dip your hands in water. The thin layer of water on your skin creates a barrier that prevents the sticky dough from bonding to your hands. This allows you to manipulate the dough with minimal friction and tearing.
This technique is particularly useful during stretch and folds or coil folds, where you need to interact directly with the dough's surface. Instead of the dough clinging and stretching unevenly, your wet hands will slide over the surface, allowing you to perform the movements smoothly and efficiently. Remember to re-wet your hands as needed throughout the process. This simple practice significantly reduces frustration and makes working with even the wettest doughs a much more manageable and enjoyable experience, epitomizing the principles of gentle wet sourdough handling.
Optimizing Your Sourdough Recipe for Easy Handling
Adjusting Hydration Levels for Beginners
For those new to gentle wet sourdough handling, starting with a slightly lower hydration level can make the learning process much smoother. Instead of jumping straight to 80% or 85% hydration, consider beginning with a dough in the 70-72% hydration range. This dough will still be relatively wet and sticky, but it will have more body and be easier to manage than extremely high hydration doughs. Think of it as training wheels for very wet doughs.
Once you feel comfortable handling dough at this level, you can gradually increase the hydration by 1-2% with each subsequent bake. For example, move from 70% to 72%, then to 74%, and so on. This incremental approach allows you to build your skills and confidence in gentle wet sourdough handling without being overwhelmed by an unmanageably sticky dough. You'll learn how the dough feels at different hydration levels and adapt your techniques accordingly.
Flour Selection: Choosing Flours for Wet Doughs
The type of flour you use significantly impacts how a wet dough behaves and how easy it is to handle gently. Strong bread flours, typically containing 12-14% protein, are excellent for high-hydration doughs because their higher protein content allows them to absorb more water and form a stronger gluten network. This increased strength provides better structure and makes the dough less prone to becoming a completely unmanageable puddle.
Mixing flours can also be beneficial. Incorporating a small percentage of whole wheat or rye flour (e.g., 10-20% of the total flour weight) can help absorb additional water, as these flours tend to be more absorbent than white flour. However, using too much can hinder gluten development in white flour, so finding the right balance is key. Experimenting with different flour blends allows you to find a combination that gives you the desired flavor and crumb while remaining manageable for gentle wet sourdough handling.
Mastering Gentle Dough Handling Techniques
The Importance of Minimal Manipulation
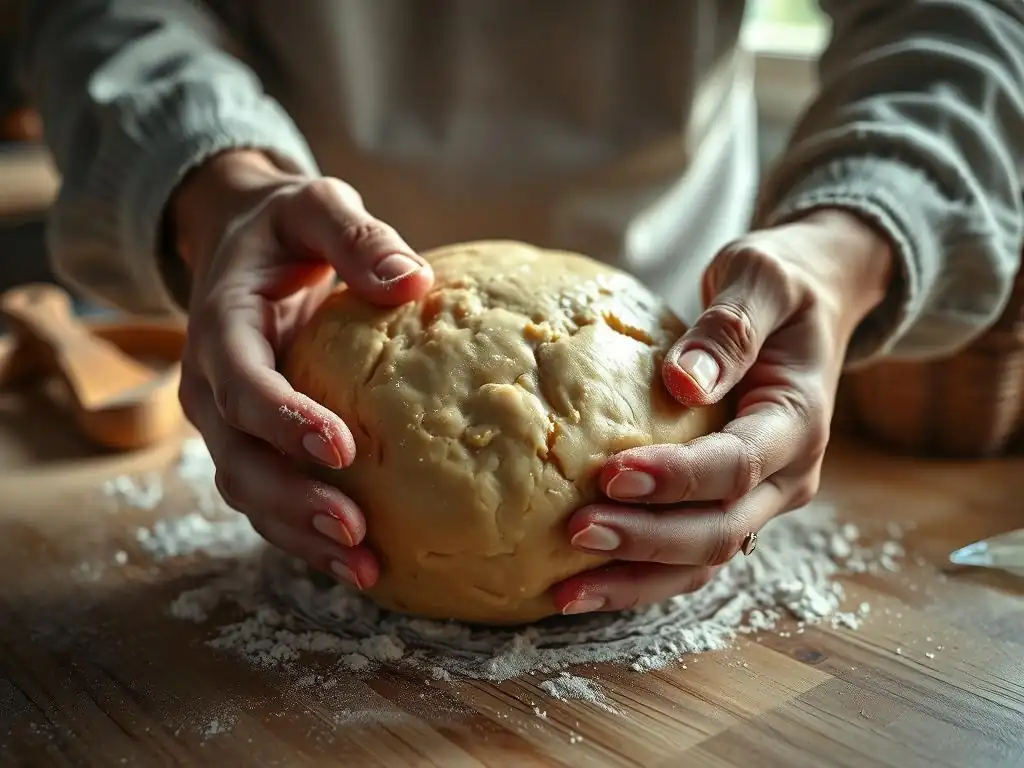
When working with wet sourdough, less is often more. The goal of gentle wet sourdough handling is to build strength and tension while preserving the airy structure created during fermentation. Excessive manipulation, whether through aggressive kneading or too much handling during shaping, can degas the dough and damage the delicate gluten network. This leads to a tighter, less open crumb and reduced oven spring.
Think of the dough as a fragile sponge filled with tiny air pockets. Every time you handle it, there's a risk of collapsing these pockets. Therefore, limit your interactions with the dough to essential steps like folding (which helps build structure) and shaping (which prepares it for baking). During these steps, use light, confident movements. Avoid squeezing, punching down, or overworking the dough. Embracing minimal, gentle manipulation is a core principle for successful wet sourdough baking.
Folding Techniques for Strengthening Wet Sourdough
The Stretch and Fold Method: Step-by-Step Guide
The stretch and fold method is a fundamental technique for developing strength in wet dough without traditional kneading. Performed during the initial bulk fermentation, it involves wetting your hands, gently lifting a section of the dough from the edge of the bowl, stretching it upwards, and folding it back over the center. You rotate the bowl and repeat this process 3-4 times, covering all sides of the dough.
Typically, you perform 2 to 4 sets of stretch and folds during the first couple of hours of bulk fermentation, with 30 to 60 minutes of rest time between sets. The rest period allows the gluten network to relax and re-align. As you perform the sets, you'll notice the dough gradually transform from a slack, sticky mass into a more cohesive, elastic structure. This systematic, gentle handling builds strength progressively, making the dough easier to manage later.
Coil Folds: A Gentle Approach to Dough Strengthening
Coil folds offer an even gentler alternative to stretch and folds, particularly effective for very high hydration doughs that are too liquid for stretching upwards. To perform a coil fold, wet your hands and slide them under the center of the dough in the bowl or proofing container. Gently lift the dough from the center, allowing the ends to hang down. As you lift, the dough will naturally fold or "coil" under itself. Lower the dough back into the container.
Rotate the container 90 degrees and repeat the lift-and-coil action. Perform 2-3 such lifts per set. Coil folds are less disruptive to the dough's structure and are excellent for building tension from underneath while preserving the airy texture. Like stretch and folds, perform 2-3 sets during the first few hours of bulk fermentation, allowing ample rest time between sets for the dough to relax and gain strength through this gentle wet sourdough handling.
Shaping Wet Sourdough with Precision
Pre-Shaping: Creating Tension Without Tearing
Pre-shaping is a crucial intermediate step in gentle wet sourdough handling that prepares the dough for its final form. After bulk fermentation is complete, gently turn the dough out onto a lightly floured surface. Using a bench scraper and a gentle touch, coax the dough into a rough round or oval shape, depending on your desired final loaf. The goal here is to create some initial surface tension without degassing the dough or tearing its delicate skin.
Allow the pre-shaped dough to rest, uncovered, for 20 to 30 minutes. This bench rest allows the gluten to relax after being handled, making the final shaping process easier and reducing the risk of tearing. The dough will spread slightly during this rest, but the initial tension created will remain, setting the stage for a successful final shape and contributing to good oven spring.
Final Shaping: Getting the Perfect Round or Oval
Final shaping is where you create the surface tension that will hold the dough's structure during proofing and baking. For a boule (round loaf), gently flatten the dough into a rough circle. Imagine folding the edges into the center, like folding an envelope, then turning the dough over and using your hands or a bench scraper to gently cup and pull the dough towards you, creating tension on the underside. For a batard (oval loaf), the folds are typically done to create a rectangular shape before rolling it up tightly.
The key to successful final shaping with wet dough is using minimal flour on your surface and confident, quick movements. Too much flour prevents the dough layers from sealing, while hesitant movements can lead to sticking and tearing. The final shape should be taut on the outside but still airy within. Once shaped, the dough is immediately placed seam-side up into a floured banneton for proofing, relying on the basket's support due to its wet nature.
Proofing Wet Sourdough
Choosing the Right Proofing Method for Wet Dough
Bulk Fermentation: Monitoring Dough Development
Bulk fermentation, the first rise after mixing and folding, is critical for developing flavor and structure in wet sourdough. During this stage, you monitor the dough's development, looking for signs that indicate it's ready for shaping. These signs include a significant increase in volume (typically 30-50% depending on temperature and recipe), a bubbly surface, and a light, airy feel. The dough should also show signs of strength, holding its shape somewhat when gently nudged.
The duration of bulk fermentation varies greatly depending on the ambient temperature and the activity of your starter. At a warm room temperature around 75°F (24°C), bulk fermentation might take 4-6 hours. In cooler conditions, it could take much longer. Learning to read the dough's signs of readiness, rather than relying solely on time, is essential for successful gentle wet sourdough handling and ensuring proper development before moving to the next stage.
Cold Proofing: Slowing Down Fermentation for Enhanced Flavor
Cold proofing involves placing the shaped dough in the refrigerator for an extended period, typically 12 to 48 hours, at temperatures around 38°F (3°C). This significantly slows down fermentation, allowing complex flavors to develop in the dough. For wet sourdough, cold proofing offers the added benefit of firming up the dough, making it much easier to score and handle gently before baking directly from the cold.
Beyond flavor development and ease of handling, cold proofing also provides flexibility in your baking schedule. You can perform the bulk fermentation and shaping one day and bake the loaf the next day or even the day after. The cold temperature halts the rapid gas production, preventing over-proofing (to a point) and helping maintain the structure you built with your gentle wet sourdough handling techniques.
Baking Wet Sourdough
Scoring Techniques for Wet Sourdough
Achieving Oven Spring with Proper Scoring
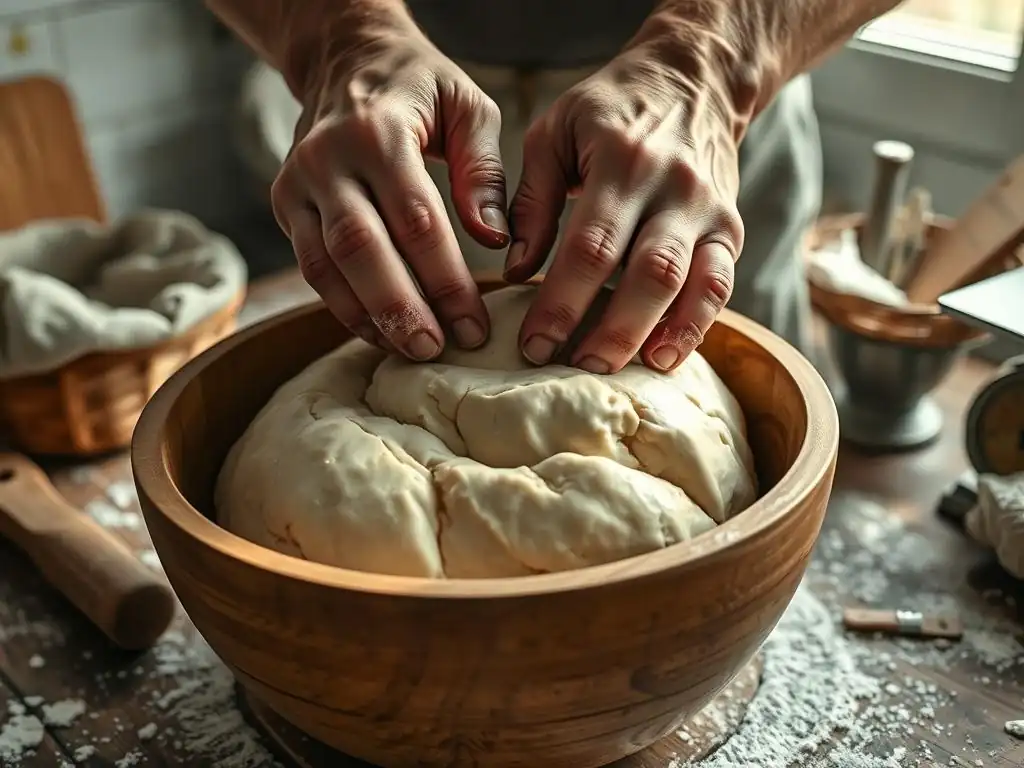
Scoring, the act of cutting the surface of the shaped dough just before baking, is particularly important for wet sourdoughs. The score acts as a controlled weak point, directing the dough's expansion as it experiences the rapid heat of the oven (oven spring). Without scoring, the crust would tear unpredictably, often resulting in a less attractive loaf and potentially hindering maximum expansion.
For wet doughs, which tend to have great oven spring potential due to their hydration, clean and decisive scoring is key. Use a very sharp blade, like a razor blade (lame), held at an angle (around 30 degrees) to the dough's surface. Make swift, confident cuts. The angle helps create a flap that lifts during baking, contributing to the ear. For a very wet dough, a single, deep score is often best to allow maximum expansion in one direction. Proper scoring complements gentle wet sourdough handling by ensuring the structure you've built can expand beautifully in the heat.
Baking Temperatures and Times for Wet Doughs
Baking wet sourdough typically requires high initial temperatures to maximize oven spring and set the crust quickly. A common method involves baking in a preheated Dutch oven or on a baking stone with steam. Preheat your oven and baking vessel to a high temperature, often between 450°F and 500°F (230°C to 260°C).
Place the scored dough carefully into the hot vessel or onto the stone (with steam), cover if using a Dutch oven, and bake for the initial phase, usually 20 minutes. The cover or steam creates a moist environment, keeping the crust pliable and allowing the dough to expand fully.
After this period, remove the cover (or cease steaming) and reduce the temperature slightly (e.g., to 425°F/220°C) and continue baking for another 20-25 minutes, or until the crust is a deep golden brown and the internal temperature reaches around 205-210°F (96-99°C). These temperatures and times are typical approximations and may require adjustment based on your oven and loaf size.
Troubleshooting Common Wet Sourdough Handling Issues
Dough Sticking to Surfaces: Prevention and Solutions
Dough sticking is a common frustration when practicing gentle wet sourdough handling. The best prevention is preparation: use minimal flour on your work surface during shaping (just enough to prevent sticking, not so much that it inhibits sealing), keep your hands wet during folds and handling, and generously flour your banneton, especially with rice flour.
If dough does stick to your hands or scraper, resist the urge to add more flour to the dough itself, as this will change its hydration and structure. Instead, re-wet your hands or use a bench scraper to gently release the stuck portion. For surfaces, slide a bench scraper underneath the dough with a quick, firm motion. If sticking in the banneton is an issue, ensure it was adequately floured before placing the dough in it. A quick fix might involve gently prying the edges with a bowl scraper before inverting.
Over-Proofing: Recognizing and Addressing the Problem
Over-proofing occurs when the dough ferments for too long, either during bulk fermentation or final proofing, especially common with gentle wet sourdough handling if not monitored closely. Signs of over-proofing include a dough that looks very bubbly and perhaps a bit flattened, lacks tension when gently prodded (it won't spring back readily), and may smell strongly acidic or alcoholic. If proofed in a banneton, it might have spread significantly.
If you suspect over-proofing before shaping, you might be able to gently re-shape it, though it may still lack some strength. If it's over-proofed in the banneton and completely slack, baking it might result in a flat loaf with a dense crumb. In such cases, salvaging the dough by turning it into focaccia, pizza dough, or even flatbreads is often the best option. These forms don't rely as heavily on internal structure for shape and can still yield delicious results, turning a potential failure into a success.
Lack of Strength: Improving Dough Structure
A wet dough that lacks strength will feel slack, spread out excessively, and be difficult to handle gently. This can be due to several factors, including insufficient folding during bulk fermentation, too short a bulk fermentation time, using flour with too low a protein content, or even an inactive starter.
To improve dough strength, ensure you are performing enough sets of folds (stretch and folds or coil folds) during the first few hours of bulk fermentation – typically 3-4 sets are needed for wet doughs. Ensure your bulk fermentation is long enough for the dough to develop visible signs of strength and increase in volume (30-50%). Using a strong bread flour (12-14% protein) or incorporating a small amount of vital wheat gluten can also help build a more robust structure capable of supporting the high hydration and withstanding gentle wet sourdough handling.
Advanced Tips for Handling Very Wet Sourdough
Using Rice Flour for Easy Release
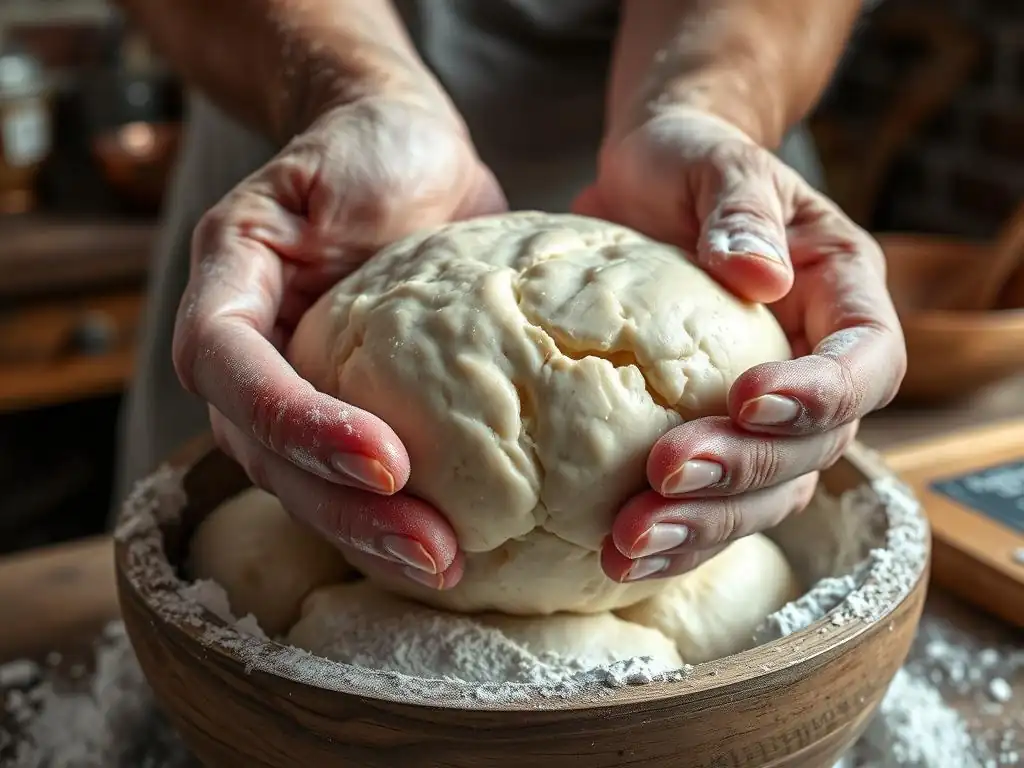
When working with very high hydration doughs (80%+), preventing sticking is paramount for successful gentle wet sourdough handling. Rice flour is a baker's secret weapon for this. Unlike wheat flour, rice flour contains no gluten, meaning it won't hydrate and become sticky when it comes into contact with the wet dough surface.
Liberally dusting your banneton basket with rice flour before placing the shaped dough inside creates a non-stick barrier. You can also dust your work surface very lightly with rice flour during shaping instead of, or in addition to, wheat flour. This ensures that the dough releases cleanly from the basket when inverted onto your baking surface, preserving the shape and tension you worked hard to create with your gentle handling techniques. Approximately 2-3 tablespoons of rice flour are usually sufficient for a standard banneton.
The Importance of Autolyse
The autolyse technique is particularly beneficial for wet doughs, making subsequent gentle wet sourdough handling much easier. Autolyse involves mixing just the flour and water from your recipe and letting this mixture rest for a period, typically 20 to 60 minutes, before adding the starter and salt.
During the autolyse rest, the flour fully hydrates, and enzymatic activity begins to break down proteins, which helps gluten development without any mechanical work (kneading or folding). This process makes the dough more extensible and less sticky right from the start, requiring fewer folds later to achieve sufficient strength. Implementing an autolyse period is a simple step that significantly improves the manageability of wet dough, aligning perfectly with the principles of gentle handling.
Working with High-Protein Flours
Selecting the right flour is perhaps the single most important factor when tackling very wet sourdough. Flours with a high protein content, such as strong bread flour (around 12-14% protein) or even specialized high-gluten flour (14-16% protein), are essential. These flours can absorb significantly more water than all-purpose flour (typically 10-11.5% protein) while still forming a strong, stable gluten network.
A robust gluten structure is key to supporting the weight of a high-hydration dough and trapping the gases produced during fermentation. While you might use 100% bread flour for an 80% hydration dough, for hydrations exceeding 85%, you might consider incorporating a small percentage of vital wheat gluten (e.g., 1-2% of the total flour weight) to boost the protein content and improve dough strength and handling characteristics. This allows you to achieve that super open, airy crumb while maintaining control with gentle wet sourdough handling.
Conclusion: Mastering the Art of Gentle Wet Sourdough Handling
Building Confidence with Practice
Learning to handle wet sourdough gently takes time and practice. Your first few attempts might be sticky, messy, and perhaps not result in the perfect loaf you envisioned. This is completely normal! Every baker goes through a learning curve, especially with high-hydration doughs. The key is persistence and observation. Pay attention to how the dough feels at different stages, note the impact of temperature, and refine your techniques with each bake.
Celebrate the small victories – a dough that is slightly less sticky than last time, a better shape, or a little more oven spring. Don't be discouraged by loaves that don't turn out perfectly; they are all valuable learning experiences. As you practice gentle wet sourdough handling techniques, your confidence will grow, and you'll develop an intuitive feel for the dough, which is the hallmark of an experienced sourdough baker.
Continuing Your Sourdough Journey with BakeWithEase
Mastering gentle wet sourdough handling is a significant step in your baking evolution. It opens the door to exploring a wider range of sourdough recipes, including those with higher hydration levels that yield incredibly light and airy loaves. Remember that baking is a continuous journey of learning and discovery.
At BakeWithEase.com, we are committed to providing you with the resources, tips, and guidance you need to continue honing your sourdough skills. Whether you're looking for new recipes to try your improved gentle handling techniques on, troubleshooting advice for specific issues, or inspiration for your next bake, we're here to support you. Keep practicing, keep experimenting, and enjoy the rewarding process of creating beautiful sourdough bread with confidence and ease.
Frequently Asked Questions
What makes wet sourdough doughs more challenging to handle?
Wet sourdough doughs have a higher water content, which makes them stickier and less firm than drier doughs. This requires more delicate handling to avoid tearing or deflating the dough.
Why is gentle handling so crucial for wet sourdough?
Gentle handling preserves the air bubbles and gluten structure developed during fermentation. Rough handling can degas the dough, resulting in a flatter, denser loaf.
What are some specific techniques for gently handling wet sourdough?
Techniques include using wet hands or a dough scraper, minimizing excessive kneading, and employing stretch and folds instead of traditional kneading. These techniques help to build strength without overworking the dough.
How can I prevent wet sourdough from sticking to my hands and surfaces?
Generously flour your hands and work surface with rice flour or all-purpose flour. Using a dough scraper helps to lift and manipulate the dough without direct contact.
Can I use a stand mixer to handle wet sourdough, and if so, how?
Yes, but use it sparingly. The stand mixer's power can easily overwork wet dough. Use the lowest speed and mix only until just combined, then switch to hand techniques like stretch and folds.
Final Reflection: The Gentle Art of Wet Dough Mastery
The pursuit of the perfect sourdough loaf often hinges on a single, often overlooked, factor: gentle handling. This article has explored the nuances of working with high-hydration sourdough doughs, emphasizing techniques that minimize stress and maximize the development of gluten structure and flavor. Mastering these techniques isn't just about achieving a beautiful rise; it's about understanding the delicate balance within the dough itself.
The journey of working with wet sourdough doughs is a deeply rewarding one, a testament to the patience and precision required in baking. It's a process that mirrors the slow, careful fermentation of the dough itself. The subtle shifts in texture, the delicate dance between flour and water, these are the elements that elevate baking from a task to an art form. As the renowned baker, Chad Robertson, once said, Bread baking is a journey of discovery, a constant learning process.
This sentiment perfectly encapsulates the ongoing exploration of wet dough techniques and the continuous refinement of one's approach.
Now, consider your own baking practice. Are you ready to embrace the challenge of wet doughs? Try incorporating the gentle techniques discussed here into your next sourdough bake. Observe the subtle changes in your dough's behavior, feel the difference in your hands, and taste the reward in the final product. The journey towards mastering wet sourdough is a personal one, filled with both triumphs and setbacks, but the resulting bread, imbued with character and flavor, is a testament to your dedication and skill. Embrace the gentle art, and discover the magic within.
Unleash Your Inner Sourdough Maestro!
Thanks for taking the time to explore the world of wet sourdough doughs! We hope you gained valuable insights into gentle handling techniques. Ready to put your new skills to the test?
- Bake a masterpiece: Try your hand at shaping a loaf using the techniques discussed – you might be surprised by the results! Experiment with different hydration levels to find your perfect consistency.
- Share your sourdough journey: Show off your beautiful loaves on social media using #BakeWithEaseWetDough. Let’s inspire each other!
- Dive deeper: Explore our other sourdough articles for more tips and tricks on achieving the perfect crumb.
What unique shaping technique will you try first with your next wet sourdough bake?