
Simple Spiced Pear and Citrus Tart Recipe

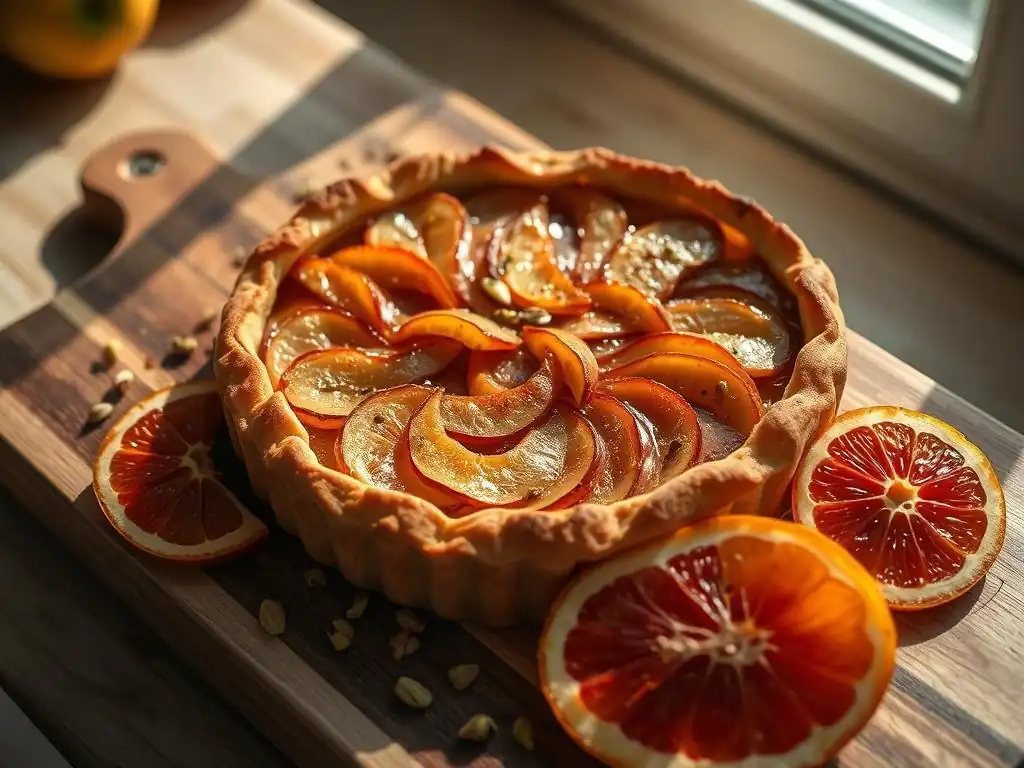
Welcome to BakeWithEase, your trusted companion in the delightful world of baking! Ever dreamt of crafting a stunning dessert that's both effortlessly elegant and bursting with flavor? Then you're in the right place. This season, we're diving into the comforting warmth of autumn with our easy spiced pear tart recipe. But that's just the beginning... Discover how simple techniques can unlock extraordinary flavors and inspire your baking journey. Intrigued? Let's get started!
- Simple Spiced Pear and Citrus Tart Recipe - BakeWithEase.com
- Introduction: Embrace Winter Baking with this Simple Spiced Pear and Citrus Tart
- Ingredients for Your Simple Spiced Pear and Citrus Tart
- Step-by-Step Guide to Baking Your Simple Spiced Pear and Citrus Tart
- Tips for the Perfect Simple Spiced Pear and Citrus Tart
- Serving and Storing Your Simple Spiced Pear and Citrus Tart
- Variations on the Simple Spiced Pear and Citrus Tart Recipe
- Conclusion: Enjoy Your Homemade Simple Spiced Pear and Citrus Tart
- Frequently Asked Questions
- Final Reflection: The Enduring Comfort of a Simple Spiced Pear Tart
- Unlock Your Inner Pastry Chef: Bake This Tart Today!
Simple Spiced Pear and Citrus Tart Recipe - BakeWithEase.com
Introduction: Embrace Winter Baking with this Simple Spiced Pear and Citrus Tart
Brighten Your Table with a Delicious Spiced Pear and Citrus Tart
As the days grow shorter and the air crisp, nothing quite warms the home and the soul like the aroma of baking spices mingling with sweet fruit. This simple spiced pear and citrus tart recipe is designed to bring that cozy feeling to your kitchen without complicated steps. It's a delightful dessert that combines the tender sweetness of pears with the bright zest of citrus, all wrapped in a buttery, flaky crust. Perfect for a weekend baking project or a festive gathering, this easy spiced pear tart is sure to become a seasonal favorite.
Creating this tart is a rewarding experience, yielding a beautiful centerpiece that tastes as good as it looks. The combination of soft, spiced pears and the tangy citrus provides a wonderful balance of flavors, making each bite a memorable one. Whether you're new to tarts or looking for a reliable recipe for an easy spiced pear tart, this guide will walk you through every step, ensuring success and a truly delicious result that showcases the best of winter produce.
Why This Simple Spiced Pear Tart Recipe is Perfect for Winter
Winter fruits like pears and citrus are at their peak during the colder months, offering vibrant flavors and textures. This simple spiced pear tart recipe capitalizes on these seasonal gems, enhancing their natural sweetness with warming spices like cinnamon, nutmeg, and ginger. The addition of citrus zest and juice cuts through the richness of the pastry and the sweetness of the pears, providing a refreshing counterpoint that elevates the entire dessert. It’s a recipe that feels both comforting and sophisticated, ideal for enjoying by the fire or sharing with loved ones during the holidays.
Furthermore, this recipe is specifically designed for ease, making it an accessible option even for beginner bakers. We focus on straightforward techniques for the crust and filling, minimizing complexity without sacrificing flavor or texture. An easy spiced pear tart should be a joy to bake, not a chore, and this recipe delivers on that promise. We'll guide you through simple methods to achieve a perfectly tender crust and a beautifully set, flavorful filling, ensuring your baking experience is as smooth and enjoyable as the resulting tart is delicious.
Ingredients for Your Simple Spiced Pear and Citrus Tart
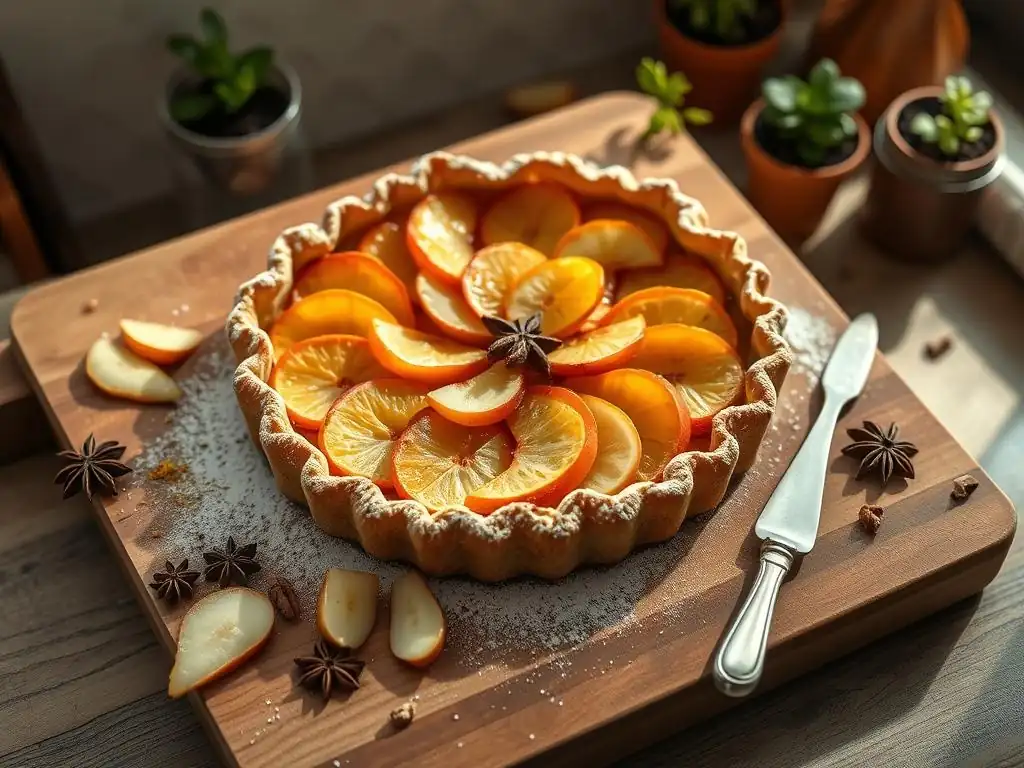
Tart Crust Ingredients: Buttery and Crisp
A great tart starts with a fantastic crust, and this recipe uses a simple, reliable Pâte Sucrée (sweet shortcrust pastry) that bakes up wonderfully buttery and crisp. You'll need essential pantry staples like all-purpose flour (approximately 1 ¼ cups, or 150 grams), unsalted butter (about ½ cup or 115 grams, chilled and cut into small cubes), granulated sugar (around ¼ cup or 50 grams), and a pinch of salt.
The cold butter is crucial here, as it creates steam pockets during baking, resulting in that desirable flaky texture. Using cold ingredients and handling the dough minimally are key principles for achieving a tender crust.
In addition to the dry ingredients and butter, you'll typically need one large egg yolk and a tablespoon or two of ice water. The egg yolk contributes richness and helps bind the dough, creating a more tender crumb compared to using a whole egg. The ice water is added just until the dough comes together, providing necessary moisture without developing too much gluten.
The precise amount of water can vary slightly depending on the humidity and your flour, so it's best to add it gradually, one tablespoon at a time, until the dough forms a cohesive ball. This combination of ingredients and technique ensures a sturdy yet delicate base for your easy spiced pear tart.
Spiced Pear and Citrus Filling Ingredients: A Harmonious Blend
The heart of this easy spiced pear tart lies in its flavorful filling, a delightful mix of tender pears, bright citrus, and warming spices. You'll need about 4-5 medium, ripe but firm pears, such as Bosc, Anjou, or Bartlett varieties, peeled, cored, and sliced about ¼ inch thick. Pears that are slightly underripe hold their shape better during baking. For the citrus element, you'll use the zest and juice of one large orange and one lemon, providing both tang and a beautiful aroma.
To sweeten the filling and create a luscious texture, you'll need granulated sugar (approximately ½ cup or 100 grams) and a tablespoon or two of all-purpose flour or cornstarch to help thicken the juices released by the fruit. The signature "spiced" element comes from ground cinnamon (about 1 teaspoon), ground nutmeg (a pinch, around ¼ teaspoon), and optionally, a tiny bit of ground ginger or cardamom for extra warmth. A tablespoon of butter, cut into small pieces and dotted over the top of the filling before baking, adds richness and helps create a lovely caramelized surface.
Step-by-Step Guide to Baking Your Simple Spiced Pear and Citrus Tart
Preparing the Tart Crust: A Simple Method
Making the dough for this easy spiced pear tart crust is a straightforward process. Start by combining the flour, sugar, and salt in a large bowl or a food processor. If using a bowl, cut in the cold, cubed butter using a pastry blender or your fingertips until the mixture resembles coarse meal with some pea-sized pieces of butter remaining. If using a food processor, pulse the dry ingredients and butter together until you reach the same consistency. This uneven distribution of butter is key to flakiness.
Next, add the egg yolk and pulse or mix until just combined. Then, gradually add the ice water, one tablespoon at a time, mixing only until the dough just comes together into a ball. Be careful not to overmix, as this can develop gluten and result in a tough crust.
Once the dough forms, flatten it into a disc, wrap it tightly in plastic wrap, and chill it for at least 30 minutes (or up to 2 days) in the refrigerator. Chilling allows the gluten to relax and the butter to firm up, making the dough much easier to roll out and preventing shrinkage during baking.
Making the Dough: [Detailed instructions with tips]
Begin by measuring your dry ingredients accurately. For the best results with your easy spiced pear tart crust, use a kitchen scale for the flour if possible (150g is a good target). Combine 150g all-purpose flour, 50g granulated sugar, and a pinch of salt in a bowl. Cut in 115g of cold, cubed unsalted butter.
The butter should be very cold, straight from the fridge. Work it into the dry ingredients using a pastry blender, fork, or your fingertips until the mixture looks like coarse crumbs with some larger, pea-sized pieces of butter still visible. Avoid letting the butter melt from the heat of your hands.
Now, add the egg yolk from one large egg. Mix it in lightly. Then, drizzle in 1-2 tablespoons of ice-cold water, one tablespoon at a time, mixing with a fork or your hands until the dough just starts to clump together. You want the dough to be moist enough to hold together when squeezed, but not sticky. If it's too dry and crumbly, add another half tablespoon of ice water. Gather the dough gently into a ball, then flatten it into a disk about 1 inch thick. This shape will make rolling easier later.
Chilling the Dough: [Importance and duration]
Chilling the dough is a critical step for a tender, flaky crust in your easy spiced pear tart. Once you've formed the dough disk, wrap it tightly in plastic wrap, ensuring no air pockets. Place the wrapped dough in the refrigerator for a minimum of 30 minutes. This allows the butter to re-solidify, which is essential for creating steam pockets during baking that lift the layers of the crust. It also gives the gluten you developed while mixing time to relax, preventing the crust from shrinking excessively in the oven.
Ideally, chilling the dough for at least an hour, or even longer (up to 2 days), will make it even easier to roll and handle. A well-chilled dough is less sticky and holds its shape better, reducing frustration when transferring it to the tart pan. If you're short on time, you can place the wrapped dough in the freezer for about 15-20 minutes, but keep a close eye on it to prevent it from freezing solid. Proper chilling is a simple step that significantly impacts the final texture and appearance of your easy spiced pear tart crust.
Rolling and Shaping the Tart Crust: [Techniques for a perfect fit]
Once your dough is sufficiently chilled, lightly flour a clean work surface and a rolling pin. Take the dough disk from the refrigerator and let it sit at room temperature for just a couple of minutes to make it slightly pliable, but don't let it get warm.
Roll the dough from the center outwards, rotating the dough occasionally and adding a little more flour if needed to prevent sticking. Aim for a circle about 12 inches in diameter and about ⅛ inch thick – large enough to fit into a standard 9-inch tart pan with fluted edges, leaving some overhang.
Carefully transfer the rolled dough to your 9-inch tart pan. The easiest way to do this is to gently roll the dough around your rolling pin and then unroll it over the pan. Press the dough gently into the bottom and up the sides of the pan, ensuring it fits snugly into the flutes. Avoid stretching the dough, as this can cause it to shrink back during baking.
Trim the excess dough from the edges using a sharp knife or by rolling the rolling pin over the top of the pan. Patch any small tears with scraps of dough. Prick the bottom of the crust all over with a fork; this is called docking and helps prevent the crust from puffing up unevenly during blind baking.
Blind Baking the Tart Crust: [Preventing a soggy bottom]
Blind baking is a crucial step for preventing a soggy bottom crust, especially with wet fillings like the one used in this easy spiced pear tart. After shaping and docking the crust in the pan, place it in the freezer for about 15-20 minutes to firm up the butter again. Preheat your oven to 375°F (190°C). Line the chilled tart shell with parchment paper or aluminum foil, pressing it gently against the sides and bottom. Fill the lined shell with pie weights, dried beans, or uncooked rice, distributing them evenly to weigh down the bottom and sides.
Bake the crust for about 15-20 minutes with the weights, or until the edges are set and just beginning to look dry. Carefully remove the weights and the parchment or foil liner. Return the tart shell to the oven and bake for another 5-10 minutes, or until the bottom is dry and lightly golden brown. This second bake ensures the bottom is fully cooked and sealed before adding the filling. Let the blind-baked crust cool slightly on a wire rack while you prepare the filling for your easy spiced pear tart.
Crafting the Spiced Pear and Citrus Filling
Preparing the filling for your easy spiced pear tart involves combining the sliced fruit, citrus, and spices. Start by peeling, coring, and slicing your pears. Aim for consistent slices, about ¼ inch thick, so they cook evenly. Place the pear slices in a large bowl. Zest the orange and lemon directly over the pears, then squeeze their juice into the bowl. Toss gently to coat the pear slices evenly with the citrus zest and juice.
Next, add the sugar, flour or cornstarch (about 2 tablespoons of either), cinnamon (1 teaspoon), nutmeg (¼ teaspoon), and any other desired spices like ginger. Gently toss everything together until the pear slices are well coated with the sugar, thickener, citrus, and spices. The mixture might seem a bit dry at first, but the sugar will begin to draw moisture out of the pears as they sit, creating a lovely syrupy mixture.
Let the mixture sit for about 10-15 minutes while you prepare the crust, stirring occasionally. This resting time helps the flavors meld and the thickener start to work.
Preparing the Pears: [Peeling, coring, and slicing]
Selecting the right pears is the first step. Choose pears that are ripe but still firm, as they will soften nicely in the oven without turning mushy. Bosc, Anjou, or Comice are excellent choices for baking an easy spiced pear tart. Wash the pears thoroughly under cool water. Using a sharp vegetable peeler, carefully remove the skin from each pear. Start from the top and work your way down.
Once peeled, stand the pear upright and slice it in half lengthwise. Use a spoon or a melon baller to scoop out the core and the fibrous material around it. You can also use a sharp knife to cut out the core if you prefer. Finally, lay each pear half flat and slice it crosswise into consistent ¼-inch thick slices. Try to keep the slices uniform so they bake evenly in your easy spiced pear tart. Place the slices directly into your mixing bowl as you work.
Combining the Citrus and Sugar: [Creating the flavorful base]
The citrus element provides a crucial counterpoint to the sweetness of the pears in this easy spiced pear tart. Wash one large orange and one large lemon thoroughly. Using a fine grater or microplane, carefully zest the outer peel of both fruits directly into the bowl with the sliced pears. Avoid grating the white pith underneath the peel, as it can be bitter. The zest contains volatile oils that are packed with intense citrus flavor and aroma.
After zesting, cut the orange and lemon in half and squeeze their juice into the bowl with the pears and zest. The combination of orange and lemon juice adds brightness and acidity, balancing the sweetness of the fruit and sugar. Add the granulated sugar (about ½ cup or 100g) to the bowl. Gently toss the pear slices with the citrus zest, juice, and sugar. This mixture will form the base of your filling, creating a slightly syrupy coating for the pears as they release their juices.
Assembling the Spiced Pear and Citrus Filling: [Achieving the right consistency]
With the pears coated in citrus and sugar, it's time to add the spices and thickener to the filling for your easy spiced pear tart. Measure out 1 teaspoon of ground cinnamon and ¼ teaspoon of ground nutmeg. If you like, add a pinch of ground ginger or cardamom for extra warmth. Sprinkle these spices over the pear mixture in the bowl. Add about 2 tablespoons of all-purpose flour or cornstarch. The thickener is essential for absorbing some of the pear juices released during baking, preventing the tart from being watery.
Gently toss all the ingredients together until the pear slices are evenly coated with the sugar, citrus, spices, and thickener. Let the mixture sit for about 10-15 minutes while you prepare the blind-baked crust. During this time, the sugar will start to draw moisture out of the pears, creating a light syrup. Give it another gentle stir before assembling the tart. The goal is a mixture where the pear slices are coated and there's a small amount of liquid forming at the bottom of the bowl, which the thickener will handle during baking.
Assembling and Baking the Simple Spiced Pear and Citrus Tart
Once your crust is blind-baked and slightly cooled, and your filling is ready, it's time to assemble your easy spiced pear tart. Preheat your oven to 375°F (190°C). Carefully arrange the spiced pear slices in the blind-baked tart shell. You can layer them flat in concentric circles for a neat look, or simply pile them in, distributing them evenly. Try to create a slightly mounded center, as the pears will soften and settle during baking.
Pour any accumulated juices from the bottom of the filling bowl evenly over the arranged pear slices. Dot the top of the pears with small pieces of butter (about 1 tablespoon total, cut into small cubes). This adds richness and promotes browning. Place the assembled tart on a baking sheet (to catch any potential drips) and bake in the preheated oven for 40-50 minutes, or until the crust is golden brown and the filling is bubbly and the pears are tender when pierced with a fork.
Arranging the Pears in the Tart Shell: [Creating an appealing design]
Arranging the pear slices in your easy spiced pear tart can turn a simple dessert into a showstopper. One common and visually appealing method is to arrange the slices in concentric circles, overlapping them slightly. Start from the outer edge of the blind-baked crust and work your way towards the center. This creates a beautiful, layered look. Ensure the slices are evenly distributed so the tart bakes uniformly.
Alternatively, you can simply pile the pear slices into the tart shell, distributing them as evenly as possible. This creates a more rustic look but is just as delicious. Regardless of the method, make sure the pear slices are spread out rather than clumped together in one spot. You want a relatively even layer of fruit across the bottom of the tart shell. Leave a small border (about ½ inch) around the edge free of fruit to showcase the beautiful crust.
Pouring the Citrus Filling: [Even distribution]
After arranging the pear slices in the blind-baked crust, there will likely be some delicious, syrupy liquid remaining in the bottom of the bowl where the pears were mixed with the sugar, citrus juice, and spices. This liquid is packed with flavor and contains the thickener (flour or cornstarch). It's important to include this in the tart filling.
Carefully pour this liquid evenly over the arranged pear slices in the tart shell. Try to distribute it so it coats the surface of the pears and seeps down into the gaps between the slices. This liquid will thicken during baking, creating a luscious, syrupy filling that binds the pears together and enhances the flavor of your easy spiced pear tart. Avoid pouring too much liquid near the edges of the crust, as this could still potentially lead to a slightly soggy edge, though the blind baking helps prevent this.
Baking the Tart: [Temperature and baking time]
Preheat your oven to 375°F (190°C). Place the assembled easy spiced pear tart, preferably on a baking sheet, in the center rack of the preheated oven. The baking sheet helps catch any drips and makes it easier to handle the tart. Bake for approximately 40 to 50 minutes. The exact baking time can vary depending on your oven and the ripeness of the pears.
You'll know the tart is done when the crust is a beautiful golden brown color, and the filling is visibly bubbly, especially around the edges. The pears should be tender when gently pierced with a knife or fork. If the crust edges start browning too quickly before the filling is ready, you can loosely tent the edges with aluminum foil. Once baked, remove the tart from the oven and let it cool on a wire rack. It's best to let the tart cool for at least 2-3 hours before slicing to allow the filling to set properly.
Tips for the Perfect Simple Spiced Pear and Citrus Tart
Achieving a Golden-Brown Crust: [Secrets to success]
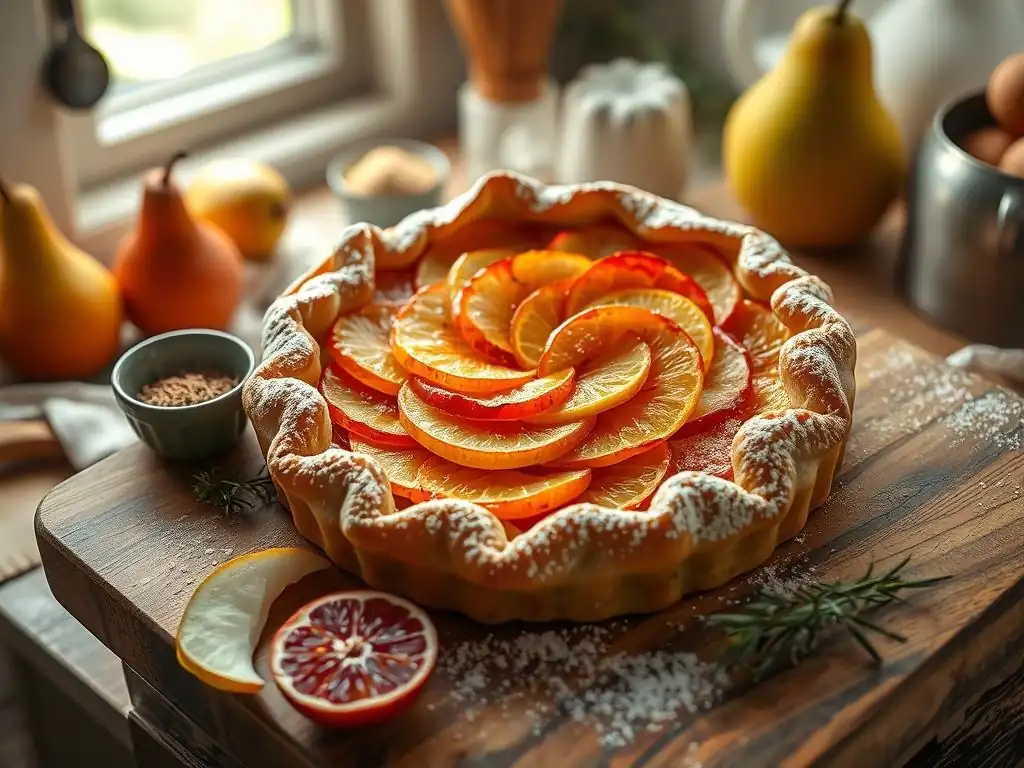
Getting that perfect golden-brown crust on your easy spiced pear tart involves a few key techniques. Firstly, ensure your oven is accurately preheated to 375°F (190°C). An oven thermometer can help verify this. Secondly, make sure you blind bake the crust adequately; this initial bake sets the structure and color before the wet filling is added. Baking the crust naked for the final 5-10 minutes of blind baking helps achieve a dry, slightly colored base.
During the final bake with the filling, keep an eye on the crust edges. If they are browning faster than the rest of the tart, loosely cover the edges with strips of aluminum foil. This reflects the heat and slows down the browning process on the edges while the center finishes baking. Baking on the lower-middle rack can also help ensure the bottom crust gets enough heat to crisp up nicely.
Preventing a Soggy Bottom: [More helpful hints]
A soggy bottom is the bane of any tart baker! For your easy spiced pear tart, the most critical step in preventing this is thorough blind baking. Ensure the crust is baked until the bottom is dry and lightly colored before adding the filling. Using pie weights or beans during the initial part of the blind bake is essential to keep the crust flat.
Beyond blind baking, incorporating a thickener like flour or cornstarch into the pear filling is vital. This helps absorb the juices released by the fruit during baking. Using approximately 2 tablespoons of thickener for this quantity of fruit is typically sufficient. Allowing the tart to cool completely (for several hours) before slicing also allows the filling to set properly, which contributes to a firmer, less watery bottom layer.
Choosing the Right Pears: [Variety recommendations]
Selecting the appropriate pear variety is important for the success of your easy spiced pear tart. You want pears that hold their shape well during baking and don't turn into mush. Ripe but firm varieties such as Bosc, Anjou, or Comice are excellent choices. These pears have a good balance of sweetness and structure.
Avoid using overly soft or very ripe pears like some varieties of Bartlett, as they can break down too much in the heat, resulting in a less visually appealing and potentially mushy filling. Pears that are slightly firm will soften beautifully in the oven while maintaining their form, creating distinct, tender slices within the tart. Taste a small piece of a pear before slicing to ensure it has good flavor.
Adjusting the Sweetness to Your Taste: [Customizing the flavor profile]
The sweetness level in this easy spiced pear tart can be adjusted based on your personal preference and the ripeness of your pears. The recipe calls for approximately ½ cup (100g) of granulated sugar in the filling. If your pears are particularly sweet, you might reduce the sugar slightly, perhaps by ¼ cup. If they are less sweet or if you prefer a sweeter tart, you could increase it by a tablespoon or two.
It's important to taste a small piece of the raw pear before mixing the filling to get an idea of its natural sweetness. Remember that the citrus adds a tart element that balances the sugar. You can also adjust the amount of citrus juice slightly; less juice will result in a sweeter filling, while more juice will make it tangier. These small adjustments allow you to customize your easy spiced pear tart to your perfect flavor profile.
Serving and Storing Your Simple Spiced Pear and Citrus Tart
Serving Suggestions: [Pairing ideas and garnishes]
This simple spiced pear and citrus tart is delicious served warm or at room temperature. For an extra special treat, serve a slice warm with a scoop of vanilla bean ice cream or a dollop of freshly whipped cream. The cold, creamy topping provides a wonderful contrast to the warm, spiced fruit filling. A light dusting of powdered sugar or a sprinkle of extra citrus zest over the top just before serving can add a touch of elegance.
Consider pairing a slice with a warm beverage like a spiced cider or a cup of tea, especially on a chilly day. The tart's flavors also complement a dessert wine. For presentation, you could garnish the plate with a few fresh mint leaves or a thin slice of orange. The vibrant colors and textures will enhance the overall appeal of your easy spiced pear tart.
Storing Leftover Tart: [Maintaining freshness]
If you happen to have any leftovers of your delicious easy spiced pear tart, proper storage will help maintain its freshness and quality. Once the tart has cooled completely to room temperature (this is important to prevent condensation), cover it loosely with plastic wrap or aluminum foil. You can also store individual slices in airtight containers.
The tart can be stored at room temperature for 1-2 days. For longer storage, it's best to refrigerate it. When refrigerated and properly covered, the tart will stay fresh for up to 3-4 days. To reheat a slice, you can warm it gently in a microwave for a few seconds or in a low oven (around 300°F or 150°C) for 5-10 minutes until just warm, which helps crisp up the crust slightly. Avoid freezing the tart, as this can negatively impact the texture of the crust and fruit.
Variations on the Simple Spiced Pear and Citrus Tart Recipe
Adding Nuts for Texture: [Pecans or Walnuts]
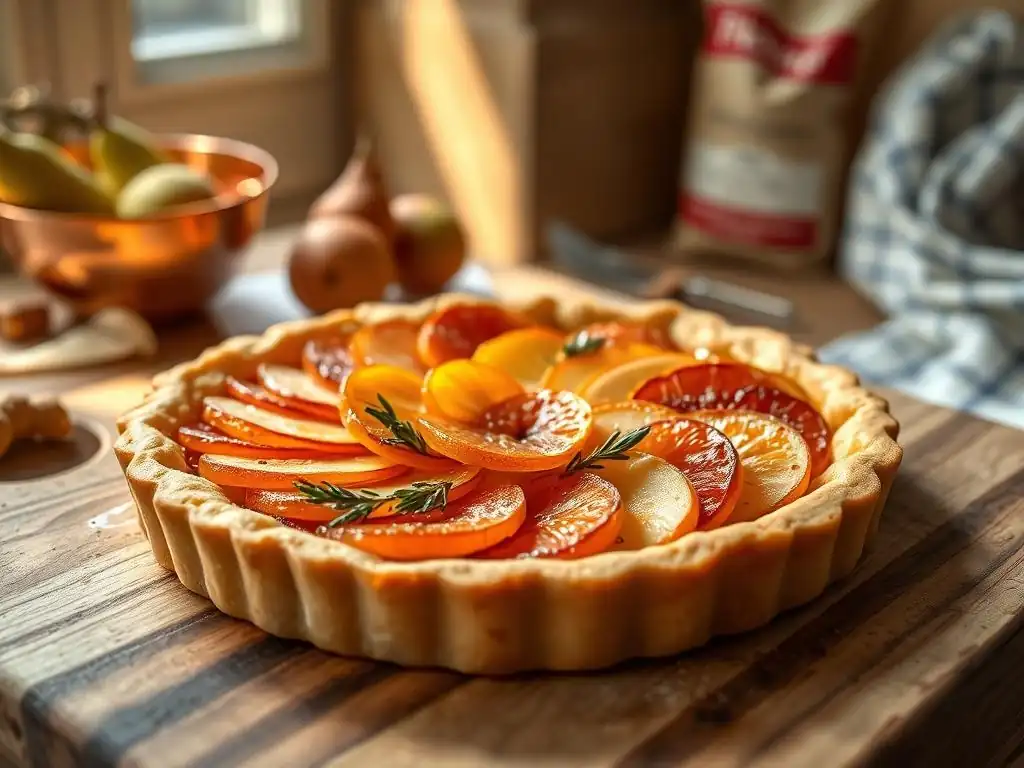
Adding nuts to your easy spiced pear tart can introduce a wonderful layer of texture and nutty flavor that complements the fruit and spices. Chopped pecans or walnuts are excellent choices. You can lightly toast the nuts before adding them to enhance their flavor. About ½ cup of chopped nuts would be a good amount.
You can mix the chopped nuts directly into the pear filling mixture before assembling the tart. This distributes them throughout the filling. Alternatively, you can sprinkle the nuts over the top of the pear filling just before baking. This creates a slightly crunchy topping. The nuts bake along with the tart, becoming fragrant and slightly toasted, adding a delightful contrast to the soft pears in your easy spiced pear tart.
Incorporating Other Spices: [Cinnamon or Nutmeg]
While cinnamon and nutmeg are classic pairings for pears and citrus, you can easily incorporate other warming spices to customize the flavor profile of your easy spiced pear tart. Ground ginger adds a bit of warmth and slight spiciness that pairs well with both pears and citrus. A pinch (about ¼ teaspoon) is often enough, as ginger can be quite potent.
Cardamom is another spice that works beautifully with pears and citrus, offering a slightly exotic, aromatic note. About ¼ teaspoon of ground cardamom can be added along with the cinnamon and nutmeg. Allspice, star anise, or even a tiny pinch of ground cloves can also be used sparingly to add complexity. Experiment with small amounts to find your favorite spice blend for this simple spiced pear tart.
Dairy-Free Simple Spiced Pear Tart Option: [Butter Substitutions]
Making a dairy-free version of this easy spiced pear tart is relatively simple, primarily involving substituting the butter in the crust. Look for a high-quality plant-based butter alternative that is specifically designed for baking. Many brands offer sticks of vegan butter that behave similarly to dairy butter in pastry. Use the same amount (115g or ½ cup) of cold, cubed plant-based butter.
Ensure the plant-based butter is very cold when cutting it into the dry ingredients, just as you would with dairy butter. Follow the same steps for mixing and chilling the dough. For the small amount of butter dotted over the filling, you can either omit it or use a small amount of the same plant-based butter alternative or even a neutral-flavored oil like coconut oil (though butter alternatives will give a better flavor). This allows everyone to enjoy a delicious easy spiced pear tart, regardless of dietary needs.
Conclusion: Enjoy Your Homemade Simple Spiced Pear and Citrus Tart
A Taste of Winter in Every Bite
There's something truly special about baking with seasonal fruits, and this simple spiced pear and citrus tart captures the essence of winter in every delicious bite. The tender, fragrant pears mingle with the bright, zesty notes of orange and lemon, all enveloped in a crisp, buttery crust. The warmth from the cinnamon, nutmeg, and other spices creates a comforting flavor profile that is both inviting and satisfying. It's a dessert that feels homemade in the best possible way – full of flavor, warmth, and crafted with care, making it a perfect easy spiced pear tart for any occasion.
This recipe proves that creating a stunning and delicious tart doesn't have to be complicated. By following these simple steps and tips, you can confidently bake a beautiful easy spiced pear tart that will impress your family and friends. The combination of textures – the flaky crust and the soft, syrupy fruit – along with the harmonious blend of flavors, makes this tart a true delight. It’s a wonderful way to bring the cozy spirit of winter baking into your home.
We love seeing what you bake! If you try this simple spiced pear and citrus tart recipe, snap a photo and share it with us. Baking is a wonderful way to connect with others and share joy, and your successes (and even your learning moments!) can inspire fellow bakers in our community. Whether you followed the recipe exactly or added your own twist, we encourage you to share your experience.
BakeWithEase.com is here to support your baking journey, providing simple recipes and helpful tips to make baking accessible and enjoyable for everyone. This easy spiced pear tart is just one example of how you can create delicious, impressive desserts with straightforward methods. Don't hesitate to experiment, have fun in the kitchen, and share the delicious results. Happy baking, and we can't wait to see your beautiful easy spiced pear tart!
Frequently Asked Questions
What makes this spiced pear tart recipe easy?
This recipe focuses on simple techniques and easy-to-find ingredients available at most grocery stores. It streamlines the traditional tart-making process for a quick and delicious result.
Can I substitute the pears in the spiced pear tart?
While pears are the star, you can substitute with other fruits like apples or quince. Just be sure to adjust the baking time slightly based on the fruit's moisture content.
What spices are best to use in a spiced pear tart?
The recipe typically uses a blend of cinnamon, nutmeg, and ginger. You can experiment with other warming spices like cardamom or cloves to personalize the flavor.
What kind of pastry crust is recommended for the tart?
A pre-made shortcrust pastry is often recommended for ease. However, you can also use a homemade pie crust for a more authentic, from-scratch experience.
How do I prevent the tart crust from becoming soggy?
Blind baking the crust before adding the filling is crucial. Also, ensure the fruit is not overly juicy before adding it to the pre-baked crust.
Final Reflection: The Enduring Comfort of a Simple Spiced Pear Tart
The art of baking, particularly the creation of something as seemingly simple as a spiced pear tart, offers more than just a delicious treat; it provides a comforting connection to tradition and a tangible expression of care. In a world increasingly dominated by fast-paced living and instant gratification, the deliberate act of creating something from scratch, something beautiful and flavorful, offers a powerful antidote to the frenetic energy of modern life. This simple recipe, designed for ease of execution, proves that extraordinary results can stem from uncomplicated processes.
The enduring appeal of this spiced pear tart lies not just in its taste, but in its ability to evoke feelings of warmth, nostalgia, and shared experiences. The aroma of warm spices, the glistening glaze of the pears, the satisfying crunch of the pastry – these sensory details contribute to a holistic experience that transcends the simple act of eating. It's a recipe that invites sharing, a moment of connection with loved ones, and a reminder of the simple joys that often get overlooked. The best things in life are simple.
This timeless adage rings true when considering the profound satisfaction derived from creating and sharing this delightful tart.
Now, I invite you to consider the possibilities. Don't just passively read this recipe; actively engage with it. Picture yourself in your kitchen, the scent of cinnamon and cloves filling the air, the warmth of the oven radiating comfort. Try it. Adapt it. Make it your own. Let this simple spiced pear tart be more than just a recipe; let it be a reminder of the power of slowing down, embracing simplicity, and finding joy in the everyday moments of creation and connection. The sweet reward awaits.
Unlock Your Inner Pastry Chef: Bake This Tart Today!
Thanks for taking the time to explore this spiced pear and citrus tart recipe! We hope you found the instructions clear and inspiring. Ready to bring some delicious autumnal flavors to your kitchen?
- Bake the tart! This recipe is designed for success – even if you’re a beginner baker. Give it a try and see how easy it is to create something truly special.
- Share your creation: Snap a photo of your finished tart and share it on social media using #BakeWithEasePearTart – we’d love to see your beautiful work!
- Consider experimenting: Try substituting different citrus fruits or adding a sprinkle of cinnamon for an even warmer spice profile. What variations will you create?
Ready to transform your kitchen into a fragrant oasis? What unique twist will you add to this delectable tart?