
Dive into Easy NoBake Desserts: Perfect for Your First Try

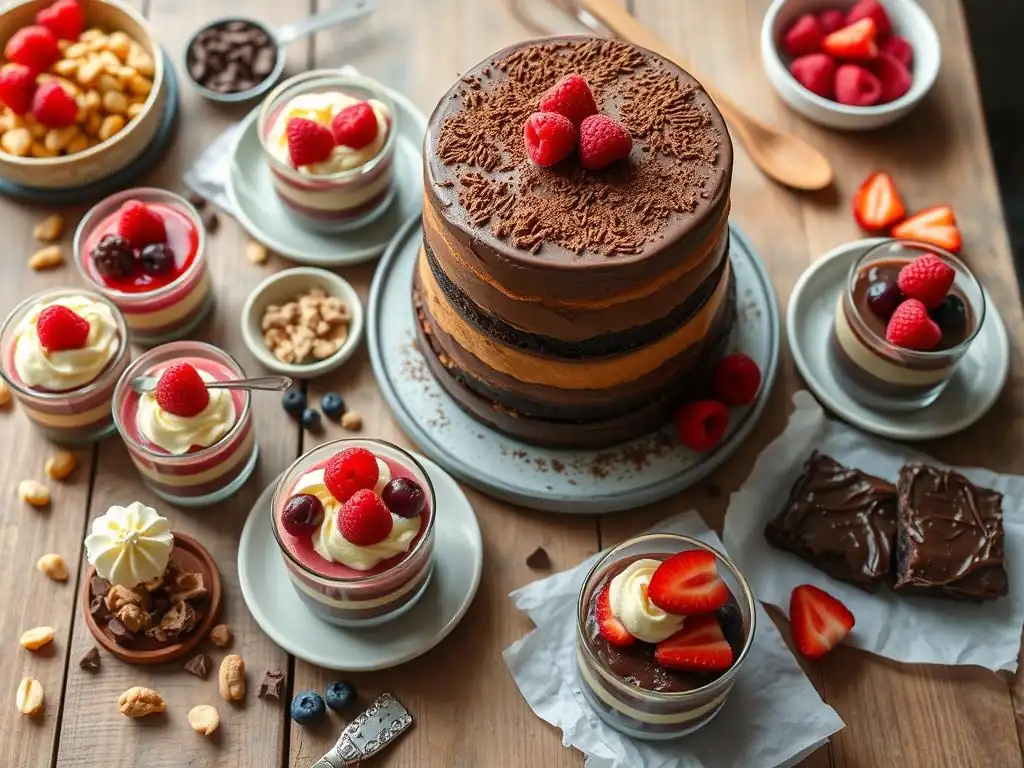
Welcome to BakeWithEase, where the sweet satisfaction of baking is always within reach!
Craving dessert but short on time (or oven access)? You've landed in the right place. This week, we're diving headfirst into the world of no bake desserts beginner recipes, offering incredibly simple and delicious options that even the newest baker can master. Forget complicated techniques and long ingredient lists – get ready to whip up something amazing right now and discover how easy it is to create delectable treats. Intrigued? Let's get started!
- Easy No-Bake Desserts: A Beginner's Guide
- The Ultimate Guide to Simple No-Bake Desserts
- Why Choose No-Bake Desserts?
- Top 5 Easy No-Bake Dessert Recipes
- Essential Tips for No-Bake Success
- Troubleshooting Common Issues
- Elevating Your Skills
- Start Your No-Bake Journey!
- Frequently Asked Questions
- Final Reflection: The Sweet Simplicity of No-Bake Beginnings
- Unlock Your Inner Pastry Chef: Delicious No-Bake Treats Await!
Easy No-Bake Desserts: A Beginner's Guide
Welcome to BakeWithEase, where we believe baking should be fun, not stressful! If you're just starting out or looking for simple ways to satisfy your sweet tooth without turning on the oven, you're in the right place. This guide dives into the wonderful world of no-bake desserts, perfect for anyone looking for an easy win in the kitchen. Forget complicated techniques and precise oven temperatures; no-bake treats are forgiving, delicious, and incredibly simple to put together.
This article will walk you through the benefits of choosing no-bake options, share some fantastic beginner-friendly recipes, and give you essential tips for success. Whether you're craving something creamy, chocolatey, or fruity, there's a simple no-bake dessert waiting for you. Let's get started on your journey to creating delightful treats with minimal effort!
The Ultimate Guide to Simple No-Bake Desserts
Embarking on your baking adventure doesn't have to start with complex layered cakes or finicky pastries. No-bake desserts offer a fantastic entry point, proving that you can create impressive and tasty treats with just a few ingredients and some time in the refrigerator. These recipes are designed to be straightforward, relying on simple techniques like mixing, layering, and chilling.
From creamy puddings and mousses to layered icebox cakes and cookie bars, the variety of no-bake options is vast and appealing. They are particularly popular because they eliminate many common baking challenges, such as achieving the perfect rise, preventing scorching, or dealing with oven calibration. This makes them an ideal choice for anyone seeking a low-stress path to homemade deliciousness. Mastering a few basic no-bake dessert recipes can build your confidence in the kitchen and provide go-to options for last-minute gatherings or simple weeknight treats.
Why Choose No-Bake Desserts?
Opting for no-bake desserts brings a host of advantages, especially for beginners or those with limited time and resources. They simplify the process significantly, focusing on assembly and chilling rather than precise baking times and temperatures. This inherent ease makes them incredibly appealing and accessible to everyone.
Beyond the simplicity, no-bake treats are wonderfully versatile and often require minimal specialized equipment. Many can be made using just a bowl, a whisk, and a refrigerator. This low barrier to entry means you can jump right in and start creating delicious things almost immediately, making them a top choice for anyone looking for an easy no-bake desserts beginner recipe.
Simplicity and Speed
One of the most significant appeals of no-bake desserts is their unparalleled simplicity and speed. Compared to traditional baked goods that require preheating, mixing, baking, and cooling, many no-bake recipes involve just a few steps: combine ingredients, pour into a dish, and chill. For instance, a classic no-bake cookie recipe might take only 10-15 minutes of active preparation before needing to set.
Consider the difference in time investment. A standard chocolate cake might require 20 minutes of prep, 30-40 minutes of baking, and then an hour or more to cool before frosting. A no-bake chocolate pudding pie, in contrast, could be ready for chilling in under 15 minutes using a pre-made crust and instant pudding. While chilling times vary, ranging from a quick 2 hours for some mousses to overnight for firmer cheesecakes, the active time spent in the kitchen is dramatically reduced, making these perfect for busy schedules.
Perfect for Hot Days
No-bake desserts are an absolute lifesaver during warmer months when turning on the oven feels like a punishment. Ovens generate significant heat; a typical home oven operating at 350°F (175°C) can raise the ambient temperature of a kitchen by several degrees, sometimes as much as 5-10°F (3-6°C) or more depending on insulation and kitchen size.
By choosing a no-bake option, you keep your kitchen cool and comfortable. This allows you to prepare delicious treats for picnics, BBQs, or just a refreshing dessert after a hot day without adding to the heat. Think of a chilled lemon icebox cake or individual cheesecake cups – they are not only easy to make but also provide a welcome coolness that baked goods simply can't match when the mercury rises.
Less Room for Error
Baking can be precise, and small errors can lead to disappointing results – a cake that doesn't rise, cookies that spread too much, or bread that's dense. No-bake desserts significantly reduce these common pitfalls. You eliminate variables like oven temperature fluctuations, incorrect baking times, and the chemical reactions involved in leavening.
While you still need to measure accurately and follow instructions, the primary "cooking" process is chilling, which is much more forgiving than baking. Issues like a dessert not setting can often be fixed by simply chilling it longer, whereas an underbaked cake needs to go back in the oven (if possible) or is ruined. This inherent leniency makes no-bake recipes a confidence booster for beginners, allowing them to enjoy success without the stress of traditional baking challenges.
Top 5 Easy No-Bake Dessert Recipes
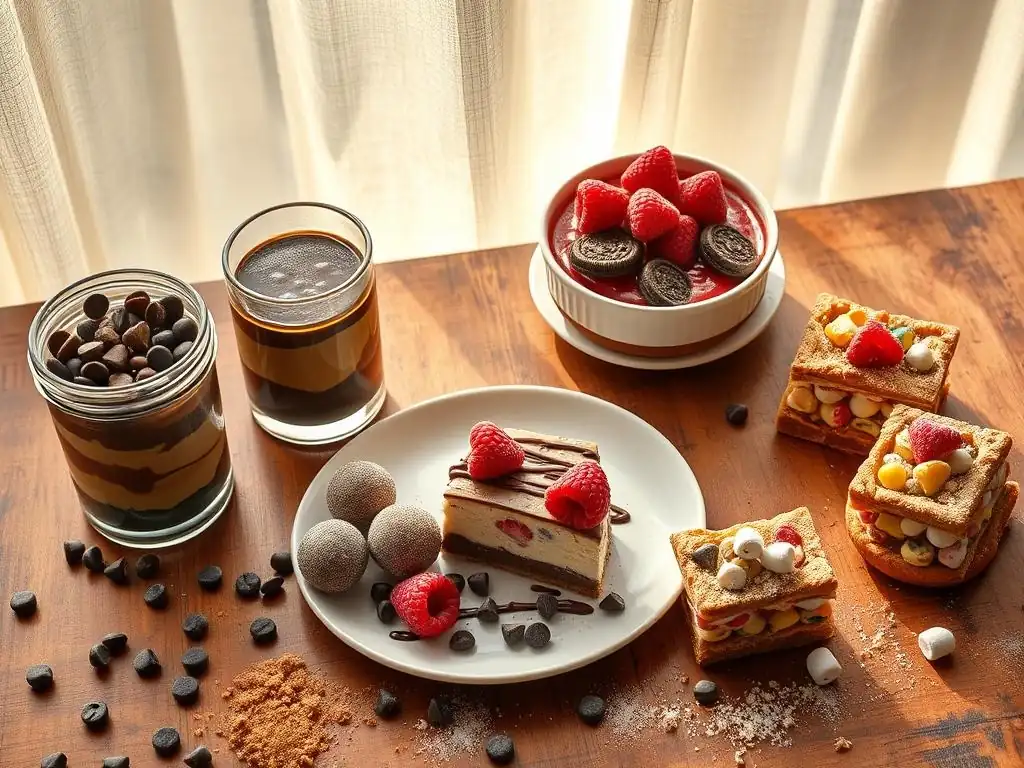
Ready to try your hand at some simple no-bake delights? Here are five classic and easy recipes perfect for beginners. These represent different types of no-bake treats, from cookies and bars to creamy layered desserts. Each is a great example of an easy no-bake desserts beginner recipe.
A classic that requires no oven time at all, these cookies are made on the stovetop and set up on wax paper.
Ingredients
- Butter
- Sugar
- Milk
- Cocoa Powder
- Peanut Butter
- Rolled Oats (Old-Fashioned or Quick Oats)
- Vanilla Extract
Instructions
- In a saucepan, combine butter, sugar, milk, and cocoa powder.
- Bring the mixture to a rolling boil over medium heat and boil for exactly 1 minute.
- Remove from heat and quickly stir in the peanut butter, oats, and vanilla extract.
- Drop spoonfuls of the mixture onto wax paper or parchment paper.
- Let them cool and set completely, which usually takes about 20-30 minutes.
Recipe 2: Individual No-Bake Cheesecake Cups
Creamy, tangy, and served in individual portions, these are simple and elegant.
Ingredients
- Graham Cracker Crumbs
- Melted Butter
- Cream Cheese (softened)
- Powdered Sugar
- Heavy Whipping Cream
- Vanilla Extract
- Lemon Juice (optional, for tang)
- Toppings (fresh berries, chocolate shavings, etc.)
Instructions
- Combine graham cracker crumbs and melted butter. Press a small amount into the bottom of individual cups or ramekins. Chill crusts for about 10-15 minutes.
- In a large bowl, beat softened cream cheese until smooth.
- Gradually beat in the powdered sugar until fully combined and smooth. Stir in vanilla extract and lemon juice (if using).
- In a separate bowl, whip the heavy cream until stiff peaks form.
- Gently fold the whipped cream into the cream cheese mixture until no streaks remain.
- Spoon or pipe the filling into the chilled cups over the crusts.
- Refrigerate for at least 2-3 hours, or until set.
- Before serving, top with your desired garnishes.
Recipe 3: Lemon Icebox Cake
Layers of crisp cookies and creamy lemon filling create a delightful, refreshing treat.
Ingredients
- Whipping Cream
- Powdered Sugar
- Lemon Zest
- Fresh Lemon Juice
- Vanilla Extract
- Graham Crackers or Thin Crispy Cookies (like Nilla Wafers)
Instructions
- In a large bowl, beat whipping cream with powdered sugar, lemon zest, lemon juice, and vanilla extract until stiff peaks form.
- Spread a thin layer of the cream mixture on the bottom of an 8x8 or 9x13 inch dish.
- Arrange a layer of graham crackers or cookies over the cream layer, breaking them as needed to fit.
- Repeat layering, alternating between cream and cookies, ending with a cream layer.
- Cover the dish tightly with plastic wrap.
- Refrigerate for at least 4-6 hours, or preferably overnight, allowing the cookies to soften and the cake to set.
Recipe 4: Peanut Butter Bars
A simple peanut butter and powdered sugar base topped with a smooth chocolate layer.
Ingredients
- Butter (melted)
- Peanut Butter
- Powdered Sugar
- Graham Cracker Crumbs (optional, for texture)
- Chocolate Chips (semi-sweet or milk)
- Butter or Shortening (for chocolate topping)
Instructions
- In a large bowl, combine melted butter and peanut butter.
- Gradually add powdered sugar, mixing until well combined and it forms a thick dough-like consistency. Stir in graham cracker crumbs if using.
- Press the mixture evenly into the bottom of an 8x8 or 9x13 inch pan lined with parchment paper.
- In a microwave-safe bowl, melt the chocolate chips and butter/shortening together, stirring until smooth. Heat in 30-second intervals, stirring between each, to avoid burning.
- Pour the melted chocolate evenly over the peanut butter base.
- Refrigerate for at least 1-2 hours, or until the chocolate layer is firm.
- Once set, lift from the pan using the parchment paper and cut into bars.
Recipe 5: Oreo Dessert
Layers of crushed Oreos, creamy filling, and often a pudding layer make this a crowd-pleaser.
Ingredients
- Oreo Cookies (crushed)
- Melted Butter
- Cream Cheese (softened)
- Powdered Sugar
- Whipped Topping (like Cool Whip)
- Instant Pudding Mix (chocolate or vanilla)
- Milk (for pudding)
Instructions
- Combine most of the crushed Oreos with melted butter and press into the bottom of a 9x13 inch pan. Reserve some crushed Oreos for topping.
- In a bowl, beat softened cream cheese and powdered sugar until smooth. Fold in half of the whipped topping. Spread this mixture over the Oreo crust.
- Prepare the instant pudding mix according to package directions using milk. Let it sit for a few minutes to thicken slightly.
- Pour the pudding layer gently over the cream cheese layer.
- Spread the remaining whipped topping over the pudding layer.
- Sprinkle the reserved crushed Oreos over the top.
- Refrigerate for at least 4 hours, or preferably overnight, to allow the layers to set firmly.
Essential Tips for No-Bake Success
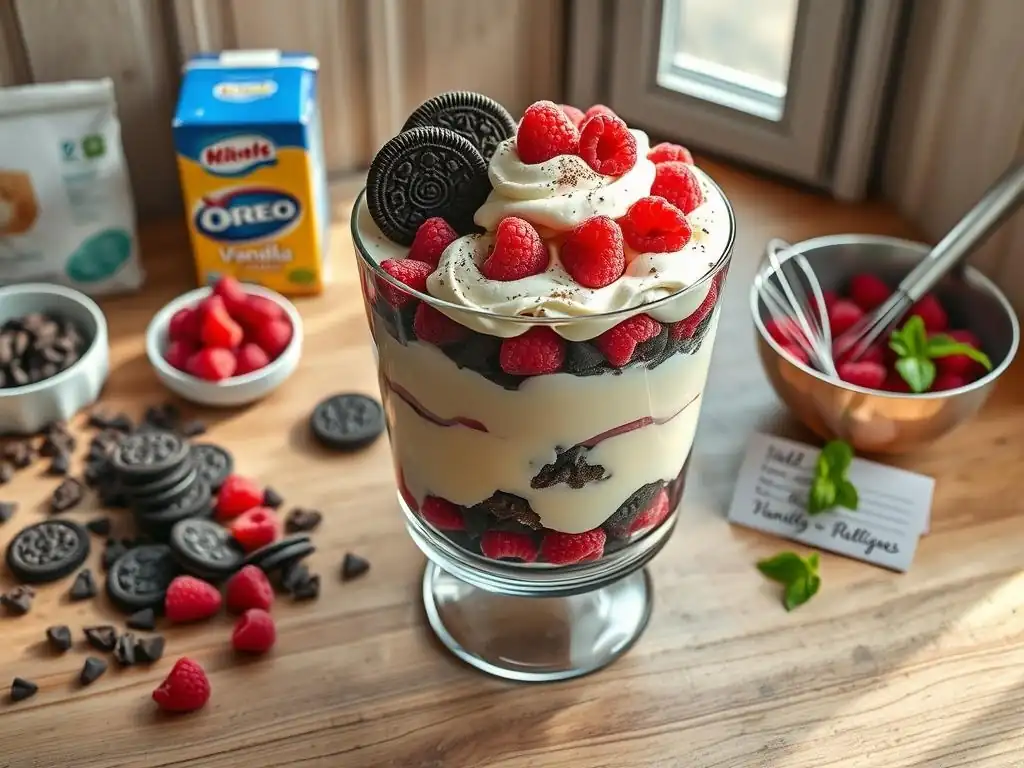
While no-bake desserts are forgiving, following a few key tips will ensure your creations turn out perfectly every time. These pointers are especially helpful when tackling your first easy no-bake desserts beginner recipe.
Choosing Ingredients
The quality and type of ingredients you use can significantly impact the final texture and flavor of your no-bake dessert. For creamy fillings like those in cheesecakes or pies, using full-fat cream cheese (typically around 30-35% milk fat) is crucial for achieving a firm, stable set without needing gelatin. Lower-fat options may result in a softer, less desirable consistency.
Similarly, when a recipe calls for butter, using real butter rather than margarine often provides a better flavor and texture, especially in crusts. For no-bake cookies, using the correct type of oats (rolled or quick) and ensuring other ingredients like sugar and cocoa powder are dissolved completely before boiling is vital for the right consistency. Pay attention to ingredient temperatures too; softened cream cheese beats much smoother than cold cream cheese.
Refrigeration Techniques
Proper chilling is the "baking" step for no-bake desserts, and it's essential for them to set correctly. Most no-bake recipes require a minimum of 2-4 hours in the refrigerator, but many benefit significantly from chilling overnight (8-12 hours). This extended time allows fats to solidify, starches (like those in pudding) to fully hydrate and thicken, and flavors to meld.
Ensure your refrigerator is set to the proper temperature, typically between 35-40°F (1.7-4.4°C). Covering your dessert while it chills is also important. Use plastic wrap, foil, or a lid to prevent the dessert from absorbing odors from other foods in the fridge and to maintain moisture, preventing the surface from drying out or forming a skin. Placing the dessert in the coldest part of the fridge can sometimes speed up setting, but patience is key for the best results.
Essential Tools
You don't need a lot of fancy equipment for no-bake desserts, but a few basic tools will make the process much smoother. Measuring cups and spoons are fundamental for accuracy. A set of mixing bowls in various sizes is indispensable for combining ingredients.
A whisk is great for whipping cream or mixing pudding, while a rubber spatula is perfect for scraping down bowls and folding in ingredients gently. For pressing crusts into pans, the bottom of a glass or a flat-bottomed measuring cup works well. Depending on the recipe, you might also find a hand mixer helpful for whipping cream or beating cream cheese, and a specific pan size (like an 8x8 or 9x13 inch square pan, or individual ramekins) will be necessary. Parchment paper is also useful for lining pans for easy removal and cutting of bars or fudge.
Troubleshooting Common Issues
Even with simple no-bake recipes, you might encounter a hiccup or two. Knowing how to address common problems can save your dessert!
Dessert Not Setting
One of the most frequent issues with no-bake desserts is that they don't firm up properly. The primary reason is usually insufficient chilling time. Many recipes provide a minimum time, but factors like recipe variations, ingredient brands, and refrigerator temperature can affect setting. If your dessert is still too soft after the recommended time, simply give it more time in the fridge; another few hours or chilling overnight often solves the problem.
Another cause can be using ingredients that aren't suitable, such as low-fat dairy products when full-fat is specified, or incorrect ratios of ingredients, particularly the thickening agents like cream cheese or pudding mix. Ensure your cream cheese is the block variety, not whipped or spreadable, and that instant pudding mixes are used as directed. If a recipe relies on whipped cream for structure, ensure it's whipped to firm peaks.
Soggy Crust Solutions
A soggy crust, especially with graham cracker or cookie crusts, is a common disappointment. This usually happens when moisture from the filling seeps into the crust over time. To help prevent this, try chilling your pressed crust in the refrigerator for at least 15-30 minutes before adding the filling. This helps solidify the butter in the crust, creating a slight barrier.
For recipes where a soggy crust is particularly prone, you can try brushing a very thin layer of melted chocolate or white chocolate onto the chilled crust before adding the filling. Once the chocolate hardens (which happens quickly in the fridge), it forms a waterproof layer that effectively seals the crust from the moist filling. While adding an extra step, this technique can make a significant difference in texture, keeping your crust crispier longer.
Avoiding Grainy Texture
A grainy texture in creamy no-bake fillings is often caused by undissolved sugar or other dry ingredients. When making fillings with powdered sugar, ensure you beat the mixture thoroughly until the sugar is completely incorporated and the texture is smooth. This is especially important with cream cheese or butter-based fillings.
For recipes using instant pudding mixes, whisk the mix into the cold milk vigorously until there are no lumps of dry powder remaining. Allowing the pudding to sit for the recommended time before layering also helps ensure the starches fully hydrate and thicken smoothly. Using ingredients at the correct temperature, like softened cream cheese, also aids in achieving a smooth, lump-free mixture that won't feel grainy.
Elevating Your Skills
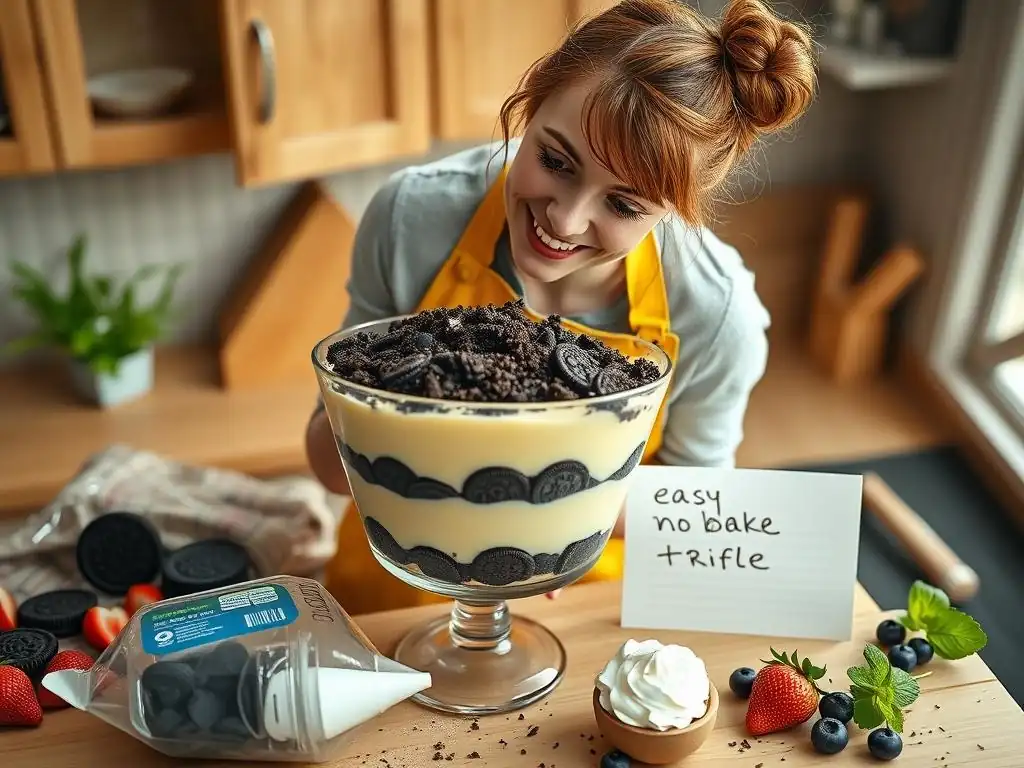
Once you've mastered a few easy no-bake desserts beginner recipe staples, you can start experimenting and making them your own. Elevating your skills involves playing with flavors, textures, and presentation.
Adding Flavors and Textures
Simple no-bake recipes are excellent canvases for adding extra layers of flavor and interesting textures. You can easily stir in extracts beyond vanilla, such as almond, peppermint, or coffee extract, to change the flavor profile of a creamy filling. Spices like cinnamon, nutmeg, or ginger can be incorporated into crust mixtures or fillings for warmth.
Introducing different textures adds complexity. Consider folding chopped nuts (like pecans or walnuts) into a peanut butter layer, adding shredded coconut to a crust, or layering granola or crushed cookies between creamy layers for crunch. A sprinkle of flaky sea salt on a chocolate layer can also provide a delightful contrast. These simple additions can transform a basic recipe into something more dynamic and exciting.
Creative Garnishing
Presentation matters, even for simple desserts! Garnishing is an easy way to make your no-bake creation look as good as it tastes. Fresh fruit, particularly berries like strawberries, raspberries, or blueberries, adds vibrant color and a burst of freshness. A dollop of whipped cream or a dusting of cocoa powder or powdered sugar can instantly elevate the look.
Consider using chocolate shavings, mini chocolate chips, or a drizzle of melted chocolate or caramel sauce. Crushed cookies, chopped candy bars, or toasted nuts can also be used as toppings. Even a simple sprig of mint can add a touch of elegance. Think about the flavors in your dessert and choose garnishes that complement them visually and tastefully.
Recipe Variations
Don't be afraid to play with the core components of your favorite easy no-bake dessert recipes to create variations. For example, in a no-bake cheesecake, you can swap the graham cracker crust for one made with crushed Oreos, vanilla wafers, or even shortbread cookies. The filling can be flavored with different extracts, citrus zests, or even a swirl of fruit puree or melted chocolate.
In layered desserts, experiment with different types of cookies (like chocolate wafers, gingersnaps, or ladyfingers) and different pudding or mousse flavors. Adding mix-ins like chocolate chips, chopped nuts, or candy pieces to fillings is another simple way to create a new version of a familiar favorite. These variations keep your no-bake repertoire fresh and exciting.
Start Your No-Bake Journey!
You now have the knowledge and some fantastic recipes to begin your adventure with easy no-bake desserts. These simple treats are a wonderful way to build confidence in the kitchen without the complexities of baking. They are quick to prepare, perfect for any season, and incredibly versatile.
Grab your ingredients, gather your simple tools, and pick one of these recipes to start with. You'll be enjoying a delicious homemade dessert in no time, proving that you don't need an oven to create something truly special.
Discover More Recipes
The world of no-bake desserts is vast and full of delicious possibilities! From pies and tarts to fudges and truffles, there are countless other easy no-bake dessert recipes waiting for you to explore. Keep browsing BakeWithEase.com for more ideas, tips, and step-by-step guides that will help you continue to grow your skills and expand your dessert repertoire.
We love seeing what our community bakes (or in this case, doesn't bake!). Don't keep your delicious no-bake creations to yourself. Share photos of your successes with friends and family. Talk about how easy and fun it was to make your first no-bake dessert. Sharing your achievements is a great way to celebrate your progress and inspire others to give easy no-bake desserts a try!
Frequently Asked Questions
What exactly is a "no bake dessert"?
A no bake dessert is a treat that doesn't require oven cooking. This makes them ideal for beginners and hot weather!
What are some common ingredients used in no bake desserts?
Common ingredients include graham crackers, cream cheese, and chocolate. Many also incorporate refrigeration or freezing to set properly.
Are no bake desserts really easier to make than baked ones?
Generally, yes! They often involve simpler steps and fewer ingredients, focusing on mixing and chilling rather than precise baking times and temperatures.
How long do no bake desserts typically take to set in the refrigerator?
Setting times vary, but most recipes require at least 2-4 hours of refrigeration. Some may even benefit from overnight chilling for optimal texture.
Can I substitute ingredients in a no bake dessert recipe?
While some substitutions are possible, be careful! Changes can affect the final texture and stability of the dessert, especially with setting agents like gelatin or chocolate.
Final Reflection: The Sweet Simplicity of No-Bake Beginnings
The accessibility of no-bake desserts is more than just a culinary convenience; it's a gateway to unlocking a world of creative baking for everyone. These simple recipes, often requiring minimal equipment and readily available ingredients, empower individuals of all skill levels to experience the joy of baking without the intimidation of ovens and complex techniques. This is particularly relevant today, in a world that increasingly values quick, easy, and satisfying experiences.
The impact of readily available, beginner-friendly recipes extends beyond individual kitchens; it fosters a sense of community and shared accomplishment. No-bake desserts often become cherished family traditions, passed down through generations, and shared amongst friends. They represent a simpler time, a connection to simpler pleasures, and a reminder that the most rewarding experiences aren't always the most complicated. The best things in life are simple.
This sentiment perfectly encapsulates the essence of no-bake baking, highlighting the beauty in uncomplicated recipes and the joy found in shared culinary experiences.
So, what will you create? Don't let the fear of failure hold you back from exploring the delightful world of no-bake desserts. Choose a recipe that sparks your interest, gather your ingredients, and embrace the process. The satisfaction of creating something delicious and beautiful with your own hands, without the complexities of traditional baking, is a reward in itself. Let the sweet simplicity of no-bake baking inspire you to create, to share, and to savor the moments of culinary joy.
Unlock Your Inner Pastry Chef: Delicious No-Bake Treats Await!
Thanks for taking the time to explore the world of easy no-bake desserts! We hope you're feeling inspired and ready to create some delicious treats without turning on the oven. Now it's time to put your newfound knowledge into action.
- Whip up your favorite recipe from the article: Pick a recipe that excites you and get baking (or rather, no-baking)! Let us know how it goes in the comments below.
- Share your creation: Show off your culinary masterpiece on social media using #BakeWithEaseNoBake. Let's inspire others to try these simple delights!
- Experiment with different flavor combinations: Don't be afraid to get creative and customize the recipes to your taste preferences. What unique flavor profile will you create?
Ready to transform your kitchen into a no-bake wonderland? What's your go-to ingredient for a quick and easy no-bake dessert?