
How to Whip Cream for BeginnerFriendly Desserts

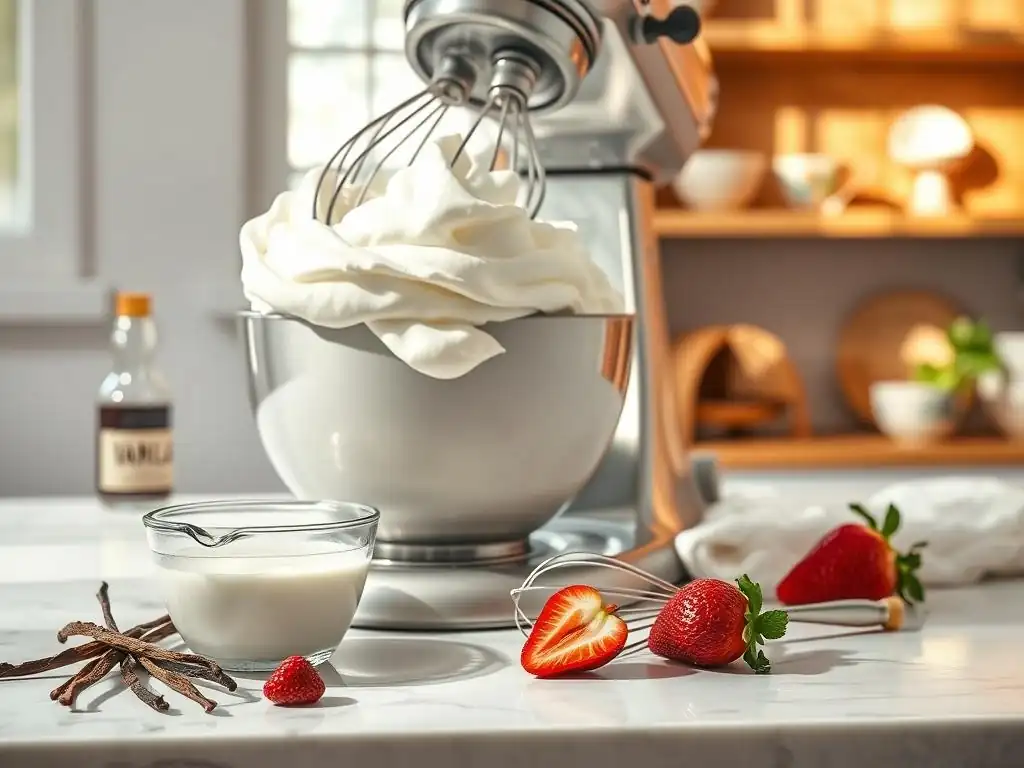
Welcome to BakeWithEase, your trusted guide to unlocking the delicious world of baking! Ever wondered how to achieve that perfect, cloud-like topping for your desserts? Dive in and discover our easy beginner whipped cream recipe – a foundational skill that elevates any treat. Unlock the secrets to foolproof whipped cream and get ready to impress with effortlessly elegant desserts. Are you ready to create baking magic?
- How to Whip Cream for Beginner-Friendly Desserts: Bake With Ease
- Introduction to Easy Whipped Cream for Beginners
- Essential Equipment for Whipping Cream
- Ingredients for a Simple Whipped Cream Recipe
- Step-by-Step Guide: Mastering the Easy Beginner Whipped Cream Recipe
- Troubleshooting Common Whipped Cream Problems
- Tips and Tricks for the Best Homemade Whipped Cream
- Beginner-Friendly Desserts to Use Your Whipped Cream
- Storing Homemade Whipped Cream
- Conclusion: Enjoy Your Effortless Whipped Cream Creations
- Frequently Asked Questions
- Final Reflection: The Sweet Simplicity of Perfect Whipped Cream
- Unlock Your Inner Pastry Chef!
How to Whip Cream for Beginner-Friendly Desserts: Bake With Ease
Introduction to Easy Whipped Cream for Beginners
Making your own whipped cream at home is one of the simplest yet most rewarding techniques in baking. It transforms basic desserts into something truly special, adding a light, airy texture and a touch of sweetness that store-bought versions just can't replicate. For anyone starting their baking journey, mastering this easy beginner whipped cream recipe is a fantastic first step, offering instant gratification and endless possibilities for dessert toppings and fillings.
This guide will walk you through everything you need to know to create perfect, fluffy whipped cream every time. We'll cover the basic ingredients, essential equipment, step-by-step instructions, and even how to troubleshoot common issues. By the end, you'll have the confidence to whip up a batch for any occasion, elevating everything from a simple bowl of berries to a complex layer cake.
Discover the Secret to Perfect Homemade Whipped Cream
The "secret" to perfect homemade whipped cream isn't really a secret at all – it's about understanding the science and using cold ingredients and equipment. Heavy cream contains fat molecules surrounded by water. When you whip it, you're essentially incorporating air into this mixture. The fat molecules cluster together, trapping air bubbles and forming a network that gives whipped cream its structure and volume. The colder the cream and the equipment, the faster and more efficiently this process happens, resulting in a stable, smooth, and airy texture.
Achieving this ideal texture means paying attention to details like temperature and whipping time. Over-whipping can cause the fat molecules to clump too much, leading to a grainy, butter-like consistency. Under-whipping leaves it too runny. Finding that sweet spot between soft peaks (great for dolloping) and stiff peaks (ideal for piping) is key to mastering this easy beginner whipped cream recipe. With a little practice, you'll be able to recognize the different stages just by looking.
Why Learn to Make Your Own Whipped Cream?
Learning to make your own whipped cream opens up a world of fresh, delicious possibilities that simply aren't available with aerosol cans or tubs of pre-made topping. Homemade whipped cream has a superior flavor and texture – it's richer, creamier, and melts beautifully in your mouth. You also have complete control over the ingredients, allowing you to adjust the sweetness level or add flavorings like vanilla bean paste, almond extract, or even a touch of liqueur, creating a truly customized topping.
Beyond taste, there's a certain satisfaction that comes from creating something from scratch. Making an easy beginner whipped cream recipe is quick, typically taking less than 10 minutes from start to finish, and requires minimal effort. It's a fundamental skill that enhances countless desserts, from classic strawberry shortcake and pumpkin pie to hot chocolate and fruit salads. This simple technique adds a gourmet touch to everyday treats and makes entertaining a breeze.
Essential Equipment for Whipping Cream
Having the right tools makes a significant difference when whipping cream. While it's possible to whip cream by hand with just a whisk, using the appropriate bowl and either a hand mixer or stand mixer can make the process much faster, easier, and more consistent, especially when you're learning this easy beginner whipped cream recipe. Gathering your equipment before you start ensures a smooth process from beginning to end.
The key is to use equipment that helps keep everything cold and allows for efficient air incorporation. A cold bowl and whisk are just as important as cold cream. This is why chilling your tools is often the first step in many recipes. While specialized equipment isn't strictly necessary, choosing the right type and size of bowl and the most suitable whisk or mixer for your needs will set you up for success in making delightful homemade whipped cream.
Choosing the Right Bowl for Whipping Cream
The best bowls for whipping cream are typically made of metal, specifically stainless steel. Metal bowls chill down very quickly and stay cold longer than glass or plastic bowls, which is crucial for successful whipping. A cold bowl helps the fat molecules in the cream stabilize and trap air more efficiently. If you don't have a metal bowl, a glass or ceramic bowl can work, but you might need to chill it for a longer period, perhaps 20-30 minutes in the freezer, to get it sufficiently cold.
Size also matters. Choose a bowl that is large enough to accommodate the volume of cream you are whipping, plus room for it to double or even triple in volume as air is incorporated. A bowl that is too small will cause the cream to splash out as it whips, making a mess and potentially reducing the volume.
A bowl that is too large can make it difficult for the whisk or mixer beaters to make consistent contact with the cream, especially if you are only whipping a small amount, leading to uneven whipping. A medium-sized bowl (around 2-3 quarts) is often sufficient for a standard cup or two of cream.
Selecting the Best Whisk or Mixer for Your Needs
For whipping cream, you have a few options: a balloon whisk, a hand mixer, or a stand mixer. A balloon whisk is the traditional tool for whipping cream by hand. Its many wires are designed to incorporate maximum air into the liquid. Whipping cream by hand requires effort and takes the longest, typically 5-10 minutes of continuous whisking for a cup of cream to reach stiff peaks. This method is great for small batches and gives you precise control over the consistency, but can be tiring.
Using an electric mixer is much faster and less labor-intensive, making it ideal for an easy beginner whipped cream recipe. A hand mixer with whisk attachments is versatile for various batch sizes and is a good option if you don't have much counter space. It usually takes 2-4 minutes to whip a cup of cream with a hand mixer.
A stand mixer with the whisk attachment is the most powerful and fastest option, perfect for larger batches. It can whip cream to stiff peaks in just 1-3 minutes. Whichever tool you choose, ensure the whisk or beaters are clean and, ideally, chilled along with the bowl.
Ingredients for a Simple Whipped Cream Recipe
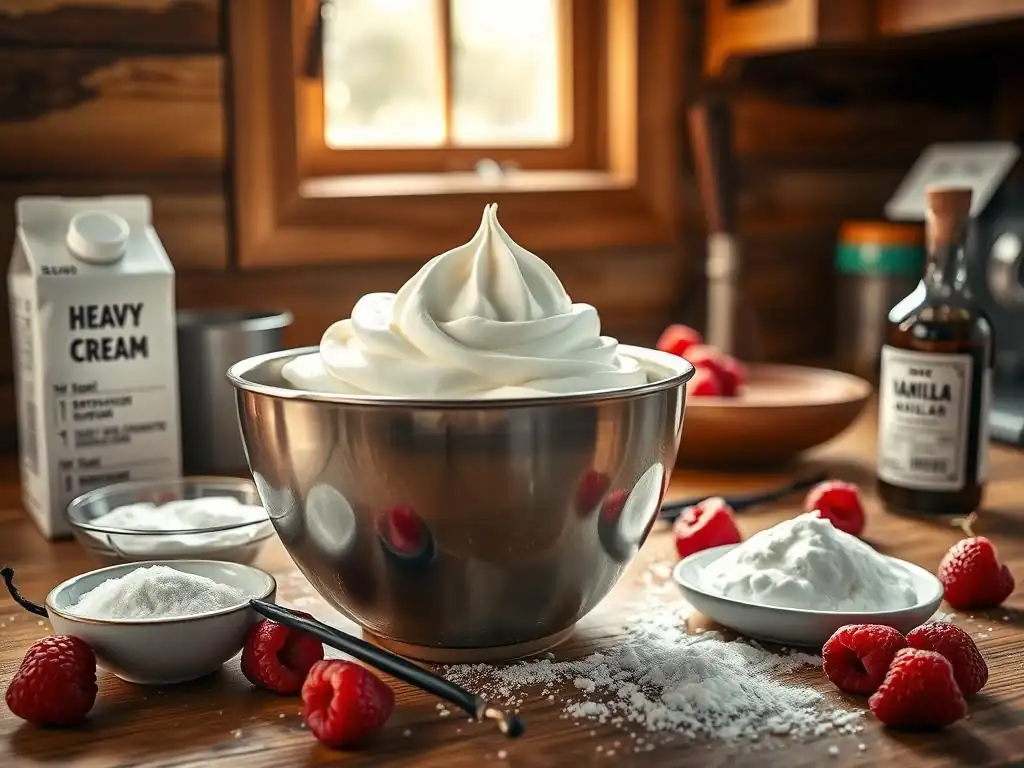
An easy beginner whipped cream recipe requires very few ingredients: heavy cream, sugar, and usually vanilla extract. The quality and temperature of the cream are the most critical factors. Using cold, high-fat cream is essential for achieving that perfect, airy texture. While you can experiment with different types of cream, heavy cream or heavy whipping cream yields the most reliable results due to its fat content.
The other ingredients, sugar and vanilla, are primarily for flavor. Sugar adds sweetness and also helps stabilize the whipped cream slightly. Vanilla extract enhances the flavor profile, adding warmth and aroma. The beauty of making it yourself is that you can adjust the amounts of sugar and vanilla to suit your taste preferences and the dessert you're pairing it with.
The Importance of Cold Heavy Cream for Whipped Cream
Using very cold heavy cream is arguably the single most important factor for successful whipped cream. Heavy cream (or heavy whipping cream) must contain at least 36% milk fat by weight. This high fat content is what allows the cream to whip up and hold its shape. The colder the cream, the more easily the fat globules destabilize and clump together when agitated, trapping air and forming a stable structure. Cream straight from the refrigerator, ideally between 35°F and 40°F (around 1°C to 4°C), is perfect.
Warm cream (above 45°F or 7°C) is much harder to whip and may not whip at all, or it might take an excessively long time and still result in a less stable, potentially grainy texture. If your cream isn't cold enough, you risk ending up with a runny mess instead of fluffy peaks.
For the best results with your easy beginner whipped cream recipe, keep the carton in the coldest part of your refrigerator until you're ready to use it. Some bakers even recommend chilling it in the freezer for 10-15 minutes just before whipping, though be careful not to freeze it solid.
Adding Sweetness: Sugar and Vanilla Extract Options
Granulated sugar, confectioners' sugar (powdered sugar), or even liquid sweeteners like maple syrup or honey can be used to sweeten whipped cream. Confectioners' sugar is a popular choice for an easy beginner whipped cream recipe because it dissolves instantly and often contains a small amount of cornstarch, which acts as a mild stabilizer. For every cup of heavy cream, 1 to 2 tablespoons of confectioners' sugar is a common starting point, but you can adjust this to taste.
Vanilla extract is the classic flavoring for whipped cream, adding a warm, familiar note. Pure vanilla extract offers the best flavor, but imitation vanilla extract also works. Start with about half a teaspoon of vanilla extract per cup of cream. For a more intense vanilla flavor and beautiful specks, you can use vanilla bean paste or scrape the seeds from half a vanilla bean. These ingredients are typically added towards the end of the whipping process, once the cream has started to thicken, to ensure they are evenly incorporated without deflating the cream.
Step-by-Step Guide: Mastering the Easy Beginner Whipped Cream Recipe
Mastering the easy beginner whipped cream recipe is straightforward when you follow a few simple steps. The key is preparation and observation. By having your ingredients and equipment ready and chilled, you set yourself up for success. The process itself involves gradually incorporating air into the cold cream until it reaches the desired consistency.
This guide breaks down the process into three main stages: preparing your tools, the actual whipping process, and finally, adjusting the flavor. Pay close attention during the whipping stage, as cream can go from perfectly whipped to over-whipped very quickly, especially when using an electric mixer.
Chilling Your Equipment: A Crucial First Step
Before you even pour the cream, make sure your bowl and whisk (or mixer beaters) are cold. This step is vital for ensuring the cream whips up properly and quickly. Place your mixing bowl and whisk attachment (if using a stand mixer) or whisk beaters (if using a hand mixer) in the freezer for at least 15-20 minutes before you plan to whip the cream. If you're using a hand whisk, chill that too.
Using chilled equipment helps maintain the low temperature of the heavy cream throughout the whipping process. As mentioned earlier, cold fat molecules are essential for forming a stable structure. A warm bowl or whisk will quickly raise the temperature of the cream, making it difficult, if not impossible, to achieve stiff peaks. This simple step takes minimal effort but significantly increases your chances of success with this easy beginner whipped cream recipe.
Whipping the Cream: From Soft Peaks to Stiff Peaks
Once your equipment is chilled and your cream is cold, pour the heavy cream into the cold bowl. If using an electric mixer, start on low speed for about 30 seconds to a minute to gently incorporate air and prevent splashing. Gradually increase the speed to medium-high or high. If whipping by hand, whisk vigorously in a circular or figure-eight motion, trying to incorporate as much air as possible.
Watch the cream closely as it whips. After a few minutes (the exact time varies depending on the amount of cream, temperature, and mixer speed), the cream will start to thicken and trails will form behind the whisk. This is the "soft peaks" stage. When you lift the whisk, the cream will form peaks that curl over gently, like a soft wave. This consistency is perfect for dolloping onto desserts. Continue whipping for another minute or two.
The peaks will become firmer and hold their shape better, although the very tip might still curl slightly. This is the "medium peaks" stage. For "stiff peaks," continue whipping until the peaks stand straight up when you lift the whisk, with no curl. Be cautious at this stage, as over-whipping is just seconds away. Stop whipping as soon as stiff peaks are achieved.
Adjusting Sweetness and Flavor: Customizing Your Whipped Cream
Add your sugar and vanilla extract (or other flavorings) once the cream has reached the soft peaks stage. If you add them too early, the sugar can interfere with the initial whipping process, and the liquid from the vanilla extract can slightly reduce the volume. Adding them at soft peaks allows them to dissolve and incorporate easily without risking over-whipping the still-liquid cream.
Sprinkle the sugar over the surface of the cream, add the vanilla extract, and continue whipping on medium-high speed until the sugar is dissolved and the cream reaches your desired consistency (medium or stiff peaks). Taste a small amount to check the sweetness and flavor. If needed, you can add a tiny bit more sugar or vanilla and whip for just a few more seconds to incorporate. This ability to customize the sweetness and flavor is a major advantage of making your own easy beginner whipped cream recipe.
Troubleshooting Common Whipped Cream Problems
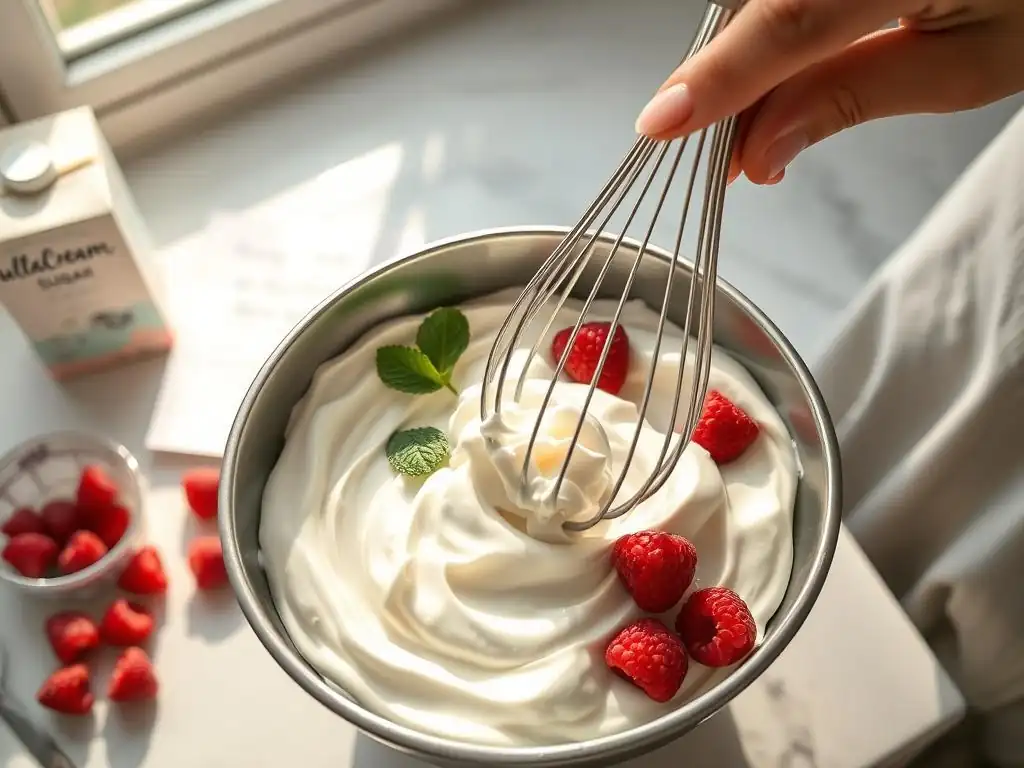
Even with careful preparation, sometimes things don't go exactly as planned when making whipped cream. Don't be discouraged! Most common issues, like over-whipping or the cream not thickening, can be understood and sometimes even salvaged. Recognizing the signs of these problems is the first step to fixing them or preventing them in the future.
Understanding why these issues occur, often related to temperature or whipping time, is key to mastering your easy beginner whipped cream recipe. We'll look at the most frequent hiccups and offer practical advice on how to handle them, helping you build confidence and achieve perfect results more consistently.
Over-whipping: How to Fix Grainy Whipped Cream
Over-whipping is a very common mistake, especially when using an electric mixer which works quickly. It happens when you continue whipping the cream beyond the stiff peaks stage. The fat molecules continue to clump together, squeezing out the liquid (buttermilk), and the texture changes from smooth and airy to dense and grainy, eventually separating into butter and liquid. If your whipped cream looks curdled or grainy, it's likely been over-whipped.
Can you fix grainy whipped cream? Sometimes, yes. If it's only slightly grainy and hasn't fully separated into butter, you can try gently whisking in a tablespoon or two of cold, unwhipped heavy cream by hand. Stir it in slowly until the texture becomes smooth again.
This can sometimes bring it back from the brink. However, if it has clearly separated into butter and liquid, it's gone too far to be salvaged as whipped cream. At that point, you can continue whipping it until it fully separates, rinse the butter under cold water to remove the buttermilk, and you'll have a small amount of homemade butter!
Under-whipping: Getting the Right Consistency
Under-whipping means the cream hasn't been whipped long enough to incorporate sufficient air and form a stable structure. The result is cream that is still somewhat liquid, perhaps slightly thickened, but won't hold any shape when you lift the whisk. It might be described as having soft peaks that immediately disappear. This is an easy problem to fix: just keep whipping!
If your cream is still too runny, simply continue whipping it. Ensure your equipment and cream are still cold. If they've warmed up, you might need to chill the bowl and cream in the refrigerator for 10-15 minutes before resuming. Continue whipping, keeping a close eye on the texture, until you reach the desired soft, medium, or stiff peaks. Don't give up too early; whipping cream can take a few minutes, especially by hand or with less powerful mixers.
Why is My Whipped Cream Not Thickening?
If you've been whipping for a while and your cream shows no signs of thickening beyond a slightly frothy liquid, there are a few likely culprits. The most common reason is that the cream is not cold enough. As discussed earlier, warm cream simply won't whip properly. Make sure your heavy cream is straight from the coldest part of the fridge and your bowl and whisk are thoroughly chilled.
Another reason could be the type of cream. Make sure you are using heavy cream or heavy whipping cream, which has a high enough fat content (at least 36%). Low-fat cream, half-and-half, or milk will not whip into stable peaks because they don't contain enough fat. Finally, sometimes adding sugar too early can slightly inhibit the whipping process, although this is less common than temperature issues. Ensure you add sugar after the cream has started to thicken slightly. If all else fails, try chilling everything down again thoroughly and resuming whipping.
Tips and Tricks for the Best Homemade Whipped Cream
Beyond the basic steps of an easy beginner whipped cream recipe, there are a few extra tips and tricks that can help you achieve even better results and expand your whipped cream repertoire. These little details can make your homemade whipped cream more stable, longer-lasting, and even more delicious.
From maintaining optimal temperature throughout the process to adding simple ingredients that act as stabilizers, these techniques are easy to implement. Exploring flavor variations also allows you to tailor your whipped cream specifically to the dessert it will accompany, adding an extra layer of complexity and delight.
Keeping Your Whipped Cream Cold During the Process
Maintaining a low temperature is crucial throughout the entire whipping process, not just at the beginning. If you are whipping a large batch or working in a warm kitchen, the cream can warm up as you whip, making it harder to achieve stiff peaks and reducing stability. A simple trick is to place your cold mixing bowl inside a larger bowl filled with ice water.
This ice bath acts like a cooling jacket for your whipping bowl, keeping the cream consistently cold as you work. This is particularly helpful when whipping by hand, as the process takes longer and generates some friction/heat. Using an ice bath helps ensure that the fat molecules stay cold and continue to build a strong structure, resulting in a more voluminous and stable easy beginner whipped cream recipe outcome.
Adding Stabilizers for Longer-Lasting Whipped Cream
While fresh whipped cream is best served immediately, sometimes you need it to hold its shape for a longer period, perhaps for piping decorations or if you're making it ahead of time. Adding a stabilizer can prevent it from weeping (separating liquid) and losing volume over time. Several common kitchen ingredients can act as stabilizers.
- Confectioners' Sugar: As mentioned, the cornstarch in confectioners' sugar provides mild stabilization.
- Unflavored Gelatin: This is a very effective stabilizer. For 1 cup of heavy cream, dissolve about 1 teaspoon of unflavored gelatin powder in 1-2 tablespoons of cold water, let it sit for 5 minutes, then gently heat (microwave for a few seconds or over hot water) until fully dissolved and clear. Let it cool slightly (don't let it set!) before slowly drizzling it into the cream while whipping at medium speed at the soft peaks stage.
- Cornstarch: Similar to gelatin, you can dissolve a small amount of cornstarch (about 1 teaspoon per cup of cream) in a tablespoon of cold cream, then whisk it into the main batch at the soft peaks stage.
- Cream of Tartar: A pinch (about 1/4 teaspoon per cup of cream) added at the beginning of whipping can help stabilize the foam structure.
Adding a stabilizer is a great way to ensure your easy beginner whipped cream recipe stays fluffy and beautiful for hours.
Flavor Variations: Beyond Vanilla Whipped Cream
While vanilla is a classic for a reason, don't be afraid to get creative with your easy beginner whipped cream recipe! You can infuse your cream with countless flavors to complement specific desserts. Add extracts like almond, peppermint, coconut, or lemon. For chocolate whipped cream, sift in a tablespoon or two of unsweetened cocoa powder along with the sugar.
Consider adding spices like cinnamon, nutmeg, or cardamom, especially for fall or holiday desserts. A splash of liqueur, such as rum, brandy, or coffee liqueur, adds sophisticated depth (add about 1 tablespoon per cup of cream at the soft peaks stage). For a citrusy twist, add the finely grated zest of an orange or lemon. Always add liquid flavorings and solid ingredients like zest or cocoa powder at the soft peaks stage to ensure even distribution without deflating the cream.
Beginner-Friendly Desserts to Use Your Whipped Cream
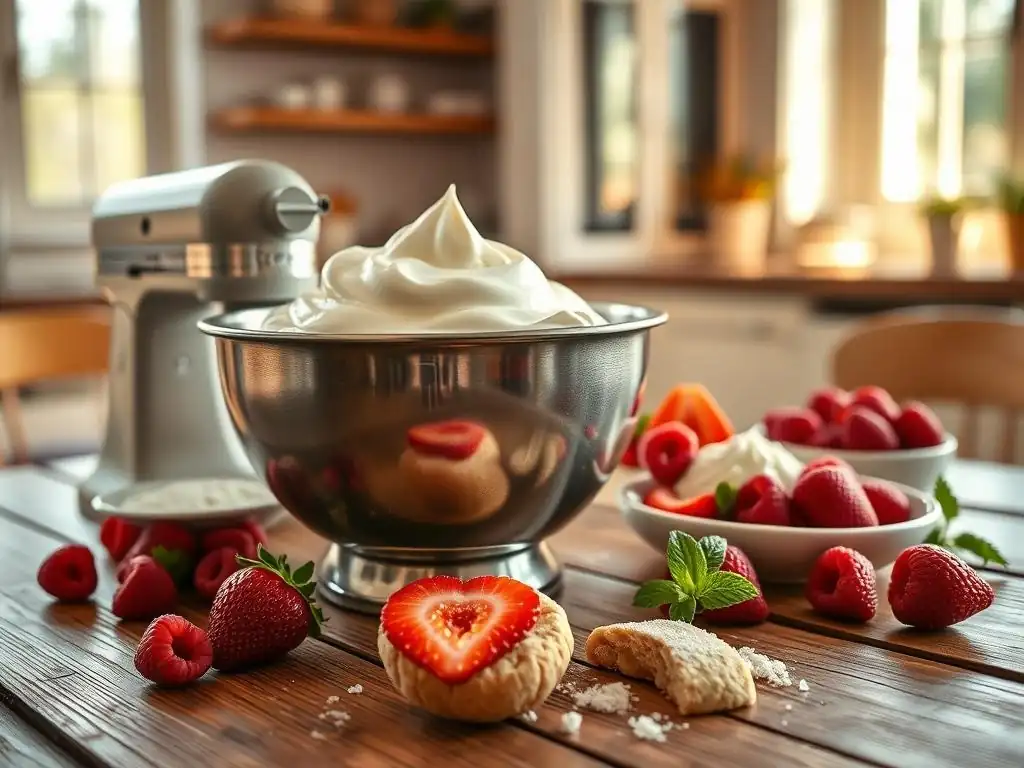
Now that you've mastered the easy beginner whipped cream recipe, you need delicious ways to use it! Homemade whipped cream is incredibly versatile and pairs beautifully with a wide range of simple desserts. It adds lightness, richness, and a touch of indulgence without requiring complex techniques.
From classic fruit pairings to simple baked goods, incorporating your freshly whipped cream elevates the experience. These beginner-friendly dessert ideas are perfect for showcasing your new skill and enjoying the fruits (and cream!) of your labor.
Simple Dessert Ideas Featuring Homemade Whipped Cream
- Fresh Berries: A bowl of fresh strawberries, blueberries, raspberries, or a mix, topped with a generous dollop of homemade whipped cream, is simple elegance personified. It's healthy, refreshing, and lets the quality of the cream shine.
- Fruit Salad: Transform a basic fruit salad into a special treat by folding in or topping it with whipped cream.
- Hot Chocolate: A cold weather classic! Forget marshmallows; a swirl of rich, homemade whipped cream melts beautifully into hot chocolate.
- Pancakes or Waffles: Elevate breakfast or brunch by topping your stack with fruit and a cloud of whipped cream instead of just syrup.
- Mug Cakes: These quick, single-serving cakes are made in minutes and are perfect with a spoonful of fresh whipped cream on top.
- Brownies or Cookies: A warm brownie or a simple chocolate chip cookie becomes instantly gourmet with a side of whipped cream.
- Jell-O or Pudding: Layer whipped cream with Jell-O or pudding for a simple, nostalgic dessert.
Easy Recipes that Call for Whipped Cream Topping
Many classic, easy-to-make desserts are incomplete without whipped cream. Think of these recipes as perfect vehicles for your easy beginner whipped cream recipe:
- Strawberry Shortcake: Biscuits or sponge cake layered with fresh strawberries and plenty of whipped cream.
- Pumpkin Pie: A quintessential fall dessert that absolutely requires a dollop of whipped cream.
- Chocolate Mousse: Many easy mousse recipes use whipped cream folded into melted chocolate or pudding for a light, airy texture.
- Fruit Tarts: Small or large tarts filled with pastry cream or just fresh fruit are often finished with whipped cream.
- Trifles: Layer cake pieces, fruit, pudding or custard, and whipped cream in a glass dish.
- Ice Cream Sundaes: Move beyond the spray can! Use your fresh whipped cream for a truly luxurious sundae topping.
These examples show how a simple technique like making whipped cream can enhance a wide variety of desserts, making them feel more special and homemade.
Storing Homemade Whipped Cream
Ideally, homemade whipped cream is made and served immediately for the best texture and volume. However, sometimes you might have leftovers or need to make it a little bit ahead of time. Storing whipped cream properly is key to maintaining its quality for as long as possible, although it will inevitably lose some of its airiness over time compared to freshly whipped cream.
Understanding the best storage methods and how long you can expect it to last will help you plan your baking projects and minimize waste. While it won't last as long as store-bought versions due to the lack of stabilizers (unless you added one), proper storage can extend its usability for a day or two.
How to Store Leftover Whipped Cream Properly
To store leftover homemade whipped cream, transfer it to an airtight container. A plastic container with a tight-fitting lid or even a glass jar works well. Gently spoon the whipped cream into the container, trying not to press out too much air. Fill the container as much as possible to minimize the amount of air space, which can help prevent it from deflating or absorbing odors from the refrigerator.
Place the container in the coldest part of your refrigerator. Avoid storing it in the door, as temperatures fluctuate more there. If you added a stabilizer like gelatin, the whipped cream will hold its shape much better during storage. Without a stabilizer, it will likely deflate and may weep liquid over time. If it does deflate, you can sometimes re-whisk it gently by hand for a few seconds to refresh it, but it won't regain its original volume or stiffness.
How Long Does Whipped Cream Last?
Homemade whipped cream is best used within 24-48 hours of making it. After this time, especially without stabilizers, it will begin to lose its airy texture, deflate, and may start to separate (weep liquid). While it might still be safe to eat for a bit longer if stored properly in the refrigerator, the quality will significantly diminish.
If you used a stabilizer like gelatin or cornstarch in your easy beginner whipped cream recipe, it might last a little longer, perhaps up to 3-4 days, while maintaining a decent texture. Always check for any off smells or signs of spoilage before using stored whipped cream. Freezing whipped cream is generally not recommended, as the texture changes dramatically upon thawing, becoming watery and grainy. It's truly a product best enjoyed fresh.
Conclusion: Enjoy Your Effortless Whipped Cream Creations
Mastering the easy beginner whipped cream recipe is a fundamental skill that unlocks a new level of deliciousness in your baking. It's a simple process relying on just a few ingredients and techniques, primarily focusing on keeping everything cold and knowing when to stop whipping. With a little practice, you'll be able to whip up perfect, fluffy cream in minutes, ready to adorn any dessert.
Remember the key takeaways: use cold heavy cream and cold equipment, watch the cream carefully as it whips to achieve the right peaks (soft, medium, or stiff), and add sugar and flavorings at the soft peaks stage. Troubleshooting common issues like over-whipping or lack of thickening becomes easy once you understand the role of temperature and time.
Mastering the Art of Easy Whipped Cream: A Baking Essential
Whipping cream is more than just a topping; it's a versatile component that adds richness, lightness, and visual appeal to countless sweet treats. From simple fruit salads to elaborate pies and tarts, an easy beginner whipped cream recipe is your secret weapon for enhancing flavor and texture. It's a skill that requires minimal investment in ingredients or equipment but yields significant returns in terms of taste and satisfaction.
By following the steps outlined in this guide, you've gained the knowledge to confidently make delicious homemade whipped cream anytime you need it. This basic baking technique is truly an essential one for any home baker, providing a foundation for countless dessert possibilities. So go ahead, grab that cold heavy cream, and get whipping!
We love seeing what our community bakes! Now that you've learned how to make this easy beginner whipped cream recipe, we encourage you to use it in your favorite desserts. Whether you're topping a pie, filling a cupcake, or simply enjoying it with fresh berries, your homemade whipped cream will surely impress.
Share photos of your creations featuring your perfect whipped cream! Let us know what easy beginner whipped cream recipe variations you tried or what desserts you paired it with. Happy baking, and enjoy every fluffy, delicious bite!
Frequently Asked Questions
What is the easiest way to make whipped cream at home?
The easiest way is using an electric mixer with a whisk attachment. Combine heavy cream, sugar, and vanilla extract, and whip on medium-high speed until soft peaks form.
Can I use any type of cream for whipped cream?
No, you need to use heavy cream or heavy whipping cream with a fat content of at least 30%. This is crucial for the cream to whip properly and hold its shape.
What ingredients do I need for a simple whipped cream recipe?
You only need three essential ingredients: heavy cream, powdered sugar (for sweetness), and vanilla extract (for flavor). Some recipes omit vanilla, but it enhances the taste.
How do I know when my whipped cream is ready?
Look for soft peaks that hold their shape when the whisk is lifted. Be careful not to overwhip, as it can turn into butter.
What can I use whipped cream for?
Whipped cream is a versatile topping for many desserts, like cakes, pies, fruits, and hot chocolate. It can also be used as a filling for pastries and a component in more complex desserts.
Final Reflection: The Sweet Simplicity of Perfect Whipped Cream
The seemingly simple act of whipping cream holds a surprising power: it transforms everyday ingredients into delightful desserts, accessible to even the most novice baker. Mastering this technique unlocks a world of culinary creativity, empowering anyone to craft elegant treats without complicated recipes or specialized equipment. This isn't just about whipping cream; it's about unlocking confidence in the kitchen.
The journey from stiff peaks to a cloud of airy sweetness is more than just a recipe; it's a testament to the transformative power of basic culinary skills. The satisfaction derived from creating something delicious from humble ingredients is deeply rewarding. As Julia Child once wisely said, Find something you're passionate about and keep tremendously interested in it.
For me, that passion lies in the simple joy of baking, and perfect whipped cream is a cornerstone of that joy, a gateway to countless other culinary adventures.
Now, it's your turn. Don't be intimidated by the seemingly simple task of whipping cream. Embrace the process, experiment with different flavors, and let the creamy texture and delightful taste inspire your own culinary creations. The next time you crave a sweet treat, remember the ease and satisfaction of homemade whipped cream – a testament to the magic that can be found in the simplest of things. Go forth and whip!
Unlock Your Inner Pastry Chef!
Thanks for taking the time to learn the art of whipping cream – a skill that unlocks a world of delicious, beginner-friendly desserts! We hope you feel empowered and ready to create something amazing. Now it’s time to put your newfound knowledge into action.
- Whip up your first batch of perfect cream: Grab your mixer (or whisk! ), some heavy cream, and sugar, and give it a try! Use the tips from the article to create light and fluffy perfection.
- Share your creamy creations: Show us your whipped cream masterpieces on social media using #BakeWithEaseWhippedCream – we’d love to see what you bake!
- Explore more easy dessert recipes: Dive into our recipe section for even more inspiration and discover your next culinary adventure on BakeWithEase.com.
What delicious dessert will you create with your perfectly whipped cream?