
Preparing Cookie Sheets for NonStick, Even Baking

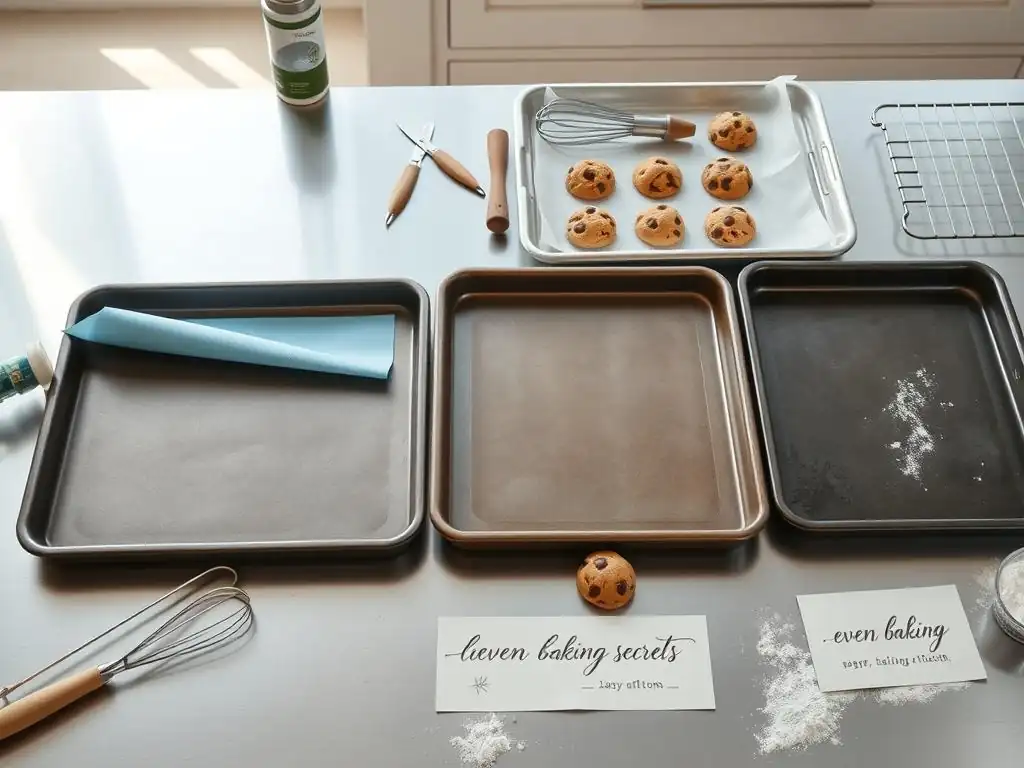
Welcome to BakeWithEase, where the sweet science of baking becomes a delightful adventure! Whether you’re just starting out or looking to perfect your skills, our site is packed with essential tips and simple recipes that cater to bakers of every level. In our featured article, you'll uncover nonstick cookie sheet baking tips that will transform your cookie-making experience, ensuring they come out perfectly every time. Ready to elevate your baking game? Dive into our easy-to-follow guides and discover the secrets behind flawless pastries, breads, and more!
- Preparing Cookie Sheets for Non-Stick, Even Baking: BakeWithEase Guide
- Understanding Cookie Sheet Preparation for Baking Success
- Essential Steps for Preparing Cookie Sheets: A Beginner's Guide
- Advanced Techniques for Optimizing Cookie Sheet Performance
- Troubleshooting Common Cookie Sheet Problems
- Non-Stick Cookie Sheet Baking Tips: Achieving Baking Perfection
- Maintaining Your Cookie Sheets for Long-Term Use
-
Frequently Asked Questions
- How important is preparing a nonstick cookie sheet, even if it's advertised as nonstick?
- What are the best methods for preparing a nonstick cookie sheet?
- Can I use flour on a nonstick cookie sheet to prevent sticking?
- What's the difference between using parchment paper and a silicone baking mat on a nonstick cookie sheet?
- How often should I replace my nonstick cookie sheets?
- Final Reflection: The Sweet Science of Non-Stick Baking
- Unlock Perfectly Baked Treats Every Time!
Achieving beautifully golden-brown cookies with consistent texture requires attention to detail, and proper cookie sheet preparation is a foundational step often overlooked by beginner bakers. The surface your dough rests on directly impacts how heat is transferred from the oven element through the sheet to the cookie.
An improperly prepared sheet can lead to cookies that are burnt on the bottom while still raw in the center, or cookies that spread unevenly due to inconsistent heat distribution. For instance, a pan with cold spots or areas where dough sticks can result in a batch where some cookies are perfect and others are failures, wasting ingredients and time.
Furthermore, the preparation method affects the cookie's structure and spread. Using too much grease can cause cookies to spread excessively thin, while insufficient grease or a non-stick surface issue can cause them to stick firmly to the pan, making removal difficult and often resulting in broken cookies. Think about a classic chocolate chip cookie recipe – its delicate balance of crisp edges and a soft center is heavily influenced by how it cooks on the pan.
A correctly prepared sheet ensures that the bottom cooks evenly with the top, contributing to that desired texture and preventing the dreaded "stuck cookie" scenario. Mastering these nonstick cookie sheet baking tips is crucial for consistent results.
A non-stick surface is paramount for achieving perfect cookies that release cleanly from the pan every time. When cookies stick, it's not just frustrating; it can ruin their shape and texture. The delicate underside of a cookie, especially one that is still warm and slightly fragile, is easily damaged. A reliable non-stick surface, whether inherent to the pan or created through preparation, allows cookies to lift off effortlessly once cooled slightly, preserving their integrity and appearance. This is particularly important for delicate or thin cookies that are prone to breaking.
Beyond easy release, a non-stick surface also contributes to better heat distribution. While this might seem counterintuitive, a well-maintained non-stick coating or a properly applied layer of parchment or silicone ensures the cookie dough is in consistent contact with the heat source (the pan), promoting even cooking across the entire batch. This reduces the likelihood of hot spots causing some cookies to darken faster than others. Embracing effective nonstick cookie sheet baking tips ensures your cookies slide right off, maintaining their shape and making cleanup significantly easier.
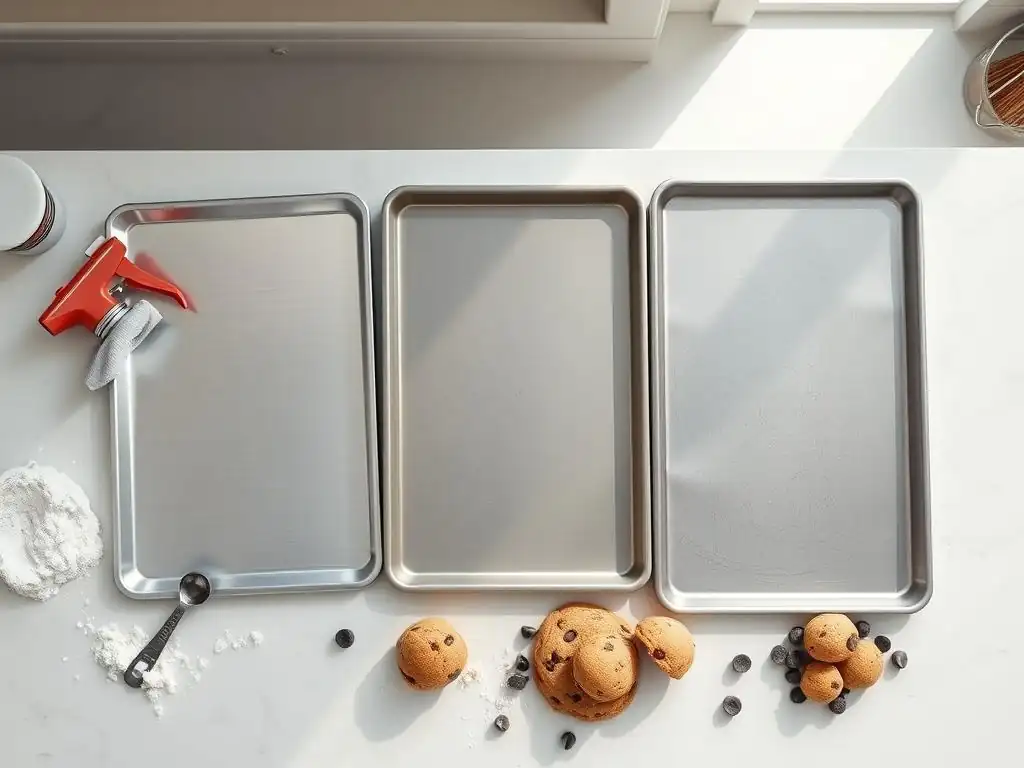
Selecting the appropriate cookie sheet is the first critical step towards successful baking. Not all baking sheets are created equal, and their material and design significantly impact how your cookies bake. Different types of sheets transfer heat differently, affecting bake time, spread, and bottom browning. For instance, thin, dark pans tend to absorb more heat and can cause bottoms to brown very quickly, sometimes even burning, while thick, shiny aluminum pans reflect heat, leading to slower, more even baking.
When starting out, understanding the basic types and their properties is key. Consider what you bake most often and your oven's characteristics. Some ovens have hot spots, and a thicker, more evenly heating pan can help mitigate this. Investing in good quality pans that suit your needs is a fundamental nonstick cookie sheet baking tip that pays off in consistent results over time.
Types of Cookie Sheets: A Comparison
- Sheet Pans (Rimmed Baking Sheets):
- Typically have a 1-inch rim around all four sides.
- Versatile for cookies, roasting vegetables, baking sheet cakes.
- Rim prevents items from sliding off.
- Cookie Sheets (Rimless or with one raised edge):
- Designed specifically for cookies.
- Often have one or no raised edges, making it easy to slide cookies off after baking.
- Usually have a slightly larger surface area than comparably sized sheet pans due to the lack of a full rim.
Selecting the Best Material for Even Heat Distribution
Choosing the right material is crucial for achieving that coveted even bake.
- Aluminum:
- Most common and widely recommended for cookies.
- Excellent heat conductor, providing even heat distribution.
- Shiny surface reflects heat, preventing bottoms from browning too quickly.
- Look for heavy-gauge aluminum for durability and warp resistance.
- Non-Stick Coated:
- Often made of aluminum or steel with a dark, non-stick coating.
- Convenient for easy release.
- Darker color absorbs more heat, potentially requiring reduced baking time or temperature to prevent burnt bottoms.
- Coating can degrade over time, impacting non-stick performance.
- Steel:
- Good heat conductor but can sometimes have less even distribution than aluminum.
- Often used for darker, non-stick coatings.
- Prone to warping if not heavy-gauge.
A clean cookie sheet is essential for hygienic and effective baking. Residual grease, sugar, or burnt bits from previous baking sessions can smoke in the oven, impart off-flavors to your cookies, and create sticky spots that cause new dough to adhere. Even a seemingly clean pan can have invisible residue that affects the next batch. Making sure your nonstick cookie sheet is spotless is a fundamental nonstick cookie sheet baking tip.
Regular, thorough cleaning not only ensures better baking results but also prolongs the life of your pans, especially those with non-stick coatings. Gentle yet effective cleaning methods are key to removing stubborn baked-on grime without damaging the pan's surface or the non-stick layer.
Removing Baked-On Residue: Effective Cleaning Methods
Baked-on grease and sugar can be tough to remove, but several methods work well:
- Soaking: Fill the pan with hot, soapy water and let it soak for several hours or overnight. This softens most residues.
- Baking Soda Paste: For stubborn spots, make a paste with baking soda and water. Apply it to the residue, let it sit for 15-30 minutes, then scrub gently with a non-abrasive sponge or cloth.
- Boiling Water & Baking Soda: For very tough, darkened residue (often called "seasoning"), you can carefully boil water in the pan (if it's safe for stovetop use, check manufacturer instructions) or pour boiling water into it, then add a few tablespoons of baking soda and let it sit. Use extreme caution with hot water.
Avoiding Scratches: Gentle Cleaning Techniques
Preserving the surface of your cookie sheet, particularly non-stick coatings, is vital for its performance and longevity.
- Always use non-abrasive sponges, cloths, or plastic scrubbers. Avoid steel wool or harsh scouring pads, which can scratch metal and ruin non-stick surfaces.
- If using a scraper for stuck-on bits, ensure it is plastic or silicone, not metal.
- For non-stick pans, check the manufacturer's cleaning instructions. Some may recommend specific cleaning agents or methods.
Even if you plan to use parchment paper or a silicone mat, understanding the principles of greasing is fundamental, especially when using regular aluminum or steel pans. Greasing creates a barrier between the dough and the pan surface, preventing sticking and promoting an even release. The choice of greasing agent can subtly affect the cookie's bottom texture and browning.
Applying the grease evenly is just as important as choosing the right type. Streaks or uneven patches of grease can lead to some parts of the cookie sticking while others spread too much. A thin, uniform layer provides the best non-stick performance and helps achieve that perfect, golden underside. This step is a core part of traditional nonstick cookie sheet baking tips.
Choosing the Right Greasing Agent: Butter, Shortening, or Cooking Spray
Each greasing agent has its characteristics:
- Butter: Adds a nice flavor and promotes browning. However, butter contains water and milk solids, which can sometimes cause sticking if not applied evenly or if the pan gets too hot. It can also cause the very bottom of the cookie to brown faster. Use softened butter for easier application.
- Shortening (like Crisco): A popular choice as it has a higher melting point than butter, leading to less spread and more consistent non-stick performance. It doesn't add flavor or promote browning as much as butter. It's very effective for preventing sticking.
- Cooking Spray: Convenient and easy to apply quickly. However, many sprays contain propellants and emulsifiers that can build up on the pan over time, creating a sticky residue that is difficult to remove and can eventually hinder non-stick performance. Opt for sprays that specifically state they are for baking or use a non-aerosol version if possible.
Applying Grease Evenly: Tips and Tricks
A uniform layer is crucial for even baking and non-stick success.
- Use a paper towel or a pastry brush to spread your chosen fat (butter or shortening) evenly across the entire surface of the pan, including slightly up the sides if the pan has a rim. Ensure there are no thick spots or bare patches.
- If using cooking spray, spray a light, even mist over the pan. Avoid over-spraying, which can lead to greasy residue buildup. Wipe off any excess with a paper towel.
- For detailed work or to ensure corners are covered, a small piece of paper towel or a clean cloth works better than your fingers.
Lining your cookie sheets is a popular and effective way to ensure non-stick performance and make cleanup a breeze. While greasing works, lining provides a consistent, reliable barrier that prevents sticking almost entirely. It also helps protect the pan from wear and tear, particularly with sticky doughs or recipes that involve melting sugar.
Choosing the right lining material depends on your budget, environmental considerations, and specific baking needs. Both parchment paper and silicone baking mats offer excellent non-stick properties, but they have subtle differences in how they affect baking time and cookie spread. Incorporating a lining is a top nonstick cookie sheet baking tip for many bakers.
Parchment Paper vs. Silicone Baking Mats: Which is Best?
Both are excellent non-stick options, but differ in use and cost:
- Parchment Paper:
- Disposable, making cleanup incredibly easy.
- Provides excellent non-stick surface.
- Generally promotes slightly better air circulation around the cookie bottom compared to silicone.
- Relatively inexpensive for single use.
- Tip: Can be cut or folded to fit any pan size.
- Silicone Baking Mats (e.g., Silpat):
- Reusable, making them an eco-friendly choice.
- Offer superior non-stick properties.
- Can sometimes slightly insulate the bottom of the cookie, potentially leading to less browning or requiring an extra minute or two of bake time.
- Require washing after each use.
- More expensive upfront but save money over time compared to buying rolls of parchment.
Cutting and Fitting Parchment Paper to Your Cookie Sheet
Fitting parchment paper neatly helps prevent it from shifting during baking and ensures the entire surface is covered.
- Place the cookie sheet on top of the parchment paper roll.
- Unroll enough paper to cover the entire pan with a few inches extra on each side.
- Cut the paper from the roll.
- For rimmed pans, you can gently press the paper into the corners, or for a neater fit, fold the paper to create creases that align with the pan's corners, then make small cuts at the corners so the paper sits flat.
- For rimless pans, simply lay the paper flat, ensuring it covers the baking surface entirely.
Non-stick cookie sheets offer convenience right out of the box, promising easy release without extra greasing or lining. However, their non-stick properties aren't magical and require specific care to maintain their effectiveness. Understanding how these coatings work and how to protect them is vital for getting the most out of your pan and ensuring its non-stick performance lasts.
While many manufacturers claim their non-stick pans don't require greasing or lining, sometimes a light layer of grease or parchment can still improve results, especially for very sticky doughs or when the coating starts to show signs of wear. Proper maintenance is key to extending the life of the non-stick surface and ensuring these nonstick cookie sheet baking tips remain effective.
Are Non-Stick Cookie Sheets Really Non-Stick?
Yes, they are designed to be non-stick thanks to a special coating, typically made of materials like Teflon or silicone-based polymers. This coating creates a smooth, low-friction surface that prevents food from adhering easily. However, the effectiveness of this coating can be compromised over time by several factors:
- High Heat: Exposing the pan to temperatures exceeding the manufacturer's recommendations (often around 400-450°F or 200-230°C) can cause the coating to degrade.
- Scratches: Using metal utensils, cutting directly on the pan, or aggressive scrubbing can scratch the coating, creating areas where food will stick.
- Residue Buildup: Accumulation of baked-on grease and sugar can create a sticky layer on top of the non-stick coating, negating its properties.
- Wear and Tear: Like any coating, it will eventually wear down with frequent use and cleaning.
Maintaining the Non-Stick Coating: Best Practices
Proper care significantly extends the life and performance of your non-stick cookie sheets.
- Follow Manufacturer Instructions: Always check the pan's packaging or website for specific use and care instructions, including maximum temperature limits.
- Use Gentle Utensils: Only use wooden, silicone, or plastic spatulas and utensils to avoid scratching the surface. Never cut cookies or anything else directly on the pan.
- Hand Wash: While some non-stick pans are labeled dishwasher safe, the harsh detergents and high heat of dishwashers can degrade the coating faster. Hand washing with warm, soapy water and a soft sponge is recommended.
- Avoid Cooking Spray (Sometimes): As mentioned earlier, some cooking sprays can leave a residue that damages the non-stick surface over time. If you need extra non-stick insurance, consider a light wipe of shortening or butter, or simply line the pan with parchment paper or a silicone mat, which also protects the coating.
Double Pan Technique: Preventing Over-Browning
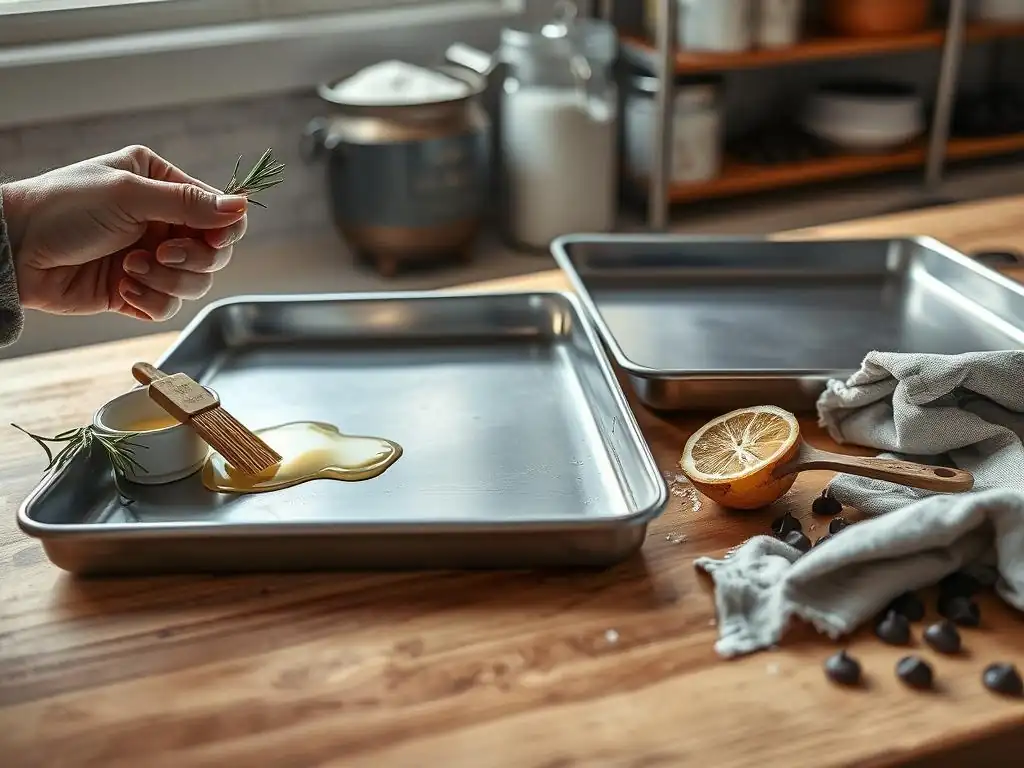
The double pan technique is a simple yet effective method for insulating the bottom of your cookies from excessive heat, particularly useful if you find the bottoms are consistently burning before the tops are done. This often happens with darker pans, convection ovens, or recipes with high sugar content. By placing your prepared cookie sheet on top of another empty baking sheet, you create an air buffer zone between the bottom of the cookie sheet and the oven rack.
This layer of air acts as an insulator, slowing down the rate at which heat transfers directly to the bottom of the pan. The result is more even cooking from top to bottom, reducing the risk of burnt bottoms while allowing the tops and edges to bake and brown properly. This technique is especially beneficial for delicate cookies or those requiring a longer bake time at lower temperatures.
Even the most expensive ovens can have hot spots – areas where the temperature is slightly higher than others. These inconsistencies can lead to a batch of cookies where those on one side of the pan are perfectly baked while those on the other side are under or overdone. Rotating your cookie sheet halfway through the baking time helps expose all cookies to the different temperature zones in the oven, promoting more uniform results across the entire batch.
For example, if your oven is hotter in the back, rotating the pan turns the front half towards the back and vice-versa. This ensures that all cookies spend an equal amount of time in the hotter and cooler zones, leading to a more consistent golden color and texture. This is a standard practice in professional kitchens and a valuable nonstick cookie sheet baking tip for home bakers aiming for perfection.
Cookies sticking to the sheet is a common and frustrating issue. It can happen for several reasons, even when you think you've followed all the nonstick cookie sheet baking tips. One primary culprit is under-baking; cookies that haven't cooked long enough may not have developed the structure needed to release cleanly from the pan. Their soft, still-warm bottoms are more likely to adhere.
Another frequent cause is insufficient or improper pan preparation. Using too little grease, applying it unevenly, or dealing with a worn-out non-stick coating can all lead to sticking. Additionally, trying to remove cookies from the pan too soon after they come out of the oven can cause them to break or stick, as they are still quite fragile when hot. Allowing them to cool on the pan for the recommended time (usually 2-5 minutes) is crucial.
Uneven baking, where cookies on the same sheet bake at different rates, is often a symptom of oven hot spots or issues with the cookie sheet itself. Ovens naturally have temperature variations, as mentioned before. However, the quality and material of your cookie sheet also play a significant role. Thin, flimsy pans, especially those made of darker metals, can heat unevenly and warp at high temperatures, creating hot spots on the pan surface.
Addressing uneven baking requires a multi-pronged approach. First, consider your oven – using an oven thermometer can help you understand its true temperature and identify potential hot spots. Second, evaluate your cookie sheets – heavier gauge aluminum pans tend to distribute heat more evenly. Finally, employ techniques like rotating the pan halfway through baking and using the double pan method to mitigate the effects of both oven and pan inconsistencies, ensuring your nonstick cookie sheet baking tips yield consistently baked cookies.
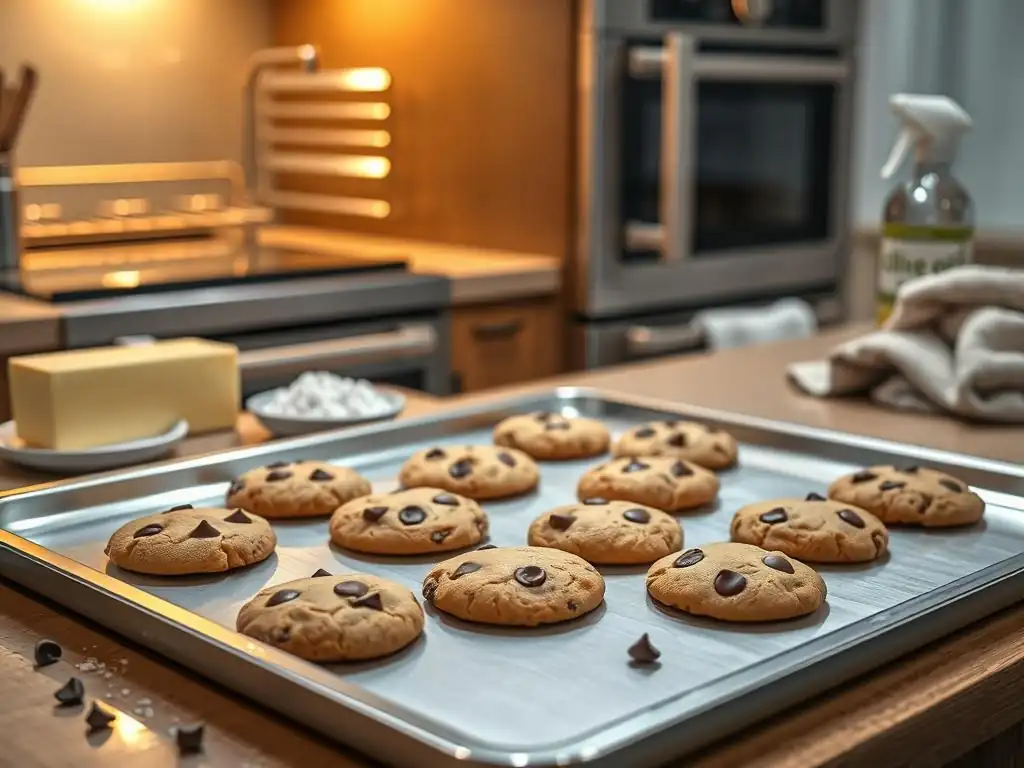
Uniformity in cookie size and spacing on the baking sheet is crucial for even baking. Cookies that are significantly different in size will require different baking times; by the time the larger cookies are done, the smaller ones may be burnt. Using a cookie scoop (available in various sizes, e.g., a 1-ounce scoop is common for standard cookies) is the easiest way to ensure each cookie is the same size.
Proper spacing is equally important. Cookies spread as they bake, and if they are placed too close together, they will run into each other, resulting in misshapen cookies and potentially uneven cooking where they touch. As a general rule, leave at least 2 inches of space between cookies, and more if the recipe is known for significant spread. This allows hot air to circulate around each cookie, promoting even baking and beautiful, round shapes. This simple tip enhances the effectiveness of all your nonstick cookie sheet baking tips.
The material and color of your cookie sheet significantly impact how quickly and intensely heat is transferred to your cookies, necessitating potential adjustments to baking time and temperature. Darker pans absorb more radiant heat than shiny ones, which reflect it. This means cookies baked on a dark, non-stick pan will typically bake faster and brown more on the bottom than those baked on a shiny aluminum pan.
If a recipe specifies a baking time based on a standard shiny pan (which most recipes implicitly do), you might need to slightly reduce the baking time or temperature when using a dark non-stick pan. For example, if a recipe calls for 10-12 minutes on a standard pan, you might start checking at 8 or 9 minutes on a dark non-stick pan.
Conversely, using a silicone baking mat on any pan can slightly insulate the bottom, potentially requiring an extra minute or two of baking time to achieve the desired doneness and browning. Always monitor your first batch closely and adjust as needed – this is a key nonstick cookie sheet baking tip learned through experience.
Proper Storage Techniques to Prevent Damage
How you store your cookie sheets can significantly affect their lifespan and performance. Stacking pans without protection can lead to scratches, dents, and damage to non-stick coatings, especially if they are tossed around or heavy items are placed on them. Scratches on the baking surface, particularly on non-stick pans, compromise their functionality and can lead to sticking issues.
To protect your investment, always place a layer of protection between stacked pans. Simple solutions like paper towels, clean kitchen towels, or even felt pan protectors designed for cookware can prevent surfaces from rubbing against each other. Store them in a stable location where they won't be easily warped or dented by other kitchen items. Proper storage is a simple yet vital step in preserving the effectiveness of your nonstick cookie sheet baking tips.
Even with the best care, cookie sheets don't last forever. Recognizing when it's time to retire an old pan is important for consistent baking results and hygiene. A pan that is significantly warped (meaning it no longer lies flat, causing oil or dough to pool in one area) will lead to uneven baking and should be replaced. Deep scratches or gouges, especially on non-stick surfaces, create areas where food will inevitably stick and can be difficult to clean thoroughly.
For non-stick pans, a clear sign of needing replacement is when the non-stick coating is visibly flaking, peeling, or has lost its effectiveness despite proper cleaning and care. If cookies consistently stick to areas that were once non-stick, the coating is likely worn out. While a beloved, well-seasoned pan can be great, one that is beyond repair will only hinder your baking efforts, making consistent application of nonstick cookie sheet baking tips impossible.
Frequently Asked Questions
Even with a nonstick surface, preparation is crucial. It helps prevent cookies from sticking permanently and ensures even baking, leading to better results and easier cleanup.
The most common methods include lightly greasing the sheet with butter or cooking spray, or lining it with parchment paper or a silicone baking mat. Each has its own advantages.
While some recipes suggest it, flour alone isn't recommended for nonstick sheets. It can sometimes burn and create a mess. Combining it with a light grease layer is acceptable.
Parchment paper is disposable and cost-effective, while silicone mats are reusable and provide excellent heat distribution. Both prevent sticking, but silicone mats can be easier to clean and offer a more consistent bake.
Nonstick cookie sheets should be replaced when the nonstick coating starts to peel or scratch. This indicates the coating is breaking down and can release harmful chemicals into your food, and affect baking performance.
Final Reflection: The Sweet Science of Non-Stick Baking
The quest for perfectly baked cookies, crisp edges, and effortless cleanup is a universal one, and mastering the art of preparing your cookie sheets is key. A seemingly simple task, properly prepping your baking sheets significantly impacts the final product, ensuring consistent results and minimizing frustration. From preventing sticking to achieving that coveted golden-brown hue, the right preparation makes all the difference.
The impact of a well-prepared baking sheet extends beyond just the individual cookie; it influences the entire baking experience. It's about the joy of creating something delicious, the satisfaction of a successful bake, and the ease of cleaning up afterwards. As the old adage goes, The best things in life are homemade,
and a smooth baking process certainly contributes to that homemade happiness. This extends beyond cookies, too; the principles discussed here apply to many baked goods, making this knowledge a valuable asset in any kitchen.
Now, consider your own baking journey. What techniques have you used in the past? What challenges have you faced? Take a moment to reflect on your experiences and experiment with the tips outlined in this article. You might be surprised by the difference a little preparation can make. Embrace the science behind the sweet, and unlock the potential for consistently perfect, non-stick baking every time. Your taste buds (and your baking sheets) will thank you.
Unlock Perfectly Baked Treats Every Time!
Thanks for taking the time to learn how to prep your cookie sheets for flawlessly baked goods! You've now got the knowledge to avoid those frustrating stuck cookies and achieve even browning. Ready to put your new skills to the test?
- Bake your dream cookies tonight! Grab those cookie sheets, apply your chosen method, and get baking. Let us know how it turns out!
- Share your baking success! Show off your perfectly baked creations on social media – use #BakeWithEase to inspire others.
- Explore more baking tips on our website and discover even more secrets to baking success. Find amazing recipes and techniques to elevate your baking game!
What innovative baking tip will you try next to perfect your cookie baking?