
Simple Kneading Basics: Your First Steps to Homemade Bread

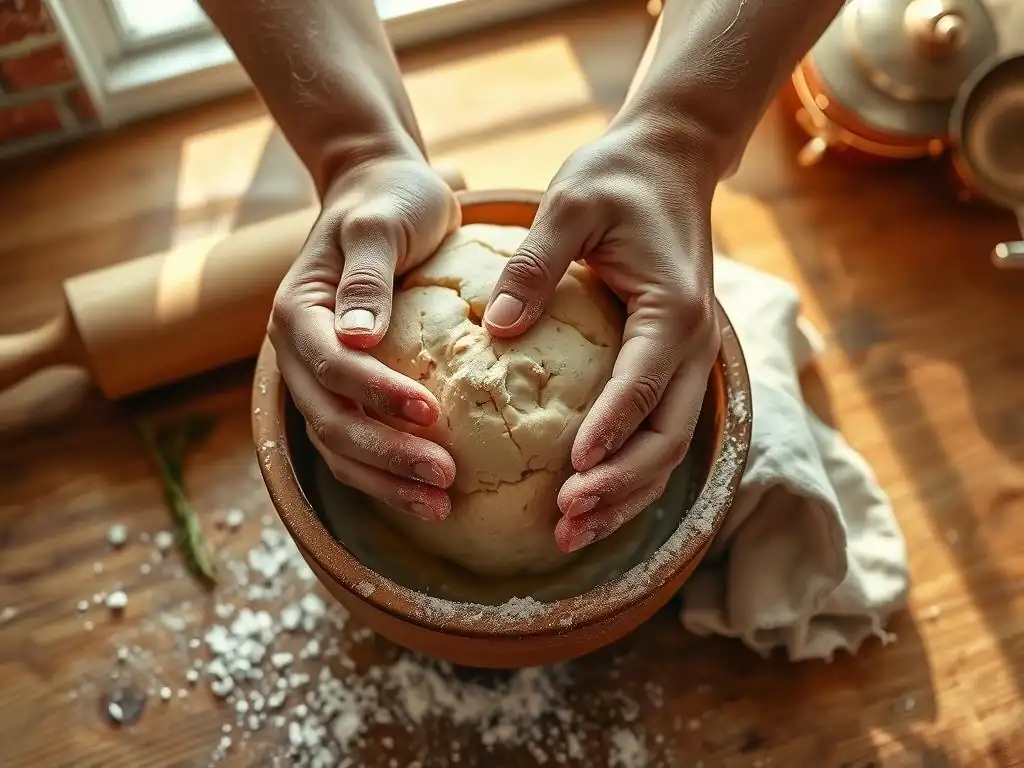
Welcome to BakeWithEase, where the delightful world of baking awaits you! Whether you're a novice eager to learn or a seasoned baker looking to refine your skills, our site is designed to empower you every step of the way. In this journey, we invite you to dive into our latest article, "Simple Kneading Basics: Your First Steps to Homemade Bread," where you'll discover easy homemade bread kneading tips that will elevate your baking game. Get ready to explore the tantalizing textures and aromas of freshly baked bread—your culinary adventure starts here!
- The Art of Sourdough: A Beginner's Guide to Hand Kneading
- Sourdough Simplicity: Mastering Hand Kneading for Artisan Bread
- Why Hand Knead Sourdough?
- Essential Tools and Ingredients for Sourdough Kneading
- Step-by-Step Guide: Hand Kneading Sourdough for Beginners
- Common Mistakes to Avoid When Kneading Sourdough
- Bulk Fermentation: The Importance of Proofing Sourdough
- Baking Your First Sourdough Loaf: From Kneaded Dough to Artisan Bread
- Beyond the Basics: Exploring Sourdough Variations
- Conclusion: Embracing the Sourdough Journey
- Frequently Asked Questions
- Final Reflection: The Humble Knead: A Gateway to Baking Joy
- Unleash Your Inner Baker: Knead to Know More!
The Art of Sourdough: A Beginner's Guide to Hand Kneading
Sourdough Simplicity: Mastering Hand Kneading for Artisan Bread
Making homemade bread, especially sourdough, can seem daunting, but breaking down the process into manageable steps makes it incredibly accessible. One fundamental technique that yields fantastic results and connects you directly with your dough is hand kneading. It's a simple, ancient method that requires minimal equipment and allows you to truly understand the development of gluten, which is key to a great loaf. Learning easy homemade bread kneading tips by hand is a rewarding journey that builds confidence with every bake.
Hand kneading sourdough is more than just mixing ingredients; it's a tactile experience that teaches you the feel of a properly developed dough. Unlike using a stand mixer, your hands are sensitive tools that can detect subtle changes in the dough's texture and elasticity. This hands-on approach is particularly beneficial for beginners as it provides immediate feedback, helping you adjust your technique on the fly. Plus, it's a wonderfully therapeutic process, turning simple ingredients into a living, breathing dough that's ready to transform into delicious, easy homemade bread.
Why Hand Knead Sourdough?
The Tang and Texture: Why Hand Kneading Enhances Sourdough
Hand kneading plays a crucial role in developing the gluten structure necessary for sourdough's characteristic open crumb and chewy texture. As you work the dough, gluten proteins (glutenin and gliadin) link together, forming a network that traps the gases produced by the sourdough starter's fermentation. This network is what gives the bread its structure and allows it to rise. Without adequate gluten development, your loaf would be dense and heavy, lacking that desirable airy quality.
Beyond structure, the gentle action of hand kneading can subtly influence the flavor profile of your sourdough. While the starter is the primary driver of the tang, proper dough development ensures even fermentation throughout the loaf. This uniformity allows the complex acids and alcohols produced during fermentation to distribute evenly, contributing to a balanced and nuanced flavor. Many bakers feel that the personal touch of hand kneading also imparts a certain 'soul' to the bread, a connection between baker and loaf that's hard to replicate mechanically.
Understanding Sourdough's Unique Kneading Needs
Sourdough dough often has a higher hydration level (more water relative to flour) compared to many commercial yeasted breads. This high hydration is part of what contributes to the open crumb, but it also makes the dough stickier and potentially more challenging to handle initially. Sourdough also ferments more slowly due to the wild yeast and bacteria activity, requiring a different approach to kneading and development compared to fast-rising yeasted doughs. Easy sourdough kneading tips often focus on managing this stickiness and understanding the slower development pace.
The unique nature of sourdough starter, with its active microbial population, means the dough continues to develop even during resting periods between kneading sessions. This is why methods like the 'stretch and fold' are so effective; they allow the dough to rest and self-develop, requiring less vigorous kneading than traditional methods might demand. Understanding that sourdough is a living culture that needs time and gentle handling is key to successful hand kneading.
Essential Tools and Ingredients for Sourdough Kneading
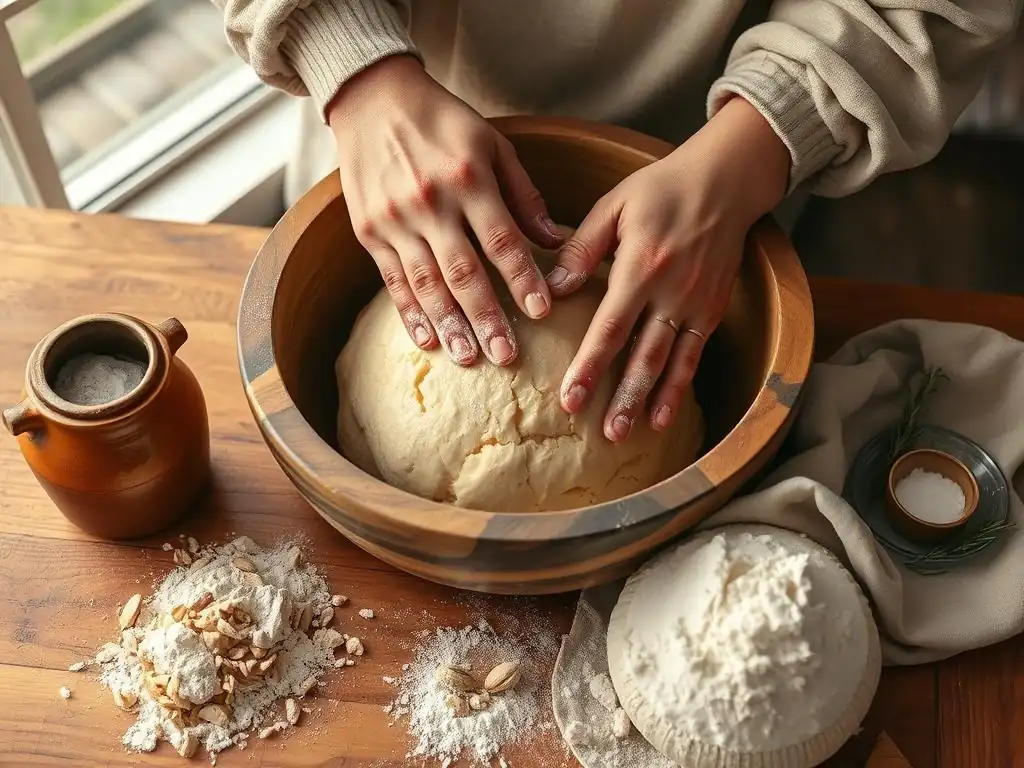
Must-Have Tools for Hand Kneading Sourdough at Home
You don't need much to start hand kneading sourdough, which is part of its appeal for easy homemade bread. A clean, flat surface is essential – your kitchen counter works perfectly. You'll also benefit from a bench scraper, a flat metal or plastic tool that helps you manage sticky dough, scrape it off the counter, and divide it. A scale is absolutely crucial for accurate measurements, especially for flour and water, as ratios are critical in sourdough. Using grams is highly recommended for precision.
Other helpful tools include a large bowl for mixing and bulk fermentation, and perhaps a spray bottle filled with water to keep your hands or the counter lightly moist if the dough is exceptionally sticky. Some bakers also like to use a dough whisk for initial mixing, but your hands work just as well. Remember, the focus is on simplicity; your most important tools are your hands and a reliable scale.
Basic Ingredients for Sourdough: Flour, Water, Salt, Starter
At its core, sourdough bread requires only four ingredients: flour, water, salt, and active sourdough starter. The type of flour significantly impacts the dough's behavior. Bread flour, with its higher protein content (typically 12-14%), is excellent for developing a strong gluten network, making it a popular choice for beginners. All-purpose flour (around 10-11.5% protein) can also be used, but the dough might feel a bit weaker. Whole wheat or rye flours absorb water differently and develop gluten less readily, requiring adjustments in technique and hydration.
Water quality can subtly affect your starter and dough, though tap water is usually fine unless it's heavily chlorinated. Room temperature water (around 75-80°F or 24-27°C) is often preferred as it helps regulate dough temperature during mixing. Non-iodized salt, like sea salt or kosher salt, is generally recommended as iodine can potentially interfere with microbial activity in the starter.
The active sourdough starter is the leavening agent; it should be bubbly and active, ideally recently fed and doubled in size before use. A typical recipe might use 500g bread flour, 350g water, 10g salt, and 100g active starter, representing a 70% hydration dough.
Step-by-Step Guide: Hand Kneading Sourdough for Beginners
Preparing Your Workspace for Sourdough Kneading
Before you even touch the dough, prepare your kneading surface. Clean your countertop thoroughly. While some bakers prefer a lightly floured surface, for high-hydration sourdough, using a tiny bit of water or no flour at all is often better to prevent incorporating too much extra flour into the dough, which can make it stiff. Have your bench scraper, ingredients measured, and a bowl ready for resting periods. Ensure your hands are clean and perhaps slightly damp (not wet) to help manage stickiness.
Having everything prepped minimizes interruptions and makes the process smoother. Think of it like setting up a workspace for any craft; organization reduces frustration. Knowing you have your tools and ingredients ready allows you to focus purely on the feel of the dough as you work it, which is crucial when learning easy homemade bread kneading tips.
Autolyse: The Initial Step for Sourdough Development
The autolyse (pronounced oh-toh-leez) is a simple, yet powerful technique where you mix just the flour and water from your recipe and let it rest. You don't add the salt or the starter at this stage. The mixture will look shaggy and unmixed initially. Simply combine them until no dry flour remains, cover the bowl, and let it rest for 20 minutes to an hour, or even longer.
During the autolyse, the flour absorbs the water fully, and enzymatic activity begins to break down starches into sugars (food for the starter) and starts the gluten development process without any mechanical work. This rest period makes the dough more extensible and easier to knead later. It's a fantastic easy sourdough kneading tip that reduces the total kneading time required and results in a smoother dough.
Mastering the Sourdough Kneading Technique: A Visual Guide
Once the autolyse is complete, add your active sourdough starter and salt to the dough. Mix them in thoroughly. The dough will likely feel messy and resistant at first. Now, you're ready to knead. There are several hand kneading techniques, but for high-hydration sourdough, methods that manage stickiness while developing gluten are best.
The Stretch and Fold Method for Sourdough
The stretch and fold is arguably the most popular and effective method for high-hydration sourdough and a key easy homemade bread kneading tip. Instead of continuous kneading, you perform a series of folds over a period of time, with rest periods in between.
Here’s how it works:
- With wet or lightly floured hands, grab one edge of the dough in the bowl.
- Stretch it upwards gently.
- Fold it back over the center of the dough.
- Rotate the bowl a quarter turn.
- Repeat steps 1-3 three more times, completing one "set" of folds (usually 4 folds per set).
- Cover the dough and let it rest for 20-30 minutes.
- Repeat the sets of folds and rest periods 3-5 times over 2-3 hours.
This method is gentle on the dough, incorporates air, and builds strength progressively. You'll notice the dough becoming smoother, more elastic, and less sticky with each set.
Achieving the Right Sourdough Hydration: Handling Wet Dough
Handling wet, sticky sourdough dough (like 75% hydration or higher) can be intimidating, but it's manageable with the right approach. Avoid the instinct to add lots of extra flour; this will change your hydration ratio and result in a stiffer, potentially drier loaf. Instead, use a bench scraper to help you lift and fold the dough. Keeping your hands slightly damp or lightly oiled can also prevent sticking.
Focus on developing tension in the dough through techniques like stretch and fold. As the gluten develops, the dough will become less sticky and more manageable. Trust the process; that wet dough is on its way to becoming a beautiful, airy loaf. Patience and practice are the best easy homemade bread kneading tips for high hydration.
The Poke Test: Gauging Sourdough Fermentation
The poke test is a simple way to check if your dough has fermented enough during bulk fermentation (the main rise after kneading/folding). Lightly flour your finger and gently but firmly poke the surface of the dough about half an inch deep.
Observe how the indentation behaves:
- If the indentation springs back immediately and completely, the dough is likely under-fermented. It needs more time.
- If the indentation slowly springs back only partially, leaving a small indent, the dough is likely properly fermented and ready for shaping.
- If the indentation stays completely and doesn't spring back at all, the dough is likely over-fermented. It might collapse during shaping or baking.
This test, combined with visual cues like the dough increasing significantly in volume (often doubling or more depending on temperature and hydration) and showing bubbles on the surface, helps you know when to move to the next step.
Common Mistakes to Avoid When Kneading Sourdough
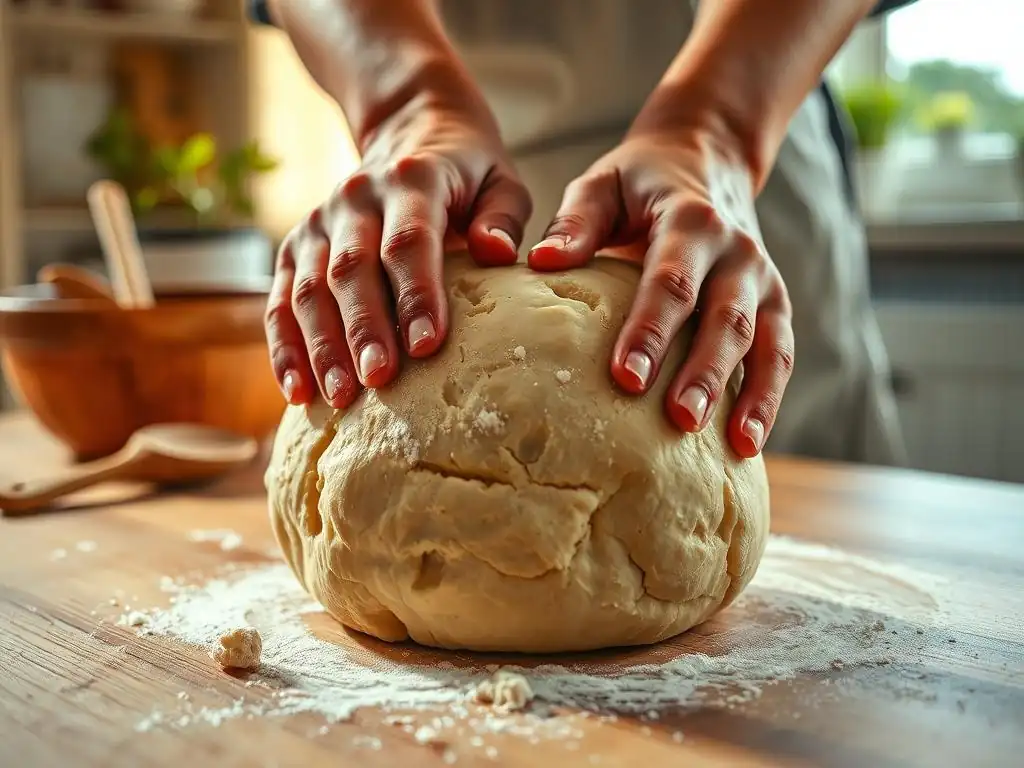
Over-Kneading vs. Under-Kneading Sourdough: Identifying the Difference
Understanding the difference between over and under-kneaded dough is crucial for success. Under-kneaded sourdough will feel slack, sticky, and won't hold its shape well. When you try to stretch a piece, it will tear easily rather than stretching into a thin membrane (the "windowpane test"). The resulting bread will be dense with an uneven crumb.
Over-kneaded dough is less common when kneading by hand compared to a mixer, but it can happen. It feels very tight and resistant, almost tearing when you try to stretch it. The gluten network can actually start to break down. The final bread might have a tight, possibly chewy texture. For beginners, under-kneading is a more frequent issue. Aim for a dough that is smooth, elastic, and passes the windowpane test (you can stretch a small piece thin enough to see light through it).
Troubleshooting Sticky Sourdough: Easy Solutions
Sticky dough is perhaps the most common challenge when learning easy homemade bread kneading tips, especially with high hydration sourdough. Resist the urge to dump in a lot of extra flour. A little flour on your hands or bench scraper is okay, but adding too much changes the recipe ratio.
- Use Water: Keep your hands slightly damp or use a bit of water on your kneading surface instead of flour.
- Bench Scraper: Use a bench scraper to handle and fold the dough without it sticking to your hands.
- Rest Periods: Allow the dough to rest between kneading or folding sessions. The gluten will relax and develop, making it less sticky and easier to handle.
- Patience: Sometimes, sticky dough just needs more time and gentle handling. As gluten develops, it becomes less sticky.
Maintaining Dough Temperature: Warm vs. Cool Environments
Dough temperature has a significant impact on fermentation rate. Sourdough prefers a warm, consistent environment, typically between 75-80°F (24-27°C), for optimal activity. If your kitchen is cold, fermentation will be very slow. If it's too hot, it can ferment too quickly, potentially leading to off-flavors or over-fermentation.
Finding a warm spot in your home is helpful. This could be near a warm appliance, in a turned-off oven with the light on, or in a proofing box if you have one. Aiming for a consistent dough temperature throughout bulk fermentation is more important than the initial water temperature. You can measure the dough temperature with an instant-read thermometer. If your dough is consistently too cold, fermentation will take much longer than expected, requiring adjustments to your schedule.
Bulk Fermentation: The Importance of Proofing Sourdough
Bulk fermentation, also known as the first rise, is the crucial period after kneading (or folding) where the main volume increase occurs. During this time, the sourdough starter's wild yeasts produce carbon dioxide gas, which is trapped by the gluten network you've developed. The bacteria also produce organic acids, contributing to the characteristic sourdough tang. It's not just about size; it's about developing flavor and structure.
Skipping or rushing bulk fermentation is a common mistake that leads to a dense, less flavorful loaf. The duration varies significantly based on temperature, starter activity, and hydration. At a warm room temperature (around 75°F), it might take 4-6 hours. In a cooler environment (e.g., 70°F), it could take 6-10 hours or even longer. Learning to read the dough's signs (like the poke test and visual volume increase) is more reliable than strictly following a time.
Creating the Ideal Environment for Sourdough Fermentation
As mentioned, sourdough thrives in warmth. An ideal environment for bulk fermentation is consistently warm and draft-free. A temperature range of 75-80°F (24-27°C) is often cited as optimal. Placing the covered dough in a warm spot in your kitchen works well.
- Oven with Light On: A common trick is to place the covered bowl in your oven with just the oven light on. This usually creates a gentle warmth, often in the 75-85°F range.
- Proofing Box: Dedicated proofing boxes offer precise temperature and humidity control.
- Warm Spot: Find a naturally warm spot in your home, away from drafts.
Covering the dough is essential to prevent a skin from forming on the surface, which would inhibit rising and make shaping difficult. Plastic wrap, a damp tea towel, or a reusable bowl cover all work effectively.
Signs Your Sourdough Has Fermented Properly
Knowing when bulk fermentation is complete is key to successful sourdough. Rely on a combination of visual cues and the poke test.
- Volume Increase: The dough should have significantly increased in volume, typically by at least 50% to 100% (doubled). The exact increase can vary depending on hydration and flour type.
- Bubbles: Look for visible bubbles on the surface and potentially along the sides of the bowl. This indicates active gas production.
- Dome Shape: The top surface should be rounded and domed, not flat.
- Jiggly: When you gently shake the bowl, the dough should jiggle slightly like a large jelly.
- Poke Test: As described earlier, a properly fermented dough will hold a poke indentation that slowly springs back partially.
If the dough looks very bubbly, has more than doubled, and the poke test indentation stays completely, it's likely over-fermented. If it hasn't increased much in volume and springs back immediately from a poke, it's under-fermented and needs more time.
Baking Your First Sourdough Loaf: From Kneaded Dough to Artisan Bread
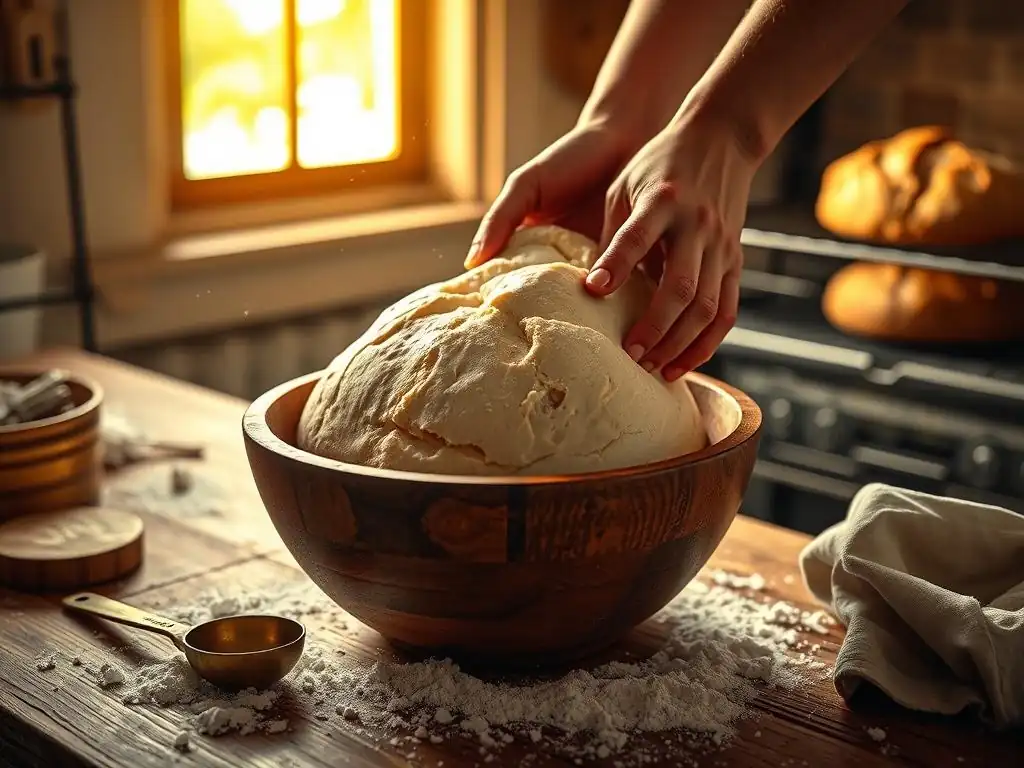
After successful bulk fermentation, your hand-kneaded sourdough is ready for the final stages before baking. This involves shaping, a final rise (proofing), and then baking at high heat. The goal is to handle the dough gently during shaping to preserve the gas bubbles created during fermentation.
The transition from a shaggy, sticky mass to a smooth, elastic dough through hand kneading and fermentation is incredibly satisfying. Now you get to transform that dough into a beautiful loaf. Learning easy homemade bread kneading tips is just the first step; understanding the subsequent stages is equally important for achieving that perfect crust and crumb.
Shaping Your Sourdough for Baking
Shaping gives your loaf its final form and builds tension on the surface, which helps it hold its shape and contributes to oven spring. Lightly flour your work surface and gently turn the dough out of the bowl. Be careful not to deflate it too much.
There are various shaping techniques (like bâtard or boule), but the principle is similar: gently coax the dough into the desired shape while creating surface tension. For a boule (round loaf), gently fold the edges towards the center, then flip the dough over and use your hands or a bench scraper to pull it towards you, creating tension on the bottom surface while rotating it.
Repeat this motion a few times until you have a taut ball. Place the shaped dough seam-side up in a floured proofing basket (banneton) or a bowl lined with a floured tea towel for the final proof.
Baking Temperatures and Times for Sourdough Bread
Sourdough benefits from high heat and steam during the initial phase of baking to achieve maximum oven spring and a crisp crust. Baking in a Dutch oven is a popular and effective method for trapping steam around the loaf.
- Preheat: Preheat your oven with the Dutch oven inside to a high temperature, typically 450-500°F (230-260°C), for at least 30-60 minutes.
- Transfer: Carefully transfer the shaped dough into the hot Dutch oven (you can score the top first with a sharp blade).
- Covered Bake: Bake covered for 20-25 minutes. The lid traps the moisture released by the dough, creating steam. This keeps the crust soft initially, allowing the loaf to expand fully.
- Uncovered Bake: Remove the lid and continue baking for another 20-30 minutes, or until the crust is deep golden brown and the internal temperature reaches around 205-210°F (96-99°C).
Baking times and temperatures can vary slightly based on your oven and the size of the loaf. Using a baking stone with steam is another method, though a Dutch oven is often easier for beginners.
Beyond the Basics: Exploring Sourdough Variations
Once you're comfortable with basic hand kneading and baking, you can explore the vast world of sourdough variations. Easy homemade bread kneading tips can be adapted for different flours and additions, opening up a whole new range of flavors and textures.
Kneading Techniques for Different Sourdough Flours [Example: Rye]
Different flours behave uniquely when kneaded by hand. Rye flour, for instance, has very little gluten-forming protein compared to wheat. Doughs made with a high percentage of rye won't develop a strong, elastic gluten network like wheat dough.
- Rye Dough: Instead of vigorous kneading, rye doughs are often mixed until combined and then rely more on fermentation to develop structure. Techniques like pasting (mixing with a spoon until cohesive) or brief, gentle folding are more appropriate than traditional kneading. A high-percentage rye dough will remain sticky and won't pass the windowpane test. Understanding these differences is key when working with alternative flours.
Experimenting with different flour blends (e.g., adding some whole wheat, spelt, or rye to your basic white flour dough) will show you how the dough's feel changes and how to adapt your hand kneading approach.
Incorporating Inclusions: Adding Flavor to Sourdough
Adding ingredients like seeds, nuts, dried fruit, or herbs to your sourdough can add wonderful flavor and texture. These are typically folded into the dough after the main kneading or folding is complete, usually during the final set of stretch and folds or just before shaping.
- Folding Inclusions: Flatten the dough slightly after the last fold, spread the inclusions evenly over the surface, then fold the dough over itself a few times to distribute them. Be careful not to overwork the dough once inclusions are added, as sharp edges from nuts or seeds can sometimes cut the gluten strands. A good ratio might be adding 10-20% of the flour weight in inclusions (e.g., 50-100g of seeds for a 500g flour loaf).
Adding inclusions is a fun way to personalize your easy homemade bread and build on your sourdough kneading tips.
Conclusion: Embracing the Sourdough Journey
Learning to hand knead sourdough is a foundational skill that opens the door to baking incredible artisan bread right in your own kitchen. It's a process that requires patience and practice, but the rewards – the aroma of fresh bread, the satisfying crackle of the crust, and the delicious, tangy flavor – are immeasurable. By understanding the dough, mastering basic techniques like stretch and fold, and learning to read the signs of fermentation, you're well on your way.
Mastering Hand Kneading for Sourdough: A Rewarding Skill
Hand kneading connects you intimately with the bread-making process, allowing you to feel the dough's transformation as gluten develops. It's a low-tech, accessible way to bake high-quality sourdough. Each loaf you make will teach you something new about dough hydration, temperature, and timing. Don't be discouraged by early attempts; every bake is a learning experience. Embrace the stickiness, enjoy the rhythm of the folds, and savor the journey towards baking beautiful, easy homemade bread. With these easy homemade bread kneading tips focused on sourdough, you have everything you need to start.
Frequently Asked Questions
How important is kneading for homemade bread?
Kneading is essential for developing the gluten structure, which provides the elasticity and texture of your bread. Without proper kneading, your bread will be dense and flat.
What are the basic techniques for kneading bread dough?
The basic technique involves pushing, folding, and turning the dough. Focus on using the heel of your hand to push the dough away from you, then fold it over and turn it. Repeat this process rhythmically to develop the gluten.
How long should I knead my bread dough for the best results?
Kneading time varies depending on the recipe, but generally, aim for 8-10 minutes by hand or 6-8 minutes with a stand mixer. The dough should become smooth and elastic.
How can I tell if my bread dough has been kneaded enough?
A well-kneaded dough will be smooth and elastic. Perform the windowpane test: stretch a small piece of dough. If it stretches thin enough to see light through it without tearing, it's ready.
What are some easy tips to make kneading less tiring?
Use a stand mixer if you have one. If kneading by hand, keep your work surface lightly floured to prevent sticking, and use a rhythmic motion to avoid straining your muscles.
Final Reflection: The Humble Knead: A Gateway to Baking Joy
The simple act of kneading dough, often overlooked, is the cornerstone of countless delicious homemade loaves. Mastering this fundamental technique unlocks a world of culinary creativity and self-sufficiency, proving that even the most seemingly complex tasks can be surprisingly accessible. The satisfying texture of properly kneaded dough, the aroma of freshly baked bread – these are rewards well worth the effort.
The influence of homemade bread extends far beyond the kitchen table; it's a connection to tradition, a celebration of simple ingredients transformed, and a testament to the enduring power of handcrafted food. It's a skill passed down through generations, a source of comfort and connection. Bread is the staff of life,
a common saying reminds us, highlighting its fundamental role in sustenance and culture. Learning to knead bread is not just about baking; it's about participating in a rich history and forging a personal connection to the food we consume.
Now, I invite you to take what you've learned here and embark on your own baking journey. Don't be afraid to experiment, to get your hands messy, and to embrace the imperfections. Each loaf, whether perfectly risen or slightly misshapen, represents a step forward in your culinary adventure. The satisfaction of creating something delicious and nourishing from scratch is a reward in itself. So, gather your ingredients, find your rhythm, and knead your way to baking bliss.
Unleash Your Inner Baker: Knead to Know More!
Thanks for taking the time to explore the wonderful world of bread making! We hope you've gained some valuable kneading knowledge and are feeling inspired to get baking. Now, let's put that knowledge into action.
- Begin your baking journey today! Start with a simple loaf using the techniques you just learned. Even a small success will build confidence.
- Share your baking adventures! Post a picture of your first loaf on social media and tag us – we’d love to see your creations!
- Explore our other recipes – discover new flavors and techniques to expand your baking skills!
What delicious bread will you knead first?