
Avoiding Dry Cakes: Essential Beginner Tips

Welcome to BakeWithEase, your culinary compass in the world of baking! Are you tired of cakes that crumble instead of delight? Ever wondered why your creations lack that perfect, moist texture? In this article, we're diving deep into dry cake troubleshooting tips, offering essential insights to help you banish dryness forever. Discover the secrets to perfectly moist cakes and unlock your baking potential – let's get started!
- Understanding the Causes of Dry Cakes: Key Troubleshooting Tips
- Essential Troubleshooting Tips
- Baking Techniques to Prevent Dry Cakes
- Enhancing Cake Moisture After Baking
- Best Practices: Recipes for Moist Cakes
- Troubleshooting Dry Cake Issues
- Conclusion: Mastering Troubleshooting Tips
- Frequently Asked Questions
- Final Reflection: The Sweet Science of Avoiding Dry Cakes
- Unlock Your Baking Potential: Fluffy Cakes Await!
Understanding the Causes of Dry Cakes: Key Troubleshooting Tips
Baking a cake should be a joyous experience, resulting in a moist, tender treat. However, encountering a dry, crumbly cake is a common frustration, especially for beginners. Understanding why cakes turn out dry is the first step in mastering dry cake troubleshooting tips and ensuring your future bakes are perfectly moist. Several factors contribute to dryness, often related to ingredients, measurements, or baking technique. Identifying the specific cause in your baking process is crucial for improvement.
A dry cake often lacks sufficient moisture or has structural components (like gluten or overcooked proteins) that are too rigid and absorb too much liquid. This can happen even if a recipe seems straightforward. For instance, using cold ingredients directly from the fridge instead of room temperature can affect how they emulsify, impacting the final texture. Similarly, neglecting to preheat your oven properly means the cake bakes unevenly, potentially drying out the edges before the center is done. Addressing these foundational elements is key to successful dry cake troubleshooting tips.
Common Reasons for Dry Cake Texture
One of the most frequent culprits behind a dry cake is simply using too much flour. Flour is a dry ingredient that absorbs moisture, and an excess amount can quickly lead to a dense, arid crumb. Using the incorrect measuring technique, such as scooping flour directly from the bag with a measuring cup, can easily add 20-30% more flour than intended because it compacts the flour. For example, a recipe calling for 1 cup of all-purpose flour (approximately 120-130 grams when measured correctly) might inadvertently receive 150-160 grams if scooped, significantly altering the wet-to-dry ratio.
Another common issue is an imbalance in the fat content. Fats like butter, oil, or shortening contribute moisture and tenderness by coating flour particles, inhibiting gluten development, and adding richness. If a recipe calls for a certain amount of fat, reducing it to "be healthier" or accidentally using less can dramatically affect the cake's texture, making it crumbly and dry. Sugar also plays a vital role as it is hygroscopic, meaning it attracts and holds onto moisture. Undersweetening a cake not only affects flavor but also reduces its ability to retain moisture, contributing to a drier result.
How Overbaking Affects Cake Moisture
Overbaking is perhaps the most common reason for a dry cake, transforming a potentially moist treat into a crumbly disappointment. As a cake bakes, the liquid ingredients (water, milk, eggs) turn to steam, helping the cake rise and cook. While this is necessary, prolonged exposure to heat evaporates too much of this essential moisture. Think of it like drying clothes in a hot dryer for too long – they become stiff and brittle.
Beyond just evaporating liquid, excessive heat exposure causes the proteins in the flour and eggs to tighten and become rigid. This creates a more structured, less yielding crumb that feels dry in the mouth. The starches also gelatinize and then retrogradate (harden) further upon cooling, especially if overcooked.
Even a few extra minutes in an oven running slightly hot can be the difference between a moist cake and one needing significant dry cake troubleshooting tips. For example, a standard 8-inch vanilla cake that should bake for 30-35 minutes might become noticeably dry if left in for 40 minutes, especially if the oven temp is off by even 15-20°F (around 8-11°C).
The Role of Ingredient Ratios
The balance of ingredients in a cake recipe is a delicate science, and the ratios of wet to dry ingredients, fat, and sugar are fundamental to achieving a moist texture. A classic pound cake, for instance, traditionally uses equal weights of flour, butter, sugar, and eggs (hence "pound"), creating a rich, dense, yet moist crumb due to the high fat and sugar content relative to flour. Altering these ratios without understanding the impact can easily lead to dryness.
Specifically, the ratio of flour to liquid is critical. If there is too much flour relative to milk, buttermilk, yogurt, or other liquids, the flour will absorb all the available moisture and still be "thirsty," resulting in a dry crumb. Similarly, the fat-to-flour ratio matters. Fats tenderize and moisten.
A butter cake recipe might have a higher fat ratio than a sponge cake, which relies more on aerated eggs for structure. Understanding these relationships helps in applying effective dry cake troubleshooting tips when a bake doesn't turn out as expected. For example, adding an extra tablespoon or two of buttermilk to a recipe that consistently turns out dry can sometimes correct the moisture balance.
Essential Troubleshooting Tips
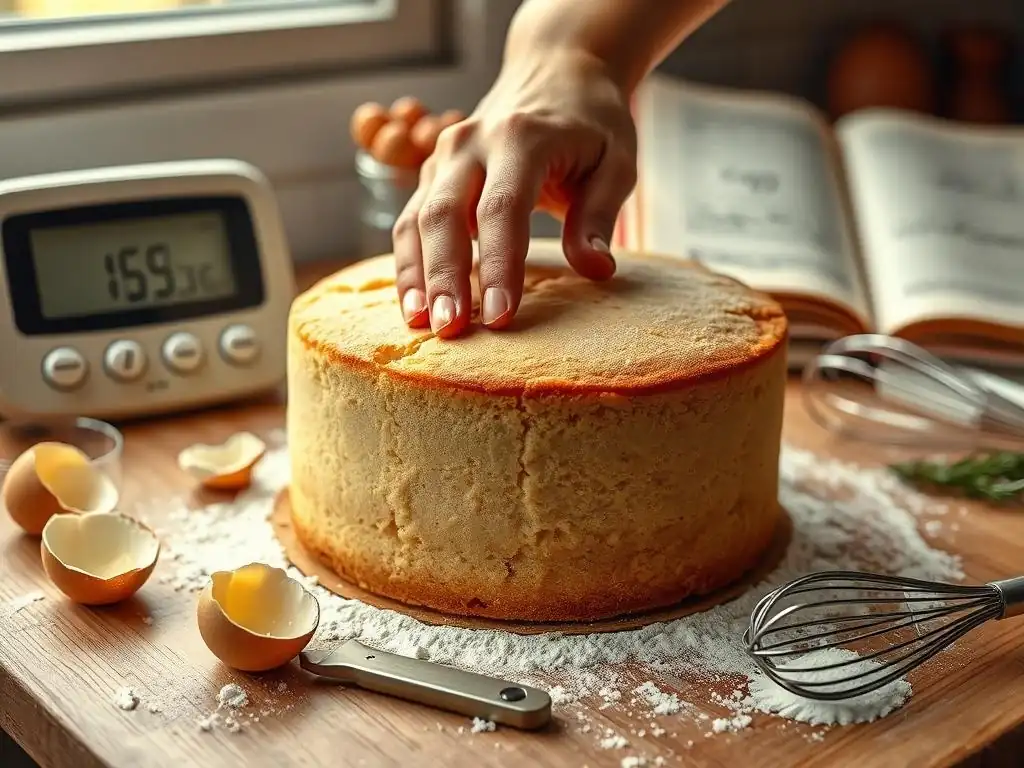
Addressing potential issues before they even reach the oven is key to preventing dry cakes. Focusing on fundamental techniques ensures your ingredients work together harmoniously to create a tender, moist crumb. It's often the simple steps that make the biggest difference in baking success.
Proper Measurement Techniques
Accurate measurement is non-negotiable in baking, especially when dealing with dry ingredients like flour. Using the "spoon and level" method for flour is highly recommended: gently spoon the flour into your dry measuring cup until it's overflowing, then use a straight edge (like the back of a knife) to level off the excess. Avoid tapping the cup or scooping directly from the bag, as this compacts the flour, leading to an over-measurement of potentially 20-30% more flour than the recipe intends by volume.
For liquid ingredients like milk, oil, or buttermilk, use clear liquid measuring cups placed on a flat surface and read the measurement at eye level. Granulated sugar can typically be scooped and leveled, but brown sugar should be packed firmly into the cup. Using a kitchen scale for dry ingredients, especially flour, is the most accurate method, virtually eliminating measurement errors. For instance, a recipe calling for 2 cups of all-purpose flour might specify 240g. Weighing ensures you add exactly 240g, regardless of how you scoop, providing consistent results and aiding significantly in dry cake troubleshooting tips related to ingredient ratios.
Choosing the Right Flour
Different types of flour have varying protein content, which directly impacts gluten development and how much liquid they absorb. All-purpose flour, the most common choice, has a moderate protein content (around 10-12%). Cake flour, with a lower protein content (around 6-8%), creates less gluten, resulting in a more tender, finer crumb, often preferred for delicate cakes. Bread flour has a high protein content (12-14%) and is designed for strong gluten development, making it unsuitable for most cakes as it would result in a tough, potentially dry texture.
Using the flour specified in the recipe is crucial. Substituting all-purpose flour for cake flour without adjustment can lead to a slightly tougher, less tender cake because of the increased gluten. Conversely, using cake flour when all-purpose is needed might result in a cake that lacks sufficient structure.
Understanding the properties of different flours is a fundamental part of effective dry cake troubleshooting tips and ensures you start with the right foundation for a moist cake. If a recipe calls for cake flour and you only have all-purpose, you can approximate cake flour by removing 2 tablespoons of all-purpose flour per cup and replacing them with 2 tablespoons of cornstarch, then sifting them together thoroughly.
The Importance of Using Fresh Fats
Fats, whether butter, oil, or shortening, are essential for moisture, tenderness, and richness in cakes. They coat the flour particles, inhibiting gluten development, and contribute to a soft, palatable crumb. Using fresh, good-quality fats is important. While using slightly older fat might not directly cause dryness in the way overbaking does, rancid fats can impart off-flavors that make the cake less enjoyable, sometimes giving a perception of staleness or dryness.
More importantly, ensure you are using the type and amount of fat specified. Substituting oil for butter (or vice versa) can drastically change the texture. Oil coats flour particles more effectively than butter, often resulting in a more consistently moist cake, especially for recipes like muffins or quick breads.
Butter, however, contributes flavor and helps with leavening through the creaming method, creating air pockets. Using the right amount of fat is critical; too little fat reduces tenderness and moisture, making the cake more prone to drying out during baking. For example, a recipe designed with 1/2 cup of oil for moisture will likely be dry if you only add 1/4 cup.
How to Incorporate Liquids Correctly
Liquids in a cake recipe serve multiple purposes: they dissolve sugar and salt, activate leavening agents (like baking soda), hydrate the flour to form gluten (though we want minimal gluten in cakes), and provide essential moisture. Adding liquids at the correct temperature and stage of mixing is important. Most recipes call for eggs, milk, or buttermilk to be at room temperature. Cold ingredients can cause fats to seize up, resulting in a lumpy batter that doesn't emulsify properly, potentially affecting the final texture and moisture distribution.
Overmixing the batter once the dry ingredients are added is a common mistake that develops too much gluten, leading to a tough, dry cake. The general rule is to mix just until the dry ingredients are incorporated. There might still be a few small lumps, and that's usually okay. For example, when adding the wet ingredients to the dry in a muffin recipe, you might only stir 10-12 times. For cakes, it's often similar – mixing until no streaks of dry flour remain. Following the recipe's mixing instructions carefully is a key part of dry cake troubleshooting tips.
Baking Techniques to Prevent Dry Cakes
Beyond getting the ingredients right, the way you bake the cake plays a significant role in its final moisture level. Oven temperature, baking time, and even the mixing method can all contribute to dryness or help ensure a perfectly moist result.
Optimal Oven Temperature Settings
Baking at the correct oven temperature is paramount for achieving a properly cooked and moist cake. An oven that is too hot will cause the cake's exterior to set and brown too quickly, potentially drying out the edges and top before the center has a chance to cook through. An oven that is too cool can lead to the cake spreading too much or taking too long to bake, also risking dryness. Most cake recipes call for temperatures between 325°F (160°C) and 375°F (190°C).
Oven thermostats can be notoriously inaccurate, sometimes being off by as much as 50°F (around 28°C). Using an inexpensive oven thermometer is highly recommended to verify your oven's actual temperature. If your oven consistently runs hot, you might need to reduce the temperature slightly (e.g., from 350°F to 325°F) or shorten the baking time. Consistent oven temperature is a fundamental aspect of effective dry cake troubleshooting tips.
Timing and Testing for Cake Doneness
Knowing exactly when a cake is done is crucial to avoid overbaking and subsequent dryness. Recipes provide estimated baking times, but these are just guidelines; the actual time can vary based on your oven, the pan material, and even the humidity. Relying solely on the timer is a common pitfall.
The most reliable method for checking cake doneness is the toothpick test. Insert a toothpick, wooden skewer, or cake tester into the center of the cake. It should come out with a few moist crumbs attached, but no wet batter. If it comes out clean, the cake is likely already slightly overdone. Another indicator is that the cake will start to pull away slightly from the sides of the pan.
The top should spring back gently when lightly pressed. Start checking for doneness a few minutes before the recipe's minimum suggested baking time. For instance, if a recipe says 30-35 minutes, check at 28 minutes. This proactive approach is a vital dry cake troubleshooting tip.
Mixing Methods for Tenderness and Moisture
The way ingredients are combined significantly impacts cake texture and moisture. The creaming method, commonly used for butter-based cakes, involves beating softened butter and sugar together until light and fluffy. This process incorporates air, which acts as a leavener and contributes to a tender crumb. Eggs are then added one at a time, followed by alternating additions of dry and liquid ingredients. This method is essential for creating a cake with a fine, moist texture.
Conversely, the reverse creaming method involves mixing dry ingredients (flour, sugar, leavening) with softened butter first, coating the flour particles in fat before liquids are added. This inhibits gluten development even further, resulting in an exceptionally tender, velvety crumb, often used for cakes where a delicate texture is paramount. Regardless of the method, the key is to avoid overmixing, especially once the flour is added. Overmixing develops gluten, leading to a tough, dry cake. Understanding and correctly executing the specified mixing method is a powerful dry cake troubleshooting tip.
Enhancing Cake Moisture After Baking
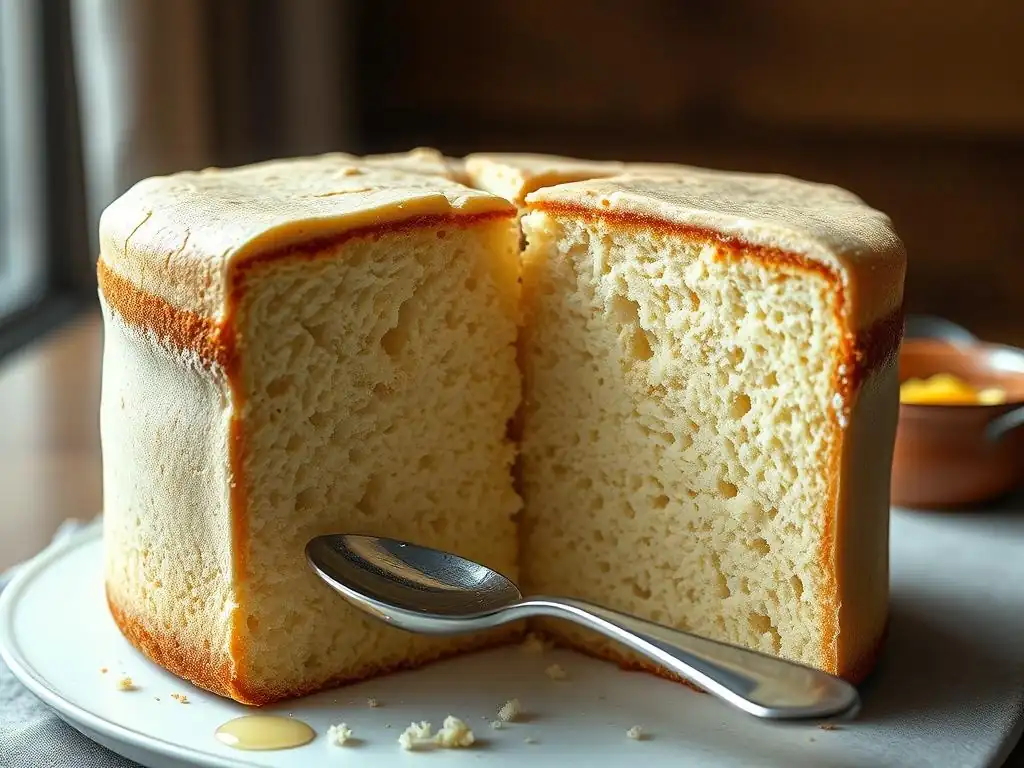
Sometimes, despite your best efforts, a cake might still turn out a little drier than desired. Fortunately, there are ways to add moisture back to a baked cake, salvaging your creation and ensuring it's enjoyable. These techniques are excellent dry cake troubleshooting tips for post-baking rescue missions.
Simple Syrups and Moisture-Adding Glazes
A simple syrup is a baker's secret weapon for adding moisture and flavor to cakes, particularly sponge cakes or layers destined for stacking and frosting. A basic simple syrup is made by heating equal parts sugar and water until the sugar dissolves (e.g., 1/2 cup sugar to 1/2 cup water). Flavorings like vanilla extract, citrus zest, or liqueur can be added. Once the cake is baked and slightly cooled, brush or drizzle the warm syrup evenly over the top. The cake will absorb the liquid, becoming significantly more moist.
Glazes and icings also help seal in moisture. A thick layer of buttercream or a pourable glaze creates a barrier that prevents the cake from drying out further once exposed to air. For example, a lemon glaze made with powdered sugar and lemon juice not only adds flavor but also locks in moisture. Using a moist filling, like fruit curd or pastry cream between layers, also contributes to the overall moisture of the finished cake. These methods are effective dry cake troubleshooting tips when dealing with a cake that feels a touch dry after cooling.
Storing Cakes Properly
Proper storage is crucial for maintaining a cake's moisture after it's baked and cooled. Leaving a cake exposed to air is the fastest way for it to dry out as moisture evaporates from its surface. Once a cake has cooled completely on a wire rack (warm cakes trapped in containers can become soggy or condensation can form), it should be wrapped tightly.
Wrap individual layers or the entire cake generously in plastic wrap, ensuring no part is exposed. Then, place the wrapped cake in an airtight container. Storing the cake at room temperature is usually fine for a day or two for most cakes. For longer storage, or for cakes with perishable fillings/frostings, refrigeration is necessary.
However, refrigeration can sometimes dry out cakes, so ensure it's well-wrapped. For extended storage, tightly wrapped cake layers freeze exceptionally well for up to 2-3 months. Thaw them wrapped at room temperature. Proper storage is a simple yet vital step in preventing dryness and is a key dry cake troubleshooting tip.
Best Practices: Recipes for Moist Cakes
Choosing recipes specifically designed for moisture is an excellent proactive approach to avoiding dry cakes. Certain ingredients and recipe structures are inherently better at retaining moisture, making them ideal starting points for beginners or anyone seeking consistently moist results.
Lemon Poppy Seed Cake Recipe
Recipes that incorporate ingredients high in moisture or fat are naturally more resistant to drying out. A Lemon Poppy Seed Cake is a great example, often using oil or a combination of butter and oil, along with moistening agents like yogurt, sour cream, or buttermilk.
- Ingredients often found in moist cakes:
- Oil (like vegetable or canola) - provides superior moisture retention compared to butter.
- Sour cream or plain yogurt - adds fat, moisture, and a tenderizing acidity.
- Buttermilk - its acidity tenderizes the crumb and reacts with baking soda for lift.
- Brown sugar - contains molasses, which adds moisture.
- Extra egg yolks - add fat and richness, contributing to tenderness.
- Fruit purees (like applesauce or mashed banana) or grated vegetables (like zucchini or carrots) - add moisture and structure.
A typical Lemon Poppy Seed Cake might combine oil and butter for both flavor and moisture, use yogurt or sour cream for tenderness, and incorporate lemon juice and zest for flavor, which also adds a touch of liquid. The balance of these ingredients, combined with proper mixing and baking, ensures a moist crumb.
Tips on Adapting Recipes
If you have a favorite cake recipe that consistently turns out a little dry, you can often adapt it using simple dry cake troubleshooting tips. Small tweaks can make a big difference in moisture levels.
- Replace some butter with oil: In recipes calling for only butter, try substituting a portion (e.g., 1/4 to 1/2) of the butter with a neutral-flavored oil like vegetable or canola oil. If the recipe calls for 1 cup of butter, try using 1/2 cup butter and 1/2 cup oil.
- Add yogurt or sour cream: For every cup of liquid (like milk or buttermilk) in a recipe, try replacing 1/4 to 1/2 cup of the liquid with full-fat sour cream or plain yogurt. This adds fat and moisture.
- Use brown sugar: If the recipe uses only white granulated sugar, try substituting some of it (up to half) with light or dark brown sugar. The molasses content adds moisture.
- Add an extra egg yolk: If a recipe calls for whole eggs, adding one or two extra yolks (while keeping the number of whole eggs the same) can add richness and moisture due to the extra fat.
- Consider a simple syrup soak: As mentioned earlier, brushing a simple syrup onto the cooled cake layers is a quick way to add moisture back.
Experiment with one change at a time to see its effect. These adaptations are practical dry cake troubleshooting tips for improving existing recipes.
Troubleshooting Dry Cake Issues
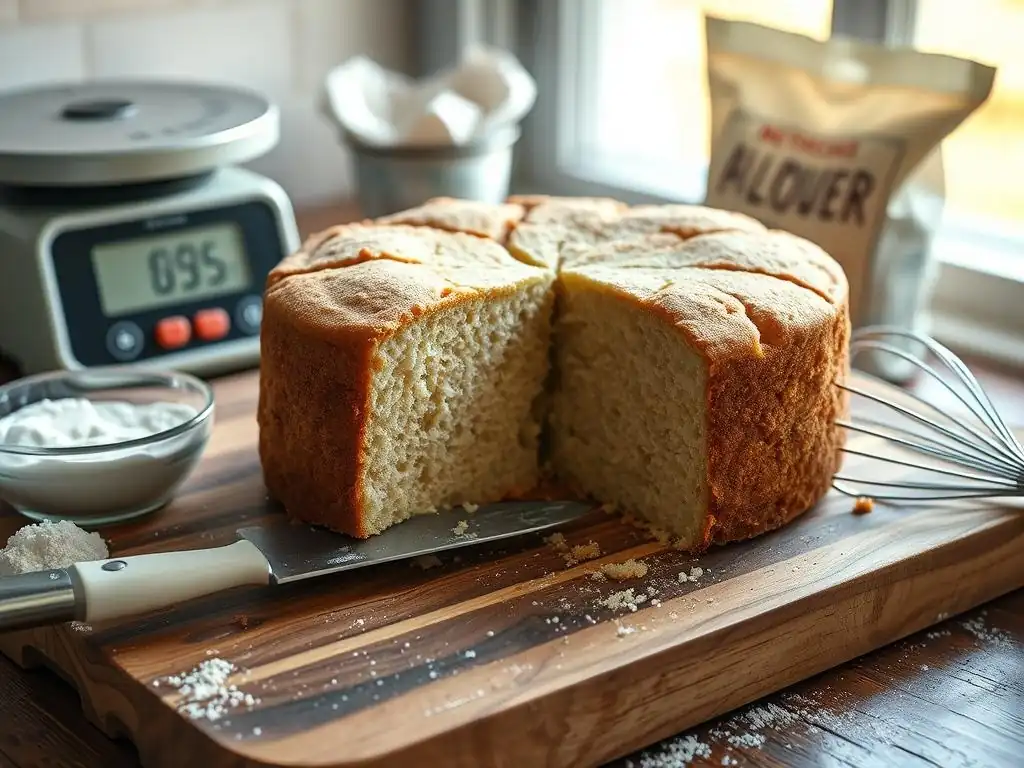
Even with careful planning, sometimes things go wrong. Knowing how to identify what went wrong and how to potentially fix it (or learn for next time) is a key part of mastering dry cake troubleshooting tips.
How to Identify and Correct Problems
A dry cake usually presents with a few tell-tale signs:
- Texture: Crumbly, dense, or tough. It might feel sandy or like sawdust in your mouth.
- Appearance: The crust might look overly dark or thick. The cake might not have risen as much as expected.
- Taste: Lacks richness and feels arid.
If your cake is dry, try to pinpoint the likely cause based on its characteristics and your baking process:
- If the crust is very dark and the inside is dry: Likely overbaked or oven temperature was too high.
- If the cake is dense and crumbly: Could be too much flour, not enough fat/liquid, or overmixing.
- If the cake seemed fine but dried out overnight: Improper storage is the probable cause.
For future bakes, correct by double-checking measurements, using an oven thermometer, setting a timer for the minimum bake time, and checking doneness proactively.
When to Adjust Ingredients or Techniques
Deciding when and how to adjust a recipe or technique comes with experience and careful observation. If you've made a recipe multiple times following it exactly and it consistently turns out dry, it might be time for a small adjustment.
Consider adjusting if:
- The cake is always dry, regardless of how carefully you follow the steps.
- You live in a high-altitude or very dry climate, which affects baking and often requires slightly more liquid.
- You suspect a specific ingredient (like your flour type) might be different than what the recipe developer used.
Start with small adjustments, like adding 1-2 tablespoons of extra liquid (milk, buttermilk, or even water) or replacing a small amount of sugar with brown sugar. Don't change multiple things at once, or you won't know which change had the desired effect. Making systematic small adjustments is an effective approach to dry cake troubleshooting tips.
Conclusion: Mastering Troubleshooting Tips
Achieving a consistently moist cake is a skill that develops with practice and attention to detail. By understanding the common causes of dryness – from inaccurate measurements and incorrect ingredient ratios to overbaking and improper storage – you gain the knowledge needed to prevent these issues.
Summary of Key Strategies
To summarize the essential dry cake troubleshooting tips:
- Measure accurately: Use the spoon-and-level method for flour or, ideally, a kitchen scale.
- Use the right ingredients: Ensure fats and liquids are at room temperature, and use the specified type of flour.
- Balance ratios: Understand that too much dry ingredient (especially flour) or too little fat/liquid/sugar leads to dryness.
- Don't overmix: Mix dry ingredients in just until combined to avoid tough gluten development.
- Control oven temperature: Use an oven thermometer and adjust if necessary.
- Time and test carefully: Check for doneness a few minutes early using a toothpick test.
- Store properly: Wrap cooled cakes tightly to prevent moisture loss.
- Consider moistening techniques: Use simple syrups or glazes if needed.
- Choose moist recipes: Look for recipes using oil, yogurt, sour cream, or brown sugar.
Encouragement to Experiment
Don't be discouraged if your first few cakes aren't perfect. Baking is a learning process, and encountering a dry cake is a common rite of passage for beginners. Each bake is an opportunity to learn and refine your techniques. Pay attention to what happened – how did the batter look? How long did it bake? How did the finished cake feel?
Armed with these dry cake troubleshooting tips, you're well-equipped to tackle common challenges. Don't be afraid to experiment slightly with recipes you know well or try new recipes specifically designed for moisture. Practice makes perfect, and soon you'll be baking beautifully moist cakes with ease!
Frequently Asked Questions
What are the most common causes of dry cake?
The most common causes include overbaking, using too much flour, and not enough fat in the recipe. Also, inaccurate oven temperatures can contribute.
How can I prevent overbaking my cakes?
Use a cake tester to check for doneness – it should come out with a few moist crumbs attached. Also, consider reducing the baking time by a few minutes and monitoring closely.
What's the best way to measure flour accurately to avoid dry cake?
The best method is to use a kitchen scale for precise measurements. Alternatively, spoon the flour into the measuring cup and level it off, avoiding packing it down.
Can the type of fat I use affect the moisture of my cake?
Yes, using the correct type of fat is crucial. Butter adds flavor and some moisture, while oil generally results in a more moist cake.
What can I do if my cake is already dry?
Consider brushing it with a simple syrup or a thin layer of jam to add moisture. You can also serve it with a sauce or whipped cream to compensate for the dryness.
Final Reflection: The Sweet Science of Avoiding Dry Cakes
The fight against the dreaded dry cake is a battle waged daily in kitchens worldwide, and understanding the science behind moisture is key to victory. A perfectly moist cake, bursting with flavor and tender crumb, is a testament to careful technique and a deep understanding of baking fundamentals. This isn't just about following a recipe; it's about mastering the art of baking.
The impact of a perfectly moist cake extends far beyond the individual experience. It's a symbol of comfort, celebration, and shared joy. It's the centerpiece of birthdays, the sweet ending to a special meal, the simple pleasure that brightens a day. A cake is a celebration; it's a moment of joy, a symbol of happiness.
This simple truth underscores the importance of mastering this seemingly simple skill. The frustration of a dry cake is palpable, and the triumph of a perfectly moist one is deeply satisfying, a testament to the power of understanding the baking process.
Now, armed with these essential beginner tips, I invite you to embark on your own baking journey. Don't be afraid to experiment, to learn from your mistakes, and to savor the sweet rewards of success. Remember the subtle nuances of ingredient ratios, the importance of proper mixing techniques, and the magic of a perfectly timed bake. The next time you face a bowl of batter, remember the power you hold to create something truly delicious – something that transcends mere sustenance and becomes a symbol of care, creativity, and culinary mastery. Go forth and bake!
Unlock Your Baking Potential: Fluffy Cakes Await!
Thanks for taking the time to explore our essential tips for avoiding dry cakes! We hope you now feel more confident in your baking abilities. Ready to put your newfound knowledge into practice?
- Bake your first perfectly moist cake: Grab your favorite recipe (or try a new one!) and put these tips to the test. Imagine the satisfaction of that first slice!
- Share your baking triumph: Post a picture of your masterpiece on social media and tag us @BakeWithEase – we'd love to see it!
- Challenge yourself: Try experimenting with different flour types or baking techniques to see how they impact moisture.
What delicious cake creation will you conquer next?