
Simple Decorating Basics: Easy Glazes and Dustings

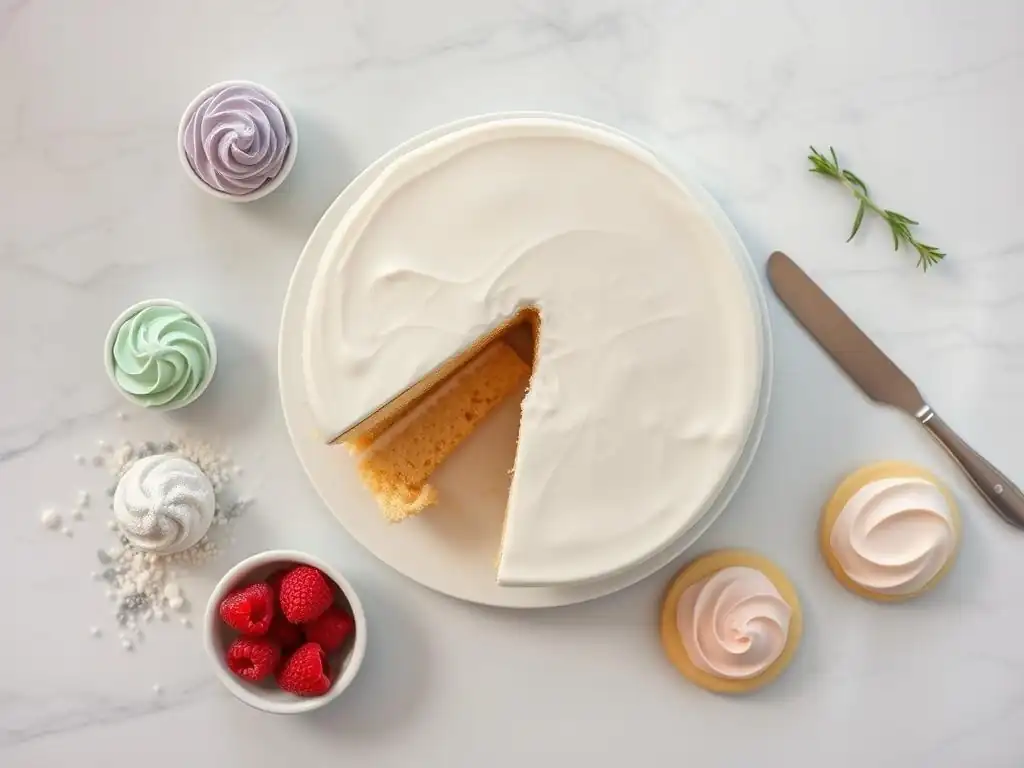
Welcome to BakeWithEase, your ultimate destination for mastering the delightful world of baking! Whether you're just starting out or looking to perfect your skills, we've got everything you need to elevate your creations. In our latest article, "Simple Decorating Basics: Easy Glazes and Dustings," we dive into easy glaze frosting techniques that will transform your baked goods into stunning masterpieces. Prepare to unleash your inner baker and discover the joy of creating beautiful treats that impress and inspire. Ready to embark on this delicious journey? Let’s get started!
- Simple Decorating Basics: Easy Glazes and Dustings for Baked Goods
- Mastering Easy Glaze and Dusting Techniques
- Understanding Different Types of Glazes
- Exploring Easy Dustings
- Advanced Glaze and Dusting Techniques
- Troubleshooting Common Glazing and Dusting Issues
- Elevate Your Baking Today
-
Frequently Asked Questions
- What exactly is a glaze frosting, and how does it differ from other frostings?
- What are some easy glaze frosting techniques for beginners?
- Can I use different liquids in my glaze, and how does it affect the outcome?
- What are some tips for avoiding a lumpy glaze?
- How can I store baked goods with glaze frosting to prevent it from becoming sticky or melting?
- Final Reflection: The Enduring Allure of Simple Elegance
- Unleash Your Inner Pastry Artist!
Simple Decorating Basics: Easy Glazes and Dustings for Baked Goods
Mastering Easy Glaze and Dusting Techniques
Introduction to Simple Baking Decoration: Glazes and Dustings
Welcome to the wonderful world of baking decoration! While elaborate cakes and intricate piping might seem daunting, starting with simple techniques like glazes and dustings is a fantastic way to add that professional touch to your baked goods without the fuss. These methods are incredibly versatile, transforming everything from humble cookies and muffins to elegant cakes and pastries with minimal effort. Mastering these basic easy glaze frosting techniques and dusting methods is your first step towards creating visually appealing treats.
Glazes are thin, pourable coatings that set to a smooth, often slightly translucent finish, adding sweetness and sometimes flavor. Dustings, on the other hand, involve applying fine powders or small decorative elements directly onto the surface, offering a different kind of texture and visual appeal. Both are quick, require minimal special equipment, and are perfect for beginners looking to elevate their baking game. They allow you to practice precision and design without the pressure of complex techniques.
Why Start with Glazes and Dustings?
Beginning your decoration journey with easy glaze frosting techniques and simple dustings offers numerous advantages, especially for novice bakers. Firstly, they are incredibly forgiving. A slightly uneven glaze can still look charmingly rustic, and a dusting of powdered sugar hides minor imperfections beautifully. This low-stakes approach builds confidence, encouraging you to experiment and learn without fear of failure. Compared to buttercream or fondant, glazes and dustings require far less skill and practice to achieve pleasing results.
Moreover, these techniques are time-efficient. Whipping up a simple glaze takes just minutes, and dusting takes mere seconds. This means you can decorate a whole batch of cookies or a loaf cake very quickly, making them ideal for busy schedules or when you need to prepare treats in a hurry. The ingredients are also typically pantry staples like powdered sugar, milk, or extracts, making them accessible and inexpensive. Focusing on these basic easy glaze frosting techniques allows you to produce beautiful results right away.
Understanding Different Types of Glazes
Vanilla Glaze Recipe and Application
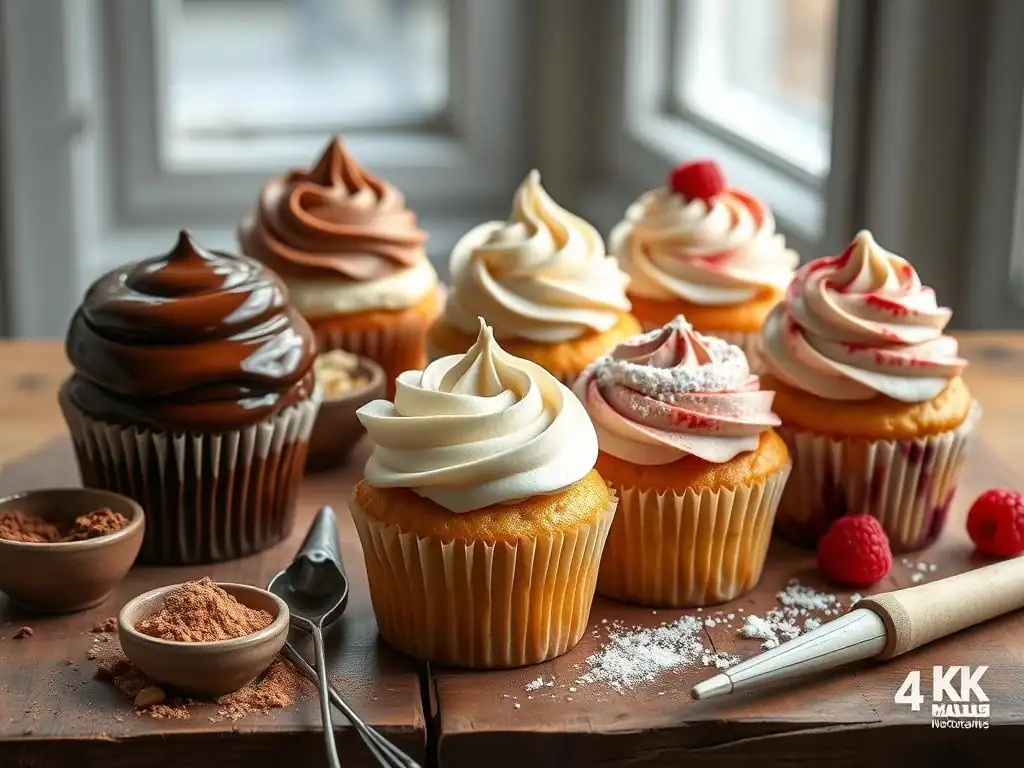
A basic vanilla glaze is perhaps the most fundamental of all easy glaze frosting techniques. It's a simple mixture that provides a sweet, slightly opaque coating perfect for doughnuts, loaf cakes, scones, and cookies. The key is balancing the powdered sugar with just enough liquid to create a pourable but not watery consistency. This classic glaze serves as a foundation upon which you can build many other flavors and variations.
This glaze sets relatively quickly, forming a slight crust while remaining soft underneath. It's a go-to for adding a touch of sweetness and a finished look to everyday baked goods. The simplicity of this easy glaze frosting technique makes it ideal for beginners practicing their glazing skills.
Ingredients for a Basic Vanilla Glaze
To make a simple vanilla glaze, you'll need just a few common ingredients:
- 1 cup (about 115g) powdered sugar (also known as confectioners' sugar or icing sugar)
- 2 to 3 tablespoons milk, half-and-half, or water
- 1/2 teaspoon vanilla extract
- A pinch of salt (optional, but enhances sweetness)
Ensure your powdered sugar is sifted if it appears lumpy, as lumps can make the glaze uneven. The liquid amount is flexible; start with 2 tablespoons and add more one teaspoon at a time until the desired consistency is reached. Using milk or half-and-half will result in a richer, slightly more opaque glaze than water.
Step-by-Step Guide to Making Vanilla Glaze
Making this easy glaze frosting is straightforward. Follow these steps:
- Measure the sifted powdered sugar into a medium bowl.
- Add the vanilla extract and the pinch of salt (if using) to the sugar.
- Pour in 2 tablespoons of your chosen liquid (milk, half-and-half, or water).
- Whisk the ingredients together using a fork or a small whisk until completely smooth. Start in the center and gradually incorporate the sugar from the sides.
- Check the consistency. If it's too thick to pour easily, add more liquid one teaspoon at a time, whisking after each addition, until it reaches a smooth, pourable consistency that coats the back of a spoon thinly.
- If it's too thin, add another tablespoon of sifted powdered sugar and whisk until smooth.
- Task List:
- [ ] Sift powdered sugar
- [ ] Combine ingredients in a bowl
- [ ] Whisk until smooth
- [ ] Adjust consistency with liquid or sugar
Tips for Applying Vanilla Glaze Evenly
Applying glaze smoothly is part of mastering easy glaze frosting techniques. Ensure your baked goods are completely cooled before glazing. Applying glaze to warm items will cause it to melt and run off unevenly. For flat surfaces like cookies or sheet cakes, you can spread the glaze with an offset spatula or the back of a spoon, working quickly before it sets.
For rounded items like doughnuts or muffins, dipping the tops directly into the bowl of glaze works well. Hold the item by the bottom, dip the top into the glaze, lift, and twist slightly to allow excess to drip off. Place the glazed item on a wire rack set over parchment paper to catch drips and allow the glaze to set. For loaf cakes or bundt cakes, you can gently pour or spoon the glaze over the top, allowing it to drizzle down the sides naturally.
Maple Glaze: Adding a Sweet and Nutty Flavor
Maple glaze is a delightful variation on the basic easy glaze frosting, bringing a warm, rich flavor that pairs exceptionally well with autumn-inspired baked goods like pumpkin muffins, apple scones, or sweet potato bread. It uses maple syrup as both a liquid and a primary flavor component, resulting in a glaze that's slightly more complex than plain vanilla. The natural color of maple syrup also gives it a lovely, subtle hue.
This glaze is particularly popular for breakfast pastries and baked goods, offering a comforting sweetness. Its consistency is similar to vanilla glaze but might be slightly thinner depending on the syrup used. Mastering this easy glaze frosting technique adds a seasonal favorite to your repertoire.
Maple Glaze Recipe for Scones and Doughnuts
Here’s a simple recipe for a delicious maple glaze:
- 1 cup (about 115g) powdered sugar, sifted
- 2 to 3 tablespoons pure maple syrup (use good quality for best flavor)
- 1 to 2 tablespoons milk or cream
- 1/4 teaspoon vanilla extract (optional, but enhances flavor)
Combine the sifted powdered sugar and maple syrup in a bowl. Whisk until smooth. Add 1 tablespoon of milk or cream and the vanilla extract (if using). Whisk again. Check the consistency. If it's too thick, add the second tablespoon of milk or cream. If it's still too thick, add more liquid one teaspoon at a time. If it becomes too thin, whisk in a little more sifted powdered sugar.
How to Achieve the Perfect Maple Glaze Consistency
The ideal consistency for maple glaze, like other easy glaze frosting techniques, depends on what you're glazing. For scones or loaf cakes where you want a thicker, more opaque coating, use less liquid. For doughnuts, a slightly thinner glaze works well for dipping, creating a smooth, even layer. Pure maple syrup varies in thickness, so you'll need to adjust the amount of milk or cream accordingly.
Start with the minimum liquid amount specified in the recipe and add more gradually until the glaze drizzles smoothly off your whisk or spoon. It should be thick enough to coat the back of the spoon but thin enough to settle flat on the baked good without looking clumpy. Remember to apply it to completely cooled items for the best results.
Coffee Glaze: Rich and Aromatic
For coffee lovers, a coffee glaze is a perfect way to infuse that beloved flavor into baked goods. This easy glaze frosting is particularly wonderful on coffee cakes, chocolate muffins, or even plain vanilla pound cake. It offers a slightly sophisticated, aromatic sweetness. You can achieve the coffee flavor using either strong brewed coffee or instant espresso powder dissolved in a small amount of liquid.
Using instant espresso powder typically yields a more intense coffee flavor and darker color with less added liquid, which is often preferable for glaze consistency. This technique is another great addition to your repertoire of easy glaze frosting techniques.
Quick Coffee Glaze Recipe for Coffee Cakes
Here’s a simple recipe using instant espresso:
- 1 cup (about 115g) powdered sugar, sifted
- 1 to 1.5 teaspoons instant espresso powder
- 2 to 3 tablespoons hot milk or water
- 1/4 teaspoon vanilla extract (optional)
Dissolve the instant espresso powder in the hot milk or water. Ensure it is fully dissolved with no granules remaining. In a bowl, combine the sifted powdered sugar and the dissolved coffee mixture. Add the vanilla extract (if using). Whisk until smooth. Adjust consistency as needed by adding more powdered sugar if too thin or a tiny amount more liquid if too thick.
Troubleshooting Common Coffee Glaze Problems [e.g., Bitterness]
One potential issue with coffee glaze is bitterness, especially if using too much instant espresso or certain types of coffee. If your glaze tastes too bitter, you can often balance it by adding a tiny pinch of salt or a bit more powdered sugar. A very small amount of vanilla extract can also help round out the flavor.
If the glaze looks grainy, it's likely because the instant espresso powder didn't dissolve completely. Ensure you dissolve the powder in hot liquid before adding it to the powdered sugar. Whisking vigorously can also help break down any remaining tiny sugar or coffee clumps. Apply to cooled baked goods to prevent the heat from affecting the glaze's set and flavor profile.
Exploring Easy Dustings
Powdered Sugar: A Classic Finish
A simple dusting of powdered sugar is arguably the easiest and most classic way to finish a baked good. It adds a delicate sweetness and a soft, ethereal look. It's perfect for everything from French toast and pancakes to cakes, brownies, and fruit tarts. This technique requires no special ingredients beyond the sugar itself and a sifter or fine-mesh sieve.
The beauty of powdered sugar dusting lies in its simplicity and versatility. It provides a clean, elegant finish and is incredibly quick to apply, making it a go-to for last-minute decoration. It's a fundamental technique alongside easy glaze frosting methods.
Achieving a Professional Powdered Sugar Finish
To get a smooth, even dusting of powdered sugar, always use a fine-mesh sieve or a sifter. Place a few tablespoons of powdered sugar in the sieve and hold it over your cooled baked good. Gently tap the side of the sieve or shake it lightly to allow the sugar to fall through in a fine, even layer. Do not dump large amounts of sugar into the sieve at once; work with smaller quantities for better control.
Ensure the baked good is completely cooled before dusting. Heat will cause the powdered sugar to melt and disappear or create patchy, wet spots. For best results, dust just before serving, as humidity can also cause the sugar to dissolve over time.
Using Stencils for Decorative Powdered Sugar Designs
Elevate your powdered sugar dusting with stencils! This is a simple way to add patterns, shapes, or messages to your baked goods. You can buy stencils specifically for baking or even make your own from cardstock (ensure they are food-safe).
Place the stencil directly onto the cooled surface of your cake, brownie tray, or cookie. Hold it firmly in place with one hand, or use toothpicks to keep it from shifting. With the other hand, gently tap powdered sugar through a fine-mesh sieve held above the stencil. Once you have an even coating within the stencil cutouts, carefully lift the stencil straight up and away from the baked good to reveal the design. Practice on a piece of paper first to get a feel for the technique.
Sprinkles: Adding Color and Texture
Sprinkles are a fun, easy way to add pops of color and a pleasant crunchy texture to baked goods. They come in countless shapes, sizes, and colors, from classic jimmies and nonpareils to sanding sugar and shaped sprinkles. They are perfect for decorating cookies, cupcakes, doughnuts (especially those with easy glaze frosting! ), and cakes, instantly making them look festive and appealing, particularly for celebrations or children's parties.
Adding sprinkles is one of the most straightforward decorating steps you can take, requiring no special skill beyond sprinkling! It's a great complement to basic easy glaze frosting techniques.
Best Practices for Using Sprinkles
For optimal sprinkle application, consider the surface you're applying them to. Sprinkles stick best to a slightly wet or sticky surface, like freshly applied glaze (before it sets completely), frosting, or even a thin layer of corn syrup or melted chocolate. If applying to a glaze, sprinkle them on while the glaze is still wet.
To avoid a mess, place the item you are sprinkling over a plate or tray to catch any excess sprinkles. This also allows you to reuse the fallen sprinkles (if they land on a clean surface). For controlled application on specific areas, you can pour sprinkles into a small dish and gently press the glazed or frosted part of the baked good into the sprinkles, or use your fingers to carefully place them.
Combining Sprinkles with Other Dustings for Unique Effects
Get creative by combining sprinkles with other dusting techniques! For example, after applying an easy glaze frosting to a doughnut, you could apply sprinkles to just half of the surface. Or, dust a cake with powdered sugar using a stencil, and then lightly scatter sanding sugar or edible glitter around the edges of the stenciled design for extra sparkle.
Another idea is to apply a thin layer of glaze, let it set slightly, then dust the entire surface with powdered sugar, and finally, scatter sprinkles over the powdered sugar. This creates interesting layers of texture and visual contrast. Experiment with different combinations to find effects you love!
Edible Glitter: A Touch of Sparkle
Edible glitter adds a magical sparkle and shimmer to baked goods, perfect for special occasions or when you want to make something look extra fancy with minimal effort. Unlike craft glitter, edible glitter is made from food-safe ingredients like sugar, gum arabic, and food coloring. It comes in various colors and particle sizes, from fine dusts to larger flakes.
Using edible glitter is a simple way to introduce glamour to your easy glaze frosting techniques and other decorations. It catches the light beautifully, making your treats truly stand out.
Making Edible Glitter for Baking
While you can purchase edible glitter, you can also make a simple version at home, often referred to as "sugar glitter." This involves coloring granulated sugar with food coloring and drying it.
To make sugar glitter: Combine 1/4 cup granulated sugar with 1-2 drops of gel food coloring in a small bowl. Stir vigorously with a spoon until the color is evenly distributed. If the sugar feels damp, spread it out on a small plate or piece of parchment paper and let it air dry for 30-60 minutes, stirring occasionally. Once dry, it's ready to use! This homemade version is less sparkly than store-bought edible glitter but provides color and shimmer.
Applying Edible Glitter for Optimal Visual Appeal
Edible glitter is best applied to surfaces that are still slightly tacky or wet, similar to sprinkles. This includes freshly applied easy glaze frosting, buttercream, royal icing, or even melted chocolate. For a light shimmer, simply pinch a small amount between your fingers and gently sprinkle it over the desired area.
For more intense sparkle or specific placement, you can use a small, clean paintbrush (designated for food use only) to brush the glitter onto sticky surfaces. You can also mix edible glitter directly into clear glazes or piping gel for an all-over shimmer effect within the coating itself. Apply glitter just before serving for maximum impact, as moisture can sometimes dull the sparkle over time.
Advanced Glaze and Dusting Techniques
Creating Ombre Glaze Effects
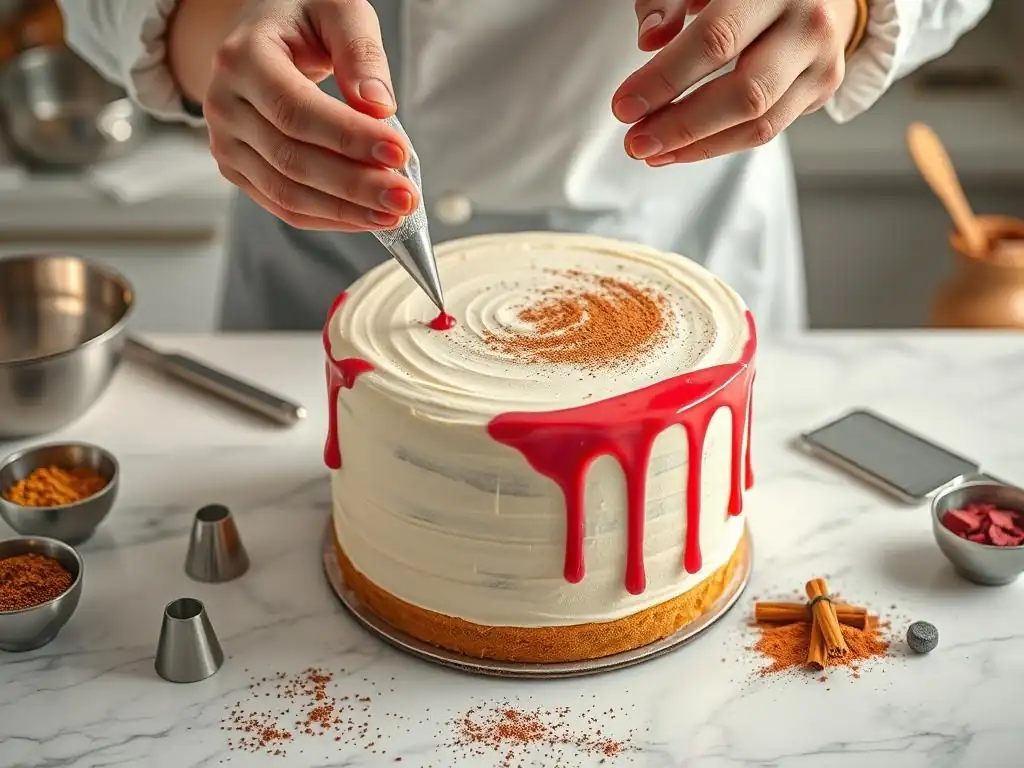
Once you're comfortable with basic easy glaze frosting techniques, try creating an ombre effect! This involves transitioning from one color or shade of glaze to another, or from an intense color to a lighter one, on a single baked good. It creates a beautiful gradient effect that looks much more complex than it is.
This technique works well on round cakes, bundt cakes, or even individual doughnuts or cookies. It requires making glazes of slightly different colors or shades and applying them in sequence.
Step-by-Step Guide to Ombre Glaze
- Prepare your base glaze (e.g., vanilla glaze). Divide it into 2-3 bowls.
- Leave one bowl plain (this will be your lightest shade).
- In the second bowl, add a tiny amount of food coloring to achieve a medium shade.
- In the third bowl (if using), add slightly more food coloring to achieve a darker shade. Ensure all glazes have a similar, pourable consistency.
- Start with the darkest glaze. Spoon or pour a band of the darkest glaze around the bottom edge of your cooled cake or doughnut.
- Immediately spoon or pour the medium glaze just above the darkest band, slightly overlapping it.
- Finally, spoon or pour the lightest glaze at the top, overlapping the medium band.
- While the glaze is still wet, use a small offset spatula or the back of a spoon to gently smooth and blend the edges where the colors meet, working quickly from darkest to lightest.
Incorporating Extracts into Glazes and Dustings
Adding extracts is a simple yet effective way to introduce diverse flavors to your easy glaze frosting techniques and even some dustings. Beyond classic vanilla, a wide range of extracts can transform the character of a simple glaze.
Using extracts allows for creative pairings between the baked good and its coating. For example, almond extract in a glaze for cherry scones, or orange extract for chocolate brownies.
Natural Extract Options
Many natural extracts are available to experiment with:
- Citrus: Lemon, orange, lime, grapefruit
- Nut: Almond, hazelnut, pistachio
- Spice: Peppermint, ginger, cinnamon
- Floral: Rose water (use sparingly! ), lavender
- Other: Maple, coffee, coconut
When using extracts other than vanilla, start with a small amount (e.g., 1/4 teaspoon per cup of powdered sugar) and add more to taste. Some extracts, like peppermint or almond, can be quite potent.
Using Extracts Effectively
Incorporating extracts into glazes is straightforward: simply add the desired amount along with the liquid ingredients and whisk until combined. For dustings, extracts are less commonly used directly with powdered sugar unless you're making something like "flavored sugar dust" by mixing extract with sugar and drying it. However, you can infuse flavor into sugar used for dusting by storing it with a vanilla bean or citrus peel.
Be mindful that some extracts, particularly those made with alcohol, can slightly thin the glaze, so you might need to adjust the amount of liquid accordingly. Always taste and adjust to achieve the desired flavor intensity.
Layering Glazes and Dustings for Visual Appeal
Layering different easy glaze frosting techniques and dustings can create complex visual effects and intriguing flavor combinations. This involves applying one layer, allowing it to set partially or fully, and then applying another.
This method adds depth and interest to your baked goods, moving beyond a single, flat finish.
Combining Glazes for Complex Flavors
Layering glazes allows you to combine flavors. For instance, apply a thin layer of chocolate glaze to a cake, let it set, and then drizzle a vanilla or coffee glaze over the top. Or, apply a full white vanilla glaze and then drizzle thin lines of colored glazes over it for a striped effect.
Ensure the first layer is set enough that the second layer doesn't completely blend into it, unless that's the desired effect. A partially set glaze will allow the second layer to sit on top, creating distinct lines or patterns.
Layering Dustings and Glazes
You can also layer glazes and dustings. Apply an easy glaze frosting, let it set, and then dust with powdered sugar or use a stencil. Alternatively, dust a baked good with cocoa powder, then drizzle a contrasting white vanilla glaze over the top.
Consider the textures and how they will interact. A smooth glaze followed by a textured dusting of sanding sugar or sprinkles provides a nice contrast. A solid glaze layer followed by a stenciled powdered sugar design creates visual depth.
Troubleshooting Common Glazing and Dusting Issues
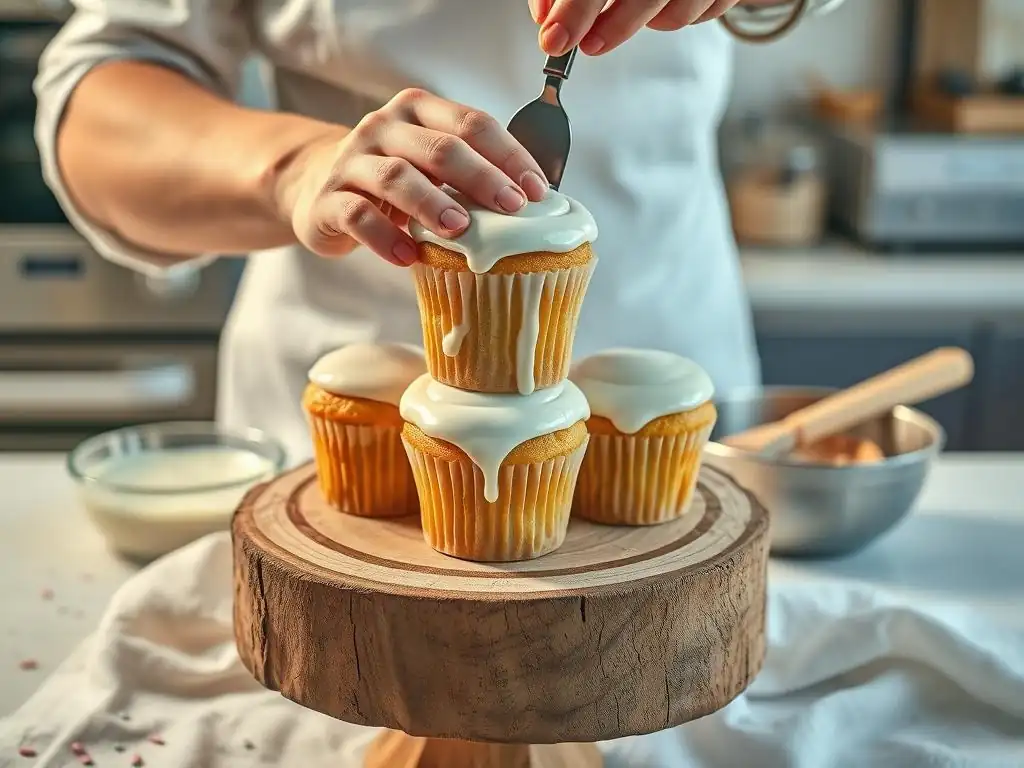
Even with easy glaze frosting techniques and simple dustings, you might encounter small issues. Knowing how to fix them will save you frustration and ensure beautiful results.
Common problems include glazes that are too thin or thick, glazes that run off the baked good, and clumpy dustings.
Preventing Glaze from Running
If your glaze is running off the sides of your baked good instead of coating it, there are a few likely culprits:
- The baked good is too warm: Always wait until cakes, cookies, or doughnuts are completely cool. Heat melts the sugar in the glaze, making it too thin.
- The glaze is too thin: You added too much liquid. Add more sifted powdered sugar one tablespoon at a time, whisking well, until the glaze is thick enough to coat the back of a spoon without running off immediately.
- Applying too much glaze: Spoon or pour the glaze gradually, allowing excess to drip off onto a wire rack set over parchment paper. Don't try to dump a huge amount on at once.
Fixing a Glaze That's Too Thin or Too Thick
This is the most common issue with easy glaze frosting techniques, but it's easy to fix:
- If the glaze is too thin: Whisk in more sifted powdered sugar one tablespoon at a time until the desired consistency is reached.
- If the glaze is too thick: Whisk in more liquid (milk, water, juice, etc.) one teaspoon at a time until the glaze is smooth and pourable.
Always add ingredients gradually, as it's easier to add more than to take away. A perfect glaze should be thick enough to coat but thin enough to pour smoothly.
Avoiding Clumps When Dusting
Clumps in powdered sugar dusting are usually caused by moisture or unsifted sugar.
- Humidity: Powdered sugar is hydroscopic, meaning it absorbs moisture from the air. Sift your sugar just before using it. If you live in a humid environment, work quickly.
- Unfiltered sugar: Always use a fine-mesh sieve or sifter for dusting. Don't try to sprinkle straight from the box or a bowl.
- Warm baked goods: As mentioned before, heat causes sugar to melt. Ensure your baked goods are entirely cool.
- Tapping too hard: Gentle tapping or shaking of the sieve yields a finer, more even dust. Tapping too hard can cause clumps to fall through.
Using cornstarch mixed with powdered sugar (about 1 tablespoon cornstarch per cup of powdered sugar) can also help prevent clumping, especially in humid conditions, and keeps the dust looking whiter.
Elevate Your Baking Today
Recap of Simple Glazing and Dusting Methods
You've now explored several fundamental easy glaze frosting techniques and dusting methods perfect for beginners. We covered the basic vanilla glaze, flavorful variations like maple and coffee glazes, and simple dustings using powdered sugar, sprinkles, and edible glitter. You also learned how to troubleshoot common issues and even try slightly more advanced techniques like ombre effects and layering.
These techniques are accessible, require minimal equipment, and offer a quick way to add polish, flavor, and visual appeal to a wide range of baked goods. Practicing these basic easy glaze frosting techniques will give you confidence and lay the groundwork for more complex decorating in the future.
Next Steps: Expanding Your Baking Decoration Skills [e.g., Piping]
Once you feel comfortable with glazes and dustings, you might be ready to explore the next level of baking decoration, such as piping. Piping involves using a piping bag and decorative tips to create swirls, borders, messages, and other designs with frostings like buttercream, royal icing, or even thick ganache.
Learning basic piping techniques, like creating simple stars or shells, is a natural progression from easy glaze frosting techniques. It allows for even greater creativity and precision in your decorating. Look for tutorials on simple piping tips and basic frosting recipes when you're ready for your next baking adventure!
Frequently Asked Questions
What exactly is a glaze frosting, and how does it differ from other frostings?
A glaze frosting is a thin, often translucent, coating made from sugar and liquid, providing a simple and quick way to decorate baked goods. Unlike buttercream or cream cheese frosting, it's not intended to be thick or heavily layered.
What are some easy glaze frosting techniques for beginners?
Beginners can start with a simple powdered sugar glaze, using milk or lemon juice as the liquid. Experiment with different flavors like vanilla extract or citrus zest for added flavor complexity. A simple spoon drip or a plastic bag with a corner snipped off are easy application methods.
Can I use different liquids in my glaze, and how does it affect the outcome?
Yes! Milk creates a classic, opaque glaze. Lemon juice adds a tangy flavor and a slightly thinner consistency. Using water will result in the most transparent glaze.
What are some tips for avoiding a lumpy glaze?
Always use powdered sugar, and sift it before mixing to remove any lumps. Add the liquid gradually, mixing thoroughly after each addition until you achieve a smooth consistency. Warm liquids can also help prevent clumping.
How can I store baked goods with glaze frosting to prevent it from becoming sticky or melting?
Store glazed baked goods in an airtight container at room temperature, away from direct sunlight or heat. If your glaze is particularly delicate, consider storing them in the refrigerator, but be aware that this may alter the texture slightly.
Final Reflection: The Enduring Allure of Simple Elegance
The art of easy glaze and dusting techniques isn't just about creating beautiful desserts; it's about unlocking a creative spirit within everyone. These simple methods, explored throughout this article, offer a gateway to culinary artistry that transcends skill level, making stunning presentations accessible to home bakers and seasoned professionals alike. The ease of execution belies the impact these techniques can have, transforming ordinary treats into extraordinary experiences.
The enduring appeal of these simple decorating methods lies in their versatility and accessibility. They allow for personalized expression, encouraging experimentation and the development of a unique style. The subtle elegance achieved through a carefully applied glaze or a delicate dusting of cocoa powder speaks volumes about attention to detail and a commitment to quality, regardless of the complexity of the recipe itself. The details are not the details. They make the design.
– Charles Eames. This quote perfectly encapsulates the power of these seemingly small techniques to elevate the overall aesthetic.
Now, consider your own culinary journey. What simple embellishment can you add to your next baking project? Will you experiment with a vibrant fruit glaze, a sophisticated chocolate dusting, or perhaps a playful sprinkle of colored sugar? Don't be afraid to embrace the simplicity and let your creativity flow. The beauty of these techniques lies in their ability to empower you to transform everyday baking into a celebration of artistry and personal expression. Let your next creation be a testament to the power of simple elegance.
Unleash Your Inner Pastry Artist!
Thanks for joining us on this glazing and dusting adventure! We hope you've gained some delicious inspiration and newfound confidence in your baking skills. Ready to put your new knowledge to the test?
- Master a new glaze technique: Try out one of the recipes mentioned today – the lemon glaze or the rich chocolate dusting – and share your creation with us on social media! We'd love to see your results.
- Experiment with different flavor combinations: Don't be afraid to get creative! What unique glaze or dusting will you invent?
- Share your baking journey: Tell us about your experience in the comments below! What challenges did you overcome, and what did you learn?
What unexpected flavor combination will you try next to elevate your baking game?