
Whipping Egg Whites to Perfect Peaks: Easy Steps for Beginners

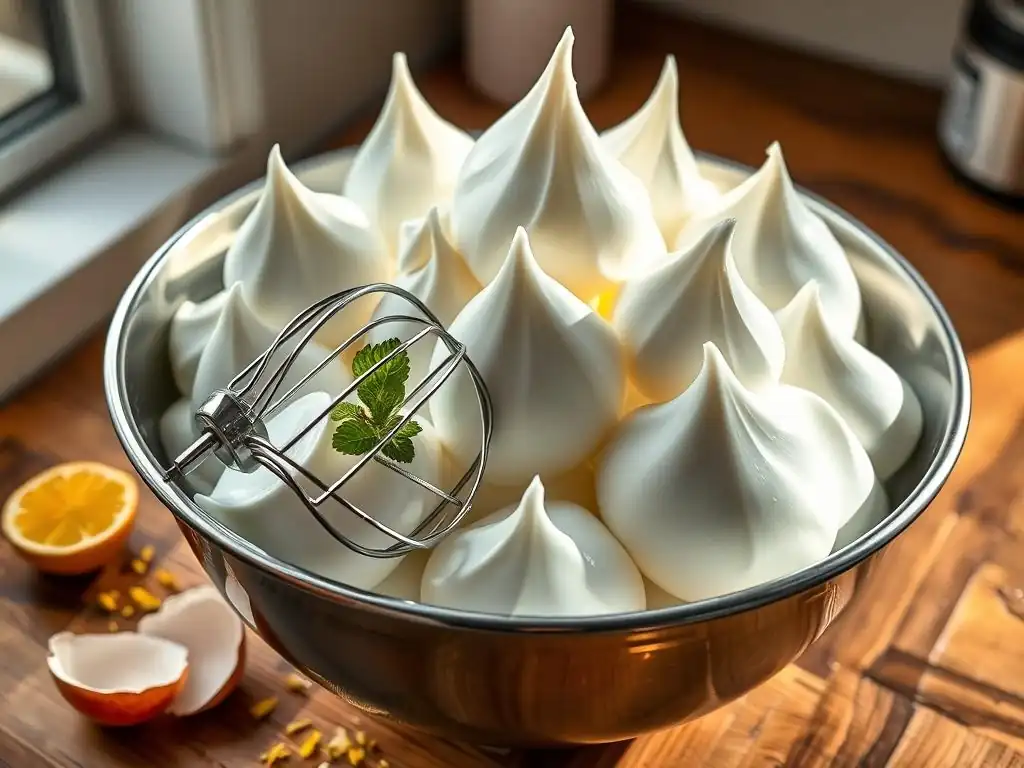
Welcome to BakeWithEase, your guide to confident baking! Ever wondered how to achieve those perfect meringue egg white peaks that stand tall and proud? You're in the right place. We're about to unlock the secrets to light, airy meringue, and it's simpler than you think. Ready to transform ordinary egg whites into something extraordinary? Let's get started!
- Understanding Egg Whites and Meringue
- Essential Tools and Ingredients for Whipping Egg Whites
-
Step-by-Step Guide: How to Whip Egg Whites
- Step 1: Separating Eggs Without Yolk Contamination
- Step 2: Preparing Equipment: Ensuring Cleanliness
- Step 3: Initial Whisking: Achieving Foamy Egg Whites
- Step 4: Adding Sugar Gradually: Stabilizing the Meringue
- Step 5: Recognizing Egg White Peak Stages: Soft, Medium, and Stiff
- Step 6: Achieving Stiff Peaks: Avoiding Over-Whisking
- Troubleshooting Egg White Whipping Problems
- Tips and Tricks for Perfect Meringue
- Recipes Using Whipped Egg Whites
- Mastering Meringue: Practice and Experimentation
-
Frequently Asked Questions
- How do I ensure my mixing bowl and whisk are properly prepared for whipping egg whites?
- What is the best type of egg to use for achieving perfect meringue peaks?
- At what speed should I whip my egg whites to get the best results?
- How do I know when my egg whites are at the 'stiff peak' stage?
- What can I do if I accidentally overwhip my egg whites?
- Final Reflection: The Unexpected Joy of Perfect Peaks
- Unlock Your Inner Pastry Chef: Master Light & Fluffy Egg Whites!
Understanding Egg Whites and Meringue
What are Egg Whites and Why are They Important in Baking?
Egg whites, also known as albumen, are the clear, viscous liquid surrounding the yolk in an egg. They are primarily composed of protein (about 10%) and water (about 90%). When mechanically agitated, like whipping, the proteins in the egg whites begin to denature, or unfold. These unfolded proteins then link together, trapping air bubbles and forming a stable foam. This foam is what gives many baked goods their structure and lightness.
The ability of egg whites to create a stable foam is crucial in countless baking applications. Think of the airy texture of a chiffon cake, the lift in a soufflé, or the delicate crispness of a meringue cookie. Without properly whipped egg whites, achieving these textures would be impossible. They provide volume and a delicate structure that fat-based ingredients cannot replicate, making them indispensable for achieving that desirable light and airy finish.
The Science Behind Stable Meringue: Achieving Stiff Peaks
Achieving perfect meringue egg white peaks relies on understanding the science of protein denaturation and air incorporation. As you whisk egg whites, mechanical energy breaks the bonds holding the proteins in their folded state. These unfolded proteins then rearrange themselves at the air-water interface of the bubbles being created. They act like surfactants, reducing the surface tension and allowing the bubbles to remain separate and stable.
Adding sugar plays a vital role in stabilizing this protein structure. Sugar dissolves in the water component of the egg white and helps to stiffen the foam by bonding with the protein network. This interaction prevents the proteins from collapsing and helps the meringue hold its shape, allowing you to achieve those desired stiff peaks that stand up straight. Cream of tartar or an acidic element further aids stability by helping the proteins unfold more readily and preventing them from clumping together too tightly.
Types of Meringue: French, Swiss, and Italian
There are three primary types of meringue, each distinguished by how sugar is incorporated and heated, resulting in different textures and uses. French meringue is the simplest, made by whipping raw egg whites and gradually adding sugar. It's the least stable but provides the most volume, often used for mousses or baked into crisp meringue cookies.
Swiss meringue is made by gently heating egg whites and sugar together over a double boiler until the sugar dissolves (typically to around 130-140°F or 55-60°C) before whipping. This heating step makes it more stable and glossy than French meringue, ideal for frostings or as a base for buttercream. Italian meringue is the most stable, created by pouring a hot sugar syrup (heated to a soft-ball stage, around 240°F or 115-118°C) into whipping egg whites. This method cooks the egg whites, resulting in a very stable, smooth, and glossy meringue perfect for topping pies or making macarons.
Essential Tools and Ingredients for Whipping Egg Whites
The Right Bowl: Stainless Steel or Glass
The choice of bowl is critical for successful egg white whipping. Stainless steel and glass bowls are highly recommended because they are non-porous and easy to clean thoroughly. Any residual grease or fat, even a tiny amount, can prevent the egg whites from whipping properly and achieving perfect meringue egg white peaks. Plastic bowls, on the other hand, tend to retain greasy residues, making them less suitable for this task.
Ensure your chosen bowl is large enough to accommodate the significant increase in volume as the egg whites whip. Two large egg whites, for example, can expand to fill a 4-cup bowl when whipped to stiff peaks. Using a bowl that is too small will make whipping difficult and messy, potentially preventing you from incorporating enough air for proper volume and structure.
Choosing a Whisk: Stand Mixer vs. Handheld Mixer
When it comes to whipping egg whites, you have two main options: a stand mixer or a handheld electric mixer. A stand mixer with a whisk attachment is often preferred for larger quantities or when you need to perform other tasks simultaneously. It provides consistent speed and power, making it easier to achieve perfect meringue egg white peaks with minimal effort.
A handheld electric mixer is also effective, especially for smaller batches. It offers more control over the whisking action, allowing you to move the beaters around the bowl to ensure all the egg whites are being whipped evenly. While manual whisking with a balloon whisk is possible, it requires significant arm strength and time to reach stiff peaks, making electric mixers the more practical choice for most bakers.
Fresh Eggs: Optimizing for Volume and Stability
The freshness of eggs can influence how well their whites whip. While some bakers prefer slightly older eggs (a few days old) as they are said to separate more easily, very fresh eggs (just a day or two old) generally produce a more stable foam. The proteins in fresher egg whites are tighter and more structured, which helps create a stronger network when whipped, contributing to perfect meringue egg white peaks.
Using eggs at room temperature is also widely recommended. Cold egg whites are thicker and their proteins are less elastic, making it harder for them to unfold and incorporate air efficiently. Allowing eggs to sit out for 30-60 minutes before separating them can significantly increase the volume and stability of the resulting meringue. For example, using room-temperature egg whites can result in up to 30% more volume compared to using them straight from the refrigerator.
Key Ingredients: Sugar and Cream of Tartar
Sugar is essential for stabilizing whipped egg whites and transforming them into meringue. It not only adds sweetness but also interacts with the protein network, preventing it from collapsing and giving the meringue structure and gloss. Granulated sugar is most commonly used, but superfine or caster sugar dissolves more quickly, which is beneficial for achieving a smooth meringue without graininess, especially in French meringue.
Cream of tartar, or another acidic ingredient like lemon juice or white vinegar, acts as a stabilizer. A small pinch (about 1/8 teaspoon per two large egg whites) helps the egg white proteins unfold more easily and prevents them from over-coagulating, which can lead to a less stable, weeping meringue. It lowers the pH of the egg whites, creating an optimal environment for the proteins to form a strong, flexible foam capable of holding perfect meringue egg white peaks.
Step-by-Step Guide: How to Whip Egg Whites
Step 1: Separating Eggs Without Yolk Contamination
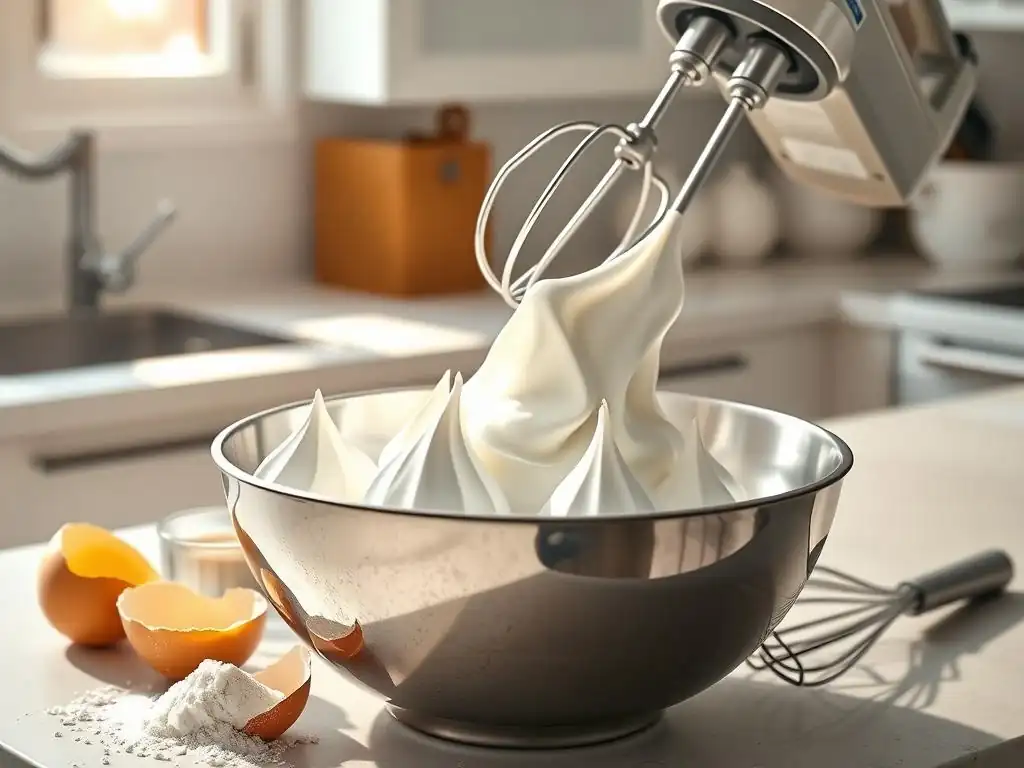
The most critical step in whipping egg whites is ensuring they are completely free of egg yolk. Egg yolks contain fat, and even a tiny amount of fat will prevent the egg whites from whipping up properly into a stable foam. To separate, crack the egg gently over a bowl and pass the yolk back and forth between the two shell halves, letting the white fall into the bowl below.
Alternatively, you can crack the egg into your clean hand and let the white slip through your fingers while holding the yolk. If a bit of yolk does break and contaminate the white, it's best to discard that egg white and start again with a clean one. Do not attempt to scoop out the yolk as residual fat will likely remain.
Step 2: Preparing Equipment: Ensuring Cleanliness
Before you even crack an egg, make sure all your equipment is spotlessly clean and dry. This includes your mixing bowl, whisk attachment or beaters, and any utensils you might use for separating eggs. As mentioned, any trace of grease or oil will be detrimental to achieving perfect meringue egg white peaks.
Wash your equipment thoroughly with hot, soapy water, rinse well, and dry completely. You can even wipe down the inside of your bowl and whisk with a little lemon juice or vinegar on a paper towel, then dry again, as the acidity helps to cut through any invisible grease film. This simple step is non-negotiable for successful meringue making.
Step 3: Initial Whisking: Achieving Foamy Egg Whites
Begin whisking the egg whites on low speed. The goal at this stage is to gently break up the whites and incorporate air. You will see the whites start to become frothy and bubbly, resembling dish soap suds. This stage typically takes 1-2 minutes depending on your mixer.
Once the egg whites are foamy and opaque, it's a good time to add any stabilizers like cream of tartar or a pinch of salt (salt can help loosen the proteins initially, though too much can destabilize). Continue whisking, gradually increasing the speed to medium.
Step 4: Adding Sugar Gradually: Stabilizing the Meringue
Once the egg whites have reached the soft peak stage (more on that below), it's time to start adding the sugar. This is a crucial step for achieving perfect meringue egg white peaks and preventing a grainy texture. Add the sugar very slowly, about one or two tablespoons at a time, while the mixer is running on medium-high speed.
Allow each addition of sugar to dissolve into the egg whites before adding the next. You can test this by rubbing a tiny bit of the meringue between your fingers; it should feel smooth, not gritty. This gradual addition allows the sugar to fully incorporate and stabilize the protein structure, resulting in a smooth, glossy, and stable meringue. Depending on the quantity and mixer speed, this process can take 5-8 minutes or longer.
Step 5: Recognizing Egg White Peak Stages: Soft, Medium, and Stiff
As you whip, the egg whites will progress through different stages of stiffness, indicated by the peaks they form when the whisk is lifted. Recognizing these stages is key to knowing when your meringue is ready for a specific recipe.
Soft Peaks: Ideal for Mousses
Soft peaks are the first stage after the frothy stage. When you lift the whisk, the peaks will form but curl over immediately. They are still quite liquidy at the base. This stage is perfect for recipes where you want lightness but not firm structure, such as chocolate mousses or certain types of custards, as they incorporate air without making the mixture too rigid.
Medium Peaks: Suitable for Souffles
As you continue to whip, the peaks will become firmer and hold their shape better, but the very tip will still curl over slightly. This is the medium peak stage. Meringue at this stage is stable enough to provide structure and lift to dishes like soufflés or some cake batters, offering a good balance of airiness and stability.
Stiff Peaks: Achieving Meringue Cookie Texture
Stiff peaks are the final stage before over-whipping. When you lift the whisk, the peaks will stand straight up without curling over. The meringue will look glossy and smooth. This is the stage required for most meringue-based recipes, including meringue cookies, pie toppings, and angel food cake. Achieving perfect meringue egg white peaks means reaching this stage where the meringue is firm and holds its shape completely.
Step 6: Achieving Stiff Peaks: Avoiding Over-Whisking
Whipping past the stiff peak stage leads to over-whipped egg whites. The protein network tightens too much, the meringue loses its glossy sheen and becomes dull, clumpy, and potentially watery as liquid is squeezed out.
Stop whisking as soon as the stiff peaks form. If you are unsure, it's better to stop slightly early than to over-whip. The meringue should be firm and hold its shape, but still look smooth and elastic. Over-whipped meringue cannot be salvaged and will result in dry, brittle, or collapsed baked goods.
Troubleshooting Egg White Whipping Problems
Problem: Egg Whites Won't Whip: Causes and Solutions
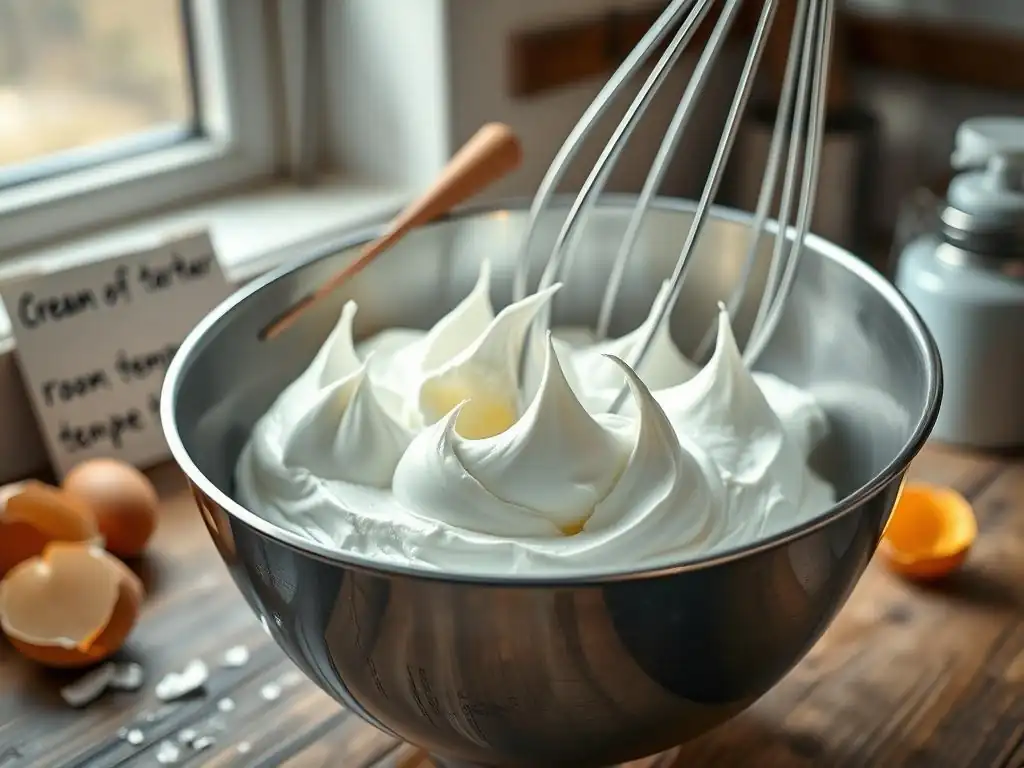
One of the most common frustrations is when egg whites refuse to whip into a foam. The primary culprit is almost always fat contamination. Even a minuscule amount of yolk, grease from equipment, or residue from an oily ingredient previously used in the bowl can completely inhibit the proteins from forming a stable network. Ensure your eggs were separated perfectly and all equipment is impeccably clean and dry.
Other factors can include using eggs that are too cold (use room temperature eggs), having too much liquid (ensure no water got into the bowl), or attempting to whip too large a quantity in a small bowl. If contamination is the issue, unfortunately, the batch must be discarded and you must start over with clean equipment and fresh, properly separated egg whites.
Problem: Over-Whipped Egg Whites: Salvaging Techniques
Identifying over-whipped egg whites is key: they will look curdled, lumpy, or separated, losing their smooth, glossy appearance. The protein structure has been tightened too much, squeezing out the liquid. Sadly, once egg whites are significantly over-whipped, there's little you can do to fully restore them to the smooth, elastic texture needed for perfect meringue egg white peaks.
For slightly over-whipped meringue (just starting to look a bit grainy), you might try gently whisking in one fresh, room-temperature egg white by hand. This can sometimes help loosen the structure a bit. However, for severely over-whipped meringue that is clumpy and watery, it's usually best to discard it and start fresh to guarantee the success of your recipe.
Problem: Grainy Meringue: Prevention and Correction
Grainy meringue typically occurs when the sugar hasn't fully dissolved into the egg whites. This is a common issue, especially when using granulated sugar and adding it too quickly or not whipping long enough after adding the sugar. Using superfine or caster sugar, which has smaller crystals, can help prevent this as it dissolves more readily.
To prevent grainy meringue, add the sugar slowly, one or two tablespoons at a time, and allow adequate time for it to dissolve between additions while the mixer is running on medium-high speed. Whip until you can rub a small amount between your fingers without feeling grit. If your meringue is already slightly grainy but otherwise holds peaks, you might be able to gently heat it over a double boiler for a minute or two while whisking by hand (like starting a Swiss meringue) to help dissolve the sugar, but be careful not to cook the egg whites.
Tips and Tricks for Perfect Meringue
Temperature: Impact on Egg White Volume
The temperature of your egg whites significantly impacts the volume you can achieve. Room temperature egg whites whip up faster and to a greater volume than cold egg whites. Their proteins are more relaxed and elastic, allowing them to unfold and trap air more efficiently.
Aim for egg whites that have been sitting out of the refrigerator for 30-60 minutes before whipping. For example, using room temperature large egg whites can yield a volume of about 7-8 times their original liquid volume when whipped to stiff peaks, compared to potentially 5-6 times if they were cold.
Stabilizing Meringue: Cream of Tartar and Lemon Juice
As mentioned earlier, acidic ingredients like cream of tartar, lemon juice, or white vinegar are excellent stabilizers for meringue. They help create a more robust and flexible protein network, making the foam less likely to collapse.
A small amount, typically 1/8 teaspoon of cream of tartar or 1/2 teaspoon of lemon juice per two large egg whites, is sufficient. Add the stabilizer after the egg whites are frothy but before adding the sugar. This helps ensure you achieve and maintain perfect meringue egg white peaks for longer.
Flavoring Meringue: Extracts and Zests
Once you've achieved your perfect meringue peaks, you can add flavorings to enhance your final product. Extracts like vanilla, almond, or peppermint should be added sparingly and ideally towards the end of the whipping process after the stiff peaks have formed.
Add extracts after the meringue has reached stiff peaks and the sugar has dissolved. Adding them too early, especially oil-based extracts, can interfere with the whipping process. For a brighter flavor, finely grated citrus zest (like lemon or orange) can also be gently folded in just before using the meringue. Use about 1/2 teaspoon of extract or 1 teaspoon of zest per batch made from 3-4 egg whites.
Recipes Using Whipped Egg Whites
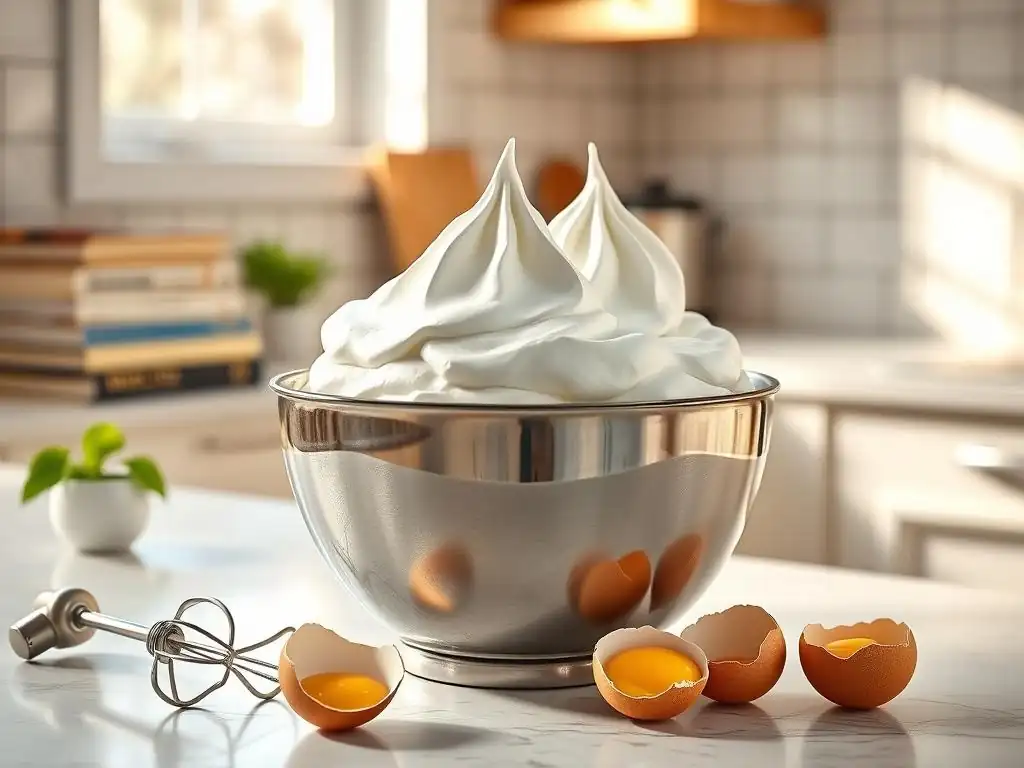
Meringue cookies are a delightful way to use whipped egg whites. Made from perfect meringue egg white peaks that are piped or spooned onto a baking sheet and then slowly dried in a very low oven (often around 200-225°F or 90-100°C) for an hour or more, they become wonderfully crisp and melt-in-your-mouth treats.
A basic recipe involves whipping 3 large egg whites to stiff peaks with about 3/4 cup of superfine sugar and 1/4 teaspoon of cream of tartar, plus a dash of vanilla extract. The resulting meringue is stable enough to hold intricate piped shapes before baking.
Angel Food Cake
Angel food cake is a classic example of a cake that relies entirely on whipped egg whites for its leavening and structure. It contains no chemical leaveners like baking soda or powder, and no fat beyond what might be in the flour or flavorings.
A typical angel food cake recipe might use 10-12 large egg whites, whipped to stiff peaks with sugar and flour gently folded in. The high proportion of whipped egg whites creates an incredibly light and airy crumb structure that is characteristic of this cake.
Lemon Meringue Pie
Lemon meringue pie features a bright, tangy lemon filling topped with a cloud of sweet, fluffy meringue. The meringue topping is usually a Swiss or Italian meringue for better stability and a smoother texture, though French meringue is sometimes used for a crispier result.
The meringue is typically spread over a hot lemon filling, ensuring the bottom of the meringue is lightly cooked by the heat, which helps prevent weeping. The top is then often browned using a kitchen torch or under a broiler, creating that signature toasted marshmallow look while maintaining perfect meringue egg white peaks underneath.
Mastering Meringue: Practice and Experimentation
Frequently Asked Questions
How do I ensure my mixing bowl and whisk are properly prepared for whipping egg whites?
It's crucial to start with a perfectly clean, grease-free bowl and whisk. Even a tiny bit of fat can prevent the egg whites from forming stable peaks.
What is the best type of egg to use for achieving perfect meringue peaks?
Use fresh eggs that have been separated properly. Older eggs may not whip as well, and any yolk contamination will inhibit peak formation.
At what speed should I whip my egg whites to get the best results?
Start on low speed to break up the egg whites and then gradually increase to medium-high speed. Avoid whipping too fast initially, as this can create large, unstable bubbles.
How do I know when my egg whites are at the 'stiff peak' stage?
'Stiff peaks' are formed when you lift the whisk, and the peak stands straight up without drooping or curling over. The whites should look glossy and smooth.
What can I do if I accidentally overwhip my egg whites?
Overwhipped egg whites will look dry and curdled. Unfortunately, there's no real fix. It's best to start over with fresh egg whites to ensure a stable meringue.
Final Reflection: The Unexpected Joy of Perfect Peaks
Mastering the art of whipping egg whites to stiff peaks is more than just a culinary skill; it's a gateway to unlocking a world of airy delights. From delicate meringues to light-as-air soufflés, achieving that perfect consistency transforms simple ingredients into culinary masterpieces. This seemingly small detail holds the key to unlocking a level of baking precision many aspire to.
The pursuit of the perfect meringue peak has resonated deeply with bakers for generations. It's a testament to the power of patience, precision, and the transformative magic of simple ingredients. The most beautiful things in the world cannot be seen or even touched - they must be felt with the heart.
This quote, while not directly about meringue, perfectly captures the emotional connection many bakers feel to the process of creating something beautiful and delicious from seemingly humble beginnings. The journey to mastering this technique is a journey of self-discovery, mirroring the dedication required in many other aspects of life.
Now, it's your turn. Don't be intimidated by the seemingly delicate nature of whipping egg whites. Embrace the challenge, experiment with different techniques, and savor the satisfaction of achieving those perfect, glossy peaks. Remember the feeling of accomplishment, the pride in your creation, and the joy of sharing your culinary triumph with others. The journey to mastering perfect meringue peaks is a rewarding one – go forth and create something truly magnificent!
Unlock Your Inner Pastry Chef: Master Light & Fluffy Egg Whites!
Thanks for taking the time to learn the secrets to perfect egg whites! You're now one step closer to baking incredible meringues, soufflés, and macarons. Ready to put your new skills to the test?
- Whip up a batch of meringue cookies: Use your newfound expertise to create light-as-air meringue cookies – the perfect sweet treat to share (or savor all by yourself! ).
- Try a different recipe: Challenge yourself with a recipe that requires stiff egg whites – a classic soufflé, perhaps?
- Share your meringue masterpiece: Post a picture of your creation on social media and tag us @BakeWithEase – we’d love to see your baking success!
What exciting recipe will you tackle first with your newly mastered egg white skills?