
Mastering the 'Cut In' Technique for Flaky Biscuits and Scones

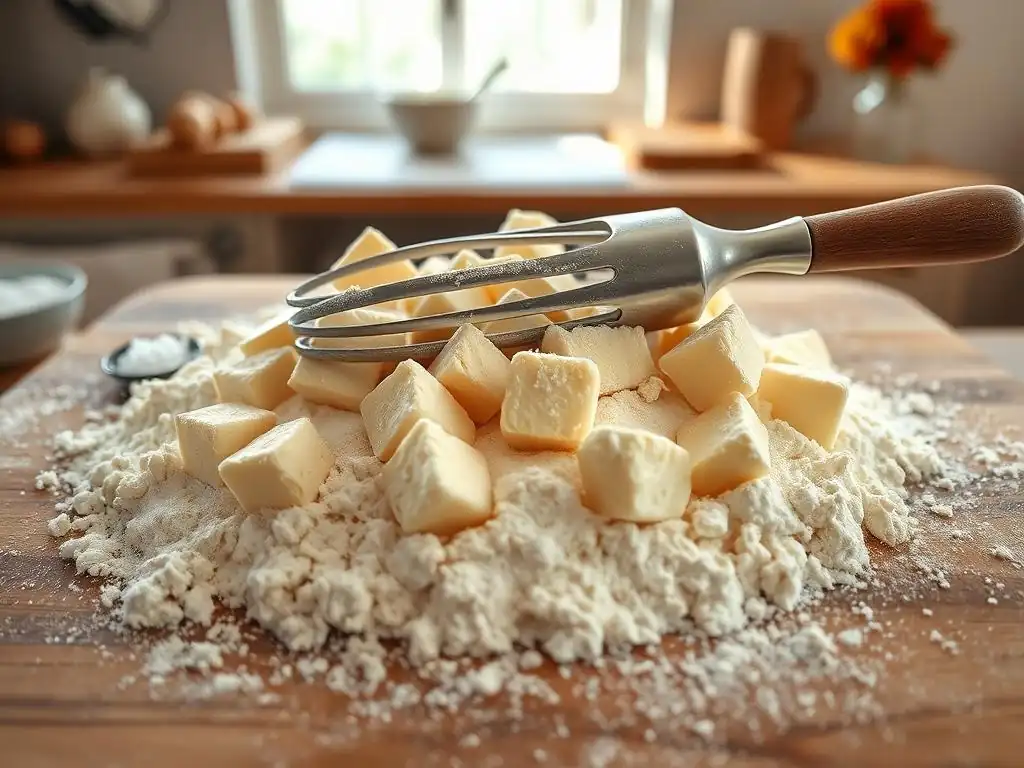
Welcome to BakeWithEase, your secret ingredient to baking bliss! Ever wonder how to achieve those perfectly flaky biscuits and melt-in-your-mouth scones? You're in the right place. This beginner-friendly guide unveils the secrets of the " cut in" technique, transforming simple ingredients into bakery-worthy delights. Intrigued? Let's unlock the secrets to light, airy, and utterly irresistible biscuits! Read on to discover how easy it is to elevate your baking game.
- Introduction to the 'Cut In' Method: The Secret to Flaky Baking
- Understanding the Science Behind Flakiness
- Tools and Ingredients for Successful 'Cut In' Baking
- Step-by-Step Guide to the 'Cut In' Technique for Biscuits and Scones
- Troubleshooting Common 'Cut In' Problems
- Tips and Tricks for Elevating Your 'Cut In' Baking
- 'Cut In' Technique Variations: Exploring Different Methods
- Recipes to Practice the 'Cut In' Technique
- Conclusion: Embrace the 'Cut In' Technique and Bake with Ease
-
Frequently Asked Questions
- What exactly is the "cut in" technique, and why is it important for flaky biscuits?
- What kind of fat works best for achieving the flakiest biscuits using the "cut in" method?
- How do I know if I've properly "cut in" the fat? What should the mixture look like?
- What are some common mistakes people make when using the "cut in" technique for biscuits?
- Can I use a food processor to "cut in" the fat, or is it better to do it by hand?
- Final Reflection: The Enduring Allure of the Perfect Flake
- Unlock Your Flakiest Biscuits Ever!
Introduction to the 'Cut In' Method: The Secret to Flaky Baking
Why the 'Cut In' Technique is Crucial for Perfect Biscuits and Scones
The 'cut in' technique is fundamental to achieving the light, airy, and distinctly layered texture that defines truly great flaky biscuits and scones. Without properly cutting in the fat, you risk ending up with dense, cake-like results rather than the desired flaky structure. This method ensures that small pieces of cold fat are distributed throughout the dry ingredients. During baking, these fat pieces melt, releasing steam. This steam creates tiny pockets within the dough, forcing the layers of flour apart and resulting in that sought-after flakiness.
Consider a classic biscuit recipe using 2 cups of flour and 1/2 cup of cold butter. If the butter isn't properly cut in, but is instead creamed or melted, it will coat the flour particles, preventing the formation of distinct layers. The 'cut in' technique, ensuring marble-sized or pea-sized pieces of fat, is the specific action that sets up the dough for success in the oven, producing multiple thin strata rather than a uniform crumb. Mastering the flaky biscuits cut in technique is a cornerstone for any aspiring baker aiming for classic, tender baked goods.
What Does "Cutting In" Mean in Baking?
"Cutting in" is a baking term that describes the process of incorporating a solid fat, such as butter, shortening, or lard, into dry ingredients, typically flour, until the mixture resembles coarse crumbs or small peas. The key is that the fat remains in small, distinct pieces rather than being fully blended or melted. This is usually achieved using tools like a pastry blender, forks, or even your fingertips, though keeping the fat cold is paramount to prevent it from melting from the heat of your hands.
The goal is not to create a smooth, homogeneous mixture but one where the fat is dispersed in varying sizes, generally from tiny flakes to pea-sized lumps. This specific distribution is what facilitates the creation of steam pockets during baking. For instance, when making flaky scones, cutting in cold butter correctly means you'll see visible flecks or small chunks of fat throughout the flour mixture, a clear sign you're on the right track to a beautifully layered result. This technique is a defining step in many recipes for flaky pastries, including the essential flaky biscuits cut in technique.
Understanding the Science Behind Flakiness
The Role of Cold Fat in Creating Flaky Layers
The magic of flakiness in baked goods like biscuits and scones lies squarely with cold fat. When cold butter or shortening is cut into flour, it remains in solid pieces. As the dough bakes in a hot oven, these pieces of fat begin to melt. Simultaneously, any water present in the fat (butter contains about 15-18% water) or added with the wet ingredients turns into steam. This steam expands rapidly, pushing apart the layers of dough surrounding the melting fat pockets.
Imagine tiny balloons inflating within the dough. Each piece of cold fat acts as a potential steam balloon. If you use 1/2 inch cubes of cold butter in a biscuit dough, these larger pieces will create bigger pockets of steam and therefore larger, more dramatic flakes. Smaller, pea-sized pieces, achieved through the typical flaky biscuits cut in technique, result in finer, more numerous layers. The coldness of the fat is non-negotiable; if the fat is soft or melted before baking, it will coat the flour particles instead of forming distinct pockets, preventing the steam from lifting the layers.
Gluten Development and the 'Cut In' Technique
Controlling gluten development is just as crucial as using cold fat when aiming for flaky biscuits and scones. Gluten is a protein network that forms when flour is mixed with liquid and agitated. While essential for structure in many baked goods, excessive gluten development in biscuits and scones leads to a tough, chewy texture – the opposite of desired flakiness. The 'cut in' technique helps manage gluten in two key ways.
Firstly, the fat particles, when properly cut in, act as a barrier, coating some of the flour particles and preventing them from fully interacting with the liquid. This effectively shortens the gluten strands that can form. Secondly, after the fat is cut in, the subsequent steps in biscuit and scone making involve minimal mixing.
The wet ingredients are added quickly, and the dough is handled gently, often just brought together until it barely holds. This minimal handling after cutting in ensures that the gluten network remains short and weak, contributing to tenderness while the fat provides the lift and flakiness. A successful flaky biscuits cut in technique minimizes handling dough to keep gluten in check.
Tools and Ingredients for Successful 'Cut In' Baking
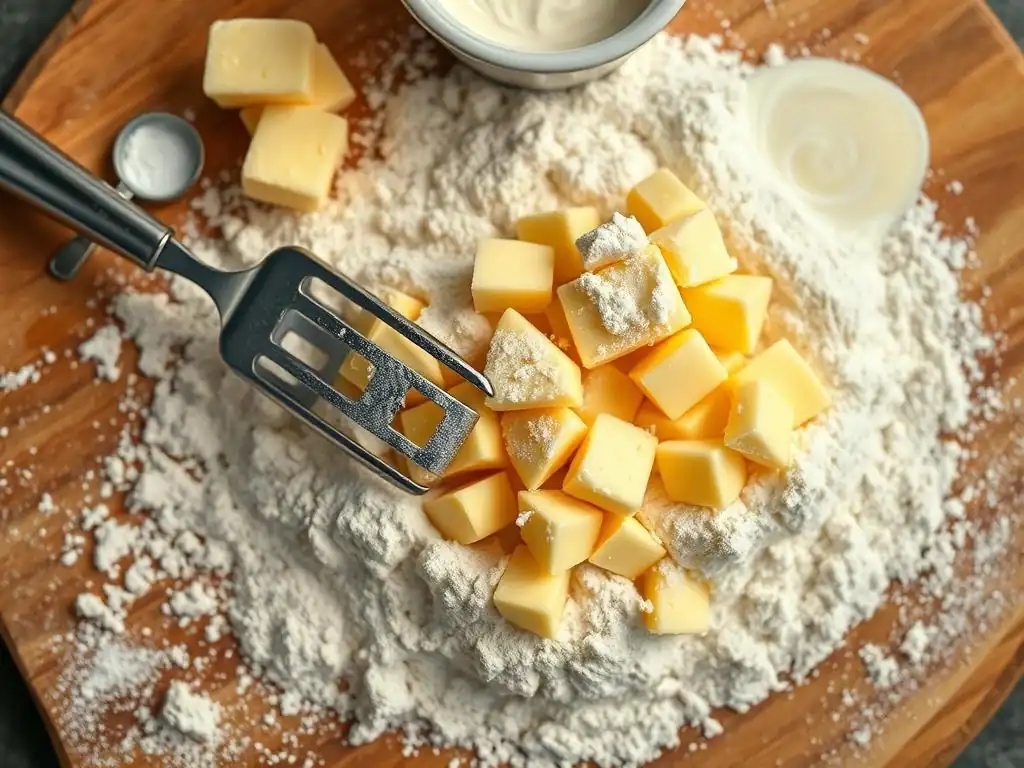
Essential Tools: Pastry Blender, Food Processor, and Bench Scraper
Having the right tools makes the 'cut in' technique significantly easier and more effective. A pastry blender is a classic tool for this task. It typically consists of several parallel wires or blades attached to a handle. By pressing the pastry blender into the mixture of flour and cold fat and twisting, you can efficiently break down the fat into smaller pieces while minimizing contact with your warm hands. This is particularly useful when aiming for the pea-sized consistency required for a good flaky biscuits cut in technique.
Another excellent tool, especially for larger batches or when speed is desired, is a food processor. Fitted with the metal blade, pulses can quickly cut cold fat into flour. Care must be taken not to over-process, as you want distinct pieces of fat, not a smooth paste. Finally, a bench scraper is invaluable for gathering the dough, dividing it, and gently handling it without adding too much warmth, helping to maintain the coldness of the fat pieces throughout the process of making flaky scones or biscuits.
Choosing the Right Fat: Butter, Shortening, and Coconut Oil
The type of fat you choose significantly impacts the flavor, texture, and flakiness of your baked goods. Unsalted butter is a popular choice for flaky biscuits and scones due to its rich flavor and ability to produce excellent flakiness. Butter contains water, which turns to steam and creates layers. However, butter melts relatively quickly, so keeping it and the dough cold is crucial for the flaky biscuits cut in technique.
Vegetable shortening, like Crisco, contains no water and has a higher melting point than butter. This means it stays solid longer in the oven, potentially creating even more dramatic layers. While it offers superior flakiness, it lacks the rich flavor of butter.
Lard is another traditional option with a high melting point, offering great flakiness and a unique savory flavor often prized in Southern biscuits. For a vegan option, solid refined coconut oil can be used, though its behavior can vary; ensuring it is very cold is key for successful cutting in for flaky results. Many recipes call for a combination of butter and shortening to get the best of both worlds: flavor from butter and extreme flakiness from shortening.
The Importance of Cold Ingredients for Flaky Results
Maintaining cold temperatures for your ingredients is arguably the single most critical factor for achieving true flakiness when using the 'cut in' technique. This applies primarily to the fat, but also extends to the dry ingredients and any liquid added. Cold butter, shortening, or coconut oil ensures that the fat remains solid and in distinct pieces when cut into the flour. If the fat is too warm, it will smear into the flour, coating the particles rather than forming pockets, thus preventing the steam lift needed for layers.
It's highly recommended to cube your butter and place it back in the refrigerator or even the freezer for 10-15 minutes before you begin cutting it into the flour. Similarly, chilling your flour in the freezer for 20-30 minutes can help keep the fat colder for longer during the cutting-in process. Using very cold liquid, such as buttermilk or milk straight from the fridge, is also essential.
This helps keep the overall dough temperature low, preventing the fat from melting prematurely before it hits the hot oven. This rigorous attention to temperature is a hallmark of the successful flaky biscuits cut in technique.
Step-by-Step Guide to the 'Cut In' Technique for Biscuits and Scones
Step 1: Preparing Your Ingredients for Cutting In
Begin by measuring out your dry ingredients, typically flour, sugar (for scones), baking powder, baking soda (often for biscuits), and salt. Whisk these together in a large bowl to ensure they are well combined and aerated. This preliminary mixing helps distribute the leavening agents evenly.
Next, prepare your fat. If using butter, cube it into small pieces, about 1/2 inch to 1 inch in size, and return it to the refrigerator or freezer for at least 10-15 minutes. Ensure it is very firm and cold before proceeding. Having all ingredients measured and ready, with the fat properly chilled, sets the stage for a successful flaky biscuits cut in technique.
Step 2: Cutting the Fat into the Flour Mixture [Detailed Instructions]
Place the chilled, cubed fat directly into the bowl with the whisked dry ingredients. At this point, you will use your chosen tool to incorporate the fat. If using a pastry blender, press the tool down into the mixture repeatedly, twisting slightly with each press, moving around the bowl until the fat is broken down. If using your fingertips, quickly pinch and rub the fat pieces into the flour, working rapidly to avoid warming the fat too much with your body heat. Lift and drop the mixture to keep it light and airy.
For the food processor method, add the dry ingredients and the cubed cold fat to the bowl of the processor. Pulse the mixture in short bursts (usually 5-10 pulses) until the fat is cut into the desired size. Be careful not to over-process; stop as soon as the mixture reaches the correct consistency. Regardless of the tool, the goal is to distribute the fat evenly throughout the flour mixture using the flaky biscuits cut in technique.
Step 3: Achieving the Perfect Pea-Sized Crumbles
The ideal consistency after cutting in the fat is a mixture that resembles coarse meal with some larger pieces of fat still visible, roughly the size of small peas or lentils. You should also see some pieces that are flatter and flaky, which are equally important for creating layers. If using butter, you might see some pieces slightly larger, up to the size of a small marble, which can contribute to larger flakes.
Test the mixture by squeezing a handful. It should clump together slightly but still be crumbly. If it feels greasy or smooth, you may have over-mixed or the fat was too warm. If you only have large chunks of fat, continue cutting it in until it reaches the pea-sized consistency. Achieving this specific texture is a key indicator that you have successfully performed the flaky biscuits cut in technique.
Step 4: Incorporating Wet Ingredients Gently
Once the fat is successfully cut into the dry ingredients, it's time to add the liquid. This is where the dough starts to come together. Typically, very cold buttermilk, milk, or cream is used. Pour the cold liquid into the center of the dry mixture all at once.
Using a fork or a spatula, gently stir the mixture just until the dry ingredients are moistened. Do not overmix! The dough will look shaggy and may have some dry spots. This is exactly what you want. Overmixing develops gluten and melts the fat, both detrimental to flakiness. The dough should just barely cling together. Minimizing mixing at this stage is crucial after mastering the flaky biscuits cut in technique.
Step 5: Shaping and Baking for Optimal Flakiness
Turn the shaggy dough out onto a lightly floured surface. Pat the dough gently into a rectangle or square, about 1/2 to 3/4 inch thick. To enhance flakiness, many bakers perform a 'fold and turn' maneuver similar to puff pastry. Fold the dough in thirds like a letter, then gently pat it down again. Repeat this folding process 1-2 more times. This creates additional layers within the dough before cutting.
Use a sharp biscuit cutter (avoid twisting, which seals the edges and inhibits rise) or a knife to cut the biscuits or scones. Place them onto a baking sheet, often lined with parchment paper. Bake in a hot oven (typically 400°F to 450°F or 200°C to 230°C) as specified in your recipe. The high heat causes the fat to melt and steam quickly, maximizing the lift and creating those beautiful flaky layers you worked for with the flaky biscuits cut in technique.
Troubleshooting Common 'Cut In' Problems
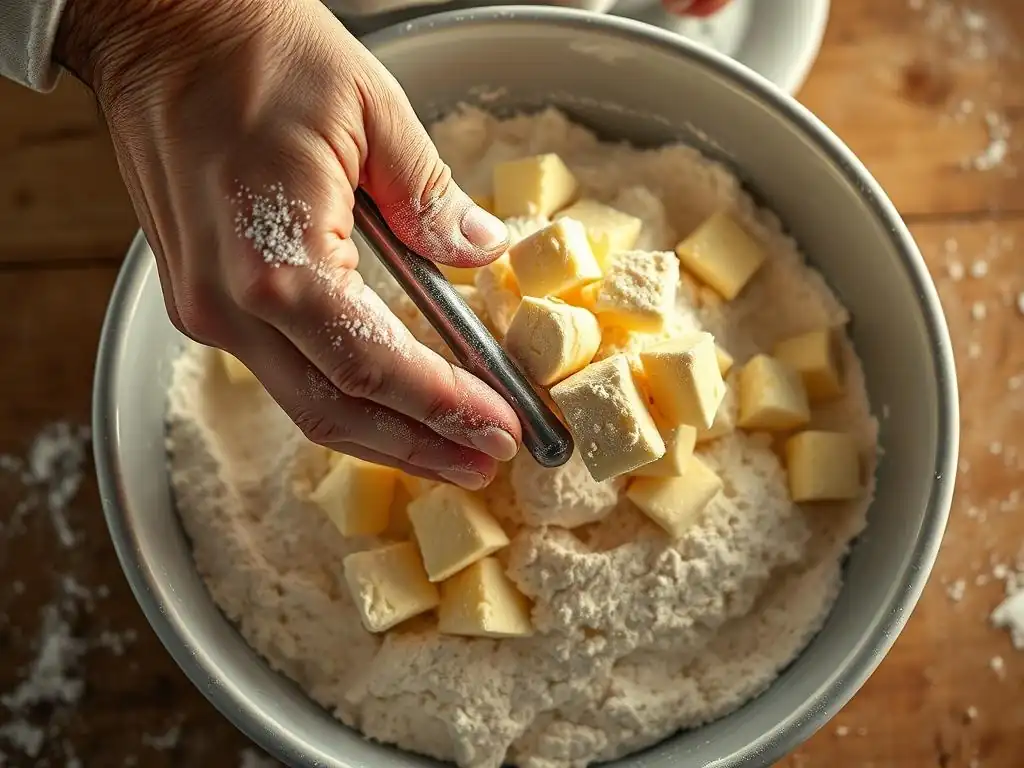
Avoiding Overmixing: Preserving Flaky Layers
One of the most common pitfalls when making biscuits and scones is overmixing, especially after adding the liquid. Once the fat is cut in, the goal is to bring the dough together with minimal handling. Mixing too vigorously or for too long develops the gluten in the flour, resulting in tough, dense baked goods instead of light, flaky ones.
Symptoms of overmixing include a smooth, elastic dough (rather than shaggy) and biscuits or scones that are hard and chewy after baking. To avoid this, use a light touch when incorporating the liquid. Stop mixing as soon as the dry ingredients are mostly moistened, even if there are still a few dry patches. These will often hydrate as the dough rests briefly. Remember, the less you handle the dough after performing the flaky biscuits cut in technique, the better the potential for flakiness.
Addressing Melted Butter: Keeping Fat Cold
Melted or overly soft butter during the 'cut in' process is a major enemy of flakiness. If the fat is too warm, it smears into the flour rather than staying in discrete pieces. This coats the flour particles, inhibiting the formation of steam pockets and layers during baking. The result is a more cake-like or crumbly texture rather than distinct flakes.
If your butter starts to soften while you're working, or if your kitchen is warm, don't hesitate to stop and place the bowl with the mixture back into the refrigerator or freezer for 10-15 minutes to firm up the fat again before continuing. Work efficiently and quickly when handling the fat and dough. Using cold tools and even chilling your flour can provide extra insurance against prematurely melted fat, ensuring your flaky biscuits cut in technique is effective.
Ensuring Even Distribution of Fat: Achieving Consistent Texture
Uneven distribution of fat can lead to inconsistent results in your batch of biscuits or scones. Some parts might be wonderfully flaky, while others are dense or dry. This happens if the fat is not thoroughly cut into the flour, leaving large clumps in some areas and too little fat in others.
When cutting in the fat, whether with a pastry blender, forks, or a food processor, take care to work through the entire mixture until the fat is relatively evenly dispersed into pea-sized pieces (with some smaller and larger variations). Scrape down the sides of the bowl if using a food processor to ensure all ingredients are incorporated. When using manual methods, periodically lift and toss the mixture with your hands to help distribute the fat evenly. Consistent application of the flaky biscuits cut in technique across the entire batch is key to uniform success.
Tips and Tricks for Elevating Your 'Cut In' Baking
Using Frozen Butter for Extra Flakiness
For an extra boost of flakiness, try using frozen butter instead of just refrigerated. You can grate frozen butter directly into the flour mixture using a box grater. This method creates very fine, cold shreds of butter that are easy to distribute evenly and remain cold throughout the cutting-in process.
Alternatively, you can freeze cubed butter for 20-30 minutes before cutting it in. The extra cold temperature ensures the butter stays solid longer while you work, minimizing the risk of it melting from the heat of your hands or the friction of the tools. This slight modification to the flaky biscuits cut in technique can yield even more pronounced layers.
Adding Buttermilk for Tenderness
Buttermilk is a traditional ingredient in many biscuit and scone recipes, and for good reason. Its acidity reacts with baking soda (often used in biscuits) to provide extra leavening, contributing to a lighter texture. The acid also helps to break down gluten strands, resulting in a more tender crumb.
Furthermore, the slight tang of buttermilk adds a wonderful depth of flavor. If you don't have buttermilk, you can make a quick substitute by adding 1 tablespoon of white vinegar or lemon juice to 1 cup of milk and letting it sit for 5-10 minutes until it curdles slightly. Using cold buttermilk is essential to keep the fat cold and maintain the integrity of the flaky biscuits cut in technique.
Experimenting with Different Fats for Unique Flavors
While butter is a standard for its flavor, don't be afraid to experiment with other fats or combinations to find your preference. Using all shortening will produce incredibly flaky results, though the flavor will be less rich than butter. A common approach is to use a mix, perhaps half butter and half shortening, to balance flavor and flakiness.
Lard can add a savory depth and excellent flakiness, particularly in traditional biscuit recipes. For vegan bakers, solid coconut oil can be a good alternative, but ensure it is very cold and solid before cutting it in. Each fat will interact slightly differently with the flour and liquid, influencing the final texture and taste, but the core flaky biscuits cut in technique remains the same: incorporate cold fat into dry ingredients until crumbly.
'Cut In' Technique Variations: Exploring Different Methods
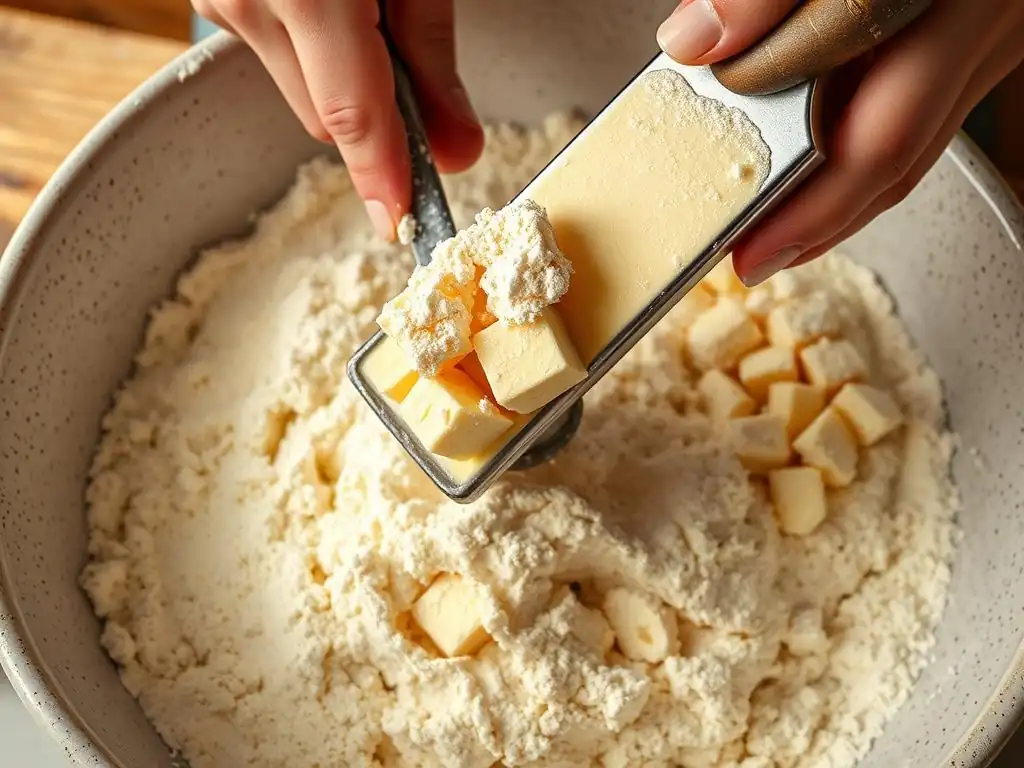
The Food Processor Method: A Quick and Easy Alternative
The food processor offers a fast and efficient way to perform the 'cut in' technique, especially helpful when you're short on time or dealing with a large batch. Simply add the dry ingredients and cold, cubed fat to the bowl of the food processor fitted with the metal blade.
Pulse the mixture in short bursts, usually 5-10 times, checking the consistency after every few pulses. Stop as soon as the mixture resembles coarse meal with pea-sized pieces of fat. It's crucial not to over-process, as the speed of the blades can quickly turn the fat into a paste or overwork the dough. This method speeds up the flaky biscuits cut in technique significantly.
The Hand-Cutting Method: A Traditional Approach
Cutting in fat by hand, using your fingertips or two forks, is a traditional method that gives you a lot of control over the texture. While it can take longer and requires vigilance to keep the fat cold (as your hands generate heat), it allows you to feel the mixture and ensures you achieve the desired consistency.
To use your hands, pinch pieces of cold fat between your thumb and fingers, rubbing them into the flour until they break down. Lift and toss the mixture occasionally to aerate it and ensure even distribution. Work quickly. Using two forks, cross them over the fat and flour mixture, pressing and scraping until the fat is broken down. This manual flaky biscuits cut in technique is satisfying and effective if done swiftly with cold ingredients.
The Grating Method: An Innovative Technique for Cold Fat
Using a box grater to grate frozen butter directly into the flour is an increasingly popular method for ensuring the fat stays cold and is evenly distributed in very fine pieces. This technique is particularly effective for achieving delicate, fine layers.
Simply dip the frozen stick of butter in the flour occasionally as you grate it to prevent it from clumping. Once grated, toss the butter shreds gently with the flour using your fingertips or a fork. Because the butter is in such small pieces, this method makes achieving the desired crumbly texture with visible fat flecks very easy, streamlining the flaky biscuits cut in technique.
Recipes to Practice the 'Cut In' Technique
Classic Buttermilk Biscuits Recipe using the 'Cut In' Method
Here's a basic outline for classic buttermilk biscuits, perfect for practicing the flaky biscuits cut in technique:
- Ingredients:
- 2 cups All-Purpose Flour
- 1 tbsp Baking Powder
- 1/2 tsp Baking Soda
- 1 tsp Salt
- 1/2 cup (1 stick) very cold Unsalted Butter, cubed
- 3/4 cup very cold Buttermilk
- Instructions:
- Preheat oven to 425°F (220°C).
- Whisk flour, baking powder, baking soda, and salt in a medium bowl.
- Cut in cold butter using a pastry blender, forks, or fingertips until mixture resembles coarse meal with pea-sized pieces of butter.
- Make a well in the center and pour in cold buttermilk.
- Stir gently with a fork or spatula just until dry ingredients are moistened and dough is shaggy. Do not overmix.
- Turn dough onto a lightly floured surface. Gently pat or roll to about 1/2 inch thickness.
- Fold the dough in thirds, then pat down again. Repeat 1-2 times.
- Cut biscuits using a floured cutter, pressing straight down (no twisting).
- Place biscuits on an ungreased or parchment-lined baking sheet, often touching for soft sides or spaced apart for crisp sides.
- Bake for 12-15 minutes, or until golden brown and well-risen.
Delicious Cranberry Orange Scones Recipe using the 'Cut In' Method
Practice your flaky biscuits cut in technique with this flavorful scone variation:
- Ingredients:
- 2 cups All-Purpose Flour
- 1/3 cup Granulated Sugar
- 2 tsp Baking Powder
- 1/4 tsp Salt
- 1/2 cup (1 stick) very cold Unsalted Butter, cubed
- 1/2 cup Dried Cranberries
- Zest of 1 Orange
- 1/2 cup very cold Heavy Cream (or Buttermilk)
- 1 large Egg, lightly beaten
- Instructions:
- Preheat oven to 400°F (200°C).
- Whisk flour, sugar, baking powder, and salt in a medium bowl.
- Cut in cold butter using a pastry blender, forks, or food processor until mixture resembles coarse meal with pea-sized pieces of butter.
- Stir in dried cranberries and orange zest.
- In a separate small bowl, whisk together cold cream and beaten egg.
- Make a well in the center of the dry ingredients and pour in the wet mixture.
- Stir gently with a fork or spatula just until dry ingredients are moistened. Dough will be shaggy.
- Turn dough onto a lightly floured surface. Gently pat or roll into a circle or rectangle about 3/4 inch thick.
- Cut into wedges or squares using a knife or bench scraper.
- Place scones on a parchment-lined baking sheet.
- Bake for 18-22 minutes, or until golden brown.
Conclusion: Embrace the 'Cut In' Technique and Bake with Ease
The Journey to Flaky Perfection Starts Here
Mastering the 'cut in' technique is a fundamental skill that unlocks the door to baking some of the most beloved comfort foods: flaky biscuits and tender scones. It's a method rooted in the simple science of using cold fat to create steam and layers, resulting in that signature texture that is both light and satisfying.
While it might seem intimidating at first, with practice and attention to detail – specifically keeping your ingredients cold and avoiding overmixing – you'll soon find the flaky biscuits cut in technique becomes second nature. Each successful batch will be a testament to your growing baking skills, proving that even seemingly complex textures are achievable with the right approach. Embrace this technique, experiment with the variations, and enjoy the delicious journey to flaky perfection right in your own kitchen.
Frequently Asked Questions
What exactly is the "cut in" technique, and why is it important for flaky biscuits?
The "cut in" technique involves incorporating cold fat (like butter or shortening) into dry ingredients. This creates small pockets of fat that melt during baking, resulting in steam and flaky layers.
What kind of fat works best for achieving the flakiest biscuits using the "cut in" method?
Cold, unsalted butter is generally preferred for its flavor and ability to create steam. Shortening can also be used, leading to a more tender biscuit. Using both can be an option.
How do I know if I've properly "cut in" the fat? What should the mixture look like?
The mixture should resemble coarse crumbs, with some pieces of fat remaining about the size of small peas. Avoid overmixing, as this will develop gluten and lead to tough biscuits.
What are some common mistakes people make when using the "cut in" technique for biscuits?
Using warm fat is a major mistake, as it will melt and prevent flakiness. Overmixing the dough after cutting in the fat develops gluten, also resulting in tough, not flaky biscuits.
Can I use a food processor to "cut in" the fat, or is it better to do it by hand?
A food processor can be used, but it's easy to overmix. Pulse it carefully and sparingly. Doing it by hand with a pastry blender or your fingers gives you more control.
Final Reflection: The Enduring Allure of the Perfect Flake
The seemingly simple act of cutting fat into flour for biscuits and scones is, in reality, a gateway to culinary mastery. A perfectly executed "cut in" technique isn't just about achieving a beautiful, flaky texture; it's about understanding the fundamental principles of baking and the transformative power of technique. This understanding translates to countless other recipes, empowering bakers of all levels.
The influence of this seemingly small technique extends far beyond the kitchen table. It's a testament to the enduring human desire for perfection, for the satisfaction of creating something beautiful and delicious from humble ingredients. The pursuit of that perfect flake connects us to generations of bakers past, each striving for that same golden, buttery crumb. Baking is at once child's play and adult joy. And love, of course.
This quote, while not directly about the cut-in method, perfectly encapsulates the emotional connection we forge with food and the process of its creation.
Now, consider your own baking journey. Perhaps you've struggled with tough, dense biscuits in the past. This article has equipped you with the knowledge to overcome that challenge. Take this newfound understanding and experiment! Try different fats, flours, and even liquids. Embrace the imperfections, learn from them, and most importantly, enjoy the process of creating something delicious and uniquely your own. The perfect flake awaits.
Unlock Your Flakiest Biscuits Ever!
Thanks for joining us on this baking adventure! We hope you've gained some valuable tips and tricks to create unbelievably flaky biscuits and scones. Ready to put your new skills to the test?
- Try the 'cut in' method immediately! Practice makes perfect, so grab your ingredients and give it a go. You'll be amazed at the difference.
- Share your baking triumphs (or even your flops!) with us on social media! Use #BakeWithEaseCutIn to inspire others.
- Consider experimenting with different flours and fats to see how they impact your biscuit's texture and taste.
Ready to unleash your inner baker and conquer the world of flaky goodness? What unique ingredient will you try in your next batch of biscuits?