
How to Perfectly Grease and Flour a Cake Pan, Every Time

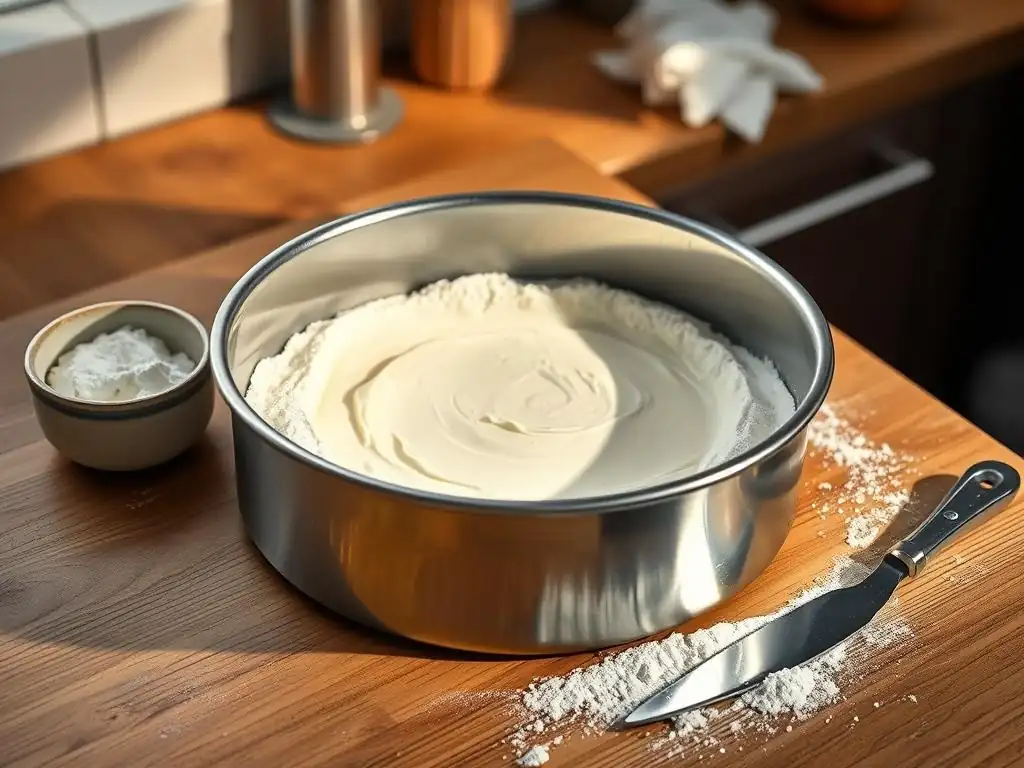
Welcome to BakeWithEase, where the joy of baking is made accessible for everyone! Whether you're just starting your baking journey or looking to refine your skills, you've landed in the right place. In our featured article, "How to Perfectly Grease and Flour a Cake Pan, Every Time," we’ll guide you through the essential techniques that will elevate your baking game. Discover why proper preparation is the key to achieving that perfect cake and unlock the secrets to effortlessly creating delightful desserts. Ready to transform your baking experience? Let's dive in!
- BakeWithEase' Guide to Grease and Flour Cake Pans for Perfect Baking
- Why Greasing and Flouring Your Cake Pan is Crucial for Baking Success
- Step-by-Step: Perfectly Greasing a Cake Pan for Baking Perfection
- Mastering the Flour Coating: Ensuring a Stick-Free Cake
- Alternative Methods for Pan Preparation: Beyond Grease and Flour
- Troubleshooting Common Pan Preparation Problems
- Advanced Techniques: Greasing and Flouring for Specific Cake Types
- Tips and Tricks for Effortless Cake Pan Preparation
- Enjoy Perfectly Released Cakes with BakeWithEase!
- Frequently Asked Questions
- Final Reflection: The Unsung Hero of Baking Success
- Unlock Perfectly Baked Cakes: Let's Get Baking!
BakeWithEase' Guide to Grease and Flour Cake Pans for Perfect Baking
Welcome to BakeWithEase, where we make baking simple and fun! One of the most fundamental steps in baking a beautiful cake is preparing your pan correctly. Learning how to perfectly grease flour cake pan surfaces is the secret handshake of successful bakers everywhere. It's a small step, but skipping it or doing it improperly can lead to frustration when your masterpiece refuses to leave the pan. This guide will walk you through everything you need to know to ensure your cakes release flawlessly, every single time.
Mastering the art of preparing your cake pan sets the stage for baking success. Whether you're tackling a simple vanilla cake or a complex multi-layered creation, ensuring your cake doesn't stick is paramount. This process isn't just about preventing disaster; it's about achieving a clean, professional finish that allows your cake's texture and flavor to shine through. Let's dive into why this step is so important and how to execute it perfectly.
Why Greasing and Flouring Your Cake Pan is Crucial for Baking Success
Getting a cake out of its pan cleanly is a moment of truth for any baker. A perfectly prepared pan ensures that this moment is one of triumph, not tragedy. The combination of grease and flour creates a barrier between the wet cake batter and the metal surface of the pan. Without this barrier, the proteins and sugars in the batter can bond directly with the pan during baking, leading to a frustratingly stuck cake.
Beyond just preventing sticking, proper pan preparation contributes to the overall quality of your baked goods. A cake that releases cleanly will have smooth, intact edges, which is essential for frosting, stacking, or simply presenting a beautiful cake. It also prevents tearing or crumbling, preserving the delicate structure you worked hard to achieve. Learning how to perfectly grease flour cake pan surfaces is a foundational skill that saves you time, reduces waste, and boosts your baking confidence.
Preventing Cakes from Sticking: The Importance of Pan Prep
The primary reason we go through the effort of preparing a cake pan is to prevent the cake from adhering to the metal. As a cake bakes, the batter undergoes significant chemical changes. Proteins coagulate, starches gelatinize, and sugars caramelize. If the pan surface isn't adequately protected, these reactions can cause the cake to bond tightly to the pan. Imagine spending an hour mixing, baking, and smelling a delicious chocolate cake, only for it to rip apart when you try to invert it – a truly disheartening experience that proper preparation avoids.
Think of the pan preparation as creating a non-stick surface where one doesn't naturally exist. The grease provides a slick layer that resists the bonding process, while the flour (or other dry coating) creates a fine, powdery barrier that further prevents the cake from gripping the pan's surface. This double-layer protection is particularly important for pans made from materials like aluminum, which can be quite prone to sticking if not prepped correctly. Investing just a few minutes in this step can save you from potential baking heartache.
Achieving Clean Cake Release: A Baker's Essential Skill
A clean cake release isn't just about preventing sticking; it's about presentation and structural integrity. When a cake slides effortlessly out of the pan, its edges are sharp and defined, and its surface is smooth. This is critical for layer cakes, where clean, flat layers are essential for stable stacking and frosting. A cake that tears or leaves chunks behind in the pan is not only messy but also much harder to decorate and serve attractively.
Mastering the technique of how to perfectly grease flour cake pan surfaces is a hallmark of a skilled baker. It demonstrates attention to detail and an understanding of the baking process. For instance, a standard 8-inch round cake pan might require just a tablespoon or two of melted butter and a couple of tablespoons of flour, but the way you apply them makes all the difference. Achieving that smooth, even coating ensures that every part of the cake's exterior has the same chance of releasing cleanly, resulting in a consistently perfect outcome.
Step-by-Step: Perfectly Greasing a Cake Pan for Baking Perfection
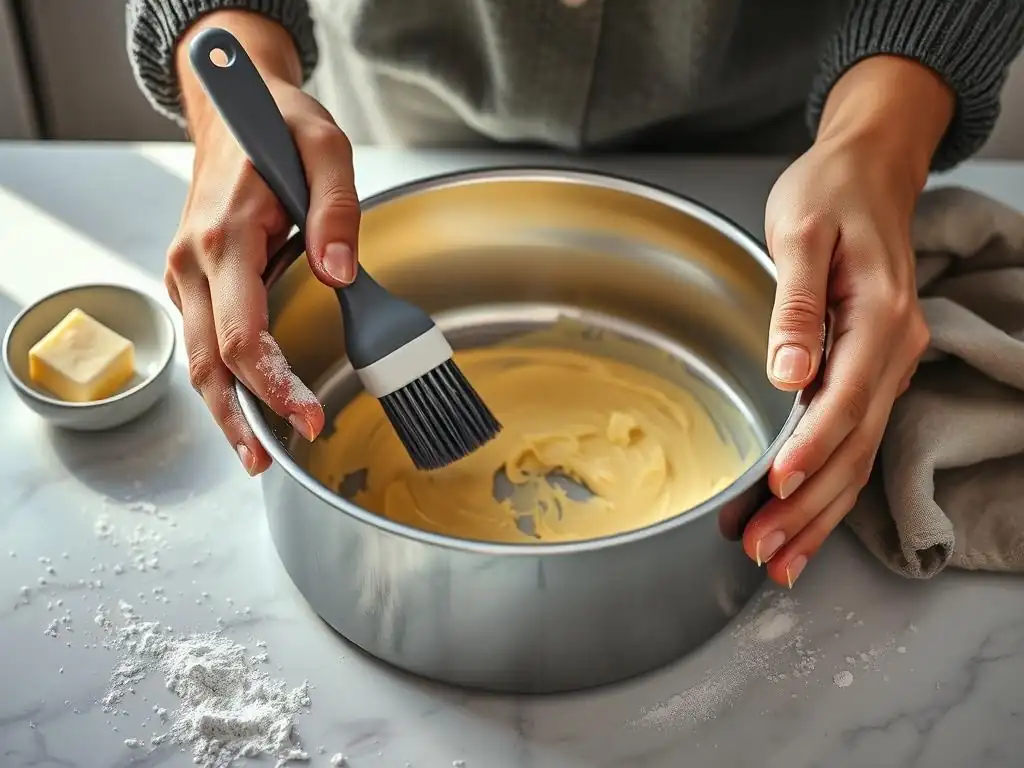
Preparing your cake pan might seem straightforward, but there are nuances that can elevate your results from good to perfect. The goal is to create a uniform, non-stick surface that will release your cake effortlessly. This process involves selecting the right materials, applying them correctly, and ensuring every nook and cranny of the pan is covered. Let's break down the steps to achieve baking perfection.
Following a consistent method for pan preparation is key to reproducible results. Whether you're baking a simple 9x13 inch sheet cake or a complex Bundt cake, the principles remain the same. By understanding the purpose behind each step and executing it carefully, you'll build confidence and virtually eliminate the fear of a stuck cake. Getting this basic technique right is fundamental to all subsequent baking endeavors.
Gathering Your Supplies: What You'll Need to Grease and Flour
To perfectly grease flour cake pan surfaces, you'll need a few basic items readily available in most kitchens. First, you'll need your chosen grease: softened butter, melted butter, vegetable shortening, or baking spray. Make sure your butter is truly soft, not melted unless specified, as softened butter is easier to spread evenly. For applying grease, a pastry brush, a piece of parchment paper, a paper towel, or even clean fingers work well.
Next, you'll need your dry coating, typically all-purpose flour. You'll also need a spoon or scoop to add the flour to the pan. For more intricate pans, a fine-mesh sieve can be helpful for dusting. Finally, you'll need a way to shake out the excess flour – usually just tipping the pan over your sink or trash can works fine. Having these supplies gathered before you start makes the process quick and efficient, ensuring you can move on to filling your perfectly prepped pan with batter.
Choosing the Right Grease: Butter, Shortening, or Cooking Spray?
The choice of grease can subtly affect your cake's crust and overall outcome.
- Butter: Provides a lovely flavor to the cake's crust and helps achieve a beautiful golden-brown exterior. However, butter contains water, which can cause the flour to clump slightly or, in some cases, not adhere quite as evenly as shortening. Using melted butter can help with spreadability, but softened butter is often preferred for its ability to hold the flour better.
- Vegetable Shortening: Often considered the gold standard for greasing pans. It has a higher melting point than butter and contains no water, making it excellent at preventing sticking and allowing the flour to adhere in a very even layer. It doesn't add flavor, which can be desirable for delicate cakes. Crisco is a common brand of vegetable shortening used for this purpose.
- Cooking Spray: Convenient and quick, especially sprays specifically designed for baking (often containing flour). However, regular cooking sprays can sometimes leave a sticky residue on pans over time that is difficult to remove. They also don't always provide as thick or reliable a barrier as solid grease and flour, especially for complex pans or very sticky batters.
Understanding the Pros and Cons of Each Greasing Option
Each type of grease has its advantages and disadvantages when learning how to perfectly grease flour cake pan surfaces. Butter imparts flavor but can be less reliable for non-stick properties than shortening, and its low smoke point means it can brown quickly. A study by Cook's Illustrated found that shortening consistently outperformed butter in preventing sticking, particularly in intricate Bundt pans.
Vegetable shortening is highly effective at preventing sticking due to its composition and higher melting point. It creates a robust barrier for the flour to cling to. However, it is a trans fat (unless using a hydrogenated version), which some bakers prefer to avoid for health reasons. Baking sprays with flour are the fastest option but can be less effective for heavy or very moist batters and may lead to residue buildup on pans over time. For most standard cakes, shortening is often recommended for reliability, while butter is great for flavor if you're confident in your technique.
Applying the Grease: A Thin, Even Layer is Key
Once you've chosen your grease, the next step is to apply it evenly to the entire interior surface of the pan. Using softened butter or shortening, take a generous dollop on a paper towel, piece of parchment, or your fingers.
Start at the bottom and work your way up the sides, ensuring you cover every inch, including corners, edges, and the center tube if using a Bundt pan. The key is a thin, even layer – too much grease can cause the cake to slide down the sides as it rises, resulting in a dense, uneven texture around the edges.
For melted butter or baking spray, you can pour a small amount in and use a pastry brush to spread it. Be meticulous; any spot missed is a potential sticking point. Hold the pan up to the light to check for missed patches. The surface should look uniformly greasy, not patchy or excessively thick in areas. This careful application is fundamental to learning how to perfectly grease flour cake pan surfaces and ensures the subsequent flour coating adheres properly.
How to Grease Intricate Cake Pan Designs
Intricate pans, like Bundt pans with their detailed patterns, require extra care when greasing. The many nooks, crannies, and sharp angles are prime spots for cake to stick. Start by melting your butter or shortening (melted is often easier for intricate pans) or using a baking spray with flour. Use a pastry brush to meticulously work the grease into every single groove and detail. Don't rush this step.
Ensure the center tube is thoroughly greased as well. Some bakers even recommend applying two thin layers of grease, allowing the first to set slightly before applying the second. The goal is to leave no dry spots whatsoever. For a standard 10-cup Bundt pan, this might take a minute or two of focused effort. This detailed greasing is the crucial first step to ensure your beautifully patterned cake releases cleanly and showcases its design.
Mastering the Flour Coating: Ensuring a Stick-Free Cake
After applying the grease, the next critical step is adding the dry coating. While grease provides the initial slick barrier, the flour creates a fine, powdery layer that prevents the cake batter from gripping the pan surface. When done correctly, this step reinforces the non-stick barrier and ensures a clean release with a pleasant crust on your cake.
The technique for applying the flour is just as important as applying the grease. Too much flour can leave a thick, white, unappetizing layer on your cake's crust, while too little or uneven coverage defeats the purpose. The aim is a light, opaque dusting that adheres smoothly to the grease. This double-action approach is why learning how to perfectly grease flour cake pan surfaces is so effective.
Selecting the Right Flour: All-Purpose or Cake Flour?
For general pan preparation, standard all-purpose flour is the most common and usually the best choice. Its protein content is suitable for creating a stable, even coating when combined with grease. You don't need anything fancy; your everyday all-purpose flour will work perfectly.
While cake flour has a lower protein content and finer texture, it doesn't offer any significant advantage for pan preparation and can sometimes be too fine, not adhering as well to the grease. Stick with all-purpose flour for reliable results unless you are baking a dark cake where cocoa powder is preferred. Using the right flour is a small but important detail in learning how to perfectly grease flour cake pan surfaces.
Even Flour Distribution: The Secret to a Perfect Coating
Once the pan is thoroughly greased, add a few tablespoons of flour (the exact amount depends on the pan size – about 2-3 tablespoons for an 8 or 9-inch round pan, more for larger or Bundt pans). Hold the pan in one hand and rotate it, tapping the sides and bottom with your other hand. This motion helps the flour spread and adhere to the greased surfaces.
Continue rotating and tapping until the entire greased interior is coated with a thin layer of flour. The goal is full coverage with no bare spots. The excess flour will collect in the bottom as you rotate. This technique ensures the flour adheres evenly to the grease, creating that essential non-stick barrier needed to perfectly grease flour cake pan surfaces.
Tips for Coating Fluted and Bundt Pans with Flour
Coating intricate or fluted pans requires a slightly different approach to ensure the flour gets into all the details. After greasing thoroughly, add a generous amount of flour to the pan. Hold the pan and gently rotate and tilt it in all directions, tapping the sides firmly. This helps the flour bounce and settle into the grooves and crevices.
Don't be afraid to spend a little extra time on this step. You can also use a soft pastry brush to gently encourage the flour into stubborn spots, though careful tapping is usually sufficient. Ensure the center tube is also fully coated. The goal is complete, opaque coverage throughout the entire intricate design before moving on to remove the excess.
Removing Excess Flour: Preventing a Powdery Crust
After coating the pan with flour, there will be a significant amount of loose flour pooled at the bottom. It is crucial to remove this excess. Invert the pan over a sink or trash can and tap it firmly to shake out the loose flour. Rotate the pan as you tap to ensure all excess is removed.
Leaving too much excess flour in the pan will result in a thick, unappealing white layer on the outside of your cake, which can taste powdery and affect the texture of the crust. A perfectly prepared pan will have a thin, even layer of flour coating the grease, with no visible piles or patches of loose flour. This final step completes the process of how to perfectly grease flour cake pan surfaces.
Alternative Methods for Pan Preparation: Beyond Grease and Flour
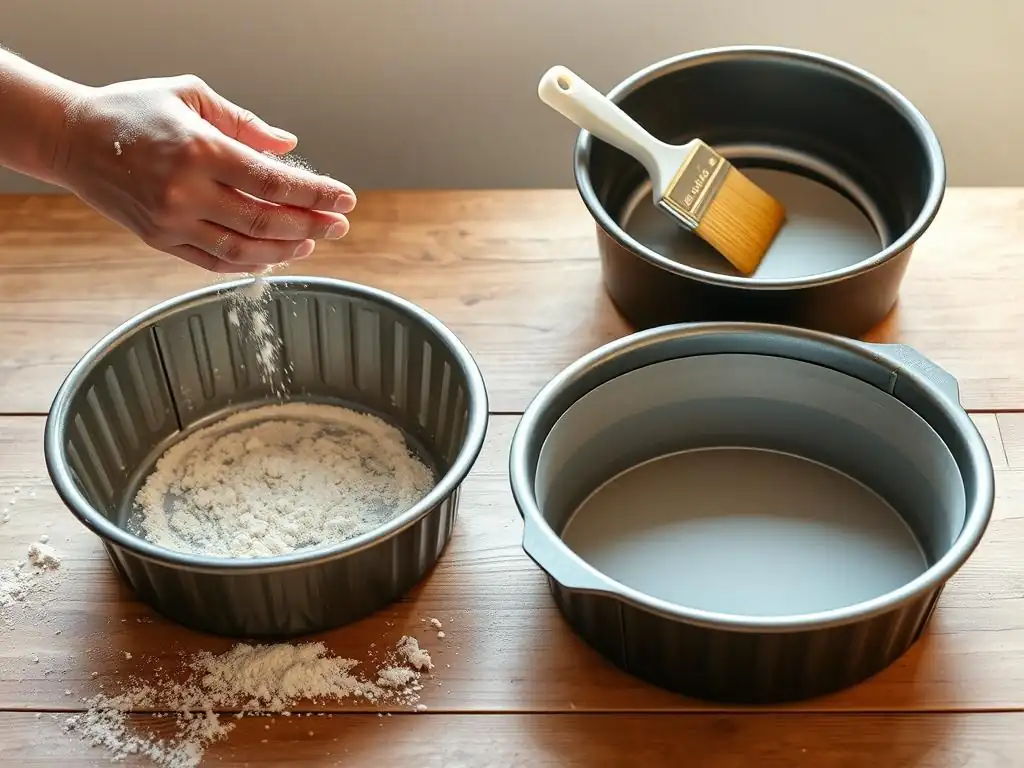
While greasing and flouring is a classic and highly effective method, several alternatives can also yield excellent results, depending on the cake type and your preferences. Exploring these options can provide convenience or better suit specific baking needs. These methods also aim to create that vital non-stick layer between the cake and the pan.
Understanding these alternatives expands your pan preparation toolkit. Sometimes, a different approach might be easier or more reliable for a particular recipe or pan shape. From convenient sprays to custom-cut liners, there are several ways to achieve that coveted clean release without relying solely on the traditional grease and flour technique.
Using Baking Spray with Flour: A Convenient Option
For many home bakers, baking spray containing flour has become a go-to for its sheer convenience. Products like Baker's Joy or Pam Baking Spray combine grease and flour in a single aerosol can, allowing for rapid pan coating. You simply spray a thin, even layer over the entire interior surface of the pan.
This method is particularly useful for quick baking projects or when preparing multiple pans. However, it's essential to shake the can well before use to ensure the flour is evenly dispersed within the spray. While convenient, some bakers report that these sprays can occasionally leave a slightly gummy residue on pans over time compared to traditional methods. Ensure full coverage, as missed spots are just as problematic as with manual greasing and flouring.
Parchment Paper Liners: Ensuring a Clean Cake Release
Parchment paper is an excellent tool for ensuring a clean release, especially for round or square cake pans. It creates a completely non-stick barrier between the bottom of the cake and the pan. While it doesn't cover the sides, properly greasing the sides in conjunction with a parchment bottom liner provides robust protection against sticking.
This method is particularly reliable for delicate cakes or when you want absolute certainty of a clean lift-out. Parchment paper can withstand oven temperatures and prevents the cake from bonding with the pan base. Using parchment along with greased sides is a highly effective way to perfectly grease flour cake pan bottoms and edges separately for optimal release.
Cutting and Fitting Parchment Paper Circles
To use parchment paper for round pans, place the pan on top of a sheet of parchment paper. Trace around the base of the pan with a pencil. Cut out the circle just inside the traced line. Grease the bottom of the pan lightly (this helps the parchment stick), then press the parchment circle into the bottom. Finally, grease the sides of the pan as you normally would (with butter or shortening).
For square or rectangular pans, you can cut a piece of parchment to fit the bottom, or even cut strips to line the sides as well, creating a sling to lift the cake out. For a 9x13 inch pan, a piece cut to size for the bottom is usually sufficient when combined with greased sides. This simple step adds an extra layer of assurance for a clean release, particularly for heavier cakes.
Cocoa Powder for Dark Cakes: Enhancing Flavor and Preventing White Residue
When baking chocolate or other dark-colored cakes, using flour for the dry coating can leave a visible white residue on the cake's crust, which can be visually unappealing. A great alternative is to use unsweetened cocoa powder instead of flour.
After greasing the pan as usual (butter or shortening works well), add a few tablespoons of unsweetened cocoa powder. Swirl, tap, and rotate the pan just as you would with flour, ensuring the cocoa powder adheres to the greased surfaces. Shake out the excess cocoa powder. This method provides the same non-stick barrier as flour but blends seamlessly with the dark color of the cake, and it even adds a subtle hint of extra chocolate flavor to the crust. This is a fantastic tip for achieving a perfectly grease flour cake pan effect for your chocolate creations.
Troubleshooting Common Pan Preparation Problems
Even with careful preparation, sometimes things don't go perfectly. Cakes can still stick, release unevenly, or end up with an undesirable exterior texture. Understanding the common issues and their causes can help you diagnose problems and improve your technique for next time. Don't get discouraged; troubleshooting is part of the baking journey.
Identifying why a cake stuck or didn't release cleanly is key to preventing it from happening again. Was the pan not greased thoroughly? Was too much excess flour left? Was the cake cooled improperly? By examining the outcome, you can refine your approach to perfectly grease flour cake pan surfaces and achieve consistent success.
Cake Sticking Despite Greasing and Flouring: Potential Causes
If your cake still sticks after you thought you followed the steps to perfectly grease flour cake pan surfaces, several factors could be at play.
- Incomplete Coverage: The most common issue is simply missing a spot when greasing or flouring. Even a small dry patch can cause the cake to bond to the pan.
- Excess Heat: Baking at too high a temperature can cause sugars to caramelize excessively and bond to the pan, overpowering the non-stick barrier.
- Improper Cooling: Trying to remove the cake too soon while it's still very hot can cause it to tear. Conversely, letting some cakes cool completely in the pan can also lead to sticking as sugars firm up.
- Type of Pan/Recipe: Some pans (like older aluminum or dark non-stick pans) and some recipes (like very moist or sticky batters) are more prone to sticking than others.
Understanding these potential causes helps you adjust your technique or cooling time to prevent future sticking incidents.
Uneven Cake Release: Identifying and Addressing the Issue
Uneven release, where part of the cake sticks while other parts come out clean, is almost always due to uneven pan preparation. This could mean:
- Patchy Greasing: Some areas received less grease than others.
- Uneven Flour Coating: The flour was not distributed uniformly, leaving bare or thinly coated spots.
- Excess Flour Puddles: Pockets of excess flour might cause the cake to lift unevenly or leave a thick crust in those areas.
To address this, pay extra attention to applying a thin, even layer of grease to every surface and ensuring the flour coating is uniform before tapping out all excess. For detailed pans, take your time to get into every groove. Consistent, thorough application is key to achieving a uniform, perfectly grease flour cake pan result and preventing uneven release.
Over-Greasing and Flouring: Avoiding a Greasy Cake Exterior
While under-preparing is a major cause of sticking, it is possible to overdo it.
- Too Much Grease: Can cause the cake's crust to fry or become excessively greasy. It can also cause the batter to slide down the sides during baking, resulting in a dense, sloped edge.
- Too Much Flour (and not enough removed): Leads to a thick, white, powdery layer on the cake's surface that is unappetizing in appearance and texture.
The goal when you perfectly grease flour cake pan surfaces is a thin, even layer of grease and a light, opaque dusting of flour. It's about creating a barrier, not a thick coating. If you find your cakes are greasy or have a powdery crust, try using slightly less grease and be more diligent about tapping out all the excess flour.
Advanced Techniques: Greasing and Flouring for Specific Cake Types
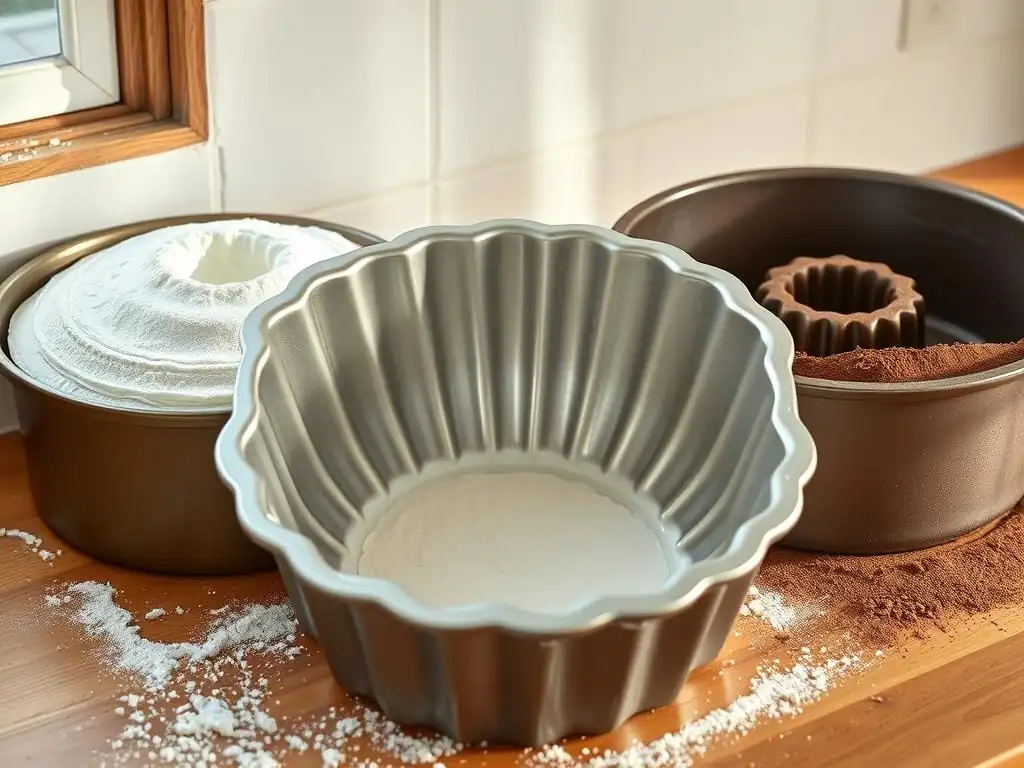
Different cake types have different textures and compositions, which can influence the best approach for pan preparation. While the basic principles of how to perfectly grease flour cake pan surfaces apply broadly, some cakes benefit from specific considerations to ensure optimal results.
Tailoring your pan prep to the specific cake recipe can make a significant difference in the final outcome. From delicate, airy sponges to rich, dense cakes, understanding these nuances helps you achieve the best possible texture and release for every bake.
Preparing Pans for Delicate Cakes: Angel Food and Chiffon Cakes
Angel food and chiffon cakes are unique because they rely on the cake batter adhering to the sides of the pan to help them rise and support their delicate structure as they cool. Therefore, you should never grease or flour the sides of the pan for these types of cakes.
For angel food cakes, which are typically baked in a special tube pan with a removable bottom, only the bottom of the pan should be greased (and sometimes lined with parchment). The sides and the center tube must remain ungreased and unfloured to allow the batter to cling and climb. This is a crucial exception to the rule of how to perfectly grease flour cake pan sides for these specific, airy cakes.
Greasing and Flouring for Layer Cakes: Achieving Uniform Baking
For layer cakes, achieving uniform baking and a clean, flat top is important for easy stacking. Standard round cake pans benefit greatly from being perfectly greased and floured on both the bottom and sides, or using the parchment paper method for the bottom and greasing the sides.
Ensure the grease and flour coating is consistent across all layer pans if baking multiple layers simultaneously. This helps ensure they bake at a similar rate and release cleanly, providing a solid foundation for your stacked cake. A well-prepped pan contributes to even heat distribution and prevents the cake from sticking to the sides as it rises, which can sometimes cause uneven doming.
Pan Preparation for Sticky Cakes: Caramel and Upside-Down Cakes
Cakes with sticky additions like caramel, fruit, or sugary toppings (such as upside-down cakes) are particularly prone to sticking. For these, extra care in pan preparation is essential. Using vegetable shortening and flour, or baking spray with flour, is often more reliable than butter.
For upside-down cakes, you typically grease the pan generously, then add the fruit and sugar topping directly to the bottom before pouring in the batter. The grease helps prevent the caramelized sugars from bonding to the pan. For cakes with sticky glazes or caramel layers added after baking, ensuring the cake releases cleanly via thorough greasing and flouring (or parchment) is key before inverting and adding the sticky component.
Tips and Tricks for Effortless Cake Pan Preparation
Beyond the basic steps, a few extra tips can make the process of preparing your cake pans even easier and more effective. Incorporating these habits into your baking routine will save you time and ensure consistently great results, making how to perfectly grease flour cake pan a breeze.
These little insights, learned through experience, can streamline your baking process and help maintain your equipment. From preparing ahead to proper cleaning, these tips contribute to overall baking efficiency and success.
Prepping Pans Ahead of Time: Saving Time on Baking Day
Did you know you can prepare your cake pans in advance? You can grease and flour your pans hours or even a day before you plan to bake. Once prepped, simply stack them carefully (perhaps with a sheet of paper between them to prevent sticking) and leave them on your counter or store them temporarily in a cool, dry place.
This simple step allows you to get a head start on baking day and reduces the number of tasks you need to complete just before the batter is ready. It's a great way to organize your baking process, especially when preparing multiple pans for a large project. Prepping pans ahead ensures they are ready the moment your batter is mixed, making the process of learning how to perfectly grease flour cake pan efficient.
Cleaning Cake Pans After Baking: Preventing Residue Buildup
Proper cleaning after baking is vital for maintaining your pans and ensuring they perform well for future bakes. Residue left behind from previous cakes or grease/flour can build up over time, making it harder to achieve a perfectly grease flour cake pan surface in the future and potentially causing cakes to stick.
Wash pans promptly after they have cooled. For stubborn residue, soak the pan in hot, soapy water for a while. Avoid using abrasive scrub pads on non-stick pans, as this can damage the coating. For regular metal pans, a nylon brush or sponge is usually sufficient. Ensuring pans are thoroughly clean and dry before storing prevents issues like rust or sticky buildup that hinder future pan prep.
Storing Prepared Cake Pans: Maintaining Freshness and Preventing Dust
If you prep pans ahead of time, store them properly to keep them clean and ready to use. If stacking, place a piece of parchment paper or even a paper towel between pans to prevent the greased and floured surfaces from touching and potentially sticking together or losing their coating.
Store the prepped pans in a place where they won't accumulate dust or debris. A clean cupboard or even loosely covered on a counter works for short periods. Proper storage ensures that the barrier you created to perfectly grease flour cake pan surfaces remains intact and clean until you are ready to fill them with batter.
Enjoy Perfectly Released Cakes with BakeWithEase!
Mastering the simple technique of how to perfectly grease flour cake pan surfaces is a game-changer for any baker. It's a fundamental skill that ensures your cakes look as good as they taste, releasing cleanly every time without frustrating tears or sticking. Whether you use traditional grease and flour, baking spray, or parchment paper, consistent and thorough application is key.
At BakeWithEase, we believe that successful baking starts with getting the basics right. With a little practice and attention to detail in preparing your pans, you'll eliminate the stress of stuck cakes and unlock a new level of baking confidence. Get ready to effortlessly turn out beautiful cakes that slide perfectly onto your cooling rack, ready for frosting, decorating, and enjoying! Happy baking!
Frequently Asked Questions
How important is it to grease and flour a cake pan?
It's extremely important for achieving a clean release of your cake. Greasing prevents sticking, while flour provides a barrier against the batter.
What type of grease works best for cake pans?
Solid shortening is generally considered the best option for greasing due to its high fat content and consistency. Butter and oil also work, but may require more flour.
Can I use cooking spray instead of traditional greasing and flouring?
Yes, cooking spray with flour added is a convenient alternative. Ensure it's applied evenly and covers all surfaces for optimal results.
What kind of flour should I use for flouring a cake pan?
All-purpose flour is the most common choice. However, if you're making a chocolate cake, consider using cocoa powder to avoid white residue on the cake's surface.
What if I over-flour my cake pan?
Gently tap the pan upside down to remove excess flour. Too much flour can lead to a dry or powdery crust on your cake.
Final Reflection: The Unsung Hero of Baking Success
The seemingly simple act of greasing and flouring a cake pan is, in reality, the cornerstone of baking perfection. A flawlessly prepared pan isn't just about preventing sticking; it's about ensuring a clean release, a beautiful rise, and ultimately, a cake that looks as good as it tastes. Mastering this technique elevates your baking from good to truly exceptional.
The impact of this seemingly minor detail on the overall baking experience is profound. It's a testament to the power of attention to detail, a lesson that extends far beyond the kitchen. The frustration of a stuck cake, the heartbreak of a ruined masterpiece – these are all avoidable with the right preparation. As Julia Child once wisely said, Always remember that you're baking for someone you love. And if you love them, you'll want to do it right.
This simple act of greasing and flouring is an expression of that love, a commitment to excellence in every step of the process.
Now, consider your own baking journey. Think about the times a stuck cake has tested your patience, or the moments of triumph when a perfectly released cake emerged from the oven. Take this knowledge, this seemingly small but powerful technique, and apply it to your next baking adventure. Embrace the detail, appreciate the process, and let the perfectly greased and floured pan be a symbol of your dedication to creating something truly special. You'll be amazed at the difference it makes.
Unlock Perfectly Baked Cakes: Let's Get Baking!
Thanks for taking the time to learn the secrets to flawlessly greased and floured cake pans! You're now equipped to avoid those dreaded stuck cakes and enjoy consistently beautiful results. Ready to put your new skills to the test?
- Bake your dream cake today! Try out a new recipe, or revisit an old favorite, knowing your pan prep is on point.
- Share your baking triumphs (and any tips you discover!) on social media using #BakeWithEase. Let's inspire each other!
- Explore our other baking guides on bakewithease.com for more tips and tricks to elevate your baking game.
What delicious creation will you bake first?