
Sugar Cookies 2.0: NutFree, EggFree, and Decorator’s Dream


Welcome to BakeWithEase, where baking dreams come to life! Tired of dietary restrictions holding you back from enjoying delicious treats? Discover how to create Sugar Cookies 2.0 – our NutFree, EggFree, and Decorator’s Dream recipe – and unlock a world of allergen-friendly possibilities. Intrigued? Read on to learn the secrets to perfect sugar cookies, made easy!
- Gluten-Free Sugar Cookies: Classic Holiday Treat - BakeWithEase
- Introduction to Gluten-Free Sugar Cookies
- Mastering the Gluten-Free Sugar Cookie Recipe
- Decorating Your Gluten-Free Sugar Cookies: A Creative Canvas
- Tips and Tricks for Perfect Gluten-Free Sugar Cookies
- Troubleshooting Common Issues with Gluten-Free Sugar Cookies
- Variations and Adaptations for Your Gluten-Free Sugar Cookies
- Conclusion: Enjoy Delicious and Gluten-Free Sugar Cookies
-
Frequently Asked Questions
- What makes these sugar cookies "Sugar Cookies 2.0"?
- What ingredients are used as egg replacements in this recipe?
- Are these sugar cookies suitable for people with severe nut allergies?
- What kind of decorations work best on these nut-free, egg-free sugar cookies?
- How should I store these sugar cookies to maintain their freshness?
- Final Reflection: Baking Beyond Limitations, Embracing Sweet Success
- Unleash Your Inner Cookie Artist!
The Challenge of Gluten-Free Baking
Baking without gluten presents a unique set of challenges, primarily centered around replicating the structure and texture that gluten provides. Gluten, a protein found in wheat, rye, and barley, develops into an elastic network when kneaded with liquid. This network traps air, allowing baked goods to rise, and provides chewiness and stability. Without it, batters and doughs can be crumbly, dense, or spread excessively, making classic recipes like sugar cookies tricky to adapt.
For sugar cookies specifically, the goal is often a cookie that holds its shape beautifully for decorating, has a tender yet slightly crisp texture, and doesn't crumble apart. Achieving this balance in gluten-free baking requires careful consideration of ingredients. Standard wheat flour contains roughly 10-14% protein, contributing significantly to structure. Gluten-free flour blends, often made from rice, potato, tapioca, and other starches, have different protein and starch profiles, typically lower in protein overall, which means they behave differently in terms of liquid absorption and structure formation.
This recipe aims to overcome the typical hurdles of gluten-free baking to deliver perfect sugar cookies. By focusing on a carefully balanced blend of gluten-free flours and the right binding agents, these cookies promise excellent shape retention, minimal spreading, and a delightful texture that's neither too hard nor too crumbly. We've worked to ensure the dough is easy to handle – rollable and cuttable – which is often a major difficulty with gluten-free cookie doughs that can be sticky or brittle.
Furthermore, these gluten-free sugar cookies serve as an ideal base for decoration. Their ability to maintain defined edges after baking makes them a fantastic canvas for royal icing and other decorative elements. Whether you're aiming for intricate holiday designs or simple, colorful shapes, this recipe provides the sturdy yet tender foundation needed for a successful decorating project. The resulting cookies are not just gluten-free adaptations; they are delicious sugar cookies in their own right, enjoyable for everyone.
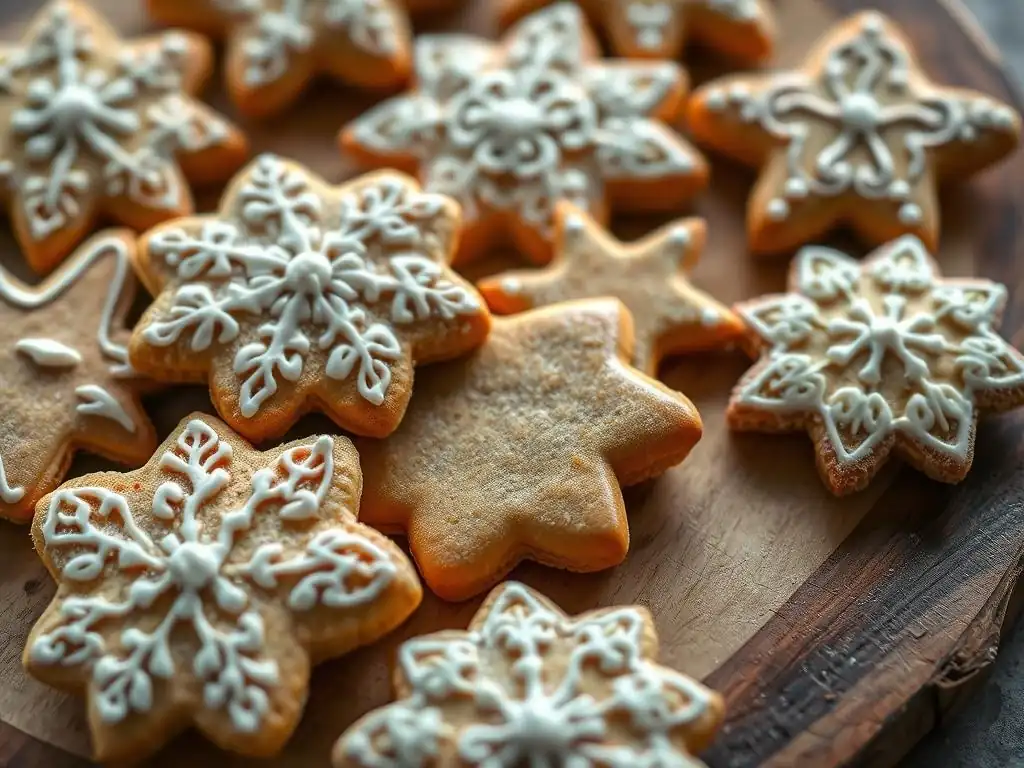
Crafting excellent gluten-free sugar cookies starts with understanding the role of each ingredient, especially how they compensate for the absence of gluten. The right combination is crucial for achieving the desired texture, structure, and flavor. Unlike traditional recipes where wheat flour is the primary structural component, gluten-free versions rely on a blend of flours and specific additives to mimic gluten's function.
Beyond the flour, the quality and temperature of fats, the type of sugar, and the inclusion of binding agents all play significant roles. For instance, using cold, firm butter is essential for creating pockets of steam that contribute to lift and tenderness, while the sugar type affects spread and crispness. Paying close attention to the specifics of each ingredient ensures the dough handles well and the baked cookies turn out perfectly.
The Gluten-Free Flour Blend: Discuss Different Gluten-Free Flour Blend Options
The base of your gluten-free sugar cookies is the flour blend. Pre-mixed commercial blends are convenient and often formulated to behave similarly to wheat flour, but their composition varies widely. Many contain a mix of rice flour (white or brown), tapioca starch, potato starch, and sometimes sorghum or millet flour. The ratio of these flours impacts the final texture; rice flour provides structure, while starches like tapioca and potato contribute tenderness and crispness. A common ratio in effective blends might be around 40% rice flour, 30% starch, and 30% other flours.
Alternatively, you can create your own blend. A simple and effective homemade blend often consists of white rice flour, brown rice flour, tapioca starch, and potato starch. For example, a blend could be 1 cup (160g) white rice flour, 1 cup (140g) brown rice flour, 1 cup (120g) tapioca starch, and 1 cup (120g) potato starch. Using a blend ensures a balanced texture, avoiding the grittiness that can come from using only rice flour or the gumminess from too much starch. Always measure gluten-free flours by weight for accuracy, as volume measurements can vary significantly.
Binding Agents: Explain the role of binding agents in the recipe
In gluten-free baking, binding agents are critical for holding ingredients together and providing elasticity, functions typically performed by gluten. The most common binders are xanthan gum and guar gum. Xanthan gum, produced by fermenting sugar with bacteria, provides structure and elasticity. Guar gum, derived from guar beans, offers similar binding properties but can sometimes yield a slightly different texture or react poorly with acidic ingredients. Psyllium husk powder is another effective binder, absorbing liquid to create a gel-like consistency, which can add chewiness and improve handling of the dough.
The amount of binding agent needed is relatively small but crucial. Too little, and your cookies may be crumbly; too much, and they can become gummy or dense. For cookies, a general guideline for xanthan gum is about 1/4 to 1/2 teaspoon per cup of gluten-free flour blend (if the blend doesn't already contain it).
Psyllium husk powder is typically used in slightly larger quantities, maybe 1 to 2 teaspoons per cup of flour. These binders absorb moisture and create a network that mimics gluten, preventing the cookies from spreading too much and ensuring they don't fall apart when handled or decorated.
Sweeteners: Discuss different types of sweeteners and their effect on texture
Sweeteners do more than just add sweetness; they significantly impact the texture, spread, and browning of sugar cookies. Granulated sugar is the most common sweetener in traditional sugar cookies, contributing to crispness and spread. When creamed with butter, its sharp crystals help aerate the mixture, creating tiny air pockets that expand during baking. Using only granulated sugar typically results in a crispier cookie that spreads more readily.
Powdered sugar (confectioners' sugar) contains cornstarch (usually around 3%) and dissolves more easily into the dough, leading to a softer, more tender cookie with less spread. A blend of granulated and powdered sugar is often used in recipes designed for cut-out cookies to balance crispness and tenderness while controlling spread.
For example, a recipe might use equal parts granulated and powdered sugar by weight. Brown sugar, if used, adds moisture and chewiness due to its molasses content, but it also causes more spread and browning, so it's less common in classic cut-out sugar cookie recipes unless a chewier texture is desired.
Preparing the Dough: Detailed Instructions with Tips
Start by ensuring your butter is softened but still cool to the touch – think pliable, not melted. Cream the softened butter with your sugar (or blend of sugars) in a large bowl using an electric mixer on medium speed for 3-5 minutes. This step is vital for incorporating air, which contributes to the cookie's lift and tender texture. The mixture should become lightened in color and fluffy. Scrape down the sides of the bowl periodically to ensure even creaming.
Next, beat in your egg (at room temperature for better emulsification) and vanilla extract until just combined. In a separate bowl, whisk together your gluten-free flour blend, binding agent (if not in blend), salt, and any other dry ingredients like baking powder (use sparingly, as too much can cause spread). Gradually add the dry ingredients to the wet ingredients, mixing on low speed until just combined. Avoid overmixing, which can lead to tough cookies even without gluten development. The dough should come together but still be soft.
Chilling the Dough: Importance of Chilling and Techniques
Chilling the dough is arguably the most crucial step for successful gluten-free cut-out sugar cookies. Gluten-free doughs tend to be softer and more prone to spreading than wheat-based doughs. Refrigeration solidifies the fat (butter), which helps the cookies hold their shape during the initial stages of baking before the structure sets. Chilling also allows the gluten-free flours and binding agents to fully hydrate, improving the dough's texture and making it much easier to roll and cut without sticking or crumbling.
For best results, divide the dough into two or three flat disks, wrap each tightly in plastic wrap, and refrigerate for at least 2 hours. A longer chill, up to 2-3 days, is even better as it further hydrates the flours and deepens the flavors. A useful technique is to roll the dough before chilling. Roll the dough between two sheets of parchment paper to your desired thickness (e.g., 1/4 inch), then stack the parchment-encased dough sheets on a baking tray and chill. This makes cutting cold dough much easier and less messy.
Rolling and Cutting: Tips for Even Thickness and Clean Cuts
Rolling chilled gluten-free dough requires a gentle touch and the right technique to prevent sticking and cracking. If you didn't pre-roll, place a disk of chilled dough between two large sheets of parchment paper. This eliminates the need for dusting flour, which can dry out the dough and affect the texture. Roll the dough evenly using a rolling pin, aiming for a consistent thickness, typically 1/4 inch (about 6mm) for standard cut-outs. Using rolling pin guides or stacking books of equal thickness on either side of your dough can help achieve uniformity.
Once rolled, peel off the top sheet of parchment. Dip your cookie cutters in a little gluten-free flour or powdered sugar to prevent sticking, especially with intricate shapes. Press the cutters down firmly without twisting to get clean edges. Carefully lift the cut shapes using a thin spatula and transfer them to a baking sheet lined with parchment paper. Leave about 1-2 inches between cookies. Gather the scraps, press them gently back together (avoid kneading), roll again, and chill briefly before cutting more shapes.
Baking to Perfection: Temperature and Baking Time Guidelines
Bake your gluten-free sugar cookies in a preheated oven, typically at 350°F (175°C). Proper oven temperature is key; too cool, and the cookies might spread excessively; too hot, and they could brown too quickly before cooking through. For accuracy, consider using an oven thermometer. Place baking sheets in the center rack of the oven for even heat distribution.
Baking time will vary depending on the size and thickness of your cookies, usually ranging from 8 to 12 minutes. Look for the edges to be lightly golden and the centers to appear set, not wet or shiny. The tops should look dry. Avoid overbaking, which results in hard, dry cookies. For a softer cookie, take them out when the edges are just beginning to turn golden. Let the cookies cool on the baking sheet for 5-10 minutes before carefully transferring them to a wire rack to cool completely. This allows them to firm up and prevents breakage.
Once your gluten-free sugar cookies are completely cool, they are ready to be transformed into edible works of art. Their ability to hold sharp edges makes them perfect for detailed decoration. The most popular choice for decorating is royal icing, known for its smooth finish and ability to dry hard, allowing for stacking and intricate designs. However, simple glazes or buttercream can also be used depending on the desired look and texture.
Decorating is a fun and creative process, whether you're a beginner or an experienced decorator. Having your icing prepared and colored beforehand makes the process smoother. Ensure you have the necessary tools, such as piping bags, tips, and perhaps a scribe tool or toothpicks for manipulating the icing. Embrace the opportunity to personalize your cookies for any occasion or theme.
Royal icing is the go-to for beautifully decorated cut-out cookies because it dries smooth and hard, creating a professional finish. It's made from powdered sugar, a liquid (water, milk, or lemon juice), and a stabilizer, most commonly meringue powder or egg whites. Meringue powder is preferred by many for its convenience and safety, providing consistent results without the risk of raw egg whites.
The consistency of royal icing is adjustable and crucial for different decorating techniques. A thicker consistency is used for outlining, creating a barrier that holds thinner icing. A thinner, 'flooding' consistency is used to fill in the outlined areas, spreading smoothly to cover the cookie's surface. Getting the right consistency takes practice, but it's essential for achieving that flawless, flat look.
Making Royal Icing: Recipe and Instructions
A basic royal icing recipe using meringue powder typically calls for 4 cups (about 450g) of powdered sugar, 3 tablespoons of meringue powder, and about 1/2 cup (120ml) of warm water. Whisk the powdered sugar and meringue powder together in a large bowl. Gradually add the warm water while mixing on low speed with an electric mixer. Once combined, increase the speed to medium-high and beat for 5-7 minutes until the icing is thick, glossy, and stiff peaks form.
If using egg whites, whisk together 3 large egg whites (pasteurized for safety) until frothy, then gradually beat in 4 cups (450g) of powdered sugar on low speed until combined. Increase speed to medium-high and beat for 5-7 minutes until thick and glossy. Add a splash of vanilla or almond extract for flavor if desired. Keep the icing covered with a damp cloth or plastic wrap pressed directly onto the surface to prevent it from drying out, as it dries very quickly when exposed to air.
Coloring and Consistency: Achieving the Perfect Colors and Texture
Coloring royal icing is best done with gel food coloring, as it's highly concentrated and won't add excess liquid that could thin the icing too much. Add color sparingly with a toothpick, mixing until the desired shade is achieved. For consistency, divide your stiff icing into portions. Keep some thick for outlining. For flooding, gradually add small amounts of water (1/2 teaspoon at a time) to another portion, mixing until it reaches the desired thinness.
The '10-second rule' is a common test for flooding consistency: drop a spoonful of icing back into the bowl; if the surface smooths out completely within 10-12 seconds, it's ready for flooding. If it takes longer, add a tiny bit more water. If it disappears too quickly, add a little more powdered sugar. For piping details, the icing should be slightly thicker than outline consistency, holding a soft peak when lifted. Always test the consistency in a piping bag before committing to decorating your cookies.
Outlining and Flooding: Step-by-Step Instructions
Once your cookies are cooled and your royal icing is prepared to the correct consistencies, you can begin decorating. Start with outline consistency icing in a piping bag fitted with a small round tip (like a #2 or #3). Carefully pipe a border around the edge of the cookie, following the shape. This outline acts as a dam to hold the thinner flood icing.
Allow the outline to set for 10-15 minutes until it's firm to the touch. While the outlines are setting on all your cookies, prepare your flood icing. Fill the outlined area with the thinner flood consistency icing. Use a spoon or squeeze bottle to apply the icing, then gently spread it to the edges using a scribe tool or toothpick, ensuring it reaches the outline without going over. Use the tool to pop any air bubbles and smooth the surface. Let the flooded cookies dry completely, which can take anywhere from 6 to 24 hours depending on humidity.
Adding Details: Piping Techniques and Embellishments
After the flood icing is completely dry, you can add details using thicker icing (outline or slightly thinner). Use different piping tips to create dots, lines, swirls, or messages. For example, a small round tip (#1 or #2) is great for fine lines and details, while a star tip can create borders or rosettes. Practice piping on parchment paper first to get a feel for the consistency and pressure needed.
You can also add embellishments like sprinkles, sanding sugar, edible glitter, or dragées while the flood icing is still wet (wet-on-wet technique for embedding) or apply them to details piped on top of dry icing. For instance, you can pipe dots of contrasting color onto wet flood icing and swirl them with a toothpick for a marbled or wet-on-wet polka dot effect. For adding sprinkles to dry icing details, apply a small amount of fresh icing where you want the sprinkles to stick.
Creative Decorating Ideas: Theme-based Inspiration
Let your creativity flow with theme-based decorating! For holidays, use festive shapes like snowflakes, trees, and gingerbread men, decorating them with appropriate colors and details. A winter theme might involve white and blue icing, edible glitter snow, and piped icicles. For birthdays, use bright colors, sprinkles, and perhaps pipe names or ages.
Consider using stencils for consistent patterns or airbrushing for gradients and smooth color application (ensure your airbrush colors are gluten-free if necessary). Edible markers can be used on dry royal icing for drawing fine lines or cartoon details. Layering is another technique; flood a section, let it dry, then flood an adjacent section or pipe designs on top. The possibilities are endless, limited only by your imagination and patience as you wait for layers to dry.
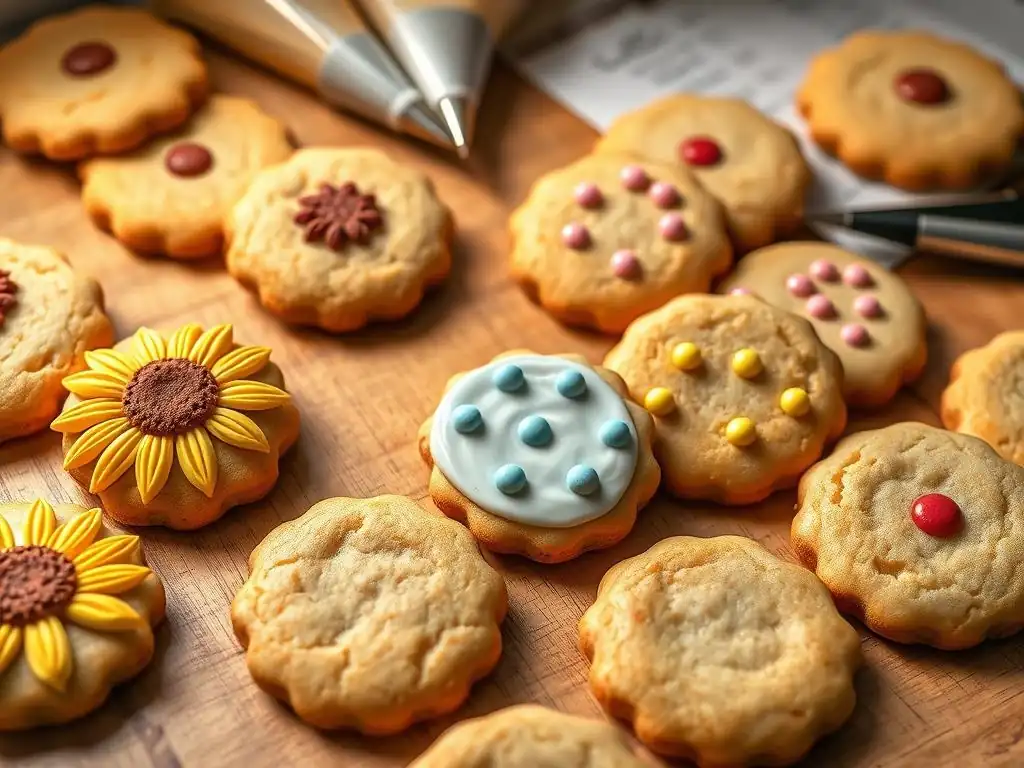
Excessive spreading is a common issue in both gluten-free and traditional sugar cookies, but it can be more pronounced without gluten's structure. The most effective strategy is thorough chilling of the dough – both as a disk before rolling and, ideally, again after cutting the shapes. Ensuring your butter is cold and firm when you begin creaming (though still softened enough to cream) also helps, as the solid fat melts slower in the oven, giving the cookie time to set.
Using the correct ratio of flour to fat and sugar is also critical. Too much butter or sugar relative to the flour can increase spread. Ensure you measure ingredients accurately, preferably by weight. Baking on parchment paper or silicone mats helps prevent sticking and can slightly reduce spread compared to a greased pan. Finally, make sure your oven is preheated to the correct temperature; an oven that is too cool can cause cookies to spread before they set.
Achieving the Right Texture: Balancing Ingredients for a Soft Bite
The ideal sugar cookie texture is often described as tender, with a slight crispness at the edges. For gluten-free cookies, achieving this requires a careful balance. Using a blend of gluten-free flours with a good proportion of starches (like tapioca and potato) contributes to tenderness. The amount and type of sugar also play a role; incorporating some powdered sugar alongside granulated sugar helps produce a softer cookie.
Avoid overmixing the dough after adding the dry ingredients, as this can lead to tougher cookies. Ensure your butter and sugar are properly creamed to incorporate air, which lightens the texture. Baking time is also key; bake just until the edges are lightly golden and the center looks set. Underbaking slightly will result in a softer cookie, while overbaking will yield a harder, drier one. Experiment with baking times for your specific oven and cookie size to find the perfect balance.
Proper storage is essential to keep your gluten-free sugar cookies fresh and protect your beautiful decorations. Once the royal icing is completely dry (this can take 12-24 hours depending on humidity), store the cookies in an airtight container at room temperature. Layering cookies with parchment paper or wax paper will prevent them from sticking together and protect the delicate icing designs.
Avoid refrigerating royal-iced cookies, as condensation can form on the surface when they are brought back to room temperature, potentially damaging the icing or causing colors to bleed. Undecorated gluten-free sugar cookies can be stored similarly or frozen. To freeze, wrap cooled, undecorated cookies tightly in plastic wrap, then place them in a freezer-safe bag or container for up to 3 months. Thaw at room temperature before decorating. Decorated cookies can sometimes be frozen if they are very dry and carefully layered, but it carries a higher risk of damage.
Dough Too Dry or Crumbly: Solutions and Adjustments
If your gluten-free sugar cookie dough feels too dry and crumbly to come together or roll out, it's likely due to too much flour or not enough liquid/fat. Gluten-free flours absorb moisture differently than wheat flour, and humidity can also play a role. Ensure you measured your flour accurately, preferably by weight (e.g., 1 cup of a GF blend is typically 120-140g).
- Check if you used the correct amount of wet ingredients (butter, sugar, egg).
- If the dough is just slightly dry, try kneading it gently for a minute; the warmth from your hands can help bring it together.
- If it's significantly dry, you can try adding a very small amount of liquid, like 1/2 to 1 teaspoon of milk or water, at a time. Mix it in until the dough becomes pliable. Be cautious not to add too much, as this can make the dough sticky or cause spread during baking.
Excessive spread is a frequent frustration with gluten-free cut-out cookies. The primary culprits are usually warm dough, too much fat or sugar, or an oven that isn't hot enough. Gluten-free dough lacks the strong protein network of wheat dough, making it more reliant on cold fat and proper baking temperature to hold its shape.
- Remedy: Ensure your dough is thoroughly chilled (at least 2 hours, preferably longer) before rolling and cutting. If your kitchen is warm, chill the cut shapes on the baking sheet for 15-20 minutes before baking.
- Remedy: Verify your oven temperature with an oven thermometer. If it runs cool, increase the temperature slightly.
- Remedy: Check your recipe measurements, especially for butter and sugar. Using slightly less butter or incorporating more powdered sugar (which contains starch) can help reduce spread in future batches. Make sure you're not greasing your baking sheets; parchment paper or silicone mats are sufficient and help prevent spread.
If your gluten-free sugar cookies turn out hard or tough instead of tender, several factors could be at play, including overmixing, too much flour, or overbaking. While gluten-free dough doesn't develop gluten from kneading, overworking the dough can still lead to a tougher texture.
- Remedy: Avoid overmixing the dough, especially after adding the dry ingredients. Mix only until the ingredients are just combined and no dry streaks remain.
- Remedy: Ensure your flour is measured accurately, ideally by weight. Too much flour will result in a dry, hard cookie.
- Remedy: Pay close attention to baking time. Remove cookies from the oven as soon as the edges are lightly golden and the centers look set. Remember they will continue to set slightly as they cool on the baking sheet. Baking for just a minute or two too long can drastically change the texture from tender to hard.
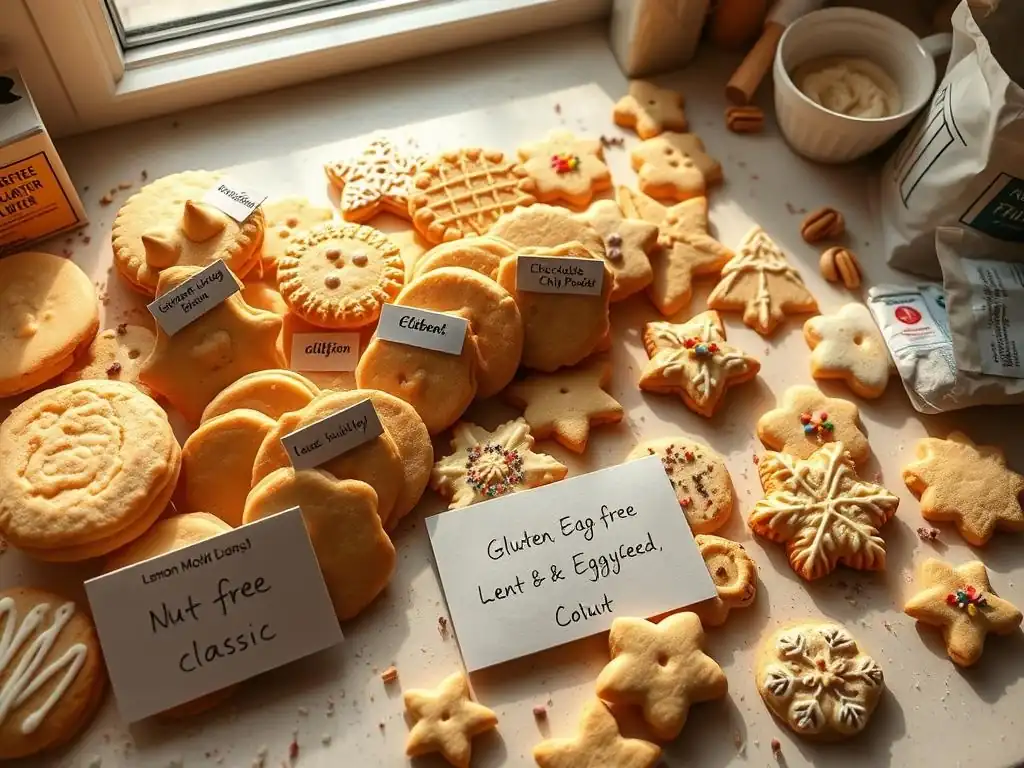
Once you've mastered the basic gluten-free sugar cookie recipe, you can easily adapt it to create different flavors and accommodate other dietary needs. These variations allow you to customize your cookies for different occasions and preferences, proving that dietary restrictions don't have to limit deliciousness or creativity in the kitchen.
Exploring different extracts, zests, and spices can completely transform the flavor profile of a simple sugar cookie. Furthermore, with a few strategic substitutions, the base recipe can be made suitable for those avoiding dairy or following a vegan diet, ensuring that everyone can enjoy these delightful decorated treats.
Flavor Variations: Adding Extracts, Zest, and Spices
The classic sugar cookie flavor is often vanilla, but this recipe is a fantastic canvas for other additions. Extracts are an easy way to introduce new flavors; try almond extract for a nutty note, lemon extract for brightness, peppermint extract for a festive touch, or even a hint of rum or maple extract. Start with 1/4 to 1/2 teaspoon of stronger extracts, adding more to taste in the dough.
Citrus zest (lemon, orange, lime) adds a fresh, aromatic flavor. Add 1-2 teaspoons of finely grated zest to the wet ingredients. Spices like cinnamon, nutmeg, ginger, or cardamom can be added to the dry ingredients for warmer, spicier cookies – perfect for the holidays. For chocolate gluten-free sugar cookies, replace about 1/4 cup (around 20-25g) of the gluten-free flour blend with unsweetened cocoa powder and perhaps add a touch of instant espresso powder to enhance the chocolate flavor.
Making these gluten-free sugar cookies dairy-free is a straightforward substitution. The primary source of dairy is butter. Simply replace the butter with a good quality dairy-free stick margarine or a solid vegetable shortening blend designed for baking. Look for brands that explicitly state they are suitable for baking and can be creamed like butter. Use a 1:1 substitution by weight or volume as specified in the original recipe.
Ensure any other ingredients, such as milk used in royal icing (though water is more common), are also dairy-free alternatives. For the royal icing itself, using meringue powder is naturally dairy-free, whereas some pre-made icing mixes might contain dairy derivatives, so check labels carefully. The texture of the cookie may vary slightly depending on the dairy-free fat used, as different fats have different melting points and water content.
To make these cookies vegan, you'll need to address both the dairy (as above, using dairy-free butter alternative) and the egg. The egg in a sugar cookie recipe provides binding and contributes to richness and texture. There are several vegan egg substitutes you can use. A "flax egg" (1 tablespoon ground flaxseed mixed with 3 tablespoons water, let sit 5-10 minutes until gel-like) often works well for binding in cookies.
Commercial egg replacers based on starch or tapioca can also be effective; follow package instructions. Applesauce or mashed banana can substitute egg for moisture and binding, but they will impart their own flavor and color and may affect the texture, potentially making the cookie softer or chewier. Use about 1/4 cup of applesauce or mashed banana per egg replaced. You may need to adjust the flour slightly if using moist substitutes. Ensure your sugar is vegan (some processed sugars use bone char, though this is less common in many regions now, check with the manufacturer if concerned).
Creating delicious gluten-free sugar cookies that look and taste fantastic is entirely achievable with the right approach and a little practice. By understanding the unique properties of gluten-free ingredients and employing careful techniques like proper chilling and accurate measurement, you can produce beautiful, tender cookies that hold their shape perfectly for decorating.
These gluten-free sugar cookies offer a wonderful opportunity to share the joy of baking and decorating with everyone, including those with gluten sensitivities. Whether you're baking for a holiday, a special occasion, or just for fun, this recipe provides a reliable foundation for creative expression in the kitchen. Don't be discouraged by initial challenges; gluten-free baking is a skill that improves with practice and patience.
Baking and sharing treats is a special way to connect with others. Offering delicious gluten-free sugar cookies means that friends and family who follow a gluten-free diet don't have to miss out on classic baked goods, especially during festive seasons. It's a thoughtful gesture that ensures everyone feels included and can enjoy the sweet moments together.
Consider bringing a batch of your decorated gluten-free sugar cookies to gatherings, clearly labeling them as gluten-free to ensure safety for those with celiac disease or sensitivities. Teaching others how to make these cookies or hosting a gluten-free cookie decorating party can also spread the joy and empower others to explore allergen-friendly baking.
Further Resources for Gluten-Free Baking on BakeWithEase.com
Mastering gluten-free sugar cookies is just one step in the journey of gluten-free baking. BakeWithEase.com offers a wealth of resources to help you explore other delicious gluten-free recipes and techniques. From gluten-free breads and cakes to muffins and pastries, you can find guides, tips, and recipes designed to make gluten-free baking accessible and enjoyable.
Explore our collection for detailed articles on working with different gluten-free flours, choosing the right binders for various applications, and adapting your favorite traditional recipes to be gluten-free. We aim to provide you with the knowledge and confidence to bake anything you desire, regardless of dietary requirements, making baking truly easy for everyone.
Frequently Asked Questions
These sugar cookies are an improved version because they are nut-free and egg-free, making them accessible to more people with dietary restrictions. They are also formulated to be ideal for decorating, holding their shape well.
What ingredients are used as egg replacements in this recipe?
The recipe utilizes specific ingredients like applesauce or flaxseed meal mixed with water as egg substitutes. These help bind the dough and provide the necessary moisture.
While the recipe is nut-free, it's crucial to verify that all ingredients used are processed in a nut-free facility to avoid any cross-contamination. Always read ingredient labels carefully.
Royal icing is a great choice for decorating these cookies. Its smooth consistency and ability to harden make it perfect for intricate designs and lasting decorations.
Store the baked and decorated cookies in an airtight container at room temperature. This helps prevent them from drying out and keeps them fresh for several days.
Final Reflection: Baking Beyond Limitations, Embracing Sweet Success
The quest for inclusive baking is not just a trend; it's a necessity. These nut-free, egg-free sugar cookies represent more than just a recipe; they represent a commitment to making delicious treats accessible to everyone, regardless of dietary restrictions. The joy of baking should be shared by all, and this recipe aims to break down barriers and open up the kitchen to a wider community.
Creating this recipe has been a journey of discovery, highlighting the incredible versatility of baking and the power of adaptation. It's shown me that deliciousness doesn't have to come at the cost of inclusivity. The process of perfecting these cookies, ensuring both taste and texture met expectations, underscored the importance of careful ingredient selection and innovative techniques. The best things in life are the simple things, and good food is one of them.
This sentiment resonates deeply, especially when considering how a simple sugar cookie can bring so much joy, especially when made accessible to all.
Now, it's your turn. Don't let dietary restrictions limit your creativity in the kitchen. Experiment with these recipes, adapt them to your own preferences, and share the joy of baking with friends and family who may have previously felt excluded. Let's continue to build a world where everyone can savor the sweet taste of success, one delicious, inclusive cookie at a time.
Thanks for joining us on this delicious journey into the world of allergen-friendly baking! We hope you've gained some fantastic new techniques and inspiration for creating stunning, allergy-safe sugar cookies. Ready to take your baking to the next level?
- Master the perfect cutout: Try our recipe again, experimenting with different cookie cutters and decorating styles. See what beautiful creations you can make!
- Share your success: Post a picture of your cookies on social media using #BakeWithEaseSugarCookies and tag us! Let’s inspire each other.
- Explore variations: Try substituting different extracts or adding festive sprinkles to customize your cookies for any occasion.
What innovative decorating ideas will you try next? Let’s chat in the comments!