
Mastering the Mirror Glaze (Easier Than You Think!)

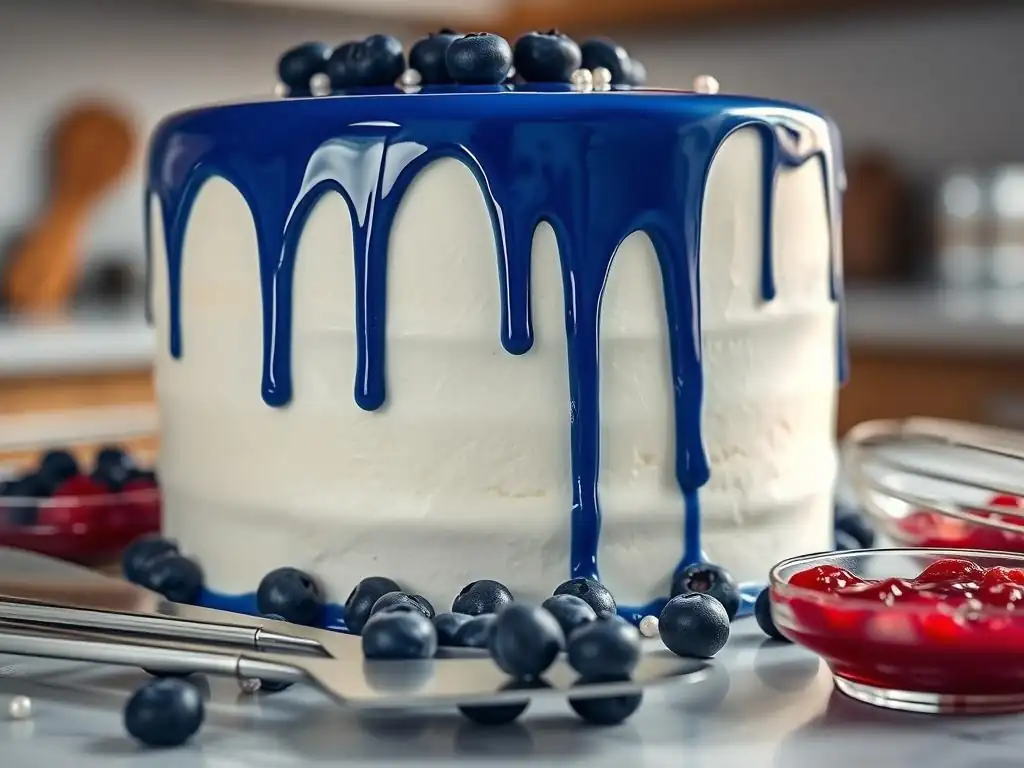
Welcome to BakeWithEase, your partner in baking bliss!
Ever dreamt of creating desserts that look as stunning as they taste? Wondering how to achieve that flawlessly smooth, reflective finish on your cakes? Then you're in the right place! Dive in and discover our easy mirror glaze recipe – a surprisingly simple technique that will transform your creations from delicious to dazzling. Get ready to unlock the secrets behind this captivating trend and elevate your pastry game today!
Easy Mirror Glaze Recipe: Step-by-Step Instructions
Creating a stunning, glossy mirror glaze might seem daunting, but with this easy mirror glaze recipe, we break it down into manageable steps. The key is precision and patience. Let's walk through the process together, making that professional finish totally achievable in your own kitchen.
Following these steps carefully will help you master this technique. Remember, baking is a science, and adhering to the instructions, especially regarding temperature, is crucial for that perfect, reflective surface on your cakes and pastries.
Step 1: Preparing Your Ingredients for the Mirror Glaze
Before you even turn on the stove, gather all your ingredients. This includes sugar, water, glucose or corn syrup, sweetened condensed milk, gelatin, and white chocolate or the chocolate of your choice. Precise measurements are vital for a successful easy mirror glaze recipe, so use a digital scale for accuracy, especially for the sugar, chocolate, and gelatin.
Have your equipment ready as well: a medium saucepan, a heatproof bowl, a whisk, a fine-mesh sieve, and an immersion blender. Having everything prepped and within reach prevents scrambling mid-process and ensures a smoother workflow. Think of this as setting the stage for your culinary performance!
Step 2: Combining and Heating the Mirror Glaze Mixture
In your saucepan, combine the sugar, water, and glucose or corn syrup. Place the pan over medium heat and stir gently until the sugar is completely dissolved. Avoid vigorous stirring once the mixture starts to heat up, as this can cause sugar crystals to form on the sides of the pan.
Bring the mixture to a boil and let it simmer briefly. The goal here is to create a sugar syrup base. Heating it to the proper temperature, often around 103°C (217°F), is important, but ensure all the sugar is dissolved before reaching this point. This syrup forms the foundation of your easy mirror glaze recipe, providing structure and sweetness.
Step 3: Hydrating the Gelatin for Optimal Bloom
While your sugar syrup is heating, prepare your gelatin. If using gelatin powder, sprinkle it over a small amount of cold water (typically about 5-6 times the weight of the gelatin in water) in a separate small bowl. Let this mixture sit undisturbed for about 5-10 minutes. This process is called "blooming" and allows the gelatin granules to absorb the liquid and swell.
Properly bloomed gelatin is essential for the setting power of your mirror glaze. It should become a wobbly, gel-like mass. If you're using gelatin sheets, soak them in a larger bowl of cold water until pliable, then squeeze out the excess water before adding them to the hot mixture later.
Step 4: Achieving a Smooth and Silky Mirror Glaze: The Emulsification Process
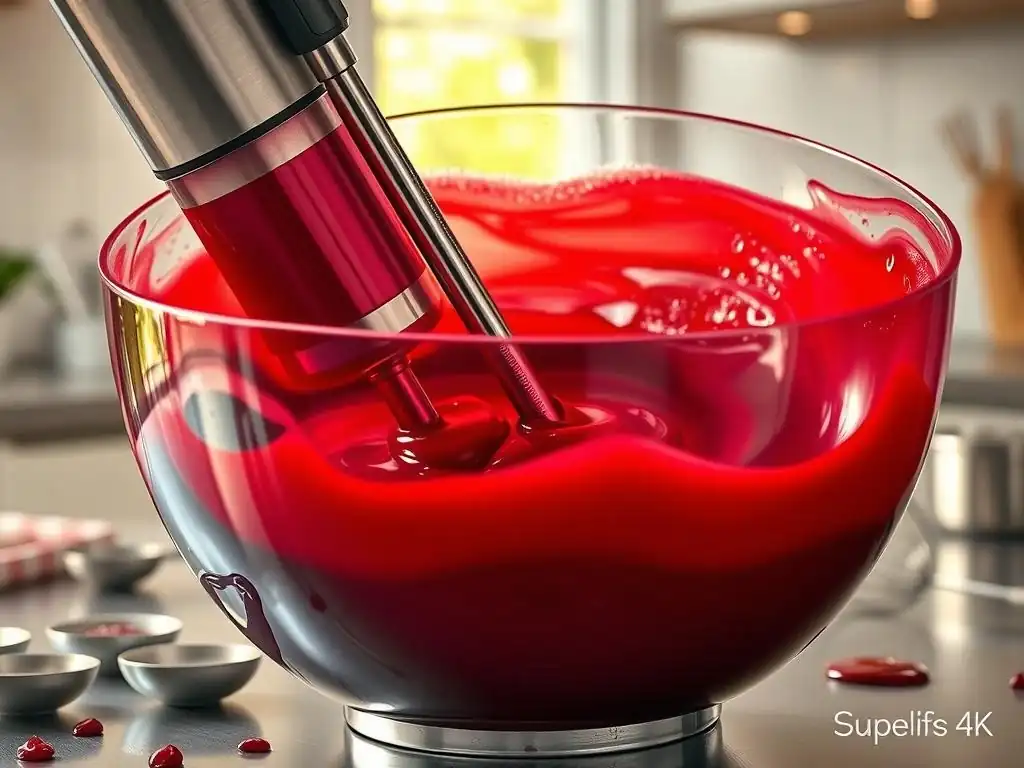
Once your sugar syrup has reached the target temperature and the gelatin is bloomed, remove the syrup from the heat. Stir in the bloomed gelatin until it is completely dissolved. Next, add the sweetened condensed milk and your chopped chocolate (white, dark, or milk). Stir gently to help the chocolate melt from the residual heat.
The critical step for a smooth, bubble-free easy mirror glaze recipe is emulsification using an immersion blender. Insert the blender head into the mixture at an angle, ensuring it stays fully submerged to avoid incorporating air bubbles. Blend on low speed, moving the blender up and down very slowly, until the mixture is completely smooth, glossy, and homogenous. This process typically takes a couple of minutes.
Step 5: Straining the Mirror Glaze for a Flawless Finish
After blending, it's highly recommended to strain your mirror glaze through a fine-mesh sieve into a clean bowl. This step removes any potential lumps of undissolved chocolate, sugar crystals, or unincorporated gelatin that might result in a less-than-perfect finish. A truly flawless mirror glaze requires this final purification step.
Once strained, cover the surface of the glaze directly with plastic wrap to prevent a skin from forming as it cools. Allow the glaze to cool to the correct pouring temperature, typically between 30°C and 35°C ( 86°F to 95°F). This cooling period is crucial; pouring too hot will result in a thin, transparent glaze that runs off the cake, while pouring too cool will yield a thick, uneven coating. Patience during this cooling phase is key to a successful easy mirror glaze recipe application.
Frequently Asked Questions
What exactly is a mirror glaze and why is it so popular?
A mirror glaze is a smooth, glossy icing that creates a reflective, glass-like finish on cakes. Its popularity stems from its stunning visual appeal and relatively simple application.
Is a mirror glaze difficult to make, especially for beginner bakers?
While it might seem intimidating, our Easy Mirror Glaze Recipe is designed for all skill levels. It utilizes easy-to-find ingredients and provides step-by-step instructions to ensure success.
What kind of cake is best suited for a mirror glaze?
Cakes with a smooth, firm surface, typically mousse cakes or cakes covered in a thin layer of buttercream, are ideal. The glaze needs a cold, stable base to adhere to properly.
Can I customize the color of my mirror glaze?
Absolutely! You can use gel food coloring to achieve your desired hue. Just add it gradually until you reach the perfect shade.
How long does a mirror glaze last on a cake?
A mirror glaze will typically last for several days in the refrigerator. However, it's best to consume the cake within 2-3 days for optimal freshness and flavor.
Final Reflection: The Sweet Success of a Perfect Glaze
Mastering the mirror glaze isn't just about achieving a flawless, glossy finish; it's about embracing the process of culinary creativity and finding joy in the unexpected. The seemingly simple act of creating this elegant dessert topping opens doors to a world of artistic expression and delicious possibilities, proving that even the most technically challenging recipes can be approachable and rewarding. This easy mirror glaze recipe, designed for home bakers of all skill levels, demonstrates that professional-quality results are within everyone's reach.
The impact of a perfectly executed mirror glaze extends far beyond the visual appeal. It represents a commitment to detail, a celebration of patience, and a testament to the power of following a recipe with precision. It's a symbol of culinary mastery, often associated with high-end patisseries, yet now accessible to anyone willing to give it a try. As the renowned pastry chef, Pierre Hermé, once said, Pastry is a form of art, and like any art, it requires passion, precision, and a little bit of magic.
This sentiment perfectly encapsulates the journey of mastering the mirror glaze – a journey that blends technical skill with artistic flair.
Now, I invite you to take what you've learned and apply it to your own baking adventures. Don't be afraid to experiment, to tweak the recipe, and to let your creativity shine through. The beauty of baking lies in the process of discovery, and the mirror glaze is the perfect canvas for your culinary self-expression. So, gather your ingredients, embrace the challenge, and experience the sweet satisfaction of creating your own masterpiece. The perfect mirror glaze awaits!
Unlock Your Inner Pastry Chef: Glaze Like a Pro!
Thanks for joining us on this delicious journey into the world of mirror glazes! We hope you gained the confidence to tackle this seemingly tricky technique. Now it's time to put your newfound skills to the test.
- Master the Glaze: Try out the recipe from the article today – you'll be amazed at how easy it is to create a flawless finish. Remember, practice makes perfect!
- Share Your Success: Post a picture of your masterpiece on social media and tag us! Let's inspire other bakers with your beautiful creations. #BakeWithEase #MirrorGlazeMaster
- Explore More Techniques: Dive into our other baking tutorials – we have tons of tips and tricks to elevate your baking game.
What flavor combination will you experiment with first for your stunning mirror glaze creation?