
Chocolate Lava Cake: The Elegant Classic Made Easy

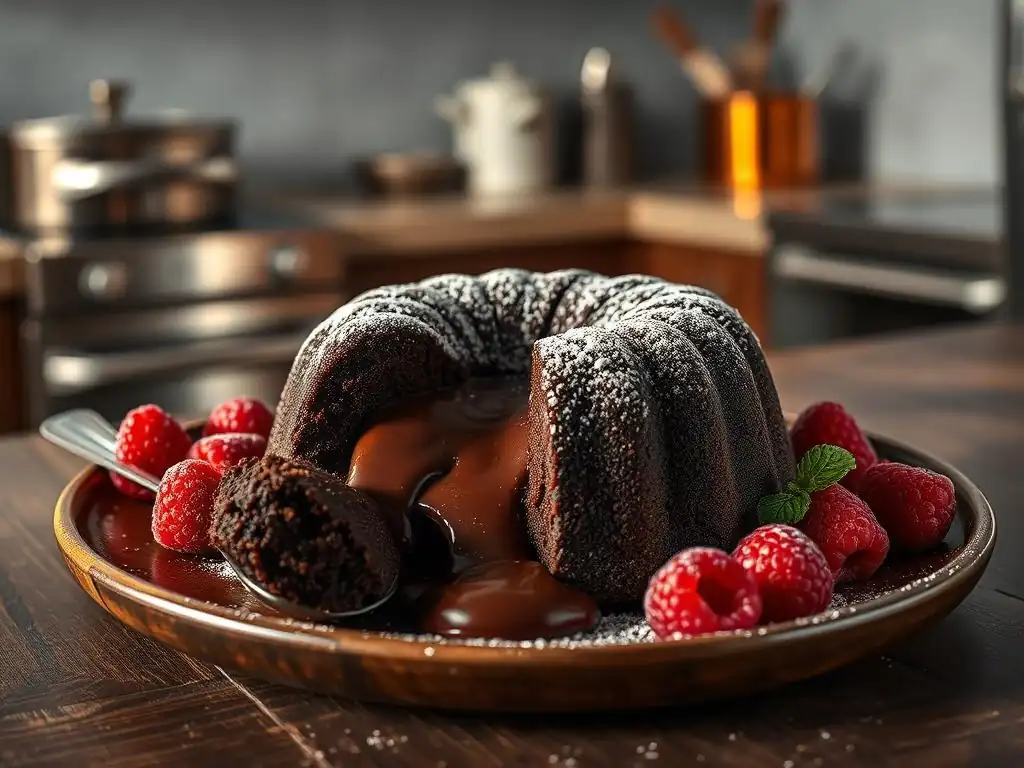
Welcome to BakeWithEase, your kitchen companion for all things baking! Ever dreamt of creating a decadent dessert that looks like it came straight from a Parisian patisserie? Today, we're diving into the secrets behind the easy chocolate lava cake recipe, demystifying this elegant classic so you can impress your friends and family with minimal effort. Get ready to unlock the secrets to that molten, chocolatey center – read on to discover how surprisingly simple it is!
- BakeWithEase Presents: A Simple Chocolate Lava Cake Recipe
- Why You'll Love This Easy Chocolate Lava Cake
- Mastering the Molten: Ingredients for Your Easy Chocolate Lava Cake
- Step-by-Step: Your Guide to an Easy Chocolate Lava Cake Recipe
- Pro Tips for the Best Easy Chocolate Lava Cake
- Serving Suggestions: Elevating Your Easy Chocolate Lava Cake
- Variations on the Classic: Easy Lava Cake Recipe Ideas
- Storing Your Easy Chocolate Lava Cake
- Enjoy Your Homemade Easy Chocolate Lava Cake!
-
Frequently Asked Questions
- How easy is the Chocolate Lava Cake recipe on BakeWithEase.com?
- What kind of chocolate is recommended for the Chocolate Lava Cake?
- Can the Chocolate Lava Cake batter be prepared in advance?
- What are some common mistakes to avoid when making Chocolate Lava Cake?
- Where can I find the complete Easy Chocolate Lava Cake recipe?
- Final Reflection: The Enduring Allure of Effortless Elegance
- Unleash Your Inner Pastry Chef!
BakeWithEase Presents: A Simple Chocolate Lava Cake Recipe
Welcome, fellow bakers! Today, we're diving into a dessert that looks incredibly sophisticated but is surprisingly simple to make: the chocolate lava cake. Often considered a staple of fine dining menus, this delightful treat is famous for its rich, fudgy exterior and, of course, that glorious, warm, molten chocolate center that spills out with the first touch of a spoon. It's the kind of dessert that instantly elevates any meal.
Creating this showstopper doesn't require years of culinary training. With the right guidance and a few key tips, you can master the art of the easy chocolate lava cake recipe right in your own kitchen. Forget complicated techniques; our approach focuses on simplicity without sacrificing that luxurious taste and texture. Get ready to impress yourself and anyone lucky enough to share this dessert with you!
Why You'll Love This Easy Chocolate Lava Cake
The Perfect Molten Center, Simplified
Achieving that iconic molten core is the hallmark of a great chocolate lava cake, and it's often perceived as the trickiest part. Many bakers worry about underbaking or, even worse, overbaking and ending up with a solid chocolate cake instead of the desired liquid center. Our easy chocolate lava cake recipe takes the guesswork out of this crucial step, guiding you to the perfect timing.
The secret lies in understanding the balance between setting the cake's edges while keeping the very center liquid. This is typically achieved by baking at a relatively high temperature for a short duration, often around 375°F to 400°F (190°C to 200°C), allowing the outside structure to form quickly while the inside remains fluid. We'll provide clear indicators for when your cakes are ready, minimizing the risk of baking them too long and ensuring that delightful molten eruption every time.
Minimal Ingredients, Maximum Flavor
One of the most appealing aspects of this simple chocolate lava cake is that it requires just a handful of common ingredients. You won't need to hunt down exotic items; the focus is on quality over quantity. This simplicity means less time measuring and more time enjoying the process and the delicious results.
The magic truly happens when these few ingredients come together. A typical recipe might call for just five to seven core items: chocolate, butter, sugar, eggs, and a touch of flour, perhaps with vanilla extract or salt. Using high-quality chocolate, for instance, makes a significant difference in the depth of flavor, proving that sometimes, less really is more when crafting an easy chocolate lava cake recipe that tastes gourmet.
Impress Your Guests with This Classic Dessert
Serving a homemade chocolate lava cake is a guaranteed way to earn accolades from your guests. It has an inherent "wow" factor that suggests significant effort, even when following an easy chocolate lava cake recipe. The anticipation as they wait for that molten center to flow is part of the experience!
This dessert is perfect for dinner parties, special occasions, or even just a treat-yourself moment. Because individual portions are baked in ramekins, presentation is naturally elegant. Imagine placing a warm cake before each guest, perhaps dusted with cocoa or served with a scoop of ice cream – it's a restaurant-quality experience created effortlessly in your own home, thanks to the simplicity of this easy lava cake preparation.
Mastering the Molten: Ingredients for Your Easy Chocolate Lava Cake
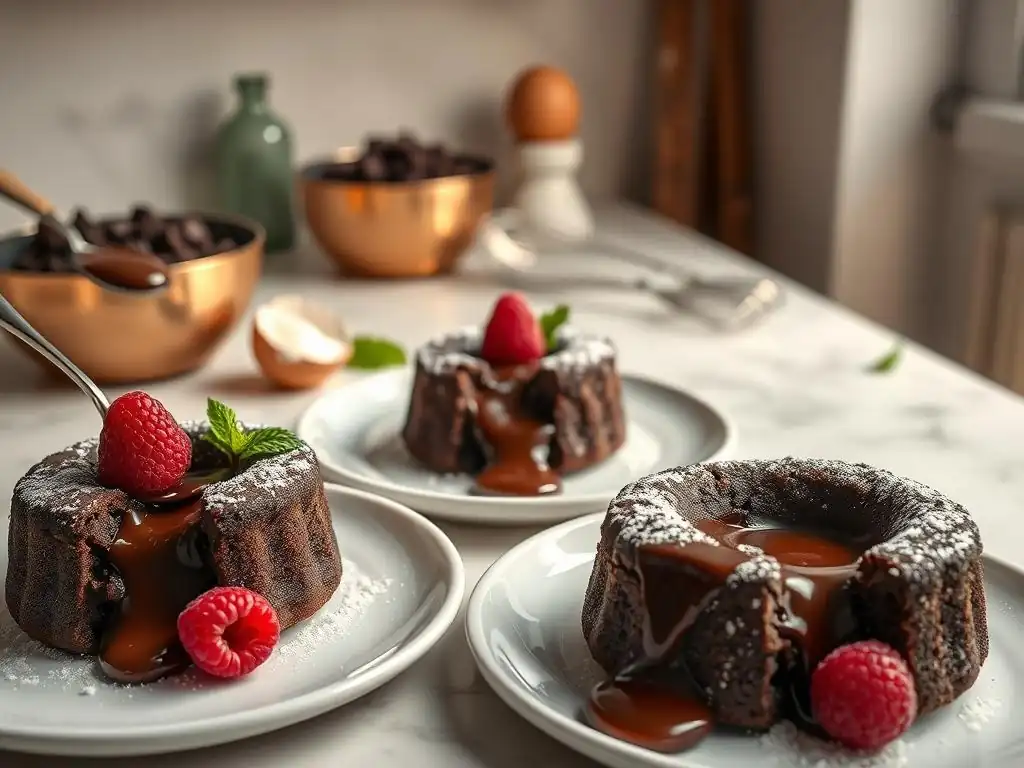
The Key Ingredients for a Rich Lava Cake
Crafting a truly decadent and easy chocolate lava cake starts with selecting the right components. While the ingredient list is short, the quality of each item plays a vital role in the final taste and texture. Think of these as the building blocks for your successful molten masterpiece.
We'll walk through the essential ingredients that contribute to the richness, structure, and, of course, the perfect molten center of your homemade lava cake. Understanding the function of each one helps ensure you get that desired balance between a tender cake exterior and a luscious, flowing interior.
High-Quality Dark Chocolate is Essential
The star of this show is undoubtedly the chocolate. Using high-quality dark chocolate (around 60-70% cacao content is ideal for a balanced flavor that's not too sweet) makes a world of difference. Chocolate chips often contain stabilizers that prevent them from melting into a smooth, liquid state suitable for the molten core; therefore, using chopped chocolate from a bar is highly recommended for the best results in your easy chocolate lava cake recipe.
Approximately 4 to 6 ounces (about 115-170 grams) of good quality dark chocolate is typically used for a batch yielding 4-6 individual cakes. This generous amount ensures a deep, intense chocolate flavor and contributes significantly to the richness and the molten texture when melted properly.
Unsalted Butter: The Secret to Tenderness
Butter adds richness and tenderness to the cake batter, contributing to the smooth texture of both the cake and the molten center. Using unsalted butter is preferred as it allows you to control the amount of salt in the recipe, ensuring the flavors are perfectly balanced.
Combining melted butter with the chocolate creates a luxurious, smooth base for the batter. A typical recipe might use around half a cup (one stick or 113 grams) of unsalted butter. This fat content is crucial for carrying flavor and creating a moist crumb around the molten core.
All-Purpose Flour for the Right Texture
Just a small amount of all-purpose flour is needed for an easy chocolate lava cake. Its role is minimal, providing just enough structure to the cake so it holds its shape when baked but not so much that it creates a dense, solid crumb. Too much flour would result in a standard chocolate cupcake rather than the desired lava effect.
Typically, only a few tablespoons (around 2-4 tablespoons or 15-30 grams) of flour are used per batch. This small quantity is key to ensuring the cake remains delicate and the center stays liquid. It's just enough to bind the batter slightly without solidifying the core during the short baking time.
Eggs and Egg Yolks: Binding and Richness
Eggs serve multiple purposes in this easy lava cake recipe. Whole eggs provide structure and help bind the ingredients together, while additional egg yolks contribute significant richness and create a wonderfully creamy texture in the batter and the molten center.
A standard recipe for 4-6 cakes might use 2 whole eggs and 2 additional egg yolks. The high proportion of eggs relative to flour is what gives the cake its unique, custard-like quality and ensures the center remains soft and liquid when underbaked slightly.
Granulated Sugar: Just Enough Sweetness
Granulated sugar adds sweetness and helps create a tender crumb. The amount used is often less than in a typical cake recipe, as the richness comes primarily from the chocolate and butter. The sugar balances the bitterness of the dark chocolate without making the dessert overly sweet.
Around 1/4 to 1/2 cup (about 50-100 grams) of granulated sugar is commonly used. The exact amount can be adjusted slightly based on the sweetness of the chocolate and personal preference, but this range provides enough sweetness to complement the rich chocolate flavor in your easy chocolate lava cake.
Step-by-Step: Your Guide to an Easy Chocolate Lava Cake Recipe
Preparing the Batter: The Foundation of Your Lava Cake
Creating the batter for your easy chocolate lava cake is a straightforward process. It primarily involves melting the fats and chocolate, then gently incorporating the remaining ingredients. Precision and care during these initial steps set you up for success and that perfect molten center.
Following these simple steps ensures your batter is smooth, well-combined, and ready to be transformed in the oven. It's a quick process, often taking less than 15 minutes from start to finish before the cakes hit the heat.
Melting the Chocolate and Butter: A Smooth Start
The first step is to gently melt the high-quality dark chocolate and unsalted butter together. This can be done using a double boiler (a heatproof bowl set over a pot of simmering water, ensuring the water doesn't touch the bottom of the bowl) or carefully in a microwave on low power, stirring frequently in 20-30 second intervals. The goal is a smooth, glossy, lump-free mixture.
Ensure the chocolate and butter are fully melted and combined into a luxurious liquid. Avoid overheating, as this can scorch the chocolate or cause the butter to separate. Let the mixture cool slightly for a few minutes before proceeding to the next step, ensuring it's warm but not hot enough to cook the eggs prematurely.
Combining Dry and Wet Ingredients: Gentle Mixing is Key
In a separate bowl, whisk together the small amount of all-purpose flour and any other dry ingredients like salt or cocoa powder (if using). In another bowl, whisk the eggs, egg yolks, and granulated sugar until just combined. This helps distribute the sugar evenly.
Once the chocolate-butter mixture has cooled slightly, gently whisk it into the egg-sugar mixture until just combined. Then, fold in the dry ingredients using a spatula or wooden spoon until just incorporated. Do not overmix; overdeveloping the gluten in the flour can lead to a tougher cake texture, which is undesirable for this delicate dessert. A few streaks of flour are acceptable as they will disappear during baking.
Adding the Eggs: Ensuring a Creamy Texture
As mentioned, the eggs and extra egg yolks are crucial for both structure and richness. They are typically whisked with the sugar before being combined with the melted chocolate mixture. The warmth of the chocolate-butter mixture helps the sugar dissolve slightly and integrates smoothly with the eggs.
Adding the eggs at this stage ensures the batter has the right consistency – rich, slightly thick, and pourable. This high proportion of eggs relative to flour is fundamentally what allows the center to remain liquid when baked for a short time. It’s a key element in achieving the simple chocolate lava cake's signature texture.
Baking Your Chocolate Lava Cake: The Crucial Steps
Baking is where the magic happens, transforming your simple batter into elegant molten cakes. The key here is preparation and precise timing. Getting the ramekins ready ensures easy release, and knowing when to pull the cakes from the oven guarantees that perfect lava flow.
This stage is relatively quick, often taking only 8-12 minutes depending on your oven and the size of your ramekins. Pay close attention during this short baking window!
Preparing the Ramekins: Preventing Sticking
Properly preparing your ramekins is non-negotiable for an easy chocolate lava cake that releases cleanly. Begin by generously greasing the inside of each ramekin with softened butter. Ensure you get into all the nooks and crannies.
After greasing, dust the insides with cocoa powder or granulated sugar, tapping out any excess. The cocoa powder is often preferred as it blends visually with the chocolate cake. This butter-and-dust coating creates a non-stick barrier, allowing the baked cake to slide out smoothly onto the serving plate without breaking, revealing its beautiful shape.
Dividing the Batter: Evenly Distributing the Deliciousness
Once your ramekins are prepared, it's time to divide the batter. Pour or spoon the batter evenly into the prepared ramekins. Typically, fill them about two-thirds to three-quarters full. Avoid filling them to the brim, as the cakes will rise slightly during baking.
For a batch yielding 4 standard 6-ounce ramekins, you'll divide the batter into approximately equal portions, around 4-5 ounces (115-140g) per ramekin. Even distribution helps ensure that all cakes bake at a similar rate, making it easier to achieve the perfect molten center across the entire batch.
Baking Time and Temperature: Achieving the Perfect Molten Center
Preheat your oven to the specified temperature, usually between 375°F and 400°F (190°C - 200°C). Place the filled ramekins on a baking sheet (this makes them easier to handle) and carefully place the sheet in the preheated oven.
Baking time is critical and can vary slightly based on your oven's calibration and the size/material of your ramekins. A typical bake time is between 8 and 12 minutes. The edges of the cakes should appear set and slightly pulled away from the sides of the ramekins, while the center should still look soft and slightly wobbly when gently shaken.
How to Tell When Your Lava Cake is Done: The Molten Test
Knowing exactly when to remove your easy chocolate lava cake from the oven is the most crucial step for ensuring a molten center. Overbaking by even a minute or two can turn the lava into solid cake. Look for visual cues rather than relying solely on a timer.
The edges of the cake should be firm and look fully baked, often with a slight crack or pull away from the ramekin sides. The very center should still look moist and jiggly. If the entire top looks set and firm, you've likely overbaked it. A common test is to gently tap or nudge a ramekin; the center should tremble slightly.
Pro Tips for the Best Easy Chocolate Lava Cake
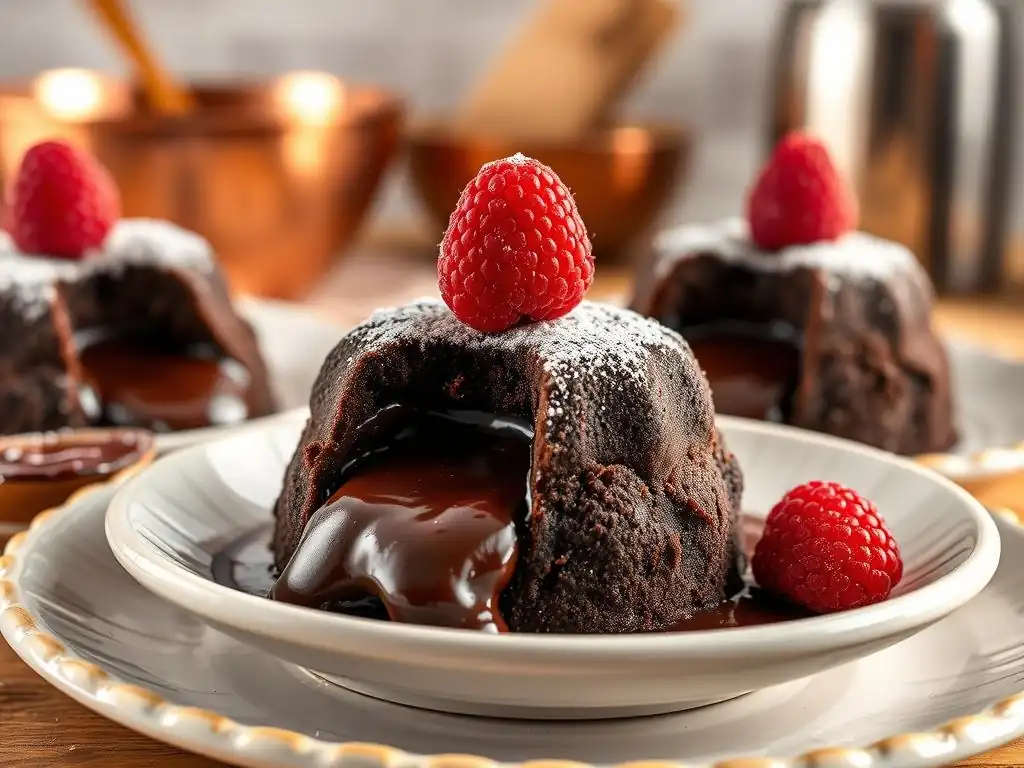
Avoiding Common Mistakes: Troubleshooting Your Lava Cake
Even with an easy chocolate lava cake recipe, minor issues can sometimes arise. Knowing how to prevent or troubleshoot common pitfalls ensures your cakes turn out perfectly every time. A little bit of knowledge goes a long way in achieving that desired molten result.
These tips cover the most frequent challenges faced by bakers when making this dessert. Paying attention to these details significantly increases your chances of success and helps you understand the why behind certain steps in the recipe instructions.
Preventing Overbaking: The Key to a Molten Core
Overbaking is the number one enemy of the molten chocolate lava cake. As mentioned, the baking time is short, usually under 15 minutes. Start checking your cakes around the 8-minute mark, especially the first time you make the recipe in your oven.
Look for the visual cues: set edges, wobbly center. If you are unsure, it's better to slightly underbake (the residual heat will continue to cook the center slightly after removal) than to overbake and lose the lava. If your cakes don't flow quite as much as you'd hoped the first time, reduce the baking time by 1-2 minutes on your next attempt.
Ensuring a Smooth Batter: No Lumps Allowed
A smooth batter is essential for both texture and appearance. Ensure your chocolate and butter are fully melted and combined before mixing with other ingredients. When incorporating the flour, fold gently and stop as soon as it's mostly combined; don't beat or whisk vigorously.
If you accidentally get a few small lumps of flour, you can gently push the batter through a fine-mesh sieve into the ramekins, though this is rarely necessary if you follow the gentle mixing instructions. A smooth batter melts evenly, contributing to the luxurious flow of the molten center in your easy lava cake.
Demolding with Ease: Avoiding Breakage
Properly greasing and dusting the ramekins is paramount for easy demolding. Use softened (not melted) butter and cover every interior surface generously. Cocoa powder or sugar dusting provides that crucial non-stick layer.
Once baked, let the cakes rest in the ramekins for just 1-2 minutes before attempting to invert them onto serving plates. This brief resting period allows the edges to firm up slightly. Place the serving plate upside down over the ramekin, and confidently flip both together. A gentle tap on the bottom of the ramekin should help the cake release cleanly. If it resists, run a thin knife carefully around the edge before inverting.
Serving Suggestions: Elevating Your Easy Chocolate Lava Cake
While a simple chocolate lava cake is divine on its own, pairing it with complementary elements can turn it into an unforgettable dessert experience. Think about balancing the richness of the chocolate with contrasting textures or temperatures.
These suggestions offer classic and delightful ways to enhance your homemade lava cake, adding extra layers of flavor and visual appeal. Choose one or combine a few for a truly decadent presentation.
Delicious Pairings: What to Serve Alongside Your Lava Cake
The warm, rich nature of a chocolate lava cake pairs beautifully with cool, refreshing, or slightly tart accompaniments. These pairings cut through the richness and add complexity to each bite.
Consider the temperature contrast between the hot cake and a cold addition, or the flavor contrast between intense chocolate and bright fruit or creamy vanilla.
Fresh Berries: A Burst of Freshness
A handful of fresh raspberries, strawberries, or mixed berries provides a lovely contrast to the rich chocolate. Their slight tartness and bright flavor cut through the sweetness, and their fresh texture offers a welcome counterpoint to the soft cake.
Arranging a few berries around the base of the inverted cake adds both color and a burst of freshness. It's a simple yet elegant addition to your easy chocolate lava cake presentation.
Vanilla Ice Cream: A Classic Combination
Perhaps the most classic pairing, a scoop of good quality vanilla bean ice cream next to a warm chocolate lava cake is sheer perfection. The cold, creamy ice cream slowly melts into the warm, molten chocolate lava, creating a luxurious, gooey puddle that is absolutely irresistible.
This combination provides a delightful contrast in both temperature and texture. The simple flavor of vanilla complements the complex chocolate without overpowering it.
Dusting of Cocoa Powder: A Simple Elegance
For a minimalist yet elegant presentation, simply dust the top of the inverted cake with a fine layer of unsweetened cocoa powder or confectioners' sugar using a sieve. This adds a touch of visual sophistication and a subtle hint of cocoa bitterness that enhances the chocolate flavor.
This simple finish is quick, easy, and highlights the beauty of the easy lava cake itself. It's a go-to for when you want elegance without extra fuss.
Variations on the Classic: Easy Lava Cake Recipe Ideas
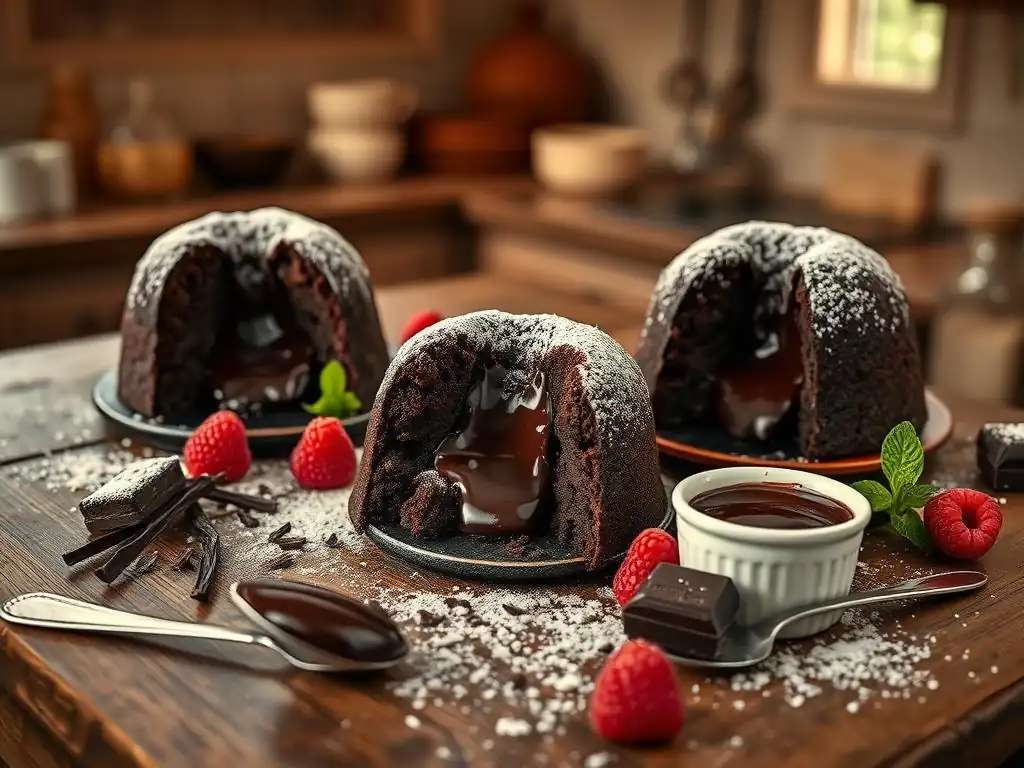
Once you've mastered the basic easy chocolate lava cake recipe, you can explore exciting variations. The core technique remains the same – baking until the edges are set but the center is molten – but you can swap out the type of chocolate or add flavorings to create new experiences.
These ideas demonstrate how versatile the simple lava cake concept is. Experimenting with different flavors keeps things interesting and allows you to tailor the dessert to different tastes or occasions.
White Chocolate Lava Cake: A Sweet Twist
For those who prefer a sweeter, creamier flavor, a white chocolate lava cake is a delightful alternative. Simply substitute the dark chocolate with high-quality white chocolate. Be aware that white chocolate contains more cocoa butter and sugar, so the texture and sweetness will differ.
White chocolate melts differently than dark chocolate, often becoming more fluid. You might need to adjust baking time slightly, as the visual cues might be different. Pairing this with raspberry sauce or fresh berries is particularly lovely.
Mocha Lava Cake: Adding Coffee for Depth
Elevate the chocolate flavor by adding coffee. This can be done by dissolving a teaspoon or two of instant espresso powder in the melted butter and chocolate mixture, or by adding a small amount of very strong brewed coffee or coffee liqueur to the batter.
Coffee naturally enhances chocolate notes, adding depth and complexity to the easy chocolate lava cake. This variation is perfect for coffee lovers and adds a sophisticated twist.
Salted Caramel Lava Cake
Introduce a layer of luscious salted caramel into the center before baking. This can be done by placing a small dollop of thick, store-bought or homemade salted caramel sauce in the center of the batter after pouring it into the ramekins, ensuring it's fully enclosed by the batter.
As the cake bakes, the caramel warms and becomes molten alongside the chocolate, creating a dual-lava effect. The combination of rich chocolate and salty-sweet caramel is incredibly indulgent and makes for a truly memorable easy lava cake.
Storing Your Easy Chocolate Lava Cake
Ideally, chocolate lava cakes are best enjoyed immediately after baking when the center is perfectly molten and warm. However, sometimes you might have leftovers, or you might want to prepare them slightly ahead of time. Proper storage helps maintain their quality.
While the fresh-baked experience is unbeatable, these tips help you manage any remaining cakes or plan ahead for future enjoyment of your homemade easy chocolate lava cake.
Best Practices for Leftover Lava Cake (If There Is Any!)
If by some miracle you have leftover lava cakes, allow them to cool completely in their ramekins. Once cool, cover the ramekins tightly with plastic wrap or transfer the cakes to an airtight container.
Store leftover cakes in the refrigerator for up to 2-3 days. Freezing is also an option; wrap cooled cakes individually in plastic wrap, then foil, and store in a freezer-safe bag for up to 1 month.
Reheating Tips: Restoring the Molten Center
To reheat refrigerated lava cakes, you can gently warm them in a preheated oven at a lower temperature (around 300°F or 150°C) for 5-10 minutes, or until warmed through. Be cautious not to overheat.
Alternatively, you can microwave an individual cake on medium power for 30-60 seconds, checking every 15 seconds. The goal is to warm the center back to a molten state without overcooking the cake. Frozen cakes should be thawed overnight in the refrigerator before reheating.
Enjoy Your Homemade Easy Chocolate Lava Cake!
Frequently Asked Questions
How easy is the Chocolate Lava Cake recipe on BakeWithEase.com?
The recipe is designed for bakers of all levels, focusing on simple steps and easy-to-find ingredients to make it accessible. It aims to demystify the classic dessert.
What kind of chocolate is recommended for the Chocolate Lava Cake?
While the recipe likely allows for some flexibility, high-quality dark chocolate is usually recommended for the best flavor and texture. Specific recommendations may be in the recipe.
Can the Chocolate Lava Cake batter be prepared in advance?
Generally, yes, the batter can often be prepared ahead of time. However, it's best to bake it as close to serving as possible for the gooey center, so check the specific recipe instructions on BakeWithEase.com.
What are some common mistakes to avoid when making Chocolate Lava Cake?
Overbaking is a common mistake. BakeWithEase.com likely provides tips for achieving the perfect molten center and avoiding a fully cooked cake. Watch the timing carefully.
Where can I find the complete Easy Chocolate Lava Cake recipe?
The complete recipe, with step-by-step instructions and ingredient lists, can be found on BakeWithEase.com under the "Chocolate Lava Cake: The Elegant Classic Made Easy" title. Search for "Easy chocolate lava cake recipe".
Final Reflection: The Enduring Allure of Effortless Elegance
The seemingly simple act of creating a perfect chocolate lava cake transcends mere culinary skill; it's a testament to the power of accessible indulgence. This recipe, designed for ease and precision, proves that achieving decadent results doesn't require hours in the kitchen or a pastry chef's expertise. The rich, molten center and the crisp, slightly bitter exterior are a testament to the magic of balanced ingredients and careful technique, readily achievable by anyone.
The enduring appeal of the chocolate lava cake lies in its ability to elevate any occasion, from a quiet night in to a sophisticated dinner party. It's a dessert that speaks volumes without uttering a word, a symbol of comfort and celebration. As the aroma of warm chocolate fills the air, it evokes a sense of nostalgia and joy, reminding us of simpler times and the power of shared experiences. A dessert should be a moment of pure pleasure, a small escape from the everyday.
This sentiment perfectly captures the essence of the chocolate lava cake experience.
Now, I invite you to embrace the simplicity and elegance of this recipe. Don't be intimidated by the seemingly complex results; the journey of creating this delicious dessert is as rewarding as the final bite. Gather your ingredients, follow the steps, and allow yourself the pleasure of creating something truly special. The next time you crave a moment of pure indulgence, remember the ease and the joy of a perfectly crafted chocolate lava cake. Let it be your personal escape, your moment of effortless elegance.
Unleash Your Inner Pastry Chef!
Thanks for joining us on this delicious journey into the world of chocolate lava cakes! We hope you've gained the confidence to tackle this elegant dessert. Now it's time to put your newfound skills to the test!
- Bake your own masterpiece! Grab those ingredients and try out the recipe today. It's easier than you think!
- Share your creation! Post a picture of your lava cake on social media and tag us – we’d love to see your culinary triumph.
- Explore other decadent desserts on BakeWithEase.com! We have a whole world of baking adventures waiting for you.
So, what amazing flavor combination will you try next to impress your friends and family?