
Easy & Addictive: Simple Chocolate Chip Blondies Recipe

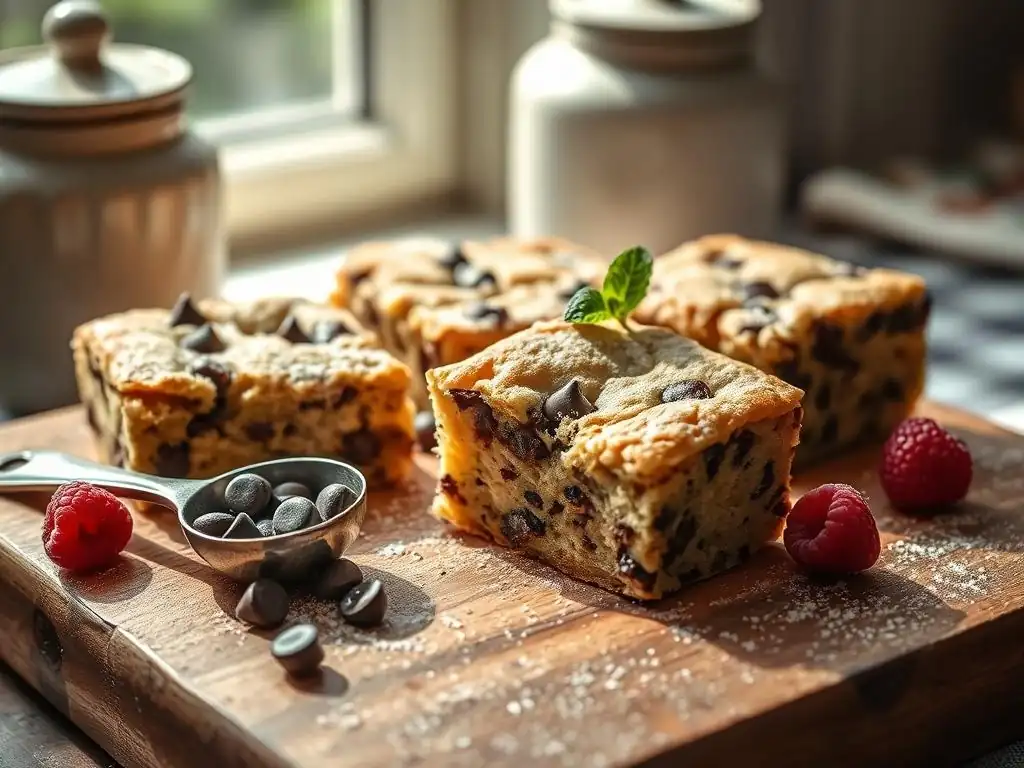
Welcome to BakeWithEase!
Ready to unlock the secret to irresistibly chewy and delicious blondies? You've landed in the right place. Our easy chocolate chip blondie recipe is a game-changer for beginner bakers and seasoned pros alike. Forget complicated instructions and hard-to-find ingredients – we've streamlined the process to deliver maximum flavor with minimum effort. Curious to know how to create that perfect golden-brown crust and fudgy center? Dive in and discover the simple steps to baking these addictive treats!
- Brown Butter Blondies Recipe with Sea Salt
- A Modern Baker Presents: Brown Butter Blondies with Flaky Sea Salt
- Why These Brown Butter Blondies are a Must-Bake
- Ingredients for Brown Butter Blondies
- Step-by-Step Guide to Baking Brown Butter Blondies
- Tips for the Best Brown Butter Blondies Ever
- Variations on This Brown Butter Blondie Recipe
- Troubleshooting Common Blondie Baking Problems
- Enjoy Your Homemade Brown Butter Blondies with Sea Salt!
-
Frequently Asked Questions
- What makes this chocolate chip blondie recipe "easy"?
- What are the key ingredients I need for this blondie recipe?
- Can I substitute any ingredients in this blondie recipe?
- How do I know when my chocolate chip blondies are done baking?
- What are some variations I can try with this easy blondie recipe?
- Final Reflection: The Enduring Allure of the Simple Blondie
- Bake, Share, and Indulge in Deliciousness!
Brown Butter Blondies Recipe with Sea Salt
A Modern Baker Presents: Brown Butter Blondies with Flaky Sea Salt
Rich and Flavorful Blondies: Elevated Comfort Food
Blondies often get overshadowed by their darker, chocolate-rich cousin, the brownie. However, a truly exceptional blondie offers a unique depth of flavor and a wonderfully chewy texture all its own. While an easy chocolate chip blondie recipe is a fantastic starting point for beginners, elevating it with brown butter transforms it into something truly special. The process of browning butter introduces nutty, caramel-like notes that add complexity without making the recipe significantly more difficult.
These brown butter blondies with sea salt take the classic comfort of a blondie and give it a sophisticated twist. The brown butter provides a deep, resonant base flavor, while the flaky sea salt sprinkled on top creates delightful little bursts of salinity that perfectly contrast the sweetness. It's a simple addition that makes a dramatic difference, turning a humble bar cookie into a treat worthy of any bakery display. This recipe proves that sometimes, the easiest tweaks can yield the most impressive results.
Why These Brown Butter Blondies are a Must-Bake
Quick Baking Time: Ready in About 45 Minutes
One of the many reasons to love making blondies is their relatively short baking time compared to cakes or some other baked goods. From start to finish, including the crucial step of browning the butter and a short cooling period before cutting, a batch of these delicious bars can typically be ready to enjoy in under an hour. The active preparation time is minimal, often less than 15-20 minutes, making this an ideal recipe for a spontaneous baking session or when you need a treat in a hurry.
The baking itself usually takes between 25 to 35 minutes, depending on your oven and the size of your pan (an 8x8 inch pan will bake slightly longer than a 9x13 inch pan for the same thickness). This quick turnaround means less waiting and more indulging. It’s far faster than many traditional cookie recipes that require chilling dough, making these brown butter blondies a truly efficient way to satisfy a sweet craving with minimal fuss.
Chewy and Buttery: The Perfect Texture Combination
The hallmark of a great blondie is its texture: a crispy edge that gives way to a soft, dense, and wonderfully chewy interior. This brown butter blondie recipe is specifically designed to achieve that perfect chewiness. The balance of ingredients, particularly the ratio of sugar to flour and the generous amount of butter (even before browning reduces its water content slightly), contributes significantly to this desired outcome.
The chewy texture is further enhanced by not overbaking the blondies; removing them from the oven when the center is still slightly soft ensures they set up perfectly as they cool. The buttery richness from the browned butter permeates every bite, creating a moist and tender crumb that is incredibly satisfying. It’s this combination of chewiness and deep buttery flavor that makes these bars so incredibly addictive and a step above a standard easy chocolate chip blondie recipe.
Simple Ingredients, Complex Flavor: A Sophisticated Treat
Despite the sophisticated taste, the ingredient list for these brown butter blondies is surprisingly simple and uses pantry staples you likely already have on hand. You don't need fancy equipment or exotic items to achieve the deep, complex flavor profile. The magic truly lies in the technique of browning the butter, which transforms a basic ingredient into a flavor powerhouse, and the addition of flaky sea salt, which provides a crucial counterpoint.
This recipe demonstrates how simple culinary techniques can unlock layers of flavor. It's a fantastic example of how home baking can produce results that rival professional bakeries, all with minimal effort and common ingredients. It’s proof that you don't need a complicated recipe to make a truly memorable dessert; sometimes, enhancing the core ingredients is all it takes to create something extraordinary.
Ingredients for Brown Butter Blondies
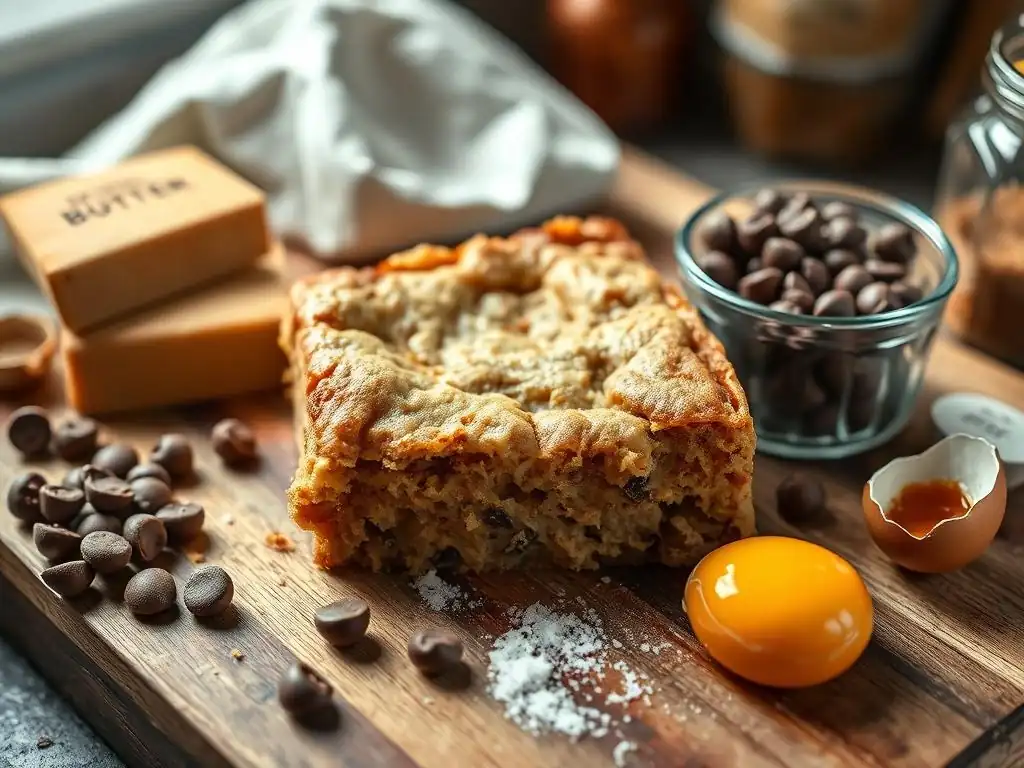
The Essential Ingredients for Brown Butter Bliss
- 1 cup (2 sticks or 226g) unsalted butter
- 2 cups (400g) packed light brown sugar
- 2 large eggs, at room temperature
- 1 teaspoon vanilla extract
- 2 cups (260g) all-purpose flour
- 1 teaspoon baking powder
- 1/2 teaspoon salt (fine sea salt or table salt for the batter)
- 1 cup (approx. 170g) chocolate chips (milk, semi-sweet, or dark)
- 1/2 - 1 teaspoon flaky sea salt (for sprinkling on top)
Ingredient Notes & Tips for Brown Butter Blondies
Using unsalted butter is recommended as it gives you control over the saltiness of the final product. While any unsalted butter works, a good quality butter can enhance the overall flavor. For the flour, standard all-purpose flour is perfect; there's no need for cake flour or bread flour here, as AP flour provides the right structure and chewiness for blondies. Ensure your baking powder is fresh, as it helps with a slight lift and contributes to the texture.
The salt used in the batter should be fine-grained to distribute evenly. However, the flaky sea salt for the top is crucial for those pops of flavor. Maldon sea salt or similar flaky varieties work best. Don't skip this step! The contrast between the sweet, rich blondie and the sharp, clean saltiness is what makes these bars so special. Using room temperature eggs helps them incorporate more evenly into the batter, resulting in a smoother texture.
Step-by-Step Guide to Baking Brown Butter Blondies
Step 1: Browning the Butter: The Key to Flavor
Begin by melting the unsalted butter in a light-colored saucepan over medium heat. A light-colored pan allows you to easily monitor the color changes of the butter solids. Swirl the pan occasionally as the butter melts. It will first foam, then subside, and you will start to see little brown bits forming at the bottom of the pan. Continue to cook, stirring or swirling frequently, until the butter turns a rich amber color and smells nutty and fragrant, like toasted hazelnuts or caramel. This typically takes about 5-8 minutes after the butter has fully melted.
Once the butter has reached the desired color and aroma, immediately remove it from the heat and pour it into a heatproof bowl. Be careful not to burn the milk solids, which can happen quickly once they start to brown. Allow the brown butter to cool slightly for about 5-10 minutes before proceeding. It should still be warm and liquid but not so hot that it cooks the eggs when added. This cooling step is important for the structure of the blondies.
Step 2: Preparing the Batter: Combining Flavors
In a large mixing bowl, combine the slightly cooled brown butter and the packed light brown sugar. Whisk vigorously until the mixture is smooth and well combined. The brown sugar contributes significantly to the chewiness and moisture of the blondies. Next, whisk in the two large eggs, one at a time, beating well after each addition until fully incorporated. The mixture should become glossy and slightly lighter in color.
Stir in the vanilla extract. In a separate medium bowl, whisk together the all-purpose flour, baking powder, and fine salt (1/2 teaspoon). Gradually add the dry ingredients to the wet ingredients, mixing with a spatula or wooden spoon until just combined. Do not overmix the batter, as this can develop the gluten too much and result in tough blondies. Finally, fold in the chocolate chips until they are evenly distributed throughout the batter.
Step 3: Adding the Sea Salt: A Flavor Enhancer
Once the batter is ready and poured into your prepared baking pan (greased and floured or lined with parchment paper), it's time for the final touch before baking: the flaky sea salt. Gently tap the pan on the counter a couple of times to level the batter and remove any large air bubbles.
Generously and evenly sprinkle the flaky sea salt over the entire surface of the blondie batter. Aim for distribution so that most bites will get a little hit of salt. The amount can be adjusted to your preference, starting with 1/2 teaspoon and adding up to a full teaspoon or slightly more if you love the sweet and salty combination. This salt won't dissolve into the batter but will sit on top, providing those delightful pops of flavor after baking.
Step 4: Baking the Brown Butter Blondies to Perfection
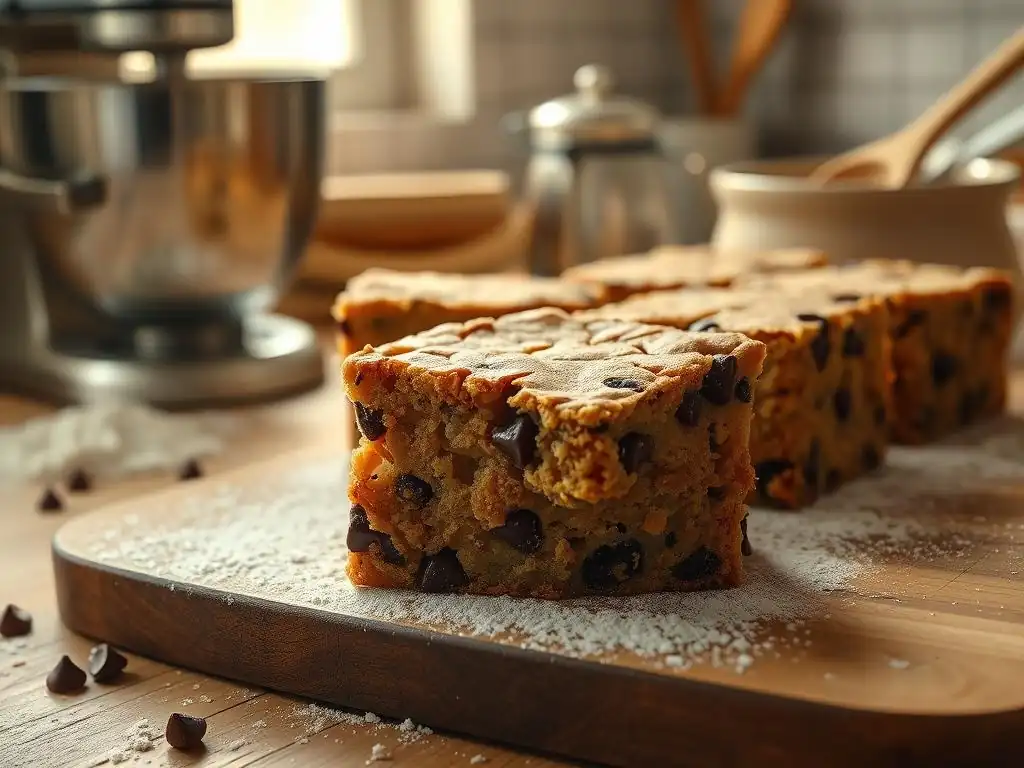
Preheat your oven to 350°F (175°C). Place the prepared pan of blondie batter in the preheated oven. The baking time will vary depending on your oven and the size of your pan. For an 8x8 inch pan, it will likely take between 30-35 minutes. For a 9x13 inch pan, it might be closer to 25-30 minutes. The key is to bake until the edges are set and lightly golden brown, but the center still looks slightly soft and perhaps a little shiny.
To check for doneness, a toothpick inserted into the center should come out with moist crumbs attached, not completely clean like a cake. If it comes out with wet batter, it needs more time. Overbaking will result in a dry, cakey blondie rather than the desired chewy texture. Keep a close eye on them during the last 5-10 minutes of baking.
Step 5: Cooling and Cutting Your Blondies for Serving
Once the blondies are baked, remove the pan from the oven and place it on a wire rack to cool completely. This step is crucial for achieving clean cuts and allowing the flavors to meld and the texture to set properly. Do not attempt to cut warm blondies unless you prefer a gooey, messy (but still delicious!) experience. Letting them cool for at least 1-2 hours, or even placing them in the refrigerator for a short period once they are no longer warm, will make cutting much easier.
Once fully cooled, lift the blondie slab out of the pan using the parchment paper, if you used it. Place the slab on a cutting board and use a sharp knife to cut them into squares or bars of your desired size. Cleaning the knife blade periodically between cuts can help ensure clean edges. Serve the blondies as they are, or enjoy them warm with a scoop of vanilla ice cream for an extra treat.
Tips for the Best Brown Butter Blondies Ever
Achieving the Perfect Chewy Blondie Texture
The key to a chewy blondie lies in the ingredients and the baking process. Using primarily brown sugar instead of white sugar is essential, as brown sugar contains molasses which adds moisture and chewiness. A slightly higher ratio of fat (butter) to flour also contributes to a tender and chewy crumb. Avoid overmixing the batter once the flour is added, as this develops gluten, leading to a tougher texture.
Crucially, do not overbake your blondies. Removing them from the oven when the center is just set and slightly moist, even if the edges are golden, ensures that they will continue to set as they cool, resulting in that perfect dense, chewy texture. Think of them like brownies – slightly underbaked is better than overbaked for chewiness.
Enhancing the Nutty Brown Butter Flavor
To maximize the brown butter flavor, ensure you truly brown the butter until the milk solids are a deep amber color and the aroma is intensely nutty. Don't stop when it's just melted or lightly golden. However, be careful not to burn it, which results in black flecks and a bitter taste. Using a light-colored pan helps you see the color changes clearly.
Allowing the brown butter to cool slightly before adding the sugar and eggs is important for the batter's structure, but using it while it's still warm helps distribute that rich flavor throughout. Pairing the brown butter with vanilla extract enhances its caramel notes, and the flaky sea salt provides a contrast that makes the sweetness and nuttiness of the blondie stand out even more.
Storing Your Brown Butter Blondies for Optimal Freshness
To keep your brown butter blondies fresh and chewy, store them in an airtight container at room temperature. Layering them between sheets of parchment paper can prevent sticking. Properly stored, they will maintain their quality for 3-4 days. The texture often improves slightly on the second day as the flavors meld further.
If you need to store them longer, you can refrigerate them for up to a week, but the texture might become firmer. For longer storage, wrap individual blondies or the entire slab tightly in plastic wrap, then again in aluminum foil, and freeze for up to 2-3 months. Thaw them at room temperature or gently warm them in a low oven (about 250°F or 120°C) for a few minutes before serving to restore some of that fresh-baked warmth and chewiness.
Variations on This Brown Butter Blondie Recipe
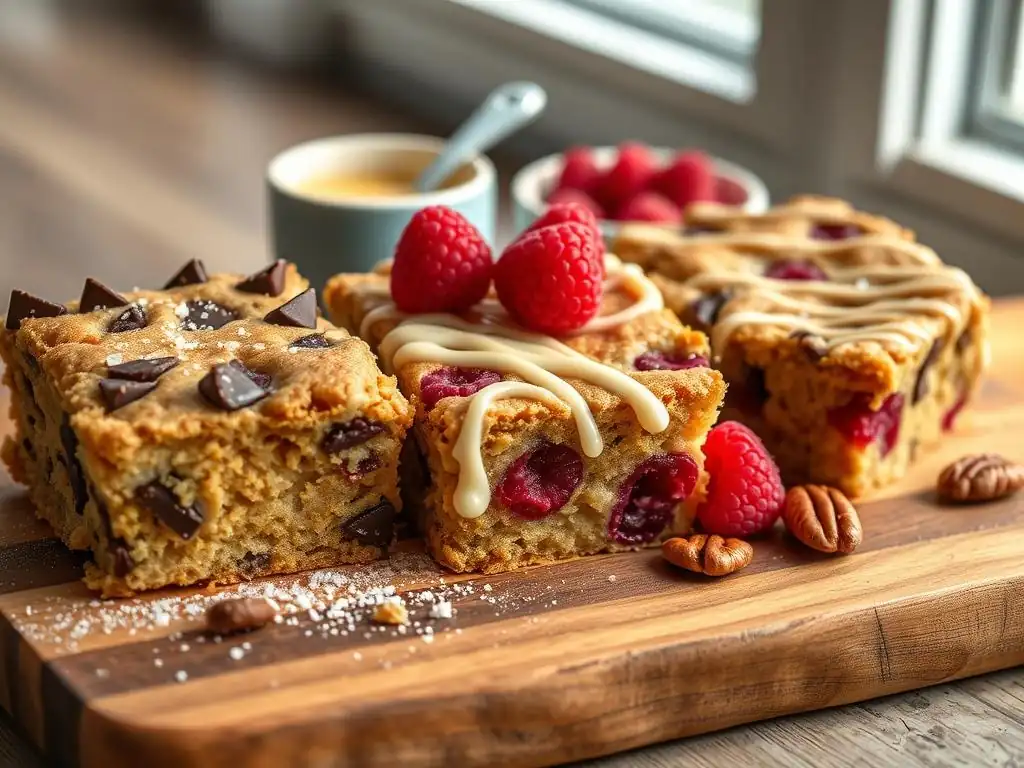
Adding Toasted Pecans to Your Blondies
Introducing toasted nuts adds a wonderful layer of texture and complementary flavor to brown butter blondies. Pecans are particularly well-suited, as their natural nuttiness is enhanced by toasting and pairs beautifully with the brown butter notes. To toast pecans, spread them in a single layer on a baking sheet and bake at 350°F (175°C) for 8-10 minutes, or until fragrant. Let them cool completely before roughly chopping and folding them into the batter along with the chocolate chips. Start with about 1/2 to 1 cup of chopped toasted pecans, adjusting the quantity to your preference.
The crunch of the toasted pecans provides a delightful textural contrast to the chewy blondie, and their earthy flavor deepens the overall profile. This variation is a simple yet effective way to elevate the recipe further, adding complexity without making the process significantly more complicated than a basic easy chocolate chip blondie recipe.
Swirling Dulce de Leche into Your Blondie Batter
For an extra layer of caramel richness, consider swirling dulce de leche into the blondie batter before baking. Dulce de leche is a thick, caramelized milk sauce that complements the brown butter and brown sugar flavors perfectly. After spreading the blondie batter into the prepared pan, dollop spoonfuls of dulce de leche (about 1/2 to 1 cup, depending on how much you want) over the top.
Use a knife or skewer to gently swirl the dulce de leche into the batter, creating ribbons of caramel throughout. Be careful not to over-swirl, or the dulce de leche will just disappear into the batter. This addition makes the blondies even more moist and introduces pockets of intense caramel flavor, creating a truly decadent treat that's a delightful twist on the classic.
Making Espresso Brown Butter Blondies for a Caffeine Kick
Coffee and chocolate are a classic pairing, and adding espresso powder can enhance the flavor of both the chocolate chips and the brown butter in blondies. Dissolve 1 to 2 teaspoons of instant espresso powder in the warm brown butter before adding the sugar. This integrates the coffee flavor smoothly into the base.
The espresso powder won't necessarily make the blondies taste strongly of coffee, but it will deepen the chocolate flavor and add a subtle complexity that is hard to pinpoint but undeniably delicious. Start with a smaller amount and increase in future batches if you desire a stronger coffee note. This variation adds an unexpected layer of sophistication to an otherwise simple bar cookie.
Troubleshooting Common Blondie Baking Problems
Why Isn't My Brown Butter Flavor Pronounced Enough?
If your brown butter blondies lack that distinct nutty, caramel flavor, the most likely culprit is that the butter wasn't browned enough. Browning butter isn't just melting it; it involves cooking the milk solids until they turn a deep amber color and release a strong, nutty aroma. If you stopped when the butter was merely golden or just starting to show flecks, you didn't unlock the full flavor potential.
Next time, use a light-colored pan to monitor the color carefully and watch for those rich brown bits at the bottom. Cook it a little longer, stirring frequently, until you smell that intense nutty fragrance. Be careful not to burn it, but don't be afraid to take it past the initial golden stage. Also, ensure the butter is still warm when combined with the sugar; this helps distribute the flavor better than using fully cooled, solidified brown butter.
Why Are My Blondies Too Greasy?
Greasy blondies can result from a few issues. One common cause is not allowing the brown butter to cool slightly before mixing it with the sugar and eggs; if it's too hot, it can affect the emulsification of the batter, leading to separation and greasiness. Another reason might be using too much butter relative to the other ingredients, though this recipe's ratios are standard.
Overmixing the batter after adding the flour can also sometimes contribute to a slightly greasy or tough texture by developing gluten excessively. Ensure you mix until just combined. Finally, make sure you are measuring your ingredients accurately, especially the flour, as too little flour won't be able to absorb the fat properly. Using a scale for flour measurement (260g for 2 cups) is the most accurate way to avoid this.
Why Did My Blondies Sink in the Middle?
Blondies typically don't rise dramatically like cakes, so a significant sink in the middle is less common than with other baked goods, but it can happen. One primary reason is underbaking. If the center isn't set before you remove it from the oven, it won't have the structure to hold up as it cools, leading to a sunken middle. Ensure the edges are set and a toothpick inserted into the center comes out with moist crumbs, not wet batter.
Another potential cause could be an issue with the leavening agent (baking powder). If your baking powder is old or expired, it won't provide the necessary slight lift, and the denser batter might sink. Always check the expiration date on your baking powder. Using ingredients that are too cold can also sometimes affect the batter's structure and how it bakes evenly.
Enjoy Your Homemade Brown Butter Blondies with Sea Salt!
Whether you're a seasoned baker or just looking for an easy chocolate chip blondie recipe to start with, this brown butter version with sea salt is a fantastic choice. It's simple enough for beginners but delivers a depth of flavor that impresses everyone. The combination of nutty brown butter, sweet brown sugar, gooey chocolate chips, and flaky sea salt creates a truly irresistible bar cookie.
They are perfect for sharing at gatherings, packing in lunchboxes, or simply enjoying with a cup of coffee or tea as a personal treat. Baking these blondies is a rewarding experience, filling your home with an incredible aroma and yielding a batch of delicious, chewy squares that disappear quickly.
We love seeing what you bake! If you make these brown butter blondies with sea salt, snap a photo and share it with us. It's inspiring to see how different ovens and slight variations can produce unique results. Don't hesitate to leave a comment on the website with your experience or any questions you might have. Happy baking!
Frequently Asked Questions
What makes this chocolate chip blondie recipe "easy"?
The recipe focuses on simple ingredients and a straightforward mixing process, making it accessible for beginner bakers. There are also step-by-step instructions provided.
What are the key ingredients I need for this blondie recipe?
You'll need basic baking staples like flour, butter, sugar (brown and granulated), eggs, vanilla extract, and of course, chocolate chips. The recipe prioritizes easy-to-find ingredients.
Can I substitute any ingredients in this blondie recipe?
While the recipe is designed for optimal results, you can experiment. Brown sugar is key for the blondie flavor, but you may be able to substitute with other sweeteners.
How do I know when my chocolate chip blondies are done baking?
Look for golden brown edges and a slightly soft center that appears mostly set. A toothpick inserted into the center should come out with moist crumbs attached.
What are some variations I can try with this easy blondie recipe?
You can add nuts, sprinkles, or different types of chocolate chips to customize your blondies. Consider adding a swirl of caramel before baking for an extra treat.
Final Reflection: The Enduring Allure of the Simple Blondie
The humble blondie, a seemingly simple dessert, holds a surprising power to connect us to comfort, joy, and the sweet satisfaction of homemade goodness. In a world increasingly dominated by complex recipes and elaborate baking techniques, the ease and deliciousness of a classic chocolate chip blondie recipe remains a potent antidote to culinary stress. This recipe, designed for accessibility and speed, proves that sometimes the most satisfying creations come from the simplest of beginnings.
The enduring appeal of the blondie lies not just in its taste, but in its ability to evoke feelings of nostalgia and shared experience. Baking, and particularly baking something as straightforward as a blondie, fosters a sense of connection – whether it's the joy of sharing a warm, gooey square with loved ones or the quiet satisfaction of creating something delicious with your own hands. Baking is at once child's play and adult joy. And love, of course.
– This sentiment perfectly captures the essence of the blondie's charm: a simple pleasure that transcends generations and unites us through a shared love of sweet treats.
So, what will you bake next? Don't let the complexities of life overshadow the simple joys. Take a moment, gather your ingredients, and experience the therapeutic power of creating something delicious. Let the aroma of warm chocolate chips and buttery goodness fill your kitchen, and share the resulting blondies with those you cherish. This isn't just a recipe; it's an invitation to savor the simple pleasures and create lasting memories, one blondie at a time.
Thank you for joining us on this delicious journey through the world of chocolate chip blondies! You’re now equipped with a simple recipe that promises to satisfy your sweet cravings and impress your friends. Now, let’s take that excitement into action!
Here are some sweet steps you can take today:
- Bake a batch of these blondies and savor every bite—don’t forget to dress them up with your favorite toppings!
- Share your blondie creations with friends or family; they’ll love you for it and may just ask for the recipe!
- Explore variations—try adding nuts, caramel swirls, or even a sprinkle of sea salt for an extra kick!
What unique twist will you add to your blondies to make them your own? Share your ideas and let’s inspire each other!