
Chewy Chocolate Chip Cookie Bars: The Ultimate Easy Recipe for New Bakers

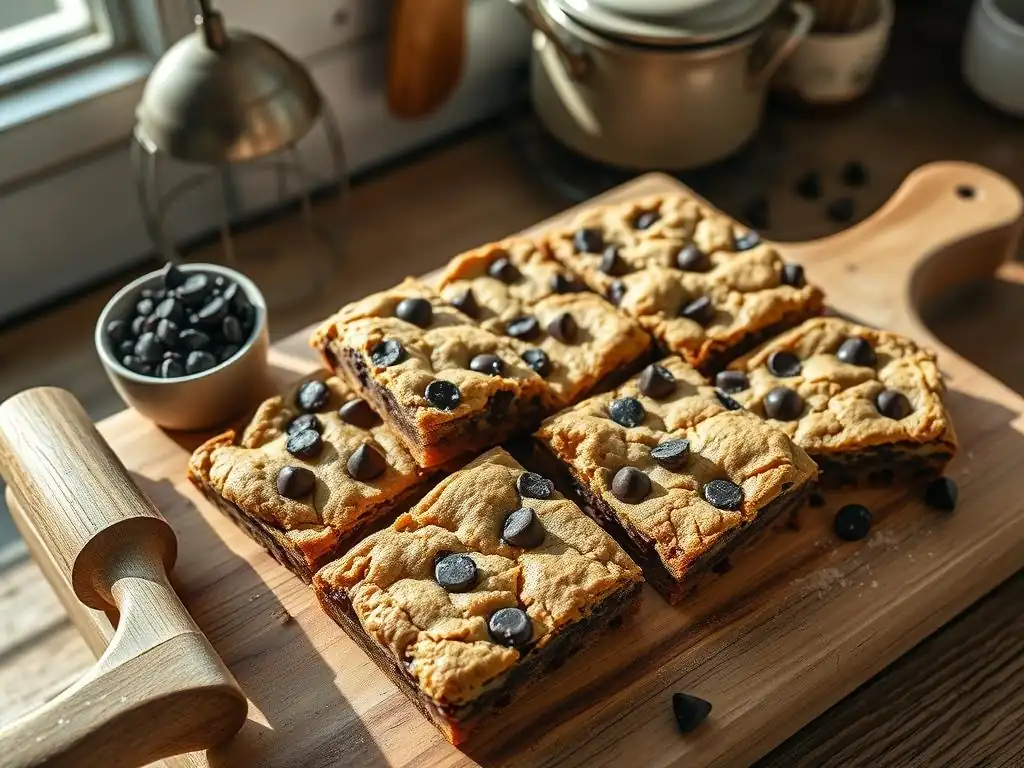
Welcome to BakeWithEase, your trusted companion on your baking journey! Ever dreamed of whipping up bakery-worthy treats without the fuss? You're in the right place. Get ready to indulge in the irresistible simplicity of our easy chocolate chip cookie bars recipe – a perfect starting point for new bakers and a guaranteed crowd-pleaser. Intrigued? Discover the secret to achieving chewy, golden perfection with minimal effort and maximum flavor... Read on to unlock the full recipe and baking tips!
- Introduction to Easy Chocolate Chip Cookie Bars
- The Secret to Chewy Chocolate Chip Cookie Bars
-
Easy Chocolate Chip Cookie Bars Recipe: Step-by-Step Guide
- Ingredients List for Beginner-Friendly Cookie Bars
- Equipment Needed for Baking Cookie Bars
- Step 1: Preparing the Dough for Chocolate Chip Cookie Bars
- Step 2: Adding Chocolate Chips and Mixing
- Step 3: Pressing the Dough into the Baking Pan
- Step 4: Baking Your Chewy Cookie Bars to Perfection
- Step 5: Cooling and Cutting Your Easy Chocolate Chip Cookie Bars
- Variations and Customizations for Your Cookie Bars
- Tips for Baking the Best Chocolate Chip Cookie Bars
- Troubleshooting Common Cookie Bar Baking Problems
- Enjoy Your Homemade Easy Chocolate Chip Cookie Bars!
- Conclusion: Mastering Easy Baking with Chocolate Chip Cookie Bars
- Frequently Asked Questions
- Final Reflection: The Sweetness of Simple Beginnings
- Unleash Your Inner Baker: Make These Amazing Bars Today!
Welcome, new bakers! Stepping into the kitchen to bake can feel a little daunting, but it doesn't have to be. At BakeWithEase, we believe that everyone can create delicious treats, and easy chocolate chip cookie bars are the perfect starting point. Forget the fuss of scooping individual cookies; these simple bars deliver all the classic, comforting flavor of chocolate chip cookies with significantly less effort. They bake up in a single pan, making cleanup a breeze and ensuring a consistent result every time.
This guide will walk you through crafting the ultimate chewy chocolate chip cookie bars. We'll cover the simple science behind their texture, provide a foolproof recipe, and share tips and tricks to ensure your success. By the end, you'll have a batch of warm, gooey, and utterly satisfying bars that will impress everyone, including yourself. Let's get ready to bake something wonderful!
Cookie bars offer a fantastic entry point into the world of baking for several compelling reasons. Unlike traditional drop cookies that require careful portioning and multiple batches, bars are mixed, pressed into one pan, and baked all at once. This drastically reduces the hands-on time needed, often cutting the active preparation time by as much as 40-50% compared to baking a large batch of individual cookies.
Furthermore, the baking time for bars is generally more forgiving. While individual cookies can go from perfectly baked to overdone in just a minute or two, the larger mass of a cookie bar sheet allows for a wider window of doneness, making it easier to achieve that coveted chewy center. Plus, cutting them into squares or rectangles after cooling means every piece is a consistent shape and size without the need for precise scooping techniques. It's a low-stress, high-reward baking project ideal for building confidence.
BakeWithEase's Promise: Simple Recipes, Delicious Results
At BakeWithEase.com, our core mission is to demystify baking and make it accessible and enjoyable for everyone, especially beginners. We understand that complex instructions or fancy equipment can be intimidating. That's why all our recipes, including this one for easy chocolate chip cookie bars, are designed with simplicity and clarity in mind. We break down each step into manageable actions, use common ingredients you likely already have, and provide helpful tips to guide you through the process.
We promise that by following our guides, you will achieve delicious, bakery-quality results right in your own kitchen. This recipe for chewy chocolate chip cookie bars is a prime example of our philosophy – it's straightforward, requires minimal specialized tools, and consistently produces a treat that is both incredibly tasty and satisfying to make. Trust us to help you build your baking skills one easy, delicious recipe at a time.
Achieving that perfect chewy texture in your chocolate chip cookie bars isn't just about luck; it involves understanding how a few key factors interact during the baking process. It starts with the right balance of ingredients, particularly the types of sugar and fat used. Then, the baking temperature and duration play a crucial role in setting the structure while keeping the inside moist and tender.
The beauty of making chewy chocolate chip cookie bars is that these principles are relatively simple to grasp. Once you understand the basics, you can consistently turn out bars that are soft in the middle with slightly crisp edges – the hallmark of a truly great cookie bar. Let's dive into the specifics that make these bars so wonderfully chewy.
The foundation of chewy chocolate chip cookie bars lies in the specific ratio and types of ingredients. Butter, for instance, contributes richness and helps spreadability. Using softened butter, not melted, creates tiny air pockets when creamed with sugar, contributing to lift and texture. A significant amount of brown sugar is essential for chewiness. Brown sugar contains molasses, which not only adds moisture but also helps retain it during baking, resulting in a softer, more pliable texture. A typical ratio for chewy cookies might be around 60-70% brown sugar to 30-40% white sugar by weight.
Eggs also play a vital role. The yolk provides fat and richness, contributing to tenderness, while the egg white provides structure. Often, using one whole egg plus an extra egg yolk (for example, 1 whole egg + 1 yolk for a recipe using about 1.5 cups of flour) can enhance chewiness and richness.
Vanilla extract is crucial for flavor, and a touch of salt balances the sweetness. Baking soda, not baking powder, is typically used as the leavener in chewy cookie recipes, reacting with the acidic brown sugar to help them spread slightly and achieve that characteristic flat, dense texture.
Achieving the Ideal Chewy Texture: Baking Tips and Tricks
Beyond the ingredients, how you handle the dough and bake the bars significantly impacts their chewiness. One crucial tip is to avoid overmixing the dough once the flour is added. Overmixing develops gluten, which can lead to tougher, less chewy bars. Mix just until the dry ingredients are incorporated. Another key is the baking temperature. While many cookie recipes call for 375°F (190°C), baking chewy chocolate chip cookie bars at a slightly lower temperature, like 350°F (175°C), allows the edges to set more slowly while the center remains soft.
Monitoring the baking time is perhaps the most critical factor for chewiness. You want to pull the bars out of the oven when the edges are set and golden brown, but the center still looks slightly underbaked and soft. It might even look a little shiny or gooey in the middle.
The bars will continue to cook slightly from residual heat as they cool in the pan. Baking them for approximately 20-25 minutes for an 8x8 inch pan is a common timeframe, but this can vary by oven. Using a timer and checking frequently is key to preventing them from drying out.
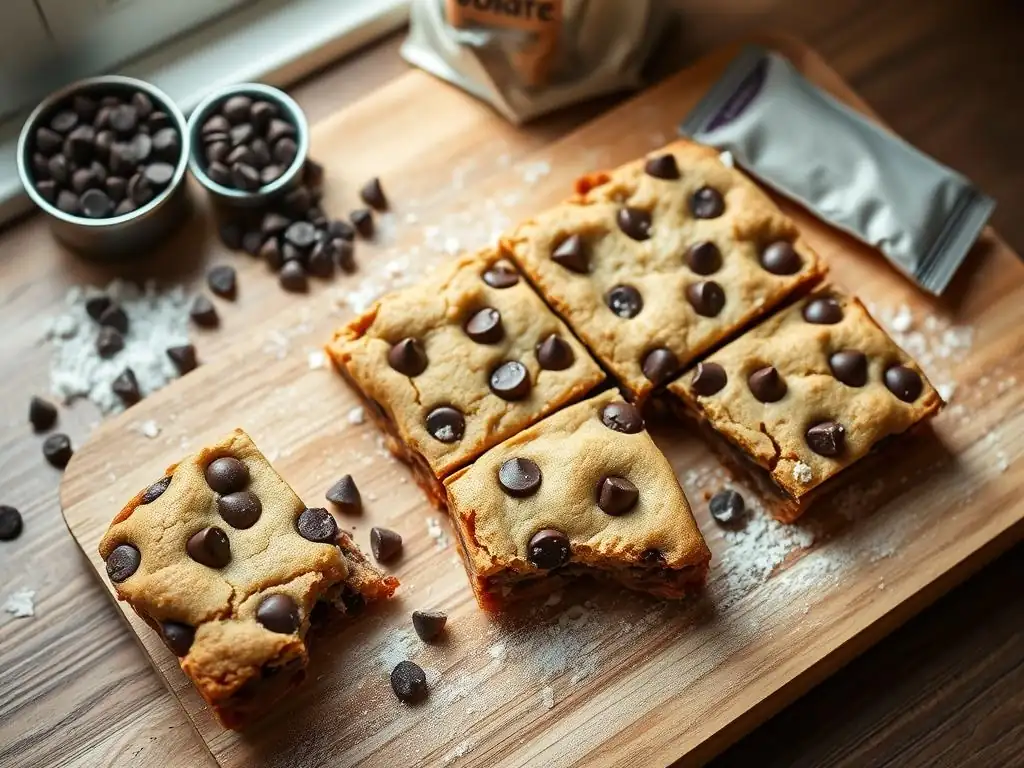
Ready to bake? This easy chocolate chip cookie bars recipe is designed for simplicity and delicious results. We've streamlined the process so even if you're completely new to baking, you can follow along with confidence. From gathering your ingredients to the final slice, each step is explained clearly.
This recipe yields about 16-20 bars, depending on how you cut them, and takes approximately 10-15 minutes of prep time and 20-25 minutes of baking time. It's a quick project perfect for a rainy afternoon or a last-minute treat. Let's get started on making these delightful chewy chocolate chip cookie bars!
Gathering all your ingredients before you begin is a simple step that makes the entire baking process smoother. For these easy chocolate chip cookie bars, you'll need common pantry staples. Ensuring your butter and eggs are at room temperature is helpful, as this allows them to cream together better, creating a smoother dough.
Here's what you'll need:
1/2 cup (1 stick) unsalted butter, softened3/4 cup packed light brown sugar1/4 cup granulated sugar1 large egg + 1 egg yolk, room temperature1 teaspoon vanilla extract1 1/4 cups all-purpose flour1/2 teaspoon baking soda1/4 teaspoon salt1 cup chocolate chips (milk, semi-sweet, or dark)
Having the right tools makes baking much easier and more enjoyable. For this easy chocolate chip cookie bars recipe, you won't need anything fancy. Most of these items are standard in a basic kitchen.
You will need:
- [ ] 8x8 inch metal baking pan
- [ ] Parchment paper
- [ ] Large mixing bowl
- [ ] Electric mixer (handheld or stand mixer) or a sturdy whisk and spatula
- [ ] Measuring cups and spoons
- [ ] Rubber spatula or wooden spoon
- [ ] Wire cooling rack
- [ ] Knife or bench scraper for cutting
Preheat your oven to 350°F (175°C). Line an 8x8 inch metal baking pan with parchment paper, leaving some overhang on the sides. This overhang will act as handles, making it easy to lift the baked bars out of the pan later. In your large mixing bowl, cream together the softened butter, packed light brown sugar, and granulated sugar using an electric mixer or whisk until the mixture is light and fluffy. This usually takes about 2-3 minutes with an electric mixer.
Next, beat in the large egg, extra egg yolk, and vanilla extract until well combined. Scrape down the sides of the bowl with a spatula to ensure everything is incorporated evenly. This wet mixture forms the base of your easy chocolate chip cookie bars dough, providing richness and moisture.
Step 2: Adding Chocolate Chips and Mixing
In a separate small bowl, whisk together the all-purpose flour, baking soda, and salt. This helps distribute the leavening and salt evenly throughout the dry ingredients. Gradually add the dry ingredients to the wet ingredients, mixing on low speed (if using an electric mixer) or stirring with a spatula or wooden spoon until just combined. Be careful not to overmix; you should still see a few streaks of flour.
Once the flour is mostly incorporated, add the chocolate chips. Gently stir them in using a spatula or wooden spoon until they are evenly distributed throughout the dough. Avoid using the electric mixer for this step, as it can break up the chocolate chips and overdevelop the gluten. Your dough for chewy chocolate chip cookie bars is now ready!
Step 3: Pressing the Dough into the Baking Pan
Transfer the dough into the prepared 8x8 inch baking pan lined with parchment paper. The dough might be a bit sticky and thick, which is normal. Use your spatula, the back of a spoon, or your hands (lightly dampened if the dough is sticking) to press the dough evenly into the bottom of the pan. Make sure the dough reaches all the corners and the surface is relatively smooth.
Pressing the dough ensures an even thickness, which is crucial for uniform baking. Take your time to spread it out evenly so that you don't end up with thin edges and a thick center, which can lead to unevenly baked chewy chocolate chip cookie bars.
Place the pan in the preheated oven. Bake for 20-25 minutes. The exact time will depend on your oven, so start checking around the 20-minute mark. You're looking for the edges to be set and lightly golden brown, while the center still looks soft and slightly underdone.
Remember, the bars will continue to cook as they cool. Pulling them out when the center looks just a little bit raw is key to achieving that signature chewy texture. If the center looks completely set and dry, they are likely overbaked and might be less chewy.
Once baked, remove the pan from the oven and place it on a wire cooling rack. Let the bars cool completely in the pan. This is a critical step! Cutting into warm cookie bars will result in a crumbly mess. Allowing them to cool for at least 1-2 hours (or even longer) in the pan allows them to set properly.
Once completely cool, use the parchment paper overhang to lift the entire slab of cookie bars out of the pan onto a cutting board. Use a sharp knife or a bench scraper to cut the bars into squares or rectangles of your desired size. A common size is 4 rows by 4 rows, yielding 16 bars, or 4 rows by 5 rows, yielding 20 bars. Clean the knife blade periodically for cleaner cuts. Your easy chocolate chip cookie bars are now ready to enjoy!
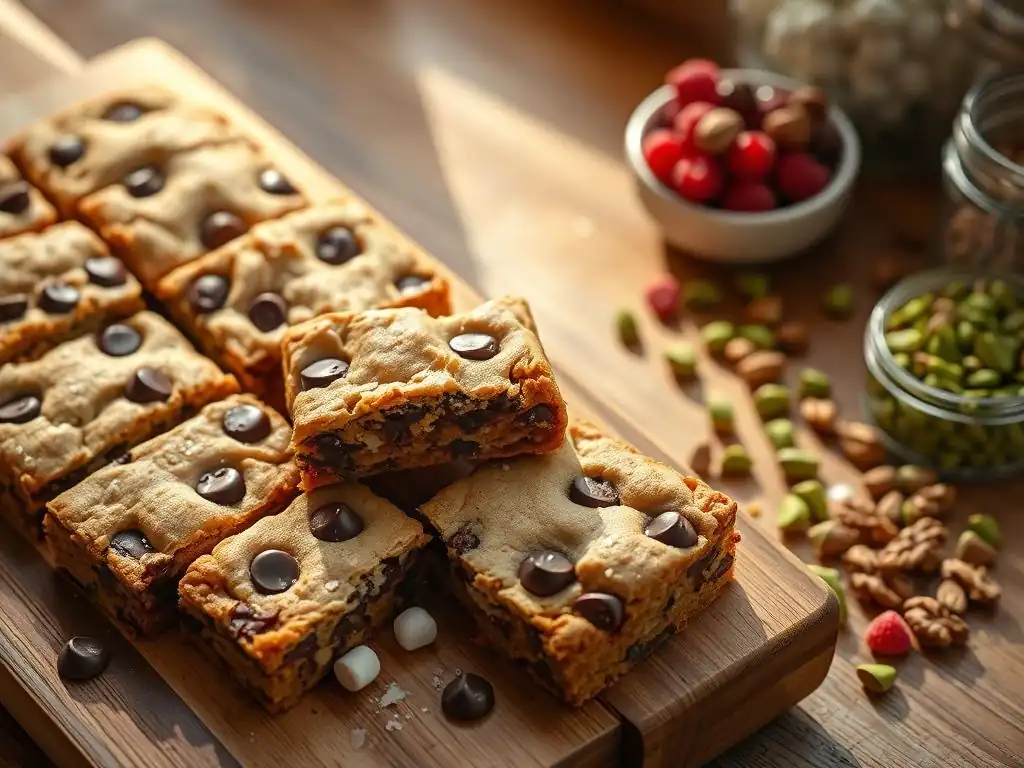
One of the best things about making easy chocolate chip cookie bars is how versatile they are! Once you have the basic recipe down, you can easily adapt it to create new and exciting flavor combinations. Don't be afraid to experiment and make these bars your own.
From adding different mix-ins to altering the base recipe slightly, the possibilities are vast. Here are a few popular variations you can try once you've mastered the classic chewy chocolate chip cookie bars.
Adding nuts provides a delightful crunch that contrasts beautifully with the soft, chewy texture of the bars. Walnuts and pecans are classic choices that pair wonderfully with chocolate. You can stir in about 1 cup of chopped nuts along with the chocolate chips in Step 2 of the recipe.
Ensure the nuts are roughly chopped into pieces that aren't too large, so they distribute evenly throughout the dough. Toasting the nuts lightly in a dry skillet or in the oven for a few minutes before adding them can enhance their flavor significantly, bringing out their natural oils and nuttiness. This simple addition elevates the standard easy chocolate chip cookie bars.
Experimenting with Different Types of Chocolate
While semi-sweet chocolate chips are traditional, using different types of chocolate can dramatically change the flavor profile of your chewy chocolate chip cookie bars. Try using dark chocolate chips for a richer, less sweet bar, or milk chocolate chips for a sweeter, creamier result.
You can also use a mix of different chocolate types, like a combination of dark and milk chocolate chips, or add white chocolate chips for extra sweetness and visual appeal. Chopping up a chocolate bar instead of using chips can also be a fun variation; chopped chocolate melts into gooey puddles, creating pockets of intense chocolate flavor throughout the bars. About 6-8 ounces of chopped chocolate is a good starting point.
Adding a swirl of salted caramel takes your easy chocolate chip cookie bars to a decadent new level. You can use a store-bought caramel sauce or make your own. After pressing the dough into the pan in Step 3, warm about 1/2 cup of caramel sauce slightly so it's pourable. Drizzle the caramel sauce evenly over the top of the dough.
Then, use a knife or skewer to gently swirl the caramel into the dough, being careful not to mix it in completely. Sprinkle a pinch of flaky sea salt over the top of the caramel swirls before baking. The salt enhances both the chocolate and the caramel flavors, creating a truly irresistible treat.
For those following a gluten-free diet, it's possible to adapt this recipe to make delicious gluten-free chewy chocolate chip cookie bars. The easiest way is to substitute the all-purpose flour with a good quality gluten-free all-purpose flour blend that contains xanthan gum. Use the same amount of gluten-free flour blend as you would regular flour (1 1/4 cups).
Baking time might vary slightly with gluten-free flour blends, so keep a close eye on the bars as they bake, looking for those golden edges and slightly underbaked center. The texture might be slightly different, but you can still achieve a wonderfully chewy result that satisfies your craving for easy chocolate chip cookie bars.
Even with a simple recipe, a few key tips can make the difference between good easy chocolate chip cookie bars and absolutely amazing ones. Paying attention to details like baking time, oven temperature, and how you store them can elevate your results.
These tips are especially helpful for new bakers looking to consistently achieve that perfect chewy texture and rich flavor. Incorporating these practices will help you bake your best batch yet.
Preventing Over-Baking and Achieving a Chewy Center
Over-baking is the most common culprit behind dry or hard cookie bars. As mentioned earlier, the key to chewiness is removing them from the oven when the center still looks slightly soft and underdone. The edges should be golden brown, but the middle might still look a bit shiny or even gooey.
Ovens can vary significantly in temperature, sometimes by as much as 25-50°F (15-30°C). Using an oven thermometer can help you verify that your oven is actually preheating to 350°F (175°C). Start checking your bars at the lower end of the suggested baking time (around 20 minutes) and watch them closely. It's better to pull them out a minute too early than a minute too late for maximum chewiness.
Uneven baking can result in some parts of the bar being perfectly chewy while others are dry. To promote even baking, ensure your dough is spread evenly into the pan before baking (refer back to Step 3). Make sure there are no thick spots or thin edges.
If your oven tends to bake unevenly (e.g., hotter in the back), you can rotate the pan halfway through the baking time (around the 10-12 minute mark). This helps ensure that all sides of the pan receive equal heat exposure, leading to a more uniformly baked tray of easy chocolate chip cookie bars.
Proper storage is essential to keep your chewy chocolate chip cookie bars soft and fresh. Once the bars are completely cooled and cut, store them in an airtight container at room temperature. If stacking layers of bars, place a piece of parchment paper between the layers to prevent them from sticking together.
Stored correctly, these easy chocolate chip cookie bars will stay fresh and chewy for about 3-4 days. For longer storage, you can freeze them. Wrap individual bars or layers tightly in plastic wrap, then place them in a freezer-safe bag or container. Thaw at room temperature when you're ready to enjoy them again.
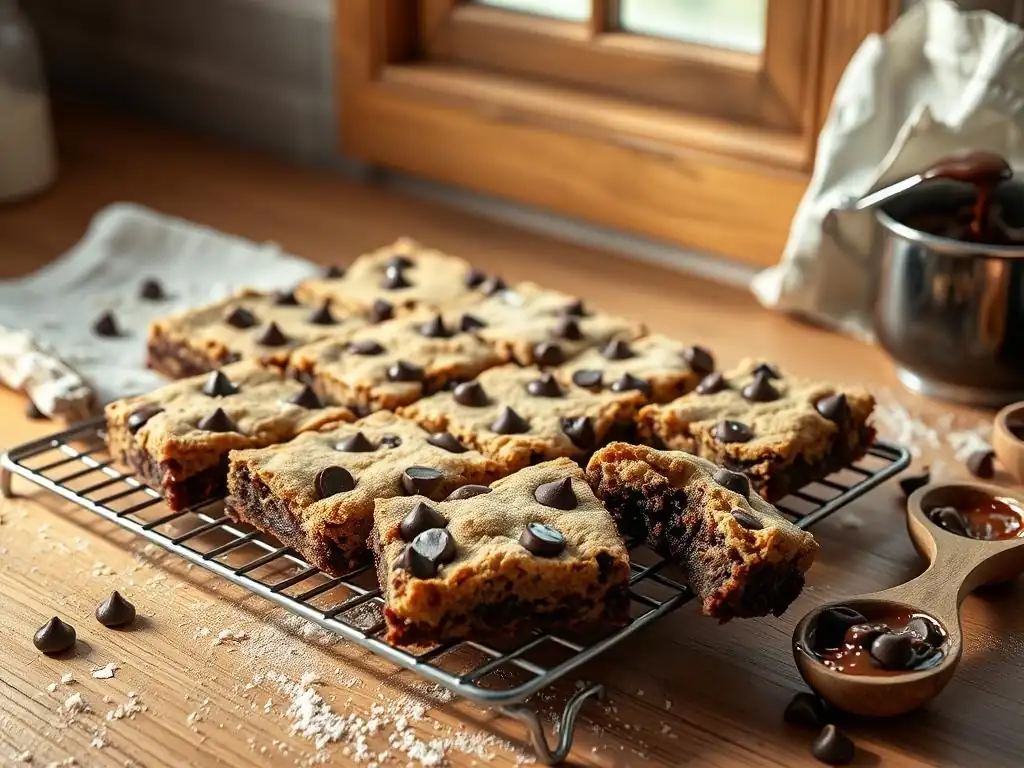
Even experienced bakers encounter issues sometimes! If your easy chocolate chip cookie bars didn't turn out exactly as planned, don't worry. Baking is a learning process. Here are some common problems and how to diagnose them for your next batch.
Understanding why something went wrong is the first step to fixing it. These troubleshooting tips will help you improve your technique and achieve perfect chewy chocolate chip cookie bars every time.
If your cookie bars turned out dry or crumbly instead of chewy, the most likely culprit is over-baking. Baking them for too long or at too high a temperature evaporates too much moisture. As discussed in the tips section, pull them from the oven when the center still looks soft and slightly underdone.
Another reason could be inaccurate measuring of flour. Too much flour will absorb excess moisture. Ensure you are measuring flour correctly, preferably by weight using a kitchen scale (1 1/4 cups all-purpose flour is approximately 150 grams), or by using the spoon-and-level method (gently spoon flour into the measuring cup and level off the top with a straight edge, without packing it down).
Crumbly bars can also be a result of too much flour or not enough fat. Double-check your measurements for butter and eggs to ensure you used the correct quantities specified in the recipe. Ensure your butter was softened, not melted, as melted butter changes the fat-to-flour ratio and can lead to a different texture.
If the dough itself felt very dry before baking, it might indicate an issue with the liquid or fat content. Sometimes, environmental factors like very low humidity can affect dough hydration slightly, but typically, correct ingredient measurements and avoiding over-baking are the main factors in preventing crumbly easy chocolate chip cookie bars.
My chocolate chips sank to the bottom, what happened?
If you find most of your chocolate chips congregating at the bottom of your easy chocolate chip cookie bars, there are a few potential reasons. One common cause is overmixing the dough after adding the chocolate chips. Vigorous mixing can cause the heavier chips to sink. Gently folding them in with a spatula is best.
Another factor could be that the dough was too warm or soft when the chips were added or when it was spread into the pan. If the dough is very warm, the chips can sink more easily during baking. Ensure your butter was softened but not greasy or melted. If your kitchen is very warm, you could try chilling the dough briefly (15-20 minutes) before adding the chips and pressing it into the pan.
You did it! You've baked a batch of delicious, chewy chocolate chip cookie bars. There's nothing quite like the smell of warm cookies fresh from the oven, and these bars deliver that classic comfort in an easy-to-make format. Now comes the best part: enjoying the fruits of your labor!
Whether you share them with friends and family or keep them all to yourself (we won't tell! ), take a moment to appreciate the simple pleasure of homemade treats. These easy chocolate chip cookie bars are perfect for any occasion, from a casual snack to a party dessert.
Serving Suggestions and Pairing Ideas
Chewy chocolate chip cookie bars are fantastic on their own, but they can also be elevated with simple serving suggestions. A warm bar served with a scoop of vanilla ice cream is a classic combination that creates a delightful contrast of warm and cold, chewy and creamy.
They also pair wonderfully with a glass of cold milk, a cup of hot coffee, or tea. For a more decadent treat, you could drizzle a little extra melted chocolate or caramel sauce over the top just before serving. Cutting them into smaller squares makes them perfect for a dessert platter or picnic.
We love seeing what you bake! If you've made these easy chocolate chip cookie bars using our recipe, we encourage you to share your success. Tag us on social media or simply tell us about your experience in the comments section on the recipe page on BakeWithEase.com.
Your feedback and photos inspire other new bakers to give it a try. We're building a community of home bakers who support each other and share their love for simple, delicious baking. Let us know how your chewy chocolate chip cookie bars turned out!
Frequently Asked Questions
Cookie bars are easier because you simply press the dough into a pan and bake, eliminating the need to scoop and individually bake each cookie. This significantly reduces preparation time and cleanup.
What makes this recipe "easy" for new bakers?
This recipe features simple instructions, easily accessible ingredients, and requires no specialized equipment. It's designed to minimize common baking mistakes.
Can I customize the chocolate chips used in these bars?
Absolutely! Feel free to use dark chocolate, milk chocolate, white chocolate, or a combination of your favorite chips. You can also add nuts or other mix-ins.
The edges should be golden brown and the center slightly soft but not jiggly. A toothpick inserted near the center should come out with moist crumbs attached.
Store leftover bars in an airtight container at room temperature for up to three days, or in the refrigerator for up to a week. This will keep them fresh and chewy.
Final Reflection: The Sweetness of Simple Beginnings
The ease of baking delicious chocolate chip cookie bars isn't just about a recipe; it's about unlocking a world of culinary confidence. These simple bars, accessible to even the newest baker, represent a gateway to the joy of creating something delicious from scratch. The satisfaction derived from this seemingly small accomplishment can be surprisingly profound.
The impact of a successful baking experience, especially for beginners, extends far beyond the immediate gratification of a warm, gooey treat. It fosters a sense of accomplishment and self-efficacy that can translate to other areas of life. As Julia Child famously said, Find something you're passionate about and keep tremendously interested in it.
For many, that passion begins with the simple act of baking a perfect batch of cookies, a feeling of empowerment that can be truly transformative. The positive feedback loop – from mixing the ingredients to the final, satisfying bite – is incredibly rewarding and encourages further exploration in the kitchen.
Now, I invite you to take this newfound confidence and apply it. Don't be afraid to experiment with variations of this recipe, to add your own personal touch. Perhaps you'll try different types of chocolate, add nuts, or even create a unique flavor profile entirely. The beauty of baking lies in its adaptability, and your journey as a baker has only just begun. Embrace the process, savor the results, and remember the simple joy of a perfectly baked chocolate chip cookie bar.
Unleash Your Inner Baker: Make These Amazing Bars Today!
Thanks for taking the time to explore our chewy chocolate chip cookie bar recipe! We hope you gained some confidence and inspiration for your next baking adventure. Now, let's get those delicious bars into your oven!
- Bake a batch of these irresistible cookie bars today! Use the recipe as a jumping-off point – get creative with add-ins or variations!
- Share your baking triumph on social media! Use #BakeWithEase and tag us – we'd love to see your creations!
- Leave a comment below! Tell us about your favorite cookie bar modifications or what you'll bake next.
Ready to experience the joy of homemade goodness? What unique twist will you add to these amazing cookie bars?