
How to Fix Common Birthday Cake Baking Mistakes

Welcome to BakeWithEase, your partner in creating delicious baked goods!
Ever feel that birthday cake baking is more of a battle than a blissful activity? You're not alone. We all make mistakes, especially when the pressure is on to create the perfect celebratory dessert. Dive into our article, " How to Fix Common Birthday Cake Baking Mistakes," and discover practical solutions to turn those baking blunders into triumphs. Ready to transform your next birthday cake into a masterpiece? Let's get baking!
- Fixing Birthday Cake Baking Mistakes: A BakeWithEase Guide
- Common Birthday Cake Baking Problems and Solutions
- Mastering Birthday Cake Frosting Issues
- Advanced Birthday Cake Baking Tips for Perfect Results
- Conclusion: Bake Birthday Cakes with Confidence
- Frequently Asked Questions
- Final Reflection: The Sweet Triumph Over Cake Catastrophes
- Unleash Your Inner Cake Boss!
Fixing Birthday Cake Baking Mistakes: A BakeWithEase Guide
Introduction: Achieve Birthday Cake Perfection with BakeWithEase
Celebrating a birthday with a homemade cake is a truly special gesture. However, even experienced bakers can encounter hiccups along the way, leading to less-than-perfect results. From dry sponges to sunken centers, these common issues can feel frustrating, especially when you're aiming for that show-stopping centerpiece. At BakeWithEase, we understand these challenges and believe that fixing birthday cake baking mistakes is a skill every baker can master with a little guidance.
This guide is designed to walk you through the most frequent problems encountered when baking birthday cakes and, more importantly, provide actionable solutions. We'll delve into the science behind these baking blunders, offering practical tips and techniques to prevent them from happening in the first place. By understanding the causes and applying our expert advice, you'll build the confidence needed to tackle any baking challenge and ensure your next birthday cake is a resounding success, free from those common errors.
Common Birthday Cake Baking Problems and Solutions
Troubleshooting Dry Birthday Cake: Moisture Matters
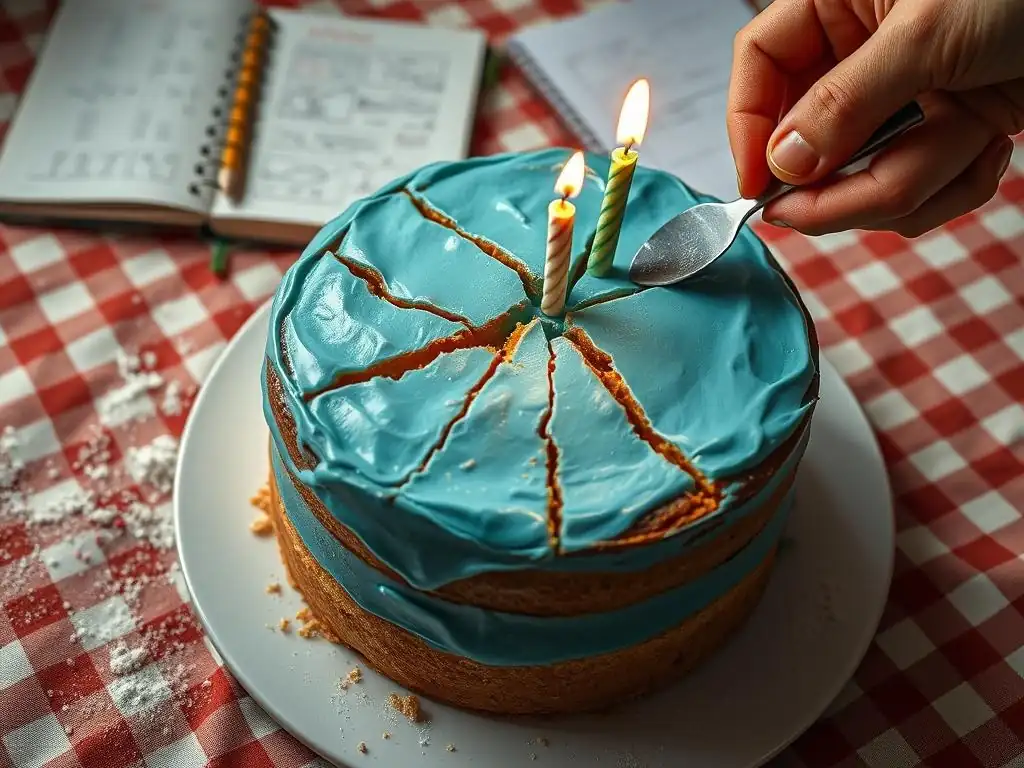
A dry birthday cake can be incredibly disappointing, turning a potentially delightful dessert into a chore to eat. This issue often stems from fundamental errors in ingredient ratios or baking time. For example, using too much flour relative to wet ingredients like eggs, butter, or milk is a classic culprit, as flour absorbs liquid and can quickly dry out a batter. Similarly, over-baking is a primary cause; even a few minutes too long in the oven can evaporate essential moisture, leaving you with a crumbly, arid cake.
Beyond ingredients and timing, factors like oven temperature accuracy and the type of pan used can also contribute to dryness. An oven running hotter than indicated will bake the cake faster and potentially dry it out before the center is fully cooked. Using a dark metal pan without proper greasing and flouring can lead to the edges and bottom baking and drying out much faster than the rest of the cake. Understanding these underlying reasons is the first step in effectively fixing birthday cake baking mistakes related to dryness.
Understanding the Causes of Dry Cake
Dryness in a birthday cake is frequently linked to an imbalance in the wet-to-dry ingredient ratio. Recipes typically call for a specific balance to ensure moisture and structure. For instance, many standard butter cake recipes aim for roughly equal weights of flour, sugar, fat, and eggs, with additional liquid. Deviating from this, perhaps by adding an extra quarter cup of flour or reducing butter slightly, can significantly impact the final texture. Over-mixing the batter can also develop too much gluten, resulting in a tough, dry crumb.
Another critical factor is the baking environment itself. Ovens, especially older models, can have significant temperature variations, sometimes being off by 25°F (about 14°C) or more from the set temperature. Baking at a higher effective temperature than intended accelerates moisture loss. Furthermore, opening the oven door too frequently during baking causes temperature fluctuations and can prolong baking time, increasing the risk of drying out the cake.
Solutions for a Moist Birthday Cake: Hydration is Key
Ensuring your birthday cake is moist involves careful attention to both the recipe and the baking process. Begin by accurately measuring your ingredients, ideally using a kitchen scale for flour and sugar to guarantee the correct ratios. For example, a cup of all-purpose flour can vary in weight by up to 20% depending on how it's scooped; weighing it ensures consistency. Using room temperature ingredients, especially butter and eggs, helps them emulsify better with the sugar, creating a smoother batter that retains moisture more effectively.
During baking, monitor the cake closely and rely on visual cues and the toothpick test rather than just the timer. A cake is typically done when the edges pull slightly away from the pan, the top springs back when gently pressed, and a toothpick inserted into the center comes out with only a few moist crumbs attached, not wet batter.
If your oven runs hot, consider lowering the temperature by 15-20°F (about 8-11°C) and extending the baking time slightly. Cooling the cake correctly, initially in the pan for 10-15 minutes before transferring to a wire rack, also helps trap steam and moisture within the cake.
Addressing Uneven Birthday Cake Layers: Level Up Your Baking
Baking cake layers that rise unevenly is a common frustration, often resulting in domes that require trimming or layers that are thin on one side and thick on the other. One primary cause is uneven heat distribution in the oven. Hot spots can cause one part of the batter to set and rise faster than another, leading to a lopsided layer. Similarly, placing cake pans too close together or too near the oven walls can obstruct airflow and create uneven baking.
Another significant factor contributing to uneven layers is the preparation of the cake pan itself. If the sides of the pan are greased too high or if batter is thicker on one side when poured, the cake may not be able to climb the sides evenly as it bakes. Furthermore, opening the oven door frequently to check on the cake can cause sudden temperature drops, potentially collapsing areas of the cake that haven't fully set, resulting in unevenness. Fixing birthday cake baking mistakes like uneven layers requires precision and patience.
Identifying the Reasons for Uneven Cake Layers
Uneven oven heat is arguably the most frequent culprit behind lopsided cake layers. Most home ovens have temperature variances, and some areas might consistently be hotter or cooler than others. Testing your oven with an independent oven thermometer can reveal these discrepancies. Over-mixing the batter can also contribute; vigorous mixing can incorporate too much air unevenly, leading to unpredictable rising patterns.
The way the batter is poured into the pan also plays a role. Simply dumping batter into the center can result in a higher concentration of batter there, leading to a dome. Additionally, using pans of different materials or colors simultaneously can cause them to heat at different rates, affecting rise uniformity. For instance, a dark metal pan absorbs heat faster than a shiny aluminum one.
How to Bake Even Birthday Cake Layers: Tips and Techniques
Achieving perfectly even birthday cake layers starts with oven management. Rotate your cake pans halfway through the baking time to counteract potential hot spots. Ensure pans are spaced adequately in the oven to allow for proper air circulation – generally, leave at least 1-2 inches (2.5-5 cm) between pans and the oven walls. If your oven has persistent hot spots, avoid placing pans in those areas or consider baking one layer at a time if space is limited.
For pan preparation, grease and flour the bottom of the pan but only lightly grease the sides, or use parchment paper cut to fit the bottom. This allows the batter to grip the sides and climb evenly. When pouring batter, distribute it evenly into the pans; you can gently spread it towards the edges with an offset spatula, leaving a slight dip in the center – the center will rise as it bakes.
Using cake strips, which are insulated fabric bands soaked in water and wrapped around the outside of the pan, is an excellent technique. These strips help the outside of the cake bake slower, allowing the center to catch up and preventing a large dome.
Avoiding a Sunken Birthday Cake Center: Prevention is Paramount
A sunken center is one of the most disheartening baking mistakes. You pull the cake from the oven, admire its golden-brown crust, only to watch the middle slowly collapse into a crater. This usually indicates that the cake's structure wasn't fully set before it was removed from the heat or subjected to a sudden shock. Opening the oven door too soon or too forcefully, especially within the first two-thirds of the baking time, is a prime suspect. The rush of cooler air can cause the delicate, rising structure to deflate before the proteins and starches have properly set.
Another major cause is under-baking. If the center of the cake hasn't reached the correct internal temperature (typically around 200-210°F or 93-99°C for many cakes) to set the batter, it won't have the structural integrity to support itself once out of the oven. Using too much leavening agent (baking soda or baking powder) can also cause the cake to rise too quickly and dramatically, creating an unstable structure prone to collapse. Fixing birthday cake baking mistakes like a sunken center focuses heavily on proper baking technique and timing.
Pinpointing the Culprits Behind Sunken Cakes
Beyond premature oven door opening and under-baking, ingredient imbalances can lead to sunken centers. Using too much sugar or fat relative to flour can weaken the cake's structure, as these ingredients tenderize the cake but don't provide structure like flour and eggs do. For example, a recipe with an excessive amount of butter might taste rich but lack the stability needed to hold its shape.
Incorrectly measuring or using expired leavening agents is another common issue. Too much baking soda or powder causes an initial rapid rise, but the resulting gas bubbles are too large and unstable, leading to collapse. Conversely, using too little or expired leavening means the cake won't rise sufficiently, resulting in a dense, potentially sunken layer. Baking at too low a temperature can also contribute, as the cake takes too long to set, allowing more time for gravity to pull the center down before the structure is firm.
Remedies for a Sunken Birthday Cake: Baking with Confidence
Preventing a sunken center starts with resisting the urge to peek inside the oven too early. Wait until the cake has baked for at least two-thirds of the recommended time before opening the door, and do so gently. Always preheat your oven thoroughly to the correct temperature and use an oven thermometer to verify accuracy. Ensure your baking powder and baking soda are fresh; you can test baking powder by adding a teaspoon to hot water (it should fizz vigorously) and baking soda by adding a teaspoon to vinegar (it should also fizz).
Use the toothpick test to confirm doneness. Insert a toothpick into the center of the cake; it should come out with moist crumbs, not wet batter. If you notice the cake is browning too quickly on top but the center isn't done, loosely tent the top with aluminum foil.
If you do end up with a slightly sunken center, don't despair! For minor dips, you can often fill the area with frosting. For more significant collapses, you can trim the dome off another layer and use it to fill the gap, or simply embrace the rustic look and fill the crater with frosting or fruit.
Preventing a Dense Birthday Cake: Light and Airy Baking
A dense birthday cake feels heavy and lacks that desirable tender, airy crumb. This often happens when the batter is over-mixed, developing too much gluten, or when the ingredients aren't properly aerated. Over-mixing flour creates long, strong gluten strands, similar to kneading bread dough, which results in a tough, dense texture unsuitable for cake. Incorporating air is crucial for leavening and creating a light structure; insufficient creaming of butter and sugar or gentle folding of dry and wet ingredients can lead to a dense cake.
Another factor is the temperature of your ingredients. Cold butter and eggs don't emulsify properly, making it difficult to incorporate air during the creaming process. If your recipe relies on this method for lift, using cold ingredients will significantly impact the final texture. Using too much liquid or too little leavening can also result in a heavy, dense cake. Fixing birthday cake baking mistakes related to density requires careful handling of ingredients and batter.
Understanding the Factors Leading to Dense Cakes
The most common culprit for dense cakes is over-mixing, particularly after the flour has been added. Gluten development is necessary for structure, but too much makes the cake tough. Imagine beating a cake batter vigorously for several minutes after adding the flour – this will almost certainly result in a dense crumb. Another reason is using the wrong type of flour; high-protein bread flour will create more gluten than lower-protein cake flour, leading to a denser cake.
Insufficient leavening is also a key factor. If your recipe calls for baking powder and/or baking soda, and they are old or the incorrect amount is used, the cake won't rise properly, resulting in a compact texture. Not sifting dry ingredients can also contribute to density, as sifting helps to aerate the flour and distribute the leavening agents evenly. For recipes using the creaming method, not creaming the butter and sugar until light and fluffy (which incorporates air) will result in a less airy cake.
Achieving a Light and Airy Birthday Cake: The Right Techniques
To bake a light and airy birthday cake, focus on proper mixing techniques and ingredient preparation. Always use room temperature butter and eggs for recipes that require creaming. Cream the butter and sugar together until the mixture is visibly lighter in color and fluffy, which takes about 3-5 minutes with an electric mixer. This step incorporates significant air. When adding dry ingredients, mix only until just combined. Stop as soon as you no longer see streaks of flour; a few small lumps are acceptable and preferable to over-mixing.
Consider using cake flour if your recipe allows, as its lower protein content results in a more tender cake with less potential for gluten development. Sift your dry ingredients together before adding them to the wet mixture to ensure they are lump-free and well-aerated. For recipes that use the reverse creaming method (mixing dry ingredients first, then adding butter), this technique naturally minimizes gluten development, often resulting in a very tender crumb. Ensure your leavening agents are fresh and measured accurately.
Correcting a Crumbly Birthday Cake: Structure and Stability
A crumbly birthday cake falls apart easily when sliced, making it difficult to serve and frost neatly. This issue often stems from a lack of sufficient binding agents or too much dry ingredient relative to wet. If there aren't enough eggs, fat, or liquid to hold the cake structure together, the baked cake will be fragile and prone to crumbling. Think of eggs as a primary binder; reducing the number of eggs can significantly impact the cake's stability.
Over-baking is another major contributor to crumbliness. As mentioned earlier, excessive heat and time in the oven evaporate moisture, and this lack of moisture also compromises the cake's structure, making it dry and brittle. Using too much flour or sugar can also lead to a crumbly texture; excessive flour creates a dry structure, while too much sugar can interfere with gluten development and egg protein setting, resulting in a weaker crumb. Fixing birthday cake baking mistakes related to crumbling involves balancing ingredients and controlling the baking process.
Identifying the Causes of a Crumbly Cake Texture
Beyond insufficient binders and over-baking, using too little fat (butter or oil) can cause crumbliness. Fat coats flour particles, inhibiting gluten development and tenderizing the crumb. A cake with too little fat will have a tougher, drier structure that crumbles easily. Similarly, using the wrong type of fat can matter; oil-based cakes are often moister and less prone to crumbling than butter-based ones, though butter offers superior flavor.
The temperature of ingredients can also play a subtle role. While cold ingredients hinder aeration in creaming, they can also affect emulsion stability. Using cold eggs in a batter that relies on emulsification might lead to a less cohesive mixture, impacting the final crumb structure. Additionally, slicing a cake before it has cooled adequately can cause it to crumble, as the internal structure is still fragile and hasn't fully set.
How to Fix a Crumbly Birthday Cake: Binding Agents and Techniques
To prevent a crumbly birthday cake, ensure your recipe has a proper balance of wet and dry ingredients, particularly sufficient eggs and fat. Follow the recipe's measurements precisely, using a scale for accuracy. Avoid the temptation to reduce fat or sugar significantly unless using a specifically designed lightened recipe. Ensure you are not over-baking the cake; use the toothpick test and visual cues.
If you find your cakes are consistently crumbly despite following recipes, consider adding an extra egg yolk or a tablespoon of sour cream, yogurt, or mayonnaise to your batter (depending on the recipe style) to boost moisture and binding. These additions can significantly improve the cake's structure and tenderness. Always allow the cake to cool in the pan for 10-15 minutes before inverting it onto a wire rack to cool completely. For easier handling and slicing of delicate or slightly crumbly cakes, chill them in the refrigerator for 30-60 minutes before cutting. This firms up the structure.
Mastering Birthday Cake Frosting Issues
Fixing Runny Birthday Cake Frosting: Achieving the Right Consistency
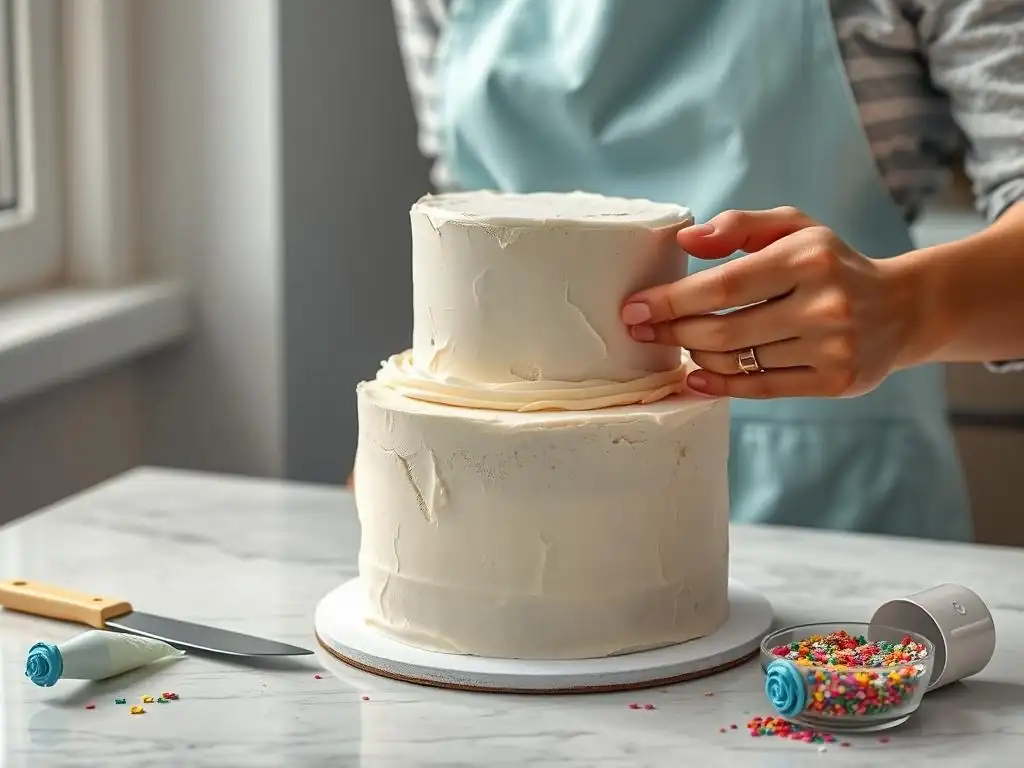
Runny frosting is a common problem that can turn a beautiful cake into a messy disaster, dripping down the sides instead of holding its shape. The primary reason for runny frosting is usually too much liquid. This can happen from adding too much milk, cream, or extract during the mixing process, or sometimes from using butter that is too soft or even partially melted, which adds excess liquid fat to the mixture.
Environmental factors also play a significant role. Warm kitchens can cause butter-based frostings (like buttercream) to soften and become runny. High humidity can also introduce excess moisture into the frosting, especially powdered sugar-based ones, making them slack and difficult to work with. Fixing birthday cake baking mistakes with frosting often involves adjusting consistency and managing temperature.
Understanding Why Frosting Runs
Beyond adding too much liquid, the type of fat used can influence consistency. Buttercream made with a higher ratio of butter to powdered sugar will be softer and more prone to running in warm conditions than one with less butter or one made with a combination of butter and shortening. Shortening has a higher melting point than butter, providing more stability, though it lacks the flavor of butter.
Not sifting powdered sugar can also sometimes lead to a slightly slacker frosting, as lumps require more liquid to incorporate fully, potentially resulting in excess moisture once the lumps dissolve. Over-mixing certain types of frosting, like whipped cream frosting, can cause them to break and become watery.
How to Thicken Birthday Cake Frosting: Simple Solutions
The simplest way to thicken runny frosting is to gradually add more powdered sugar. Add a tablespoon or two at a time, mixing well after each addition, until the desired consistency is reached. For buttercreams, ensure your butter was the correct temperature to begin with (soft but not melted). If the frosting is warm and runny due to the environment, try chilling it in the refrigerator for 15-30 minutes; stir it periodically, and it should firm up.
For frostings that are still too soft after adding sugar, you can try adding a small amount of cornstarch (about a teaspoon per cup of frosting) mixed with a tiny bit of milk, though this can slightly alter the texture. Another option for buttercreams is to add a tablespoon or two of softened cream cheese, which adds body and a pleasant tang.
If using whipped cream frosting, ensure the cream is very cold before whipping. If it becomes runny, you may need to re-whip it, possibly adding a stabilizer like a bit of powdered sugar or cornstarch mixed in before whipping.
Preventing Grainy Birthday Cake Frosting: Smoothness is Key
Grainy frosting is unpleasant, leaving a gritty texture in your mouth rather than a smooth, creamy one. This is almost always caused by undissolved sugar crystals. In buttercreams, this happens when the powdered sugar isn't fully incorporated or if granulated sugar is mistakenly used. Powdered sugar contains a small amount of cornstarch to prevent clumping, and while it dissolves more easily than granulated sugar, it still needs thorough mixing.
In cooked frostings, like Swiss meringue or Italian meringue buttercream, graininess can occur if the sugar syrup isn't heated to the correct temperature or if the sugar isn't fully dissolved before heating. Even in simple American buttercream, not sifting the powdered sugar can leave small clumps that contribute to a grainy texture if not mixed sufficiently. Fixing birthday cake baking mistakes involving grainy frosting is all about proper sugar handling.
Identifying the Causes of Grainy Frosting
The primary cause is undissolved sugar. For American buttercream, this means the powdered sugar wasn't mixed long enough or thoroughly enough into the butter. Using cold butter can also hinder the smooth incorporation of sugar. For meringues and cooked frostings, the sugar syrup must reach a specific temperature (e.g., 240°F or 115°C for a soft-ball stage) to ensure the sugar is fully dissolved into a liquid state before being whipped into the egg whites.
Humidity can also play a minor role; in very high humidity, sugar crystals might absorb moisture and clump slightly, making them harder to dissolve smoothly into the fat. Using a lower quality or very old powdered sugar can sometimes contribute to graininess if it has stubborn clumps.
Achieving Smooth Birthday Cake Frosting: Tips and Tricks
To ensure smooth frosting, especially buttercream, always sift your powdered sugar before adding it to the mixture. This breaks up clumps and helps it incorporate more easily. Cream the butter until very smooth before gradually adding the sifted powdered sugar, mixing on low speed initially to avoid a cloud of sugar, then increasing speed to medium. Beat the mixture for several minutes (3-5 minutes is often necessary) after all the sugar is added to allow the sugar crystals to dissolve into the fat.
For cooked frostings requiring a sugar syrup, use a candy thermometer to accurately measure the temperature. Ensure all sugar crystals are dissolved in the liquid before the syrup begins to boil by stirring gently over low heat until clear. Once boiling, avoid stirring to prevent crystallization on the sides of the pan. If crystals form, you can brush down the sides of the pan with a wet pastry brush. For all frostings, allowing the finished product to sit for 10-15 minutes before a final whip can also help, giving the sugar more time to dissolve.
Addressing Cracking Birthday Cake Frosting: A Flawless Finish
Cracking frosting, particularly on the surface of a cake, can ruin its visual appeal. This most often happens when the frosting dries out too quickly or when the cake itself expands or contracts underneath a firm layer of frosting. Buttercream, especially those with a high proportion of powdered sugar or made with shortening, can form a crust when exposed to air, and if the cake settles or the temperature changes, this crust can crack.
Applying frosting to a cake that is still warm is a guaranteed way to cause issues, including cracking, as the heat melts the fat in the frosting, and as it cools and solidifies, it can become brittle and crack. Additionally, applying a very thin layer of frosting might make it more prone to cracking as it dries. Fixing birthday cake baking mistakes related to cracking frosting involves managing moisture and temperature.
Understanding Why Frosting Cracks
The drying out of the frosting's surface is the primary cause of cracking. This is more common with frostings that contain a lot of sugar and are exposed to dry air. The sugar on the surface dries and hardens, forming a crust. If the underlying cake settles even slightly, or if the temperature of the cake or environment changes, causing expansion or contraction, the rigid crust cannot flex and therefore cracks.
Applying frosting too thinly can also be a factor, as a thin layer dries faster and is less flexible than a thicker one. Using frosting that is too stiff or overworking it during application can introduce air bubbles that, when they pop or settle, can weaken the structure and lead to cracks. Furthermore, dramatic temperature shifts (e.g., moving a cake from a warm room to a very cold refrigerator) can cause rapid contraction and cracking.
How to Prevent Cracking Birthday Cake Frosting: Expert Advice
To prevent frosting from cracking, ensure your cake is completely cool before frosting it – ideally, chill it for at least 30 minutes or until firm. This reduces the risk of the cake shifting and helps the frosting set smoothly. When making buttercream, consider adding a small amount of liquid (like milk, cream, or corn syrup) at the end of mixing to improve its elasticity and prevent it from crusting too quickly. A tablespoon of corn syrup per batch of buttercream can make a noticeable difference in smoothness and flexibility.
Apply frosting in a reasonably thick layer, which is less prone to drying out and cracking than a very thin one. If working in a dry environment, keep the frosting covered when not in use. Once the cake is frosted, store it properly.
If refrigerating, place it in a cake carrier or cover it loosely with plastic wrap once the frosting has firmed up slightly. When taking a refrigerated cake out, allow it to come to room temperature gradually to prevent rapid expansion that could cause cracking. For very smooth finishes, you can use the "warm spatula" technique: dip a metal spatula in hot water, wipe it dry, and smooth the surface of the crusted buttercream.
Advanced Birthday Cake Baking Tips for Perfect Results
Temperature Control: The Key to Consistent Baking
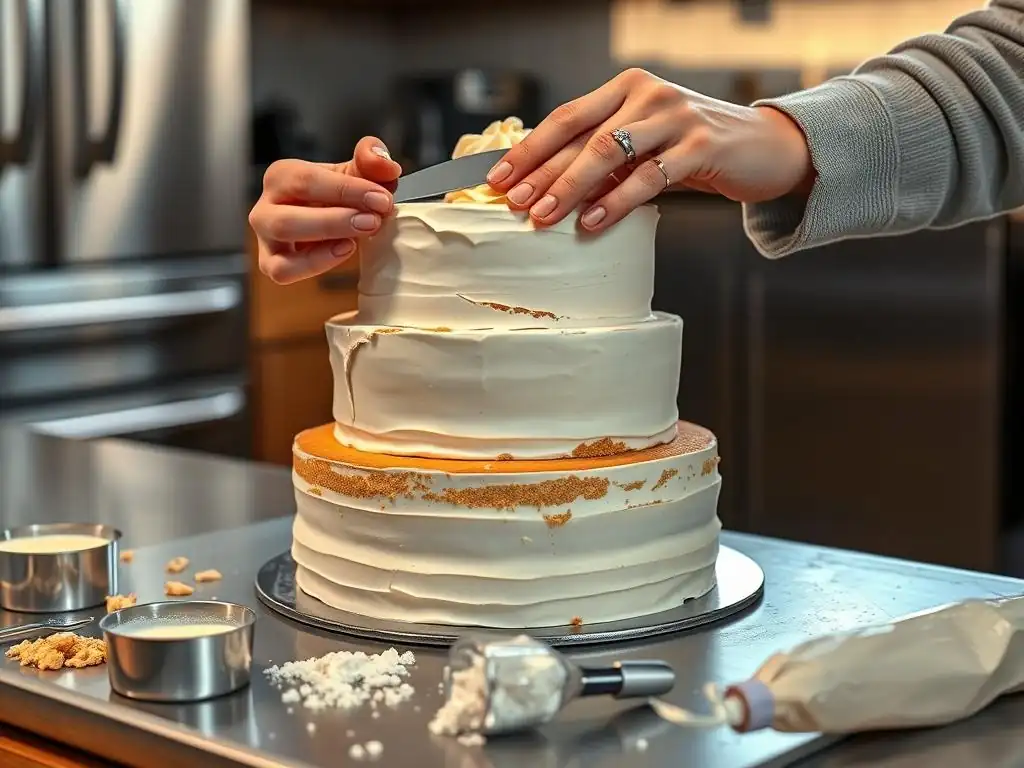
Precise temperature control is fundamental to successful baking and crucial for fixing birthday cake baking mistakes. This applies not only to the oven temperature but also to ingredient temperatures. As discussed, using room temperature ingredients like butter and eggs allows for proper emulsification and aeration, which are vital for cake structure and texture. Cold ingredients can lead to dense spots or a less uniform crumb. Aim for butter that yields slightly when pressed and eggs that don't feel cold to the touch – usually, leaving them out for 30-60 minutes does the trick.
Oven temperature accuracy is equally, if not more, important. An oven that is off by just 25°F (about 14°C) can significantly alter baking time and the final outcome, leading to issues like dryness, sinking, or uneven baking. Investing in an inexpensive oven thermometer is a simple step that provides invaluable information. Preheating the oven for a sufficient amount of time, often 15-20 minutes after it signals it's reached the set temperature, ensures the oven walls and racks are properly heated, contributing to consistent baking.
Ingredient Measurement: Accuracy for Success
Accurate ingredient measurement is non-negotiable for consistent baking results and a cornerstone of fixing birthday cake baking mistakes. Baking is often described as a science because the ratios of ingredients are critical to chemical reactions (like leavening) and structural outcomes. Eyeballing measurements or using different types of measuring cups (liquid vs. dry) can lead to significant variations. For example, packing flour into a dry measuring cup instead of spooning it lightly can add up to 25% more flour than intended, drastically affecting the wet-to-dry balance.
Using a digital kitchen scale is the most accurate method for measuring dry ingredients like flour, sugar, and even butter. Many recipes now include gram measurements alongside volume measurements for this reason. For liquids, use clear glass or plastic measuring cups with a spout, placing them on a flat surface and reading the measurement at eye level. Taking the time to measure precisely ensures that the recipe's intended balance is achieved, leading to predictable and successful results.
Oven Calibration: Ensuring Consistent Heat
Even with an oven thermometer, understanding your oven's quirks is essential for fixing birthday cake baking mistakes. Ovens can have hot spots or temperature swings. An oven thermometer helps you know if the average temperature is correct, but it doesn't show where heat is concentrated. If you consistently notice one side of your cakes browning faster than the other, you likely have a hot spot. Rotating your cake pans halfway through the baking time helps mitigate this.
If your oven thermometer indicates a consistent discrepancy, you may need to have your oven professionally calibrated. However, for home bakers, simply knowing your oven runs hot or cool allows you to adjust the temperature setting accordingly (e.g., setting it 25°F lower if it runs hot). Baking on the correct rack position is also important; typically, the middle rack provides the most even heat distribution. Avoid baking multiple large cakes simultaneously if it overcrowds the oven, as this restricts airflow and leads to uneven baking.
Conclusion: Bake Birthday Cakes with Confidence
Recap: Key Takeaways for Fixing Birthday Cake Mistakes
Successfully fixing birthday cake baking mistakes boils down to attention to detail, understanding the science behind baking, and practicing patience. We've covered some of the most common issues: dry cakes often result from incorrect measurements or over-baking; uneven layers can be caused by uneven oven heat or improper pan prep; a sunken center usually means the cake was under-baked or disturbed too soon; dense cakes often stem from over-mixing or insufficient aeration; and crumbly cakes lack sufficient binders or moisture. Frosting issues like runniness, graininess, or cracking are typically related to ingredient consistency, temperature, and mixing technique.
By focusing on accurate ingredient measurement, using room temperature ingredients, understanding your oven's temperature nuances (perhaps with an oven thermometer), and being mindful of mixing techniques and baking times, you can prevent many of these problems before they occur. Remember that baking is a skill that improves with practice. Don't be discouraged by imperfections; each one is a learning opportunity.
Further Resources: Expand Your Baking Knowledge with BakeWithEase
Mastering birthday cake baking is a rewarding journey, and fixing birthday cake baking mistakes is a key part of that process. At BakeWithEase, we offer a wealth of resources to help you hone your skills. Explore our extensive library of recipes, from classic vanilla and chocolate cakes to more adventurous flavors, all with detailed step-by-step instructions designed for clarity.
Dive deeper into specific techniques with our guides on topics like creaming butter and sugar, whipping egg whites to stiff peaks, or making different types of frosting. Our articles often include troubleshooting tips specific to individual recipes. Whether you're a beginner tackling your first layer cake or an experienced baker looking to refine your technique, BakeWithEase is here to support your baking adventures and help you achieve perfect results every time.
Frequently Asked Questions
How can I prevent my birthday cake from sinking in the middle?
A sunken cake is often caused by too much leavening or opening the oven door too early. Make sure to measure ingredients accurately and avoid peeking!
What's the best way to fix a dry birthday cake?
If your cake is dry, try brushing it with a simple syrup or fruit juice after baking. You can also add a layer of frosting or whipped cream to provide extra moisture.
My birthday cake is sticking to the pan, what can I do?
Ensure you've properly greased and floured your cake pan before baking. If it still sticks, try running a thin knife around the edges to loosen the cake.
How do I prevent my birthday cake from browning too quickly on top?
If the top is browning too fast, tent it loosely with aluminum foil. This will help to slow down the browning process without affecting the cake's overall baking.
What can I do if my birthday cake batter curdles?
Curdling often happens when ingredients are at different temperatures. Try adding a tablespoon of flour to the batter and mixing gently to help bring the emulsion back together.
Final Reflection: The Sweet Triumph Over Cake Catastrophes
The seemingly simple act of baking a birthday cake can be fraught with peril, but mastering the fundamentals transforms potential disasters into delicious celebrations. From collapsed layers to dry crumbles, the challenges are real, but so are the rewards of a perfectly baked cake. This article has explored common pitfalls and offered practical solutions, empowering you to conquer those baking anxieties and create a cake worthy of any birthday bash.
The journey of baking, much like life itself, is filled with both successes and failures. Learning from mistakes is crucial, and the art of baking provides a tangible metaphor for this process. The only true wisdom is in knowing you know nothing.
- Socrates. This quote, while seemingly unrelated to baking, speaks to the continuous learning involved in perfecting any craft, including the seemingly simple act of baking a perfect cake. The more we bake, the more we understand the nuances of ingredients, temperatures, and techniques, and the closer we get to achieving our culinary goals.
Now, it's your turn. Don't be afraid to experiment, to embrace the occasional flop, and to learn from each attempt. The next time you face a baking challenge, remember the tips and tricks shared in this article. Take a deep breath, gather your ingredients, and approach the task with confidence. The joy of creating a beautiful, delicious birthday cake, free from common mistakes, is a reward well worth the effort. Happy baking!
Unleash Your Inner Cake Boss!
Thanks for joining us on this delicious journey into the world of birthday cakes! We hope you've gained some valuable insights and feel more confident tackling those tricky baking challenges. Ready to put your newfound knowledge to the test?
- Bake your dream birthday cake today! Use what you've learned to create a masterpiece—we know you've got this!
- Share your baking triumphs (and even your bloopers!) with us on social media. Let's inspire each other!
- Challenge yourself to try a new flavor combination or decorating technique—the possibilities are endless!
What innovative birthday cake creation will you be whipping up next?