
Foolproof Red Velvet Cake for Your Next Birthday Celebration

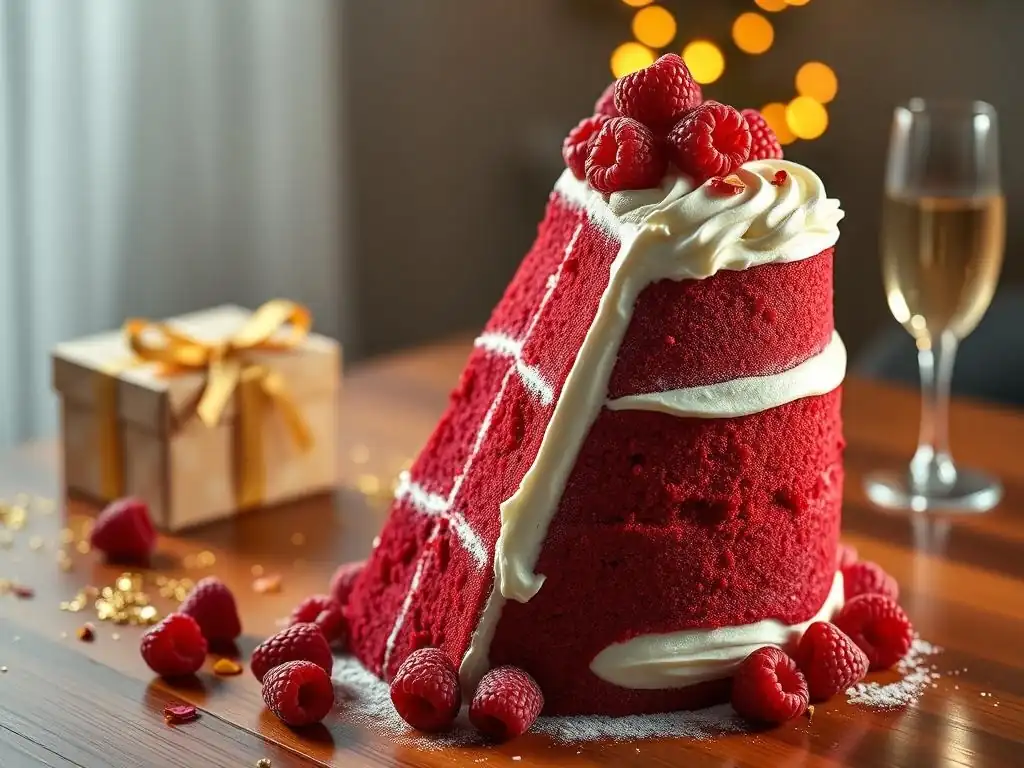
Welcome to BakeWithEase, your trusted guide to baking bliss! Ever dreamt of creating a show-stopping centerpiece for your next birthday bash? Our Foolproof Red Velvet Birthday Cake recipe is here to make that dream a delicious reality. Intrigued by the secrets to a perfectly moist and vibrant cake? Dive in and discover how simple it is to create a memorable masterpiece, even if you're a baking novice. Let's bake!
- Introduction to Foolproof Red Velvet Birthday Cake Recipes
- Essential Ingredients for a Classic Red Velvet Birthday Cake
- Step-by-Step Guide to Baking a Foolproof Red Velvet Birthday Cake
- Decorating Your Red Velvet Birthday Cake Like a Pro
- Troubleshooting Common Issues in Red Velvet Birthday Cake Baking
- Variations and Enhancements for Your Red Velvet Birthday Cake
- Storing and Serving Your Red Velvet Birthday Cake
- Conclusion: Mastering the Art of a Foolproof Red Velvet Birthday Cake
-
Frequently Asked Questions
- What makes the Foolproof Red Velvet Cake recipe suitable for beginners?
- How long does it take to bake the Foolproof Red Velvet Cake?
- Can I use a different type of frosting for the Red Velvet Cake?
- What are some tips for achieving the perfect color in my Red Velvet Cake?
- Is the Foolproof Red Velvet Cake suitable for dietary restrictions?
- Final Reflection: The Enduring Allure of a Perfect Red Velvet Cake
- Unleash Your Inner Baker: Bake a Stunning Red Velvet Cake!
Introduction to Foolproof Red Velvet Birthday Cake Recipes
Why Choose a Red Velvet Cake for Your Birthday Celebration
Red velvet cake holds a special place in the world of celebratory desserts, particularly for birthdays. Its striking deep red hue immediately signals festivity, making it a visually stunning centerpiece for any party table. Beyond its show-stopping color, the unique flavor profile combining subtle cocoa notes with a tangy buttermilk and vinegar base, often paired with rich cream cheese frosting, offers a delightful contrast that appeals to many palates. This distinct combination ensures that a red velvet cake is not just another chocolate or vanilla cake, but a memorable experience for the birthday person and their guests.
Historically, red velvet cake gained significant popularity in the mid-20th century, partly due to appearances in famous hotels like the Waldorf-Astoria in New York. While early versions may have relied on the chemical reaction between natural cocoa powder and acidic ingredients to create a reddish tint, modern recipes typically use red food coloring to achieve the vibrant, consistent color we expect today. The cake's association with elegance and its unique taste make it a perfect choice for adding a touch of classic charm and deliciousness to a birthday celebration, ensuring it stands out from more common birthday cake options.
What Makes a Red Velvet Cake Foolproof and Easy to Bake
Achieving a foolproof red velvet birthday cake centers on understanding the key interactions between its core ingredients and following precise steps. The "foolproof" aspect comes from minimizing common baking errors through clear instructions and reliable ratios. For instance, using room-temperature ingredients, especially butter, eggs, and buttermilk, is crucial for creating a smooth, emulsified batter that bakes evenly. Many recipes suggest creaming butter and sugar for a specific time, perhaps 3-5 minutes, to incorporate air, which is vital for a tender crumb structure.
Furthermore, the reaction between the acidic components (buttermilk, vinegar) and the leavening agents (baking soda) is fundamental to the cake's rise and tender texture. Ensuring these ingredients are fresh and added at the correct stage prevents issues like a dense cake. A well-written, foolproof red velvet birthday cake recipe will guide you through alternating the addition of dry and wet ingredients, typically starting and ending with the dry, and emphasize gentle mixing, especially after the flour is added, to avoid developing tough gluten strands. By adhering to these principles, even novice bakers can achieve impressive results.
Essential Ingredients for a Classic Red Velvet Birthday Cake
Key Components That Define Red Velvet Cake Flavor and Texture
The signature taste and texture of a classic red velvet cake are derived from a specific set of ingredients working in harmony. Cocoa powder provides a subtle chocolate background, distinct from a full-bodied chocolate cake. Buttermilk contributes tanginess and moisture, while vinegar (often white distilled vinegar or apple cider vinegar) reacts with baking soda to provide lift and helps tenderize the cake. The vibrant red color, now iconic, is primarily achieved with red food coloring, with gel coloring often preferred for its intensity and minimal added liquid compared to liquid dyes.
Beyond these defining elements, standard baking ingredients like all-purpose flour, granulated sugar, eggs, butter, and vanilla extract form the cake's structure and base flavor. The ratio of these ingredients is carefully balanced; for example, a typical recipe might call for about 2 1/2 cups of flour, 1 1/2 cups of sugar, 1/2 cup of butter, 2 eggs, 1 cup of buttermilk, and 1 teaspoon of vanilla. Getting these proportions right, along with the correct amount of cocoa (usually 1-2 tablespoons, not cups like a chocolate cake) and baking soda ( 1-2 teaspoons), is key to the cake's unique crumb and flavor profile that distinguishes a red velvet birthday cake.
How to Select Quality Ingredients for the Best Red Velvet Cake Results
Using high-quality ingredients is fundamental to baking a truly exceptional and foolproof red velvet birthday cake. For the cocoa powder, opting for unsweetened natural cocoa is traditional for red velvet as its acidity reacts with baking soda. While Dutch-process cocoa can be used, it requires adjusting leavening, so stick to natural cocoa for classic results. Ensure your baking soda is fresh; you can test its freshness by adding a teaspoon to a few tablespoons of vinegar – it should fizz vigorously.
Fresh dairy and eggs also make a noticeable difference. Use full-fat buttermilk for richness and moisture, and large eggs at room temperature for better emulsification. Butter quality impacts both flavor and texture; unsalted butter is preferred so you can control the salt level in the recipe. Finally, for the red coloring, a high-quality gel food coloring provides a more intense color with less product than liquid coloring, preventing potential issues with batter consistency. Using about 1-2 tablespoons of gel coloring typically achieves a vibrant red for a standard two-layer cake.
Step-by-Step Guide to Baking a Foolproof Red Velvet Birthday Cake
Preparing the Batter: Techniques for a Smooth and Moist Cake
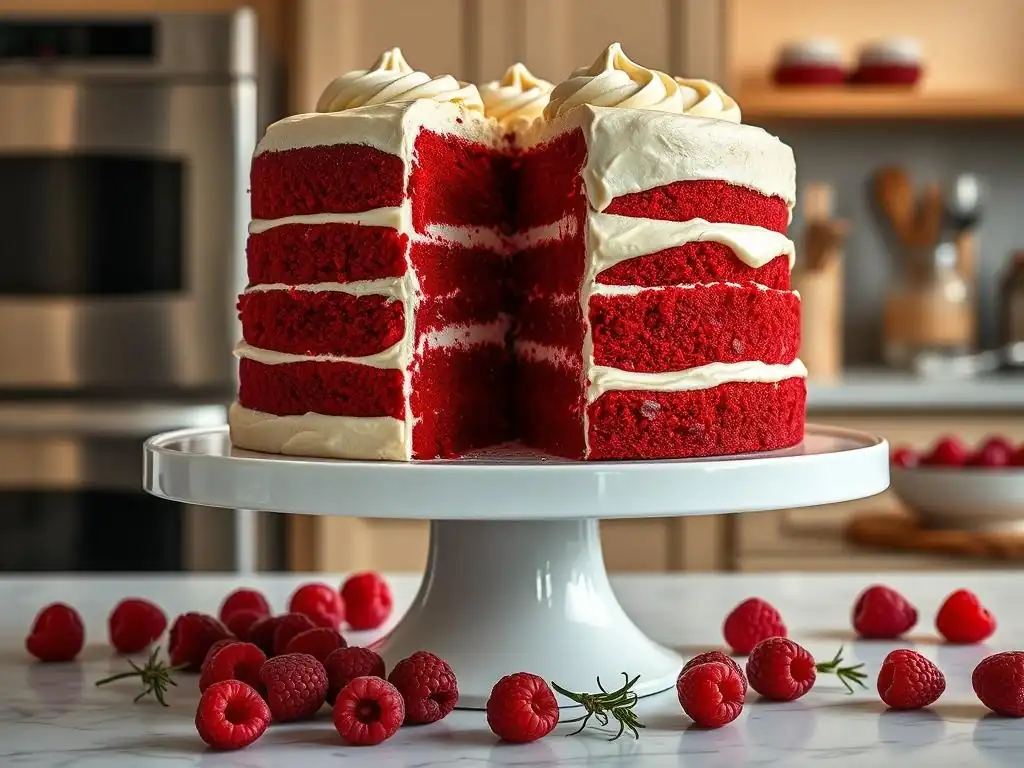
Creating a smooth and moist batter is the first critical step towards a foolproof red velvet birthday cake. Begin by ensuring all cold ingredients, like butter, eggs, and buttermilk, are at room temperature. This allows them to combine more easily and evenly, preventing lumps. Cream the softened butter and sugar together until light and fluffy, which can take 3-5 minutes with an electric mixer. This step incorporates air, contributing to a tender cake crumb. Add eggs one at a time, beating well after each addition, followed by the vanilla extract and red food coloring.
In a separate bowl, whisk together the dry ingredients: flour, cocoa powder, baking soda, and salt. In another small bowl, combine the buttermilk and vinegar. The key to a tender cake is to alternate adding the dry ingredients and the wet ingredients (buttermilk mixture) to the creamed mixture, starting and ending with the dry.
For instance, add about one-third of the dry ingredients, mix just until combined, then half of the wet, mix, then another third of the dry, the remaining wet, and finally the last third of the dry. Crucially, mix on low speed and stop as soon as the last streaks of flour disappear to avoid overdeveloping gluten, which leads to a tough cake.
Baking Tips: Oven Settings and Timing for Perfect Red Velvet Layers
Proper oven temperature and timing are essential for baking perfect, evenly cooked red velvet birthday cake layers. Preheat your oven to 350°F (175°C) and ensure it is fully preheated using an oven thermometer, as oven temperatures can vary. Prepare your cake pans by greasing and flouring them or lining them with parchment paper circles to prevent sticking. For standard 8 or 9-inch cake pans, divide the batter evenly between two prepared pans.
Bake the cake layers for approximately 25-30 minutes. The exact time will depend on your oven and the size of your pans. To check for doneness, insert a toothpick into the center of each cake layer. If it comes out clean with no wet batter attached (a few moist crumbs are okay), the cake is done. Avoid opening the oven door frequently during baking, as this can cause the cakes to sink. Baking for the correct amount of time ensures the cake is cooked through without drying out, contributing to a moist and tender foolproof red velvet birthday cake.
Cooling and Handling the Cake to Maintain Moistness and Structure
Proper cooling is just as important as baking for a foolproof red velvet birthday cake. Once the cake layers are removed from the oven, let them cool in their pans on a wire rack for about 10-15 minutes. This initial cooling period allows the cake to set slightly and prevents it from breaking when you remove it from the pan. Running a knife gently around the edges of the pan can help loosen the cake before inverting it onto the wire rack.
After the initial cooling in the pan, carefully invert the cake layers onto a wire rack to cool completely. Cooling on a wire rack allows air circulation around the entire cake, preventing moisture from condensing on the bottom and making the cake soggy. Ensure the cakes are completely cool before attempting to frost or assemble them, which typically takes 1-2 hours. Frosting a warm cake will cause the frosting to melt and slide off, and handling warm cakes can damage their structure. Patience during this cooling phase ensures your red velvet birthday cake is sturdy and ready for decorating.
Decorating Your Red Velvet Birthday Cake Like a Pro
Classic Cream Cheese Frosting: Recipe and Application Tips
The quintessential pairing for a red velvet birthday cake is a smooth, tangy cream cheese frosting. A standard recipe usually involves beating softened unsalted butter ( 1/2 cup or 1 stick) with softened full-fat cream cheese ( 8 ounces) until smooth, for about 2-3 minutes. Gradually add powdered sugar ( 3-4 cups), mixing on low speed until incorporated, then increasing speed to medium and beating until light and fluffy. Finally, mix in vanilla extract ( 1 teaspoon). Ensure your cream cheese and butter are properly softened to room temperature for a lump-free frosting; cold ingredients will result in a stiff, difficult-to-spread frosting.
When applying the cream cheese frosting to your foolproof red velvet birthday cake, start with a thin "crumb coat." Apply a thin layer of frosting all over the cake to trap any loose crumbs. Chill the cake in the refrigerator for 20-30 minutes until the crumb coat is firm. This step is crucial for achieving a clean, professional finish. Once the crumb coat is set, apply the final layer of frosting using an offset spatula or piping bag, smoothing it out or creating decorative swirls as desired.
Creative Decoration Ideas for a Stunning Birthday Cake Presentation
Elevating your red velvet birthday cake's presentation can make it truly stunning. Simple techniques like spreading frosting evenly and creating texture with an offset spatula or comb can be very effective. For added flair, consider piping decorative borders or rosettes using a piping bag fitted with a star tip. A classic look involves crumbling some of the leftover cake scraps (if you leveled the layers) and pressing them gently onto the sides or top of the frosted cake.
Other creative ideas include scattering sprinkles around the base or top edge, arranging fresh berries (strawberries or raspberries complement red velvet well) on top, or adding chocolate shavings or curls. For a more elaborate design, you could use stencils with powdered sugar or cocoa powder, or even drip a white chocolate ganache down the sides. Remember, even simple decorations applied neatly can turn a delicious foolproof red velvet birthday cake into a visual masterpiece.
Tips for Layering and Assembling a Red Velvet Birthday Cake
Assembling a layered red velvet birthday cake requires a few key steps to ensure stability and a beautiful presentation. First, ensure your cake layers are completely cooled and, if necessary, leveled using a serrated knife or cake leveler. Place the first cake layer on your serving plate or cake stand. If desired, you can place strips of parchment paper under the edges of the bottom layer to keep the plate clean during frosting; simply slide them out before serving.
Apply a generous, even layer of cream cheese frosting on top of the first layer, spreading it almost to the edge. Carefully place the second cake layer on top, aligning it as evenly as possible. If you have more layers, repeat the frosting process. Once stacked, apply the crumb coat as described earlier and chill.
After the crumb coat is firm, apply the final layer of frosting. For extra stability, especially with taller cakes, you can insert cake dowels into the bottom layer before adding the top layers. This prevents the upper layers from sinking into the bottom one, ensuring your foolproof red velvet birthday cake stands tall and proud.
Troubleshooting Common Issues in Red Velvet Birthday Cake Baking
How to Avoid Dry or Dense Red Velvet Cake Layers
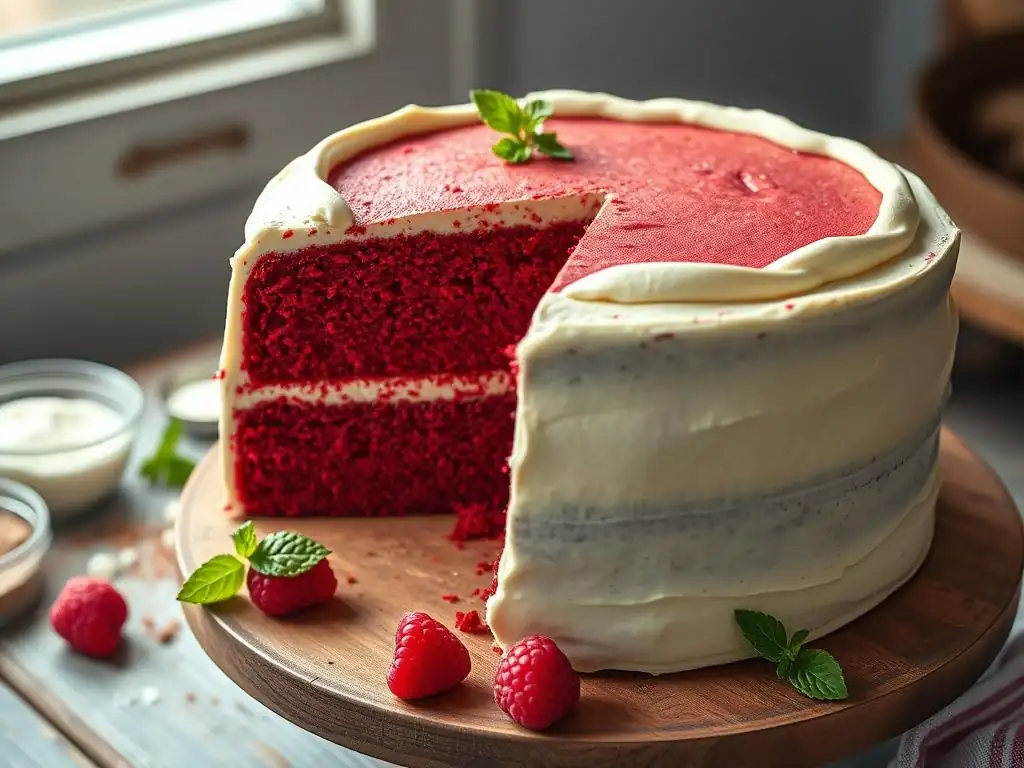
Dry or dense cake layers are among the most common frustrations when baking, but they are often preventable when making a foolproof red velvet birthday cake. A dry cake is typically a result of overbaking or using too much flour or not enough liquid/fat. Ensure you measure your flour correctly, preferably by weight ( about 120-130 grams per cup), or by using the spoon-and-level method (spoon flour into the measuring cup and level off with a straight edge, don't scoop directly from the bag). Stick to the specified baking time and check for doneness using the toothpick test – bake only until it comes out clean.
A dense cake can result from overmixing the batter, especially after adding the dry ingredients. Overmixing develops gluten, leading to a tough, heavy texture instead of a light, tender crumb. It can also be caused by incorrect leavening (old baking soda) or insufficient fat. Ensure your baking soda is fresh and activate it by adding it to the acidic buttermilk/vinegar mixture just before combining with the wet ingredients if your recipe calls for it. Always mix the batter gently and only until the ingredients are just combined, particularly in the final stages.
Fixing Color and Texture Problems in Red Velvet Cake Batter
Color and texture issues can sometimes arise during the batter stage of a red velvet birthday cake. If the color isn't vibrant enough, you likely haven't added enough red food coloring, or you might be using a less concentrated type like liquid coloring. Switch to a high-quality gel food coloring and add it gradually until you achieve the desired deep red hue; 1-2 tablespoons is a common amount for a standard recipe, but you can add a bit more if needed.
Texture problems in the batter, such as lumpiness or separation, often stem from ingredients not being at room temperature or improper mixing techniques. Ensure butter, cream cheese (if making frosting), and eggs are truly at room temperature for smooth emulsification.
If your batter looks curdled after adding eggs, it might be because the eggs were too cold or added too quickly; adding a tablespoon of dry ingredients can sometimes help bring it back together. Following the creaming method correctly and alternating wet and dry ingredients while mixing on low speed helps prevent these texture issues, contributing to a smooth batter that bakes into a perfect foolproof red velvet birthday cake.
Solutions for Frosting and Decorating Challenges
Even with a perfectly baked cake, frosting and decorating can present challenges. If your cream cheese frosting is too soft and runny, it's likely because the butter and cream cheese were too soft (perhaps melted) or you didn't add enough powdered sugar. To fix this, try chilling the frosting in the refrigerator for 20-30 minutes to firm it up. If it's still too soft, beat in more powdered sugar, a few tablespoons at a time, until it reaches the desired consistency. Ensure your cream cheese is full-fat, as low-fat versions can make frosting runny.
Dealing with crumbs is another common issue. The best solution is the crumb coat technique – applying a thin layer of frosting, chilling, then applying the final coat. This traps crumbs and gives you a clean surface. If your frosting is tearing the cake, the cake might not be fully cooled, or the frosting might be too stiff; let the cake cool longer, or if the frosting is too stiff, beat in a tiny amount of milk or cream ( 1 teaspoon at a time) to loosen it slightly. Patience and chilling are your best friends for successful frosting and decorating of your foolproof red velvet birthday cake.
Variations and Enhancements for Your Red Velvet Birthday Cake
Adding Flavors and Fillings to Customize Your Cake
While the classic foolproof red velvet birthday cake with cream cheese frosting is delightful on its own, you can customize it with additional flavors and fillings to create a unique twist. Consider incorporating extracts beyond vanilla; a touch of almond extract ( 1/4 teaspoon) can complement the cocoa beautifully, or a hint of raspberry extract could enhance the red fruit notes often associated with the color. Citrus zest ( 1 teaspoon orange or lemon zest) can also add a bright contrast to the richness.
For fillings between the layers, instead of just frosting, you could use a thin layer of chocolate ganache, a berry compote (like raspberry or cherry), or even a white chocolate mousse. A common variation is to add mini chocolate chips ( 1/2 cup) to the batter for pockets of melted chocolate. These additions should be used in moderation to avoid overwhelming the distinct red velvet flavor profile, but they offer a wonderful way to personalize your red velvet birthday cake.
Alternative Frostings and Garnishes to Elevate Your Red Velvet Cake
Beyond the traditional cream cheese frosting, several alternative frostings can pair wonderfully with a foolproof red velvet birthday cake, offering different textures and flavor profiles. A classic Swiss meringue buttercream is less sweet than American buttercream and offers a silky smooth texture that pipes beautifully. A simple whipped cream frosting, perhaps stabilized with a bit of cream cheese or gelatin, provides a lighter option that contrasts nicely with the cake's richness. For a more decadent approach, a dark chocolate ganache or a white chocolate buttercream can be used.
Garnishes can also elevate your red velvet birthday cake. Instead of just cake crumbs, consider toasted pecans or walnuts sprinkled around the base. Fresh berries like raspberries or strawberries add color and a burst of freshness. Chocolate curls, edible glitter, or even a light dusting of cocoa powder through a stencil can provide a sophisticated finish. Choosing garnishes that complement your chosen frosting and the cake's flavor enhances both the visual appeal and the taste experience of your celebratory red velvet birthday cake.
Storing and Serving Your Red Velvet Birthday Cake
Best Practices for Keeping Your Cake Fresh Before the Celebration
Proper storage is key to ensuring your foolproof red velvet birthday cake remains moist and delicious until it's time to celebrate. If baking layers ahead of time, wrap cooled layers tightly in plastic wrap and store at room temperature for up to 2 days, or in the refrigerator for up to 4 days. For longer storage, freeze wrapped layers for up to 2-3 months. Thaw frozen layers overnight in the refrigerator before unwrapping.
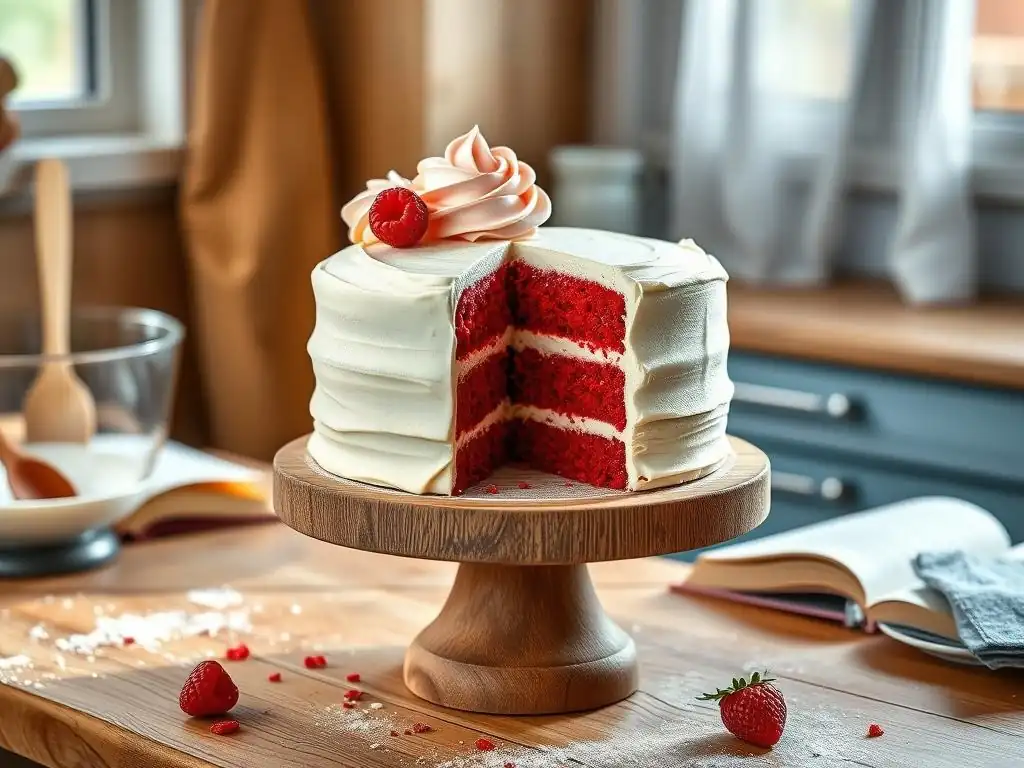
Once the cake is frosted with cream cheese frosting, it must be stored in the refrigerator due to the cream cheese. Place the frosted cake in an airtight cake carrier or loosely cover it with plastic wrap to prevent it from drying out or absorbing odors from the fridge. A frosted and assembled foolproof red velvet birthday cake will stay fresh in the refrigerator for 3-4 days. Ensure it is well-covered to maintain its moisture and prevent the frosting from cracking.
How to Serve Red Velvet Cake for Maximum Enjoyment
Serving your red velvet birthday cake correctly ensures everyone enjoys its optimal flavor and texture. While the cake needs to be stored in the refrigerator due to the cream cheese frosting, it is best served at room temperature. Remove the cake from the refrigerator about 30-60 minutes before serving. This allows the frosting to soften slightly and the cake layers to become more tender and flavorful.
Use a sharp knife to cut the cake, cleaning the knife with warm water between slices for clean cuts. Serve slices immediately. The slight chill from refrigeration helps the cake hold its shape when cutting, while the time at room temperature brings out the full depth of flavor and moistness of the cake and the creamy texture of the frosting. Presenting your foolproof red velvet birthday cake this way guarantees a delightful slice for every guest.
Conclusion: Mastering the Art of a Foolproof Red Velvet Birthday Cake
Recap of Key Tips for Baking and Decorating Red Velvet Cakes
Baking a foolproof red velvet birthday cake is a rewarding endeavor that brings joy to any celebration. We've covered the essential steps to ensure success, from selecting quality ingredients like full-fat buttermilk and vibrant gel food coloring to mastering the techniques of creaming butter and sugar and gently combining wet and dry ingredients to avoid a dense crumb. Proper oven temperature ( 350°F or 175°C) and checking for doneness with a toothpick test ( 25-30 minutes for layers) are crucial for moistness, as is letting the cakes cool correctly, first in the pan ( 10-15 minutes) and then completely on a wire rack ( 1-2 hours).
Decorating your foolproof red velvet birthday cake becomes easier with a stable cream cheese frosting, made with softened butter and cream cheese, and by using a crumb coat, chilling the cake ( 20-30 minutes), before applying the final layer. We explored creative ideas from simple sprinkles to piped borders and alternative fillings like berry compote. Remember that storing the frosted cake properly in the refrigerator ( 3-4 days in an airtight container) and serving it at room temperature ( 30-60 minutes out of the fridge) maximizes enjoyment.
Encouragement to Bake Your Own Stunning Red Velvet Cake for Birthdays
Armed with these tips and techniques, you are well-equipped to bake a stunning and foolproof red velvet birthday cake that will impress your friends and family. The process, while detailed, is entirely manageable for bakers of all levels. The vibrant color and distinctive flavor profile make it a perfect choice for such a special occasion. Don't be intimidated by the "velvet" in red velvet; by paying attention to ingredient temperatures, mixing methods, and proper cooling, you can achieve that signature tender crumb and rich taste.
Take the leap and try baking this classic dessert for your next birthday celebration. The effort put into creating a homemade foolproof red velvet birthday cake from scratch adds a personal touch that store-bought cakes simply can't match. Enjoy the process, have fun with the decorating, and most importantly, celebrate with a delicious slice of your own beautiful creation. Happy Baking!
Frequently Asked Questions
What makes the Foolproof Red Velvet Cake recipe suitable for beginners?
This recipe includes step-by-step instructions and requires simple ingredients, making it accessible for bakers of all levels, especially beginners.
How long does it take to bake the Foolproof Red Velvet Cake?
The total time for preparation and baking is approximately 2 hours, allowing you ample time to create this delicious cake for your celebration.
Can I use a different type of frosting for the Red Velvet Cake?
Yes, while cream cheese frosting is traditional, you can use any frosting of your choice, such as buttercream or ganache, to complement the cake.
What are some tips for achieving the perfect color in my Red Velvet Cake?
To ensure a vibrant color, use high-quality cocoa powder and red food coloring. Be mindful not to overmix the batter, as this can dull the color.
Is the Foolproof Red Velvet Cake suitable for dietary restrictions?
You can modify the recipe by using gluten-free flour or dairy-free alternatives to accommodate various dietary needs while still enjoying this festive treat.
Final Reflection: The Enduring Allure of a Perfect Red Velvet Cake
The quest for the perfect red velvet cake is more than just a culinary pursuit; it's a testament to the power of shared celebration and the enduring joy of baking. This foolproof recipe, designed to eliminate common pitfalls and guarantee a stunning result, speaks to a deeper desire: to create something beautiful and delicious to share with loved ones. In a world often characterized by complexity and uncertainty, the simple act of baking a cake, and succeeding, offers a tangible sense of accomplishment and joy.
The red velvet cake, with its vibrant color and subtly tangy flavor, has transcended mere dessert status to become a cultural icon. It's a symbol of birthdays, anniversaries, and special occasions, a visual and gustatory reminder of cherished memories. Its enduring popularity speaks volumes about our need for connection and the power of shared experiences. A cake is a celebration of life, a symbol of joy and happiness.
This sentiment, while simple, perfectly encapsulates the emotional weight we often unconsciously attach to baking and sharing a cake like this.
Now, I invite you to consider your own baking journey. Perhaps this recipe will be the key to unlocking your inner baker, or perhaps it will simply inspire you to appreciate the artistry and effort that goes into creating something truly special. Don't be afraid to experiment, to adapt, and to share the joy of a perfectly baked red velvet cake with those you cherish. The memories you create, like the cake itself, will be richly rewarding and long-lasting.
Unleash Your Inner Baker: Bake a Stunning Red Velvet Cake!
Thanks for joining us on this delicious journey into the world of red velvet cake! We hope you've gained the confidence to create a truly show-stopping dessert. Ready to take your baking skills to the next level?
- Bake your masterpiece! Use the recipe from the article to create your own perfect red velvet cake. Don't be afraid to experiment with frostings and decorations.
- Share your creation! Post a picture of your cake on social media and tag us – we'd love to see your baking triumphs!
- Explore more delicious recipes: Dive into our recipe archive and discover even more baking adventures on BakeWithEase.
What unique twist will you add to your red velvet cake to make it unforgettable?