
Your First Time Baking Pumpkin Pie? Start Here!

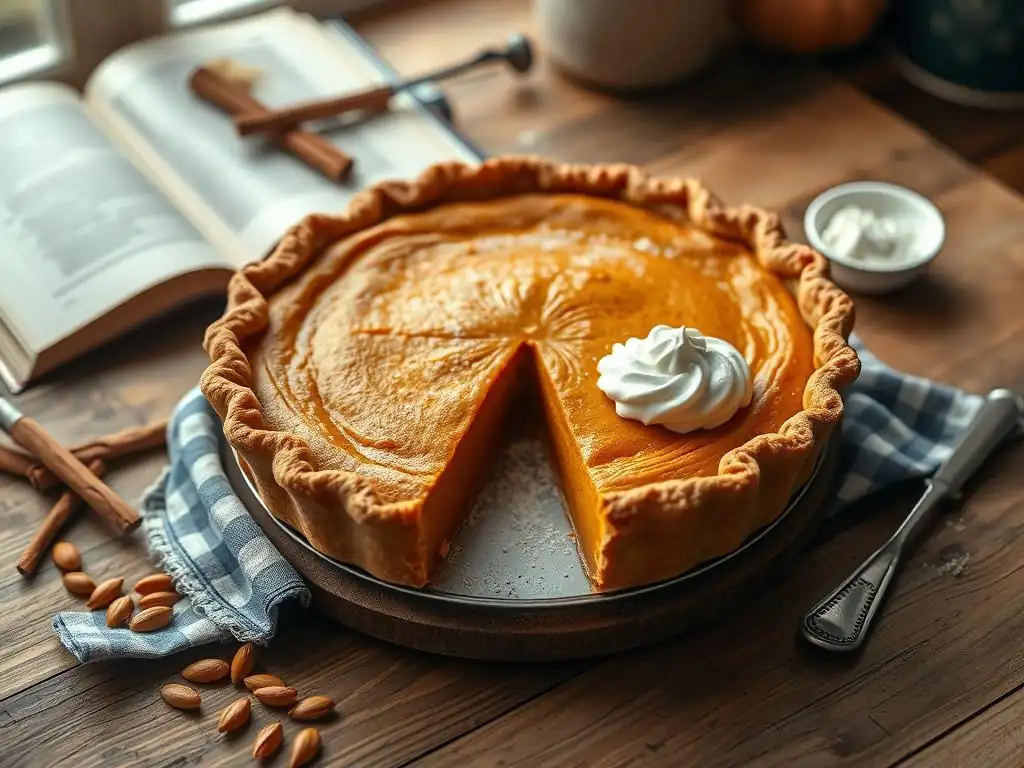
Welcome to BakeWithEase, your trusted guide to baking bliss! Ever dreamed of serving a perfectly spiced, homemade pumpkin pie but felt intimidated? Fear not! This easy pumpkin pie recipe for beginners is your starting point. We'll walk you through each step, ensuring a delicious outcome, leaving you wanting to explore more seasonal delights. Are you ready to unlock the secrets of baking? Let's get started!
- Mastering Pumpkin Pie: A Beginner's Guide
- A Simple and Delicious Pumpkin Pie Recipe for New Bakers
- Why This Recipe Works: Simplicity and Flavor for Beginners
- Assembling Your Pumpkin Pie Ingredients and Equipment
- Baking Your First Pumpkin Pie: Step-by-Step Instructions
- Addressing Common Pumpkin Pie Baking Issues
- Storing Your Delicious Pumpkin Pie
- Customizing Your Pumpkin Pie Recipe
- Enjoy Your Homemade Pumpkin Pie!
- Frequently Asked Questions
- Final Reflection: Savor the Sweetness of Success, One Pie at a Time
- Unlock Your Inner Pie Baker!
Mastering Pumpkin Pie: A Beginner's Guide
A Simple and Delicious Pumpkin Pie Recipe for New Bakers
Embracing Fall Baking: Your Journey to Perfect Pumpkin Pie
Fall arrives with crisp air and the irresistible aroma of spices, making it the perfect time to dive into baking, and what better place to start than with a classic pumpkin pie? This iconic dessert is more than just a holiday staple; it's a warm, comforting embodiment of the season.
For many, the idea of baking a pie from scratch can seem daunting, but this easy pumpkin pie recipe is specifically designed for beginners, stripping away complexity while keeping all the delicious flavor. Imagine pulling a golden-brown pie from your oven, filling your home with that unmistakable scent of pumpkin and spice – this guide makes that vision a reality, even if you've never baked anything before.
Embarking on your first pie-baking adventure with pumpkin is a fantastic choice. Unlike some other pastries, pumpkin pie filling is quite forgiving, and using a store-bought crust (which we'll cover as an option) significantly simplifies the process. Our goal is to provide you with an easy pumpkin pie recipe that builds confidence, step-by-step. You'll learn the basics of combining ingredients, understanding baking times, and achieving that smooth, custardy filling and perfectly baked crust. Think of this as your friendly introduction to fall baking, proving that creating a beautiful and tasty pumpkin pie is well within your reach.
Why This Recipe Works: Simplicity and Flavor for Beginners
Minimal Ingredients, Maximum Taste: No Prior Baking Needed
One of the key reasons this is an ideal easy pumpkin pie recipe for beginners is its reliance on a few readily available, high-impact ingredients. You won't need a pantry stocked with obscure items. The core of the filling typically revolves around just a handful of components: pumpkin puree (a standard 15-ounce can is perfect), sweetened condensed milk (around 14 ounces), eggs, and a simple blend of spices. This minimal list means less measuring, less room for error, and a quicker assembly time.
Despite the simplicity, the flavor is anything but basic. Sweetened condensed milk provides both sweetness and the creamy, rich texture that defines classic pumpkin pie, eliminating the need for separate sugar and milk or cream measurements. The spices—often cinnamon, ginger, cloves, and nutmeg—are easily found in most grocery stores and deliver that signature warm, autumnal taste. This straightforward approach ensures that even with no prior baking experience, you can achieve a delicious, flavorful pumpkin pie that tastes like you spent hours in the kitchen.
Clear, Concise Steps for a Successful Pumpkin Pie
This easy pumpkin pie recipe breaks down the process into manageable, logical steps, specifically designed to guide beginners smoothly from start to finish. Instead of overwhelming instructions, you get clear, actionable directions for each stage: preparing the crust, mixing the filling, and baking. Each step is explained simply, focusing on what you need to do without unnecessary jargon. For example, instructions for combining ingredients might specify "whisk until smooth," giving you a clear visual cue of the desired consistency.
The emphasis on concise steps helps prevent confusion and reduces the likelihood of mistakes that can derail a beginner's baking attempt. We provide exact measurements and specific actions, such as "pour the filling into the prepared pie crust." This level of detail ensures that even if you're completely new to baking, you can follow along confidently. This straightforward guidance is crucial for building confidence and ensuring that your first attempt at making an easy pumpkin pie is a positive and successful experience.
Assembling Your Pumpkin Pie Ingredients and Equipment
Key Ingredients for a Flavorful Pumpkin Pie
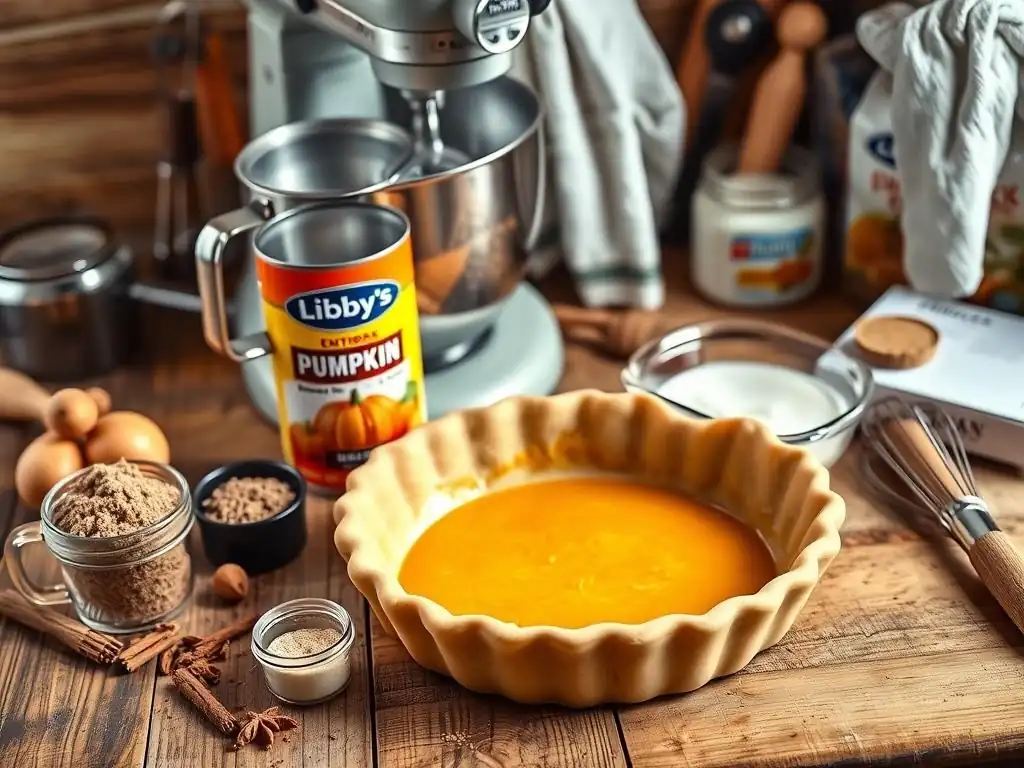
Gathering your ingredients is the exciting first step in making your easy pumpkin pie. You'll need one standard 15-ounce can of pumpkin puree. Be careful not to grab pumpkin pie filling, which is pre-spiced and sweetened; you want the pure stuff for this recipe. Next, you'll need one 14-ounce can of sweetened condensed milk, which provides the perfect balance of sweetness and creamy texture without needing extra sugar. Two large eggs are essential for binding the filling and giving it that classic custardy set.
For the signature flavor, you'll need spices. A common blend includes 1 teaspoon of ground cinnamon, ½ teaspoon of ground ginger, ¼ teaspoon of ground cloves, and ¼ teaspoon of ground nutmeg. Using pre-ground spices is perfectly fine and easy for beginners. You'll also need a pinch of salt (about ¼ teaspoon) to enhance the other flavors. Finally, you'll need one unbaked 9-inch pie crust, which can be homemade or store-bought, depending on your preference for this easy pumpkin pie recipe.
Essential Tools for Effortless Pumpkin Pie Baking
Having the right tools makes baking your first pumpkin pie much smoother and more enjoyable. You don't need a professional kitchen setup; a few basic items will suffice. A large mixing bowl is necessary for combining the filling ingredients. A whisk or an electric mixer (on low speed) is crucial for ensuring everything is well blended and smooth. You'll also need measuring cups and spoons to accurately portion out your ingredients – accuracy is key in baking!
A 9-inch pie dish is, of course, essential for baking your pie. A rubber spatula is helpful for scraping down the sides of the bowl and ensuring all the filling makes it into the crust. An oven is non-negotiable, and an oven thermometer can be a useful tool to ensure your oven is heating accurately, though it's not strictly necessary for a beginner's attempt. Lastly, a cooling rack is needed for letting the pie set properly after baking.
Choosing the Ideal Pie Dish: Size and Material
For this easy pumpkin pie recipe, a standard 9-inch pie dish is the perfect size. This is the most common size called for in recipes and fits the volume of filling created by a standard 15-ounce can of pumpkin puree and 14-ounce can of condensed milk. Using a dish that is too large might result in a thinner pie that bakes too quickly, while one too small could overflow.
The material of your pie dish can affect baking. Glass or ceramic pie dishes are often recommended for beginners because they distribute heat evenly, helping the crust bake through properly and preventing a soggy bottom. Metal pie pans also work and tend to brown the crust more quickly. Whichever material you choose, ensure it's a 9-inch dish to match the recipe proportions.
Accurate Measurement Tools for Baking Success
In baking, precision is important, even for an easy pumpkin pie recipe. Using accurate measuring cups for dry ingredients (like spices, though they are often measured by spoon) and liquid measuring cups for liquids (like the condensed milk, though it's by weight/can size here) is vital. For smaller amounts like spices and salt, a set of measuring spoons is absolutely necessary.
Using the correct tools and techniques for measuring ensures you get the right balance of flavors and the correct consistency in your filling. For instance, scooping flour directly with a measuring cup can compact it, leading to too much flour. While this specific easy pumpkin pie recipe uses canned goods measured by volume (cans) and spoons for spices, understanding the importance of level scoops and using appropriate tools sets a good foundation for future baking projects.
Baking Your First Pumpkin Pie: Step-by-Step Instructions
Step 1: Preparing the Pie Crust
The first step in creating your easy pumpkin pie is getting the crust ready. If you're using a store-bought crust, simply follow the package directions for preparing it for a filled pie. This usually involves placing it in your 9-inch pie dish and crimping the edges decoratively or simply pressing them against the rim. Some recipes suggest a partial bake (par-baking) of the crust before adding the filling to prevent a soggy bottom, but for this beginner-friendly recipe, we'll focus on methods that work well with an unbaked crust.
If you chose to make a simple homemade crust, you'll need to roll out the dough and fit it into your 9-inch pie dish. Trim any excess dough, leaving about a 1-inch overhang. Fold this overhang under and crimp the edges using your fingers or a fork to create a nice border. Ensure the crust is well-seated in the dish so the filling doesn't seep underneath. Prick the bottom of the crust lightly with a fork a few times; this helps prevent large air bubbles from forming during baking.
Option A: Crafting a Basic Homemade Pie Crust
Making a basic homemade pie crust can add a layer of satisfaction to your easy pumpkin pie, though it adds a bit more complexity than a store-bought option. A simple recipe often involves flour, salt, cold butter or shortening, and ice water. The key is to keep the ingredients, especially the fat, very cold to create flaky layers. You'll cut the cold fat into the flour mixture until it resembles coarse crumbs, then add just enough ice water to bring the dough together.
After mixing, the dough needs to be chilled for at least 30 minutes (or up to 2 days) before rolling. This chilling step is crucial as it allows the gluten to relax and the fat to firm up, making it easier to roll and resulting in a flakier crust. When ready, roll the dough out on a lightly floured surface to a size slightly larger than your pie dish. Carefully transfer it to the dish, trim, crimp, and chill it again while you prepare the filling.
Option B: Utilizing a Store-Bought Crust: Achieving Optimal Results
Using a store-bought crust is a fantastic shortcut that makes this an truly easy pumpkin pie recipe for beginners. Pre-made crusts come in various forms, including frozen or refrigerated (often in a roll that needs to be fitted into a dish) or already pressed into a foil pan. For this recipe, any standard 9-inch unbaked crust will work.
To get the best results from a store-bought crust, make sure it's thawed according to package directions if frozen. Place it neatly in your pie dish (if not already in one) and press it firmly against the bottom and sides. Crimp the edges to make it look homemade and prevent it from shrinking too much. Some bakers like to brush the bottom lightly with an egg wash or sprinkle a thin layer of flour or fine breadcrumbs before adding the filling; this can create a barrier to help prevent a soggy bottom crust during baking.
Step 2: Creating the Pumpkin Pie Filling
Making the filling for this easy pumpkin pie is incredibly simple – mostly just mixing! In your large mixing bowl, whisk together the 15-ounce can of pumpkin puree and the 14-ounce can of sweetened condensed milk until completely smooth and well combined. Ensure there are no streaks of condensed milk left. This forms the creamy base of your filling.
Next, add the two large eggs to the pumpkin and condensed milk mixture. Whisk them in thoroughly until fully incorporated. Finally, whisk in your spice blend (cinnamon, ginger, cloves, nutmeg) and the pinch of salt. Continue whisking until the spices are evenly distributed and the filling is uniform in color and texture. The goal is a smooth, pourable mixture with no lumps.
Achieving the Perfect Spice Blend for Pumpkin Pie
The spice blend is what gives pumpkin pie its characteristic warmth and aroma. While the recipe provides a standard mix (1 tsp cinnamon, ½ tsp ginger, ¼ tsp cloves, ¼ tsp nutmeg), feel free to adjust slightly to your preference as you become more comfortable. Using fresh spices makes a noticeable difference in flavor; check the dates on your spice jars. A typical jar of ground cinnamon might contain about 0.75 ounces, meaning you'll use a small fraction for one pie.
For beginners, sticking close to the recommended amounts is best to ensure a balanced flavor that isn't overpowering. Too much clove or ginger, for example, can make the pie taste bitter or overly pungent. Some recipes also include a pinch of allspice or cardamom for added complexity, but for a simple easy pumpkin pie, the core four spices are perfect and provide that classic taste everyone loves.
Preventing a Soggy Pumpkin Pie Filling
A runny filling is a common issue for beginner pumpkin pie bakers, often caused by underbaking or inaccurate measurements. This easy pumpkin pie recipe uses sweetened condensed milk and eggs in specific proportions designed to set properly when baked. Using exactly the amount of pumpkin puree and condensed milk specified (15 oz and 14 oz cans respectively) is crucial for the correct liquid-to-solid ratio.
Ensure your eggs are large size, as using smaller eggs can result in a filling that doesn't set as firmly. Overmixing the filling isn't usually an issue unless you incorporate excessive air. The main defense against a soggy filling is baking the pie correctly until the center is just set, which we'll cover in the next steps. Avoiding over-filling the crust is also important; pour the filling only up to the edge of the crust.
Step 3: Baking Your Pumpkin Pie to Perfection
Preheat your oven to the correct temperature as specified in the recipe, typically 350°F (175°C). While the oven heats, carefully pour the prepared pumpkin pie filling into your unbaked pie crust. Place the pie on a baking sheet; this makes it easier to transfer in and out of the oven and catches any potential spills.
Carefully place the baking sheet with the pie into the preheated oven, ideally on a lower rack if you are concerned about the top browning too quickly, or a middle rack for even baking. Bake for the time recommended, which is usually between 45 to 60 minutes for a standard 9-inch pie. Keep an eye on it, especially in the final 15-20 minutes.
Setting the Correct Oven Temperature and Baking Time
For this easy pumpkin pie recipe, a standard oven temperature of 350°F (175°C) is recommended. This moderate temperature allows the custard filling to set gently without curdling or cracking, while also giving the crust time to bake through. Baking at too high a temperature can cause the edges of the pie to overcook or the filling to crack before the center is set.
The baking time is typically 45 to 60 minutes, but this can vary significantly based on your oven's calibration and the specific depth of your pie dish. Start checking for doneness around the 45-minute mark. If the crust edges start to brown too quickly before the center is done, you can loosely cover the edge of the pie with strips of aluminum foil or use a pie crust shield.
Determining Doneness: The Jiggle Method
The best way to determine if your pumpkin pie is perfectly baked is using the jiggle method. Gently shake the baking sheet (not the pie itself!) or carefully tap the side of the pie dish with a potholder. The edges of the filling should appear set and slightly puffed, while the very center (about a 1-2 inch circle in the middle) should have a slight jiggle, like firm jelly.
If the entire pie jiggles significantly like liquid, it needs more time. If the center is completely firm and shows no movement, it might be slightly overbaked. The residual heat after taking the pie out will finish setting the center. Trust the jiggle test over simply relying on the timer; this simple technique is key to a perfectly set, creamy filling in your easy pumpkin pie.
Step 4: Cooling and Serving Your Homemade Pumpkin Pie
Once your pumpkin pie passes the jiggle test, carefully remove it from the oven using oven mitts and place it on a wire cooling rack. This is a crucial step for the pie to finish setting and cool down properly. Resist the urge to cut into it immediately! The pie needs time for the custard to firm up completely as it cools.
Allow the pie to cool on the wire rack at room temperature for at least 2-3 hours, or ideally until it is completely cool. Cooling on a rack allows air to circulate around the pie, preventing the bottom crust from becoming soggy from trapped steam. Once fully cooled, you can slice and serve it, or refrigerate it if not serving immediately.
Cooling Techniques to Prevent Cracking
Cracking on the surface of a pumpkin pie is a common cosmetic issue, often caused by baking at too high a temperature, overbaking, or cooling too rapidly. While this easy pumpkin pie recipe aims to minimize this risk with a moderate temperature, cooling properly is also vital. Avoid placing a hot pie directly into the refrigerator or a cold environment, as the sudden temperature change can cause the surface to contract and crack.
Allowing the pie to cool gradually at room temperature on a wire rack is the best method. Some bakers also advocate for letting the pie cool inside the turned-off oven with the door slightly ajar for the first hour, which provides a very slow, gentle cooling process. While a crack doesn't affect the taste, proper cooling techniques help ensure a smooth, beautiful surface for your easy pumpkin pie.
Serving Suggestions: Enhancements and Pairings
Your homemade easy pumpkin pie is delicious served simply on its own, showcasing the creamy filling and spiced flavor. For extra indulgence, serve slices topped with a dollop of freshly whipped cream. The light, airy texture and subtle sweetness of whipped cream provide a wonderful contrast to the rich pie. A sprinkle of extra cinnamon or nutmeg on top of the whipped cream adds a professional touch.
Other popular pairings include a scoop of vanilla ice cream, which melts slightly into the warm pie, or a drizzle of caramel or maple syrup. Pumpkin pie is a staple for fall gatherings and holidays like Thanksgiving, pairing well with coffee, tea, or even a glass of milk. Don't be afraid to experiment with toppings as you get more comfortable with your easy pumpkin pie recipe!
Addressing Common Pumpkin Pie Baking Issues
Preventing and Fixing a Cracked Pumpkin Pie
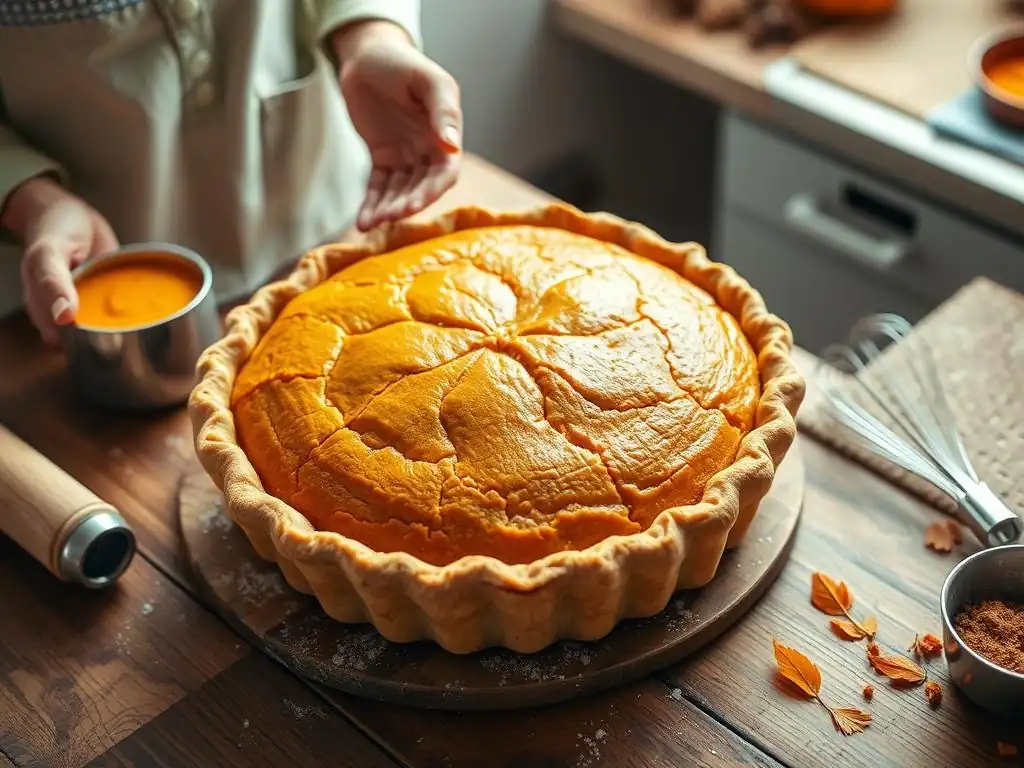
A cracked surface is a common cosmetic issue with pumpkin pie, often happening during cooling. As mentioned, baking at a moderate temperature (350°F) and avoiding overbaking are primary preventions. Cooling the pie gradually at room temperature on a wire rack is also key. If the edges of your crust are browning too fast, covering them with foil partway through baking can help prevent the filling edges from overcooking and pulling away from the crust, which can lead to cracks.
If your easy pumpkin pie does develop a crack after cooling, don't worry – it's still perfectly delicious! A simple fix is to cover the crack with whipped cream or another topping before serving. You can also try smoothing it over gently with a warm spatula (though this is tricky). Remember, a crack doesn't impact the flavor or texture of the filling itself, so embrace the rustic look or simply hide it with a generous topping.
Resolving a Runny Pumpkin Pie Filling
A runny filling means the custard didn't set properly, usually due to underbaking or incorrect proportions. For this easy pumpkin pie recipe, sticking to the exact measurements (15 oz pumpkin, 14 oz condensed milk, 2 large eggs) is crucial. Ensure you're using pumpkin puree, not pie filling, as the latter has different properties.
If your pie is still runny after the recommended baking time and jiggle test, put it back in the oven for 5-10 minute increments, checking each time, until only the very center jiggles slightly. Make sure your oven temperature is accurate; a separate oven thermometer can help. Unfortunately, a severely underbaked pie that has cooled significantly is difficult to "fix" by re-baking, as it can lead to a poor texture. The best approach is prevention through accurate measurement and proper baking/doneness testing.
Avoiding a Soggy Pie Crust
A soggy bottom crust is another frequent complaint, especially with custard pies. For this easy pumpkin pie recipe using an unbaked crust, several techniques help. First, ensure your oven is properly preheated to 350°F so the crust starts baking immediately. Placing the pie on a preheated baking sheet or pizza stone can also help conduct heat to the bottom crust more effectively.
As mentioned earlier, some beginners find success by brushing the bottom of the crust lightly with a beaten egg white or sprinkling a thin layer of dry breadcrumbs or flour before adding the filling. These create a slight barrier. Most importantly, bake the pie until the center of the filling is just set (the jiggle test). Overbaking can dry out the filling, but underbaking means the filling remains too liquid for too long, saturating the bottom crust. Using a glass or ceramic pie dish can also promote more even bottom browning.
Storing Your Delicious Pumpkin Pie
Proper Storage Methods for Maintaining Freshness
Proper storage is essential to keep your easy pumpkin pie tasting its best. Because pumpkin pie contains eggs and dairy (from the condensed milk), it is a perishable item and must be refrigerated. Once the pie has cooled completely at room temperature (this takes 2-3 hours), cover it loosely with plastic wrap or aluminum foil before placing it in the refrigerator.
Alternatively, you can slice the pie and store individual slices in airtight containers. This makes it easy to grab a piece and also protects the cut surfaces from drying out. Storing the pie properly in the refrigerator helps maintain its texture, flavor, and safety. Avoid leaving the pie out at room temperature for more than two hours, especially in a warm environment.
Shelf Life of Pumpkin Pie
When stored correctly in the refrigerator, your homemade easy pumpkin pie will typically remain fresh and delicious for 3 to 4 days. While it might still be safe to eat beyond this point, the quality – particularly the texture of the crust and filling – may start to decline. The flavor of the spices can also diminish over time.
For optimal taste and texture, it's best to consume the pie within this 3-4 day window. If you need to store it for longer, pumpkin pie freezes surprisingly well. Wrap the cooled pie tightly in plastic wrap, then in a layer of aluminum foil, or place slices in a freezer-safe container. Frozen pumpkin pie can last for 1-2 months. Thaw it in the refrigerator overnight before serving.
Customizing Your Pumpkin Pie Recipe
Enhancing Flavor and Texture with a Crumble Topping
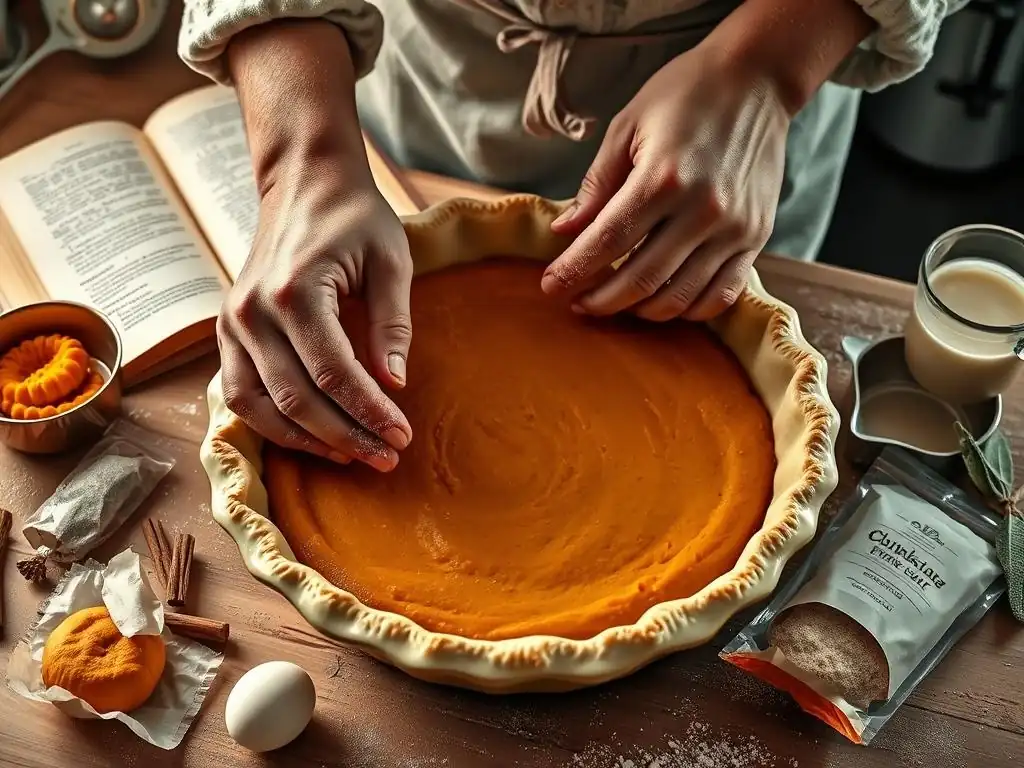
While the classic easy pumpkin pie is wonderful on its own, adding a simple crumble topping can introduce a delightful textural contrast. A basic crumble topping is easy to make: combine flour, sugar (white or brown), a pinch of salt, and cold butter cut into small pieces. Use your fingers or a pastry blender to mix until crumbly. A standard ratio might be ½ cup flour, ¼ cup sugar, and ¼ cup cold butter.
You can add spices like cinnamon or nutmeg to the crumble mixture to complement the pie filling. Simply sprinkle the crumble evenly over the pumpkin filling before baking. The topping will bake up golden and crisp, adding a sweet, crumbly layer over the smooth custard. This is an easy way to elevate your beginner pumpkin pie without significantly altering the core recipe or difficulty.
Creating a Vegan Pumpkin Pie
Adapting this easy pumpkin pie recipe for a vegan diet is possible by substituting the non-vegan ingredients. Instead of traditional pumpkin puree, use canned pumpkin puree as usual. Replace the sweetened condensed milk with a can of sweetened condensed coconut milk or another vegan condensed milk substitute (typically 14 ounces). For the eggs, use a vegan egg replacer equivalent to two large eggs, such as a commercial egg replacer powder mixed with water, or a flax egg (2 tablespoons ground flaxseed mixed with 6 tablespoons water, let sit for 5-10 minutes).
Ensure your pie crust is also vegan; many store-bought crusts are accidentally vegan, but check the ingredients list for butter, lard, or other animal products. Follow the same mixing and baking instructions. The texture might differ slightly from a traditional pie, but you can still achieve a delicious, creamy vegan easy pumpkin pie perfect for beginners exploring plant-based baking.
Exploring Different Spice Combinations
The standard spice blend is classic, but you can easily tweak it to explore different flavor profiles in your easy pumpkin pie. If you love ginger, increase the amount slightly or add a pinch of ground cardamom for an exotic twist. A tiny pinch of ground black pepper might sound odd, but it can actually enhance the sweetness and warmth of the other spices.
Consider adding a ¼ teaspoon of allspice for a more complex, traditional flavor. You could also use a pre-mixed "pumpkin pie spice" blend, which typically contains all the necessary spices in a convenient ratio. Just be sure to check the blend's ingredients and adjust the total amount used (usually around 2 teaspoons of a commercial blend) to match the intensity you desire. Experimenting with spices is an easy way to personalize your beginner pumpkin pie.
Enjoy Your Homemade Pumpkin Pie!
Celebrate Your Baking Achievement
Congratulations! You've successfully baked your very first easy pumpkin pie. Take a moment to appreciate your accomplishment. From gathering ingredients to mastering the jiggle test, you've navigated the steps and created a delicious, comforting dessert. Baking, especially pie, can seem intimidating, but this easy pumpkin pie recipe for beginners has shown you that it's achievable and rewarding.
Gather your friends or family, slice into your beautiful homemade pie, and savor the flavors of fall that you created with your own hands. This experience is a stepping stone. Now that you've conquered an easy pumpkin pie, you have the confidence to try other simple baking projects or even tackle slightly more complex pies in the future. Enjoy every bite and the satisfaction of your baking success!
Frequently Asked Questions
What makes this pumpkin pie recipe "easy" for beginners?
This recipe focuses on simple instructions and easily accessible ingredients. It avoids complex techniques, making it perfect for those new to baking.
Can I use canned pumpkin puree instead of fresh pumpkin?
Absolutely! This recipe is designed with canned pumpkin puree in mind, as it's more convenient and readily available. Fresh pumpkin requires extra prep work.
What kind of crust is best for a beginner-friendly pumpkin pie?
We recommend using a pre-made pie crust to simplify the process. You can find these in the refrigerated or frozen section of most grocery stores.
How do I know when the pumpkin pie is done baking?
The pie is done when the edges are set, but the center still has a slight jiggle. A knife inserted near the center should come out mostly clean.
What are some common mistakes to avoid when baking pumpkin pie?
Overbaking is a common mistake, leading to a cracked or dry pie. Also, ensure your crust is properly sealed to prevent leaking and uneven baking.
Final Reflection: Savor the Sweetness of Success, One Pie at a Time
The aroma of warm pumpkin spice isn't just a seasonal treat; it's a symbol of connection, comfort, and the simple joy of creation. In a world increasingly dominated by fast-paced living and instant gratification, the act of baking a pumpkin pie from scratch offers a powerful antidote. This article aimed to demystify the process for beginners, proving that even the most seemingly daunting culinary challenges can be conquered with a little guidance and a whole lot of heart.
The enduring appeal of pumpkin pie transcends mere taste; it's deeply woven into the fabric of our cultural celebrations and family traditions. The simple act of sharing a slice of homemade pie fosters a sense of community and warmth that's hard to replicate. Baking is at once childlike and adult; it’s a form of play, and a means to an end, a way of making something beautiful out of simple ingredients.
This quote perfectly captures the essence of the experience, highlighting the transformative power of baking, not just for the baker, but for those who share in the delicious results.
Now, I invite you to roll up your sleeves, gather your ingredients, and embark on your own pumpkin pie adventure. Don't be intimidated by the recipe; embrace the process. Let the warmth of the oven and the sweet scent of pumpkin spice fill your home with joy. Remember, the most important ingredient isn't listed on the recipe card – it's your passion and willingness to try. The perfect pie is waiting to be created, one step, one spice, one delicious bite at a time.
Unlock Your Inner Pie Baker!
Thanks for joining us on this pumpkin pie journey! We hope you gained the confidence and knowledge to create a truly delicious pie. Ready to take your baking to the next level?
- Bake your dream pumpkin pie: Gather your ingredients and follow the recipe—we know you can do it! We're confident you’ll wow your friends and family.
- Share your creation: Post a picture of your masterpiece on social media and tag us! Let's celebrate your baking success together. Use #BakeWithEasePumpkinPie.
- Explore our other recipes: Discover a world of delicious treats and expand your baking repertoire with our extensive collection of easy-to-follow recipes on bakewithease.com.
What creative twist will you add to your pumpkin pie next time? Let us know in the comments!