
The Beginner Baker's Essential Tool Cheat Sheet

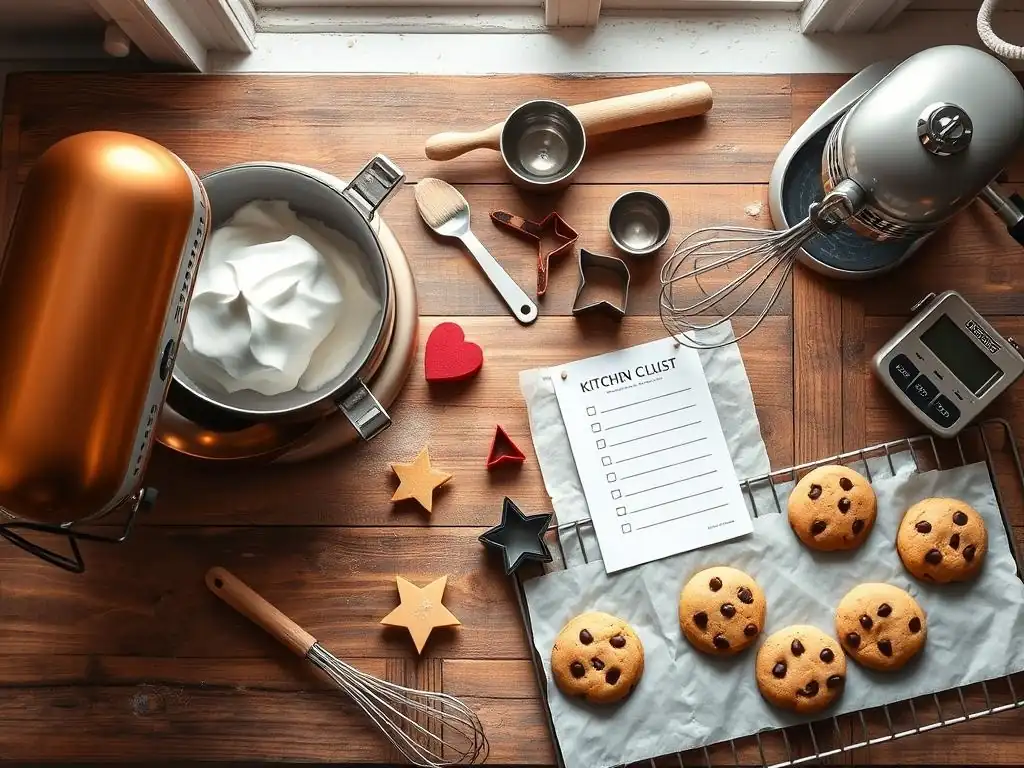
Welcome to BakeWithEase, your kitchen companion on the path to baking brilliance! Ever feel overwhelmed by the sheer volume of baking tools? We understand. Get ready to banish that feeling forever. This week, we're diving into the essential baking tool checklist that every beginner baker needs. Discover the must-have items that will set you up for success and empower you to confidently create delicious treats. Ready to build your baking arsenal and start creating? Let's get started!
- The Home Baker's Essential Tool Cheat Sheet: Bake With Confidence
- Introduction to Essential Baking Tools for Home Bakers
- Must-Have Measuring Tools for Baking Success
- Essential Mixing Bowls and Utensils
- Cake and Pastry Baking Essentials
- Bread Baking Starter Kit: Key Tools for Bread Making
- Additional Baking Tools for Enhanced Results
- Building Your Baking Arsenal: A Checklist
- Conclusion: Embracing the Joy of Baking with the Right Tools
-
Frequently Asked Questions
- What are the absolute essential baking tools a beginner should invest in first?
- Where can I find affordable beginner-friendly baking tools that won't break the bank?
- How do I choose the right size mixing bowls for my needs as a beginner baker?
- What is the best material for a baking sheet for even heat distribution?
- Besides the basics, what is one "nice-to-have" tool that can greatly improve my baking results?
- Final Reflection: The Sweet Success of Essential Baking Tools
- Unleash Your Inner Baker: Get Baking Today!
The Home Baker's Essential Tool Cheat Sheet: Bake With Confidence
Introduction to Essential Baking Tools for Home Bakers
Welcome to Home Baking: Your Essential Tool Checklist
Embarking on your home baking journey is an exciting adventure filled with the potential for delicious creations and rewarding experiences. Whether you dream of fluffy cakes, crusty bread, or perfect cookies, having the right equipment is the crucial first step. Think of your kitchen tools not just as objects, but as extensions of your hands, helping you transform simple ingredients like flour, sugar, and butter into culinary masterpieces.
This guide will walk you through the fundamental items you'll need to start baking with confidence, ensuring you're prepared for everything from simple weeknight treats to special occasion bakes. Building your essential baking tool checklist doesn't have to be overwhelming; we'll break it down into manageable categories, focusing on versatility and necessity for beginners.
Starting with a solid set of essential baking tools is more important than having a vast collection of single-use gadgets. A few key items, chosen wisely, can perform multiple functions and serve you well across countless recipes. For instance, a sturdy set of measuring cups and spoons is non-negotiable, as accurate measurement is the bedrock of successful baking.
Similarly, good quality mixing bowls and spatulas will be your constant companions. As you gain experience and explore different types of baking, you can gradually add more specialized tools, but for now, let's focus on the fundamental essential baking tools that will get you off to a great start and build your confidence in the kitchen.
BakeWithEase.com: Your Guide to Mastering Essential Baking Equipment
Here at BakeWithEase.com, we understand that stepping into the world of baking can seem daunting, especially when faced with a multitude of recipes and recommended tools. That's why we've made it our mission to simplify the process, providing clear guides, easy-to-follow recipes, and practical advice on selecting and using your essential baking tools.
Our goal is to empower you to bake with ease and enjoy every moment of your culinary exploration. This article serves as your initial guide to building that all-important essential baking tool checklist, helping you identify the foundational pieces of equipment that will support your learning and growth as a baker.
We believe that anyone can bake, and having the right essential baking tools is a significant part of demystifying the process. On BakeWithEase.com, you'll find not only articles like this one detailing necessary equipment but also recipes specifically designed for beginners, often highlighting how to best utilize these core tools.
For example, our simple chocolate chip cookie recipe demonstrates the precise use of dry and liquid measuring cups, mixing bowls, and a baking sheet lined with parchment paper – all items on your essential baking tool checklist. We aim to connect the tools directly to their application, showing you how each piece of equipment plays a vital role in achieving delicious and consistent results in your home baking endeavors.
Must-Have Measuring Tools for Baking Success
Dry Measuring Cups and Spoons: The Foundation of Baking
Accuracy is paramount in baking, and dry measuring cups and spoons are your first line of defense against recipe mishaps. Dry measuring cups typically come in sets including 1 cup, 1/2 cup, 1/3 cup, and 1/4 cup sizes, designed to be leveled off with a straight edge (like a knife or spatula) for precise measurement of ingredients like flour, sugar, and cocoa powder.
Using a standard set ensures consistency, crucial for recipes where ratios are key. For example, incorrectly measuring flour by just scooping directly from the bag can add up to 20-30% more than needed, drastically altering the texture of your baked goods, often resulting in dry, dense cakes or tough cookies.
Similarly, measuring spoons are essential for smaller quantities of ingredients such as baking powder, baking soda, salt, and spices. A standard set usually includes 1 tablespoon, 1 teaspoon, 1/2 teaspoon, and 1/4 teaspoon. Just like with dry cups, these should be filled and leveled. The difference between 1 teaspoon and 1/2 teaspoon of baking soda can mean the difference between a perfectly risen cake and a flat, dense one. Investing in a sturdy set, perhaps stainless steel, ensures longevity and accuracy for countless baking projects, making them a vital component of any essential baking tool checklist.
Digital Kitchen Scale: Achieving Precision in Baking Measurements
While dry measuring cups are fundamental, a digital kitchen scale takes precision to the next level, especially for ingredients like flour, sugar, and even liquids when recipes provide weight measurements. Many professional bakers and serious amateurs swear by scales because measuring by weight is far more accurate than measuring by volume. For instance, a 'cup' of flour can vary significantly in weight depending on how it's scooped and packed, potentially ranging from 120 grams to 150 grams.
Measuring 140 grams of flour on a scale, however, is consistently 140 grams. This precision is particularly important for delicate pastries, bread, and macarons where exact ratios are critical for success.
Using a digital scale also simplifies the process and reduces cleanup. You can often place your mixing bowl directly on the scale, tare it (reset it to zero), and add ingredients one by one, weighing them as you go. This method is often faster and less messy than using multiple measuring cups. Many baking blogs and cookbooks are increasingly providing ingredient measurements by weight (grams or ounces), recognizing the superior accuracy it provides. Including a reliable digital scale on your essential baking tool checklist is a smart move for anyone serious about consistent, high-quality baking results.
Liquid Measuring Cups: For Precise Liquid Ingredient Handling
Liquid ingredients, such as water, milk, oil, and extracts, require a different type of measuring cup than dry ones. Liquid measuring cups are typically made of clear glass or plastic and have spouts for easy pouring. They also feature measurement markings on the side, allowing you to read the volume at eye level while the cup is placed on a flat surface. This method, known as reading the meniscus (the curve of the liquid's surface), ensures accurate measurement. Standard sizes often include 1 cup, 2 cup, and 4 cup capacities.
Attempting to measure liquids in dry measuring cups can lead to inaccuracies because you can't easily read the volume at eye level, and spillage is common when trying to level them off. Even being off by a few tablespoons of milk in a cake batter can affect its consistency and final texture. For example, a recipe calling for 1 cup (240ml) of milk needs exactly that amount for the proper hydration of the batter.
Using a liquid measuring cup ensures you hit that mark consistently. A good set of liquid measuring cups is an indispensable part of your essential baking tool checklist for handling wet ingredients correctly.
Essential Mixing Bowls and Utensils
Mixing Bowls: Choosing the Right Size and Material
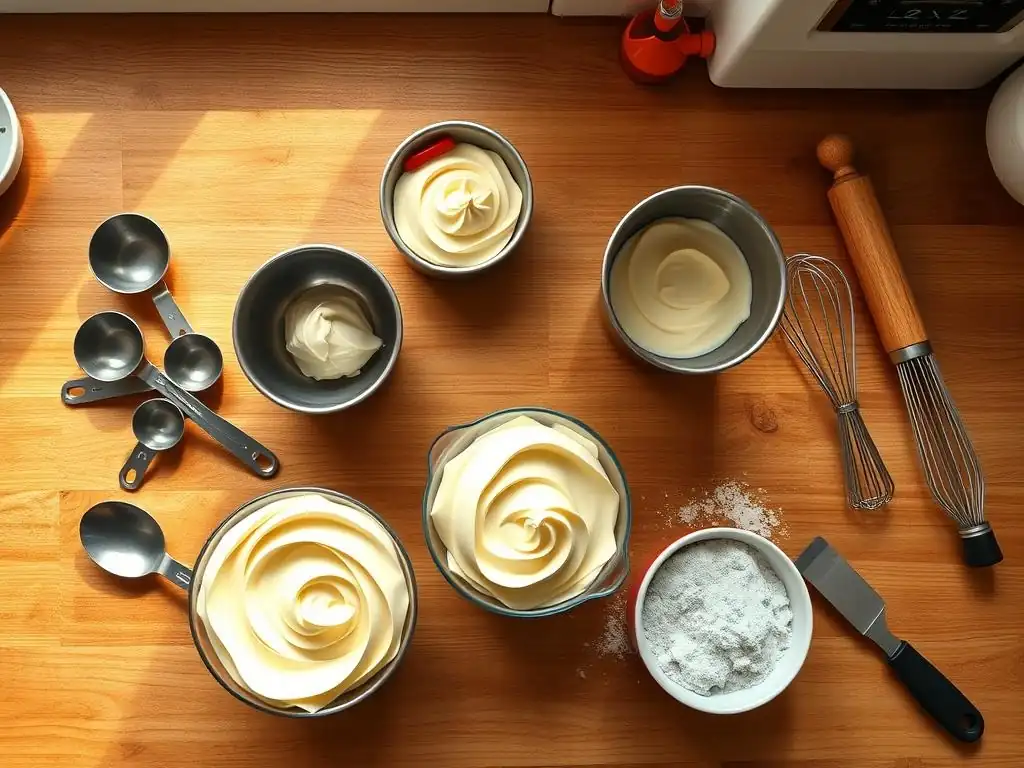
Mixing bowls are the workhorses of your baking kitchen, used for everything from whisking eggs and combining dry ingredients to mixing batters and kneading dough. Having a set of mixing bowls in various sizes is incredibly useful.
A typical starter set might include sizes ranging from small (around 1-2 quarts) for whisking a couple of eggs or melting butter, to medium (around 3-4 quarts) for mixing cookie dough or cake batter, and large (5+ quarts) for bread dough or large batches. Using a bowl that is too small can lead to spills and difficulty mixing ingredients thoroughly, while an excessively large bowl can make it hard to incorporate smaller quantities.
Mixing bowls come in various materials, including glass, stainless steel, ceramic, and plastic. Stainless steel is lightweight, durable, non-reactive, and easy to clean, making it a popular choice. Glass bowls are heavy but great for stability and allow you to see the mixing process; however, they can break.
Ceramic bowls are attractive but also breakable and can be heavy. Plastic bowls are lightweight and inexpensive but can sometimes retain odors or stains and may not be as durable. For a beginner's essential baking tool checklist, a set of stainless steel bowls in a few key sizes offers versatility and durability.
Whisks: Achieving Light and Airy Mixtures
A whisk is essential for incorporating air into ingredients and ensuring smooth, lump-free mixtures. Different types of whisks exist, but a balloon whisk is the most common and versatile for baking. Its many wires spread out to incorporate air efficiently when whisking eggs for meringues or soufflés, or whipping cream. It's also effective for combining dry ingredients briefly or mixing wet and dry ingredients together until just combined, as in muffin batter.
Proper whisking technique can significantly impact the texture of your baked goods. For instance, vigorously whisking egg whites can increase their volume by up to 8 times, creating the airy base for dishes like angel food cake or pavlova. Even simply whisking together flour, baking powder, and salt helps to distribute the leavening agents evenly, ensuring a consistent rise. Having at least one good quality balloon whisk is a non-negotiable item for your essential baking tool checklist.
Spatulas: Folding, Scraping, and Spreading with Ease
Spatulas are incredibly versatile tools in baking. Silicone spatulas, in particular, are heat-resistant and flexible, making them perfect for scraping down the sides of mixing bowls, folding delicate ingredients like whipped cream or egg whites into batters, and spreading frosting or batter evenly. Their flexibility allows them to get into the curves of a bowl, minimizing waste.
A sturdy rubber or silicone spatula is also excellent for folding ingredients gently, which is crucial for maintaining the airiness achieved by whisking or creaming. Overmixing batters can develop gluten unnecessarily, leading to tough results, particularly in cakes and muffins. A spatula allows for controlled, gentle incorporation. Having a couple of spatulas in different sizes – perhaps a smaller one for jars and a larger one for mixing bowls – will prove invaluable and should be high on your essential baking tool checklist.
Wooden Spoons: A Versatile Baking Utensil
Simple yet effective, wooden spoons have been a baking staple for generations. They are sturdy, durable, and unlike metal spoons, they don't conduct heat, making them comfortable to use for extended periods, such as when stirring thick batters or doughs. Their firm nature makes them ideal for creaming butter and sugar by hand or mixing dense cookie doughs where a whisk might not be strong enough.
While electric mixers have replaced much of the heavy mixing work, a good wooden spoon is still indispensable for certain tasks, like stirring ingredients over low heat on the stovetop (for custards or sauces) or for initial mixing before bringing dough together by hand. They are also gentle on non-stick surfaces, unlike metal utensils. Including a couple of different-sized wooden spoons on your essential baking tool checklist adds a touch of tradition and reliability to your tool kit.
Cake and Pastry Baking Essentials
Baking Pans: Selecting the Right Shapes and Sizes
The type and size of your baking pan directly impact how your baked goods cook. Using the pan specified in a recipe is crucial for achieving the correct rise, texture, and cooking time. Common essential baking pans for beginners include 8-inch or 9-inch round cake pans (for layer cakes), a 9x13-inch rectangular pan (for sheet cakes, brownies, and bars), a standard 12-cup muffin tin, and a loaf pan (for bread, pound cake, or meatloaf). Having these foundational pan types covers a wide range of beginner recipes.
Material also matters. Metal pans, particularly aluminum or non-stick coated ones, are common because they conduct heat efficiently and evenly, promoting consistent baking. Darker pans absorb more heat and can sometimes lead to darker crusts or faster cooking, so recipes might require adjusting temperature or time when using them. Investing in a few good quality, standard-sized pans is key for successful cake and pastry baking and a must-have for your essential baking tool checklist. For example, a recipe designed for an 8-inch round pan might overflow or bake unevenly in a smaller or larger pan.
Parchment Paper: Preventing Sticking and Easy Cleanup
Parchment paper is a baker's best friend, offering a simple solution to prevent sticking and making cleanup significantly easier. Lining baking sheets or cake pans with parchment paper creates a non-stick surface, ensuring that cookies slide off easily and cakes release cleanly without breaking. This is particularly helpful for delicate items or rich batters that might otherwise cling to the pan.
Beyond preventing sticking, parchment paper also helps with even browning and can protect the bottom of your baked goods from getting too dark, especially in darker pans. It can also be used to create piping bags in a pinch or for various other kitchen tasks. Keeping a roll of good quality parchment paper on hand will save you time and frustration and is a simple yet invaluable addition to your essential baking tool checklist. For instance, cookies baked directly on a greased pan might have greasy bottoms, whereas those on parchment paper often have a more uniform texture.
Rolling Pin: Achieving Even Dough Thickness
A rolling pin is essential for any recipe involving rolling out dough, such as pie crusts, cookies, biscuits, or puff pastry. The key to success in these recipes is often achieving uniform thickness across the dough. An unevenly rolled dough will bake inconsistently, with thinner parts burning while thicker parts remain undercooked. Rolling pins come in various styles, including the traditional American style with handles and a central cylinder, or the French style, which is a simple tapered cylinder.
Choosing a rolling pin that feels comfortable and allows you to apply even pressure is important. Some bakers prefer wooden pins for their weight and feel, while others opt for non-stick materials. Regardless of the style, the goal is to roll dough smoothly and evenly to the required thickness, typically ranging from 1/4 inch for cookies to 1/8 inch for pie crusts. A reliable rolling pin is a fundamental item for any baker looking to make rolled dough recipes and deserves a spot on your essential baking tool checklist.
Pastry Brush: For Glazes and Egg Washes
A pastry brush is a simple tool used for applying liquids to the surface of baked goods. This could be melted butter brushed over warm rolls, a simple syrup glaze brushed onto a cake for moisture and shine, or an egg wash applied to pie crusts or bread doughs to give them a golden, glossy finish when baked. Pastry brushes are typically made with natural bristles or silicone.
Silicone brushes are popular because they are easy to clean, don't shed bristles, and are heat-resistant. Natural bristle brushes hold liquid well but require more careful cleaning. Applying an egg wash to bread before baking, for example, helps develop a beautiful, rich brown crust. Brushing syrup onto a cake keeps it moist. This small tool performs specific but important tasks that enhance the appearance and sometimes the texture of your baked goods, making it a useful item for your essential baking tool checklist.
Bread Baking Starter Kit: Key Tools for Bread Making
Dough Scraper: Handling Sticky Dough with Confidence
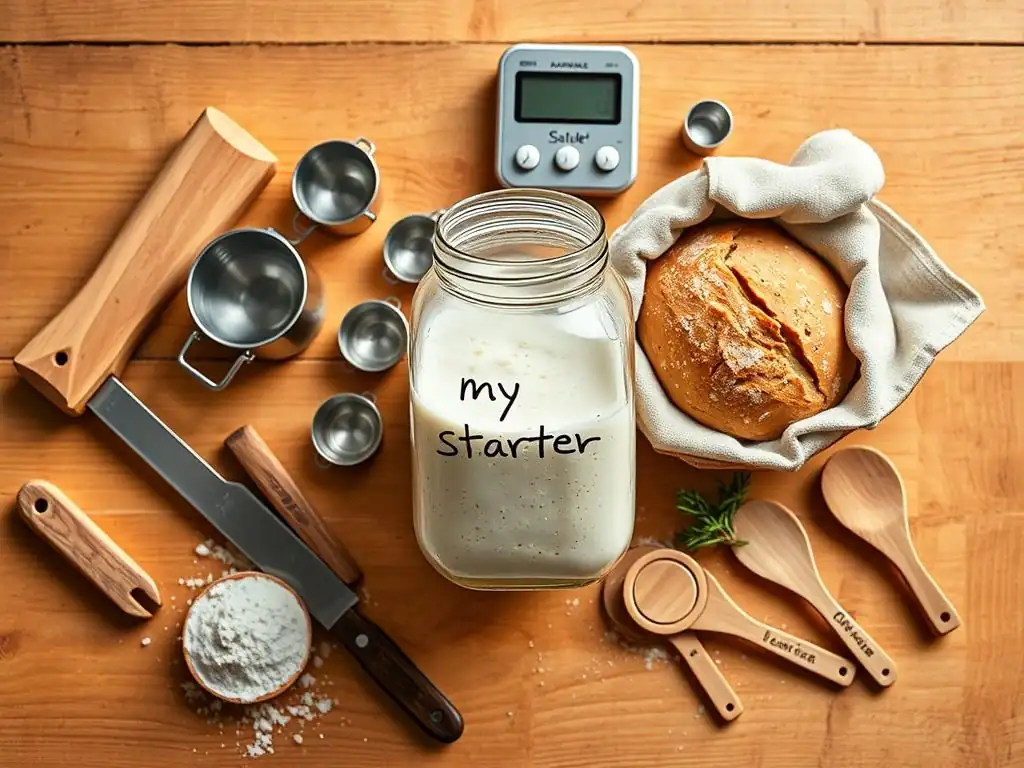
A dough scraper, also known as a bench scraper, is an incredibly useful tool for anyone making bread or working with sticky doughs. It's essentially a flat, rectangular piece of metal or plastic with a handle. Its primary uses include portioning dough, lifting and turning sticky dough during kneading, scraping dough remnants from your work surface, and transferring chopped ingredients.
Working with high-hydration doughs, common in many artisan bread recipes, can be challenging as they are often very sticky. A metal dough scraper with a sharp edge allows you to cleanly lift and fold the dough without it sticking excessively to your hands or the counter. It also helps gather all the dough scraps efficiently, ensuring none go to waste. This simple tool makes handling and shaping dough much easier and cleaner, solidifying its place on an essential baking tool checklist for bread enthusiasts.
Proofing Basket (Banneton): Shaping Your Bread
For bakers venturing into artisan bread, especially sourdough, a proofing basket or banneton is a valuable tool for the final rise (proofing) before baking. Bannetons are typically made from rattan cane or coiled reed and are floured before the shaped dough is placed inside. They provide structure and support to the dough as it rises, preventing it from spreading outwards and helping it maintain a good shape and height.
As the dough proofs in the basket, it takes on the basket's shape. If using a rattan banneton, the spirals also create a beautiful pattern on the crust after baking. While you can proof dough in a bowl lined with a floured cloth, a banneton specifically designed for the purpose offers optimal support and helps achieve a better final loaf shape, often resulting in a more professional-looking boule or batard. Adding a banneton to your essential baking tool checklist is a step towards mastering the art of bread shaping and proofing.
Bread Knife: Slicing Your Homemade Loaf
After successfully baking a beautiful loaf of bread, you need the right tool to slice it without crushing or tearing the crust and crumb. A good bread knife is designed specifically for this purpose. It features a long, serrated blade that allows you to saw through the crust cleanly while preserving the soft interior. Using a chef's knife or other straight-edged knife often results in a squashed loaf.
Investing in a quality bread knife ensures that all your hard work in baking results in perfectly sliced bread, ready to be enjoyed. The serrations grip the crust and pull the blade through efficiently. Look for a knife with a comfortable handle and a blade length suitable for the size of loaves you typically bake. A sharp bread knife is the final, satisfying tool on the bread-specific part of your essential baking tool checklist, allowing you to admire and serve your creation with ease.
Additional Baking Tools for Enhanced Results
Cooling Rack: Preventing Soggy Bottoms
A cooling rack is a simple but crucial piece of equipment that significantly improves the quality of your baked goods, particularly cakes, cookies, and bread. After removing items from the oven, placing them directly on a solid surface traps steam underneath, leading to condensation and potentially a soggy bottom. A cooling rack elevates the baked goods, allowing air to circulate freely around all sides.
This airflow facilitates even cooling and allows steam to escape, preventing condensation and ensuring that the bottom crust remains as crisp or firm as the top. For cookies, cooling on a rack immediately after a minute or two on the hot baking sheet helps them set properly. For cakes and bread, cooling on a rack prevents the bottom from becoming dense or wet. Including one or two sturdy cooling racks on your essential baking tool checklist is a small investment that makes a big difference in the final texture of your bakes.
Sifter: Ensuring Smooth and Consistent Flour
A sifter (or fine-mesh sieve) is used to aerate dry ingredients like flour, cocoa powder, and confectioners' sugar, and to remove any lumps or foreign particles. Sifting flour adds air, which can contribute to a lighter texture in cakes and pastries. It also helps ensure that ingredients like baking powder and salt are evenly distributed throughout the flour before being mixed into the wet ingredients, promoting a uniform rise.
While some argue that modern flours are often pre-sifted and sifting isn't always necessary, it's still a valuable step for achieving the lightest possible texture in certain recipes, such as angel food cake or delicate sponges. It's also essential for removing lumps from cocoa powder or confectioners' sugar for smooth frostings and glazes. A fine-mesh sieve is a versatile tool that can also be used for draining, rinsing, or dusting, making it a useful addition to your essential baking tool checklist.
Oven Thermometer: Monitoring Baking Temperatures
Oven temperatures can vary significantly from the setting on the dial, sometimes by as much as 25-50 degrees Fahrenheit. An inaccurate oven temperature can ruin a bake, leading to items that are burned on the outside and raw on the inside, or items that fail to rise properly because the temperature is too low. An inexpensive oven thermometer placed inside your oven provides an accurate reading of the actual temperature.
Checking your oven's temperature with a thermometer is a simple step that can eliminate guesswork and improve consistency in your baking. You might find you need to set your oven slightly higher or lower than the recipe suggests based on the thermometer's reading. For example, if your oven reads 325°F when set to 350°F, you'll know to adjust accordingly. This small, affordable tool is invaluable for consistent results and belongs on your essential baking tool checklist for precision baking.
Building Your Baking Arsenal: A Checklist
Essential Baking Tools Checklist: [Downloadable Resource Concept]
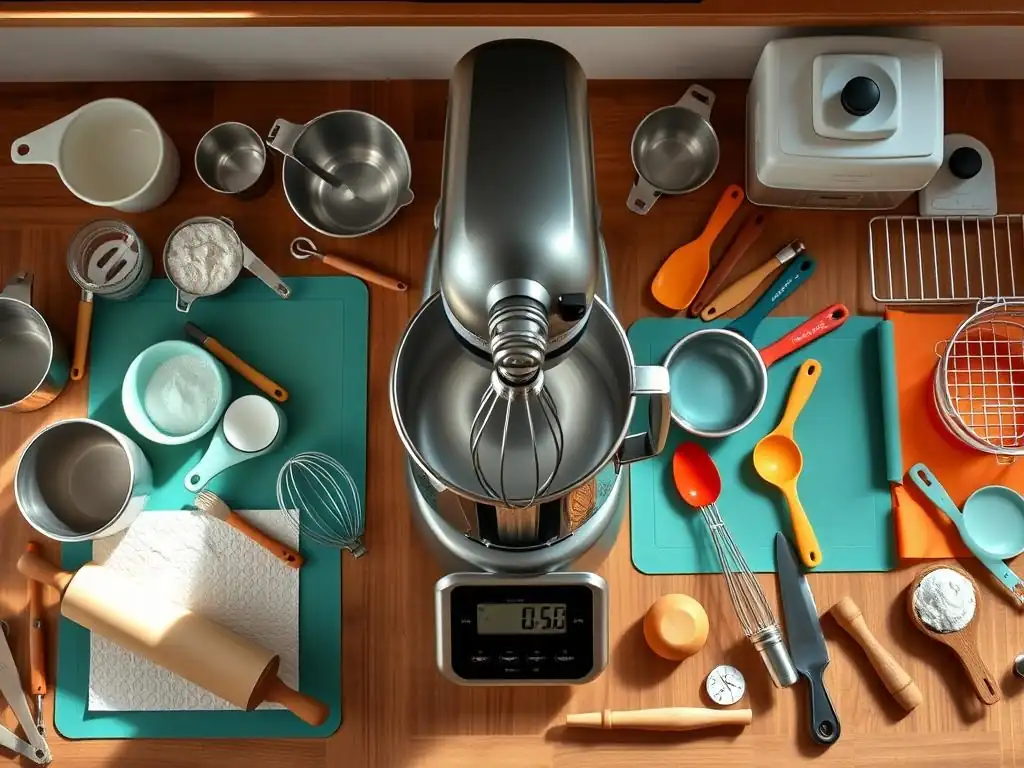
As you gather your initial essential baking tools, it's helpful to have a clear list to follow. Think of this section as introducing the idea of a comprehensive essential baking tool checklist that you can use as you shop or organize your kitchen. This checklist would ideally categorize tools and list the most important items discussed in this article, perhaps with space to check off what you already own and what you still need. Having a physical or digital checklist makes the process of building your baking arsenal systematic and ensures you don't overlook any critical items.
Such a checklist serves as a quick reference guide, summarizing the key pieces of equipment necessary for basic baking tasks. It reinforces the idea that a few versatile tools are more important than a cluttered drawer of rarely used gadgets. By focusing on these foundational essential baking tools, you equip yourself to tackle a wide variety of recipes with confidence, setting yourself up for success as you develop your baking skills. This structured approach helps beginners prioritize their purchases and build their collection efficiently.
Tips for Maintaining Your Baking Tools
Once you've acquired your essential baking tools, proper care and maintenance are key to ensuring their longevity and performance. Always clean your tools thoroughly after each use. For most tools, washing with warm, soapy water and drying immediately is sufficient. Wooden spoons and rolling pins should not be left soaking in water, as this can cause them to crack or warp; wash them quickly and dry thoroughly.
Regular maintenance also includes checking for damage. Replace baking pans with warped bottoms or scratched non-stick surfaces, as these can affect baking performance. Sharpen your bread knife periodically to ensure it continues to slice cleanly. Storing your tools neatly, perhaps in drawers or on hooks, prevents damage and makes them easy to find. Taking good care of your essential baking tools not only extends their life but also ensures they perform optimally every time you bake.
Investing in Quality Baking Equipment
While it might be tempting to buy the cheapest option when starting out, investing in reasonably good quality essential baking tools can make a significant difference in your baking experience and results. Better quality tools are often more durable, perform more reliably, and can make tasks easier. For example, a sturdy, well-balanced whisk will be more effective at incorporating air than a flimsy one. A good quality non-stick pan will release baked goods more cleanly.
This doesn't mean you need to buy the most expensive professional-grade equipment right away. Look for tools that are well-made, have positive reviews, and feel comfortable and sturdy in your hands. Think of these purchases as an investment in your baking journey. A set of reliable essential baking tools will last for years and consistently help you achieve better results, making the process more enjoyable and rewarding. Over time, the slightly higher initial cost is often offset by the tools' durability and performance.
Conclusion: Embracing the Joy of Baking with the Right Tools
BakeWithEase.com: Creating Delicious Memories with Essential Baking Tools
Equipping yourself with the essential baking tools is the first exciting step towards creating delicious memories in your kitchen. This essential baking tool checklist covers the foundational equipment you'll need to confidently tackle a wide range of beginner recipes, from simple cookies and cakes to your first loaf of bread. Remember, baking is a skill that develops with practice, and having the right tools supports your learning process, making it more enjoyable and less frustrating.
At BakeWithEase.com, we are here to guide you every step of the way. We provide not only this essential baking tool checklist but also a wealth of beginner-friendly recipes and techniques designed to help you master your new tools and build your baking confidence. As you grow as a baker, you can gradually expand your collection, but starting with these core essential baking tools will provide a solid foundation for countless successful bakes. So gather your tools, pick a recipe from BakeWithEase.com, and start creating those delicious memories today!
Frequently Asked Questions
What are the absolute essential baking tools a beginner should invest in first?
A beginner should prioritize a mixing bowl set, measuring cups and spoons, and a good baking sheet. These are the most versatile tools needed for most basic recipes.
Where can I find affordable beginner-friendly baking tools that won't break the bank?
Many department stores, discount retailers, and online marketplaces like Amazon offer budget-friendly baking tool sets. Look for sales and promotions to save even more.
How do I choose the right size mixing bowls for my needs as a beginner baker?
A set with at least three bowls of varying sizes (small, medium, and large) is ideal. This allows for different mixing tasks and accommodating varying recipe volumes.
What is the best material for a baking sheet for even heat distribution?
Aluminum baking sheets are generally recommended for even heat distribution and are relatively inexpensive. Avoid dark-colored sheets as they can cause over-browning.
Besides the basics, what is one "nice-to-have" tool that can greatly improve my baking results?
A digital kitchen scale is a fantastic addition. It ensures accurate measurements, leading to more consistent and reliable baking outcomes.
Final Reflection: The Sweet Success of Essential Baking Tools
Mastering the art of baking isn't just about following recipes; it's about wielding the right tools. A well-equipped kitchen is the foundation for countless delicious creations, transforming even the simplest recipe into a masterpiece. This cheat sheet has provided a roadmap to building that foundation, equipping you with the knowledge to choose the essential tools that will elevate your baking journey.
The impact of having the right tools extends far beyond mere convenience. It fosters a sense of confidence and control in the kitchen, allowing you to experiment with new recipes and techniques without feeling overwhelmed. The best baker is one who is not afraid to experiment.
- This quote, while not attributed to a specific person, perfectly encapsulates the spirit of baking and the importance of having the right tools to support that experimentation. The joy of baking, the satisfaction of creating something beautiful and delicious from scratch, is amplified when you're not fighting with inadequate equipment.
Now, it's your turn. Take a moment to reflect on your own baking journey. What tools have been your most reliable allies? Which ones are you still dreaming of adding to your collection? Don't be afraid to invest in quality tools – they are an investment in your passion, your creativity, and the joy of sharing delicious treats with loved ones. Go forth, armed with your knowledge and your essential tools, and create something truly amazing!
Unleash Your Inner Baker: Get Baking Today!
Thanks for diving into the world of baking with us! We hope you've discovered some essential tools to make your baking journey smoother and more enjoyable. Now it's time to put your newfound knowledge into action.
- Start baking your favorite recipe today! Don't let those tools gather dust – pick a recipe you love (or try a new one!) and get baking.
- Share your baking creations with us on social media using #BakeWithEase – we'd love to see your masterpieces!
- Explore our website for more delicious recipes and baking tips to expand your skills.
What's the first recipe you'll tackle with your new baking arsenal? Let us know in the comments below!