
Mastering Smooth Frosting: The Essential Tools You Need

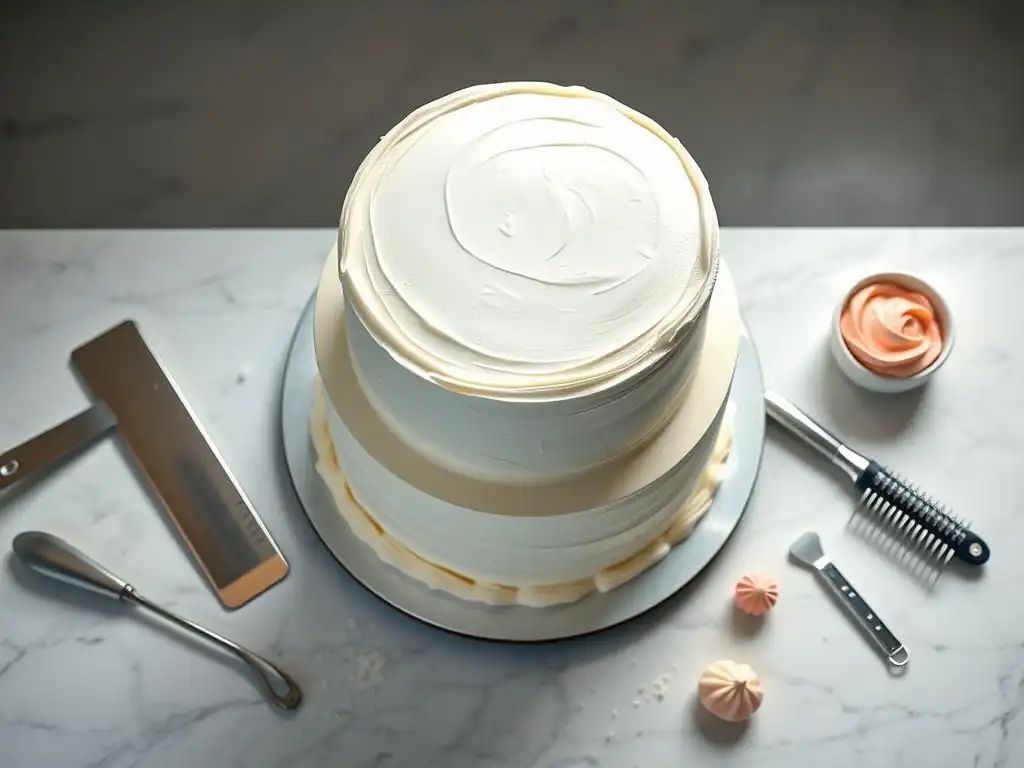
Welcome to BakeWithEase, where baking becomes a joy, not a chore!
Ever dreamt of achieving that flawlessly smooth, professional-looking frosting on your cakes? You're in the right place. Get ready to transform your baking with our Best Frosting Smoother Tools Guide. Unlock the secrets to achieving bakery-worthy finishes and discover the essential tools that will elevate your decorating game. Intrigued? Let's get started and explore the world of perfectly frosted creations!
- Achieving Professional Cake Finishes: Essential Tools for Smooth Buttercream
- Introduction to Smooth Buttercream: The Art of a Flawless Finish
- Essential Buttercream Smoothing Tools: A Detailed Overview
- Advanced Buttercream Techniques and Tools
- Tips and Tricks for Flawless Smooth Buttercream
- Maintaining Your Buttercream Tools for Longevity
-
Frequently Asked Questions
- How important is a frosting smoother for achieving professional-looking results?
- What are the different types of frosting smoothers available?
- Can I use something other than a dedicated frosting smoother?
- How do I clean my frosting smoother after use?
- Where can I find the best frosting smoother tools?
- Final Reflection: The Sweet Science of Smooth Frosting
- Unleash Your Inner Pastry Chef: Frosting Perfection Awaits!
Achieving Professional Cake Finishes: Essential Tools for Smooth Buttercream
Introduction to Smooth Buttercream: The Art of a Flawless Finish
Why Smooth Buttercream Elevates Your Cakes
A cake isn't just about the flavors within; its presentation plays a significant role in creating a memorable dessert. Smooth buttercream provides a clean, sophisticated canvas that highlights any additional decorations, from delicate piping to vibrant sprinkles. Imagine a wedding cake with crisp, sharp edges or a birthday cake with sides as smooth as glass – this level of finish is often the difference between a homemade look and a professional masterpiece. Mastering the art of smooth buttercream application isn't just about skill; it's fundamentally about using the right tools effectively.
Beyond aesthetics, a smooth layer of buttercream can also contribute to the cake's structure and texture. It helps seal in moisture, keeping the cake layers fresh. When applied evenly, it ensures each slice has a consistent cake-to-frosting ratio. Achieving this desirable smooth finish relies on selecting the best frosting smoother tools guide and understanding how to wield them with confidence. It's an essential skill for any baker looking to elevate their cake decorating game.
This Guide: Mastering Buttercream Application for Stunning Results
This guide serves as your comprehensive resource for understanding and utilizing the essential tools needed to achieve incredibly smooth buttercream finishes on your cakes. We'll delve into the specific functions of key implements, from the humble offset spatula to specialized icing smoothers and indispensable turntables. Our aim is to equip you with the knowledge to not only select the best tools for smoothing buttercream but also to master the techniques required to produce bakery-quality results right in your own kitchen.
Whether you're tackling your first layer cake or aiming to perfect your tiered creations, this guide will walk you through the process. We'll cover everything from preparing your buttercream for optimal smoothness to executing a flawless crumb coat and achieving those coveted sharp edges. Consider this your roadmap to transforming uneven, bumpy frosting into a sleek, professional surface that will impress everyone who sees (and tastes!) your beautiful cakes.
Essential Buttercream Smoothing Tools: A Detailed Overview
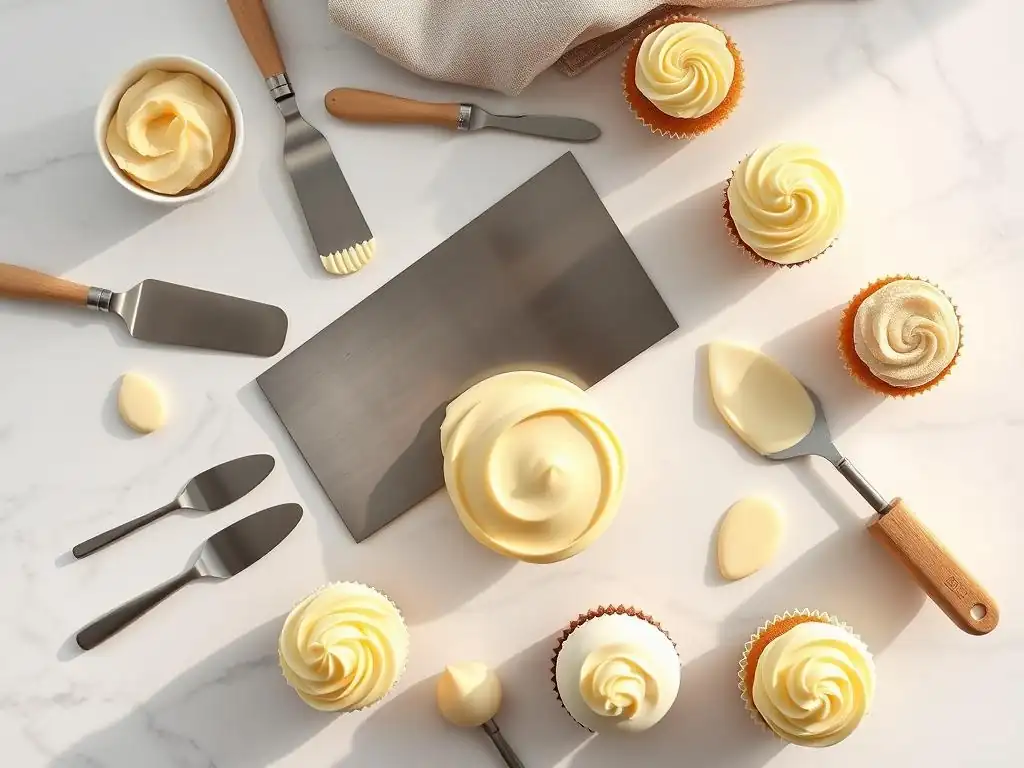
Offset Spatulas: The Foundation for Even Application
Offset spatulas are arguably the most fundamental tool in any cake decorator's kit when it comes to applying buttercream. Their unique design, with the blade offset from the handle, keeps your knuckles clear of the cake surface, allowing for easier, more controlled spreading and smoothing. They come in various sizes, typically ranging from small 4-inch blades ideal for cupcakes or small details, to larger 10-inch or 12-inch blades perfect for covering the sides and tops of larger cakes quickly and efficiently.
Using an offset spatula is crucial for applying the initial layers of buttercream evenly. The flat, flexible blade allows you to scoop a generous amount of frosting and spread it across the cake surface with minimal effort. Different sizes offer different advantages; a medium 8-inch offset spatula is often a versatile choice for both application and initial smoothing on standard round cakes measuring around 8-10 inches in diameter. The flexibility of the blade is key – too stiff, and it's hard to spread; too flexible, and it lacks control.
Selecting the Ideal Offset Spatula Size for Cake Dimensions
Choosing the right size offset spatula significantly impacts the ease and quality of your buttercream application. For instance, decorating a single 6-inch cake layer might best be done with a smaller 6-inch offset spatula, offering precision for the top surface and easier maneuvering around the sides. When working on a large 12-inch cake or a multi-tiered creation, a longer 10-inch or 12-inch offset spatula becomes invaluable for covering large areas quickly and reducing the number of strokes, which helps maintain a smoother surface.
Consider the scale of your projects. If you primarily bake standard 8 or 9-inch round cakes, a set including an 8-inch and a 10-inch offset spatula would be a wise investment. These sizes provide versatility for applying frosting to both the top and sides of these common cake dimensions. For very small cakes or detailed work, a tiny 4-inch offset spatula is incredibly useful for fitting into tight spaces or applying small amounts of frosting precisely.
Offset Spatula Techniques: Crumb Coat and Final Buttercream Layers
The offset spatula is essential for both the crumb coat and the final layer of buttercream. For the crumb coat, which is a thin layer designed to trap loose crumbs, use the spatula to apply a small amount of frosting and spread it thinly across the entire cake, top and sides. The goal here isn't smoothness, but coverage, ensuring no cake shows through and all crumbs are sealed. Use gentle pressure and rotate the cake as you go.
For the final layer, apply a more generous amount of buttercream to the top and sides using the offset spatula. Don't worry too much about perfect smoothness at this stage; focus on getting an even, thick layer covering the entire surface. You'll use other tools, like icing smoothers, to achieve the ultimate smooth finish. However, starting with an even application using your offset spatula makes the smoothing process much easier and more effective.
Icing Smoothers: Achieving Perfectly Smooth Surfaces
Icing smoothers, also known as bench scrapers or cake scrapers depending on their specific design and primary use, are the go-to tools for achieving those perfectly smooth, professional-looking sides and sharp edges on your cakes. Unlike spatulas used for application, smoothers are designed to be held against the side of a rotating cake to scrape away excess frosting and create a uniform, level surface. They are typically flat, rigid tools, often with a straight edge and sometimes a rounded or beveled edge.
Using an icing smoother requires holding the tool perpendicular to the cake board and parallel to the cake side, then rotating the cake while keeping the smoother stationary. This action scrapes off the high points of the buttercream, filling in the low points and resulting in a beautifully smooth finish. Many smoothers are tall enough (often 8-10 inches) to cover the entire height of a standard cake layer or even a two-layer cake in a single pass, which is key to achieving a seamless finish.
Types of Icing Smoothers: Metal, Acrylic, and Silicone
Icing smoothers come in several materials, each offering distinct advantages. Metal smoothers, often made of stainless steel, are durable, easy to clean, and can be slightly warmed for an even smoother finish on certain types of buttercream. They offer excellent rigidity and control. Acrylic smoothers are popular because they are transparent, allowing you to see the cake through the tool, which can be helpful for alignment. They are lightweight and come in many shapes and sizes, including those designed specifically for sharp edges.
Silicone smoothers are more flexible than metal or acrylic. While less common for achieving perfectly flat sides and sharp edges on large cakes, they can be useful for smoothing smaller areas or working with softer frosting types. Many decorators prefer a combination, using a sturdy metal or acrylic smoother for the main smoothing and perhaps a smaller, more flexible tool for touch-ups. The best frosting smoother tools guide often highlights metal or thick acrylic options for their superior ability to create crisp lines.
Icing Smoother Techniques: Achieving Sharp Edges and Uniform Sides
To achieve uniform sides, hold the icing smoother firmly against the side of the chilled, crumb-coated cake, ensuring it is perpendicular to the base. With your other hand, slowly and steadily rotate the cake turntable. The smoother will shave off excess buttercream, leaving a smooth surface. Repeat this process, applying slight pressure, until the sides are consistently smooth.
Achieving sharp edges is a two-step process often done after the sides are smoothed. First, apply a generous amount of buttercream to the top edge of the cake, creating a slight lip. Then, using a clean icing smoother or a small offset spatula held at a 45-degree angle, gently pull the excess buttercream from the edge towards the center of the cake top. Wipe the tool clean after each swipe and repeat around the entire circumference until the top edge is crisp and defined. Chilling the cake briefly between smoothing steps can significantly help in achieving sharper edges.
Cake Turntables: Rotating for Even Buttercream Application
A cake turntable, also known as a revolving cake stand, is an indispensable tool for anyone serious about achieving smooth buttercream and precise decoration. Trying to frost a cake by constantly moving around it is cumbersome and makes consistent application and smoothing incredibly difficult. A turntable allows you to easily rotate the cake with one hand while using your other hand to apply or smooth frosting, pipe borders, or add other details, ensuring an even finish all around.
The steady rotation provided by a good turntable is key to using icing smoothers effectively. As you hold the smoother stationary against the cake side, the turntable's smooth spin allows the tool to shave the buttercream evenly, creating a flawless vertical surface. Without a turntable, achieving this level of uniformity is nearly impossible. It's a foundational tool mentioned in virtually every guide to the best frosting smoother tools.
The Importance of a Turntable for Smooth Buttercream
The primary benefit of using a turntable for smooth buttercream is consistency. It allows you to maintain a steady angle and pressure with your spatula or smoother as the cake rotates, leading to an even thickness of frosting and a uniform surface. This is particularly critical when using an icing smoother to achieve perfectly straight sides and sharp edges. A smooth, consistent rotation minimizes stops and starts, which can leave lines or imperfections in the buttercream.
Furthermore, a turntable significantly speeds up the frosting and decorating process. Instead of lifting and turning a heavy cake, a simple spin of the platform provides access to any part of the cake surface. This efficiency allows you to work more quickly, which can be important when working with temperature-sensitive buttercream that might start to soften as you work. It transforms the task from a cumbersome chore into a smooth, fluid process.
Choosing a Stable and Reliable Cake Turntable
When selecting a cake turntable, stability and smooth rotation are paramount. Cheap plastic turntables can wobble or have jerky rotations, making smooth frosting difficult. Look for turntables with a weighted base, often made of metal or a heavy-duty plastic, to prevent tipping, especially when working on larger or multi-tiered cakes which can weigh several pounds (a standard 9-inch cake might weigh 3-4 pounds frosted).
Metal turntables, particularly those with ball bearings, offer the smoothest and most consistent spin. While they might be a higher initial investment (ranging from $30 to over $100), their durability and performance are unmatched. Plastic turntables are more budget-friendly (often $10-$30) but check reviews to ensure they offer stable support and a reasonably smooth rotation. A non-slip base or mat is also a valuable feature to keep the turntable securely on your counter.
Bench Scrapers: Multi-Purpose Tools for Cake Decoration
While often used interchangeably with "icing smoother," the term "bench scraper" typically refers to a flat, rigid tool primarily used in dough handling (scraping dough from a counter, dividing portions). However, their flat, straight edge makes them excellent for cake decorating, particularly for smoothing the sides of a cake, much like an icing smoother. Bench scrapers are usually made of metal or sturdy plastic and have a comfortable handle or grip along one edge.
Their rigid, straight edge is perfect for holding against the side of a rotating cake to achieve a smooth, vertical surface. They often have a sharp corner, which is beneficial for cleaning up the edge of the cake board or creating straight lines in textured buttercream. A standard bench scraper is typically 6 inches wide and 3-4 inches tall, though larger versions are available, making them versatile for different cake sizes.
Bench Scraper Applications: Smoothing, Shaping, and Texturing
Bench scrapers excel at smoothing the sides of a cake. After applying a generous layer of buttercream, hold the bench scraper perpendicular to the cake board and parallel to the cake side. Rotate the turntable while keeping the scraper stationary to remove excess frosting and create a smooth, flat surface. The rigidity of the tool ensures a consistent line from top to bottom.
Beyond basic smoothing, bench scrapers can be used for shaping and texturing buttercream. The straight edge can be used to create vertical lines or grooves in a softer buttercream layer. Some bench scrapers have serrated edges, which are perfect for creating decorative patterns like waves or ridges around the cake sides. Their flat surface is also useful for lifting and moving delicate decorations or even for portioning buttercream.
Creating Sharp, Clean Lines with a Bench Scraper
To create sharp, clean lines on the sides of your cake using a bench scraper, ensure your crumb coat is chilled and firm. Apply the final layer of buttercream generously, making sure there's plenty of frosting, especially near the top edge. Hold the bench scraper firmly against the side, ensuring it's perfectly straight and perpendicular to the base. Rotate the cake at a steady pace while applying gentle, consistent pressure.
After the sides are smooth, use the sharp corner of the bench scraper (if applicable) or a smaller, clean offset spatula to clean up the bottom edge where the buttercream meets the cake board, creating a crisp line. For the top edge, use the same method as described for icing smoothers: pull the excess buttercream from the edge towards the center of the cake top using a clean, angled tool (like the bench scraper itself held at 45 degrees or a small offset spatula), wiping the tool clean after each stroke.
Advanced Buttercream Techniques and Tools
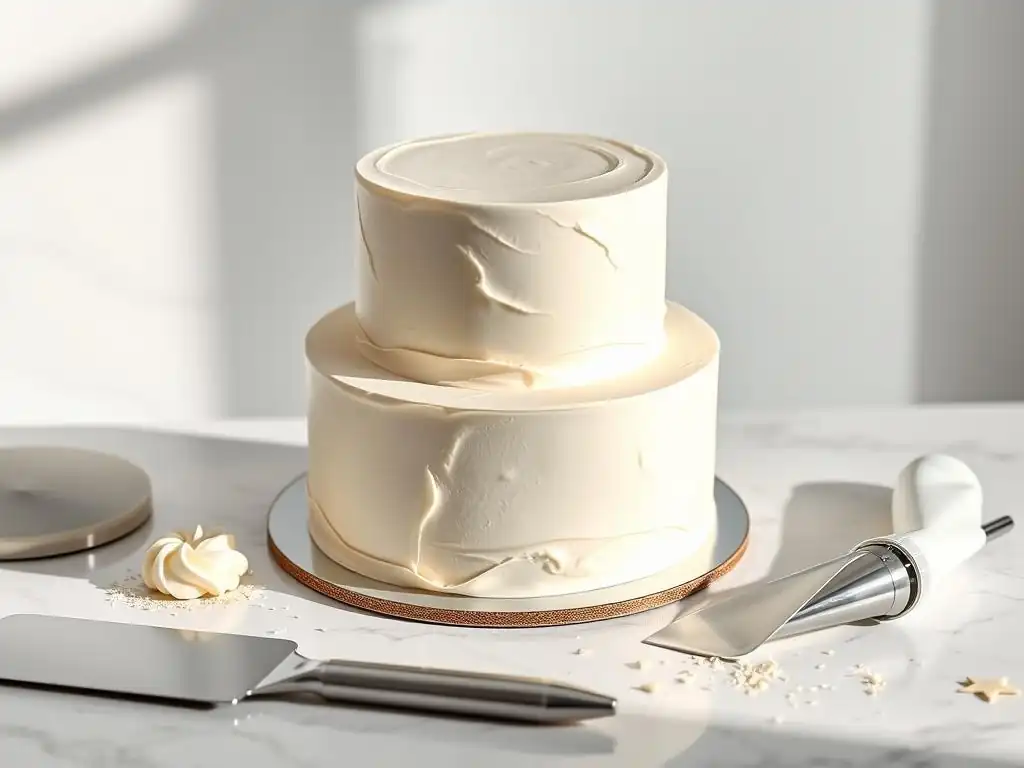
Piping Bags and Tips: Adding Decorative Accents
While the focus of this guide is on smooth buttercream, piping bags and tips are indispensable for adding decorative elements that complement a smooth finish. Piping allows you to add borders, swirls, rosettes, writing, and intricate patterns, transforming a simple smooth cake into a stunning centerpiece. Piping bags come in disposable plastic, reusable silicone, or fabric versions, and tips are typically made of metal or plastic, available in countless shapes and sizes identified by numbers (like a Wilton 1M open star tip or an Ateco 808 plain round tip).
A smooth buttercream base provides the perfect backdrop for piped details. A crisp, clean surface makes piped lines and shapes stand out beautifully. Piping bags and tips allow for precise control over the flow and shape of the buttercream, enabling you to add professional-looking finishing touches. Even a simple row of piped dots or shells around the base and top edge can dramatically enhance the appearance of a smoothly frosted cake.
Selecting Piping Tips for Borders, Rosettes, and Other Designs
The world of piping tips is vast, offering possibilities for almost any design you can imagine. For basic borders, round tips (like Ateco 800-series or Wilton #12) create simple dots or lines, while star tips (like Wilton 1M, 2D, or Ateco 199) produce classic star borders or swirls. Open star tips are excellent for creating rosettes and swirled effects on top of cupcakes or cakes.
Leaf tips (like Wilton #352) create realistic leaves, while petal tips (like Wilton #104) are used for piping ruffles, petals, and blossoms. Specialty tips exist for everything from grass/hair (Wilton #233) to basketweave patterns. Building a collection of key tips, perhaps starting with a few round, star, and petal tips, allows you to experiment with various decorative accents on your smooth buttercream canvases.
Integrating Piping with Smooth Buttercream for Visual Interest
Integrating piped elements with a smooth buttercream finish creates visual depth and sophistication. For example, a cake with perfectly smooth sides and sharp edges can be finished with a elegant piped shell border around the base and a series of swirls or rosettes on top. The contrast between the clean, smooth surface and the textured, defined piping is visually appealing.
Alternatively, you can use piping to add a simple inscription or delicate dots as a minimalist decoration on a smooth cake. The smoothness of the background ensures the piped details are the focal point. When planning your design, consider how the texture and shape of the piped elements will interact with the smooth surface to achieve the desired overall aesthetic.
Palette Knives: Creating Textured Buttercream Effects
While offset spatulas are primary for application and initial smoothing, palette knives are thinner, more flexible tools often used by artists for mixing paints. In cake decorating, they are fantastic for creating beautiful, artistic texture effects on buttercream, moving away from a perfectly smooth finish towards something more dynamic and expressive. Palette knives come in various shapes, including straight, angled, and tapered blades, typically ranging from 4 to 10 inches in length.
The flexibility and shape of a palette knife allow for unique strokes and textures that are difficult to achieve with a rigid smoother or even an offset spatula. They are perfect for applying buttercream in a painterly fashion, creating swooshes, peaks, or abstract patterns directly onto the cake surface.
Palette Knife Techniques: Achieving Unique Textural Designs
Palette knife techniques involve applying buttercream relatively thickly and then using the knife to create texture. For a simple textured look, apply buttercream with an offset spatula, then gently press the side or tip of a clean palette knife into the frosting and pull away, creating small peaks or swirls. Repeat this across the cake for a textured finish.
For more artistic effects, you can apply different colors of buttercream directly onto the cake and use the palette knife to blend and swirl them together, creating a marbled or painted effect. Holding the knife at different angles and using varying pressure allows for a wide range of textures, from subtle ridges to dramatic peaks. Experiment on a practice board to see the different effects you can achieve.
Combining Smooth and Textured Buttercream with Palette Knives
Combining smooth and textured areas on a single cake can create a striking contrast. For instance, you might choose to make the top of the cake perfectly smooth using an icing smoother and turntable, while texturing the sides using a palette knife. This highlights the smooth top while adding visual interest to the sides.
Another approach is to create a smooth base layer and then use a palette knife to apply additional layers of buttercream in specific areas, creating raised, textured elements on top of the smooth background. This technique is often used for creating abstract designs or floral-like textures. The versatility of palette knives makes them a valuable addition to your collection of buttercream tools, even if your primary goal is often smoothness.
Tips and Tricks for Flawless Smooth Buttercream
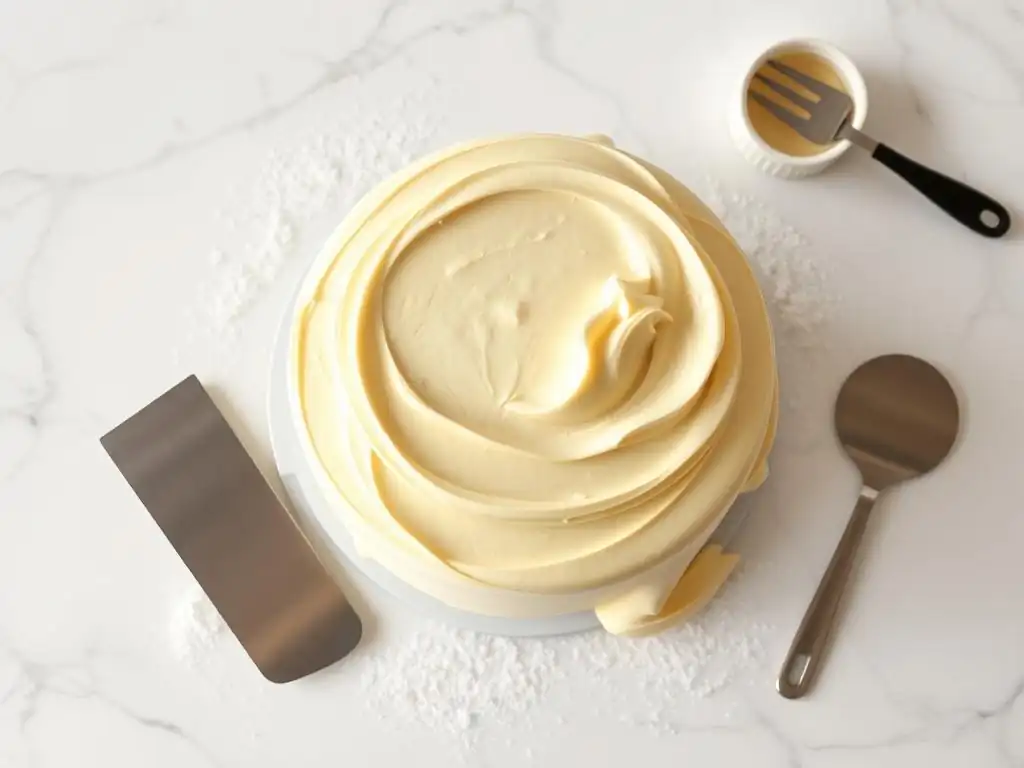
Preparing Your Buttercream for Optimal Smoothness
Achieving smooth buttercream starts long before the tool touches the cake; it begins with the buttercream itself. The consistency and texture of your frosting are critical. Buttercream that is too stiff will be difficult to spread and smooth evenly, potentially tearing the cake. Buttercream that is too soft will melt and refuse to hold its shape or sharp edges. The ideal consistency is smooth, creamy, and spreadable, similar to soft-serve ice cream.
Ensure your buttercream is free of air bubbles. Air bubbles are notorious for causing pits and imperfections in an otherwise smooth surface. After making your buttercream, beat it on low speed with a paddle attachment for several minutes (5-10 minutes is often sufficient) to push out trapped air. Alternatively, you can vigorously stir the buttercream by hand against the side of the bowl with a spatula.
Achieving Ideal Buttercream Consistency: Adjusting with Milk or Powdered Sugar
The perfect buttercream consistency is key to smooth application. If your buttercream is too thick and stiff, add a liquid like milk, cream, or a clear extract (like vanilla) one teaspoon at a time. Beat well after each addition until the desired consistency is reached. Be cautious not to add too much liquid at once, as it's easier to thin buttercream than to thicken it.
If your buttercream is too soft or runny, you can thicken it by adding more sifted powdered sugar, one tablespoon at a time, beating well until combined and the desired consistency is achieved. Alternatively, chilling the buttercream in the refrigerator for 15-30 minutes can help firm it up. Remember that temperature affects consistency; buttercream will be stiffer when cold and softer when warm. Working in a cool environment (around 70°F or lower) is ideal.
Removing Air Bubbles for a Seamless Surface
Air bubbles are the enemy of smooth buttercream. To remove them, after your buttercream is made, switch to a low speed on your mixer (if using one) and let it mix for an extended period, perhaps 5-10 minutes. This slow mixing helps the air bubbles rise to the surface and dissipate.
If mixing by hand, use a sturdy spatula to press the buttercream firmly against the side of the bowl, working it back and forth. This action forces air bubbles out. Repeat this process until the buttercream appears dense and smooth, with no visible air pockets. This step is vital for achieving a truly seamless finish with your best frosting smoother tools.
Mastering the Crumb Coat: Preventing Crumbs in Your Final Layer
The crumb coat is a thin layer of buttercream applied to the cake before the final decorative layer. Its primary purpose is to trap any loose cake crumbs and seal them to the cake, preventing them from mixing into your final, smooth layer of frosting. Skipping this step is a common mistake that results in a frustratingly crumb-filled finish, no matter how good your smoothing tools are.
Applying a crumb coat also provides a more stable base for the final layer of buttercream, helping it adhere better and making it easier to achieve a uniform thickness. Think of it as priming the cake for its final coat of paint. It doesn't need to be perfectly smooth, but it must be thin and completely cover the cake surface.
Applying a Thin, Even Crumb Coat
To apply a crumb coat, use an offset spatula to spread a very thin layer of buttercream over the entire surface of the cake – top, sides, and edges. Use gentle pressure to avoid tearing the cake layers. The goal is just to cover the cake and pick up any loose crumbs. Don't overwork it; a thin, slightly messy layer is fine.
Ensure the crumb coat is applied evenly, covering every bit of cake. Any exposed cake means crumbs can escape into your final layer. Scrape away any excess buttercream – the crumb coat should be just thick enough to hide the cake color slightly and lock down crumbs, typically less than 1/8 inch thick.
Chilling the Crumb Coat for Stability
Once the crumb coat is applied, the cake needs to be chilled to allow the buttercream to firm up. This is a crucial step. Place the crumb-coated cake in the refrigerator for at least 15-30 minutes, or until the buttercream is firm to the touch and no longer tacky.
Chilling solidifies the crumb coat, effectively gluing the crumbs in place and creating a stable, non-porous surface for the final layer. When you apply the final buttercream layer over a firm crumb coat, you won't disturb the crumbs underneath, ensuring a pristine, smooth finish. For added stability, you can even chill the cake in the freezer for 10-15 minutes.
Achieving Perfectly Sharp Edges: A Step-by-Step Guide
Perfectly sharp edges are a hallmark of professional cake decorating and are achieved using the right tools and techniques, primarily an icing smoother or bench scraper and a turntable. It requires patience and practice but is highly rewarding.
- Apply Final Buttercream: Apply a generous, even layer of buttercream to the chilled, crumb-coated cake using an offset spatula. Ensure there's a slight excess, especially building up a small lip of frosting around the top edge.
- Smooth the Sides: Using a tall, rigid icing smoother or bench scraper held perpendicular to the cake board, rotate the turntable steadily while holding the smoother stationary against the cake side. Apply consistent, gentle pressure to scrape away excess and smooth the sides. Fill any gaps with more buttercream and re-smooth.
- Create the Top Edge Lip: After the sides are smooth, you should have a clean, smooth side surface with a lip of excess buttercream sticking up slightly above the top edge of the cake.
- Pull in the Top Edge: Using a clean icing smoother, bench scraper, or a small offset spatula, hold the tool at about a 45-degree angle to the top surface of the cake. Starting from the outer edge, gently pull the excess buttercream towards the center of the cake top. Wipe your tool clean after each pull.
- Repeat Around: Continue pulling in the top edge around the entire circumference of the cake, wiping the tool clean after every stroke, until the edge is crisp and defined.
- Chill: For the sharpest edges, chill the cake again for 15-20 minutes after smoothing the sides and top edge. This allows the buttercream to firm up in its smooth, sharp shape.
Techniques for Sharp Edges with Icing Smoothers and Cold Buttercream
As outlined above, the core technique for sharp edges involves using a rigid smoother against a rotating cake to create a straight side, followed by pulling the excess top edge buttercream inwards. Using cold buttercream is incredibly beneficial. Chilling the crumb coat makes the cake stable and the base firm. Chilling the final layer of buttercream periodically during the smoothing process (e.g., after smoothing the sides before tackling the top edge) firms up the frosting, making it easier to create clean lines that hold their shape.
Working with slightly firmer, colder buttercream allows you to apply more pressure with your smoother without accidentally gouging the surface. If your buttercream is too soft, it will simply mush around. Aim for a consistency that is firm but still pliable enough to smooth. If your kitchen is warm, consider working in shorter bursts and chilling the cake more frequently.
Troubleshooting Common Buttercream Issues: Air Bubbles, Unevenness, and Melting
- Air Bubbles: As mentioned, the best prevention is beating the buttercream on low speed or stirring vigorously to remove air before application. If you find small bubbles appearing during smoothing, you can often gentle pop them with the tip of an offset spatula or a pin and then re-smooth the area. For larger bubbles, you might need to scrape away the area, fill with fresh buttercream, and re-smooth.
- Unevenness: Unevenness usually stems from inconsistent pressure or angle with your smoothing tool, or an uneven application of the initial buttercream layer. Ensure your turntable is level and stable. Hold your smoother firmly and consistently at a 90-degree angle to the base. If you find a low spot, add a small amount of buttercream to that specific area with a spatula and re-smooth the entire side. Don't try to fix just the low spot; smooth the whole section again.
- Melting/Softening: Buttercream can soften quickly in a warm environment or from the heat of your hands. If your buttercream starts to soften and lose its shape or smooth finish, stop working immediately. Place the cake (and potentially the buttercream you are working with) back in the refrigerator for 15-20 minutes to firm up. Work in a cool room if possible. You can also chill your smoothing tools briefly in the fridge.
Maintaining Your Buttercream Tools for Longevity
Investing in quality buttercream tools is essential for consistent results, and proper care ensures they last for years. Cleaning and storing your tools correctly prevents damage, rust (for metal tools), and keeps them hygienic for your next baking project. A well-maintained set of tools is a joy to work with and contributes to achieving the best results every time you frost a cake.
Regular cleaning immediately after use is paramount. Dried buttercream is much harder to remove than fresh. Storing tools properly prevents them from getting bent, scratched, or damaged, which can affect their performance, especially the straight edges of smoothers and spatulas.
Proper Cleaning and Storage of Cake Decorating Tools
Clean all your buttercream tools thoroughly immediately after you finish decorating. Wash spatulas, smoothers, and piping tips in warm, soapy water. Use a small brush (like a bottle brush or a dedicated cleaning brush) to get into any crevices, especially with piping tips. Rinse thoroughly.
Metal tools should be dried completely with a towel to prevent rust spots. Acrylic and plastic tools can air dry or be toweled dry. Turntables should be wiped clean; check the manufacturer's instructions, as some may not be submersible. Store tools in a way that protects their working edges. Spatulas and smoothers can be kept in a drawer organizer or a tool caddy where their blades are protected. Piping tips can be stored in compartmentalized containers.
Maximizing the Lifespan of Spatulas, Smoothers, and Turntables
To maximize the lifespan of your spatulas and smoothers, avoid using them for tasks they aren't designed for, like cutting or prying hard materials. Be careful not to drop metal tools, as this can bend the blade or edge, affecting their ability to smooth straight. Store them carefully to prevent the edges from getting nicked or bent.
For turntables, avoid overloading them with excessively heavy cakes beyond their recommended capacity. Keep the rotating mechanism clean and free of debris; a build-up of dried buttercream can make the rotation jerky. If your turntable has a bearing mechanism, consult the manufacturer's instructions for any recommended lubrication or maintenance. By following these simple steps, your best frosting smoother tools will remain in excellent condition, ready to help you create beautiful, smooth cakes for years to come.
Frequently Asked Questions
How important is a frosting smoother for achieving professional-looking results?
A frosting smoother is crucial for achieving smooth, even frosting. It helps eliminate air bubbles and creates a polished finish, significantly impacting the cake's visual appeal.
What are the different types of frosting smoothers available?
Common types include metal spatulas, offset spatulas, and acrylic smoothers. Each offers varying degrees of control and are suited for different frosting types and cake shapes. Experiment to find what works best for you!
Can I use something other than a dedicated frosting smoother?
While dedicated tools are ideal, you could use a long, flat knife or even a bench scraper in a pinch. However, the results may not be as consistently smooth as with a proper tool.
How do I clean my frosting smoother after use?
Most frosting smoothers can be cleaned with warm, soapy water. Acrylic smoothers should be handled with care to avoid scratches. Ensure they are completely dry before storing.
Where can I find the best frosting smoother tools?
You can find frosting smoothers at most baking supply stores or online retailers. Sites like Amazon or specialty shops often carry a wide selection. BakeWithEase may also have recommendations!
Final Reflection: The Sweet Science of Smooth Frosting
The pursuit of the perfect cake is a journey, not a destination, and the key to unlocking that flawless finish lies in mastering the tools of the trade. A perfectly smooth frosting isn't just aesthetically pleasing; it's a testament to precision, patience, and a deep understanding of the materials at hand. This understanding, as explored throughout this guide, elevates baking from a simple task to a truly satisfying craft.
The impact of achieving that mirror-like sheen on a cake is more than just visual; it's a reflection of dedication and skill. It's a moment of pride, a tangible representation of hours spent perfecting a technique, and a delicious reward for the effort invested. As we've seen, the right tools—from the humble bench scraper to the innovative smoother—are essential partners in this process. The details are not the details. They make the design.
- Charles Eames. This quote perfectly encapsulates the importance of the seemingly small elements, like the right frosting smoother, in achieving a truly exceptional result.
Now, consider your own baking journey. What tools have you discovered that elevate your creations? What techniques have you mastered? I encourage you to experiment, to explore the possibilities, and to find the tools that best suit your style and preferences. Don't be afraid to try new things, to push your boundaries, and to embrace the imperfections along the way. The pursuit of the perfect frosting, like any creative endeavor, is a continuous learning process, and the rewards are undeniably sweet.
Unleash Your Inner Pastry Chef: Frosting Perfection Awaits!
Thanks for taking the time to explore the world of flawlessly smooth frosting with us! You've learned the secrets to achieving professional-quality results, and now it's time to put your knowledge into action.
Here's how you can take the next step:
- Whip up your dream frosting: Grab those tools, gather your ingredients, and try the recipe mentioned in the article today. Let your creativity flow!
- Share your masterpiece: Post a picture of your frosted creation on social media and tag us – we'd love to see your baking brilliance! Use #BakeWithEaseFrosting.
- Experiment with new flavor combinations: Don't be afraid to get creative! Try adding extracts, spices, or even fruits to personalize your frosting.
What unique flavor combination will you create with your newly acquired frosting skills?