
Mixer Troubles? Quick Fixes for Common Hand Mixer Problems

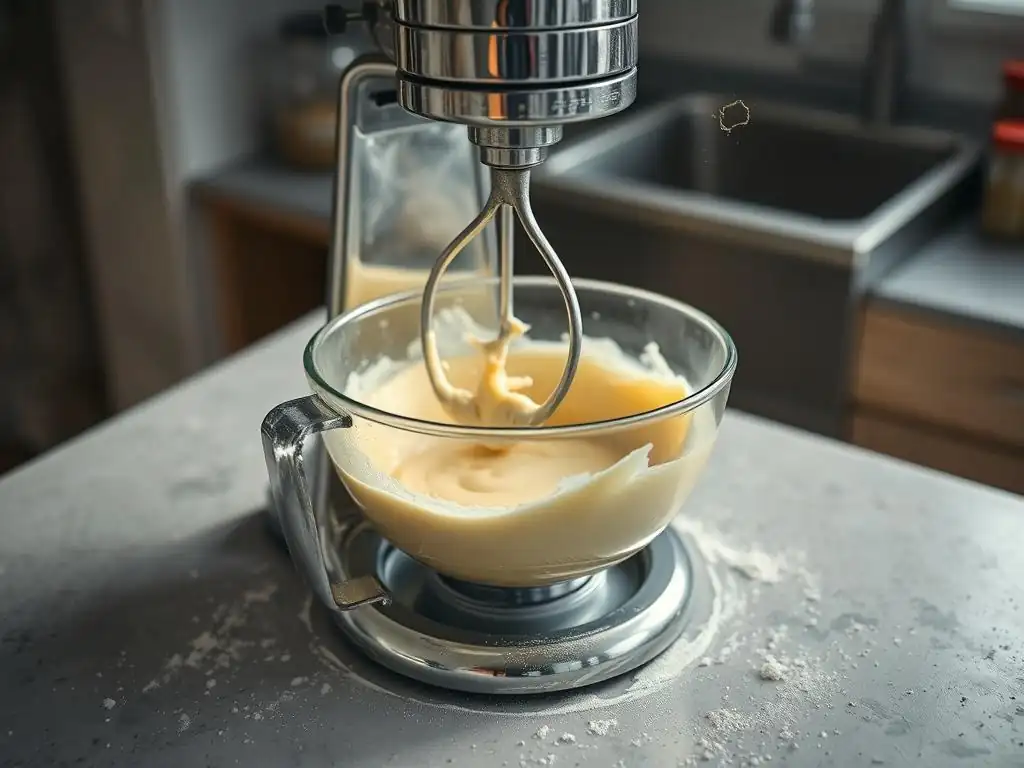
Welcome to BakeWithEase, your kitchen companion! Are you frustrated with a sputtering or silent hand mixer? Don't toss it just yet! This guide is packed with hand mixer repair tips that can breathe new life into your trusty tool. Discover simple solutions to common problems and get back to baking those delicious creations. Intrigued? Let's dive in and see how you can fix your mixer today!
- Hand Mixer Troubleshooting: Solutions for Common Issues
- Troubleshooting Guide for Hand Mixers
- Identifying Common Hand Mixer Issues
- Quick Hand Mixer Repair Solutions
- Hand Mixer Maintenance for Longevity
- When to Consider Replacement
-
Frequently Asked Questions
- What are some common signs that my hand mixer needs repair?
- Can I fix a hand mixer myself, or should I always take it to a professional?
- What are some basic maintenance tips to prolong the life of my hand mixer?
- How can I identify the specific model of my hand mixer for finding replacement parts?
- What should I do if my hand mixer starts sparking or smoking?
- Final Reflection: The Enduring Power of the Hand Mixer
- Ready to Conquer Your Mixer Mayhem?
Hand Mixer Troubleshooting: Solutions for Common Issues
Troubleshooting Guide for Hand Mixers
Even the most reliable kitchen gadgets can sometimes act up, and your trusty hand mixer is no exception. Whether you're whipping cream for a delicate dessert or kneading dough for a rustic loaf, encountering issues mid-bake can be frustrating. This guide offers practical troubleshooting steps and hand mixer repair tips to help you diagnose and potentially fix common problems, getting you back to baking with ease. Understanding the typical quirks of these powerful little machines can save you time, money, and baking heartache.
Tackling hand mixer problems doesn't always require a professional repair service. Many common issues, from a mixer that won't turn on to unusual noises, have relatively simple causes that you can investigate yourself. By following a systematic approach, you can often identify the root of the problem and apply a quick fix. This guide is designed to empower you with the knowledge needed to perform basic hand mixer repair tips and maintenance, extending the life of your appliance.
Identifying Common Hand Mixer Issues
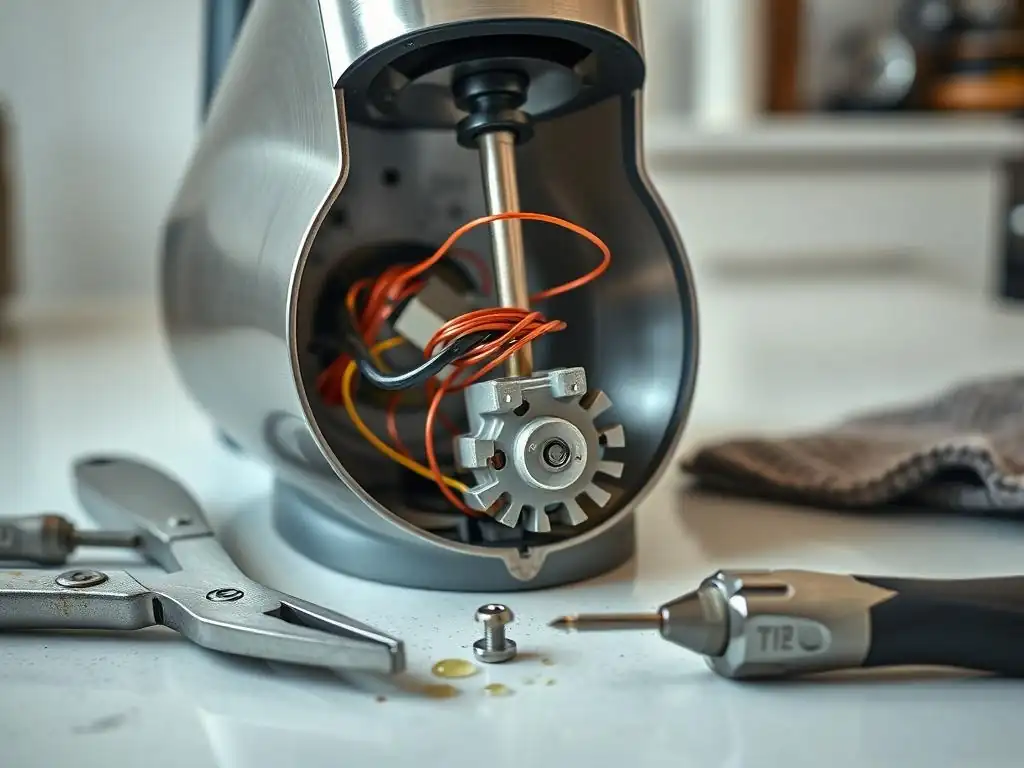
Knowing what's wrong is the first step to applying effective hand mixer repair tips. Hand mixers can exhibit a range of symptoms when they're not performing correctly. Recognizing these common issues helps narrow down the possibilities and focus your troubleshooting efforts.
Let's explore some of the most frequent complaints users have about their hand mixers and how to start thinking about what might be going on inside the unit. Understanding the potential causes behind these symptoms is crucial for successful troubleshooting and repair.
Hand Mixer Not Turning On: Troubleshooting Steps
One of the most alarming issues is when your hand mixer simply refuses to power up. This could be due to a simple external problem or something more complex internally. Before assuming the worst, it's important to systematically check the most likely culprits.
Start by ensuring the mixer is properly plugged into a working electrical outlet. Test the outlet with another small appliance, like a phone charger or a lamp, to confirm it's providing power. If the outlet is fine, inspect the mixer's power cord for any visible damage, such as cuts, frayed wires, or bent prongs. Even a minor imperfection in the cord can prevent the unit from receiving power.
Motor Running But Beaters Not Spinning: Diagnosing the Problem
If you hear the familiar hum of the motor but the beaters remain motionless, the issue likely lies with the internal mechanism that transfers power from the motor to the beater sockets. This is often related to the gears or the drive shaft within the mixer head.
In many hand mixers, plastic gears are used for durability and noise reduction, but these can strip or break under heavy load, especially when mixing stiff doughs or cold ingredients. A broken gear will prevent the shaft connected to the beaters from rotating, even if the motor is spinning freely. Diagnosing this typically requires opening the mixer housing, which should only be attempted if you are comfortable with small appliance repair.
Hand Mixer Overheating: Causes and Solutions
A hand mixer that gets excessively hot during use is a sign of stress on the motor. While some warmth is normal, feeling very hot to the touch or emitting a burning smell indicates a problem that needs immediate attention to prevent permanent damage.
Overheating is often caused by overloading the mixer – trying to mix ingredients that are too thick or dense for the unit's power rating, like a very stiff cookie dough or kneading bread dough for too long. Using the mixer continuously for extended periods, perhaps longer than the typical 5-10 minutes recommended for many models, can also lead to the motor getting too hot. Ensuring adequate ventilation by not blocking the air vents on the mixer's body is also important.
Unusual Noises: Identifying the Source
Hand mixers make noise, but strange grinding, clicking, or rattling sounds can signal an internal issue. The type of noise can often give you a clue about the problem.
A grinding noise, for example, might indicate worn or damaged gears. If you hear a clicking sound, it could be a loose part bouncing around inside the housing or a minor obstruction interfering with the beaters' rotation. Rattling might suggest a screw has come loose or a piece of plastic has broken off internally. Identifying the exact sound and when it occurs (e.g., only at high speed, only when mixing) can help pinpoint the source for effective hand mixer repair tips.
Quick Hand Mixer Repair Solutions
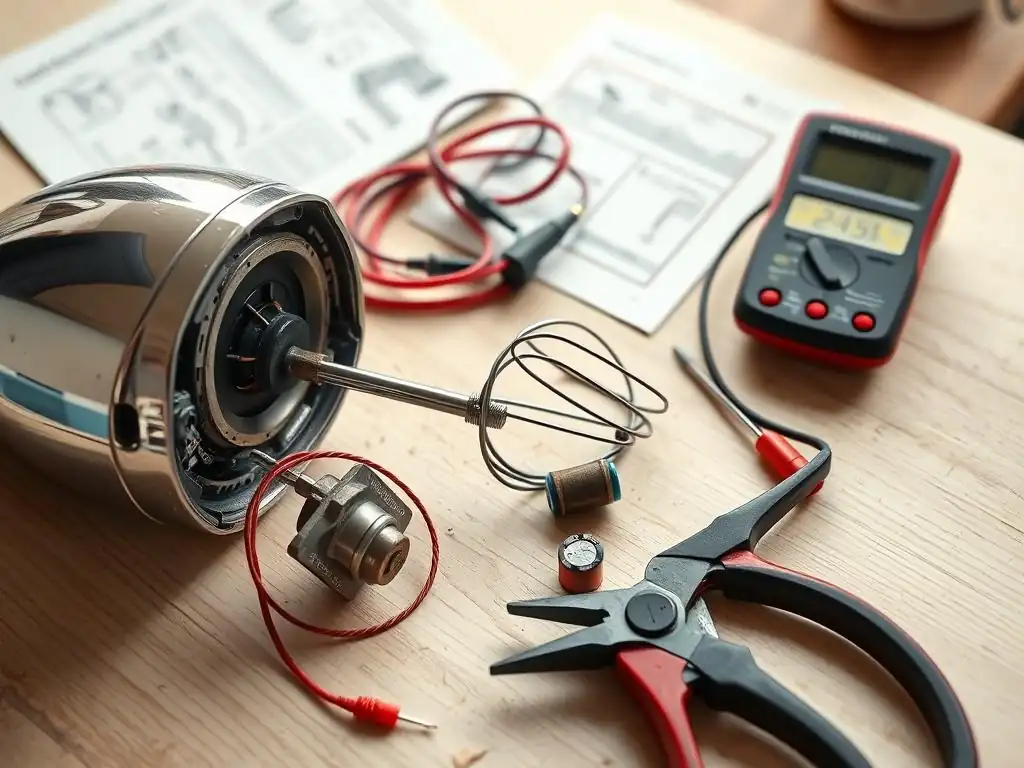
Once you've identified the likely issue, you can attempt some quick fixes. These hand mixer repair tips cover common problems and offer practical steps you can take yourself before considering professional help or replacement.
Remember to always unplug the hand mixer before attempting any inspection or repair to avoid electrical shock. Safety is paramount when working with electrical appliances.
Simple Fixes for a Hand Mixer That Won't Turn On
If your mixer is dead silent when you switch it on, these steps are the first line of defense in troubleshooting hand mixer problems.
Checking the Power Cord and Outlet
Confirm the power cord is fully inserted into a functional wall outlet. Don't just assume the outlet works; plug in another small device you know is working to be certain. If the outlet is controlled by a wall switch or connected to a GFCI (Ground Fault Circuit Interrupter) outlet, check and reset those as necessary. GFCI outlets, commonly found in kitchens, have "Test" and "Reset" buttons and can trip if they detect an electrical fault, cutting power to the outlet.
Next, visually inspect the entire length of the power cord. Look for any kinks, cuts, or places where the outer insulation is damaged. Pay close attention to where the cord enters the mixer housing and the plug itself. A damaged cord is a significant safety hazard and usually requires replacing the cord or the entire unit, as cord replacement can be complex and requires electrical knowledge.
Resetting the Overload Protection (If Applicable)
Many modern hand mixers, especially higher-wattage models designed for tougher tasks, are equipped with internal overload protection. This safety feature automatically shuts off the motor if it detects excessive strain or heat, preventing burnout.
If your mixer suddenly stopped working while mixing a thick batter, it might have tripped this protection. Some models have a visible reset button, often on the underside or side of the housing. For others, you simply need to unplug the mixer for 10-15 minutes to allow it to cool down and automatically reset. Check your mixer's manual to see if it has this feature and how to reset it.
Addressing Beater Issues
Problems with the beaters themselves or how they connect are common and often easy to fix with the right hand mixer repair tips.
Beater Attachment Problems: Replacement and Maintenance
Beaters must be correctly inserted and securely locked into the drive sockets. Check your manual to ensure you are using the correct type of beaters for your model and inserting them properly (some mixers have one socket for a specific beater). Worn beater shafts or damaged sockets on the mixer can prevent beaters from attaching securely or spinning correctly.
If the beaters are worn or the sockets appear damaged, you may need to replace the beaters or seek professional repair for the sockets. Replacement beaters are often available directly from the manufacturer or third-party sellers. Ensure you purchase beaters specifically designed for your mixer model to guarantee a proper fit and function.
Bent or Damaged Beaters: Straightening and Alternatives
Accidentally dropping beaters or hitting them against the side of a bowl can cause them to bend out of shape. Slightly bent beaters might still work but can vibrate excessively or scrape the bowl.
For minor bends, you might be able to carefully attempt to straighten the beater using pliers. Place the beater on a flat, sturdy surface and gently apply pressure. Be cautious, as excessive force can break the beater. If a beater is severely bent, cracked, or shows signs of metal fatigue, it's best to replace it immediately to avoid potential injury or damage to the mixer. Using damaged beaters is not recommended.
Solving Speed Control Problems
If your mixer only works on one speed, or the speed changes erratically, the issue is likely with the speed control switch or its internal connections.
Cleaning the Speed Control Switch
Over time, batter, flour, or other debris can work its way into the speed control switch mechanism, interfering with its contacts. This is a common source of inconsistent speed performance.
With the mixer unplugged, carefully inspect the switch area. Use a dry, soft brush (like a clean paintbrush or an old toothbrush) to gently remove any visible debris from around and under the switch. Avoid using liquids or blowing into the switch, as this can push debris further inside or cause electrical issues. Sometimes, simply working the switch back and forth several times can help dislodge minor obstructions.
Checking for Loose Connections
If cleaning doesn't resolve the issue, the problem might be a loose wire connection within the speed control circuit. This typically requires opening the mixer housing to access the internal wiring.
Warning: Opening an electrical appliance carries risks. This step should only be attempted by someone comfortable with electrical components and small appliance repair. Inside, look for any wires that appear disconnected from the speed switch or circuit board. Reconnecting them may require soldering or specialized connectors, depending on the mixer's design. If you're unsure, it's safer to consult a professional or consider replacement.
Hand Mixer Maintenance for Longevity
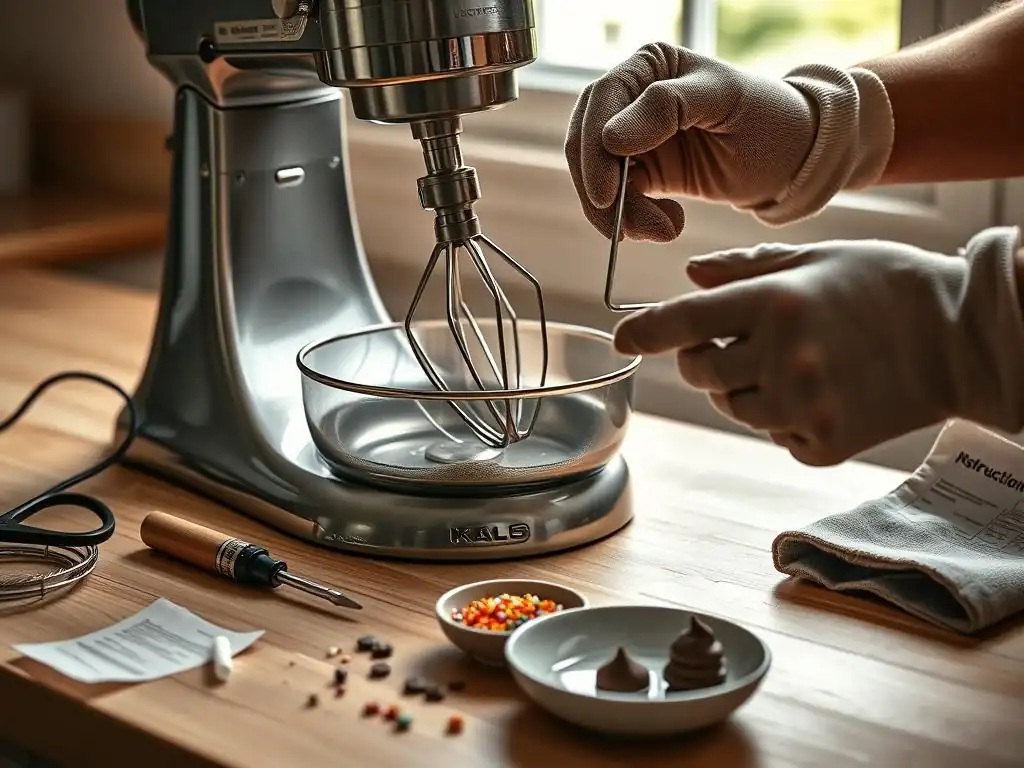
Applying good hand mixer repair tips isn't just about fixing problems; it's also about preventing them. Proper maintenance is key to ensuring your hand mixer serves you well for years.
Regular cleaning and correct storage can significantly extend the lifespan of your appliance and minimize the need for troubleshooting down the road.
Proper Cleaning Techniques
Keeping your hand mixer clean is essential for hygiene and performance. Built-up residue can clog vents, gum up switches, and even strain the motor.
Cleaning After Each Use
Immediately after use, unplug the mixer and remove the beaters. Wash the beaters thoroughly in warm, soapy water or place them in the dishwasher if they are dishwasher-safe (check your manual). Wipe down the mixer body with a damp cloth or sponge. Avoid submerging the mixer body in water, as this can damage the motor and electrical components. Pay attention to the beater sockets and air vents, ensuring no food debris is left behind.
Deep Cleaning and Grease Removal
Occasionally, your mixer might need a more thorough cleaning, especially if grease or sticky residue has accumulated on the housing or around the vents. For stubborn spots, you can use a mild kitchen degreaser applied to a cloth (not directly to the mixer).
Use cotton swabs or a small brush to carefully clean crevices around buttons, switches, and vents. Ensure the mixer is completely dry before storing it or using it again. This prevents moisture from causing internal damage.
Hand Mixer Storage Tips
Proper storage protects your mixer from physical damage and keeps it clean between uses.
Always store your hand mixer and its attachments in a clean, dry place. Many mixers come with a storage case or bag, which is ideal for keeping everything together and protected. If you don't have a case, wrap the cord neatly around the mixer body or secure it with a tie to prevent tangling and damage. Store beaters separately or in a dedicated compartment if your storage solution has one, ensuring they aren't bent or damaged by other items. Avoid storing heavy objects on top of the mixer.
Avoiding Common Mistakes
Being mindful of how you use your hand mixer can prevent many common issues that require hand mixer repair tips.
- Overloading: Do not attempt to mix ingredients that are too stiff or quantities that exceed the mixer's capacity. For very thick batters or doughs, a stand mixer is often more appropriate.
- Continuous Use: Avoid running the mixer continuously for extended periods. Give it short breaks, especially when working with heavier mixtures, to prevent the motor from overheating.
- Incorrect Speed: Start mixing at a low speed to incorporate ingredients before increasing speed. This reduces splashing and strain on the motor.
- Improper Cleaning: Never submerge the mixer body in water. Ensure it is unplugged before cleaning.
When to Consider Replacement
Despite your best efforts with hand mixer repair tips and maintenance, there comes a time when replacing your mixer is more practical than fixing it. Recognizing the signs that your mixer is nearing the end of its life can save you frustration and money.
Deciding whether to repair or replace often comes down to cost, the severity of the damage, and the age of the appliance.
Evaluating Repair Costs vs. Replacement
Before investing in repairs, get an estimate of the cost. Compare this estimate to the price of a new hand mixer with similar features. Minor issues like replacing beaters or a power cord might be cost-effective.
However, if the motor is failing, gears are stripped, or the internal electronics are faulty, repair costs can quickly escalate. A motor repair could potentially cost $80-$150 or more, while you might find a new, reliable hand mixer for $30-$60 for basic models or $70-$120 for more powerful ones. If the repair cost approaches or exceeds 50-70% of the price of a new unit, replacement is often the more economical choice.
Signs of Irreparable Damage
Some issues indicate that your hand mixer is likely beyond economical repair.
These signs include:
- A burning smell accompanied by smoke from the motor housing.
- Loud, persistent grinding or knocking noises from inside the unit.
- Significant physical damage to the housing, especially if it affects the internal components or beater sockets.
- Repeated failure of the same component after repair.
- A motor that no longer spins or spins very weakly, even when not under load.
If your mixer exhibits these symptoms, it's often a sign of major internal failure that is costly or impossible to fix.
Choosing a New Hand Mixer: Key Features
If you decide to replace your old mixer, consider what features are important based on your baking habits.
Look for a mixer with adequate wattage for the types of tasks you perform (higher wattage for thicker batters). Consider models with multiple speeds for versatility. Ergonomics and weight are also factors, especially if you have long mixing tasks. Check for durable beater materials (like stainless steel) and consider if features like a storage case or dough hooks are valuable additions for your needs. Reading reviews can also provide insight into the reliability and performance of different models.
Frequently Asked Questions
What are some common signs that my hand mixer needs repair?
Common signs include a weak motor, unusual noises or smells, and the mixer simply not turning on. These indicate potential issues requiring attention.
Can I fix a hand mixer myself, or should I always take it to a professional?
Simple fixes like cleaning the beaters or checking the power cord are DIY-friendly. However, complex motor issues are best left to professionals.
What are some basic maintenance tips to prolong the life of my hand mixer?
Always clean the beaters after each use. Avoid overloading the motor with thick mixtures, and store it properly to prevent damage.
How can I identify the specific model of my hand mixer for finding replacement parts?
Check for a model number sticker on the base or handle of the mixer. This information is crucial for ordering compatible replacement parts.
What should I do if my hand mixer starts sparking or smoking?
Immediately unplug the mixer and do not attempt to use it. This indicates a serious electrical problem requiring professional repair or replacement.
Final Reflection: The Enduring Power of the Hand Mixer
The humble hand mixer, a kitchen workhorse often taken for granted, continues to play a vital role in countless homes worldwide. Its seemingly simple design belies a surprising capacity for malfunction, highlighting the importance of understanding its basic mechanics and troubleshooting common issues. From stubborn beaters to faulty motors, the problems are diverse, yet often solvable with a little know-how.
The impact of readily available repair information, as explored in this article, extends beyond simply fixing a broken appliance. It speaks to a broader cultural shift towards sustainability and resourcefulness. We are increasingly aware of the environmental cost of constant consumption, and simple repairs like those detailed here offer a powerful antidote to the throwaway culture. The best things in life are not things.
– Henry David Thoreau. This sentiment resonates deeply when considering the longevity and potential of a well-maintained hand mixer, a tool that can serve faithfully for years with proper care.
Now, consider your own kitchen appliances. Do you have a beloved hand mixer quietly gathering dust, or perhaps one struggling to perform its duties? I urge you to take a moment to examine it, to consult the troubleshooting guide within this article, and to empower yourself to tackle those minor repairs.
You might be surprised at how easily you can restore a valuable kitchen tool to its former glory, saving money, reducing waste, and rediscovering the satisfaction of a job well done. The power to repair is the power to preserve, and in doing so, you contribute to a more sustainable and mindful approach to everyday life.
Ready to Conquer Your Mixer Mayhem?
Thanks for taking the time to troubleshoot those pesky hand mixer problems! We hope you now feel empowered to tackle any baking challenge. Let's keep that mixing momentum going:
- Master your mixer: Dive deeper into our comprehensive guide on hand mixer maintenance – find it on our website! (Note: This would be the place to insert a link to your maintenance guide on bakewithease.com if this were a live website).
- Share your wins (and woes!): Tell us about your biggest hand mixer triumph (or disaster!) in the comments below. We love hearing from our baking community!
- Challenge a friend: Nominate a fellow baker struggling with their mixer to read this article and conquer their own baking battles!
So, what delicious recipe are you whipping up next with your perfectly functioning hand mixer?