
Your First Cake Decorating Tool Kit: Essentials Made Easy

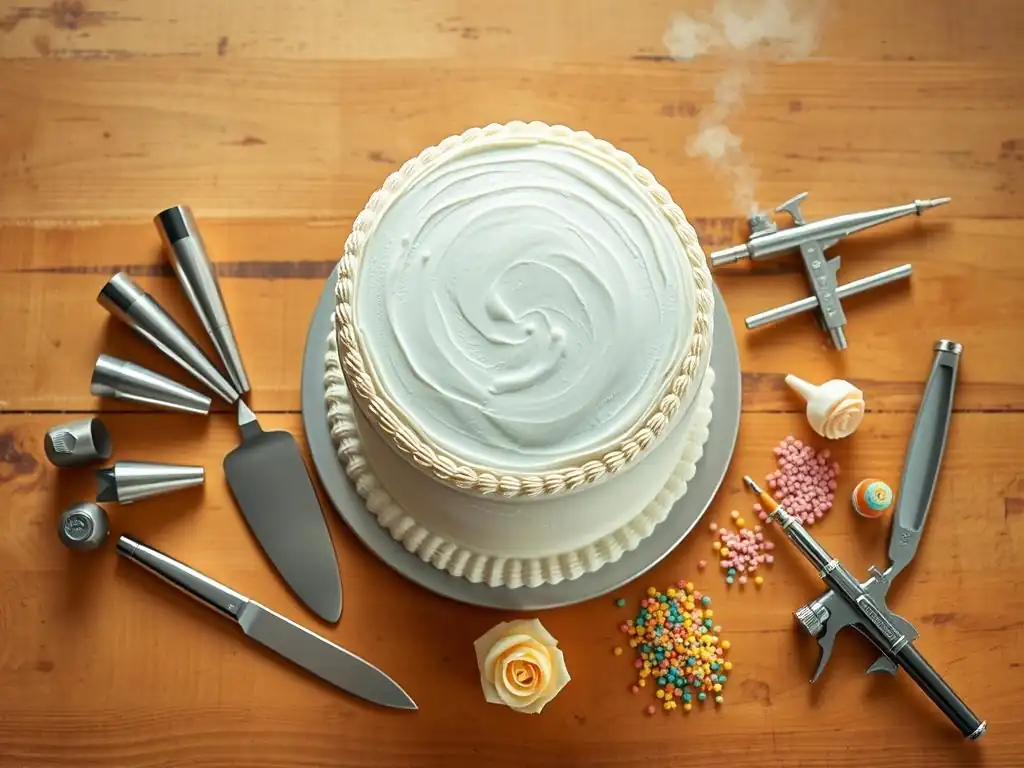
Welcome to BakeWithEase, your trusted companion on your baking journey! Ever wondered what tools you really need to create stunning cakes? This guide cuts through the clutter and gets you started right away. Let's uncover the essential beginner cake decorating tools that will transform your homemade treats into edible masterpieces, without breaking the bank or overwhelming you. Intrigued? Let's dive in!
- The Ultimate Beginner Cake Decorating Tool Kit: From Baking to Beautiful
- Getting Started: Essential Tools for New Cake Decorators
- Building Your Cake Decorating Arsenal: A Beginner's Guide
- Must-Have Tools: The Foundation for Cake Decorating Success
- Expanding Your Toolkit: Beyond the Basics
- Budget-Friendly Options: Quality Without the High Cost
- Caring for Your Tools: Ensuring Longevity and Hygiene
- Assembling Your Ideal Starter Kit: A Practical Approach
- Mastering Basic Techniques: Putting Your Tools to Work
- Troubleshooting Common Problems: Tips and Solutions
- Final Thoughts: Embarking on Your Cake Decorating Adventure
-
Frequently Asked Questions
- What are the absolute essential beginner cake decorating tools to start with?
- How important is a turntable for a beginner learning to decorate cakes?
- What kind of piping tips should a beginner cake decorator invest in first?
- Are disposable or reusable piping bags better for a beginner?
- Besides the tools, what other supplies are crucial for beginner cake decorating?
- Final Reflection: The Sweetness of Creation, One Tool at a Time
- Unleash Your Inner Cake Artist!
The Ultimate Beginner Cake Decorating Tool Kit: From Baking to Beautiful
Embarking on your cake decorating journey is an exciting step! Transforming a simple baked cake into a stunning centerpiece or a delightful treat requires a few key instruments. Don't feel overwhelmed by the endless array of gadgets available; with a focused set of beginner cake decorating tools, you can achieve professional-looking results right from your own kitchen. This guide will walk you through the essential items you need to get started, making the process easy and enjoyable.
Whether you dream of smooth buttercream finishes, elegant piped borders, or perfectly stacked layers, having the right starter cake decorating tools is fundamental. We'll cover everything from the basic pans you'll need for a perfect canvas to the specialized implements that help you add those beautiful finishing touches. Think of this as your friendly roadmap to building a practical and effective toolkit for your early cake decorating adventures.
Getting Started: Essential Tools for New Cake Decorators
Stepping into the world of cake decoration might seem daunting with all the intricate designs you see online, but the truth is, you only need a handful of basic beginner cake decorating tools to create stunning cakes. The key is to start with versatile items that serve multiple purposes and allow you to practice fundamental techniques. Building your confidence with these core tools will pave the way for more complex projects down the line.
Your initial investment in beginner cake decorating tools doesn't have to break the bank. Many essential items are relatively inexpensive and can be found at most kitchen supply stores or even large supermarkets. Focus on functionality and quality that will last, ensuring your tools are reliable as you develop your skills. A well-chosen starter set makes the learning process smoother and more rewarding.
Building Your Cake Decorating Arsenal: A Beginner's Guide
Think of your cake decorating toolkit as your artist's palette and brushes. Just as a painter needs specific tools for different effects, a cake decorator relies on various implements to shape, smooth, and adorn their edible creations. For beginners, the goal is to acquire the most impactful tools that enable a wide range of basic decorations. This foundational set will empower you to tackle common decorating tasks like frosting a cake evenly, creating simple borders, and writing messages.
Starting with the right beginner cake decorating tools prevents frustration and helps you master core techniques efficiently. Instead of buying every gadget you see, focus on the items that are truly indispensable for common decorating tasks. This structured approach ensures you have the essentials covered before exploring more specialized items, making your entry into cake decorating both practical and enjoyable.
Must-Have Tools: The Foundation for Cake Decorating Success
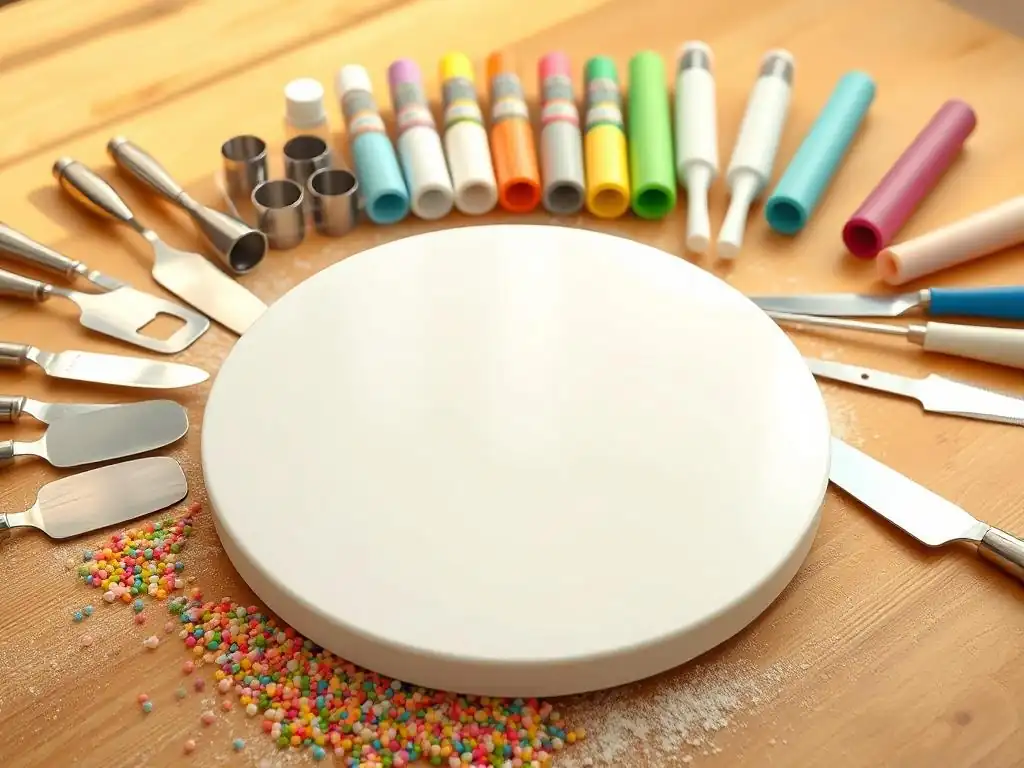
To begin your journey in cake decorating, certain tools are absolutely non-negotiable. These form the backbone of your toolkit and are used in almost every cake project you undertake. Having these fundamental items readily available makes the entire process, from baking the cake to applying the final touches, significantly easier and more successful.
Investing in good quality versions of these must-have beginner cake decorating tools will serve you well for years to come. They are designed to simplify common tasks and help you achieve cleaner, more professional results, even as a novice. Let's dive into the specific tools that should be at the top of your list.
Essential Cake Pans: Round, Square, and Bundt
The foundation of any decorated cake is, of course, the cake itself, and having the right pans is crucial for baking even, properly shaped layers. Standard round pans, typically 6-inch, 8-inch, or 9-inch diameters, are arguably the most versatile, perfect for creating classic layered cakes.
A set of two or three pans of the same size allows you to bake multiple layers efficiently for stacking. Square pans, often 8x8 or 9x9 inches, offer a different geometric shape for variety, commonly used for sheet cakes or tiered square designs.
Using parchment paper rounds or squares cut to fit the pan bottoms, in addition to greasing and flouring the sides, is a simple technique that significantly reduces the risk of the cake sticking, ensuring clean release every time. For example, using an 8-inch round pan with parchment paper ensures your 8-inch round cake layer comes out perfectly intact, ready for stacking and decorating.
Bundt pans, with their distinctive fluted or shaped interiors, offer an alternative that often requires less external decoration because the pan itself creates the visual appeal. Common Bundt pan sizes are 10-cup or 12-cup capacity. While you might not decorate a Bundt cake with intricate frosting layers in the same way you would a layered cake, simple glazes, drizzles, or a dusting of powdered sugar are common finishing touches.
Having a sturdy, non-stick Bundt pan allows you to easily bake these beautiful, ready-to-serve cakes. For instance, a 12-cup capacity Bundt pan is perfect for a standard cake mix or a scratch recipe yielding about 10-12 cups of batter, ensuring the cake bakes through properly without overflowing.
Offset Spatulas: Smoothing and Spreading Like a Pro
Offset spatulas are indispensable beginner cake decorating tools for applying frosting and achieving smooth finishes. Their unique design, with a blade that is "offset" or angled away from the handle, keeps your knuckles from dragging through the frosting as you work. They come in various sizes, but a medium-sized one (around 8-10 inches in blade length) is a fantastic starting point for frosting the tops and sides of most standard cakes.
The flat, flexible blade allows you to pick up generous amounts of frosting and spread it evenly across surfaces. For example, using an 8-inch offset spatula makes applying a crumb coat (a thin layer of frosting to trap crumbs) much simpler than using a straight spatula or knife, as the offset angle gives you better control over the angle and pressure on the cake surface.
Beyond just spreading, offset spatulas are also used for lifting delicate cake layers, transferring cakes, and creating simple textured finishes on frosting like swirls or peaks. A smaller offset spatula (perhaps 4-6 inches) is useful for more detailed work, filling pastry bags, or smoothing frosting in tighter spots.
Many decorators find they use their offset spatulas constantly throughout the entire process, from handling warm cake layers to the final frosting application. Mastering the technique of holding the spatula at a slight angle to the cake and rotating the cake (if using a turntable) is key to achieving those desirable smooth sides and sharp edges.
Cake Decorating Turntable: Achieving Seamless Finishes
A cake decorating turntable, also known as a revolving cake stand, is a game-changer for applying frosting smoothly and decorating the sides of a cake with ease. Instead of having to walk around the cake or awkwardly reach across it, you simply rotate the turntable, keeping the section you're working on directly in front of you. This allows for a much more consistent application of frosting and simplifies techniques like scraping the sides smooth or piping continuous borders.
A sturdy turntable, ideally with a non-slip base, is worth the investment for any serious beginner cake decorator. For instance, when applying buttercream to the sides of an 8-inch round cake, placing the cake on a turntable allows you to hold your offset spatula stationary against the side while rotating the cake, resulting in a significantly smoother finish compared to trying to move the spatula around a static cake.
Turntables also make it easier to apply decorative elements like sprinkles evenly around the sides or to pipe designs that require consistent spacing. While basic plastic turntables are affordable and functional, heavier metal ones offer greater stability, especially when working on larger or multi-tiered cakes.
Even for a single-layer cake, the ability to smoothly rotate it makes tasks like applying a crumb coat or smoothing the final layer of frosting much quicker and less prone to smudges or uneven spots. Many decorators find they can achieve a perfectly smooth side finish in just a few passes when using a good turntable in conjunction with an offset spatula and a scraper.
Piping Bags and Tips: Essential Decorating Techniques
Piping bags and tips are fundamental beginner cake decorating tools for adding decorative elements like borders, swirls, writing, and simple flowers. Piping bags hold the frosting or icing, and piping tips, attached to the end of the bag, shape the flow of frosting as it's squeezed out. This simple system allows for incredible versatility in creating different patterns and textures.
You'll need a supply of piping bags and a basic set of tips to start exploring the world of piped decoration. For example, a set including a few round tips (sizes like #1, #3, #12), star tips (open and closed, sizes like #18, #21, #32), and maybe a petal tip (#104) or a basketweave tip (#47) provides a wide range of design possibilities for borders, rosettes, dots, and more.
Using piping bags and tips is how you create those classic cake decorations you see everywhere. Whether it's simple shells around the base of a cake, elegant swirls on cupcakes, or adding personalized writing, this tool combination is essential. Learning how to properly fill a piping bag, hold it, and apply even pressure is a key skill for any beginner cake decorator. It takes practice to get consistent results, but the basic techniques are straightforward and incredibly rewarding to master.
Understanding Piping Bag Materials: Choosing the Right Bag
Piping bags come in several materials, each with its own advantages. Disposable plastic piping bags are convenient and require no cleaning afterwards, which is a major plus for busy bakers or when using multiple colors of frosting. They are typically made from food-grade plastic and come in various sizes, from small 10-inch bags perfect for detail work to larger 16-inch bags for frosting entire cakes.
For a beginner cake decorator, a roll or pack of medium-sized disposable bags (around 12-14 inches) is a great starting point, offering flexibility for different tasks. For instance, a 12-inch disposable bag can comfortably hold enough buttercream to pipe a border around an 8-inch cake.
Reusable piping bags are usually made from coated cotton, polyester, or silicone. These are more environmentally friendly and often more durable than disposable bags. They require thorough washing and drying after each use, which can be a bit more work, especially with greasy frostings.
However, they can be more comfortable to grip for some people and are a good long-term investment. For example, a sturdy coated fabric bag can last for years with proper care and is ideal if you plan on decorating frequently and want to minimize waste. Many beginners start with disposable bags for ease of use and clean-up, then transition to reusable bags as they become more comfortable and decorate more often.
Essential Piping Tips: Round, Star, Petal, and Basketweave
A curated selection of basic piping tips is crucial for exploring fundamental decorating techniques. Round tips, ranging from very small (#1, #3) for fine writing and dots to larger ones (#12) for filling areas or creating large dots, are essential for simple lines, beads, and lettering. Star tips, both open (like #18, #21) and closed (like #32), are incredibly versatile for creating borders like shells, rosettes, stars, and zigzags.
The difference between open and closed star tips affects how defined the points are; closed star tips create tips that curl inward slightly. For instance, using an open star tip like the #21 is perfect for piping classic rosettes on cupcakes or a simple shell border around the edge of a cake.
Moving slightly beyond the absolute basics, a petal tip (#104) allows you to create ruffles, swags, and simple rose petals, adding a touch of elegance. A basketweave tip (#47) is designed to create woven patterns on the side of a cake, mimicking the look of a basket.
While there are hundreds of piping tips available, mastering techniques with just a few key shapes – round, star, petal, and basketweave – will enable you to create a wide variety of decorations. Many essential piping tips are available in affordable starter sets, providing a good range of shapes and sizes for beginner cake decorating tools.
Expanding Your Toolkit: Beyond the Basics
Once you've mastered the fundamental techniques with your initial set of beginner cake decorating tools, you might find yourself wanting to explore more advanced finishes and designs. This is where you can start adding more specialized items to your collection. These tools aren't strictly necessary for your very first cakes, but they significantly enhance your ability to achieve specific looks and refine your decorating skills.
Adding these items gradually allows you to build your toolkit as your confidence and ambitions grow. Think about the types of cakes you want to create and choose tools that will help you achieve those specific results. These expanded beginner cake decorating tools focus on precision, texture, and achieving perfectly smooth surfaces.
Cake Scrapers and Smoothers: Achieving Perfectly Smooth Sides
Achieving perfectly smooth, sharp sides on a frosted cake is a hallmark of professional-looking decoration, and cake scrapers and smoothers are the tools that make this possible. These flat, rigid tools, often made of plastic or metal, are held against the side of a frosted cake while the turntable is rotated. This action scrapes away excess frosting and fills in gaps, resulting in a smooth, even surface.
Straight scrapers are the most basic type, excellent for creating flat sides. For example, using a plastic bench scraper (which doubles as a cake scraper) held at a 90-degree angle to the cake while rotating the turntable can transform bumpy frosting into a smooth, clean finish in just a few passes.
Some smoothers come with different edges, like serrated patterns for textured finishes or angled edges for creating sharp top edges on buttercream cakes. Acrylic smoothers are popular because they are transparent, allowing you to see the cake through the tool as you work. Having at least one good, straight cake scraper is essential for anyone aiming for smooth buttercream or ganache finishes. It takes a little practice to get the technique right – maintaining consistent pressure and angle as you rotate the cake – but the results are dramatically improved.
Measuring Cups and Spoons: Precision is Key
While seemingly basic kitchen items, accurate measuring cups and spoons are absolutely critical for successful baking and decorating, making them honorary beginner cake decorating tools. Baking is a science, and precise measurements of ingredients like flour, sugar, leavening agents, and liquids are necessary to ensure your cakes bake correctly with the right texture and structure. Using the wrong amount of flour, for instance, can result in a dense or dry cake, making it difficult to work with when decorating. Standard dry measuring cups (for flour, sugar, etc.)
and liquid measuring cups (for milk, oil, etc.) are essential. For example, accurately measuring 1 cup of all-purpose flour requires using the "spoon and level" method (spooning flour into the cup and leveling off the excess) rather than scooping directly from the bag, which can compact the flour and result in using too much, leading to a dry cake.
Similarly, measuring spoons are needed for precise amounts of ingredients like baking powder, baking soda, salt, and flavorings. Small errors in these potent ingredients can significantly impact the cake's rise and taste. Beyond the cake itself, accurate measurements are also important for making frostings, glazes, and ganaches, ensuring they have the correct consistency for spreading or piping.
A frosting that is too thick or too thin can make decorating incredibly challenging. A standard set of measuring cups (1/4, 1/3, 1/2, 1 cup) and measuring spoons (1/4 tsp, 1/2 tsp, 1 tsp, 1 tbsp) is a fundamental requirement before you even think about decorating.
Palette Knives: Adding Texture and Artistic Flair
Palette knives, distinct from offset spatulas, are also valuable beginner cake decorating tools, particularly for adding texture and artistic finishes to frosting. They typically have a flexible, rounded, or pointed blade without the offset angle of a spatula, making them ideal for spreading frosting in a less precise, more painterly manner.
You can use a palette knife to create swirls, peaks, or abstract textures on the surface or sides of a cake, giving it a rustic or artistic look. For instance, after applying a base layer of buttercream with an offset spatula, you can use the tip or edge of a palette knife to create swirling patterns or small peaks across the surface for a textured finish.
Palette knives are also useful for mixing colors on a surface (like a piece of parchment paper or a plate) before applying them to the cake, or for lifting and placing small decorative elements like fondant cutouts. While an offset spatula is primarily for smooth application, a palette knife is more about creative expression and texture. A small set with a few different blade shapes and sizes can open up new possibilities for adding visual interest to your cakes beyond just smooth finishes.
Cake Leveler: Achieving Even Cake Layers for Perfect Stacking
For tiered cakes or simply for a professional-looking single-layer cake, having perfectly level cake layers is crucial for stable stacking and even frosting application. Cakes often bake with a slight dome in the center, and a cake leveler is designed to easily slice off this dome, creating a flat surface.
A cake leveler is essentially a wire or blade stretched between two adjustable feet, allowing you to set the height at which you want to slice. You simply place the cake on a flat surface, set the leveler to the desired height (often about 1 inch to start for a standard cake layer), and gently saw through the cake.
For example, if you bake an 8-inch round cake layer that has a 1-inch dome, using a cake leveler set to slice off the top 1 inch ensures you have a perfectly flat surface to stack another layer on top of, preventing leaning or instability.
Some cake levelers have adjustable wires, allowing you to split a single cake layer into two thinner layers if desired, which is useful for adding more filling layers. While you can attempt to level a cake with a long serrated knife, a cake leveler provides a much more consistent and straight cut, especially important for beginners. It's a relatively inexpensive tool that makes a significant difference in the final presentation and stability of your layered cakes.
Budget-Friendly Options: Quality Without the High Cost
Getting started with beginner cake decorating tools doesn't require a massive investment. Many essential items are available at very reasonable prices, and with a little savvy shopping, you can assemble a functional and effective toolkit without spending a fortune. Focus on the core tools that offer the most versatility for basic techniques.
Look for sales at craft stores, kitchen supply stores, or online retailers. Often, beginner cake decorating tool sets are available at a lower cost than buying individual pieces. While professional-grade tools can be expensive, many mid-range options offer excellent quality and durability for home use.
Finding Affordable Tools Without Sacrificing Quality
When building your collection of beginner cake decorating tools on a budget, prioritize functionality and user-friendliness over brand names or fancy features. For instance, a basic plastic cake decorating turntable can be purchased for around $15-$25 and works perfectly well for standard decorating tasks, whereas a heavy-duty metal one might cost $50 or more. Similarly, a set of disposable piping bags is relatively inexpensive, costing perhaps $10-$20 for a large pack, providing ample bags for many decorating projects before needing to restock.
Look for tools made from durable materials that are easy to clean. Stainless steel offset spatulas, for example, are standard and can be found at various price points; a good quality basic one might cost $8-$15. Plastic bench scrapers are very affordable, often less than $5, and serve effectively as cake smoothers for beginner use. Reading reviews can help identify budget-friendly tools that still perform well. The goal is to acquire tools that work reliably so you can focus on learning techniques rather than struggling with inadequate equipment.
DIY Alternatives: Creative Solutions for Budget Decorators
Before investing in specialized beginner cake decorating tools, you might already have items in your kitchen that can serve as temporary or alternative tools. For example, a sturdy dinner knife with a flat blade can sometimes be used as a makeshift small offset spatula for spreading frosting, though it won't be as effective as a true offset spatula. A long serrated bread knife can be used to level cakes, although achieving a perfectly even cut requires more practice than using a dedicated cake leveler.
Piping bags can be improvised using sturdy zip-top bags. Simply fill a corner of the bag with frosting, snip off a small piece of the corner, and you have a functional (though perhaps less precise) piping bag. You can even insert a piping tip into the snipped corner for shaped piping.
While these DIY alternatives aren't ideal for the long term, they allow you to practice basic techniques without immediate investment. For instance, using a zip-top bag with a corner snipped allows you to practice piping dots or simple lines to get a feel for the pressure needed before buying dedicated piping bags.
Caring for Your Tools: Ensuring Longevity and Hygiene
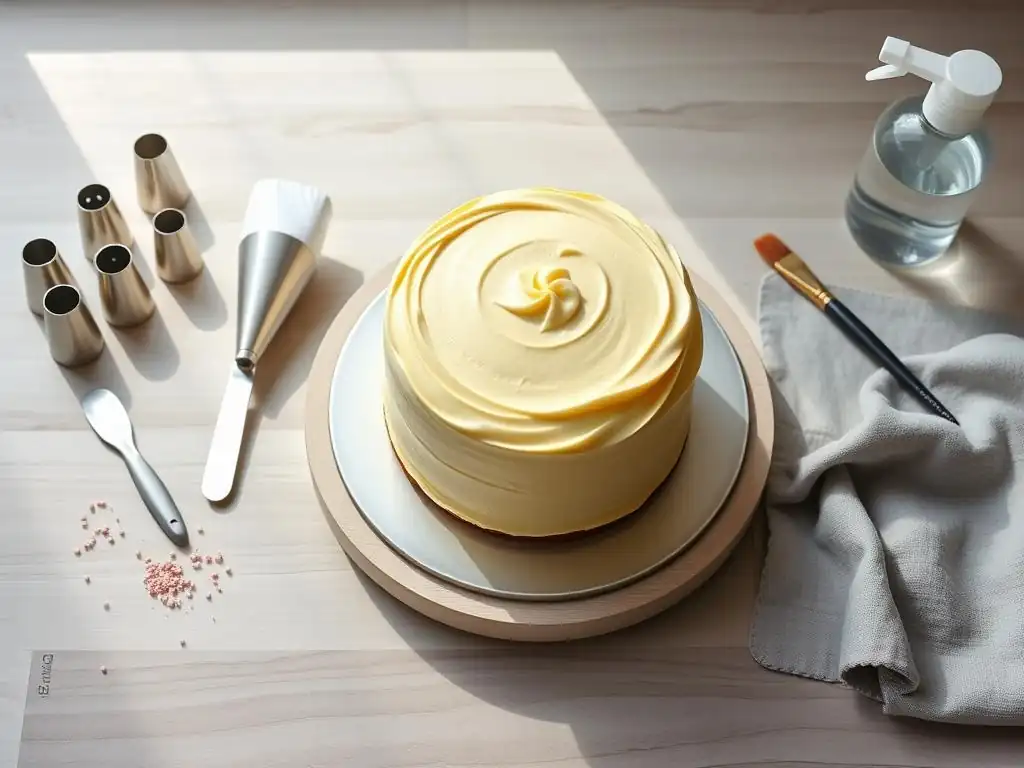
Proper care and maintenance of your beginner cake decorating tools are essential for their longevity and for ensuring food safety. Cleaning your tools immediately after use prevents frosting and batter from hardening, making washing much easier. Always follow the manufacturer's instructions for cleaning, as some tools might not be dishwasher safe.
Storing your tools properly keeps them organized, protected from damage, and ready for your next baking project. Taking good care of your tools not only extends their lifespan but also makes the decorating process more enjoyable and hygienic.
Proper Cleaning and Storage: Keeping Your Tools in Top Condition
Cleaning your beginner cake decorating tools is crucial. For most tools like spatulas, scrapers, pans, and piping tips, washing in warm, soapy water is sufficient. Make sure to get into all the crevices of piping tips using a small brush if necessary. Disposable piping bags are, of course, discarded.
Reusable bags need to be turned inside out and washed thoroughly to remove all traces of grease, then hung to air dry completely to prevent mold or mildew. Pans should be washed, dried thoroughly (especially corners and edges), and stored to prevent rust. For instance, washing piping tips right after using them with a small brush specifically designed for cleaning tips (often available where tips are sold) ensures no frosting dries inside, which can be very difficult to remove later.
Storing your tools neatly prevents them from getting lost or damaged. Piping tips can be kept in small containers or on dedicated tip organizers. Spatulas and scrapers can be stored in drawers or utensil crocks. Turntables should be stored in a place where they won't be knocked over or scratched. Proper storage not only keeps your kitchen organized but also protects your investment in your beginner cake decorating tools, ensuring they are in good condition for future use.
Assembling Your Ideal Starter Kit: A Practical Approach
Putting together your first set of beginner cake decorating tools doesn't have to be complicated. Start with the absolute essentials mentioned earlier – good pans, an offset spatula, basic piping bags and tips, and ideally, a turntable. These tools will allow you to bake a cake, frost it smoothly, and add simple piped decorations.
As you gain experience and identify what types of decorating you enjoy most, you can gradually add more specialized tools like different piping tips, various scrapers, or specific cutters. Think of it as building your collection over time based on your needs and interests.
Combining Essential Tools for Maximum Impact
Focus on the versatility of your initial beginner cake decorating tools. With just a few core items, you can achieve a surprising range of results. For example, using an 8-inch round cake pan, an 8-inch offset spatula, a turntable, and a set of basic piping tips (like a #1M open star and a #12 round), you can bake, frost smoothly, and decorate a beautiful cake with swirls, rosettes, or simple borders. This combination allows you to practice foundational skills like baking level layers, applying an even crumb coat, smoothing the final layer of frosting, and basic piping techniques.
Consider purchasing a beginner cake decorating tool kit that bundles some of these essentials. These kits are often curated to provide a good starting point and can be more cost-effective than buying each item individually. However, ensure the quality of the tools in the kit is adequate. A well-chosen starter set empowers you to tackle your first few cake decorating projects with confidence and minimal frustration.
Mastering Basic Techniques: Putting Your Tools to Work
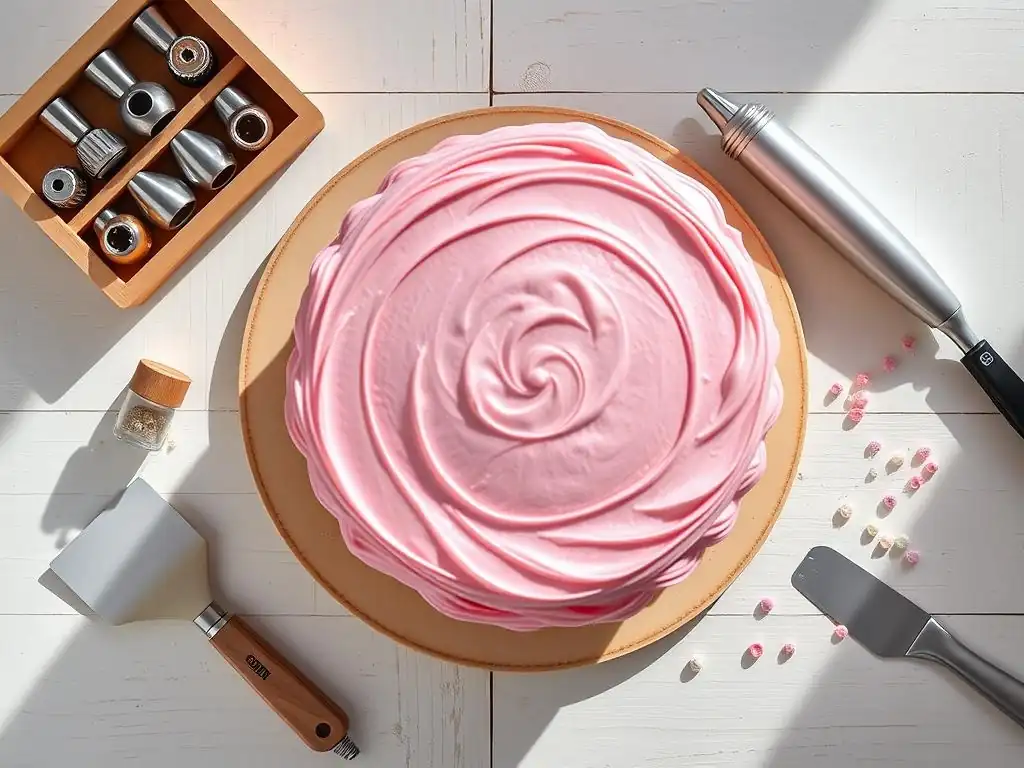
Having the right beginner cake decorating tools is only half the battle; learning how to use them effectively is the other. Start by practicing fundamental techniques like applying a crumb coat, smoothing frosting, and basic piping shapes. Don't expect perfection on your first try; cake decorating is a skill that improves with practice.
Use your tools regularly to build muscle memory and understand how they interact with different types of frosting. Watch tutorials (without links, of course!) or read step-by-step guides focusing on basic techniques using the tools you have.
Simple Frosting Techniques: Crumb Coating and Smooth Finishes
The crumb coat is a thin layer of frosting applied to the cake layers before the final, thicker layer. Its purpose is to trap any loose crumbs, preventing them from getting into your final frosting layer. Using an offset spatula, apply a thin layer of frosting all over the cake (top and sides).
It doesn't need to be perfectly smooth, just enough to cover the cake. For example, after baking and leveling an 8-inch cake, you might use about 1/2 cup of buttercream to apply a thin, even crumb coat using your 8-inch offset spatula, ensuring all surfaces are covered. Chill the cake in the refrigerator for 15-30 minutes until the crumb coat is firm.
Once the crumb coat is firm, apply the final layer of frosting. Scoop a generous amount onto the top of the cake and spread it out using your offset spatula, then apply frosting to the sides. Use your offset spatula in conjunction with your turntable to smooth the sides and top.
For smooth sides, hold the spatula against the cake at a slight angle while rotating the turntable. For example, hold your offset spatula at about a 45-degree angle to the side of your chilled, crumb-coated 8-inch cake while slowly rotating the turntable to achieve a smooth finish. Practice is key to getting this smooth finish just right.
Basic Piping Techniques: Borders, Rosettes, and Simple Flowers
With your piping bags and essential tips, you can start practicing basic piping techniques. Fill a piping bag fitted with a star tip (#18 or #21) with frosting, twist the top closed, and practice applying even pressure to create stars, shells, or rosettes on parchment paper or a practice board.
Hold the bag at the correct angle (often 45 or 90 degrees depending on the design) and maintain consistent pressure as you pipe. For instance, to pipe a shell border, hold the bag fitted with a star tip at a 45-degree angle to the cake surface, squeeze firmly to create the base of the shell, then release pressure and pull the bag slightly to create the tail, lifting away.
Using a round tip (#12), practice piping dots of consistent size or drawing straight and curved lines. A small round tip (#3) is great for practicing writing messages on the cake. Don't be discouraged if your first attempts aren't perfect. Practice on a piece of parchment paper or a baking sheet before piping directly onto your cake. Even just practicing simple dots and lines helps you get a feel for controlling the flow of frosting and applying steady pressure, fundamental skills for all piped decorations.
Troubleshooting Common Problems: Tips and Solutions
As you start using your beginner cake decorating tools, you might encounter some common challenges. Frosting might not be smooth, air bubbles could appear in your piping, or your cake layers might seem uneven. These are normal hurdles that every decorator faces, and there are simple solutions to address them.
Don't let minor setbacks discourage you. Identify the problem, understand its likely cause, and try the recommended solutions. With a little patience and persistence, you can overcome these issues and improve your results.
Addressing Uneven Frosting, Air Bubbles, and Piping Challenges
If your frosting is uneven, it might be due to inconsistent application, crumbs getting into the final layer, or not using a scraper effectively. Ensure your cake is well-chilled after the crumb coat. Apply plenty of frosting for the final layer – it's easier to smooth when you have excess to work with.
Use your offset spatula and turntable to smooth the sides and top, holding the scraper firmly and consistently as you rotate. If using buttercream, make sure it's the right consistency; too stiff or too soft frosting can make smoothing difficult. For example, if your buttercream is too firm, try mixing in a teaspoon or two of milk or cream until it reaches a smoother consistency, then try smoothing again with your offset spatula and scraper.
Air bubbles in piping can happen when filling the bag or during piping. Tap the filled piping bag gently on the counter to help air bubbles rise to the top, then squeeze them out before attaching the tip. As you pipe, if you notice a bubble, stop squeezing, push the frosting back up the bag slightly, and try piping again.
If your piping is wobbly or inconsistent, it's often a matter of unsteady pressure or angle. Practice holding the bag firmly and applying even pressure as you move your hand. Piping lines or borders straight onto parchment paper repeatedly helps build the steady hand needed for clean piping on a cake.
Final Thoughts: Embarking on Your Cake Decorating Adventure
Gathering your first set of beginner cake decorating tools is the exciting first step on a creative and delicious journey. With the essential pans, spatulas, turntable, and piping equipment, you have everything you need to start transforming baked cakes into decorated delights. Remember, the key is to begin with versatile tools, practice basic techniques, and gradually expand your collection as you grow your skills.
Cake decorating is a rewarding hobby that allows you to express creativity and bring joy to others with beautiful, homemade treats. Don't be afraid to experiment, learn from mistakes, and celebrate your successes along the way. Your beginner cake decorating tools are your companions in this adventure – use them often, take good care of them, and most importantly, have fun making beautiful cakes!
Frequently Asked Questions
What are the absolute essential beginner cake decorating tools to start with?
A good starting point includes a turntable, some offset spatulas, and a set of basic piping tips with piping bags. These allow for smooth frosting and simple decorations.
How important is a turntable for a beginner learning to decorate cakes?
A turntable is highly recommended as it allows you to easily rotate the cake, creating a smooth and even frosting application and easier decorating access.
What kind of piping tips should a beginner cake decorator invest in first?
Focus on basic round tips (for writing and outlining), star tips (for rosettes and borders), and a leaf tip. These provide versatility for various beginner-friendly designs.
Are disposable or reusable piping bags better for a beginner?
Both have advantages. Disposable bags are convenient for easy cleanup, while reusable bags are more eco-friendly and can be used repeatedly. Start with disposable for convenience!
Besides the tools, what other supplies are crucial for beginner cake decorating?
Don't forget food coloring gels for adding vibrant colors, parchment paper for piping practice, and a bench scraper for achieving smooth sides on your cakes. These are essential complements to your toolkit.
Final Reflection: The Sweetness of Creation, One Tool at a Time
The joy of cake decorating isn't just about the finished product; it's about the journey of creation, a journey made infinitely sweeter with the right tools. Learning to decorate cakes can feel daunting, but with the right essentials, even a complete beginner can unlock a world of artistic expression and delicious possibilities. This accessibility is what makes cake decorating such a rewarding and increasingly popular hobby.
The impact of accessible crafting, like cake decorating, on our culture is undeniable. It offers a creative outlet in a fast-paced world, fostering a sense of accomplishment and community. The best things in life are homemade.
This sentiment rings truer than ever as more and more people seek joy in crafting and creating, finding solace and self-expression in the process. The simple act of frosting a cake can become a meditative practice, a way to disconnect from the digital world and reconnect with oneself.
Now, it's your turn. Don't let the initial investment or perceived complexity deter you. Gather your essential tools, choose a recipe that excites you, and embrace the messiness of the process. Remember, your first cake doesn't have to be perfect; it's a stepping stone to countless future creations. Let the journey of learning and experimenting fill you with the same sweetness as the cake itself. So, grab your spatula, and let's bake!
Unleash Your Inner Cake Artist!
Thanks for joining us on this delicious journey into the world of cake decorating! We hope you now feel confident and equipped to embark on your own creative baking adventures. Ready to get started?
- Begin your cake decorating journey by creating a personalized shopping list: Use the essential tool guide from the article to source your first set of supplies – imagine the possibilities!
- Share your cake decorating aspirations with our community: Join our online forum and connect with fellow bakers!
- Try a simple design from the article this weekend: Let us know how it goes – we'd love to see your creations!
What delicious design will you tackle first?