
Cleaning Your Stand Mixer Easily: Tips & Tricks for Busy Bakers

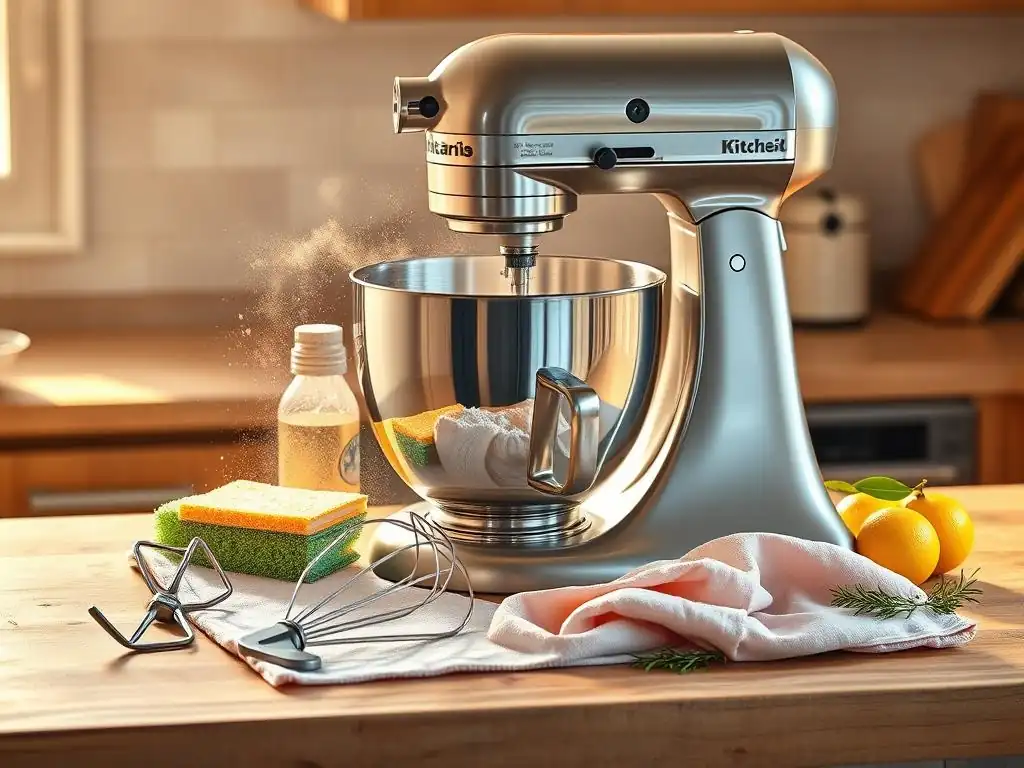
Welcome to BakeWithEase, your trusted guide to the delightful world of baking! Are you tired of wrestling with a messy stand mixer after creating your culinary masterpieces? Discover our easy stand mixer cleaning tips and reclaim your precious time. Unlock the secrets to effortless cleanup and keep your essential baking companion sparkling, ready for your next delicious adventure! Intrigued? Let's dive in...
- Cleaning Your KitchenAid Stand Mixer: Tips & Tricks for Bakers
- Introduction: Maintaining Your KitchenAid for Baking Success
- Easy KitchenAid Cleaning Tips: A Step-by-Step Guide
- Quick Cleaning Hacks for Busy Bakers
- Deep Cleaning Your KitchenAid: When and How
- Protecting Your KitchenAid: Preventative Measures
- Troubleshooting Common KitchenAid Cleaning Problems
- Conclusion: Keeping Your KitchenAid Sparkling for Years to Come
- Frequently Asked Questions
- Final Reflection: The Joy of Baking, Unburdened by Cleaning
- Unleash Your Mixer's Sparkling Potential!
Cleaning Your KitchenAid Stand Mixer: Tips & Tricks for Bakers
Introduction: Maintaining Your KitchenAid for Baking Success
Why Clean Your KitchenAid Regularly?
Regular cleaning of your KitchenAid stand mixer isn't just about keeping it looking shiny; it's crucial for maintaining hygiene and ensuring the longevity of your beloved baking partner. Food residues, especially sticky doughs or sugary batters, can become breeding grounds for bacteria if left unchecked. A clean mixer means a cleaner, safer baking environment for you and your family. Neglecting cleaning can lead to dried-on messes that are significantly harder to remove later, potentially requiring more aggressive cleaning methods that could damage the finish or components over time.
Beyond hygiene, a clean mixer operates more smoothly. Grease, flour dust, and sugar residue can build up in the moving parts, potentially affecting performance and putting unnecessary strain on the motor. Think of it like caring for a car – regular maintenance, including cleaning, prevents small issues from becoming big, expensive problems down the road. Implementing easy stand mixer cleaning tips into your routine ensures your mixer is always ready for your next baking adventure.
The Importance of Proper KitchenAid Maintenance
Proper maintenance, which includes regular and thorough cleaning, is key to protecting your investment in a KitchenAid stand mixer. These machines are built to last, often for decades, but their lifespan is heavily influenced by how well they are cared for. Incorrect cleaning methods, like using harsh chemicals or abrasive scrubbers on polished surfaces, can cause cosmetic damage or even affect the function of attachments and the bowl. For instance, using steel wool on a stainless steel bowl can cause micro-scratches where food particles can hide, or worse, lead to rust.
Following manufacturer recommendations and utilizing gentle, effective cleaning techniques ensures that gaskets remain intact, finishes stay pristine, and attachments connect smoothly. A well-maintained mixer performs consistently, whether you're whipping delicate meringue or kneading stiff bread dough. Incorporating effective and easy stand mixer cleaning tips into your baking process helps safeguard your mixer's performance and appearance for years of delicious creations.
Easy KitchenAid Cleaning Tips: A Step-by-Step Guide
Step 1: Unplug and Disassemble Your KitchenAid
Safety first! Before you begin any cleaning, always ensure your KitchenAid stand mixer is unplugged from the power outlet. This prevents accidental activation while your hands are near the bowl, attachments, or moving parts. It's a simple step that takes mere seconds but is absolutely critical for preventing potential injury. Make it a non-negotiable part of your cleaning routine, just like washing your hands before handling food.
Once unplugged, carefully disassemble the mixer. Remove the bowl, beater, wire whip, or dough hook. If you used the pouring shield, remove that as well. Having all components separated makes it much easier to clean each piece thoroughly and access the mixer body for wiping down. This initial disassembly is the foundational step for all easy stand mixer cleaning tips.
Step 2: Cleaning the Bowl and Attachments
The bowl and attachments are the parts that come into direct contact with your ingredients, so cleaning them effectively is paramount for food safety. Most KitchenAid bowls (stainless steel, glass, or ceramic) and certain attachments (like the flat beater and dough hook, but not the wire whip on most models) are dishwasher-safe. Check your specific model's manual to confirm which parts can go in the dishwasher. Washing in a dishwasher is often the easiest method, especially for removing sticky residue or grease, as the high heat and detergent effectively sanitize.
For attachments that are not dishwasher-safe (typically the burnished metal or coated flat beater and dough hook, and the wire whip), or if you prefer to hand-wash, use hot, soapy water. Fill your sink or a large basin, add a few drops of dish soap, and soak the items for a few minutes, especially if residue is dried on. Use a soft sponge or cloth to scrub away any remaining bits. Rinse thoroughly with hot water and dry immediately with a soft cloth to prevent water spots or potential corrosion on metal parts.
Dishwasher-Safe vs. Hand-Washing: Which is Best?
Deciding between dishwasher-safe and hand-washing depends on the specific attachment material and your personal preference. Stainless steel bowls and some coated attachments are typically dishwasher-safe, offering convenience and effective sanitation through hot water and detergent cycles. This is often the simplest route for busy bakers looking for easy stand mixer cleaning tips after whipping up a large batch of cookies or bread.
However, many older or specific attachments, particularly those made of burnished metal or with non-dishwasher-safe coatings, require hand-washing. The wire whip, with its many thin wires and a metal or aluminum base, is also often hand-wash only to prevent damage or discoloration. Hand-washing allows for more careful cleaning, especially around delicate parts or finishes, and ensures you don't accidentally damage an attachment not intended for the dishwasher. Always check your manual or the attachment's material before deciding.
Removing Stubborn Dough from Attachments
Sticky dough, especially bread dough, can be one of the most challenging residues to remove from dough hooks and beaters. Trying to scrape it off when dry can be difficult and potentially damage the attachment. A highly effective method is pre-soaking. Immediately after use, if possible, scrape off excess dough with a spatula, then place the attachment in a bowl or sink filled with warm water and a little dish soap. Allowing it to soak for 15-30 minutes often softens the dough significantly.
After soaking, most of the dough should easily wipe or rinse away. For any remaining stubborn bits stuck in crevices, a soft brush (like a pastry brush or even a clean toothbrush dedicated to cleaning) can be very helpful in dislodging them without scratching the surface. This simple pre-soak technique is one of the most valuable easy stand mixer cleaning tips for dealing with sticky dough.
Step 3: Wiping Down the KitchenAid Body
The body of your KitchenAid mixer, while not in direct contact with food during mixing, can still accumulate flour dust, sugar spills, and grease splatter. Keeping the exterior clean maintains its appearance and prevents sticky build-up that can attract pests or make the mixer feel unpleasant to use. Always ensure the mixer is unplugged before wiping down the body.
Use a soft, damp cloth, wrung out well so it's not dripping, to wipe down the exterior surfaces. A mild solution of water and a tiny amount of dish soap can be used for greasy spots. Avoid getting water into any vents or openings. Pay special attention to the base, the neck, and the head of the mixer. Dry the surface immediately with a clean, dry cloth to prevent water spots, especially on chrome or painted finishes. This simple wipe-down is a cornerstone of easy stand mixer cleaning tips for maintaining a pristine look.
Cleaning Around the Head and Base
The area where the head connects to the base, and the base itself, can collect a surprising amount of dust and flour over time. Use a slightly damp cloth to gently wipe these areas. For tight spots or crevices around the head pivot point or the base where it meets the counter, a cotton swab or a soft brush can help dislodge trapped debris. Be careful not to force anything into moving parts.
The base often sits on the counter during baking, making it susceptible to spills and flour dust. Wipe down the entire base thoroughly, including the rubber feet if your model has them, as these can pick up grime from the countertop. Ensuring these areas are clean is part of a comprehensive approach to easy stand mixer cleaning tips.
Dealing with Grease Splatter on Your KitchenAid
Grease splatter can be particularly stubborn on the mixer's painted or metal surfaces. For fresh grease marks, a damp cloth with a little dish soap is usually sufficient. For dried-on grease, you might need a slightly stronger approach, but still a gentle one. A cloth dampened with white vinegar can sometimes help cut through grease. Alternatively, a paste made from baking soda and water can be gently rubbed onto the greasy spot.
Apply the baking soda paste, let it sit for a minute or two, then gently rub with a soft cloth or sponge. Rinse the cloth and wipe the area clean, then dry thoroughly. Always test any new cleaning method on an inconspicuous spot first. Dealing with grease promptly makes these easy stand mixer cleaning tips even more effective.
Step 4: Cleaning the KitchenAid's Interior (If Necessary)
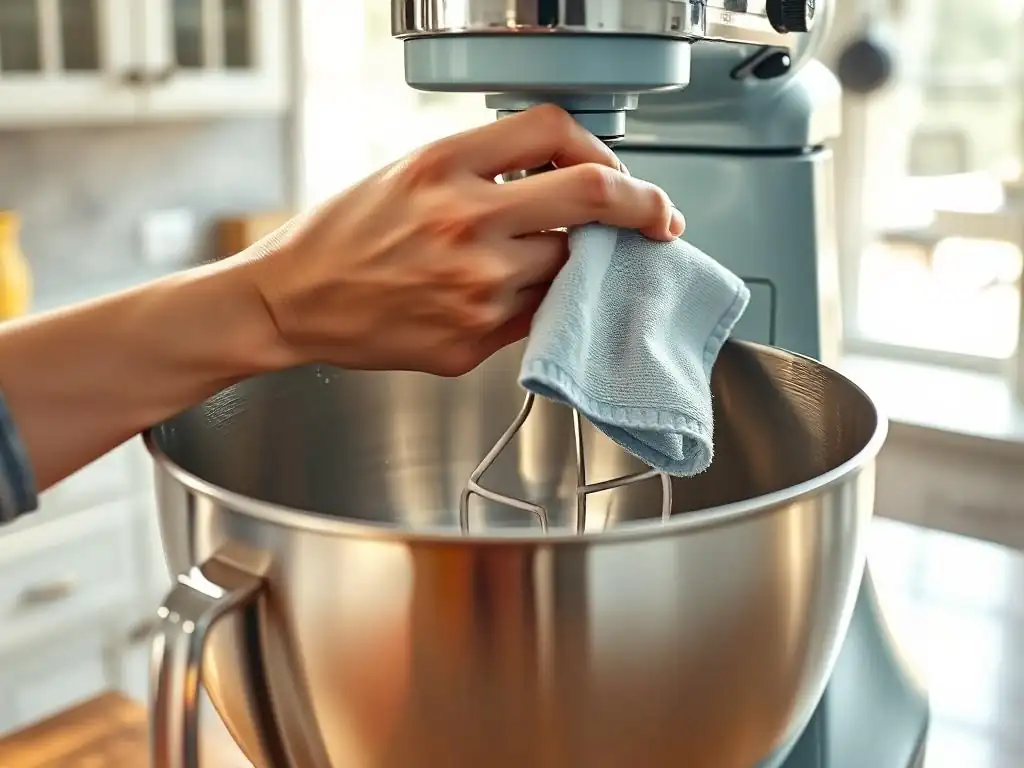
Generally, the interior mechanisms of your KitchenAid mixer do not require regular cleaning by the user. However, if spills have occurred that seeped into the housing, or if you notice excessive flour dust build-up under the head (particularly on tilt-head models), some interior wiping may be needed. This requires caution to avoid damaging internal components.
Ensure the mixer is unplugged and the head is locked in the tilted-back position (for tilt-head models). Use a dry cloth or a slightly damp cloth (again, well-wrung) to gently wipe the accessible interior surfaces. Avoid spraying liquids directly into the mixer. If you see any visible build-up, a cotton swab can be helpful for reaching into tighter areas. If there's a significant spill inside the motor housing, it's best to contact KitchenAid service rather than attempting a deep internal clean yourself.
Accessing and Cleaning Under the Head (Tilt-Head Models)
On tilt-head models, the area under the head that pivots can collect dust and spills. With the head tilted back and locked, you can access this area. Use a dry brush (like a clean pastry brush or a soft-bristled paintbrush) to gently sweep away any dry flour or dust. For any dried liquid spills in this area, use a cloth barely dampened with water and a little soap, wiping carefully and avoiding any visible gears or electrical components.
Immediately follow with a dry cloth to remove all moisture. This area doesn't need cleaning after every use, but checking it periodically as part of your easy stand mixer cleaning tips routine can prevent build-up. Remember, always unplug the mixer before doing this.
Step 5: Reassembling Your KitchenAid
Once all parts are clean and thoroughly dried, it's time to reassemble your KitchenAid stand mixer. Start by placing the bowl back onto the base, ensuring it is seated and locked correctly. Then, attach the desired beater, whip, or hook by sliding it onto the attachment shaft and pushing it upwards until it clicks or locks into place. For tilt-head models, lower the head and lock it into position.
Ensure everything is correctly assembled before plugging the mixer back in. This final step completes the cleaning process and ensures your mixer is ready for its next task. Proper reassembly is just as important as the cleaning itself for maintaining the mixer's functionality and is the final step in these easy stand mixer cleaning tips.
Quick Cleaning Hacks for Busy Bakers
The "Wipe-As-You-Go" Method: Preventing Build-Up
One of the simplest and most effective easy stand mixer cleaning tips is the "wipe-as-you-go" method. While your dough is resting or your batter is baking, take a moment to wipe down any spills or splatters on the mixer body immediately. Fresh spills are much easier to clean than dried-on ones. Keep a damp cloth handy while you bake for quick cleanups.
This proactive approach significantly reduces the amount of time and effort needed for a full clean later. It prevents sticky residues from setting and flour dust from accumulating in crevices. Even just a quick swipe of the mixer head and base after adding ingredients can make a big difference in the overall cleanliness of your machine.
Using a Dough Scraper for Easy Cleanup
A flexible dough scraper (sometimes called a bench scraper or bowl scraper) isn't just for working with dough; it's a fantastic tool for cleaning your mixer bowl and attachments. Use it to scrape as much batter or dough residue as possible from the bowl and attachments immediately after use. This reduces the amount of material that needs to be washed off.
For sticky dough stuck to the dough hook or flat beater, a scraper can quickly remove the bulk of it before you even get to the sink. This simple step saves water and makes the subsequent washing process much quicker and easier. It's a small hack but a very effective one among easy stand mixer cleaning tips.
Pre-Soaking for Tough Residue
As mentioned earlier for stubborn dough, pre-soaking is a lifesaver for any tough residue, whether it's dried batter, sticky caramel, or hardened frosting. Fill the mixer bowl with warm water and a squirt of dish soap, drop in the attachments, and let them soak while you clean up other baking tools or ingredients.
Even 10-15 minutes of soaking can loosen most dried-on messes, turning a scrubbing chore into a simple rinse and wipe job. This is particularly useful if you can't get to the cleaning right away after baking. Pre-soaking makes subsequent washing significantly easier and is a cornerstone of efficient, easy stand mixer cleaning tips.
Deep Cleaning Your KitchenAid: When and How
Signs Your KitchenAid Needs a Deep Clean
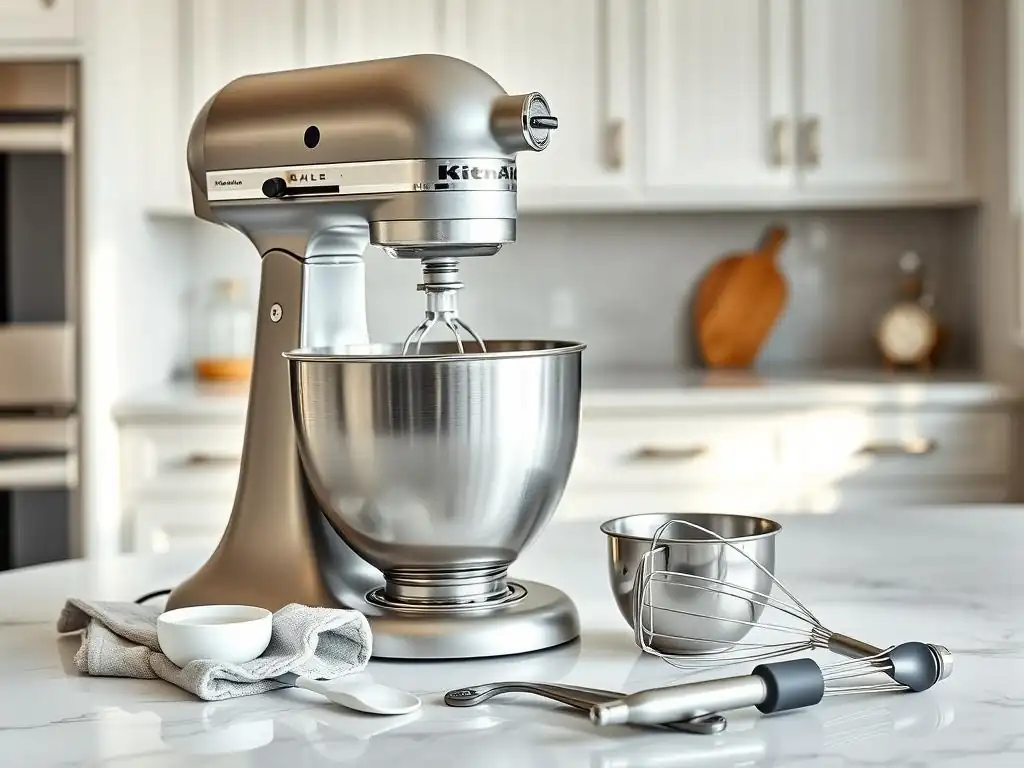
While regular cleaning keeps your mixer tidy, a deep clean is necessary periodically, perhaps every few months depending on usage, or if you notice specific issues. Signs that your KitchenAid needs a more thorough cleaning include persistent stickiness on the body, noticeable build-up of flour or dust in hard-to-reach areas, a faint greasy film that doesn't come off with a quick wipe, or even a slight odor.
If you bake frequently, especially with sticky or greasy ingredients, a deep clean helps prevent long-term issues and maintains peak performance. It addresses areas that might get missed during routine cleaning and ensures hygiene at a deeper level. Incorporating a deep clean schedule is vital alongside your easy stand mixer cleaning tips.
Performing a Thorough Cleaning: A Detailed Guide
A deep clean involves going beyond the surface wipe-down and washing. After unplugging and disassembling, start by thoroughly cleaning the bowl and attachments as usual, perhaps giving them a longer soak or an extra pass in the dishwasher if they are safe for it. For the mixer body, use a slightly stronger (but still mild) cleaning solution if needed. A mix of equal parts white vinegar and water in a spray bottle (sprayed onto a cloth, never directly onto the mixer) can help cut through grease and disinfect.
Use cotton swabs, soft brushes, and microfibre cloths to get into all the nooks and crannies around the head, neck, speed control, and base. Check underneath the mixer for any spills or dust accumulation. Wipe down the power cord carefully. Once cleaned, go over all surfaces with a cloth dampened only with water to remove any cleaning solution residue, and then dry everything thoroughly.
Using Baking Soda and Vinegar for a Natural Clean
Baking soda and vinegar are excellent natural cleaners that can be very effective for deep cleaning a KitchenAid. A paste of baking soda and water is great for gently scrubbing away dried-on food or grease spots on non-painted surfaces like stainless steel bowls or burnished attachments (test first!). Apply the paste, let it sit, then gently rub and rinse.
For disinfecting and cutting grease on the mixer body (avoiding vents and openings), a solution of white vinegar and water is useful. The vinegar's acidity helps break down grease and acts as a natural disinfectant. Wipe surfaces with a cloth dampened with this solution, then follow with a water-dampened cloth and dry. This combination offers powerful, natural cleaning as part of your easy stand mixer cleaning tips repertoire.
Degreasing and Polishing Your KitchenAid
Over time, a slight greasy film can develop on the mixer body, especially if it's near your stovetop or you frequently bake with butter and oils. After cleaning with a mild soap or vinegar solution, if a film remains, a very small amount of mineral oil or even olive oil on a soft cloth can be used to buff and polish the painted or metal surfaces. Apply sparingly and rub it in, then buff off any excess with a clean, dry cloth.
This not only helps remove any remaining residue but also gives the mixer a nice sheen. Be cautious not to use too much oil, as it can attract dust. This polishing step is the final touch in a deep clean, leaving your KitchenAid sparkling and looking its best. It's a step that elevates basic easy stand mixer cleaning tips to a deep clean routine.
Protecting Your KitchenAid: Preventative Measures
Using a KitchenAid Cover
One of the easiest ways to keep your KitchenAid clean between uses is to keep it covered. Mixer covers, available in various materials and styles, protect the mixer body from dust, flour, and accidental spills when it's sitting on your counter. This significantly reduces the need for frequent wiping down of the exterior.
A cover is particularly useful if your mixer is located in an area prone to dust or near cooking activities that generate grease splatter. It's a simple, passive measure that saves cleaning time in the long run and helps maintain the mixer's appearance, complementing your active easy stand mixer cleaning tips.
Storing Attachments Properly
Proper storage of your mixer attachments prevents them from getting dusty, dirty, or damaged. Avoid leaving them sitting in the bowl uncovered between uses. Store them in a clean drawer, a dedicated container, or use an attachment storage solution designed for KitchenAid mixers.
Ensuring attachments are clean before storing them also means they are ready to go the next time you need them, saving you a quick wash before starting your baking. Storing them properly also reduces the chance of scratching or chipping, especially for coated attachments.
Avoiding Overfilling the Bowl
Overfilling the mixer bowl is a common cause of spills and splatter onto the mixer body. Pay attention to the maximum capacity guidelines in your manual, especially when mixing liquids or ingredients that expand significantly (like whipped cream or meringue). The "fill line" on the bowl is a helpful indicator.
Mixing at the appropriate speed for the task also helps contain ingredients. Starting at a low speed and gradually increasing prevents sudden bursts of flour or liquid. By avoiding overfilling and splatter, you minimize the mess on the mixer body, making your routine easy stand mixer cleaning tips even easier.
Troubleshooting Common KitchenAid Cleaning Problems
Removing Sticky Dough from the Bowl
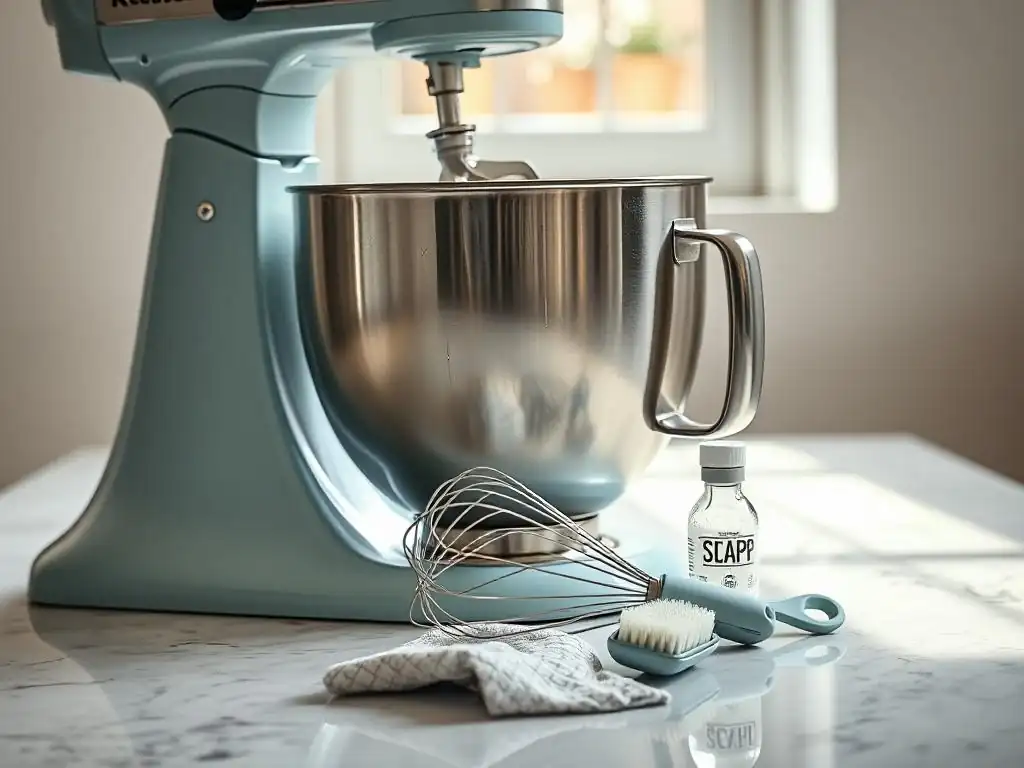
Even with scraping and pre-soaking, sometimes exceptionally sticky dough leaves a residue on the stainless steel bowl. If soaking hasn't worked entirely, try using hot water and a non-abrasive scrubber designed for non-stick cookware or stainless steel. Avoid steel wool, which can scratch.
For very stubborn, dried-on dough, you might need to let it soak for a longer period, perhaps an hour or more, changing the water if it gets cold. Adding a little extra dish soap or even a tablespoon of baking soda to the soaking water can sometimes help break down the starch and gluten that make dough so sticky. Patience and soaking are key easy stand mixer cleaning tips for this issue.
Dealing with Rust or Corrosion on Stainless Steel
While KitchenAid stainless steel bowls are generally resistant to rust, improper drying or exposure to certain chemicals can sometimes lead to small spots of surface rust or pitting (corrosion). If you notice small rust spots, try making a paste of baking soda and water and gently rubbing it onto the spot with a soft cloth. Lemon juice or white vinegar can also sometimes help dissolve rust; apply a small amount to a cloth and rub gently.
Rinse thoroughly and dry immediately. To prevent rust, always dry your stainless steel bowl completely after washing, especially around the rim and base. Avoid leaving it to air dry in a humid environment. If corrosion is significant, the bowl may need replacing. Proper drying is a simple but vital part of easy stand mixer cleaning tips to prevent this problem.
Addressing Unusual Noises After Cleaning
If your mixer makes unusual noises after cleaning, first ensure it is correctly reassembled. Check that the bowl is seated properly and the attachment is securely attached. Sometimes, if the attachment is not pushed up far enough onto the shaft, it might wobble or scrape the bowl, causing noise.
Ensure no cleaning cloths or foreign objects were accidentally left near or in the mixer's moving parts. If the noise persists after confirming proper assembly and checking for obstructions, or if it sounds like it's coming from the motor or gears, stop using the mixer and contact KitchenAid customer service. While cleaning shouldn't typically cause internal noise issues, it's important to rule out external factors first.
Conclusion: Keeping Your KitchenAid Sparkling for Years to Come
The Key to Long-Lasting Baking Equipment
The key to ensuring your KitchenAid stand mixer provides decades of reliable service is consistent care and maintenance, with regular cleaning being a fundamental part of that. Just like any high-quality tool, it performs best when it's clean and well-maintained. Adopting a routine of easy stand mixer cleaning tips after each use, complemented by periodic deep cleans, prevents build-up that can affect performance and appearance.
Investing a few minutes in cleaning after each baking session saves significant time and effort down the road, preventing stubborn messes and potential damage. It also ensures your mixer remains a hygienic and welcoming presence in your kitchen, ready to tackle any recipe you throw at it.
Enjoy Baking with a Clean KitchenAid!
There's something truly satisfying about starting a new baking project with a sparkling clean KitchenAid stand mixer. Knowing your equipment is clean and well-maintained not only contributes to better baking results but also enhances the joy of the baking process itself. By following these easy stand mixer cleaning tips and making them a regular part of your routine, you protect your investment and ensure countless happy hours of baking with your trusty KitchenAid. Happy baking!
Frequently Asked Questions
How often should I clean my stand mixer?
You should wipe down your stand mixer after each use to prevent food buildup. A more thorough cleaning should be done every few weeks or after particularly messy baking projects.
What's the best way to clean a stand mixer bowl?
Most stand mixer bowls are dishwasher-safe. However, hand-washing with warm, soapy water is also effective, especially for delicate finishes or if you prefer to be extra cautious.
Can I put my stand mixer attachments in the dishwasher?
It depends on the attachment's material! Check your manufacturer's instructions for specific guidance. Some attachments are dishwasher-safe, while others require hand-washing to avoid damage.
How do I clean the stand mixer's exterior?
Unplug the mixer and wipe down the exterior with a damp cloth. For stubborn stains, use a mild detergent. Avoid harsh chemicals or abrasive cleaners that could damage the finish.
What about cleaning the hard-to-reach areas of my stand mixer?
Use a soft brush or cotton swab to clean around the mixer's head and base. A toothpick can also be helpful for removing dried dough from crevices.
Final Reflection: The Joy of Baking, Unburdened by Cleaning
The efficiency of cleaning your stand mixer directly impacts your enjoyment of baking. A clean workspace fosters creativity and allows you to focus on the delicious results, not the daunting task of scrubbing stubborn batter from the bowl. This isn't just about cleanliness; it's about reclaiming precious time and energy for what truly matters: the joy of creating.
The simple act of cleaning a stand mixer, often perceived as a chore, has become a surprisingly potent symbol of self-care within the baking community. It represents a commitment to both the process and the outcome. It's about respecting the tools that help us create, and recognizing that even the seemingly mundane tasks can contribute to a sense of accomplishment and well-being. The best way to find yourself is to lose yourself in the service of others.
While not directly about cleaning, this quote speaks to the larger principle of finding joy in the details, even the less glamorous ones, which contribute to a greater whole.
Now, consider your own baking routine. Are you allowing the fear of cleaning to hinder your passion? I encourage you to implement even one of the tips discussed in this article. Embrace the simplicity of efficient cleaning, and rediscover the pure pleasure of baking without the weight of a messy aftermath. Let the ease of cleaning unlock a new level of creativity and joy in your kitchen. Your future self – and your taste buds – will thank you.
Unleash Your Mixer's Sparkling Potential!
Thanks for taking the time to learn how to easily clean your stand mixer! We hope these tips and tricks will save you precious baking time and keep your kitchen sparkling. Ready to put your newfound knowledge into action?
- Master the Quick Clean: Prioritize the immediate cleanup of your mixer bowl and attachments after each use. This prevents stubborn residue from setting in.
- Explore Deeper Cleaning: Try our recommended deep cleaning method once a month for a truly sparkling mixer. It's easier than you think!
- Share Your Sparkling Success: Snap a picture of your gleaming mixer and share it with us on social media – use #BakeWithEaseCleanMixer!
Ready to rediscover the joy of a sparkling-clean mixer and effortless baking?