
Sourdough Showdown: Baking Stone or Dutch Oven for Your Best Loaf Yet?

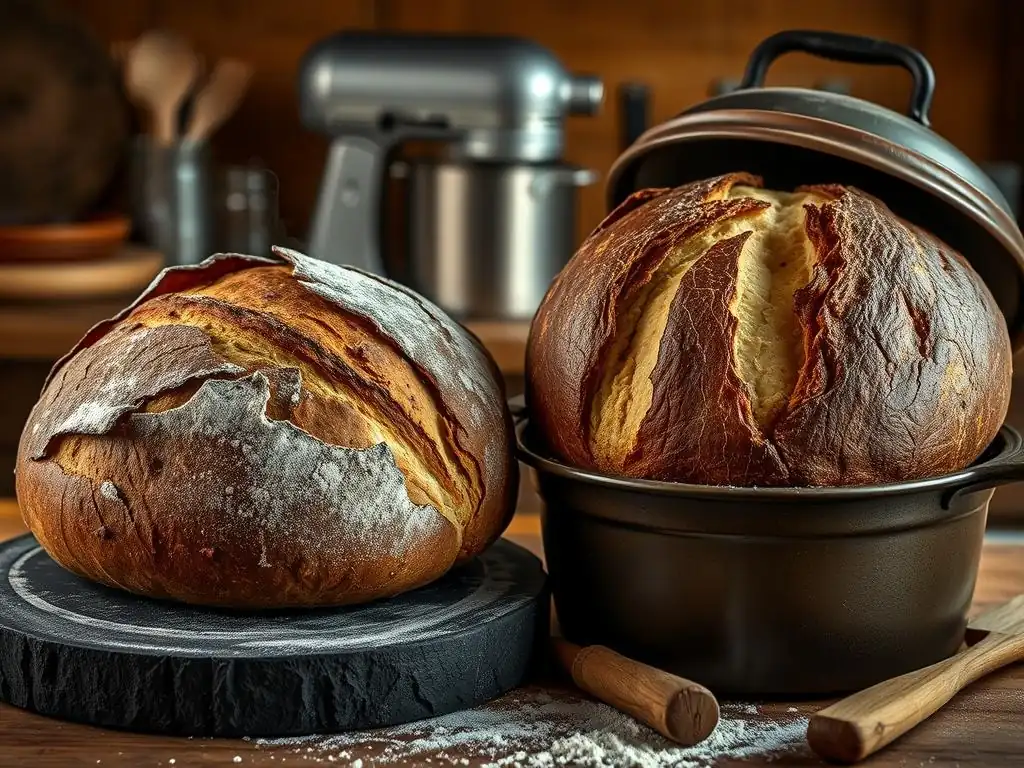
Welcome to BakeWithEase, your guide to unlocking the secrets of the perfect bake! Ever wondered which reigns supreme for achieving that coveted sourdough crust and airy crumb? Get ready for a Sourdough Showdown as we pit the baking stone against the Dutch oven. Discover which method will help you achieve your best loaf yet, and prepare to be amazed by the results! Which one will rise to the occasion? Read on to find out!
Baking sourdough bread at home is a rewarding journey, transforming simple ingredients into a magnificent loaf with a perfect crust and airy crumb. The equipment you choose plays a significant role in this transformation, particularly when it comes to achieving that coveted oven spring and a beautifully caramelized crust. Two popular tools dominate the discussion for home sourdough bakers: the baking stone and the Dutch oven. Both offer distinct advantages and present unique challenges, making the choice a crucial step in mastering your sourdough bake.
This article delves deep into the sourdough baking stone vs. Dutch oven debate, comparing how each piece of equipment impacts your bread's final characteristics. We'll explore the mechanisms behind each method, weigh their pros and cons, and provide practical tips to help you decide which tool is best suited for your baking style and goals. Whether you're aiming for the ultimate crisp crust or maximum oven spring, understanding the nuances of baking sourdough with a stone or Dutch oven is key to consistent success.
- Understanding the Basics: Sourdough Baking
- Baking Stone for Sourdough: Crisp Crust and Open Crumb
- Dutch Oven for Sourdough: Steam and Uniform Baking
- Side-by-Side Comparison: Baking Stone vs. Dutch Oven
- Troubleshooting Common Sourdough Baking Problems
- Expert Tips for Sourdough Success
- Choosing the Right Tool: Stone or Dutch?
- Conclusion: The Ultimate Verdict
-
Frequently Asked Questions
- What are the main differences between using a baking stone and a Dutch oven for sourdough?
- Which method is better for beginners just starting out with sourdough baking?
- Does one method result in a crustier sourdough loaf than the other?
- Is one method easier to clean or maintain than the other?
- Can I use both a baking stone and a Dutch oven together for sourdough?
- Final Reflection: The Quest for the Perfect Sourdough Crust
- Unleash Your Inner Baker: Craft Your Perfect Sourdough!
Understanding the Basics: Sourdough Baking
What is Sourdough and Why Does Baking Equipment Matter?
Sourdough is a type of bread made using a fermented starter culture instead of commercial yeast. This starter, a living mixture of flour and water, harbors wild yeasts and lactic acid bacteria that leaven the dough and contribute to sourdough's characteristic tangy flavor and complex aroma. The slow fermentation process develops gluten structure and produces gases, which expand rapidly during baking to create the bread's internal crumb structure and external rise.
Achieving optimal results in sourdough baking hinges on managing two critical factors during the initial phase of baking: heat transfer and steam. High initial heat provides the necessary energy for rapid expansion (oven spring), while steam keeps the crust pliable, allowing the dough to expand fully before hardening. The right baking equipment creates the perfect environment to control these elements, significantly influencing the final volume, crust texture, and crumb structure of your loaf. Without adequate heat and steam, sourdough can result in a dense loaf with a thick, tough crust.
Key Differences: Baking Stone vs. Dutch Oven
The fundamental difference between a sourdough stone vs. Dutch oven lies in how they manage heat and, crucially, steam within the oven environment. A baking stone, typically made of ceramic, cordierite, or steel, is placed directly on an oven rack and preheated intensely. It acts as a thermal mass, transferring high, direct heat to the base of the loaf, promoting rapid oven spring from the bottom up and creating a crisp base crust. However, it requires external methods to generate steam around the loaf.
Conversely, a Dutch oven, a heavy pot with a tight-fitting lid, usually made of cast iron or enameled cast iron, completely encases the dough during the initial baking phase. The pot itself acts as a thermal mass, radiating heat evenly around the loaf. More importantly, the sealed environment traps the moisture naturally released from the dough as it bakes, creating a self-steaming chamber. This trapped steam is key to keeping the crust soft and flexible during the crucial expansion phase, leading to maximum oven spring and a thinner, shatteringly crisp crust.
Baking Stone for Sourdough: Crisp Crust and Open Crumb
How a Baking Stone Works
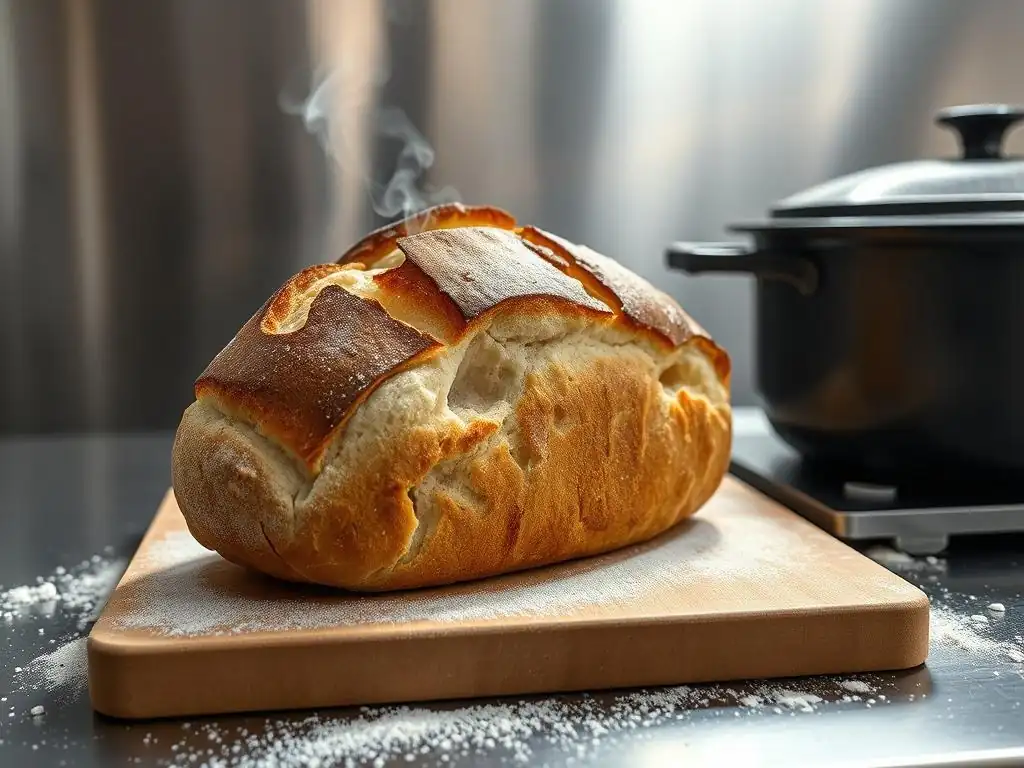
A baking stone functions by absorbing and radiating intense heat. Placed in the oven during preheating, it reaches a very high temperature, often exceeding 500°F (approx. 260°C). When the sourdough loaf is placed directly onto the hot stone, the stone's stored thermal energy is rapidly transferred to the base of the dough. This direct, powerful heat transfer from the bottom up contributes significantly to the initial oven spring and helps set the base crust quickly, preventing it from becoming soggy.
The material of the stone affects its performance. Cordierite stones are popular for their durability and resistance to thermal shock, while steel plates (often called baking steels) transfer heat even more efficiently and rapidly than ceramic stones. Ceramic stones are more traditional and cost-effective but can be prone to cracking if not handled carefully. Regardless of the material, the principle remains the same: creating a superheated surface that mimics the floor of a professional deck oven, providing a powerful thermal boost to the base of the loaf.
Advantages of Using a Baking Stone
One of the primary advantages of using a baking stone is its ability to produce an incredibly crisp and well-browned base crust. The direct, intense heat transfer ensures the bottom of the loaf bakes rapidly, developing a desirable texture and color. This method is particularly favored by bakers who prioritize a substantial, crackling bottom crust on their sourdough.
Furthermore, baking stones offer flexibility in terms of loaf shape and size. Unlike a Dutch oven, which confines the loaf to the shape and size of the pot, a baking stone allows you to bake larger loaves or multiple smaller loaves simultaneously, limited only by the size of your stone and oven. This makes it a versatile option if you frequently bake different bread shapes, such as baguettes or wider batards, which might not fit neatly into a standard Dutch oven.
The main challenge when using a baking stone for sourdough is managing steam. While the stone provides excellent bottom heat, it does nothing to trap the steam released by the dough or create a humid environment.
Without sufficient steam during the first 15-20 minutes of baking, the crust can set too quickly, restricting oven spring and potentially leading to a denser crumb. Home bakers often need to employ external steaming methods, such as placing a tray of hot water or lava rocks in the oven, or spritzing the oven walls, which can be less effective and more cumbersome than the self-steaming environment of a Dutch oven.
Another drawback is handling the dough when transferring it onto the super-hot stone. This typically requires a pizza peel and parchment paper, which can be tricky for beginners. There's also a risk of uneven steam distribution with external methods, potentially leading to an inconsistent crust texture across the loaf. Furthermore, stones can be heavy and fragile, requiring careful handling and storage.
Best Practices for Baking Sourdough on a Baking Stone
To achieve the best results when baking sourdough on a stone, preheating is paramount. Allow the stone to preheat in the oven at your target temperature (often 450-500°F or approx. 230-260°C) for at least 45-60 minutes, or even longer for thicker stones. This ensures the stone is saturated with heat, ready to provide that crucial thermal boost.
Simultaneously, implement a robust external steaming strategy. Place a pan of boiling water or preheated lava rocks/cast iron scraps in the oven before you load the bread. Some bakers also mist the oven walls with water just before closing the door. Carefully transfer your scored loaf onto the preheated stone using parchment paper and a peel, then quickly close the oven door to trap the steam. After 15-20 minutes, remove the steam source to allow the crust to dry and crisp up for the remainder of the bake.
Dutch Oven for Sourdough: Steam and Uniform Baking
How a Dutch Oven Works
A Dutch oven creates a miniature, controlled baking environment within your main oven. Placed in the oven and preheated with the lid on, it reaches a high temperature, similar to a baking stone. When the sourdough dough is placed inside the hot pot and the lid is replaced, the magic happens. The dough immediately begins to release steam as it heats up. Because the pot is sealed, this steam is trapped around the loaf, creating a very humid atmosphere.
This humid environment keeps the surface of the dough moist and pliable. Instead of forming a hard crust immediately, the dough's exterior remains flexible, allowing the loaf to expand freely during the initial burst of oven spring. After a set time (typically 15-25 minutes), the lid is removed. At this point, the crust has developed sufficient elasticity, and removing the lid allows the trapped steam to escape, letting the dry, hot air of the main oven reach the loaf. This is when the crust rapidly dries out, browns, and crisps up, developing its final color and texture.
Advantages of Using a Dutch Oven
The most significant advantage of using a Dutch oven for sourdough is its ability to effortlessly provide ample steam. The trapped moisture guarantees a moist environment during the critical oven spring phase, leading to maximum expansion and a consistently open crumb structure. This built-in steaming mechanism simplifies the baking process, eliminating the need for external steam methods, which can be inconsistent and messy.
Dutch ovens also provide very even heat distribution. The heavy cast iron or enameled cast iron walls radiate heat uniformly around the loaf, promoting consistent baking and browning. This often results in a beautifully colored crust that is evenly crisp from top to bottom. Many bakers find that the Dutch oven method is more forgiving, especially for beginners, as it takes much of the guesswork out of managing steam and heat transfer.
One potential disadvantage of using a Dutch oven is the difficulty in checking on the loaf during the initial covered bake. You can't easily see how the crust is developing until the lid comes off. Also, the base of the loaf, which sits directly on the hot bottom of the pot, can sometimes brown more aggressively than the top, although this is often manageable with temperature adjustments or placing a small piece of parchment paper under the loaf.
Handling a hot Dutch oven can also be challenging. The pot itself is heavy, and transferring the dough into a searing hot pot requires care to avoid burns. The size and shape of the pot also limit the size and shape of the loaf you can bake; very large or unusually shaped loaves may not fit. Finally, while cast iron is durable, it requires seasoning and care to prevent rust, though enameled versions simplify maintenance.
Best Practices for Baking Sourdough in a Dutch Oven
Proper preheating is just as crucial for a Dutch oven as it is for a baking stone. Place the empty Dutch oven with its lid in the oven and preheat to your target temperature (commonly 450-500°F or approx. 230-260°C) for at least 30-45 minutes. This ensures the pot is thoroughly heated and ready to create that instant burst of steam.
Carefully transfer your scored sourdough loaf into the hot Dutch oven. Many bakers use parchment paper to lower the dough easily into the pot. Quickly replace the lid to trap the steam. Bake with the lid on for the first 15-25 minutes, depending on your recipe and desired crust thickness. Then, carefully remove the lid and continue baking for another 20-30 minutes, or until the crust is deeply golden brown and the internal temperature of the loaf reaches around 200-210°F (approx. 93-99°C).
Side-by-Side Comparison: Baking Stone vs. Dutch Oven
Crust Quality: Comparing the Crusts
When comparing the crust quality produced by a sourdough baking stone vs. Dutch oven, distinct differences emerge. A baking stone, with its direct and intense bottom heat, tends to produce a very thick, robust, and often darker base crust. The top crust, relying on external steam and the general oven environment, can be beautifully crisp but may sometimes be less uniformly colored than a Dutch oven bake, depending on the effectiveness of the steaming method.
The Dutch oven method, by trapping steam, promotes a thinner, more delicate, and shatteringly crisp crust that develops uniformly around the entire loaf once the lid is removed. The top crust often achieves a deeper, more consistent golden-brown color due to the even radiant heat within the pot. While the base crust in a Dutch oven can be very crisp, some bakers find the stone provides an even more aggressive bottom crispness.
Oven Spring and Rise: Which Method Delivers Better Results?
For achieving maximum oven spring and rise, the Dutch oven generally has a slight edge. The consistent, high-humidity environment created by the trapped steam allows the dough's surface to remain pliable for a longer period during the initial intense heat. This permits the gases produced by the yeast and bacteria to expand more fully before the crust sets, resulting in a more dramatic rise and a potentially more open crumb structure.
While a baking stone provides excellent initial lift from the base, the effectiveness of oven spring often depends heavily on the success of external steam generation. If steam is insufficient or dissipates too quickly, the top crust can set prematurely, restricting the loaf's expansion upwards and outwards. Therefore, for consistently impressive oven spring, especially for beginners, the Dutch oven method is often considered more reliable.
Ease of Use: Baking Stone vs. Dutch Oven
In terms of ease of use, many bakers find the Dutch oven method simpler, particularly for beginners. The all-in-one nature of the pot handles both heat transfer and steam generation automatically. While transferring dough into a hot pot requires caution, it often feels more contained than sliding a sticky dough onto an open hot stone while simultaneously managing steam trays or sprays.
Using a baking stone typically involves more steps: preheating the stone, preparing external steam sources, carefully transferring the dough with a peel, and then managing the steam sources during the bake. This multi-step process can have a steeper learning curve. However, once mastered, using a stone offers greater flexibility in baking multiple loaves or different shapes simultaneously, which can be more efficient for volume baking.
Bread Shape and Size Considerations
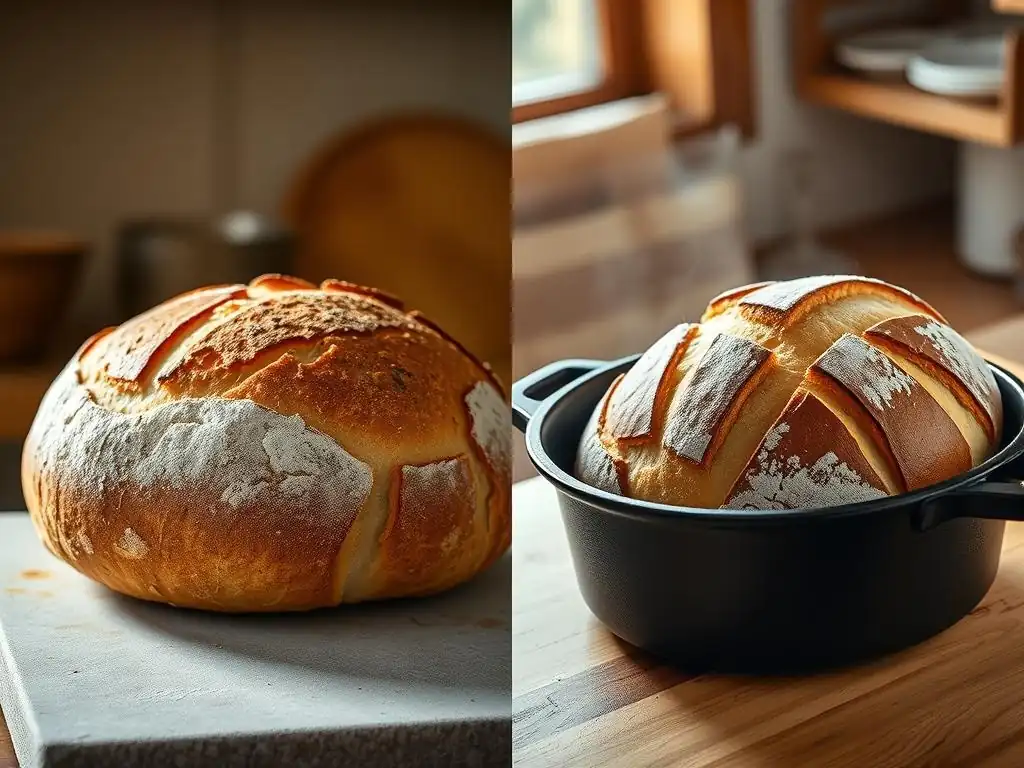
The shape and size of your desired loaf are significant factors when choosing between a sourdough stone vs. Dutch oven. Dutch ovens come in various sizes (e.g., 5-quart, 6-quart, 7-quart), but they are typically round or oval. This naturally lends itself to baking boules (round loaves) or oval batards that fit within the pot's dimensions. Baking multiple loaves simultaneously usually requires multiple Dutch ovens.
A baking stone, on the other hand, offers more flexibility. You can bake larger loaves, wider batards, or even multiple smaller rolls or baguettes on a single stone, limited only by the stone's surface area and your oven's capacity. If your baking plans include a variety of bread shapes or baking several loaves at once without buying multiple heavy pots, a stone might be the more practical choice.
Temperature Control: Which Baking Vessel Offers Better Stability?
Both baking stones and Dutch ovens act as significant thermal masses, which helps stabilize the oven temperature. Once preheated, they store a large amount of heat and radiate it consistently to the bread, minimizing temperature fluctuations that can occur when the oven door is opened or due to the oven's heating element cycling on and off.
Heavy cast iron Dutch ovens tend to hold heat slightly longer and radiate it more evenly around the loaf due to their enclosed nature. Baking stones provide intense direct heat to the base, which can be very stable, but the upper part of the loaf is more exposed to the general oven environment, which might have minor temperature variations. Ultimately, both are excellent at providing stable, high heat, but the Dutch oven excels at creating a uniformly heated micro-environment around the entire loaf.
Troubleshooting Common Sourdough Baking Problems
Sourdough Sticking to the Baking Stone: Prevention and Solutions
A common frustration when using a baking stone is the sourdough sticking to the surface. This usually happens if the stone wasn't fully preheated, if the dough is very wet, or if there isn't enough flour or a barrier between the dough and the stone. To prevent sticking, always preheat your stone for a sufficient duration (at least 45-60 minutes) at a high temperature (450-500°F).
Using parchment paper is the most reliable solution for preventing sticking. Place your shaped and scored dough on parchment paper before transferring it to the stone. The paper creates a barrier, ensuring the loaf releases cleanly after baking. Another method is to generously dust the stone with rice flour or semolina before sliding the dough on, though parchment paper is generally more effective and cleaner. If a loaf does stick, let the stone cool completely before attempting to scrape it clean; attempting to scrape a hot stone can cause damage.
Dense Sourdough in a Dutch Oven: Finding the Right Technique
While Dutch ovens are excellent for oven spring, a dense loaf can still occur. This is often due to factors unrelated to the Dutch oven itself, such as an inactive starter, insufficient bulk fermentation or proofing, or improper shaping. However, sometimes, removing the lid too early in a Dutch oven bake can contribute to a denser crumb by stopping the steam phase before the dough has fully expanded.
Ensure your starter is active and bubbly. Pay close attention to your dough's fermentation times, using visual cues (like a significant increase in volume, often 50-100% during bulk fermentation) and the poke test for proofing. When using the Dutch oven, ensure you bake with the lid on for an adequate time, typically 15-25 minutes, before removing it. This allows the steam phase to maximize oven spring. Experimenting with the covered baking time (e.g., trying 20 minutes instead of 15) might help achieve better expansion.
Achieving a Dark Crust with Both Methods
Achieving a beautiful, dark, caramelized crust is a hallmark of well-baked sourdough. With a baking stone, achieving a dark top crust often requires effective external steaming during the initial phase followed by sufficient baking time after steam is removed. If the top crust is pale, try increasing the external steam or extending the total baking time, potentially at a slightly lower temperature after the initial high-heat phase, to allow color development without burning the base.
In a Dutch oven, the crust typically develops a deep color very effectively once the lid is removed and the dry heat hits the loaf. If your crust isn't dark enough, ensure you are baking with the lid off for long enough (often 20-30 minutes). You can also increase the oven temperature slightly during the lid-off phase or move the Dutch oven to a higher rack for the final minutes of baking to get more top heat exposure, keeping a close eye to prevent burning.
Expert Tips for Sourdough Success
Preheating Techniques
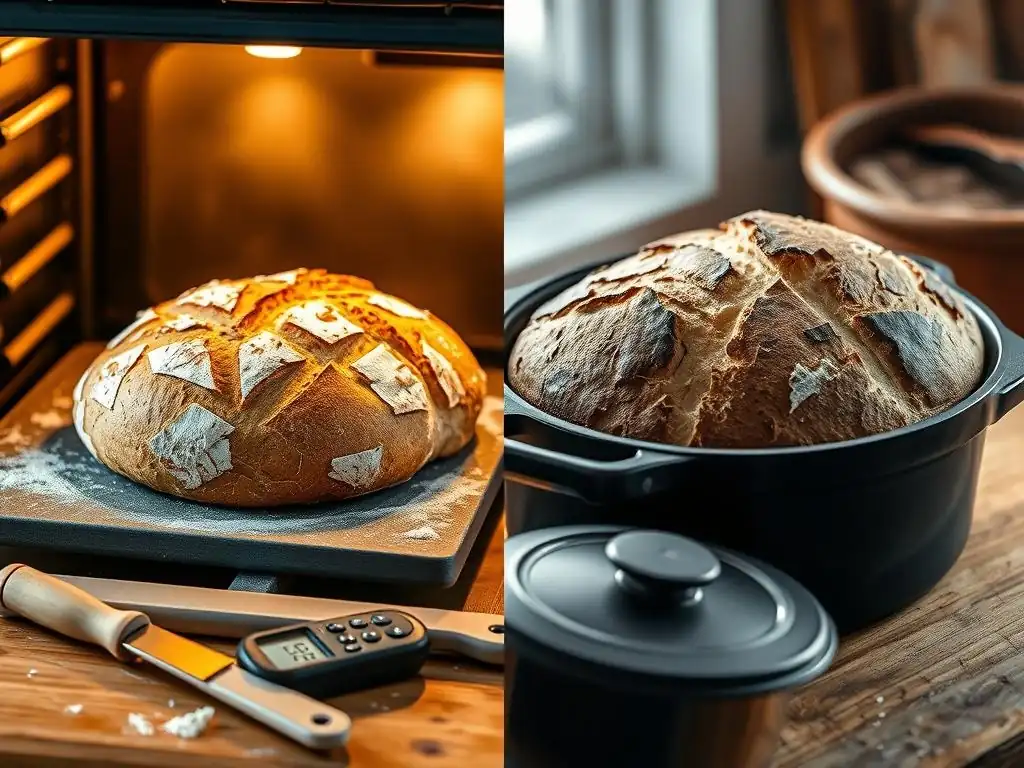
Proper preheating is non-negotiable for both sourdough baking stone vs. Dutch oven methods. For a baking stone, preheating for 60 minutes or more at your target temperature (e.g., 475°F or approx. 245°C) ensures the entire mass is saturated with heat. This thermal saturation is what provides the powerful initial heat transfer to the dough base. A stone that isn't fully preheated will absorb heat from the dough instead of giving it, resulting in poor oven spring and a pale, potentially doughy bottom crust.
For a Dutch oven, preheating the pot with the lid on for at least 30-45 minutes at your target temperature (e.g., 450°F or approx. 230°C) is essential. The pot needs to be hot enough to create instant steam when the dough is added and to radiate consistent heat. Preheating with the lid on also ensures the lid is hot, which helps prevent condensation from dripping onto the loaf initially.
Scoring Sourdough
Scoring, or making cuts on the surface of the dough just before baking, serves several purposes. It acts as a controlled weak point, guiding the expansion of the loaf during oven spring. Without scoring, the dough could burst unpredictably at its weakest point, leading to an uneven shape. Scoring also allows the baker to add decorative patterns to the crust.
The depth and placement of scores are important. For maximum oven spring, a deep score (about half an inch or 1-2 cm deep) along the length of a batard or a single large cross or square on a boule allows for significant expansion. Using a sharp blade (like a lame) is crucial for clean cuts that open up beautifully in the oven. Scoring should be done quickly and confidently just before the dough goes into the hot oven or Dutch oven, as the crust begins to set almost immediately upon hitting the heat.
Steam Injection: When and How to Use it
Steam injection is primarily relevant when baking sourdough on a baking stone, as the stone method doesn't automatically provide steam. The goal is to create a humid environment in the oven for the first 15-20 minutes of baking. This keeps the crust soft and allows maximum dough expansion.
Methods for steam injection include:
- Tray of hot water: Place a shallow metal tray on a rack below the baking stone and pour boiling water into it just before loading the bread. The steam will rise and surround the loaf.
- Lava rocks or cast iron: Place lava rocks, ceramic tiles, or cast iron scraps in a tray on a rack below the stone and preheat them with the oven. Pour boiling water over the hot material just before loading the bread for a burst of steam.
- Spritzing: Lightly misting the oven walls with water using a spray bottle immediately after loading the bread. Be cautious not to spray the light bulb or glass door directly, as this can cause breakage.
Using a Dutch oven eliminates the need for these external steam methods, as the pot traps the dough's own moisture.
Choosing the Right Tool: Stone or Dutch?
Factors to Consider
Deciding between a sourdough baking stone vs. Dutch oven involves weighing several factors specific to your baking habits, preferences, and equipment.
- Desired Crust: Do you prioritize a super-crisp base crust (stone) or a uniformly thin, crisp crust all around with guaranteed oven spring (Dutch oven)?
- Oven Spring: Are you struggling with oven spring and need a reliable method to maximize it (Dutch oven)? Or are you confident in external steaming methods (stone)?
- Ease of Use: Do you prefer a simpler, more contained process (Dutch oven) or are you comfortable with multiple steps and handling hot surfaces/steam (stone)?
- Loaf Shape/Size: Do you primarily bake standard boules/batards that fit in a pot (Dutch oven) or do you need the flexibility to bake larger loaves, multiple items, or different shapes like baguettes (stone)?
- Budget: Baking stones can sometimes be less expensive than high-quality cast iron Dutch ovens, though prices vary widely for both.
- Storage Space: Both items are heavy and require dedicated storage space.
Consider these points carefully. There's no single "best" tool; the ideal choice depends on what you value most in your sourdough baking process and results.
Oven Type and Skill Level Considerations
Your oven type can influence the effectiveness of each method. Electric ovens generally retain heat and steam better than gas ovens, which vent more air. If you have a gas oven, achieving sufficient steam with a baking stone might be more challenging, making the Dutch oven's self-steaming capability particularly advantageous. For electric ovens, both methods can perform very well.
Your current baking skill level is also relevant. Beginners often find the Dutch oven method more forgiving due to its reliable steam production and contained environment, leading to consistent results early on. Experienced bakers who have mastered external steaming techniques might prefer the flexibility and specific crust characteristics achievable with a baking stone. Ultimately, both tools are capable of producing excellent sourdough with practice.
Conclusion: The Ultimate Verdict
The debate between using a sourdough baking stone vs. Dutch oven isn't about finding a single winner, but rather understanding which tool aligns best with your baking goals and preferences. The Dutch oven excels at guaranteeing maximum oven spring and a uniformly crisp crust thanks to its built-in steam environment, making it an often-recommended tool for consistent results and beginners. Its enclosed nature ensures even heat distribution and simplifies the steaming process significantly.
On the other hand, the baking stone, when coupled with effective external steam, delivers an incredibly crisp base crust and offers unparalleled flexibility in baking multiple loaves or different shapes simultaneously. It requires a bit more effort and technique to manage steam effectively, but seasoned bakers appreciate the specific results it can achieve.
Many passionate home bakers eventually utilize both methods, choosing the equipment based on the specific type of loaf they aim to bake or the results they prioritize for a particular batch. Whichever you choose, both a preheated baking stone and a hot Dutch oven provide the crucial thermal mass needed to transform your fermented dough into a beautiful, well-risen sourdough loaf.
Frequently Asked Questions
What are the main differences between using a baking stone and a Dutch oven for sourdough?
A baking stone provides a hot, even surface for the dough, while a Dutch oven traps steam, creating a moist environment conducive to oven spring. The choice often depends on the baker's preference for crust texture and desired level of convenience.
Which method is better for beginners just starting out with sourdough baking?
The Dutch oven is often recommended for beginners. It's more forgiving because the trapped steam helps prevent the crust from drying out too quickly, leading to a more consistent rise.
Does one method result in a crustier sourdough loaf than the other?
Generally, a Dutch oven produces a softer, chewier crust due to the steam, whereas a baking stone can give you a crisper, more rustic crust, especially if you add steam to the oven yourself.
Is one method easier to clean or maintain than the other?
A baking stone can be more challenging to clean as it's porous and should only be scraped clean. A Dutch oven, particularly an enameled one, is generally easier to clean with soap and water.
Can I use both a baking stone and a Dutch oven together for sourdough?
While less common, some bakers place a baking stone inside the Dutch oven, preheating both. This aims to combine the benefits of both: the even heat of the stone and the steam retention of the Dutch oven.
Final Reflection: The Quest for the Perfect Sourdough Crust
The seemingly simple act of baking sourdough bread reveals a surprising depth of technique and artistry, and the choice between a baking stone and a Dutch oven significantly impacts the final result. The quest for that perfect crust, that satisfying chew, and that tangy aroma is a journey many home bakers undertake, and understanding the nuances of each baking method is crucial to achieving sourdough perfection.
The debate between baking stone and Dutch oven transcends mere preference; it speaks to a broader conversation about the evolution of home baking and our renewed appreciation for traditional techniques. The resurgence of sourdough itself reflects a desire for authenticity and connection to the process, a yearning for something more than just a loaf from the supermarket. Bread is the staff of life,
they say, and for many, the act of making it is as nourishing as the bread itself. This careful consideration of tools, like choosing between a baking stone and a Dutch oven, highlights this deeper connection.
Now, consider your own baking journey. Which method resonates most with your style and the results you desire? Will you embrace the crisp, crackly crust of the baking stone, or the deeply caramelized, airy interior of the Dutch oven? The answer, ultimately, lies in your hands, in your experimentation, and in your own pursuit of that perfect sourdough loaf. Don't be afraid to try both, to compare and contrast, and to discover the method that best brings your sourdough vision to life. The journey, as much as the destination, is what makes sourdough baking so rewarding.
Unleash Your Inner Baker: Craft Your Perfect Sourdough!
Thanks for joining us on this sourdough journey! We hope you now feel empowered to tackle those tangy, crusty loaves with confidence. Ready to take your baking to the next level?
- Master the perfect sourdough rise: Experiment with both baking stones and Dutch ovens to discover which method yields your ideal texture and crust. Keep detailed notes to track your progress!
- Share your sourdough success: Post a picture of your masterpiece on social media – use #BakeWithEaseSourdough and tag us! Let’s inspire other bakers.
- Dive deeper into sourdough science: Explore our other articles on sourdough starters, hydration levels, and advanced techniques. We have a whole world of baking knowledge just waiting to be discovered!
What unique ingredient will you try in your next sourdough masterpiece? Let's discuss in the comments below!