
Getting the Perfect Crust: Secrets for Baking in Your Bread Machine

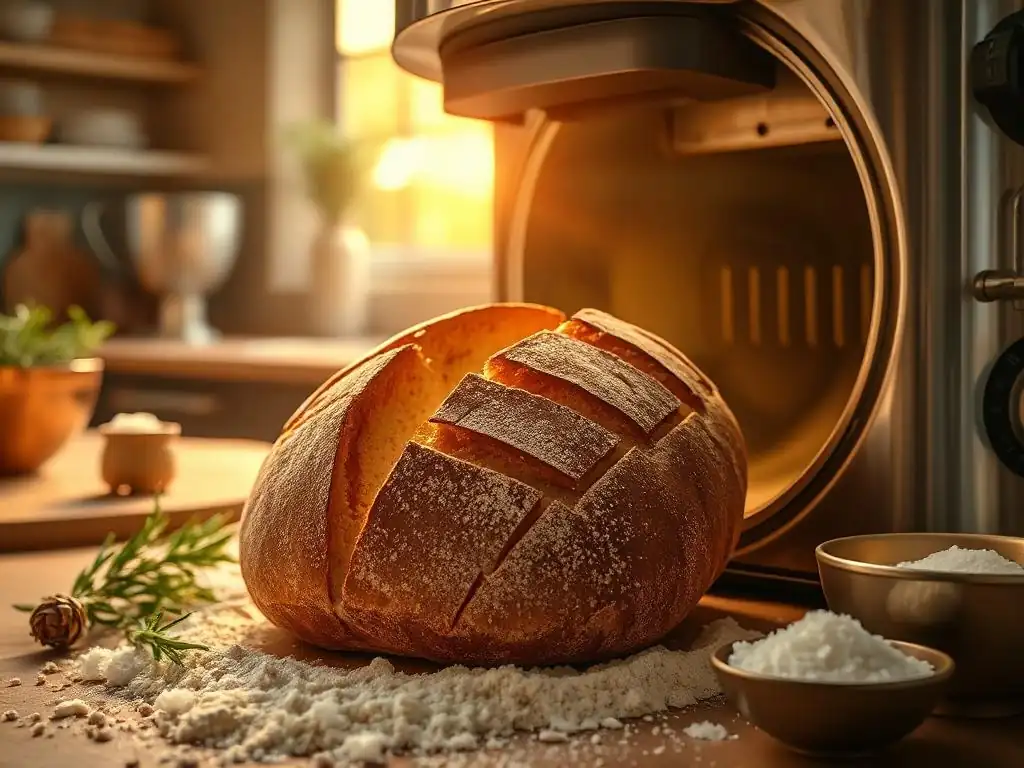
Welcome to BakeWithEase, your secret weapon for unlocking baking brilliance! Ever dreamt of that perfectly crisp, golden crust on your homemade bread? Then you're in the right place. Discover the secrets to achieving the ideal crust with our guide to bread machine crust recipes, and transform your bread-making game today. Ready to bake bread that's as beautiful as it is delicious? Let's get started!
- BakeWithEase.com Presents: Mastering Bread Machine Crust Recipes
- Understanding the Bread Machine Crust Challenge
- Key Ingredients for Enhanced Bread Machine Crust
- Bread Machine Settings & Techniques for a Better Crust
- Simple Bread Machine Crust Recipes to Try
- Troubleshooting Common Bread Machine Crust Issues
- Advanced Techniques for Bread Machine Crust Perfection
- Expert Tips for Consistent Bread Machine Crust Results
- Elevate Your Bread Machine Baking: Conclusion
-
Frequently Asked Questions
- What are the main factors that affect the crust of bread baked in a bread machine?
- Can I use different types of flour to achieve different crust textures in my bread machine?
- How does sugar or sweeteners affect the crust color and texture?
- What bread machine settings are best for achieving a darker, thicker crust?
- What can I do to improve the crust if I live in a humid environment?
- Final Reflection: The Humble Crust, a Gateway to Baking Joy
- Unleash Your Inner Baker: Craft the Perfect Crust Today!
BakeWithEase.com Presents: Mastering Bread Machine Crust Recipes
Baking bread at home is a wonderfully rewarding experience, and for many, the bread machine is the perfect tool to simplify the process. It handles the kneading, rising, and baking all in one neat package. However, one common challenge faced by home bakers using these convenient devices is achieving that perfectly crisp, golden crust often associated with oven-baked loaves.
Fear not! With a few simple adjustments and techniques, you can elevate your bread machine crust recipes from good to truly exceptional. This guide will walk you through the science and practical tips to get the crust you've always dreamed of.
Whether you're a beginner just starting your bread machine journey or looking to refine your techniques for signature bread machine crust recipes, understanding the nuances of how these machines operate is key. We'll explore ingredient roles, machine settings, troubleshooting, and even some advanced tricks used by seasoned bakers to help you achieve bakery-quality results right in your kitchen. Let's dive into the secrets of mastering the bread machine crust.
Understanding the Bread Machine Crust Challenge
Why is a Perfect Crust Hard to Achieve in a Bread Machine?
Achieving a truly crisp, well-browned crust in a bread machine can be tricky compared to a conventional oven. The primary reason lies in the baking environment itself. A bread machine bakes the loaf within a confined metal pan inside a small chamber.
This setup limits air circulation significantly, especially around the sides and bottom of the loaf, which are in direct contact with the hot pan. While the top surface gets more direct heat, the overall environment is less conducive to the dry, high-heat conditions that promote maximum crust development and crispness in a standard oven, which can reach temperatures of 450°F (230°C) or higher and circulate hot air freely.
Furthermore, the moisture released from the bread as it bakes tends to get trapped within the bread machine's baking chamber. In a conventional oven, this moisture can escape or be managed with steam techniques, which initially keep the crust pliable before drying out and crisping. In a bread machine, the trapped steam can keep the crust softer and prevent it from drying and browning as effectively. This leads to a crust that might be too thin, too pale, or simply not as satisfyingly crunchy as you'd like in many standard bread machine crust recipes.
Factors Affecting Crust Formation in Bread Machines
Several factors within the bread machine environment directly influence how the crust forms. The temperature profile of the baking cycle is crucial; different machines and settings will apply heat differently, impacting browning and crispness. The duration of the baking cycle also plays a significant role; a longer bake time generally leads to a thicker, darker crust, assuming the moisture levels are managed.
The moisture content of the dough itself, and the humidity within the baking chamber, are perhaps the most critical factors. Dough that is too wet can result in a pale, soft crust because the surface takes longer to dry out and reach the temperature needed for the Maillard reaction and caramelization to occur effectively.
Conversely, dough that is too dry might develop a very hard or thick crust. The type of pan material and its heat conductivity can also have a minor impact on the bottom and side crusts, though this is less controllable by the user than ingredients or settings when following bread machine crust recipes.
Key Ingredients for Enhanced Bread Machine Crust
The Role of Flour in Crust Development
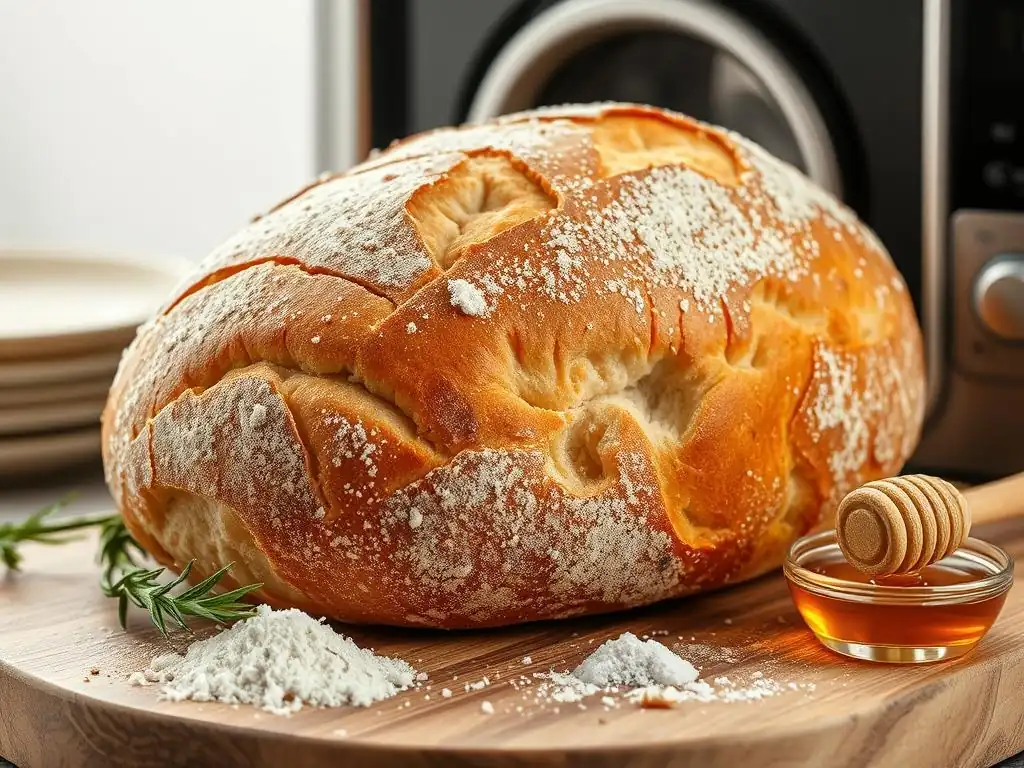
The type of flour you use is foundational to the structure and texture of your bread, including the crust. All-purpose flour works for many basic bread machine crust recipes, but for a more robust crust, bread flour is often recommended. Bread flour has a higher protein content, typically between 12% and 14%, compared to all-purpose flour's 10-12%. This higher protein level, specifically gluten-forming proteins, allows the dough to develop a stronger structure, which can support better oven spring (the final rise in the heat) and contribute to a chewier interior and a more substantial crust.
Using flour with the right protein content helps create a dough that browns more evenly and develops a sturdier exterior shell during baking. For instance, using a blend of bread flour and a small amount of whole wheat or rye flour can also impact crust flavor and texture, often leading to a heartier, chewier crust. Experimenting with different flour types or blends in your bread machine crust recipes is a great way to see how they affect the final loaf's appearance and bite.
High-Protein Flour for a Crisper Crust
As mentioned, high-protein flour, like bread flour, is excellent for promoting a crisper crust in bread machine crust recipes. The increased gluten development provides structure that helps the loaf hold its shape as it expands during baking. This structure contributes to a more open crumb inside, which in turn allows the crust to dry out and crisp up more effectively during the latter part of the baking cycle.
Consider using 100% bread flour in your next white or whole wheat bread machine recipe to notice the difference. If you're using a recipe designed for all-purpose flour, you might need to slightly adjust the liquid downwards (perhaps by 1-2 tablespoons per cup of flour) when substituting with bread flour, as it can absorb more liquid. This minor adjustment helps ensure the dough isn't too wet, which would hinder proper crust development. This simple swap is one of the easiest ways to improve the crust texture in your bread machine crust recipes.
Sugar's Impact on Crust Color and Texture
Sugar is not just for sweetness in bread; it plays a vital role in crust development, particularly in color. Sugars participate in the Maillard reaction, a complex chemical process that occurs during baking, responsible for the browning of the crust and the development of hundreds of flavor compounds. Without sufficient sugar (or other reducing sugars present from flour breakdown), the crust will remain pale regardless of baking time.
Adding a small amount of sugar (usually 1-2 tablespoons per standard loaf) to your bread machine crust recipes can significantly enhance the browning process. Different types of sugar will affect color slightly differently; granulated sugar provides a clean browning, while brown sugar or honey can contribute to a darker, richer hue and slightly different flavor notes. Too much sugar, however, can lead to overly rapid browning or a crust that is too hard or brittle. Finding the right balance is key to achieving a beautiful, golden-brown crust.
Adding Fats for a Tender and Flavorful Crust
Fats, such as oil, butter, or shortening, contribute to the tenderness and flavor of the bread's crumb, but they also impact the crust. While fats can sometimes inhibit gluten development slightly, a moderate amount can actually help create a more tender crust rather than one that is excessively hard or brittle. Fats also add flavor and contribute to a richer color during baking due to fat-soluble compounds that interact with heat.
Incorporating 1-2 tablespoons of fat per standard loaf in your bread machine crust recipes can make a noticeable difference. It helps to lubricate the gluten strands, resulting in a softer crumb, and can prevent the crust from becoming overly tough. It also helps the crust stay fresher longer.
Using Oil, Butter, or Shortening
The type of fat you choose for your bread machine crust recipes can subtly alter the outcome. Liquid oils (like vegetable, canola, or olive oil) tend to produce a softer crumb and a slightly more tender crust compared to solid fats. They distribute evenly throughout the dough and interfere less with gluten development than solid fats.
Butter adds a wonderful flavor and richness. It contributes to tenderness but can sometimes make the crust slightly less crisp than oil due to its water content. Shortening, a solid fat, can create a very tender, almost cake-like crumb and a softer crust. Experimenting with these different fats in your favorite bread machine crust recipes is a great way to find your preferred texture and flavor profile. For a balance of tenderness and a decent crust, many bakers find oil or softened butter works well.
Bread Machine Settings & Techniques for a Better Crust
Selecting the Right Bread Machine Cycle
Your bread machine's cycle selection is one of the most powerful tools you have for influencing the crust. Most machines offer several basic cycles: White, Whole Wheat, French, Sweet, etc. These cycles vary not only in mixing and rising times but also significantly in baking temperature and duration. Using a cycle designed for a lighter crust (like some basic or sweet settings) will result in a paler, softer crust, while cycles designed for heartier breads or specific crust types will bake hotter or longer.
For a better crust, avoid cycles specifically labeled "Rapid" or "Express," as these shorten the baking time considerably, which is detrimental to crust development. Instead, opt for standard cycles that allow for a full, appropriate baking duration. Consult your machine's manual to understand the temperature and timing profile of each cycle if possible; some manuals provide this detail, which can help you choose the best setting for your desired crust in your bread machine crust recipes.
Choosing the "Crusty" or "Dark Crust" Setting
Many modern bread machines come equipped with specific crust color settings (Light, Medium, Dark) or even a dedicated "Crusty" or "French" cycle designed to produce a thicker, darker crust. If your machine has these options, definitely utilize them when you want to enhance the crust in your bread machine crust recipes. The "Dark" setting typically extends the baking time by 5-15 minutes compared to the "Medium" setting, allowing the crust to brown more deeply and become firmer.
The "Crusty" or "French" cycle often features a longer, hotter bake phase specifically aimed at developing a thick, crackly crust. While this might be too intense for very tender loaves, it's perfect for rustic or lean bread types. Check your machine's manual to understand exactly what these settings do and experiment to see which level of darkness or which specialized cycle produces the best crust results for your favorite bread machine crust recipes.
Adjusting Baking Time for Optimal Crust Development
Even within a chosen cycle, some bread machines allow for minor adjustments to the baking time, or you might be able to manually extend the bake if needed. If you consistently find your crust is too pale or soft on the "Dark" setting, you could potentially add a few extra minutes to the baking phase if your machine has that feature.
Alternatively, once the main cycle is finished, you can carefully remove the bread pan from the machine and place the loaf directly on a baking sheet in a preheated conventional oven (say, 375°F or 190°C) for 5-10 minutes to crisp up the crust further. Be extremely careful when handling the hot pan and loaf. This manual intervention is a surefire way to guarantee a crisp crust, though it defeats some of the bread machine's set-it-and-forget-it convenience for your bread machine crust recipes.
The Importance of Preheating (If Your Machine Allows)
While most bread machines don't require preheating the baking chamber itself, some advanced models might have a short preheat phase built into certain cycles. More importantly, ensuring your ingredients are at the correct temperature before starting the cycle can indirectly affect crust development. Using lukewarm water (around 80-90°F or 27-32°C) helps activate the yeast properly, leading to a good rise. A well-risen loaf will have better structure, which supports better crust formation.
If your machine has a "Bake Only" cycle, you could potentially preheat the empty pan inside the machine for 5-10 minutes on this setting before adding the dough from a separate rise cycle. This can give the bottom crust a slightly better start. However, for standard automated bread machine crust recipes, focusing on correct ingredient temperature and using the appropriate machine settings is usually sufficient.
Simple Bread Machine Crust Recipes to Try
Basic White Bread Recipe with Enhanced Crust
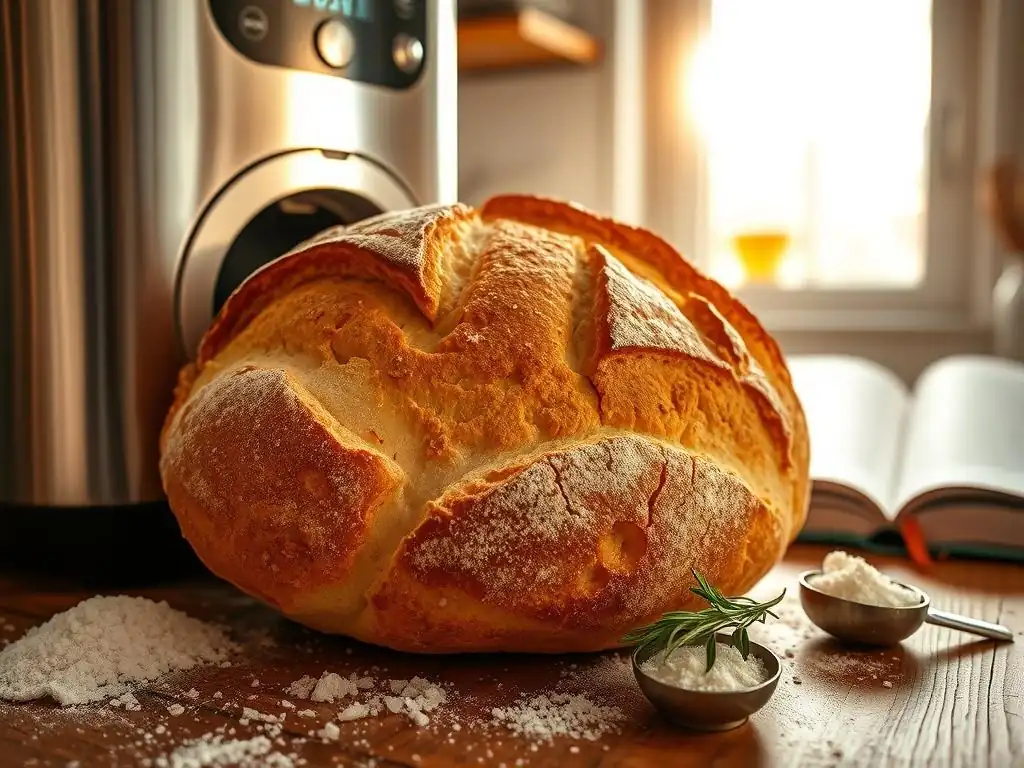
A classic white bread forms the foundation for many bread machine crust recipes. To enhance the crust on a basic white loaf, you can make a few simple modifications. Start with a standard recipe using bread flour, water, yeast, salt, and sugar. Increase the sugar slightly (e.g., from 1 tablespoon to 1.5 tablespoons) to promote better browning. You might also add 1-2 tablespoons of vegetable oil for tenderness.
Select the "White" or "Basic" cycle on your machine, but make sure to choose the "Dark" crust setting. This combination of slightly increased sugar and fat with an extended bake time will help achieve a beautiful, golden-brown crust that is more substantial than a standard pale white loaf. This simple adjustment is often all it takes to improve the crust texture in your everyday bread machine crust recipes.
Whole Wheat Bread Recipe with a Hearty Crust
Whole wheat flour naturally tends to produce a heartier loaf, and you can leverage this for a great crust in your bread machine crust recipes. Use a recipe that incorporates a significant amount of whole wheat flour (50% or more). Whole wheat flour contains the bran and germ, which can sometimes interfere with gluten development, so using a recipe specifically formulated for whole wheat in a bread machine is important.
For a hearty crust, use the "Whole Wheat" cycle on your machine and select the "Dark" crust setting. Some bakers also add a tablespoon of molasses or honey instead of sugar to whole wheat bread, which not only adds flavor but also contributes to a darker, richer crust color due to the different types of sugars present. The longer, hotter bake of the whole wheat cycle combined with these ingredients will yield a robust and flavorful crust.
Sourdough Bread Machine Recipe for a Tangy Crust
Achieving a true sourdough crust, known for its chewiness and tang, is possible with a bread machine, though it requires a specific approach. Many bread machine crust recipes for sourdough involve using a sourdough starter combined with commercial yeast for a reliable rise within the machine's cycle timeframe. The tang comes from the starter, and the crust requires techniques to mimic oven conditions.
A typical approach involves using a "Sourdough" or "French" cycle if your machine has one, or even using the "Dough" cycle and then transferring the dough to bake in a preheated oven for maximum crust development. If baking entirely in the machine, selecting the "Dark" crust setting is essential. The slightly higher acidity from the starter can also subtly influence crust browning and texture. While perhaps not as crackly as oven-baked sourdough, you can still achieve a flavorful, chewy crust in your bread machine crust recipes using these methods.
Troubleshooting Common Bread Machine Crust Issues
Crust Too Pale? Tips for Achieving a Golden Brown
A pale crust is a very common issue with bread machine crust recipes, often due to insufficient browning during the bake cycle. If your crust consistently lacks color, the first step is to ensure you are using the "Dark" crust setting on your machine. This is the simplest way to increase the bake time and temperature slightly, promoting more browning.
If you're already on the "Dark" setting and the crust is still pale, consider slightly increasing the amount of sugar in your recipe (by about 1/2 to 1 tablespoon per loaf). Sugar caramelizes and participates in the Maillard reaction, which gives the crust its color. Ensure your yeast is active and the dough is rising properly, as a poorly risen loaf may not brown correctly. Lastly, check the expiration date on your flour; old flour might not brown as well.
Crust Too Thick? How to Get a Lighter Texture
Sometimes, especially with certain cycles or if the dough is slightly dry, the bread machine can produce a crust that is too thick or tough. If your crust is consistently like a shell, you might be over-baking it for your preference. Try selecting the "Medium" crust setting instead of "Dark" to shorten the bake time.
Another approach is to increase the moisture content of your dough slightly. Adding a tablespoon or two more water (be careful not to make it too wet) can result in a softer crust. Incorporating a little fat, like a tablespoon of oil or butter, can also help tenderize the crust in your bread machine crust recipes. Ensure you are weighing your ingredients accurately, as too much flour can lead to a dry dough and a thick crust.
Crust Too Hard? Solutions for a More Tender Crust
A hard or brittle crust often goes hand-in-hand with a thick crust, but it can also happen if the bread dries out too much after baking. If your bread machine crust recipes yield loaves with a hard crust, consider the amount of fat in the recipe; increasing it slightly (as mentioned above) can help.
Make sure you are allowing the bread to cool properly after baking (more on this below). Cutting into hot bread traps steam, which can later condense and make the crust soggy, but letting it cool too slowly while exposed to air can make it hard.
If the crust is still too hard even after adjustments, you might need to accept that your specific machine tends to produce a firmer crust and focus on proper cooling and storage to mitigate the issue. For some machines and recipes, a slightly harder crust is simply the nature of bread machine crust recipes baked in that environment.
Advanced Techniques for Bread Machine Crust Perfection
The Ice Cube Trick for a Chewier Crust
This technique is borrowed from conventional oven baking but can be adapted for some bread machines, particularly those with top heating elements that are somewhat exposed. The idea is to create steam in the baking chamber at the beginning of the bake cycle. Steam keeps the crust surface moist and pliable longer, allowing the loaf to expand fully before the crust sets. This process helps gelatinize the starches on the surface, contributing to a chewier texture and better browning later in the bake.
To try this in your bread machine crust recipes, add 2-3 ice cubes to the bottom of the bread machine pan outside the dough area, just as the baking cycle begins. Be cautious not to let the ice cubes touch the dough or the paddle. The heat will melt the ice, creating steam. Check your machine's manual to ensure this is safe for your model; some machines may not be designed for this. This trick is more effective in machines with a more open baking chamber near the lid.
Using Egg Wash for a Shiny, Golden Crust
An egg wash is a classic technique for adding color and shine to baked goods. It works beautifully on bread, and you can apply it to your bread machine loaf just before the baking cycle begins. A simple egg wash is made by whisking one egg with a tablespoon of water or milk.
Carefully open the bread machine lid just before the baking phase starts (consult your manual for the exact timing, usually after the final rise). Quickly and gently brush the top surface of the dough with the egg wash. Close the lid immediately to retain heat. The proteins and sugars in the egg wash will caramelize and brown during baking, resulting in a beautiful, glossy, golden crust. This is an excellent technique for enhancing the visual appeal of your bread machine crust recipes.
Adding Malt Powder for a Deeper Flavor and Color
Diastatic malt powder is a secret ingredient used by professional bakers to improve crust color, texture, and flavor. It contains enzymes (amylase) that break down starches in the flour into simple sugars. These extra sugars provide more "food" for the yeast, leading to a better rise, and more importantly, they are readily available for the Maillard reaction and caramelization during baking.
Adding just 1-2 teaspoons of diastatic malt powder per loaf to your dry ingredients can significantly boost crust browning and create a richer, more complex flavor profile. Be careful not to use too much, as excessive enzymatic activity can lead to a sticky crumb. Non-diastatic malt powder, while adding flavor and color, does not contain active enzymes and functions more like a sugar. Using diastatic malt is a subtle but effective way to enhance the crust in your bread machine crust recipes.
Expert Tips for Consistent Bread Machine Crust Results
Measuring Ingredients Accurately
Precision is paramount in baking, and it's especially true for bread machine crust recipes. Using too much flour or too little liquid can significantly impact dough consistency, which in turn affects how the crust develops. For the most consistent results, use a kitchen scale to weigh your flour and other dry ingredients rather than relying on volume measurements (cups). A cup of flour can vary in weight by as much as 20% depending on how it's scooped and leveled.
Liquids should also be measured accurately using a liquid measuring cup at eye level. Consistent measurement ensures that your dough has the correct hydration level recipe after recipe, which is fundamental to achieving the desired crust thickness and texture. Inconsistent measuring is one of the most common reasons for variable results in bread machine crust recipes.
Monitoring Dough Temperature
Yeast activity is highly dependent on temperature, and the temperature of your ingredients and the dough itself can influence the rise, which impacts crust structure. Ideal liquid temperature for activating yeast is typically between 80-90°F (27-32°C). Using water that is too hot can kill the yeast, while water that is too cold can result in a slow or poor rise.
During the kneading cycle, the dough will warm up due to the friction from the paddle. The ideal finished dough temperature for most bread is around 75-80°F (24-27°C). While you can't control the machine's internal temperature, ensuring your initial ingredients are at the correct temperature sets the dough up for success. A well-risen dough is more likely to develop a good crust in your bread machine crust recipes.
Cooling Bread Properly After Baking
The process of achieving a great crust doesn't end when the machine beeps. Proper cooling is absolutely essential for the crust to set and for the internal moisture to redistribute. As the bread cools, steam continues to evaporate from the loaf, including through the crust. If the bread cools too slowly, or if it's left in the pan, the crust can become soft and soggy.
Immediately after the bread machine cycle finishes, carefully remove the bread pan (using oven mitts!) and turn the loaf out onto a wire cooling rack. Ensure there is air circulation around the entire loaf. Let it cool completely for at least 1-2 hours before slicing. Cutting into hot bread releases steam that gets trapped in the crumb, leading to a gummy texture, and it prevents the crust from firming up properly. Patience during the cooling phase is key to enjoying the perfect crust from your bread machine crust recipes.
Elevate Your Bread Machine Baking: Conclusion
Achieving Bakery-Quality Crusts at Home with Your Bread Machine
Mastering the crust in your bread machine takes a little understanding and experimentation, but it's entirely achievable. By paying attention to the details – from selecting the right flour and incorporating ingredients like sugar and fat, to utilizing your machine's crust settings and even trying advanced techniques like the ice cube trick or egg wash – you can significantly improve the texture and appearance of your loaves.
Remember that every bread machine is slightly different, and what works perfectly in one model might need slight adjustment in another. Don't be afraid to experiment with your favorite bread machine crust recipes, keeping notes on what changes you made and the results. With practice and these tips, you'll be consistently pulling loaves with beautiful, satisfying crusts from your bread machine, bringing that bakery-quality experience right into your own kitchen. Happy baking!
Frequently Asked Questions
What are the main factors that affect the crust of bread baked in a bread machine?
The main factors include ingredients, especially the type of flour and the amount of sugar or sweeteners used. The machine's settings and the humidity in your kitchen also play a significant role.
Can I use different types of flour to achieve different crust textures in my bread machine?
Yes, absolutely! Different flours impact the crust significantly. For a chewier crust, try bread flour with a higher protein content. For a softer crust, consider using all-purpose flour or adding a bit of cake flour.
How does sugar or sweeteners affect the crust color and texture?
Sugar and sweeteners caramelize during baking, leading to a darker and crispier crust. Adjusting the amount of sugar can help you control the crust's color and sweetness.
What bread machine settings are best for achieving a darker, thicker crust?
Look for settings that offer longer baking times or crust control options. The "dark crust" setting, if available, is specifically designed for this. Also, ensure the dough is properly kneaded for optimal crust development.
What can I do to improve the crust if I live in a humid environment?
Humidity can soften the crust. You can try reducing the liquid slightly in the recipe or adding a tablespoon of vital wheat gluten. Opening the bread machine lid slightly during the last few minutes of baking can also help evaporate excess moisture.
Final Reflection: The Humble Crust, a Gateway to Baking Joy
The quest for the perfect bread machine crust isn't just about aesthetics; it's about unlocking the potential for consistently delicious, homemade bread. A perfectly crisp, golden-brown crust elevates a simple loaf into a culinary masterpiece, transforming a kitchen chore into a deeply satisfying experience. This journey through various techniques and recipes highlights the surprising depth and artistry involved in even the seemingly simplest baking endeavors.
The pursuit of the ideal crust reflects a larger cultural shift towards appreciating the process and the tangible results of homemade food. We're increasingly drawn to the comforting ritual of baking, a connection to simpler times and a celebration of handcrafted goodness. Bread is the staff of life,
they say, and I believe the crust is the jewel in its crown. It's the first thing you see, the first thing you smell, and the first thing you taste, setting the tone for the entire experience. The impact of a perfectly crafted crust extends far beyond the simple act of eating; it's a symbol of care, creativity, and the satisfaction of creating something beautiful and delicious from scratch.
Now, it's your turn. Don't be afraid to experiment with the techniques and recipes outlined in this article. Embrace the occasional imperfect loaf—it's all part of the learning process. Remember the joy of that first bite, the satisfying crunch, and the warmth that spreads through you with each slice. The perfect crust is within your reach; the journey to find it is a rewarding one. So, gather your ingredients, preheat your bread machine, and embark on your own adventure in baking bliss.
Unleash Your Inner Baker: Craft the Perfect Crust Today!
Thanks for joining us on this bread-baking adventure! We hope you gained valuable insights into achieving that golden, crispy crust you've always dreamed of. Now it's time to put your new knowledge to the test!
- Bake your masterpiece: Try out one of the crust-enhancing techniques from the article, and see the difference it makes! Remember, even small adjustments can have a big impact.
- Share your success (or challenges!): Post a picture of your bread on social media and tag us – we'd love to see your creations!
- Experiment with different flours: Explore the world of bread flour and see how different types affect your crust’s texture and color.
Ready to transform your bread-making game? What’s the first crust-enhancing technique you’ll try?