
MustHave Cake Decorating Tools for Absolute Beginners

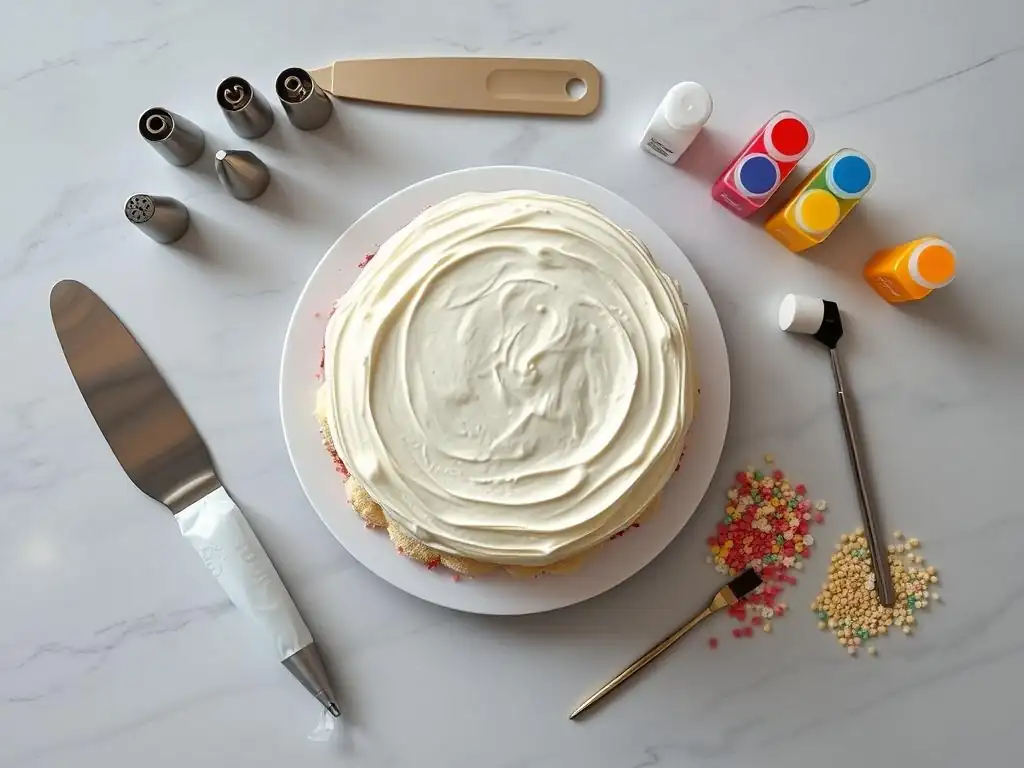
Welcome to BakeWithEase, your guide to baking bliss! Ever dreamt of creating stunning cakes but felt intimidated by complicated techniques? This is where your journey begins. Discover the essential beginner cake decorating tools you absolutely need to transform your sweet creations from simple to spectacular. Intrigued? Let's unlock the secrets to flawless frosting and dazzling designs, one tool at a time…
- Essential Cake Decorating Tools for Beginners
- BakeWithEase's Guide to Essential Cake Decorating Tools for Beginners
- Getting Started: Your First Cake Decorating Toolkit
-
The Essential Cake Decorating Tools List for Beginners
- 1. Offset Spatula: The Foundation for Smooth Frosting
- 2. Cake Scrapers: Achieving Professional Finishes Easily
- 3. Piping Bags and Tips: Adding Decorative Flair
- 4. Turntable: Rotating for Perfect Icing
- 5. Measuring Cups and Spoons: Precision in Cake Decorating
- 6. Cake Boards and Boxes: Presentation Matters
- Building Your Beginner Cake Decorating Tool Collection: Budget-Friendly Options
- Cake Decorating Techniques for Beginners with Essential Tools
- Cleaning and Maintaining Your Cake Decorating Tools
- Next Steps: Expanding Your Cake Decorating Skills
- Conclusion: Embrace the Joy of Cake Decorating with the Right Tools
-
Frequently Asked Questions
- What are the essential beginner cake decorating tools recommended by BakeWithEase?
- Where can I find affordable beginner cake decorating tools?
- How important is a turntable for beginner cake decorating?
- What kind of piping tips should I get as a beginner?
- Are there any beginner cake decorating tools I can skip initially to save money?
- Final Reflection: Unlocking Your Inner Cake Artist
- Unleash Your Inner Cake Artist!
Essential Cake Decorating Tools for Beginners
BakeWithEase's Guide to Essential Cake Decorating Tools for Beginners
Embarking on the journey of cake decorating can feel daunting, but with the right tools, it becomes an enjoyable and rewarding process. At BakeWithEase, we believe that anyone can create beautiful cakes, starting with a solid foundation of essential equipment. This guide is specifically crafted for absolute beginners, focusing on the most crucial items that will help you achieve fantastic results without breaking the bank or overwhelming you with complexity. Mastering basic techniques with these fundamental beginner cake decorating tools is the first step towards unlocking your creative potential in the kitchen.
Whether you dream of smooth buttercream finishes, elegant piped details, or simply presenting a cake that looks as good as it tastes, having the correct gear makes all the difference. Think of these tools as your artistic palette and brushes for the edible canvas of your cake. We'll walk you through each must-have item, explaining why it's important and how to use it effectively, ensuring your initial experiences with cake decorating are positive and encouraging.
Getting Started: Your First Cake Decorating Toolkit
Building your initial toolkit doesn't require purchasing dozens of specialized gadgets. The goal is to acquire versatile tools that serve multiple purposes and help you practice fundamental techniques. Focusing on these core items ensures you can tackle a wide range of decorating tasks right from the start. As you gain confidence and experience, you can gradually expand your collection, but for now, let's concentrate on the true essentials for any aspiring cake decorator.
Why Invest in Beginner Cake Decorating Tools?
Investing in quality beginner cake decorating tools significantly impacts the outcome of your efforts. While it might be tempting to try decorating with everyday kitchen utensils, specialized tools are designed to perform specific tasks with precision and ease. An offset spatula, for instance, allows for much smoother application of frosting than a butter knife, and a turntable makes icing the sides of a cake vastly simpler.
Beyond ease of use, the right tools contribute to a more professional finish. Achieving sharp edges, smooth surfaces, and consistent piping is challenging without the correct equipment. Studies and anecdotal evidence from baking communities consistently show that beginners who use appropriate tools learn faster and are more likely to continue practicing and improving their skills. For example, many baking instructors recommend starting with a basic set costing around $20-$50, which typically includes key items like spatulas, scrapers, and a few piping tips, demonstrating that a modest investment can yield significant results.
Understanding the Basics: What Every New Cake Decorator Needs
At its core, basic cake decorating involves applying frosting smoothly and adding simple decorative elements. Therefore, the essential tools for a new cake decorator revolve around these two primary functions. You'll need items to handle the cake itself, apply and smooth frosting, and create basic piped designs.
Every beginner setup should include tools for preparing the cake surface (like a leveler, though not strictly essential initially), applying frosting (spatulas), smoothing frosting (scrapers), rotating the cake for easy access (turntable), and adding simple decorations (piping bags and tips). Additionally, accurate measuring tools are crucial not just for baking but also for ensuring correct frosting consistency or coloring. Let's dive into the specific items that form the foundation of your beginner cake decorating tools collection.
The Essential Cake Decorating Tools List for Beginners
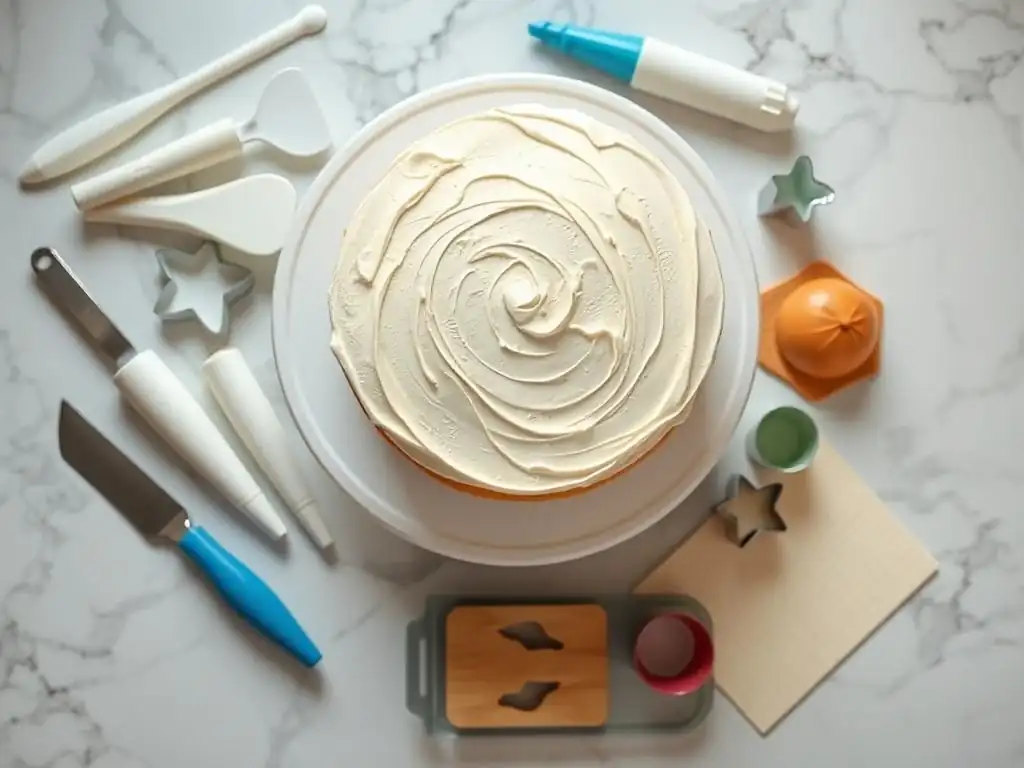
Here is a curated list of the most important tools for anyone starting out in cake decorating. Each item serves a vital function and will become indispensable as you practice and refine your skills.
1. Offset Spatula: The Foundation for Smooth Frosting
An offset spatula is arguably the most fundamental tool for any cake decorator. Its unique shape, with the blade offset from the handle, allows you to spread frosting smoothly and evenly across the top and sides of a cake without your knuckles dragging through the icing. It's essential for crumb coating, applying the final layer of buttercream, and lifting delicate items.
This versatile tool is used for everything from filling cake layers to smoothing out imperfections. Many experienced decorators use an offset spatula for tasks beyond frosting, such as spreading batter in pans or lifting cookies from baking sheets. Its simple design hides its immense utility, making it a non-negotiable item in your initial set of beginner cake decorating tools.
Choosing the Right Size Offset Spatula for Beginner Cake Decorating
Offset spatulas come in various sizes, typically measured by the length of the blade. For beginner cake decorating, a medium-sized spatula, around 6 to 8 inches in blade length, is highly recommended. This size offers a good balance between maneuverability for smaller cakes and coverage for larger surfaces.
A smaller spatula (4-5 inches) is excellent for detail work or getting into tight spots, while a larger one (10-12 inches) is ideal for covering large sheet cakes quickly. However, for general-purpose use on standard round or square layer cakes, an 8-inch offset spatula provides the most versatility for someone just starting out. Consider starting with one medium size and adding others as your needs evolve.
How to Use an Offset Spatula for Even Frosting
Using an offset spatula for frosting involves a few key techniques. For the top of the cake, place a generous dollop of frosting in the center and use the spatula to gently push and spread it outwards towards the edges, rotating the cake as you go. Keep the spatula at a slight angle to the cake surface.
For the sides, apply frosting in sections and use the edge of the spatula to smooth it upwards from the bottom edge, again rotating the cake. Holding the spatula perpendicular or slightly angled towards the cake side and applying light, consistent pressure is key to achieving a smooth finish. Practice makes perfect, and you'll quickly develop a feel for the right amount of pressure and angle.
2. Cake Scrapers: Achieving Professional Finishes Easily
Cake scrapers are flat, rigid tools used to smooth the sides of a frosted cake and create sharp edges on the top. While an offset spatula gets the frosting onto the cake, a scraper is what truly refines the surface, giving it that polished, professional look often seen in bakeries.
Using a cake scraper involves holding it perpendicular to the side of the cake while rotating the cake on a turntable. This action shaves off excess frosting and fills in gaps, resulting in a perfectly smooth cylinder. Some scrapers also have textured edges to create decorative patterns, adding another layer of design possibilities for beginners.
Types of Cake Scrapers for Beginners: Metal vs. Acrylic
Cake scrapers are commonly made from metal or acrylic. Both types are effective for beginner cake decorating, but they have slight differences. Metal scrapers, often stainless steel, are very durable, easy to clean, and provide excellent rigidity for smoothing. They can sometimes feel colder, which helps firm up buttercream slightly as you scrape.
Acrylic scrapers are typically thicker than metal ones and come in a wider variety of shapes and sizes, including those with patterned edges. They are often lighter and can be less expensive. For a beginner, either material works well. A simple, straight-edged scraper in either metal or acrylic is the most essential to start with.
Creating Smooth Sides and Sharp Edges with Cake Scrapers
To create smooth sides, apply a generous amount of frosting to the sides of your cake. Hold the straight edge of the scraper firmly against the side of the cake, ensuring it is perfectly perpendicular to the turntable. With your other hand, slowly and steadily rotate the turntable while keeping the scraper stationary. Excess frosting will accumulate on the scraper, which you can wipe off periodically. Repeat until the sides are smooth.
For sharp edges, after smoothing the sides, there will be a slight ridge of frosting around the top edge. Use your offset spatula, held parallel to the top surface, to gently pull this excess frosting inwards towards the center of the cake. Work your way around the cake, cleaning your spatula frequently, until you achieve a defined, sharp edge.
3. Piping Bags and Tips: Adding Decorative Flair
Piping bags and tips are essential for adding decorative details to your cakes, from borders and writing to swirls and rosettes. This is where you start adding personality and flair to your creations. A basic set of piping tools opens up a world of design possibilities, even for beginners.
Piping bags hold the frosting, and piping tips, inserted into the end of the bag, shape the frosting as it's squeezed out. Learning a few basic piping techniques can elevate a simple frosted cake into something special.
Beginner-Friendly Piping Tips: Round, Star, and Petal
For beginner cake decorating, you only need a few key piping tips to create a wide range of effects.
- Round tips: (e.g.,
Wilton #12,#1A) Used for dots, lines, writing, and filling in areas. A medium round tip is great for borders or larger dots. - Star tips: (e.g.,
Wilton #1M,#21) Produce classic star shapes, swirls, and rosettes. The#1Mis particularly popular for large, easy swirls on cupcakes or cake tops. - Petal tips: (e.g.,
Wilton #104) Used for making ruffles, borders, and flower petals. While slightly more advanced, a basic petal tip can create beautiful simple borders.
Starting with one or two of each type will give you plenty of options to practice with. Many starter kits for beginner cake decorating tools include a selection of these essential tips.
Mastering the Art of Filling and Using Piping Bags
Filling a piping bag neatly is the first step. Fold the top edge of the bag down over your hand. Use an offset spatula or spoon to scoop frosting into the bag, pushing it towards the tip. Don't overfill – fill it about halfway or two-thirds full to make it easier to handle. Unfold the top and twist it closed just above the frosting.
To pipe, hold the twisted end of the bag firmly in your dominant hand, using your other hand to guide the tip. Apply steady, even pressure with your dominant hand to push the frosting out. The speed and angle at which you move the tip will determine the final shape. Practice on parchment paper first to get a feel for the pressure needed before piping directly onto your cake.
4. Turntable: Rotating for Perfect Icing
A cake turntable, also known as a revolving cake stand, is a game-changer for frosting cakes smoothly and evenly. Trying to ice a cake by moving around it is cumbersome and often results in uneven application. A turntable allows you to simply rotate the cake while you hold your spatula or scraper in place.
This simple rotation ensures consistent coverage and makes achieving smooth sides and sharp edges significantly easier. For any serious attempt at frosting a layer cake, a turntable is considered an essential piece of beginner cake decorating tools.
Why a Turntable is Essential for Beginner Cake Decorating
For beginners, a turntable dramatically reduces the frustration associated with frosting a cake. It allows you to maintain a steady hand and angle with your spatula or scraper while the cake does the moving. This consistency is crucial for developing muscle memory and achieving clean lines and smooth surfaces.
Without a turntable, you'd constantly be shifting your body position or awkwardly reaching across the cake, leading to uneven pressure and less control. It's an investment that pays off immediately in the quality and ease of your frosting work. Many bakers consider it one of the most impactful tools in their collection.
Choosing a Turntable: Standard vs. Revolving
There are two main types of turntables suitable for beginner cake decorating: standard plastic or metal ones and professional-style revolving ones with ball bearings. Standard plastic turntables are lightweight, affordable (often under $20), and perfectly adequate for most beginners. They provide smooth enough rotation for basic frosting and decorating.
Professional revolving turntables, often made of metal or sturdy plastic with a weighted base and ball bearings, offer exceptionally smooth and long-lasting rotation. They are more expensive (ranging from $50 to $100+) but are ideal if you plan to decorate frequently or work with heavier cakes. For a beginner, a sturdy plastic turntable is a great starting point.
5. Measuring Cups and Spoons: Precision in Cake Decorating
While often thought of purely for baking the cake itself, accurate measuring cups and spoons are also vital for cake decorating. They are used for portioning ingredients for buttercream, ganache, or other frostings, as well as for measuring coloring gels or flavorings to ensure consistent results.
Having a reliable set ensures that your frosting recipes turn out correctly every time, which is crucial for achieving the right consistency for smoothing, piping, or other decorating techniques. Inconsistent frosting consistency is a common challenge for beginners, and proper measurement is key to avoiding it.
The Importance of Accurate Measurements for Cake Decorating Success
The consistency of your frosting directly impacts your ability to decorate. Frosting that is too stiff can be hard to spread or pipe, leading to jagged edges and hand strain. Frosting that is too soft won't hold its shape for piping and can cause your smooth finish to sag.
Using accurate measuring cups and spoons ensures that the ratio of ingredients in your frosting is correct, leading to the desired consistency. For example, adding too much liquid (like milk or cream) or too little powdered sugar can ruin a batch of buttercream. Precision here is just as important as it is in baking the cake itself.
Types of Measuring Tools: Dry Nesting Cups vs. Liquid Measuring Cups
It's important to use the correct type of measuring tool for different ingredients.
- Dry Measuring Cups: These are designed to be leveled off and are used for ingredients like powdered sugar, cocoa powder, or shortening. They typically come in nesting sets (e.g., 1/4 cup, 1/3 cup, 1/2 cup, 1 cup).
- Liquid Measuring Cups: These have a spout for pouring and markings on the side. They are used for liquids like milk, cream, or melted butter. You read the measurement at eye level.
Having both sets is important for accurate beginner cake decorating, ensuring your frosting ingredients are measured precisely according to the recipe.
6. Cake Boards and Boxes: Presentation Matters
Once your cake is baked and decorated, you need a way to transport and display it. Cake boards and boxes are essential for this final step, protecting your beautiful creation and making it easy to handle. While not strictly decorating tools in the application sense, they are crucial for the overall presentation.
Using a cake board provides a stable base for decorating and prevents the cake from flexing or breaking when moved. A cake box protects the cake from dust, damage, and temperature fluctuations during transport.
Selecting the Right Size Cake Board for Your Cake
The cake board should be slightly larger than your cake. A common rule of thumb is to choose a board that is 2 to 4 inches wider than the cake diameter or side length. For example, for an 8-inch round cake, a 10-inch or 12-inch round cake board is appropriate.
The extra space around the cake provides room for a border if you choose to add one, and makes it easier to lift and move the cake without touching the sides. Cake boards come in various thicknesses; a standard cardboard circle (often called a cake circle) is sufficient for most single or double-layer cakes decorated by beginners.
Protecting Your Creations: The Importance of Cake Boxes
Cake boxes are invaluable for transporting your decorated cakes safely. They prevent smudging of the frosting, protect delicate decorations, and shield the cake from external elements. Standard cake boxes are made of cardboard and come in various sizes and heights to accommodate different cake dimensions.
Using a cake box ensures your hard work arrives at its destination looking just as perfect as when you finished decorating it. It's the final touch that shows care and professionalism, even for a home baker.
Building Your Beginner Cake Decorating Tool Collection: Budget-Friendly Options
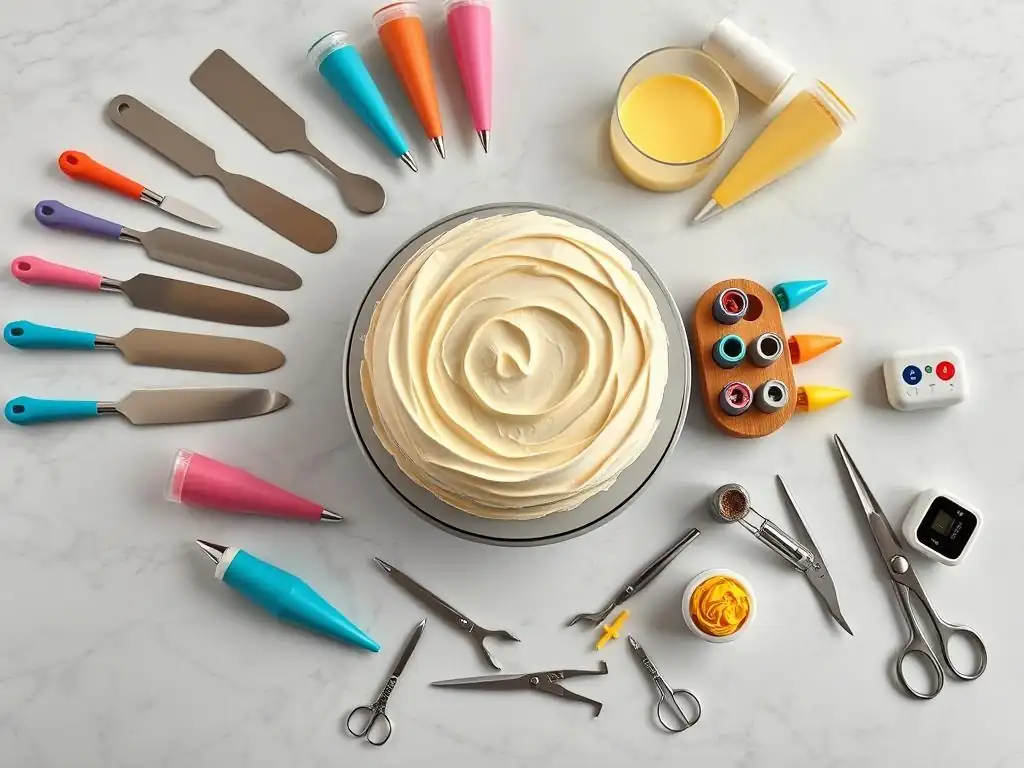
Starting out doesn't require a massive investment. Many essential beginner cake decorating tools are quite affordable, and starter kits offer a cost-effective way to acquire the basics.
Affordable Starter Sets for Aspiring Cake Decorators
Many companies offer beginner cake decorating kits that bundle essential tools like spatulas, scrapers, piping bags, couplers, and a selection of basic tips. These sets are designed specifically for those new to the craft and are typically priced very reasonably, often between $20 and $50.
Purchasing a starter set is a smart way to get a variety of useful tools at a lower cost than buying each item individually. Look for sets that include a medium offset spatula, a straight scraper, disposable or reusable piping bags, a coupler (which allows you to change tips without changing the bag), and a few basic round and star tips.
Where to Buy Quality, Budget-Friendly Cake Decorating Supplies
Quality beginner cake decorating tools don't have to be expensive. You can find good, affordable supplies at several types of retailers.
- Craft Stores: Large craft store chains often have dedicated baking and cake decorating aisles with a wide range of tools, including beginner-friendly options and kits.
- Online Retailers: Websites specializing in baking supplies or large general online marketplaces offer extensive selections, often at competitive prices. Read reviews to gauge quality.
- Local Baking Supply Stores: If you're lucky enough to have one nearby, these stores often have knowledgeable staff and a curated selection of tools suitable for various skill levels.
Comparing prices and reading reviews can help you find the best value for your initial toolkit.
Cake Decorating Techniques for Beginners with Essential Tools
With your basic tools in hand, you can start practicing fundamental decorating techniques. These simple methods form the basis for more complex designs later on.
Simple Frosting Techniques for Smooth Finishes
Achieving a smooth finish is a key skill for any beginner.
- Crumb Coating: Apply a thin layer of frosting all over the cake using your offset spatula. This traps any loose crumbs. Chill the cake for 15-30 minutes until the crumb coat is firm.
- Final Frosting Layer: Apply a thicker, more generous layer of frosting. Use your offset spatula to spread and smooth the top and sides.
- Smoothing with a Scraper: Once the frosting is applied, use your cake scraper held perpendicular to the sides while rotating the turntable to achieve a smooth, even surface. Pull excess frosting from the top edge inwards with your offset spatula for sharp edges.
These steps, practiced with your offset spatula and scraper on a turntable, are fundamental for beautiful, smooth cakes.
Basic Piping Techniques for Beginners
Start with simple piping techniques using your round and star tips.
- Dots: Hold the piping bag perpendicular to the surface, apply pressure, and stop squeezing before pulling straight up.
- Stars/Swirls: Using a star tip like
##1M, hold the bag perpendicular or at a slight angle, apply pressure to create a base, then swirl outwards or upwards. For rosettes, pipe in a circle starting from the center. - Lines: Using a round tip, hold the bag at an angle and apply steady pressure while moving the tip along the cake surface.
Practice these on parchment paper first to get comfortable with pressure and movement before piping on your cake.
Easy Cake Decorating Ideas Using Your New Tools
Here are some simple ideas to try with your beginner cake decorating tools:
- Pipe a simple star or shell border around the top and bottom edges of a smooth cake.
- Cover the entire cake top with easy
#1Mswirls. - Use a round tip to write a simple message on the cake.
- Create textured sides by gently pressing the edge of your offset spatula or a patterned scraper into the freshly smoothed frosting.
- Use a petal tip to create simple ruffles around the base.
These ideas allow you to practice using your tools in practical, achievable ways.
Cleaning and Maintaining Your Cake Decorating Tools
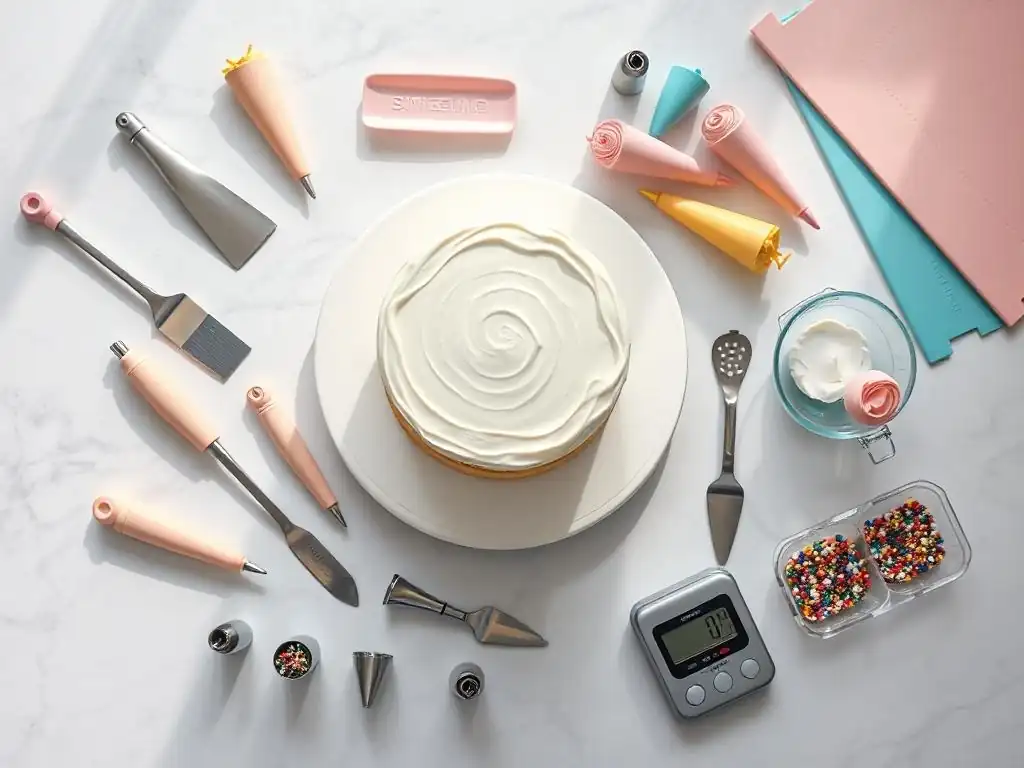
Properly cleaning and storing your beginner cake decorating tools is crucial for their longevity and hygiene.
Proper Cleaning Techniques for Longevity
Clean your tools immediately after use before frosting hardens.
- Piping Bags and Tips: Rinse thoroughly with warm water to remove all frosting. Use a small brush (like a bottle brush or an old toothbrush) to clean inside tips, especially star tips where frosting can get stuck. Wash with soap and warm water, then rinse well and let air dry completely.
- Spatulas and Scrapers: Wash with soap and warm water, ensuring all frosting is removed from the blade and handle. Dry thoroughly to prevent rust on metal tools.
- Turntable: Wipe down the surface and base with a damp cloth. Avoid submerging turntables with ball bearings in water.
Ensuring tools are completely dry before storage prevents mold or rust.
Storage Tips for Keeping Your Tools Organized
Storing your beginner cake decorating tools properly keeps them accessible and in good condition.
- Keep piping tips together in a small container, tackle box, or an organizer specifically designed for tips.
- Store spatulas and scrapers in a drawer organizer or utensil crock.
- Hang piping bags to dry completely before folding and storing them.
- Keep your turntable in a safe place where it won't be easily knocked over or scratched.
An organized tool collection makes decorating much more efficient and enjoyable.
Next Steps: Expanding Your Cake Decorating Skills
Once you're comfortable with your basic beginner cake decorating tools and techniques, you might want to learn more.
Resources for Learning More Cake Decorating Techniques
- Online Tutorials: Websites like BakeWithEase.com and platforms like YouTube offer thousands of free video tutorials demonstrating various techniques.
- Baking Books/Magazines: Many excellent books and magazines are dedicated to cake decorating, providing step-by-step instructions and inspiration.
- Classes: Local craft stores, community colleges, or specialty baking shops often offer in-person cake decorating classes for various skill levels.
- Practice: The most important resource is practice! Try new techniques on dummy cakes or parchment paper before moving to your final cake.
Exploring these resources will help you build upon the foundation you've created with your essential tools.
[Link to BakeWithEase Recipes Using These Tools]
(Note: As per instructions, this section will not contain an actual link, but indicates where one might be placed in a real article.) Find delicious cake and frosting recipes on BakeWithEase that you can practice decorating with your new tools. Look for recipes specifically designed for frosting and decorating.
Conclusion: Embrace the Joy of Cake Decorating with the Right Tools
Getting started with cake decorating is an exciting creative endeavor. By investing in a few key beginner cake decorating tools – an offset spatula, cake scraper, piping bags and tips, and a turntable – you equip yourself with the essentials needed to learn fundamental techniques and achieve beautiful results. Add in accurate measuring tools and proper cake boards/boxes, and you have a complete basic setup.
Remember that practice is key. Your first decorated cake might not be perfect, but with each attempt, you'll gain confidence and improve your skills. Embrace the process, have fun experimenting with different techniques, and enjoy the satisfaction of creating delicious, visually appealing cakes. Your journey into the wonderful world of cake decorating starts with these simple, yet powerful, tools.
Frequently Asked Questions
What are the essential beginner cake decorating tools recommended by BakeWithEase?
BakeWithEase recommends starting with a basic spatula, piping bags and tips, and a turntable for smooth frosting. These are fundamental for achieving a polished look.
Where can I find affordable beginner cake decorating tools?
You can often find affordable tools at local craft stores, online retailers like Amazon, and even some discount department stores. Look for sets to save money.
How important is a turntable for beginner cake decorating?
A turntable is highly recommended as it allows for smooth and even frosting application. It makes the entire process significantly easier for beginners.
What kind of piping tips should I get as a beginner?
Start with a basic set of round and star tips. These are versatile and allow you to create a variety of simple decorations like borders and rosettes.
Are there any beginner cake decorating tools I can skip initially to save money?
While helpful, you can initially skip specialized tools like fondant smoothers or airbrush kits. Focus on mastering the basics with essential tools first.
Final Reflection: Unlocking Your Inner Cake Artist
The accessibility of cake decorating is surprisingly high, and with the right tools, even absolute beginners can create stunning masterpieces. This isn't just about pretty cakes; it's about unlocking creativity, finding joy in the process, and sharing delicious, personalized treats with loved ones. The tools discussed in this article represent a gateway to a fulfilling hobby, one that can bring immense satisfaction and even unexpected opportunities.
The impact of accessible cake decorating extends beyond individual enjoyment. It fosters a sense of community, connecting people through shared passion and creative expression. From online tutorials to local cake decorating classes, a vibrant network supports aspiring bakers. The best things in life are homemade,
a sentiment perfectly encapsulates the heart-warming connection created through the act of baking and decorating cakes. This isn't just about the final product; it's about the journey, the learning, and the sharing.
Now, it's your turn. Don't let the fear of failure hold you back. Choose one tool from this list, grab your favorite recipe, and take the first step. Embrace the mess, celebrate the small victories, and let your creativity flow. You might surprise yourself with what you can create. The world of cake decorating awaits – go forth and bake!
Unleash Your Inner Cake Artist!
Thanks for joining us on this delicious journey into the world of cake decorating! We hope you've gained some valuable insights and feel inspired to create your own baking masterpieces. Now it's time to put your newfound knowledge into practice.
- Start with your first project: Choose a simple cake recipe and one of the tools we discussed—maybe those amazing offset spatulas?—and begin creating! Even a small step is a big win.
- Share your creations: Show off your baking prowess! Post pictures of your decorated cakes on social media and tag us – we'd love to see what you bake.
- Explore our other resources: Dive deeper into the world of cake decorating by checking out our other articles on BakeWithEase. You might discover your next favorite technique!
So, what amazing cake will you create first?