
Anadama Bread: Baking New England's Traditional Molasses Loaf

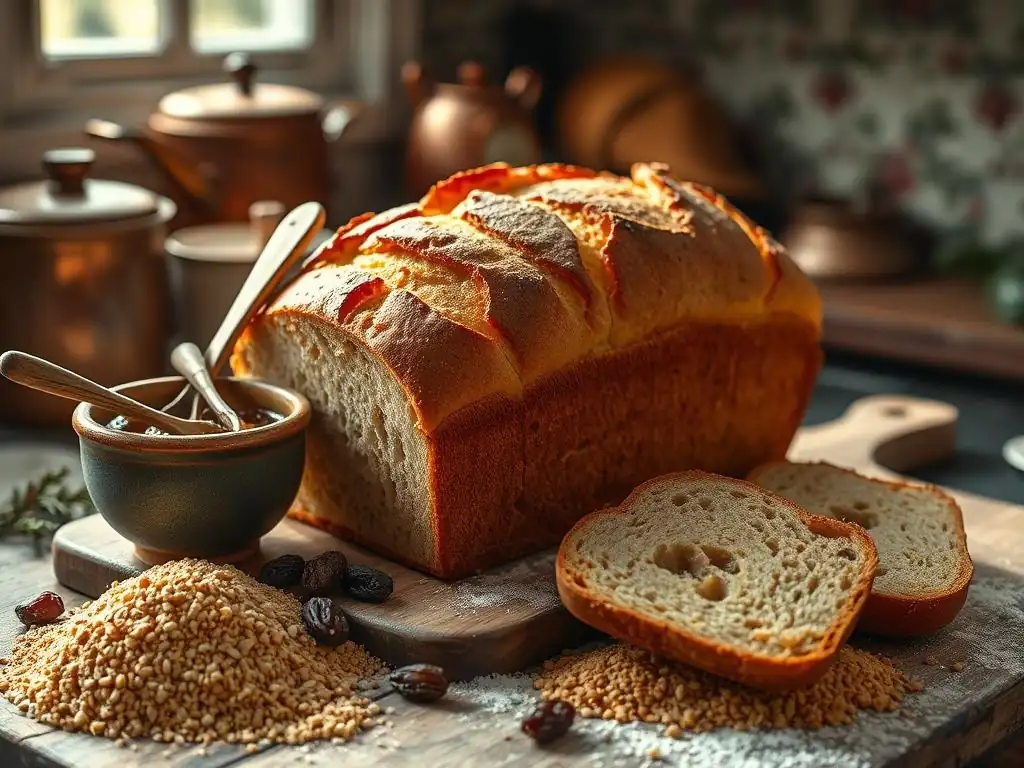
Welcome to BakeWithEase, where baking dreams become delicious realities! Ever wondered about the secrets behind New England's iconic molasses loaf? Dive into our Anadama bread molasses recipe and discover how to create this surprisingly simple, yet deeply flavorful bread in your own kitchen. Get ready to unlock the secrets of this regional classic and experience the warmth of freshly baked tradition. Intrigued? Let's get baking!
- Discovering Anadama Bread: A New England Baking Tradition
-
Mastering the Anadama Bread Molasses Recipe: A Step-by-Step Guide
- Gathering Your Ingredients: What You'll Need for Authentic Anadama Bread
- Preparing the Dough: The Key to a Perfect Anadama Loaf
- First Rise: Allowing the Dough to Develop its Flavor
- Shaping the Loaf: Preparing Your Anadama Bread for Baking
- Second Rise: Proofing the Shaped Loaf for Optimal Texture
- Baking Your Anadama Bread: Achieving a Golden-Brown Crust
- Tips and Tricks for the Best Anadama Bread Molasses Recipe
- Serving and Storing Your Homemade Anadama Bread
- Anadama Bread Recipe Variations: Beyond the Traditional Loaf
- Embrace the Legacy: Baking Authentic New England Anadama Bread at Home
- Frequently Asked Questions
- Final Reflection: The Enduring Sweetness of Anadama Bread
- Unleash Your Inner Baker: Make Anadama Bread Today!
Discovering Anadama Bread: A New England Baking Tradition
What is Anadama Bread? Exploring its History and Origins
Anadama bread is a traditional yeast bread from New England, particularly associated with the states of Massachusetts and Maine. Its defining characteristics are the use of cornmeal and molasses, which give it a unique texture, slightly sweet flavor, and a beautiful golden-brown color. Unlike typical white or wheat loaves, the inclusion of cornmeal provides a subtle grit or chewiness, while the molasses contributes moisture and a deep, complex sweetness that pairs wonderfully with the earthy corn flavor. This bread is a staple of regional baking, enjoyed for its hearty nature and connection to early American culinary practices.
The history of Anadama bread is steeped in folklore, with the most popular tale centering on a fisherman and his supposedly lazy wife, Anna. As the story goes, the frustrated fisherman, tired of eating only plain cornmeal mush, exclaimed, "Anna, damn her!" and threw cornmeal, molasses, and yeast together to make bread.
While this origin story is charming and widely repeated, culinary historians suggest the bread likely evolved more gradually as a practical way to use readily available ingredients like cornmeal and molasses, which were common staples in colonial and 19th-century New England kitchens. Regardless of its exact beginnings, Anadama bread has cemented its place as a beloved regional classic.
The Allure of Anadama Bread: Why Bake This Classic Loaf?
Baking Anadama bread offers a delightful journey into American culinary history and rewards you with a uniquely flavorful and satisfying loaf. The combination of cornmeal and molasses creates a bread that is both rustic and comforting, perfect for slicing thick and enjoying toasted with butter or used for sandwiches. Its slightly dense yet tender crumb holds up well, and the subtle sweetness from the molasses makes it versatile enough to be paired with both savory and sweet toppings.
Beyond its delicious taste and texture, baking Anadama bread connects you to a long-standing tradition. It’s a chance to work with simple, wholesome ingredients and experience the magic of yeast baking, resulting in a warm, fragrant loaf fresh from your oven. Mastering the Anadama bread molasses recipe is a rewarding experience, bringing a piece of New England heritage into your home kitchen. It’s a bread that tells a story and provides a wonderful alternative to everyday sandwich loaves.
Mastering the Anadama Bread Molasses Recipe: A Step-by-Step Guide
Gathering Your Ingredients: What You'll Need for Authentic Anadama Bread
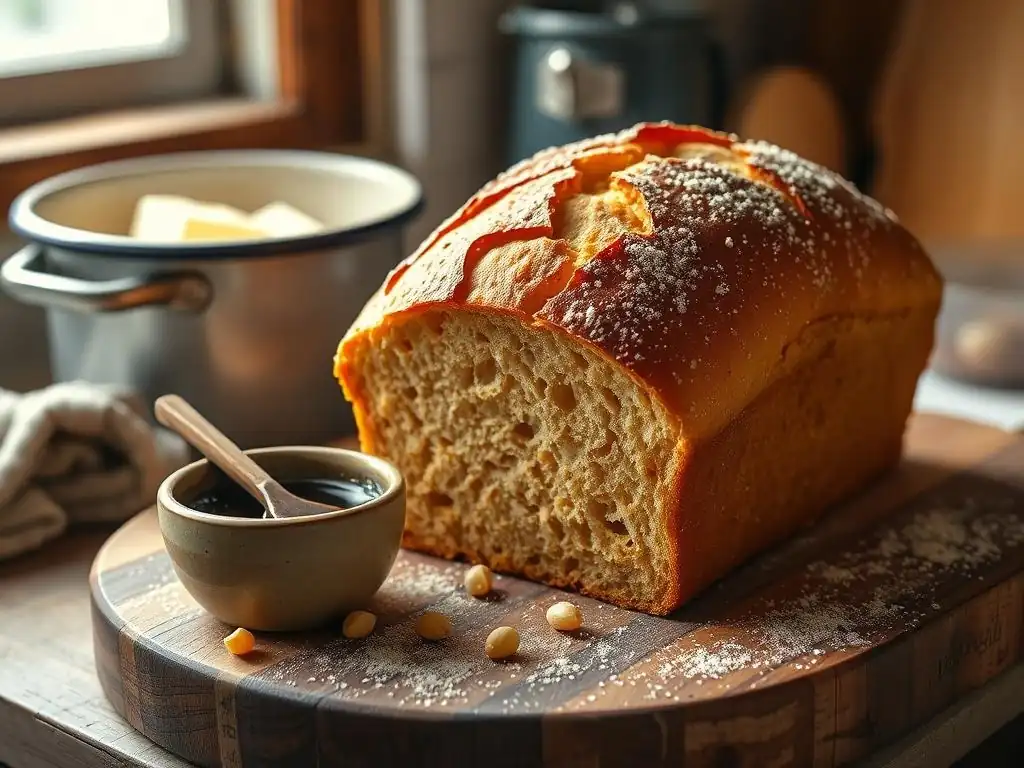
To bake a classic Anadama bread molasses recipe, you'll need a few key ingredients that give this loaf its signature character. The foundation includes warm water or milk, active dry yeast, cornmeal (often yellow cornmeal), all-purpose flour, molasses (a crucial component), butter (melted or softened), and salt. Some recipes might also include a little sugar or honey to help activate the yeast and enhance the sweetness, though molasses is the primary sweetener.
Gathering your ingredients accurately is the first step to a successful bake. For a standard 9x5 inch loaf, you might typically use around 1 to 1.5 cups of warm liquid (about 105-115°F or 40-46°C), 2 to 2.25 teaspoons of active dry yeast, about 1/2 cup of cornmeal, 3 to 3.5 cups of all-purpose flour, 1/4 to 1/3 cup of molasses, 2 to 4 tablespoons of butter, and 1 to 1.5 teaspoons of salt. Having everything measured and ready before you begin ensures a smooth baking process.
Preparing the Dough: The Key to a Perfect Anadama Loaf
Preparing the dough correctly is fundamental to achieving the desired texture and rise in your Anadama bread. This process typically involves activating the yeast, combining the wet and dry ingredients, and then kneading the dough until it develops gluten. The unique addition of cornmeal means the dough might feel slightly different from a pure wheat loaf – it can be a bit stickier and less elastic initially, but proper kneading helps build structure.
Kneading is a vital step that develops the gluten network, giving the bread its structure and helping it rise. You can knead by hand for about 8-10 minutes, or use a stand mixer with a dough hook for 5-7 minutes, until the dough is smooth and elastic. It should pass the "windowpane test," where a small piece of dough can be stretched thinly enough to see light through it without tearing. This development is crucial for a light and airy Anadama bread.
Activating the Yeast: Essential for a Light and Airy Texture
Activating your yeast is a critical initial step for any yeast bread, and it's especially important for a hearty loaf like Anadama bread. You typically dissolve active dry yeast in a warm liquid, such as water or milk, heated to a specific temperature range, usually between 105°F and 115°F (40°C and 46°C). Adding a pinch of sugar or molasses to the warm liquid helps feed the yeast and encourages it to become active.
Within 5 to 10 minutes, the yeast mixture should become foamy or bubbly on the surface. This foam is a clear sign that the yeast is alive and active, ready to leaven your bread dough. If the mixture doesn't foam, your yeast may be old or the liquid temperature was incorrect, and you'll need to start this step over with fresh yeast and properly heated liquid. Using active yeast ensures a good rise and a well-textured Anadama loaf.
Combining Ingredients: Gradually add wet ingredients to dry, mixing until just combined.
Once your yeast is active, the next step in preparing your Anadama bread dough is combining the wet and dry ingredients. In a large mixing bowl, you'll typically whisk together the dry ingredients first: the flour, cornmeal, and salt. In a separate bowl or the same bowl as the activated yeast, you'll combine the warm liquid, the activated yeast mixture, the molasses, and the melted butter.
Gradually add the wet ingredients to the bowl containing the dry ingredients. Mix with a spoon or a dough hook on a stand mixer until everything is just combined and a shaggy dough forms. At this stage, resist the urge to add too much extra flour, even if the dough seems sticky. The stickiness is often necessary for the dough to fully hydrate and develop properly during kneading.
The Importance of Molasses: Sweetening and Flavoring Anadama Bread
Molasses is arguably the star ingredient in an authentic Anadama bread molasses recipe. It provides the characteristic rich, slightly smoky sweetness and dark color that distinguishes this bread. Beyond just flavor and color, molasses also contributes to the bread's moistness and helps keep it fresh longer compared to breads made with just sugar.
The type of molasses used can slightly alter the final flavor profile. Light molasses offers a milder sweetness, while dark molasses provides a more intense, robust flavor. Blackstrap molasses, the darkest and least sweet, will give the bread a stronger, slightly bitter note, which some traditionalists prefer. The molasses interacts with the other ingredients, especially the cornmeal, to create the unique, comforting taste of Anadama bread.
First Rise: Allowing the Dough to Develop its Flavor
After kneading, the Anadama bread dough needs time to rise. This initial rise, often called the bulk fermentation, is crucial for developing the dough's flavor and texture. Place the kneaded dough in a lightly greased bowl, turning it once to coat the surface, then cover it tightly with plastic wrap or a clean kitchen towel.
Let the dough rise in a warm, draft-free spot until it has doubled in size. This typically takes anywhere from 1 to 2 hours, depending on the temperature of your kitchen and the activity of your yeast. During this time, the yeast produces carbon dioxide gas, which causes the dough to expand, and enzymes break down starches, contributing to the depth of flavor in the finished Anadama bread.
Shaping the Loaf: Preparing Your Anadama Bread for Baking
Once the dough has completed its first rise and doubled in size, it's time to shape it into a loaf ready for baking. Gently turn the dough out onto a lightly floured surface. The goal is to handle the dough carefully to avoid knocking out all the air that has developed during the first rise.
Shaping helps create an even structure and ensures the bread rises properly in the oven. Gently deflate the dough by pressing it down lightly. Then, form it into a neat log or oval shape that fits comfortably into your prepared loaf pan. Ensure the seam is sealed and placed facing downwards in the pan.
Shaping the Dough: Gently deflate, form into a log, and place in a greased 9x5 inch loaf pan.
After the first rise, gently punch down the dough to release some of the gas. Turn the dough out onto a lightly floured surface. Pat or gently roll the dough into a rectangle roughly the width of your loaf pan. Fold the ends towards the center, overlapping slightly, and then fold the dough in half lengthwise.
Pinch the seam closed firmly along the bottom. Gently cup your hands around the dough and roll it back and forth slightly to create a smooth, even log shape. Place the shaped dough seam-down into a greased 9x5 inch loaf pan. This careful shaping prepares the dough for its final rise and ensures a well-formed Anadama bread loaf.
Second Rise: Proofing the Shaped Loaf for Optimal Texture
The second rise, also known as proofing, is essential for achieving a light and airy texture in your baked Anadama bread. After shaping the dough and placing it in the loaf pan, cover the pan loosely with plastic wrap or a clean towel to prevent the surface from drying out.
Let the shaped loaf rise again in a warm, draft-free location. This rise is usually shorter than the first, typically taking about 45 minutes to 1 hour, or until the dough has nearly doubled in size and has risen about 1 inch above the rim of the pan. The dough should look puffy and feel light when gently poked; an indentation should spring back slowly. Proper proofing is key to avoiding a dense loaf in your Anadama bread molasses recipe.
Baking Your Anadama Bread: Achieving a Golden-Brown Crust
Baking is the final step where your Anadama bread transforms from a pale, puffy dough into a fragrant, golden-brown loaf. Preheat your oven to the correct temperature before placing the bread inside to ensure an even bake and good oven spring (the final burst of rising in the oven).
The combination of heat and time allows the bread to finish rising, develops the crust, and cooks the interior. The molasses in the dough contributes significantly to the beautiful dark golden-brown color the crust develops during baking.
Oven Temperature and Baking Time: Bake at 350°F (175°C) for 45-55 minutes, until golden brown.
For baking Anadama bread, a moderate oven temperature is ideal. Preheat your oven to 350°F (175°C). Once the oven is fully preheated and the shaped loaf has completed its second rise, place the loaf pan in the center of the oven.
Bake the bread for approximately 45 to 55 minutes. The exact time can vary depending on your oven and the specific recipe, but you're looking for the crust to be a deep golden-brown color. If the top starts browning too quickly, you can loosely tent the loaf with aluminum foil for the remaining baking time.
Testing for Doneness: An inserted toothpick comes out clean.
To ensure your Anadama bread is fully baked through, it's important to test for doneness. The most reliable method is to check the internal temperature using an instant-read thermometer; the bread is done when the internal temperature reaches around 190-200°F (88-93°C).
Another common method is to insert a long wooden skewer or toothpick into the center of the loaf. If it comes out clean, with no wet dough attached, the bread is likely done. Additionally, you can tap the bottom of the loaf; a hollow sound indicates it is fully baked.
Tips and Tricks for the Best Anadama Bread Molasses Recipe
Choosing the Right Molasses: Light, Dark, or Blackstrap?
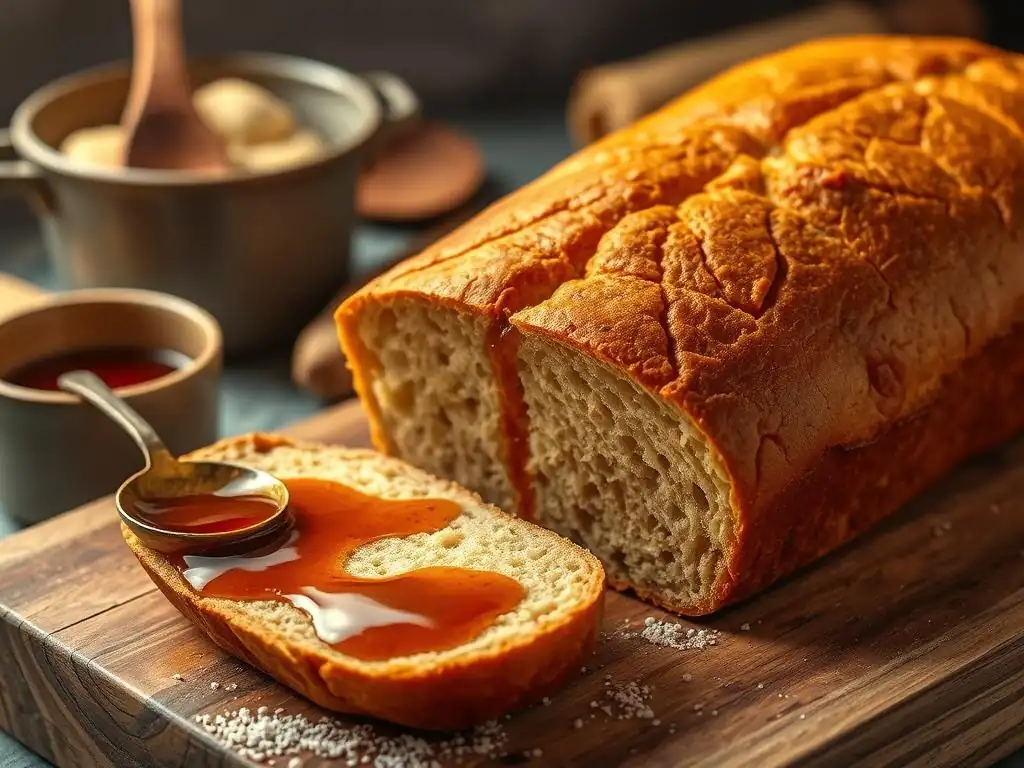
The type of molasses you choose can significantly impact the flavor and color of your Anadama bread. Molasses is a byproduct of sugar refining, and different stages of boiling produce different types. Light molasses is the result of the first boiling, offering the mildest, sweetest flavor and lightest color. Dark molasses comes from the second boiling and is darker, thicker, and has a more pronounced, slightly bitter flavor.
Blackstrap molasses is the product of the third boiling and is the darkest, thickest, and least sweet, with a strong, somewhat bitter taste and the highest concentration of minerals. For a classic, balanced Anadama bread molasses recipe, dark molasses is often preferred as it provides a rich flavor without being overly bitter. However, using light molasses will result in a sweeter, milder loaf, while blackstrap will yield a bread with a very robust, traditional flavor profile.
Achieving the Perfect Texture: Troubleshooting Common Issues
Baking yeast bread can sometimes present challenges, and understanding how to troubleshoot common issues is key to consistently achieving a perfect Anadama loaf. One frequent problem is a loaf that is too dense. This can often be traced back to issues with the yeast – either it wasn't active to begin with, or the liquid temperature was too hot or too cold, killing or inhibiting the yeast. Ensuring your yeast is bubbly after activating it is a crucial first check.
Another factor leading to density is insufficient rising time. If the dough doesn't double in size during the first rise or doesn't nearly double during the second proofing, it won't have the necessary air pockets to create a light texture. Make sure your rising environment is warm and draft-free. Also, adding too much flour during kneading can result in a stiff dough that struggles to rise properly. Aim for a dough that is slightly sticky but manageable.
Dense Loaf: Ensure yeast is active and dough rises sufficiently.
A dense Anadama bread is a common frustration, but usually fixable in future bakes. The primary culprits are typically inactive yeast or insufficient rising. When you activate your yeast, verify that it gets foamy within 5-10 minutes; if not, discard it and start with fresh yeast. Pay attention to the liquid temperature – too hot kills the yeast, too cold keeps it dormant.
Equally important is allowing the dough to rise adequately during both the bulk fermentation and the proofing stages. The dough should roughly double in volume during the first rise and become significantly puffy during the second. If your kitchen is cool, finding a warmer spot (like a slightly warmed oven that's been turned off) can help ensure proper rising times. Trust the visual cues of the dough's volume increase.
Enhancing the Flavor: Adding Variations to Your Anadama Bread
While the traditional Anadama bread molasses recipe is delicious on its own, you can easily enhance or vary its flavor profile with simple additions. These variations allow you to personalize the loaf while still retaining the core character of this New England classic.
Consider mixing in ingredients during the kneading or shaping stage. For example, adding dried fruits like raisins or cranberries can introduce bursts of sweetness and chewiness. Incorporating chopped nuts, such as walnuts or pecans, adds a lovely crunch and nutty depth that complements the molasses and cornmeal.
Flavor Variations: Try adding raisins, walnuts, or orange zest.
Experimenting with flavor variations can take your Anadama bread to new heights. A common and delightful addition is about 1/2 to 1 cup of raisins or dried cranberries, which pair wonderfully with the molasses flavor. Simply knead them into the dough towards the end of the kneading process.
For a different texture and nutty flavor, add 1/2 to 1 cup of chopped walnuts or pecans. These nuts toast slightly during baking, enhancing their aroma and crunch. A less common but equally appealing addition is the zest of one orange; the bright citrus notes provide a lovely contrast to the deep sweetness of the molasses. You can mix the zest in with the wet ingredients or during the initial combination step.
Serving and Storing Your Homemade Anadama Bread
Serving Suggestions: Enjoying Anadama Bread in Various Ways
Homemade Anadama bread is incredibly versatile and can be enjoyed in numerous ways. Its slightly sweet, hearty nature makes it perfect for both breakfast and savory meals. Serve thick slices toasted with butter, honey, or jam for a classic breakfast. It also makes excellent toast points for serving alongside soups or stews.
Consider using Anadama bread for sandwiches. The sturdy crumb holds up well, and the subtle sweetness complements fillings like ham and cheese, turkey, or even peanut butter. It's also a fantastic base for French toast or bread pudding, where the molasses flavor adds an extra layer of richness. Don't forget to try it simply sliced fresh from the loaf – the aroma and taste are truly special.
Proper Storage: Keeping Your Anadama Bread Fresh Longer
To keep your delicious homemade Anadama bread fresh, proper storage is key. Once the loaf has cooled completely on a wire rack (this is crucial to prevent sogginess), store it at room temperature.
Wrap the cooled loaf tightly in plastic wrap, aluminum foil, or place it in a bread box or an airtight container. Stored this way, Anadama bread will typically stay fresh for 3 to 4 days. For longer storage, you can slice the cooled loaf, wrap the slices well, and freeze them for up to 3 months. Thaw slices as needed, or toast directly from frozen. Avoid refrigerating bread, as it tends to dry it out quickly.
Anadama Bread Recipe Variations: Beyond the Traditional Loaf
Anadama Bread Muffins: A Delicious Twist on the Classic
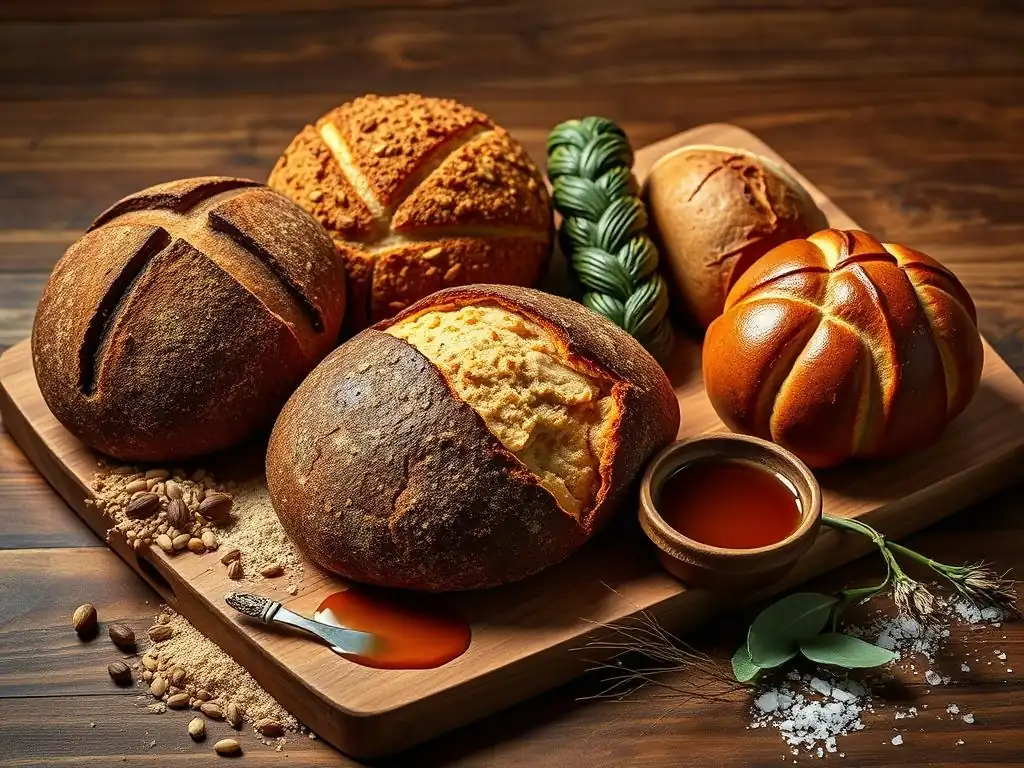
The flavors of the Anadama bread molasses recipe translate beautifully into smaller formats, like muffins. Anadama bread muffins offer the same comforting taste and texture but in convenient, individual portions perfect for breakfast on the go or a quick snack.
To make Anadama muffins, you'll typically use a batter-style dough rather than a kneaded one, often incorporating a bit more liquid and leavening like baking soda or powder in addition to yeast. The cornmeal and molasses remain central, providing the characteristic flavor. You can add raisins, nuts, or other mix-ins just as you would for the loaf. Bake them in muffin tins until golden and cooked through.
Anadama Bread French Toast: Using Leftover Bread Creatively
Anadama bread that is a day or two old, and perhaps slightly stale, is absolutely perfect for making French toast. The hearty crumb absorbs the egg custard beautifully, and the inherent sweetness and flavor from the cornmeal and molasses add a wonderful dimension to classic French toast.
Simply slice the bread about 1/2 to 3/4 inch thick. Dip each slice into a mixture of eggs, milk, a touch of sugar or maple syrup, and perhaps some cinnamon or vanilla. Cook on a buttered griddle or frying pan until golden brown on both sides. Serve with butter, maple syrup, fresh fruit, or whipped cream for a truly decadent breakfast or brunch.
Embrace the Legacy: Baking Authentic New England Anadama Bread at Home
Frequently Asked Questions
What makes Anadama bread unique?
Anadama bread is unique due to its use of cornmeal and molasses, giving it a distinctive texture and slightly sweet, rich flavor. It's a New England classic with a long history.
Can I substitute ingredients in the Anadama bread recipe?
While you can experiment, the molasses is crucial for the authentic flavor. Substituting the cornmeal may significantly alter the bread's texture and character.
Is Anadama bread difficult to make for beginners?
The BakeWithEase recipe is designed to be accessible to all levels. The step-by-step guide breaks down the process, making it manageable even for novice bakers.
How should I store Anadama bread to keep it fresh?
Store the cooled Anadama bread in an airtight container at room temperature. For longer storage, you can freeze it, well-wrapped, for later enjoyment.
Where does Anadama bread get its name?
The origin of the name is debated, but a popular story suggests it comes from a frustrated fisherman's wife who exclaimed "Anna, damn her!" after being constantly asked to make the same bread. It's a charming New England legend.
Final Reflection: The Enduring Sweetness of Anadama Bread
Anadama bread, a seemingly simple molasses loaf, holds a surprising depth of history and continues to resonate with bakers today. Its enduring popularity speaks to a powerful connection between food, family, and the enduring spirit of New England. More than just a recipe, it's a tangible link to the past, a testament to resourceful cooking, and a delicious reminder of simpler times.
The influence of Anadama bread extends far beyond the kitchen; it's woven into the fabric of New England's cultural identity. It represents a resourceful approach to baking, born from necessity and refined over generations. The simple ingredients, readily available to early settlers, transformed into a comforting and flavorful staple. This enduring legacy speaks volumes about the power of tradition and the importance of passing down culinary knowledge. Food is symbolic of love when words are inadequate.
- Alan D. Wolfelt. This sentiment perfectly captures the emotional connection many feel to this humble loaf, a connection passed down through families and cherished across generations.
Now, as you consider the rich history and simple elegance of Anadama bread, I invite you to try your hand at baking this treasured recipe. Don't be intimidated by its simplicity; embrace the opportunity to connect with a culinary tradition, to create something delicious, and to share a piece of New England history with those you love. The warmth of the oven, the aroma of molasses, and the satisfying chew of the finished loaf will reward you with more than just a delicious treat; it will be a journey into the heart of New England's culinary soul.
Unleash Your Inner Baker: Make Anadama Bread Today!
Thanks for joining us on this delicious journey into the world of Anadama bread! We hope you've gained a new appreciation for this classic New England loaf and are feeling inspired to try your hand at baking it.
Ready to get baking? Here's what you can do next:
- Bake a batch of Anadama bread! Use our recipe as a starting point, and don't be afraid to experiment with different types of molasses or add-ins. This is your chance to master a timeless recipe.
- Share your baking experience! Post a picture of your Anadama bread on social media and tag us – we'd love to see your creations!
- Explore other traditional New England recipes on our site. Who knows what baking treasures you might uncover next?
What unique ingredient will you add to your next Anadama loaf to give it a personal touch?