
Making Cookie Dough a Breeze: Using Your Stand Mixer Effectively

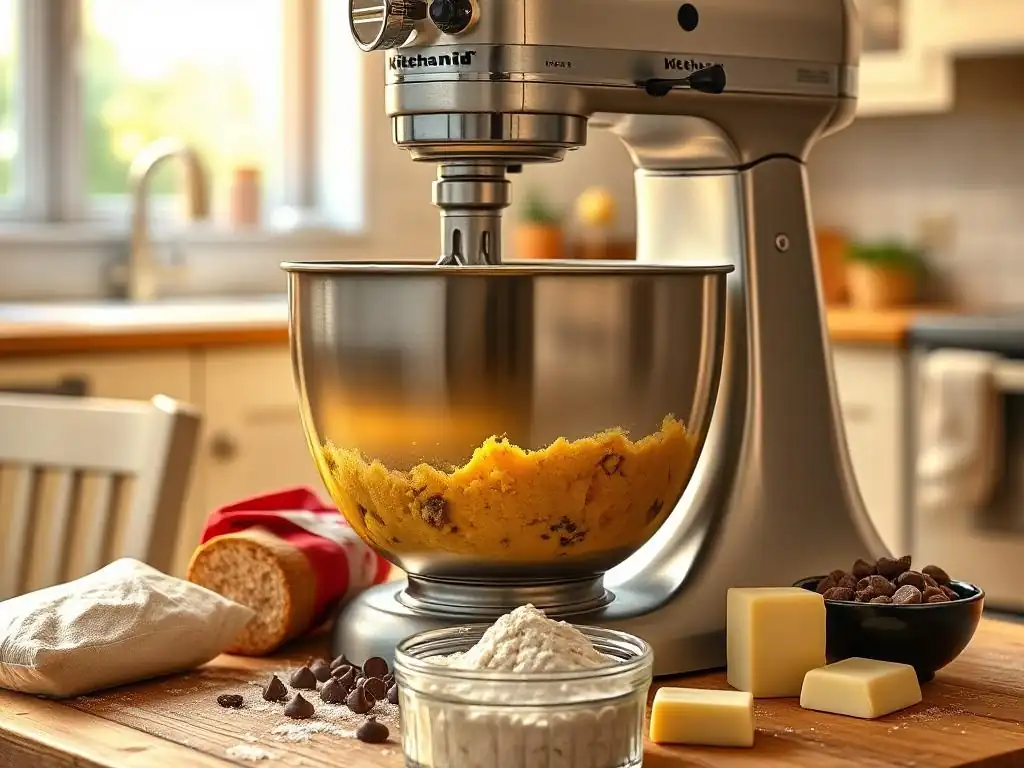
Welcome to BakeWithEase, your partner in creating delectable treats! Ever struggled with achieving that perfect cookie dough consistency? We understand! This guide dives deep into the secrets of using your stand mixer for cookie dough, transforming what can be a laborious task into a genuine breeze. Curious about how to avoid overmixing, achieve even ingredient distribution, and unlock the full potential of your stand mixer for flawless cookies every time? Let's get baking!
- Bake Cookie Dough Like a Pro with Your Stand Mixer
- Understanding Your Stand Mixer for Perfect Cookie Dough
- Step-by-Step Guide: Stand Mixer Cookie Dough Recipe
- Tips and Tricks for Stand Mixer Cookie Dough Success
- Beyond Basic: Advanced Stand Mixer Cookie Dough Techniques
- Cleaning and Maintaining Your Stand Mixer After Making Cookie Dough
- Stand Mixer Cookie Dough: Frequently Asked Questions
- Conclusion: Master Cookie Dough with Your Stand Mixer
-
Frequently Asked Questions
- How can a stand mixer help me make cookie dough?
- What's the best attachment to use for cookie dough in my stand mixer?
- What speed should I use when making cookie dough in my stand mixer?
- How do I prevent my stand mixer from overheating when making cookie dough?
- Can I use my stand mixer for all types of cookie dough?
- Final Reflection: The Sweet Symphony of Stand Mixer Cookie Dough
- Unleash Your Inner Baker: Master Cookie Dough in Minutes!
Making delicious cookies from scratch is a rewarding experience, and using a stand mixer can transform the process from a strenuous task into an absolute breeze. Unlike hand mixers or mixing by hand, a stand mixer provides consistent power and speed, ensuring your ingredients are perfectly incorporated every time. This consistency is key to achieving that ideal cookie texture, whether you're aiming for chewy, crisp, or soft centers. From creaming butter and sugar to incorporating dry ingredients, your stand mixer takes on the heavy lifting, allowing you to focus on the fun parts of baking.
Using a stand mixer for cookie dough also saves significant time and effort. Imagine creaming butter and sugar by hand for 5-7 minutes – it's quite a workout! A stand mixer accomplishes this crucial step efficiently, typically in just a few minutes, achieving a light, fluffy texture that's hard to replicate manually. This efficiency means you can whip up a batch of your favorite stand mixer cookie dough much faster, making homemade cookies a more accessible treat for busy schedules.
Getting to know your stand mixer's capabilities is the first step towards mastering stand mixer cookie dough. These powerful kitchen workhorses are designed with various speeds and attachments to handle different baking tasks. For cookie dough, understanding which attachment to use and which speed setting is appropriate for each stage of mixing is vital for optimal results. Improper use can lead to tough cookies or poorly integrated ingredients, so a little knowledge goes a long way in achieving baking success.
Familiarizing yourself with the power levels of your stand mixer is also beneficial. Most mixers have a range of speeds, typically from a slow stir (Speed 1 or 2) up to high-speed whipping (Speed 8 or 10). For making cookie dough, you'll primarily use the lower to medium speeds. High speeds are generally reserved for tasks like whipping cream or egg whites, which aren't part of standard cookie dough preparation. Knowing which speed does what will help you control the mixing process and prevent common mistakes like overmixing, which can negatively impact your stand mixer cookie dough.
The most commonly used attachment for making stand mixer cookie dough is the paddle attachment (also sometimes called the flat beater). Its design is perfect for creaming butter and sugar, mixing in eggs and extracts, and incorporating dry ingredients without developing too much gluten. The paddle works by essentially "beating" the ingredients together, incorporating air during the creaming stage and ensuring all components are evenly distributed throughout the dough. It’s the workhorse for most cookie recipes.
While the paddle is your primary tool, you might occasionally see recipes or techniques suggesting the whisk attachment or even the dough hook. However, for standard cookie dough, the whisk incorporates too much air and can lead to a cake-like texture, while the dough hook is designed for kneading bread dough and will overwork cookie dough, resulting in tough cookies. Stick to the paddle attachment for consistent, tender stand mixer cookie dough results.
Using the correct speed setting on your stand mixer is critical for each stage of making cookie dough. When creaming butter and sugar, start on a low speed (Speed 2) to combine initially, then increase to medium speed (Speed 3 or 4) to aerate the mixture until it's light and fluffy. This process typically takes 2-5 minutes depending on your mixer's power and the butter temperature. Using too high a speed during this stage can cause the ingredients to splatter and may not create the desired airy texture.
When adding wet ingredients like eggs and vanilla extract, reduce the speed back to low (Speed 2) just until they are incorporated. For adding dry ingredients (flour, baking soda, salt), the lowest speed (Speed 1 or Stir) is essential. Mix just until the dry ingredients disappear into the dough. Overmixing at this stage develops gluten, which makes cookies tough. A brief mix on the lowest speed is usually sufficient, often taking less than 30 seconds. Learning to recognize when the dough is just combined is key to perfect stand mixer cookie dough.
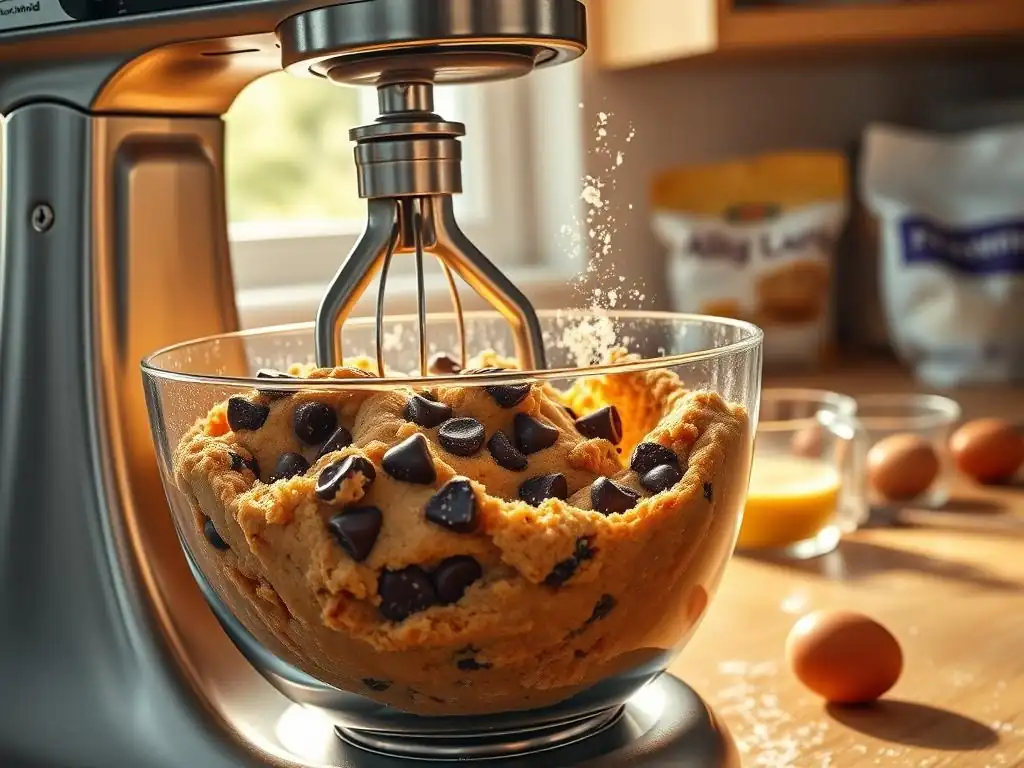
Making delicious cookies starts with a solid recipe and proper technique, and your stand mixer makes executing that technique much simpler. This basic guide walks you through the common steps for creating fantastic stand mixer cookie dough, applicable to many different cookie types. Following these steps ensures your ingredients are incorporated correctly, leading to cookies with the perfect texture and flavor.
Remember that while a stand mixer automates the mixing, the quality of your ingredients and your attention to detail during each step still matter. Using ingredients at the correct temperature and measuring accurately are foundational to any successful baking project, including making stand mixer cookie dough. This guide focuses on the mechanical process, but pair it with good baking practices for the best possible outcome.
Before you even turn on your stand mixer, gather all your ingredients and measure them accurately. This practice, known as mise en place, is crucial in baking because reactions happen quickly once mixing begins, and you don't want to be searching for the baking soda while the dough is overmixing. Ensure butter and eggs are at room temperature, as this greatly affects how they cream and incorporate into the dough.
- [ ] All-purpose flour
- [ ] Baking soda or powder
- [ ] Salt
- [ ] Unsalted butter, softened to room temperature
- [ ] Granulated sugar
- [ ] Brown sugar (if using)
- [ ] Eggs, room temperature
- [ ] Vanilla extract
- [ ] Any add-ins (chocolate chips, nuts, etc.)
Having everything prepped allows for a smooth, uninterrupted process when making your stand mixer cookie dough, reducing the risk of errors and ensuring consistent results.
Creaming Butter and Sugar in Your Stand Mixer: The Key to Success
Creaming butter and sugar together is arguably the most important step in developing the texture of your stand mixer cookie dough. This process incorporates air into the mixture, which helps the cookies rise and spread correctly during baking. Start with softened butter (it should yield slightly when pressed but not be greasy or melted) and add it to the stand mixer bowl with your sugars.
Attach the paddle attachment and begin mixing on the lowest speed (Speed 2) until the butter and sugar are just combined. Then, increase the speed to medium (Speed 3 or 4) and let the mixer run. Scrape down the sides and bottom of the bowl occasionally to ensure even mixing. Continue mixing for 2-5 minutes, or until the mixture is pale yellow, light, and fluffy. This proper creaming is essential for achieving tender, well-textured stand mixer cookie dough.
Adding Eggs and Extracts: Stand Mixer Techniques
Once the butter and sugar are properly creamed, it's time to incorporate the wet ingredients, primarily eggs and vanilla extract. Ensure your eggs are at room temperature, as cold eggs can cause the butter to seize up, resulting in a less smooth dough. Add the eggs one at a time, mixing on low speed (Speed 2) just until each egg is incorporated before adding the next.
After the eggs are mixed in, add the vanilla extract (and any other liquid flavorings). Continue mixing on low speed just until combined. Avoid overmixing at this stage; you simply want the liquids to be evenly distributed throughout the creamed mixture. The goal is to maintain the air pockets created during the creaming stage, which is vital for the structure of your stand mixer cookie dough.
Incorporating Dry Ingredients: Avoiding Overmixing with Your Stand Mixer
This is the stage where caution is paramount when making stand mixer cookie dough. Overmixing dry ingredients is the most common cause of tough cookies. Sift or whisk together your flour, leavening agents (like baking soda or powder), and salt in a separate bowl before adding them to the wet ingredients. This ensures they are evenly distributed.
Add the dry ingredients to the stand mixer bowl all at once. Attach the paddle and mix on the absolute lowest speed (Speed 1 or Stir) just until you no longer see streaks of dry flour. This usually takes less than 30 seconds. As soon as the flour is incorporated, stop the mixer. If you are adding chocolate chips, nuts, or other mix-ins, add them now and pulse the mixer on low speed a few times or gently fold them in by hand. Proper handling at this stage is key to tender, delicious stand mixer cookie dough.
After mixing your stand mixer cookie dough, many recipes call for chilling the dough before baking. This step is crucial for several reasons. Chilling allows the fats in the dough to firm up, which helps prevent the cookies from spreading too much during baking. It also gives the flour time to hydrate, which can improve the texture and depth of flavor in the final cookie.
Wrap the dough tightly in plastic wrap or place it in an airtight container. Chill the dough in the refrigerator for at least 30 minutes, though many recipes recommend 1-2 hours or even overnight for the best results. Chilling makes the dough easier to handle and scoop, and it contributes significantly to the texture and structure of your baked stand mixer cookie dough.
Mastering the art of making stand mixer cookie dough involves more than just following a recipe; it also requires understanding a few key techniques and knowing how to troubleshoot common issues. Paying attention to details like ingredient temperature, mixing times, and dough consistency can elevate your cookies from good to truly exceptional. These tips and tricks will help you navigate the nuances of using your stand mixer for perfect cookie results every time.
Even experienced bakers encounter challenges, but with a stand mixer, many common cookie dough problems can be easily addressed. Knowing how to adjust for things like sticky or dry dough, or ensuring all ingredients are evenly mixed, will build your confidence and improve your baking outcomes. Think of your stand mixer as a powerful tool, and these tips as the knowledge to wield it effectively for outstanding stand mixer cookie dough.
Even with a stand mixer, sometimes your cookie dough doesn't turn out quite as expected. Two frequent issues are dough that is too sticky or too dry. Understanding the potential causes and how to fix them can save a batch of dough from the trash and ensure your cookies bake up properly.
Dough Too Sticky? Stand Mixer Solutions
If your stand mixer cookie dough is excessively sticky and difficult to handle, it could be due to several factors. It might mean you haven't added enough flour as per the recipe, or perhaps your measurements were slightly off. Humidity can also play a role, causing flour to absorb more moisture.
To fix overly sticky dough, you can try adding a tablespoon of flour at a time, mixing it in on the lowest speed (Speed 1) just until incorporated. Be careful not to add too much, as excess flour will result in dry, tough cookies. Another effective solution is chilling the dough for a longer period; cold dough is naturally firmer and less sticky, making it much easier to scoop and shape for baking.
Dough Too Dry? Stand Mixer Solutions
Conversely, if your stand mixer cookie dough is crumbly and won't come together, it's likely too dry. This could be caused by adding too much flour, not enough liquid (like butter or eggs), or even overmixing the dry ingredients, which can sometimes make the dough seem drier than it is.
To remedy dry dough, you can try adding a tiny amount of liquid, such as a teaspoon of milk or a little extra melted butter (cooled slightly), mixing it in on the lowest speed. Add just enough to bring the dough together. Ensure your butter was properly softened and creamed, as this provides necessary moisture and structure. Gentle mixing after adding liquid is key to avoid activating too much gluten.
Ensuring Even Mixing: Stand Mixer Techniques
One of the benefits of using a stand mixer for cookie dough is its ability to mix thoroughly, but you still need to assist it occasionally. Ingredients can sometimes stick to the sides or bottom of the bowl, especially during the creaming stage or when incorporating dry ingredients.
Regularly scraping down the sides and bottom of the stand mixer bowl with a rubber spatula is crucial for ensuring all ingredients are fully incorporated into the stand mixer cookie dough. Do this after creaming the butter and sugar, after adding the eggs, and just before the dry ingredients are fully mixed in. This simple step prevents pockets of unmixed ingredients and leads to a homogeneous dough consistency, which results in evenly baked cookies.
The temperature of your butter significantly impacts the outcome of your stand mixer cookie dough, particularly during the creaming step. Butter that is too cold won't cream properly with the sugar, resulting in a dense dough and cookies that don't spread well. It will also be difficult for the stand mixer to break down and incorporate.
The ideal temperature for butter is "room temperature," which generally means between 65°F and 70°F (18°C and 21°C). At this temperature, the butter is soft enough to cream smoothly with sugar, incorporating air, but still firm enough to hold its structure. It should yield slightly when pressed with a finger but not be greasy or melted. Using butter at this temperature is fundamental for achieving that light, airy texture in your stand mixer cookie dough.
While a stand mixer excels at basic cookie dough, you can also leverage its power and consistency for specific cookie types that might require slightly different techniques or ingredient handling. Understanding how to adapt the standard process for variations like chocolate chip, peanut butter, or sugar cookies will broaden your baking repertoire and ensure success with these popular treats.
Each type of cookie dough has unique characteristics based on its ingredients and desired texture. Using your stand mixer effectively means understanding these nuances and adjusting your approach accordingly. Whether it's how you add mix-ins or the specific consistency you're aiming for, your stand mixer is a versatile tool for tackling a wide range of stand mixer cookie dough recipes.
Chocolate chip cookie dough is a classic, and your stand mixer handles it beautifully. The standard creaming, egg addition, and dry ingredient incorporation steps apply. The main consideration is adding the chocolate chips. Add them on the lowest speed (Speed 1) just until they are evenly distributed.
Avoid overmixing after adding the chips, as this can break them up too much and also overwork the dough. A brief mix for 5-10 seconds is usually sufficient. For larger batches of stand mixer cookie dough with lots of mix-ins, sometimes a final gentle fold by hand with a spatula ensures everything is perfectly distributed without risking overmixing by the machine.
Peanut butter cookie dough often contains less liquid fat than traditional butter-based doughs, and the peanut butter itself adds unique density. When making peanut butter stand mixer cookie dough, ensure you cream the butter and sugars well as usual. When adding the peanut butter, mix it in thoroughly before adding the eggs.
The dough might seem slightly stiffer than a standard butter cookie dough. When adding dry ingredients, be especially mindful of overmixing. The dough should just come together. If it seems too dry or crumbly, check your measurements; peanut butter consistency can vary, sometimes affecting the dough's hydration. Your stand mixer will handle the density, but watch the mixing time closely.
Sugar cookie dough is known for its smooth texture, ideal for rolling and cutting shapes. When making sugar stand mixer cookie dough, the creaming stage is important for tenderness, but you don't need to incorporate quite as much air as you might for a drop cookie, especially if you want crisp edges. Cream butter and sugar until just combined and fluffy, not necessarily for the full 5 minutes.
When adding flour, mix on the lowest speed just until combined. Sugar cookie dough can become tough very easily with overmixing. The resulting dough should be relatively smooth and firm enough to handle. Chilling is particularly important for sugar cookie dough made with a stand mixer, as it makes rolling and cutting much easier and helps the cookies hold their shape during baking.
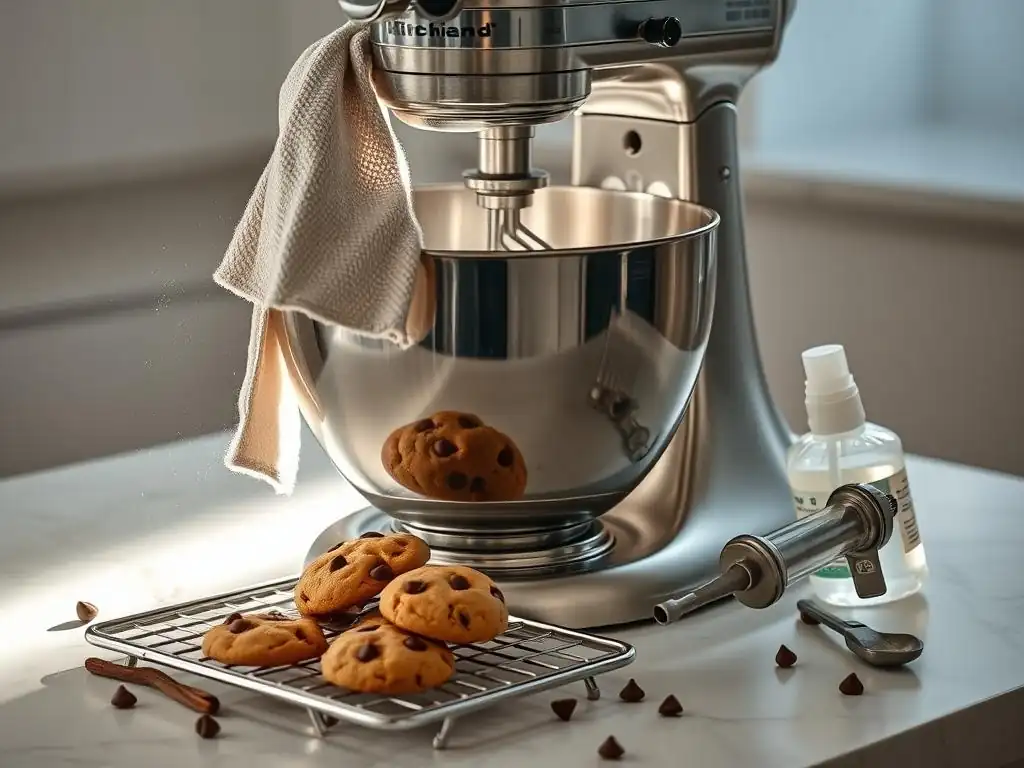
Properly cleaning and maintaining your stand mixer after making cookie dough is essential for its longevity and performance. Dough ingredients, especially sticky ones, can get into nooks and crannies, and if left, can become difficult to remove or even damage parts over time. A little care after each use ensures your stand mixer is ready for your next baking adventure.
Taking the time to clean attachments and the mixer body promptly prevents build-up and keeps your appliance in top condition. This not only makes future cleanup easier but also helps maintain the hygiene of your baking environment. Your stand mixer is an investment in your baking hobby, and proper maintenance protects that investment, especially after tackling dense tasks like mixing stand mixer cookie dough.
Immediately after making stand mixer cookie dough, remove the paddle attachment and the bowl from the mixer. If you have a dishwasher-safe bowl and paddle (check your manufacturer's instructions), you can place them in the dishwasher. However, hand washing is often recommended for preserving the finish and condition of attachments.
Wash the bowl and paddle in warm, soapy water, using a brush or sponge to remove all traces of dough. Pay special attention to the area where the paddle attaches to the mixer head. Rinse thoroughly and dry completely before storing. Ensure no dough is left behind, especially on the paddle, as dried dough can be stubborn to remove later.
Storing Your Stand Mixer for Longevity
Once your stand mixer and attachments are clean and completely dry, proper storage helps protect them. Detach the paddle or other attachments and store them separately in a drawer or their designated storage area. Avoid leaving the paddle attached to the mixer head for extended periods, as this can sometimes put stress on the attachment hub.
Wipe down the body of the stand mixer with a damp cloth to remove any splashes or dust, then dry it thoroughly. Store the mixer in a clean, dry place, away from excessive heat or humidity. Covering your stand mixer with a dust cover (often sold separately or included with the mixer) is an excellent way to keep it clean between uses and protect its finish, ensuring your stand mixer is always ready to make more cookie dough.
Using a stand mixer for baking, especially for something as common as cookie dough, often brings up questions for both new and experienced bakers. Understanding the capabilities and limitations of your appliance can help you achieve better results and troubleshoot issues effectively. Here are some common questions about using a stand mixer for cookie dough.
These answers aim to provide quick, helpful guidance based on typical stand mixer usage for cookie recipes. Remember that specific results can vary slightly depending on your mixer model, the exact recipe, and even environmental factors like kitchen temperature. However, these general principles apply to most stand mixer cookie dough preparations.
Yes, a stand mixer is suitable for making most types of cookie dough, including drop cookies (like chocolate chip), roll-and-cut cookies (like sugar cookies), bar cookies, and even some no-bake cookie bases. The paddle attachment is versatile enough to handle the consistency required for these different doughs.
However, extremely stiff doughs might put a strain on smaller or less powerful stand mixers. Always follow your mixer's user manual for capacity guidelines. For very delicate doughs, like some shortbreads where minimal gluten development is key, you might still prefer to finish mixing by hand after the initial creaming stage to ensure perfect texture.
Mixing times vary significantly depending on the stage of the process, the recipe, the speed used, and your specific stand mixer. Creaming butter and sugar typically takes the longest, often 2-5 minutes on medium speed, until light and fluffy.
Adding eggs and extracts usually takes just 30-60 seconds on low speed, just until incorporated. Incorporating dry ingredients is the shortest step, requiring only 10-30 seconds on the lowest speed until no dry streaks remain. The key is to mix until the desired consistency is reached, rather than strictly adhering to a timer, to avoid overmixing your stand mixer cookie dough.
If your stand mixer feels hot or sounds strained while making cookie dough, especially a stiff one, it might be working too hard. This can happen if you're making a very large batch or if the dough is particularly dense. Most stand mixers have thermal protection and will shut off before damage occurs.
If you notice this, stop the mixer immediately and let it cool down for 15-20 minutes. Reduce the batch size next time, or if the dough is very stiff, consider incorporating the dry ingredients or mix-ins by hand after creaming to reduce the load on the motor. Ensure you are using the correct speed setting (lower speeds are better for dense doughs) and that your mixer is not overloaded according to its specifications.
Using a stand mixer for cookie dough truly simplifies the baking process, providing consistent results with significantly less effort than manual mixing. From perfectly creamed butter and sugar to evenly incorporated dry ingredients, your stand mixer handles the heavy lifting, allowing you to achieve that coveted cookie texture every time. By understanding your mixer's attachments, utilizing the correct speed settings, and following proper techniques, you're well on your way to mastering stand mixer cookie dough.
Embracing your stand mixer in the kitchen opens up a world of baking possibilities, making everything from classic chocolate chip to delicate sugar cookies more accessible and enjoyable. Remember the importance of ingredient temperature, avoiding overmixing, and proper chilling for optimal results. With a little practice and the power of your stand mixer, you'll be whipping up batches of delicious cookie dough with ease, ready to bake and share your homemade treats.
Frequently Asked Questions
A stand mixer automates the mixing process, ensuring ingredients are uniformly combined and preventing overmixing, which can lead to tough cookies. It also frees up your hands!
The paddle attachment is generally recommended for most cookie doughs. It efficiently creams butter and sugar together and incorporates the other ingredients without overworking the dough.
Typically, start on low speed to combine dry ingredients and then increase to medium speed for creaming butter and sugar. Avoid high speeds to prevent overmixing.
Do not overload the mixer, and ensure ingredients are at the correct temperature (e.g., softened butter). If the mixer gets hot, stop and let it cool down before continuing.
While suitable for many types, very stiff or large batches might strain the mixer. Consider hand-mixing or breaking the dough into smaller batches for extremely dense cookie doughs.
The efficiency and joy of making cookie dough with a stand mixer transcends mere convenience; it's about unlocking a world of baking possibilities. From perfectly creamed butter and sugar to evenly distributed mix-ins, the stand mixer elevates the humble cookie dough experience to an art form. This newfound ease allows for more experimentation and creativity in the kitchen, ultimately leading to more delicious results.
The impact of the stand mixer on home baking is undeniable. It has democratized the process, making once-laborious tasks accessible to everyone. It's not just about speed; it's about consistency and the ability to focus on the creative aspects of baking, rather than getting bogged down in the physical exertion. This shift reflects a broader cultural trend towards valuing efficiency and quality in our daily lives. The best things in life are worth waiting for, but the best cookies are worth making quickly.
(A newly coined quote, reflecting the article's theme).
Now, consider your own baking journey. What new cookie creations will you unleash with the newfound power and precision of your stand mixer? Will you experiment with unusual flavor combinations? Will you perfect that elusive, perfectly chewy texture? The possibilities are as endless as your imagination. Embrace the ease, embrace the creativity, and embrace the deliciousness that awaits. Go forth and conquer the world of cookie dough, one perfectly mixed batch at a time!
Thanks for taking the time to learn how to conquer cookie dough with your stand mixer! You've just unlocked a world of easier baking and delicious possibilities. Now it's time to put your new skills to the test.
- Dive into your next cookie creation: Grab that recipe you've been eyeing and whip up a batch of perfect cookie dough – you'll be amazed at how much smoother the process is now!
- Share your baking triumph: Post a picture of your perfectly mixed dough on social media and tag us – we'd love to see it! #BakeWithEase #StandMixerMagic
- Experiment with different doughs: Try making pie crust or bread dough – the same techniques apply! Let us know which dough you tackle next in the comments.
Ready to create your dream cookies (or other treats)? What’s the first recipe you’re going to try?