
Quick & Easy: NoBake Desserts Perfect for Busy Beginners

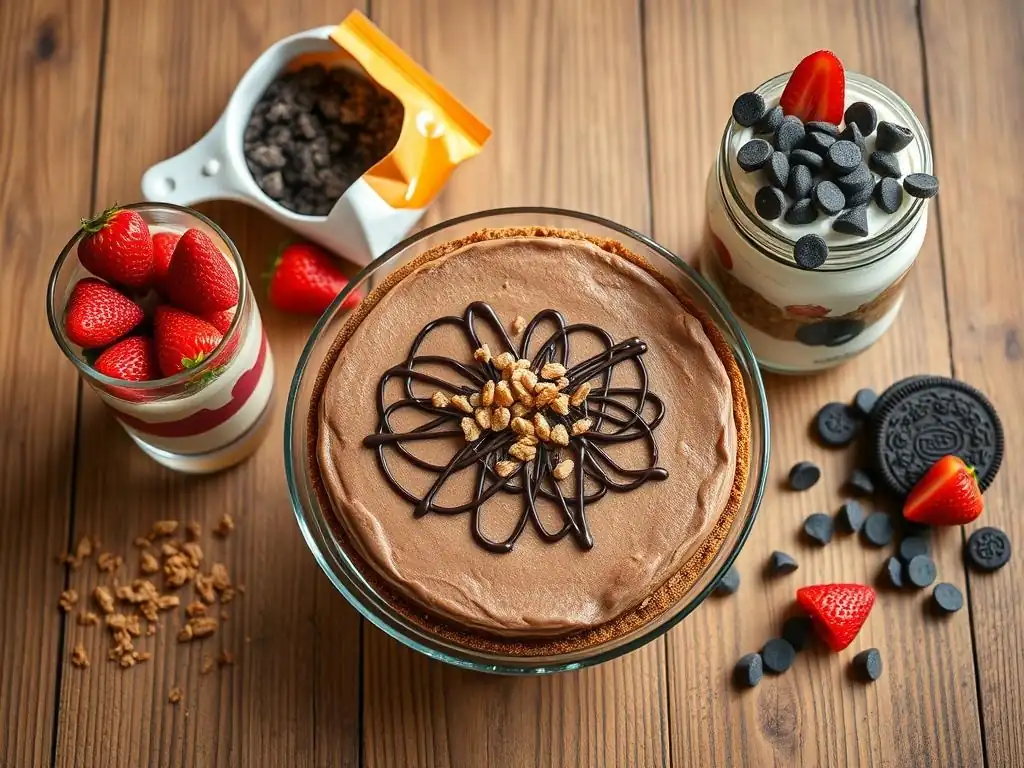
Welcome to BakeWithEase, your haven for all things baking! Are you new to the world of delicious desserts and feeling a little intimidated? Then you're in the right place! Get ready to dive into the delightful world of no-bake desserts. We're kicking things off with recipes so simple, even the busiest beginner can whip up something amazing. But what makes these no-bake desserts so perfect for starting your baking journey? Keep reading to find out!
- BakeWithEase Presents: Delicious No-Bake Desserts for Beginners
- Why Choose No-Bake Desserts? Easy Baking for Busy People
- Top 5 No-Bake Dessert Recipes for Beginners
- Essential Tips for No-Bake Dessert Success
- Adapting No-Bake Recipes to Your Taste
- No-Bake Desserts: The Perfect Introduction to Baking with Ease
-
Frequently Asked Questions
- What exactly are no-bake desserts and why are they good for beginners?
- What are some common ingredients used in no-bake desserts that are easy to find?
- Can I customize no-bake dessert recipes to my liking?
- How long do no-bake desserts typically need to chill in the refrigerator?
- What are the best tips for ensuring a successful no-bake dessert, especially for beginners?
- Final Reflection: The Sweet Simplicity of No-Bake Baking
- Unlock Your Inner Pastry Chef: Delicious No-Bake Treats Await!
BakeWithEase Presents: Delicious No-Bake Desserts for Beginners
Welcome to BakeWithEase, where we believe baking should be fun, not stressful! If you're just starting out in the kitchen, or simply have a packed schedule, you might think baking requires hours of complicated steps and a hot oven. Think again! No bake desserts beginners are the perfect entry point into the world of sweet treats. They offer incredible flavor with minimal fuss, proving that you don't need to be a pastry chef to create something delightful. This guide is specifically crafted for busy individuals looking for simple, rewarding dessert projects.
We've curated a selection of easy no-bake recipes that are guaranteed to impress without demanding advanced skills or specialized equipment. From creamy cheesecakes to classic icebox cakes and fun snack bars, these beginner no-bake desserts rely on simple techniques like mixing, layering, and chilling. Get ready to discover how easy and enjoyable making delicious desserts can be, even when you're short on time and experience.
Why Choose No-Bake Desserts? Easy Baking for Busy People
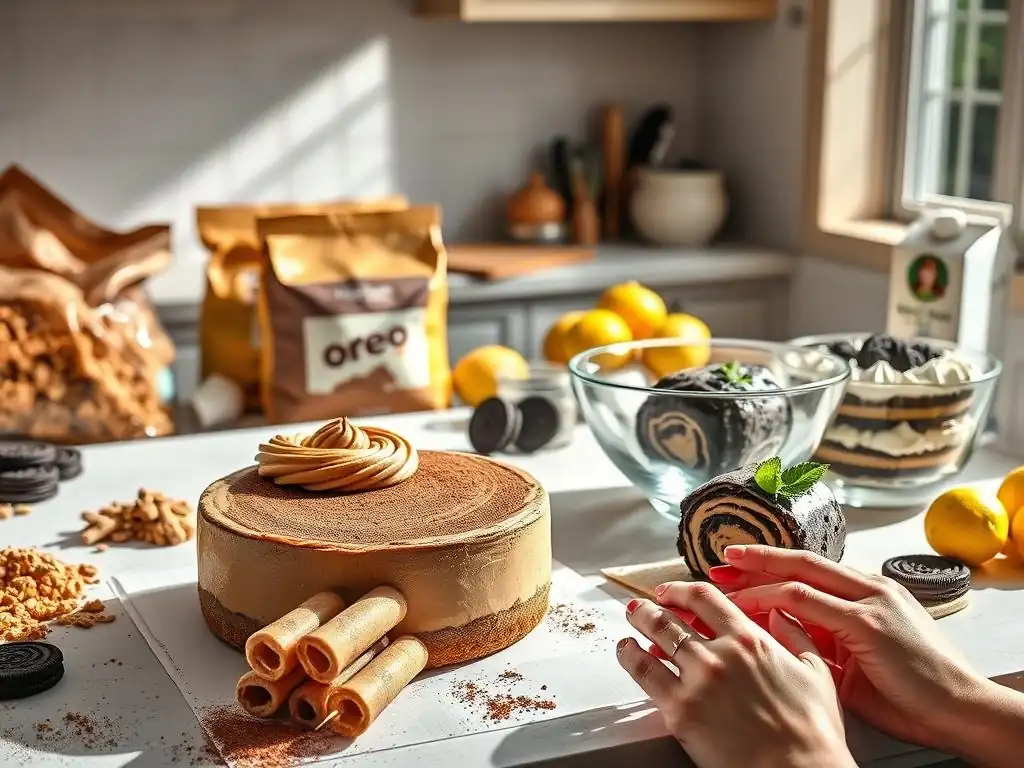
Choosing no-bake desserts offers a multitude of advantages, especially for those new to baking or juggling busy lives. The most obvious benefit is the elimination of oven time, which not only saves energy but also removes a common source of baking anxiety – worrying about proper baking temperatures and times. This makes them incredibly convenient for hot summer days or when your oven is already occupied.
Furthermore, many no-bake recipes require only a handful of common ingredients and basic kitchen tools like a mixing bowl, whisk, and refrigerator. The steps are typically straightforward: combine ingredients, layer, and chill. This simplicity reduces the margin for error and builds confidence. For busy beginners, no bake desserts provide a quick win, allowing you to enjoy a homemade treat with significantly less time investment compared to traditional baked goods.
The Appeal of Simple No-Bake Recipes
The inherent simplicity of no-bake recipes is a major draw for beginners and experienced cooks alike. They often involve straightforward processes like crushing cookies for a base, whipping cream, melting chocolate, or combining pre-made components with a binding agent. This direct approach means fewer complex techniques to master, such as creaming butter and sugar, folding delicate batters, or achieving the perfect rise.
Consider the classic no-bake cheesecake or an icebox cake; these typically involve blending a few ingredients for the filling and layering them with cookies or whipped cream. The "baking" is replaced entirely by chilling time in the refrigerator, allowing the ingredients to meld and firm up. This low-stress process makes simple no-bake recipes incredibly accessible and enjoyable, encouraging newcomers to experiment without the fear of a collapsed cake or burnt cookies.
Save Time and Effort with These Beginner-Friendly Desserts
One of the most compelling reasons to explore no-bake desserts is the significant time and effort saved. A traditional layer cake might require mixing multiple components, baking several layers, making frosting, and then cooling and assembling – a process that can easily take several hours from start to finish. In contrast, many beginner no-bake desserts can be assembled in under 30 minutes, requiring only passive chilling time afterward.
Think about a simple chocolate pudding pie or a fruit trifle; these can be whipped up in minutes using instant pudding, whipped topping, and fruit, then chilled until set. Even slightly more involved no-bake recipes, like a cheesecake, typically take far less hands-on time than their baked counterparts. This efficiency makes no bake desserts beginners an ideal choice for impromptu gatherings, weeknight treats, or when you simply crave something sweet without committing to a lengthy baking project.
Top 5 No-Bake Dessert Recipes for Beginners
Recipe 1: Chocolate Oreo Icebox Cake - A Beginner's Delight
The Chocolate Oreo Icebox Cake is a true icon among beginner no-bake desserts. Its popularity stems from its incredibly simple assembly and delightful texture, resembling a slice of cake after chilling. It requires just a few ingredients – typically Oreo cookies and whipped cream or a cream cheese/whipped cream mixture – and the magic happens in the refrigerator as the cookies soften and meld with the creamy layers.
This dessert is perfect for busy beginners because it's virtually foolproof. There's no measuring flour, worrying about leavening agents, or calibrating oven temperature. The structure comes from the layering, and the texture develops as the cookies absorb moisture from the cream. It's a fantastic introduction to the concept of using chilling time to transform simple components into a cohesive and delicious dessert.
Ingredients for Chocolate Oreo Icebox Cake
- About 1 package (around 14 ounces) of Oreo cookies
- About 3 cups of heavy whipping cream
- About 1/2 cup of powdered sugar (optional, for sweetening cream)
- About 1 teaspoon of vanilla extract (optional)
Step-by-Step Instructions: No-Bake Chocolate Oreo Icebox Cake
- Prepare the Cream: In a large bowl, whip the heavy cream until soft peaks form. If using, gradually add the powdered sugar and vanilla extract and continue whipping until stiff peaks form.
- Layer the Cake: Arrange a single layer of Oreo cookies on the bottom of a rectangular dish (approximately 9x13 inches). You may need to break some cookies to fill gaps.
- Add Cream: Spread a generous layer of the whipped cream evenly over the cookies. Use about one-third of the whipped cream.
- Repeat Layers: Repeat the layering process: add another layer of cookies, followed by another layer of whipped cream. Create a third layer of cookies and top with the remaining whipped cream, spreading it smoothly over the top.
- Chill: Cover the dish tightly with plastic wrap. Refrigerate for at least 4 hours, or preferably overnight, to allow the cookies to soften and the dessert to set.
- Serve: Once set, slice the icebox cake and serve chilled.
Recipe 2: Lemon Bar No-Bake Cheesecake Cups
These individual Lemon Bar No-Bake Cheesecake Cups offer a bright, tangy twist on the classic no-bake cheesecake, presented in convenient single-serving portions. They capture the zesty flavor of lemon bars without the need for baking a crust or a custard filling. The base is typically made from crushed cookies or graham crackers combined with melted butter, while the filling is a simple blend of cream cheese, sugar, lemon juice, and sometimes whipped cream or condensed milk.
Making these cups is an excellent way for busy beginners to practice working with different layers and textures. The portioning into individual cups makes assembly straightforward and serving a breeze. Plus, the vibrant lemon flavor is incredibly refreshing and appealing, making this a delightful and easy no-bake option.
The Secret to Perfect No-Bake Lemon Cheesecake Filling
The key to a smooth, tangy, and stable no-bake lemon cheesecake filling lies in the combination of softened cream cheese and the right amount of acid from the lemon juice. Ensure your cream cheese is at room temperature before mixing; this prevents lumps and ensures a silky texture. Beat the cream cheese first until it's completely smooth before adding other ingredients like sugar, lemon juice, and zest.
Incorporating whipped cream or sweetened condensed milk adds richness and helps the filling set properly when chilled. The acidity of the lemon juice not only provides flavor but also helps to firm up dairy proteins, contributing to the filling's structure. Aim for fresh lemon juice for the best flavor, and consider adding some lemon zest for an extra aromatic punch.
Assembling Your Individual Lemon Cheesecake Cups
- Prepare the Crust: Crush about 1.5 cups of graham crackers or shortbread cookies into fine crumbs. Mix with about 1/4 cup of melted butter. Divide the mixture among 6-8 individual serving cups (like small jars, ramekins, or glasses). Press the crumb mixture firmly into the bottom of each cup using the back of a spoon or a small glass.
- Make the Filling: In a medium bowl, beat about 8 ounces of softened cream cheese until smooth. Gradually beat in about 1/2 cup of powdered sugar until combined. Stir in about 1/4 cup of fresh lemon juice and about 1 tablespoon of lemon zest. If using, gently fold in about 1 cup of whipped cream or about 1/2 cup of sweetened condensed milk until just combined.
- Fill the Cups: Spoon or pipe the lemon cheesecake filling over the crust layer in each cup. Smooth the tops with a spoon.
- Chill: Cover the cups and refrigerate for at least 2-3 hours, or until the filling is firm enough to hold its shape.
- Garnish (Optional): Before serving, you can garnish with a dollop of whipped cream, a sprinkle of lemon zest, or a fresh berry.
Recipe 3: Simple Raspberry Icebox Cake - A Summer Treat
The Simple Raspberry Icebox Cake is another fantastic example of beginner no-bake desserts that rely on layering and chilling. It swaps the chocolate cookies for vanilla wafers or ladyfingers and incorporates fresh raspberries, resulting in a lighter, fruitier dessert perfect for warmer weather. The combination of soft cookies, creamy layers, and bursts of fresh fruit makes it incredibly refreshing and visually appealing.
This recipe is ideal for busy beginners as it follows the same easy principle as the Oreo version but introduces working with fresh fruit. It demonstrates how versatile the icebox cake concept is and how easily flavors can be adapted. It's a simple yet elegant dessert that requires no baking skills whatsoever.
Layering for the Best Raspberry Icebox Cake
Achieving the best texture and flavor in a Raspberry Icebox Cake comes down to strategic layering. Start with a base layer of vanilla wafers or ladyfingers in your dish. Don't worry if there are small gaps; they will fill in as the cake sets. Next, spread a generous layer of your creamy filling – this could be sweetened whipped cream, a mix of cream cheese and whipped cream, or even pudding.
Then, scatter a layer of fresh raspberries over the cream. Repeat these layers until you reach the top of your dish, finishing with a final layer of cream. The key is to ensure that the cookies are fully covered by the cream in each layer so they can absorb moisture and soften properly during chilling. Aim for at least three layers for a good ratio of cookie to cream to fruit.
Tips for a Neat and Delicious Icebox Cake
- Soften Cookies Slightly: For faster softening, you can briefly dip ladyfingers in milk before layering, but vanilla wafers usually soften well on their own with enough cream.
- Even Cream Distribution: Use an offset spatula or the back of a spoon to spread the cream evenly across the cookie layers. This ensures consistent softening.
- Don't Overcrowd Fruit: While you want plenty of raspberries, don't pile them so high that the next cream layer can't fully cover the cookies.
- Chill Time is Crucial: Allow the cake to chill for a minimum of 6 hours, but overnight is best. This is when the cookies transform into a cake-like texture.
- Clean Slices: For neat slices, dip your knife in hot water and wipe it clean between each cut.
Recipe 4: Peanut Butter Rice Krispie Treats: A Quick No-Bake Indulgence
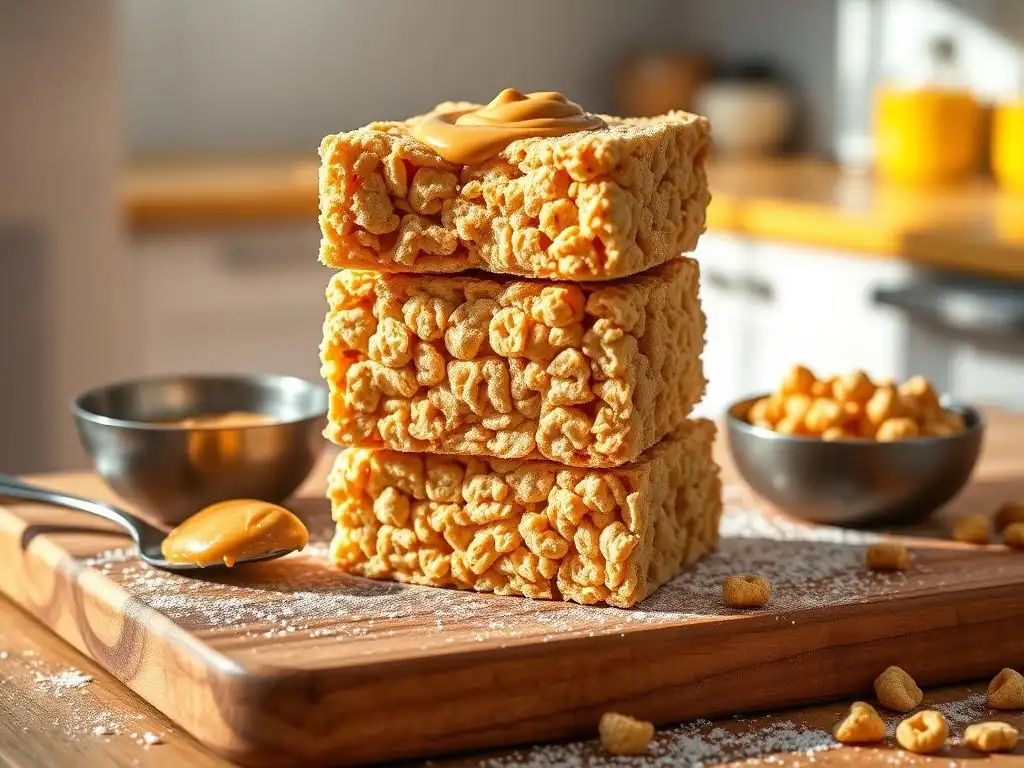
Peanut Butter Rice Krispie Treats are a beloved childhood classic and a fantastic addition to any list of beginner no-bake desserts. They are incredibly quick to make, requiring just a few minutes on the stovetop to melt ingredients together before mixing with cereal and pressing into a pan. The addition of peanut butter adds a delicious depth of flavor and gooeyness that elevates the simple original.
This recipe is perfect for busy beginners because it demonstrates a different type of no-bake process – using melted ingredients as a binder. It's a great way to get comfortable with melting butter and marshmallows without the complexity of candy making. The result is a chewy, peanut buttery treat that's hard to resist and takes minimal effort.
Making the Perfect No-Bake Peanut Butter Rice Krispie Treats
The secret to perfect Peanut Butter Rice Krispie Treats lies in melting the butter and marshmallows gently and incorporating the peanut butter smoothly. Start by melting about 1/4 cup of butter in a large saucepan over low heat. Add about 4 cups of marshmallows (standard or mini work) and stir constantly until they are almost completely melted. Remove from heat just before they are fully melted; the residual heat will finish the job without scorching.
Stir in about 1/2 cup of peanut butter (creamy or crunchy works) until fully combined and smooth. Immediately add about 6 cups of Rice Krispie cereal and stir quickly until the cereal is evenly coated with the peanut butter-marshmallow mixture. Press the mixture evenly into a buttered or parchment-lined 9x13 inch pan using a buttered spatula or wax paper. Let them cool for about 30-60 minutes before cutting.
Variations and Add-ins for Peanut Butter Rice Krispie Treats
- Chocolate Drizzle: Melt chocolate chips and drizzle over the cooled treats.
- Chocolate Chips: Stir in about 1 cup of chocolate chips (milk, dark, or peanut butter chips) after removing the marshmallow mixture from the heat, before adding the cereal. The residual heat will slightly melt them.
- Candy Pieces: Fold in chopped candy bars, like peanut butter cups, along with the cereal.
- Different Cereals: Experiment with other crisp cereals, though Rice Krispies are traditional.
- Flaky Sea Salt: Sprinkle a pinch of flaky sea salt over the top before they cool completely to enhance the peanut butter flavor.
- Melt butter
- Add marshmallows and melt
- Stir in peanut butter
- Add cereal and mix
- Press into pan
- Cool and cut
Recipe 5: No-Bake S'mores Bars: A Crowd-Pleaser
Capturing the essence of campfire s'mores without the need for a fire, these No-Bake S'mores Bars are a guaranteed hit and incredibly simple for busy beginners. They typically feature a graham cracker crust, a layer of chocolate, and a topping of toasted marshmallows. The "no-bake" aspect usually applies to the crust and the assembly, though the marshmallows are often quickly broiled or torched for that classic toasty finish.
These bars are appealing because they combine familiar, beloved flavors in a convenient bar format. They introduce the concept of different textures and layers working together – crunchy crust, smooth chocolate, and gooey marshmallow. It's a fun, interactive dessert that's very forgiving and perfect for making with friends or family.
Creating the S'mores Bar Layers
The foundation of No-Bake S'mores Bars is usually a graham cracker crust. Crush about 1.5 cups of graham crackers into fine crumbs and mix with about 1/4 cup of melted butter and a tablespoon or two of sugar. Press this mixture firmly into the bottom of a 9x13 inch pan. This layer doesn't need baking, just chilling to firm up slightly.
Next, add a layer of chocolate. This can be done by scattering about 1.5 to 2 cups of chocolate chips (milk or semi-sweet) evenly over the crust. While some recipes call for melting the chocolate first, simply layering the chips allows them to soften slightly from the residual heat if the crust mixture is still warm, or they can be gently melted in place later. Finally, top the chocolate chips with a generous layer of marshmallows. Mini marshmallows work best for even coverage.
Garnishing Your No-Bake S'mores Bars
Once assembled with the graham cracker crust, chocolate layer, and marshmallow topping, these bars are almost ready. For the classic s'mores experience, the marshmallows need to be toasted. While you can't bake them, you can quickly toast them under a broiler in your oven for just a minute or two (watch very closely as they can burn instantly!) or use a kitchen torch. Aim for a light golden brown color.
After toasting (or if skipping the toasting step), let the bars cool slightly before cutting. You can sprinkle a few extra graham cracker crumbs or chocolate shavings over the top for added visual appeal. Some people like to add a drizzle of melted chocolate over the finished bars after they've cooled. Serve them slightly warm if you toasted the marshmallows, or at room temperature.
Essential Tips for No-Bake Dessert Success
Even the simplest no-bake desserts benefit from a few key practices. Paying attention to ingredient quality, understanding the role of chilling, and knowing how to troubleshoot common issues will ensure your beginner no-bake desserts turn out perfectly every time. These tips apply whether you're making a creamy pie, a layered icebox cake, or a simple pudding.
Mastering these basic principles will not only improve your results but also build your confidence in the kitchen. No-bake recipes are forgiving, but a little attention to detail goes a long way. These tips are designed to help busy beginners avoid common pitfalls and achieve delicious, consistent results with their quick and easy treats.
Choosing the Right Ingredients for No-Bake Baking
Using the correct ingredients is fundamental in no-bake recipes, as there's no oven heat to correct for inconsistencies. For creamy desserts, ensure dairy products like cream cheese, heavy cream, and butter are fresh and of good quality. Softened cream cheese is crucial for smooth fillings, and cold heavy cream is essential for whipping properly.
When using pre-made components like cookies or crackers for crusts or layers, choose ones with good flavor and texture. Graham crackers, Oreos, and vanilla wafers are popular choices because they soften nicely when combined with moist ingredients. For gelatin or pudding-based desserts, double-check the package instructions for the correct liquid ratios, as these are key to proper setting. Using room temperature ingredients when specified (like cream cheese) and cold ingredients when required (like heavy cream) is not just a suggestion – it's often critical for the recipe's success.
Mastering the Art of Chilling and Setting
Chilling is the equivalent of baking time in no-bake desserts – it's where the magic happens! Proper chilling allows flavors to meld, liquids to thicken, and structures to firm up. Most no-bake recipes require a minimum of 2-4 hours in the refrigerator to set, but often, chilling overnight yields the best results, especially for layered desserts like icebox cakes or cheesecakes.
Ensure your refrigerator is set to the correct temperature (typically below 40°F or 4°C). Cover your desserts while they chill to prevent them from absorbing odors from other foods and to maintain moisture. Avoid peeking or moving the dessert too much during the initial chilling period. Patience is key; rushing the chilling process is the most common reason for a no-bake dessert not holding its shape when sliced.
No-Bake Dessert Troubleshooting: Common Issues and Solutions
- Filling is too soft: This is often due to insufficient chilling time or incorrect ingredient ratios (e.g., not enough stabilizer like cream cheese, condensed milk, or gelatin; or too much liquid). Try chilling for longer. If it still doesn't set, you might gently warm a small portion, dissolve a little gelatin or cornstarch slurry in it, and stir back into the main mixture before re-chilling (use caution, this can alter texture).
- Crust is crumbly: The crust-binder ratio (usually melted butter for cookie crumbs) might be off, or it wasn't pressed firmly enough into the pan. Next time, ensure the crumbs are evenly coated with butter and pack them down tightly using the bottom of a glass or a measuring cup.
- Icebox cake cookies didn't soften: There wasn't enough moisture in the layers or insufficient chilling time. Ensure cookies are fully covered by the creamy layers and extend the chilling time, ideally overnight.
- Marshmallows on s'mores bars burned under broiler: The broiler is very hot! Keep the pan several inches away from the heat source and watch constantly. It takes seconds to go from toasted to burnt. A kitchen torch offers more control.
Adapting No-Bake Recipes to Your Taste
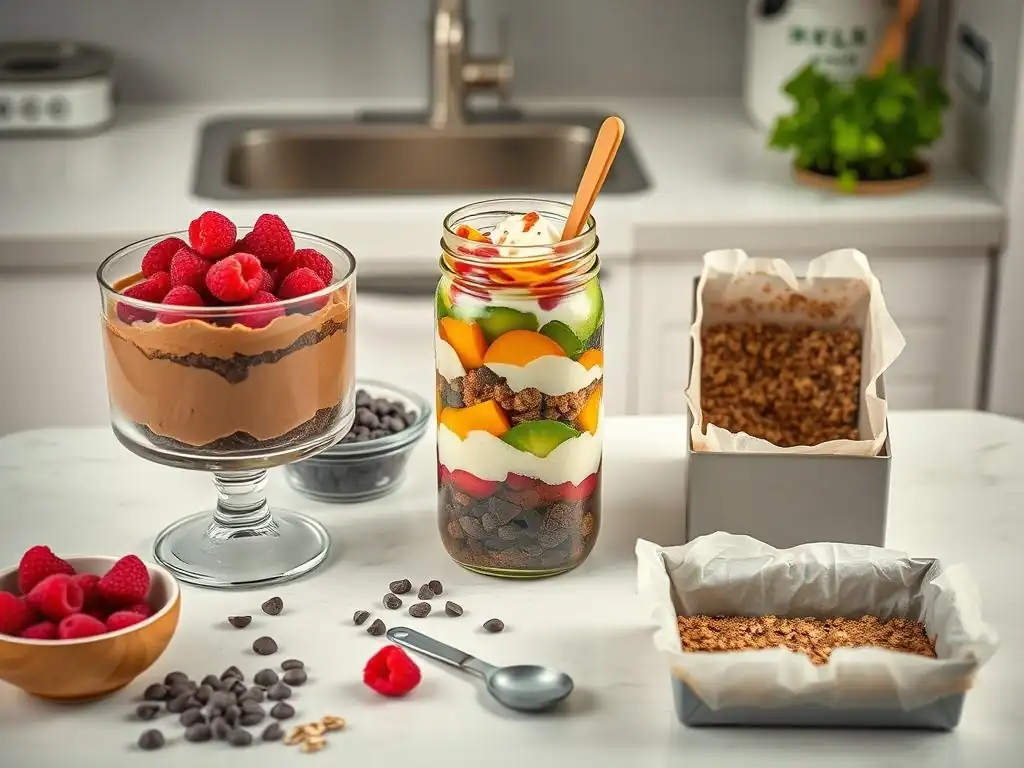
One of the joys of making beginner no-bake desserts is how easily they can be customized. Once you understand the basic structure – usually a base, a filling/layer, and sometimes a topping – you can start experimenting with different flavors, textures, and ingredients. This allows you to personalize classic recipes and cater to specific preferences or dietary needs.
Don't be afraid to get creative! Swapping out cookie types, adding different extracts, incorporating fresh or frozen fruits, or mixing in chocolate chips or nuts are all simple ways to put your unique spin on a no-bake classic. This adaptability makes no bake desserts beginners a fantastic starting point for developing your own dessert style.
Customizing Flavors and Ingredients in No-Bake Desserts
The possibilities for customizing no-bake desserts are nearly endless. In an icebox cake, swap Oreos for chocolate chip cookies, graham crackers, or even gingerbread snaps depending on the desired flavor profile. Replace the whipped cream with chocolate mousse, lemon pudding, or a mixture of mascarpone and sugar. Add different fruits like strawberries, blueberries, or sliced bananas between layers.
For no-bake cheesecakes, the filling can be flavored with cocoa powder for chocolate, peanut butter, different citrus juices, or extracts like almond or peppermint. The crust can be made from crushed pretzels (for a salty-sweet contrast), different cookie types, or even crushed cereal. Toppings can range from fruit compotes and chocolate ganache to chopped nuts or shredded coconut. The key is to maintain the proper consistency of the filling so it sets correctly.
Making No-Bake Desserts Healthier: Lower Sugar Options
While desserts are treats, you can often make simple modifications to reduce the sugar content in beginner no-bake desserts. For creamy layers, use less powdered sugar in whipped cream or opt for unsweetened whipped cream. Choose recipes that use natural sweeteners like maple syrup or honey in smaller quantities where appropriate, or use sugar substitutes designed for baking (check their usage recommendations).
For crusts, use less added sugar in the crumb mixture. Incorporate more fresh fruit, which provides natural sweetness and fiber, allowing you to use less added sugar in the filling. Some recipes can utilize Greek yogurt or silken tofu blended with fruit for a lighter, protein-rich filling instead of heavy cream or cream cheese. Look for recipes specifically designed as "lighter" or "healthier" versions, as they often balance ingredients differently to achieve proper setting with less sugar and fat.
No-Bake Desserts: The Perfect Introduction to Baking with Ease
Exploring no bake desserts beginners is genuinely one of the best ways to start your culinary journey in the world of sweets. They are forgiving, require minimal equipment, and deliver delicious results quickly. These quick and easy options build confidence and demonstrate that creating satisfying desserts doesn't have to be complicated or time-consuming.
From the simple layering of an icebox cake to the quick stovetop method for Rice Krispie treats, these recipes teach fundamental concepts like chilling, setting, and combining textures without the pressure of oven dynamics. We hope these beginner no-bake dessert ideas inspire you to get into the kitchen and create something wonderful today!
More Beginner Baking Recipes to Explore on BakeWithEase.com
No-bake desserts are just the beginning! Once you've mastered these easy treats, BakeWithEase.com offers a wealth of other beginner-friendly baking recipes. Explore simple cookie recipes, easy muffins, loaf cakes, and more. Each recipe is designed with clear, step-by-step instructions to guide you through the process, helping you build your skills and expand your baking repertoire with confidence.
Frequently Asked Questions
What exactly are no-bake desserts and why are they good for beginners?
No-bake desserts are recipes that don't require an oven! They are excellent for beginners because they are simpler and faster, minimizing the risk of burning or overcooking.
What are some common ingredients used in no-bake desserts that are easy to find?
Common ingredients include graham crackers, chocolate, cream cheese, and condensed milk. These items are readily available in most grocery stores, making no-bake desserts accessible.
Can I customize no-bake dessert recipes to my liking?
Absolutely! No-bake desserts are very adaptable. You can easily swap out ingredients like fruit, nuts, or different types of chocolate to create your own unique flavors.
How long do no-bake desserts typically need to chill in the refrigerator?
The chilling time varies, but most no-bake desserts require at least 2-4 hours in the refrigerator to properly set. This ensures a firm and enjoyable texture.
What are the best tips for ensuring a successful no-bake dessert, especially for beginners?
Follow the recipe carefully, measure ingredients accurately, and ensure ingredients are at the correct temperature (e.g., softened cream cheese) for easy mixing and optimal results.
Final Reflection: The Sweet Simplicity of No-Bake Baking
The accessibility of delicious treats is more important than ever in our fast-paced world. No-bake desserts offer a delightful solution, proving that culinary satisfaction doesn't require hours in the kitchen. This simple approach to baking empowers even the busiest beginners to create sweet moments for themselves and others.
The joy of creating something delicious without the complexities of an oven is surprisingly profound. It's a reminder that baking, at its heart, is about connection – connection to ingredients, to loved ones, and to the simple pleasure of creating something beautiful. The best things in life are the simple things.
This sentiment rings especially true when considering the ease and satisfaction of whipping up a no-bake masterpiece. The impact extends beyond the individual, fostering a sense of accomplishment and encouraging others to explore their own culinary creativity, regardless of their skill level.
Now, I invite you to consider the possibilities. What no-bake creation will you tackle next? Perhaps it's a refreshing summer treat, a decadent chocolate delight, or a whimsical dessert perfect for a special occasion. Don't let the perceived difficulty of baking hold you back. Embrace the simplicity, the joy, and the deliciousness of the no-bake world. Your taste buds (and your schedule) will thank you.
Unlock Your Inner Pastry Chef: Delicious No-Bake Treats Await!
Thanks for joining us on this delicious journey into the world of no-bake desserts! We hope you're feeling inspired and ready to conquer your kitchen with confidence. Now, let's turn that inspiration into action:
- Whip up your favorite recipe today! Grab those ingredients and get baking (or rather, not baking! )—we know you've got this.
- Share your creations! Show us your masterpieces on social media using #BakeWithEaseNoBake. Let's inspire each other!
- Explore more no-bake recipes on our website to discover even more delightful treats. We've got something for everyone.
What’s your favorite no-bake dessert ingredient, and what amazing creation will you be making first? Let us know in the comments below!