
How to Fix a Dry Chocolate Cake: Tips & Tricks

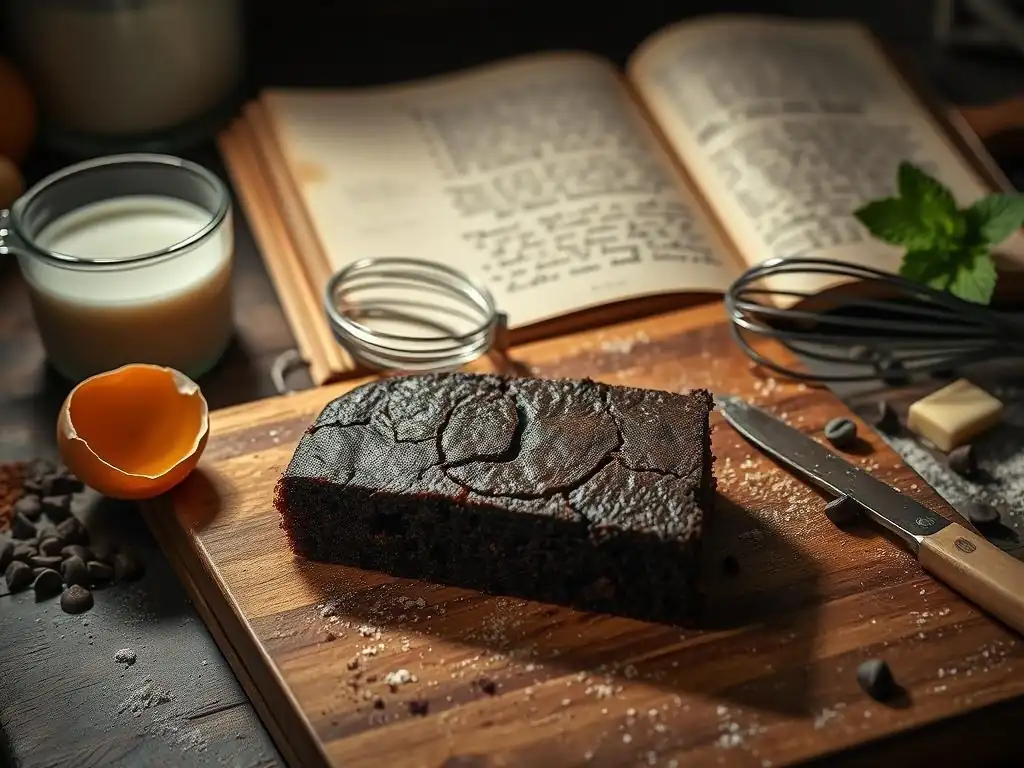
Welcome to BakeWithEase, your trusted guide in the delightful world of baking! Ever wondered why your chocolate cake turns out disappointingly dry? You're not alone! Dive into our expert advice and discover the secrets to achieving moist, decadent perfection. Learn how to conquer dry chocolate cake troubleshooting and unlock the full potential of your baking skills. Let's bake!
- Understanding the Problem: Why is My Chocolate Cake Dry?
- Dry Chocolate Cake Troubleshooting: Quick Fixes and Solutions
- Preventative Measures: Baking a Moist Chocolate Cake from the Start
- Reviving Specific Types of Dry Chocolate Cake
- Advanced Techniques for Fixing Extremely Dry Chocolate Cake
- Frequently Asked Questions About Dry Chocolate Cake
- Conclusion: Enjoying Your Perfectly Moist Chocolate Cake
-
Frequently Asked Questions
- What are the most common causes of a dry chocolate cake?
- How can I tell if my chocolate cake is likely to be dry before I even take it out of the oven?
- What ingredients can I add to my chocolate cake recipe to make it more moist?
- My chocolate cake is already baked and dry. What can I do to salvage it?
- Can I prevent a dry chocolate cake by changing my baking technique?
- Final Reflection: The Sweet Science of Rescue
- Unlock Your Cake's Potential: Rescue & Revel in Deliciousness!
Understanding the Problem: Why is My Chocolate Cake Dry?
Discovering your lovingly baked chocolate cake is dry can be disheartening. A dry texture usually indicates an imbalance in the ingredients or issues during the baking process. It's a common problem that many bakers face, often stemming from simple mistakes that are easily corrected once you understand the underlying causes. Addressing the root of the dryness is the first step in effective dry chocolate cake troubleshooting.
Understanding why a cake turns out dry is crucial not just for fixing the current one, but also for preventing future baking mishaps. It’s not just about adding moisture back; it’s about recognizing the factors that strip it away in the first place. This knowledge empowers you to adjust your techniques and recipes, ensuring your chocolate cakes are consistently moist and delicious.
Common Causes of Dry Chocolate Cake
One of the most frequent culprits behind a dry chocolate cake is using too much flour or not enough liquid or fat. Baking is a science, and precise ratios are key. Adding even a small excess of dry ingredients or skimping on moistening agents like oil, butter, eggs, buttermilk, or sour cream can significantly alter the final texture.
For instance, a recipe calling for 2 cups of flour might become dry if you accidentally scoop an extra quarter cup, disrupting the delicate balance required for a tender crumb. Over-mixing the batter can also contribute to dryness by developing the gluten too much, resulting in a tough, dry texture.
Another major cause is overbaking. Baking a cake for too long or at too high a temperature evaporates essential moisture, leaving the cake crumbly and dry. Ovens can vary, and relying solely on the recipe's suggested time without checking for doneness can lead to overbaking. Even a few extra minutes in a hot oven can mean the difference between a moist cake and one that requires significant dry chocolate cake troubleshooting. Improper storage after baking can also wick away moisture, turning a perfectly baked cake dry surprisingly quickly.
Identifying a Dry Chocolate Cake: Signs and Symptoms
A dry chocolate cake often presents several tell-tale signs. Visually, the cake might look crumbly or appear dense rather than light and airy. When you slice into it, you might notice excessive crumbs falling away, and the cut surface might look dull and matte, lacking the slightly moist sheen of a perfectly baked cake. The sides and bottom might appear darker and harder than they should be.
Beyond appearance, the texture is the most definitive indicator. A dry cake will feel coarse or sandy in your mouth. It lacks the tender, melt-in-your-mouth quality of a moist cake. When you press lightly on the surface, it might feel stiff or spring back too quickly, or conversely, crumble under minimal pressure. The flavor might also seem less rich, as moisture helps distribute and enhance the taste of chocolate and other ingredients. Recognizing these signs early is vital for successful dry chocolate cake troubleshooting.
Dry Chocolate Cake Troubleshooting: Quick Fixes and Solutions
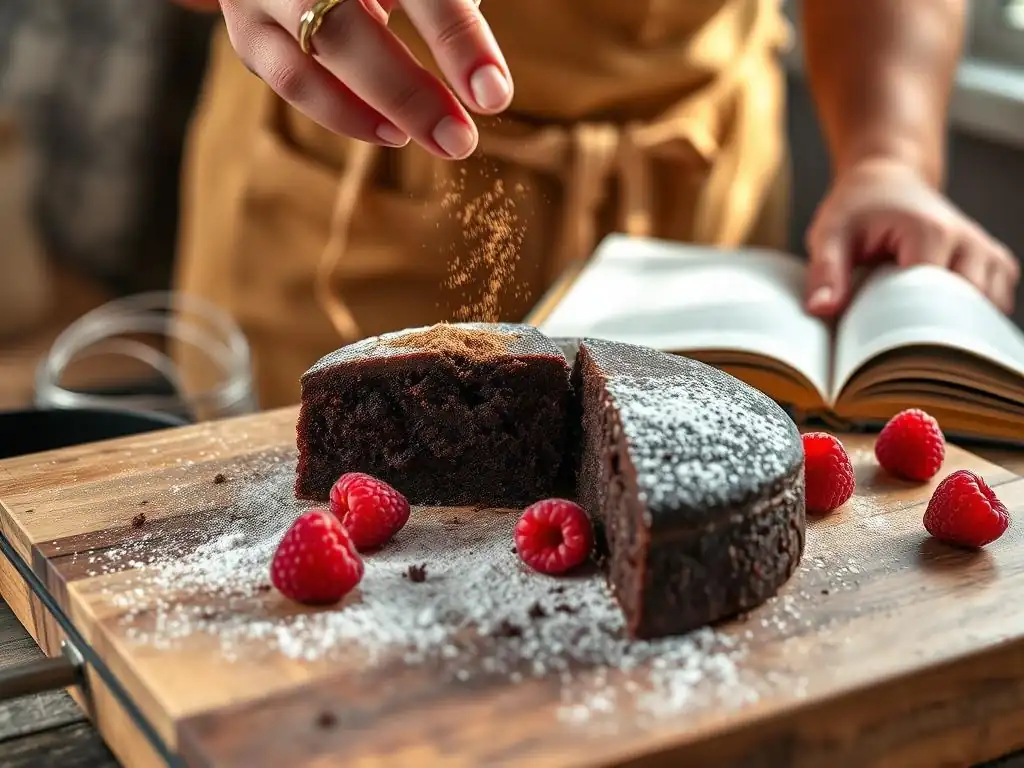
Don't despair if your chocolate cake turned out dry! There are several effective ways to rescue it and make it enjoyable. These methods focus on reintroducing moisture and can range from simple additions to more elaborate coverings, depending on the severity of the dryness and the desired outcome. Effective dry chocolate cake troubleshooting can turn a baking disappointment into a delicious dessert.
The approach you choose depends on how dry the cake is and how you plan to serve it. For a slightly dry cake, a simple syrup might suffice. For a very dry cake, a richer solution like ganache or a combination of toppings might be needed. Consider the cake's structure (layer cake vs. loaf cake) and how much time you have before serving.
Simple Syrups: The Easiest Way to Moisten a Dry Chocolate Cake
Using a simple syrup is perhaps the quickest and easiest way to add moisture back into a dry chocolate cake. A simple syrup is essentially sugar dissolved in liquid, usually water. This sweet liquid is absorbed by the cake crumb, making it softer and more tender. It's particularly effective for sponge cakes or layer cakes where you can evenly distribute the syrup. You can also infuse the syrup with flavors like vanilla, coffee, or even a splash of liqueur to complement the chocolate.
Applying simple syrup works best when the cake has cooled slightly but is still warm, as it absorbs the liquid more readily. However, it can also be applied to a completely cooled cake. The goal is to add enough moisture without making the cake soggy. Start with a small amount and add more as needed, allowing each application to soak in before adding the next. This technique is a fundamental part of many dry chocolate cake troubleshooting strategies.
Recipe for a Basic Simple Syrup for Chocolate Cake
A standard simple syrup uses a 1:1 ratio of sugar to water by volume. For a typical cake rescue, you might start with:
- 1/2 cup granulated sugar
- 1/2 cup water
Combine the sugar and water in a small saucepan over medium heat. Stir constantly until the sugar is completely dissolved and the liquid is clear. Bring the mixture just to a simmer, then remove it from the heat. You can add flavorings at this stage, such as 1 teaspoon of vanilla extract or 1 tablespoon of instant coffee granules (dissolve coffee first in a tiny bit of hot water if needed). Let the syrup cool slightly before using.
If you want a richer syrup or plan to use it on a very dense cake, a 1.5:1 or 2:1 sugar-to-water ratio can be used, but be mindful that this will make the cake much sweeter. For a slightly less sweet option, a 1:2 sugar-to-water ratio is also possible, though it won't be as effective at preventing future dryness. The key is dissolving the sugar thoroughly.
How to Apply Simple Syrup to a Dry Cake
Once your simple syrup has cooled slightly (it should be warm, not hot), you can apply it to the cake. For a layer cake, it's easiest to apply the syrup to the cut sides of the layers before assembling. You can also prick the top of the cake gently with a fork or toothpick before application. Use a pastry brush, a spoon, or even a squeeze bottle to drizzle the syrup evenly over the surface.
Apply the syrup gradually. Start with a moderate amount, perhaps a few tablespoons for a standard 8-inch layer. Allow it to soak in for 5-10 minutes. Gently touch the cake surface to see if it feels adequately moist. If it still feels dry, apply a little more. Be careful not to over-saturate the cake, which can make it gummy or fall apart. This controlled application is key to successful dry chocolate cake troubleshooting with syrup.
Repairing Dry Cake with a Chocolate Ganache
Chocolate ganache isn't just a delicious frosting; its rich, creamy texture and high fat content make it an excellent way to add significant moisture and richness to a dry chocolate cake. Ganache is made from chocolate and cream, and its thickness can be adjusted by changing the ratio. A pourable ganache can soak into the cake slightly, while a thicker ganache provides a moist, decadent layer that covers and compensates for the dry crumb beneath.
Using ganache is a more indulgent form of dry chocolate cake troubleshooting. It works particularly well for loaf cakes, bundt cakes, or as a filling and coating for layer cakes. The fat from the cream and chocolate helps to counter the dryness of the cake crumb, while the overall richness masks any remaining textural imperfections. Plus, who can say no to more chocolate?
Making a Chocolate Ganache to Rescue Your Cake
A basic chocolate ganache uses chocolate and heavy cream. A common ratio for a pourable or frosting-like ganache is 1:1 by weight for semi-sweet or bittersweet chocolate, or 2:1 (chocolate to cream) for milk or white chocolate. For dry cake rescue, a 1:1 or 1.5:1 ratio (chocolate to cream) often works well, providing enough body to coat while still being creamy.
Example:
- 8 ounces (about 1 1/3 cups) good quality chopped chocolate (semi-sweet or bittersweet)
- 8 ounces (1 cup) heavy cream
Place the chopped chocolate in a heatproof bowl. Heat the heavy cream in a saucepan over medium heat until it just simmers (do not boil). Pour the hot cream over the chopped chocolate. Let stand for 5 minutes without stirring to allow the heat from the cream to melt the chocolate. Then, gently whisk from the center outwards until the mixture is smooth, glossy, and fully combined. Allow the ganache to cool slightly and thicken to your desired consistency before using.
Ganache Application Techniques for Maximum Moisture
The way you apply ganache depends on the cake type and desired effect. For a loaf or bundt cake, pour the slightly cooled ganache over the cake, allowing it to drip down the sides. This creates a beautiful glaze while adding moisture to the surface. For layer cakes, use the ganache as a filling between layers and as a coating. The layers of ganache sandwiching the cake effectively seal in any existing moisture and provide a rich, moist contrast to the dry crumb.
If the cake is very dry, you can warm the ganache slightly (until pourable but not hot) and gently brush or spoon some onto the cake layers or surfaces before coating. This allows a bit of the rich liquid to soak in. Ensure the cake is on a wire rack over a tray to catch drips. Allow the ganache to set slightly before slicing. This dual-action approach makes ganache a powerful tool in dry chocolate cake troubleshooting.
Whipped Cream and Fruit: A Delicious Dry Cake Cover-Up
Sometimes, the best way to fix a dry chocolate cake is to serve it with accompaniments that add moisture and flavor. Whipped cream and fresh fruit are a classic pairing with chocolate cake, and they are incredibly effective at masking dryness. The light, airy texture and moisture of whipped cream, combined with the juicy sweetness of fruit, create a delightful contrast to a dense or dry cake crumb.
This method is less about fixing the cake itself and more about enhancing the serving experience to make the dryness less noticeable. It works wonderfully for sliced cake portions. Instead of trying to hydrate the entire cake, you focus on making each individual slice moist and appealing when served. This is a simple yet effective dry chocolate cake troubleshooting strategy for serving.
Preparing Whipped Cream to Compliment Chocolate
Homemade whipped cream is simple to make and far superior to store-bought aerosol varieties for this purpose. You'll need:
- 1 cup cold heavy whipping cream
- 1-2 tablespoons powdered sugar (to taste)
- 1/2 teaspoon vanilla extract (optional)
Combine the cold cream, powdered sugar, and vanilla (if using) in a cold bowl. Using an electric mixer (handheld or stand mixer with whisk attachment) or a whisk, beat the mixture on medium-high speed until soft or stiff peaks form, depending on your preference. Be careful not to overbeat, or you'll end up with butter. Store in the refrigerator until ready to serve.
The cold, airy whipped cream provides a smooth, melting texture that contrasts beautifully with cake. Its moisture helps to soften the cake crumb as you eat it. For a chocolate cake, consider adding a teaspoon of cocoa powder to the whipped cream for a chocolate-on-chocolate experience, or a splash of coffee liqueur for added depth.
Adding Fruit for Flavor and Moisture
Fresh or lightly macerated fruit adds essential moisture and bright flavor to a dry chocolate cake. Berries like strawberries, raspberries, and blueberries are excellent choices, as they are naturally juicy. Stone fruits like cherries or sliced peaches also pair well. Simply serve a generous spoonful of fruit alongside each slice of cake and whipped cream.
For an extra boost of moisture and flavor, you can lightly macerate the fruit. Toss sliced strawberries or berries with a tablespoon or two of sugar and a squeeze of lemon juice. Let them sit for 15-30 minutes. The sugar will draw out the juices, creating a simple, flavorful syrup that can be spooned over the cake and cream. This combination of creamy, sweet, and juicy elements is a fantastic way to make a dry cake not just edible, but genuinely enjoyable.
Preventative Measures: Baking a Moist Chocolate Cake from the Start
While dry chocolate cake troubleshooting is a useful skill, preventing the problem altogether is even better! Achieving a consistently moist chocolate cake involves paying attention to detail throughout the baking process, from selecting ingredients to monitoring the oven. Understanding the science behind moisture in cakes empowers you to bake with confidence.
Focusing on these preventative steps minimizes the chances of ending up with a dry cake, saving you the need for rescue missions. It’s about building moisture into the cake from the ground up through careful ingredient selection, accurate measurement, and proper technique.
Accurate Measurements: The Key to Moist Cake
Precise measurement is perhaps the most critical factor in ensuring a moist cake. Using too much dry ingredient, especially flour or cocoa powder, is a primary cause of dryness. Dry ingredients absorb liquid, and an excess will soak up all the available moisture, leaving none for a tender crumb. Weighing your ingredients, particularly flour, is the most accurate method. A cup of flour can vary significantly in weight depending on how it's scooped and packed.
If you're not weighing, use the "spoon and level" method for flour: gently spoon the flour into your measuring cup until it overflows, then level off the excess with a straight edge (like the back of a knife) without packing the flour down. For liquids, use liquid measuring cups placed on a flat surface. These simple steps can make a dramatic difference and prevent the need for dry chocolate cake troubleshooting.
Choosing the Right Ingredients for a Moist Chocolate Cake
The ingredients themselves play a huge role in cake moisture. Opting for recipes that include moistening agents like oil, butter, eggs, buttermilk, sour cream, yogurt, or even mayonnaise (yes, it works!) helps ensure a tender crumb. Each of these contributes fat and/or liquid that prevents dryness.
For chocolate cakes, using good quality cocoa powder is also important. Natural cocoa powder can be slightly more drying than Dutch-processed cocoa due to its acidity and how it interacts with leaveners, though both can yield moist cakes when balanced correctly in a recipe. Understanding how different ingredients function is key to baking success and avoiding dry chocolate cake troubleshooting.
The Role of Fat in Chocolate Cake Moisture
Fat is a critical component for cake moisture. It coats the flour particles, preventing excessive gluten development, which can lead to toughness and dryness. Fats like butter and oil also contribute tenderness and richness. Butter adds flavor and structure, while oil tends to keep cakes moister for longer because it remains liquid at room temperature, whereas butter solidifies. Many moist chocolate cake recipes use a combination of butter and oil for the best of both worlds.
Recipes that rely heavily on butter but lack sufficient liquid or other fats might be more prone to drying out as they cool. Ensuring there's an adequate amount and type of fat for the quantity of dry ingredients is a cornerstone of baking a moist cake. Don't be tempted to reduce the fat significantly in a recipe unless it's specifically designed to be low-fat; you'll likely sacrifice moisture.
Understanding the Importance of Liquid Ingredients
Liquid ingredients like milk, buttermilk, sour cream, yogurt, eggs, and even water or coffee (excellent with chocolate!) are essential for hydrating the dry ingredients, activating leaveners, and creating steam during baking, which contributes to a tender crumb. Buttermilk and sour cream are particularly prized for their ability to produce moist cakes due to their fat content and acidity, which helps tenderize the gluten.
Using the correct amount of liquid specified in the recipe is crucial. Too little, and the cake will be dry and dense. Too much, and it might be too wet or sink in the middle. The temperature of your liquid ingredients can also matter; many recipes call for room temperature ingredients because they emulsify better with fats and create a smoother batter, leading to a finer, moister crumb.
Baking Techniques to Prevent a Dry Chocolate Cake
Beyond ingredients, how you bake the cake significantly impacts its moisture level. Factors like oven temperature, baking time, and even the pan you use can contribute to dryness if not managed correctly. Proper technique is your best defense against needing dry chocolate cake troubleshooting.
Ensuring your oven is accurately calibrated is a good starting point, as an oven that runs hot is a prime suspect for overbaking. Using the correct size and type of pan specified in the recipe also helps ensure even heat distribution and baking.
Proper Oven Temperature and Baking Time
Baking at the correct temperature for the specified time is vital. Most chocolate cakes bake well between 325°F (160°C) and 350°F (175°C). Baking at too high a temperature causes the cake to set too quickly on the outside while potentially remaining underdone inside, and it also accelerates moisture evaporation. Baking for too long, even at the correct temperature, will undoubtedly lead to a dry cake.
Always preheat your oven fully before putting the cake in. Using an oven thermometer can help verify your oven's temperature. Pay close attention to the recipe's suggested baking time, but use it as a guideline, not a strict rule. Different pans, ingredients, and even humidity can affect baking time.
Avoiding Overbaking: The Toothpick Test and Visual Cues
The best way to avoid overbaking is to start checking for doneness before the recipe's minimum suggested baking time. Common doneness tests include:
- The Toothpick Test: Insert a toothpick or cake tester into the center of the cake. It should come out with a few moist crumbs attached, but no wet batter. If it comes out completely clean, the cake might already be slightly overdone.
- Visual Cues: The edges of the cake should start to pull away slightly from the sides of the pan. The top should look set and spring back gently when lightly pressed.
Trust your instincts and these tests more than the clock alone. Removing the cake from the oven just as it reaches doneness is the most effective way to preserve its moisture and avoid dry chocolate cake troubleshooting.
Storing Chocolate Cake Correctly to Retain Moisture
Even a perfectly baked cake can become dry if not stored properly. Exposure to air is the enemy of cake moisture. Once the cake has cooled completely, it should be wrapped tightly to prevent air from drying it out.
For a whole cake or large pieces, use plastic wrap and then an airtight container or aluminum foil. For sliced cake, press plastic wrap directly onto the cut surfaces before wrapping the whole piece. Store at room temperature for 1-2 days, or in the refrigerator for longer storage (though refrigeration can sometimes slightly alter texture). Freezing is also an option for longer-term storage; double-wrap cooled cake tightly in plastic wrap and then foil before freezing. Proper storage is the final step in preventing dryness.
Reviving Specific Types of Dry Chocolate Cake
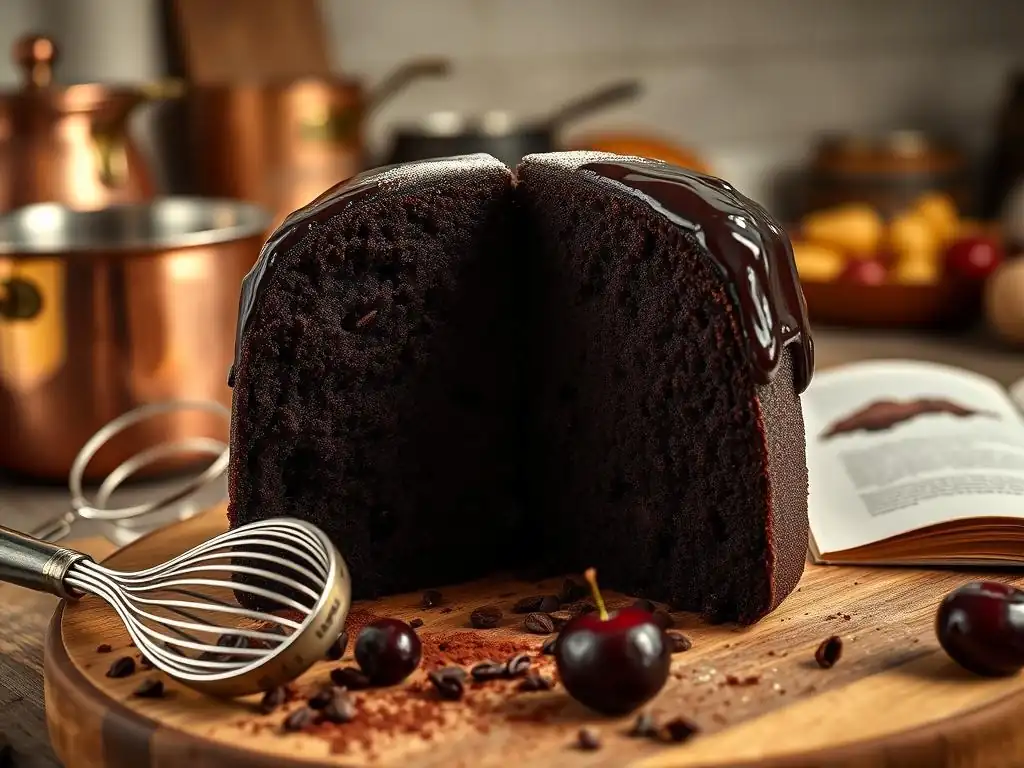
The best approach for dry chocolate cake troubleshooting can sometimes depend on the type of cake you've baked. Different structures and forms may benefit from slightly different rehydration techniques.
Whether you're dealing with delicate layers, a dense bundt, or individual cupcakes, tailoring your rescue method can yield better results and make the process more efficient.
Fixing a Dry Chocolate Layer Cake
Fixing a dry chocolate layer cake is often the most straightforward, especially if you haven't assembled and frosted it yet. The best method here is applying simple syrup (as discussed earlier) directly to the cut sides and tops of the cooled cake layers before frosting. This allows the moisture to penetrate the crumb effectively where it's most needed.
If the cake is already assembled and frosted, fixing dryness is trickier. You can try gently brushing simple syrup onto any exposed cake (like the bottom edge or if you remove the top layer of frosting), but this is less effective. Serving slices with moist accompaniments like ganache, whipped cream, or fruit becomes the primary dry chocolate cake troubleshooting strategy in this scenario. For a very dry assembled cake, sometimes making cake pops or a trifle is the best use.
Saving a Dry Chocolate Bundt Cake
A dry chocolate bundt cake can be rescued effectively using a glaze or pourable ganache. The indentations and large surface area of a bundt cake make it ideal for absorbing a liquid topping. Prepare a simple syrup, a chocolate glaze (powdered sugar mixed with milk or cream and cocoa), or a pourable ganache.
While the cake is still slightly warm (or after pricking holes in a cooled cake), slowly pour the glaze or ganache over the top, allowing it to drip down the sides and soak into the cake. This adds both moisture and flavor. You can also gently brush simple syrup onto the cake before applying the glaze for a double dose of moisture, a common dry chocolate cake troubleshooting technique for denser cakes.
Hydrating Dry Chocolate Cupcakes
Dry chocolate cupcakes can be revived individually. One popular method is to use a syringe or squeeze bottle with a narrow tip to inject simple syrup, chocolate sauce, or even a thin pudding or custard into the center of each cupcake. Aim for the middle, pushing the liquid in gently.
Alternatively, you can scoop out a small well from the center of each cupcake and fill it with a moist filling like ganache, chocolate pudding, or fruit compote before topping with frosting. If the dryness is minor, simply adding a generous swirl of moist frosting (like buttercream or cream cheese frosting) or serving with whipped cream and fruit can be enough to compensate. These targeted methods are key to dry chocolate cake troubleshooting for smaller treats.
Advanced Techniques for Fixing Extremely Dry Chocolate Cake
For cakes that are severely dry, simple syrups or glazes might not be enough. These advanced techniques are for those times when you need to go the extra mile to make an almost unsalvageable cake enjoyable. They often involve incorporating moisture into the structure or serving method itself.
These methods are more intensive but can successfully transform a very dry cake into something delicious, proving that even extreme dry chocolate cake troubleshooting is possible.
Crumb Coating and Frosting Strategies for Dry Cakes
If your dry cake is destined to be frosted, the crumb coating is your first line of defense for adding moisture and preventing further drying. A crumb coat is a thin layer of frosting applied to the cake to trap crumbs. For a dry cake, make this crumb coat slightly thinner and wetter than usual, almost like a glaze. Apply it generously, allowing it to fill in cracks and adhere to the dry surface.
Once the crumb coat has chilled and set, apply a thicker, moist final layer of frosting. Buttercream, ganache, or cream cheese frosting work well. The frosting acts as a barrier against air and provides a moist, rich contrast to the cake. For very dry cakes, using a frosting with a higher fat or liquid content (like a ganache or a milk-based buttercream) is more effective than a dry, sugar-heavy frosting.
Using Alcohol to Enhance Moisture and Flavor
Alcohol is a fantastic way to add moisture and complex flavor to chocolate cake, particularly for adult palates. Spirits like rum, brandy, whiskey, or liqueurs like Kahlúa, Frangelico, or Irish cream pair wonderfully with chocolate. You can add alcohol to a simple syrup or incorporate it into glazes, ganaches, or even frostings.
To use alcohol for dry chocolate cake troubleshooting, add a tablespoon or two of your chosen spirit or liqueur to the simple syrup recipe mentioned earlier. Brush this alcoholic syrup onto the cake layers or poke holes in a cooled cake and drizzle the syrup over it. The alcohol not only adds moisture but also enhances the chocolate flavor. The alcohol content will mostly evaporate during absorption, leaving behind the flavor and moisture. This is a sophisticated method for dry chocolate cake troubleshooting.
Frequently Asked Questions About Dry Chocolate Cake
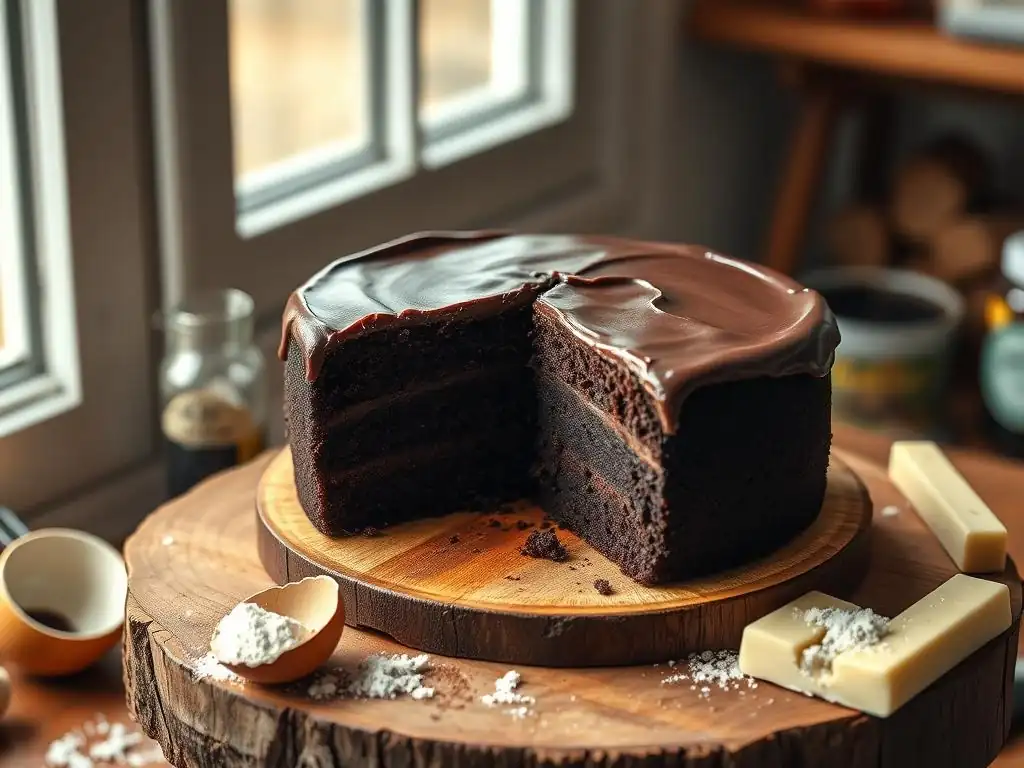
Dealing with dry cakes raises common questions. Here are some quick answers to help you navigate dry chocolate cake troubleshooting.
Getting clear answers to these frequent queries can help home bakers understand the problem better and apply the most effective solutions.
Can I fix a dry chocolate cake the next day?
Yes, absolutely! While it's sometimes easier to add moisture while the cake is still slightly warm, you can definitely fix a dry chocolate cake the next day, or even later. Simple syrups, glazes, ganaches, and moist accompaniments like whipped cream and fruit are all effective methods for rehydrating or improving the texture of a cooled, day-old dry cake. The key is getting moisture into the cake crumb or providing a moist element to eat alongside it.
Does frosting help a dry cake?
Yes, frosting helps a dry cake significantly. Frosting, especially those with high fat or liquid content like buttercream, cream cheese frosting, or ganache, adds moisture and richness that can compensate for a dry cake crumb. The frosting also creates a barrier that helps seal in any remaining moisture in the cake and prevents it from drying out further. Applying a generous amount of moist frosting is a standard dry chocolate cake troubleshooting technique.
What ingredients make a cake more moist?
Several ingredients are known for contributing moisture to cakes:
- Fats: Oil, butter, sour cream, yogurt, mayonnaise. Oil is particularly effective at keeping cakes moist over time.
- Liquids: Buttermilk, milk, eggs, coffee, water, fruit purées (like applesauce or mashed banana).
- Sugars: Brown sugar (due to molasses content) and ingredients like corn syrup or honey can contribute moisture and tenderness.
- Other: Ingredients like pudding mix, gelatin, or even specific types of flour (like cake flour, which has less protein) can impact tenderness and perceived moisture. Using recipes that incorporate a good balance of these moistening agents is the best preventative dry chocolate cake troubleshooting.
Conclusion: Enjoying Your Perfectly Moist Chocolate Cake
Ending up with a dry chocolate cake is a common baking challenge, but as you've seen, it's far from the end of the world. With a variety of dry chocolate cake troubleshooting techniques at your disposal, you can rescue your creation and transform it into a delightful treat. From simple syrups and rich ganaches to strategic serving with whipped cream and fruit, there's a solution for almost every level of dryness.
More importantly, understanding the common causes – like inaccurate measurements, overbaking, or improper storage – empowers you to bake better chocolate cakes from the start. By focusing on proper techniques and ingredient balance, you can prevent dryness and consistently achieve that coveted moist, tender crumb. So next time, whether you're troubleshooting a dry chocolate cake or aiming for perfection from the oven, you have the knowledge and tools to ensure a delicious outcome. Happy baking!
Frequently Asked Questions
What are the most common causes of a dry chocolate cake?
The most frequent culprits are overbaking, using too much flour, and insufficient liquid in the recipe. Adjusting these elements can significantly improve moisture.
How can I tell if my chocolate cake is likely to be dry before I even take it out of the oven?
Look for visual cues like cracks on the top that appear excessively deep or a cake that pulls away from the sides of the pan too early. Use a toothpick test; if it comes out clean, it might be overbaked.
What ingredients can I add to my chocolate cake recipe to make it more moist?
Consider adding ingredients like sour cream, buttermilk, or applesauce to increase moisture content. Using oil instead of butter can also yield a more tender crumb.
My chocolate cake is already baked and dry. What can I do to salvage it?
Try brushing the cake with a simple syrup or coffee liqueur to rehydrate it. You could also use it as a base for a trifle where it will be soaked in other liquids.
Can I prevent a dry chocolate cake by changing my baking technique?
Yes! Ensure accurate oven temperature, use a cake thermometer for precise baking, and avoid opening the oven door frequently. Properly measuring ingredients is also crucial.
Final Reflection: The Sweet Science of Rescue
The seemingly simple act of baking a chocolate cake can transform into a culinary crisis when faced with dryness. This seemingly minor baking mishap can be incredibly disheartening, especially when anticipation for a moist, decadent treat is dashed against the reality of a crumbly, disappointing result. But as we've explored, even a dry chocolate cake isn't a lost cause.
The journey from a dry disaster to a delicious dessert highlights the importance of understanding the baking process itself. It's not just about following a recipe; it's about understanding the science behind the ingredients and their interactions. This understanding allows for improvisation and problem-solving, skills applicable far beyond the kitchen. The best way to find yourself is to lose yourself in the service of others.
- Mahatma Gandhi. While not directly about baking, this quote speaks to the transformative power of facing challenges head-on and finding solutions, much like rescuing a dry chocolate cake.
Now, armed with these tips and tricks, I challenge you to approach your next baking endeavor with a newfound confidence. Don't let a dry cake discourage you; instead, see it as an opportunity to learn, adapt, and ultimately, to create something delicious. Remember the techniques we've discussed, and embrace the possibility of transforming a baking mishap into a delicious triumph. The next time you face a dry chocolate cake, remember you have the power to rescue it, and in doing so, rescue the joy of baking itself.
Unlock Your Cake's Potential: Rescue & Revel in Deliciousness!
Thanks for taking the time to explore our tips on reviving a dry chocolate cake! You've gained valuable knowledge to tackle this baking challenge head-on. Now, let's put that knowledge to the test!
- Embrace the Rescue Mission: Don't let a dry cake go to waste! Try one of our recommended methods – the added moisture will transform its texture. Let us know how it turns out in the comments!
- Share Your Success (or Story!): Post a photo of your rescued cake on social media and tag #BakeWithEaseRescue for a chance to be featured.
- Explore More Baking Wonders: Dive deeper into our archives for more helpful tips and delicious recipes. Find your next baking adventure!
What ingenious method will you use to bring your dry chocolate cake back to life?