
Easy Steps to Prevent Burnt Bottoms on Drop Cookies

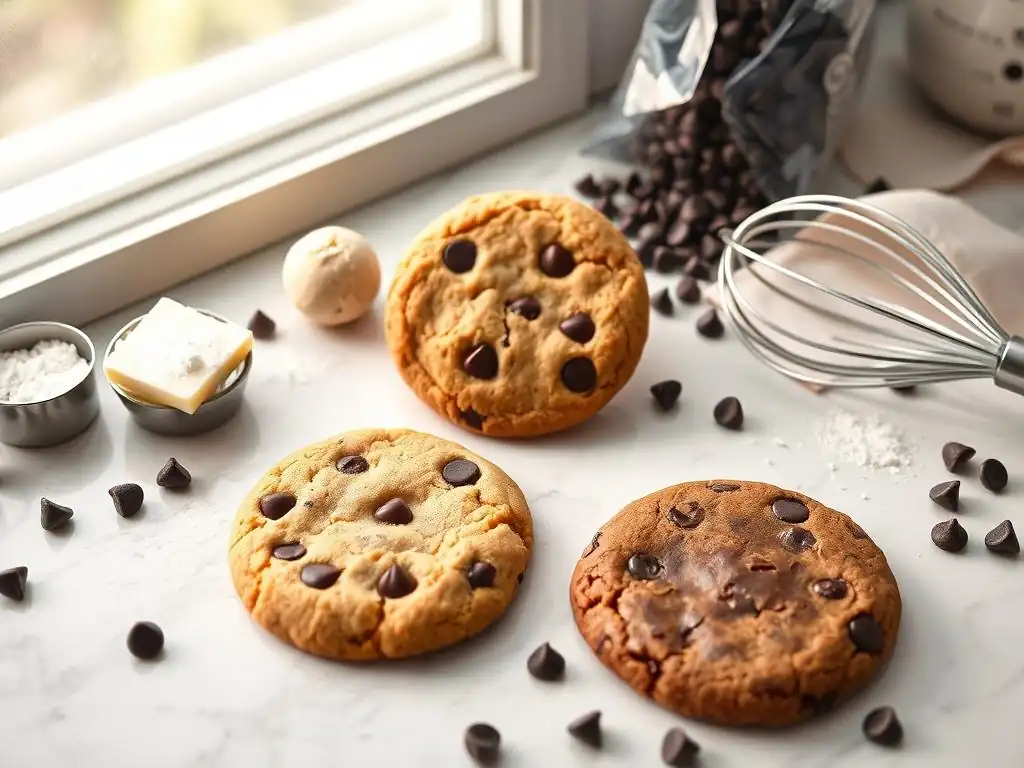
Welcome to BakeWithEase, your haven for effortless baking! Ever wondered how to achieve perfectly golden drop cookies without those dreaded burnt bottoms? We'll unravel the secrets in our latest guide, " Easy Steps to Prevent Burnt Bottoms on Drop Cookies." Discover simple techniques and insider tips that will transform your baking game and have you creating delicious, evenly baked treats in no time. Ready to say goodbye to scorched cookies and hello to baking bliss? Let's get started!
- Introduction: Say Goodbye to Burnt Cookie Bottoms!
- Understanding Why Cookie Bottoms Burn
-
Step-by-Step Guide: Preventing Burnt Drop Cookie Bottoms
- Step 1: Calibrating Your Oven for Accurate Baking Temperatures
- Step 2: The Importance of Oven Thermometers for Cookie Baking
- Step 3: Using Parchment Paper or Silicone Baking Mats
- Step 4: Choosing the Right Baking Sheet Material and Color
- Step 5: Adjusting Oven Rack Position for Balanced Baking
- Step 6: Rotating Baking Sheets During Baking
- Step 7: Reducing Oven Temperature Slightly
- Troubleshooting: Addressing Persistent Burning Issues
- Additional Tips for Perfect Drop Cookies
- Conclusion: Enjoy Perfectly Baked Drop Cookies Every Time!
-
Frequently Asked Questions
- How can I prevent my drop cookie bottoms from burning?
- What type of baking sheet is best for preventing burnt cookie bottoms?
- Is parchment paper really necessary for preventing burnt cookie bottoms?
- What oven temperature is optimal for baking drop cookies and avoiding burnt bottoms?
- Can over-baking cause burnt cookie bottoms, even at the correct temperature?
- Final Reflection: The Sweet Science of Perfectly Baked Cookies
- Unleash Your Inner Cookie Master!
Welcome to BakeWithEase, where we believe that everyone can achieve baking success. One of the most frustrating kitchen mishaps is pulling a tray of beautiful drop cookies out of the oven, only to find their bottoms are dark, hard, and burnt. This common issue can turn a batch of potentially perfect cookies into a disappointing mess. But don't worry, preventing burnt drop cookie bottoms is entirely achievable with a few simple adjustments and techniques.
This guide is designed to walk you through the most common reasons why cookie bottoms burn and provide actionable steps you can take to ensure your drop cookies bake evenly from top to bottom every time. We'll cover everything from oven calibration to baking sheet choices, giving you the knowledge to confidently bake delicious cookies with perfectly golden bases. Say goodbye to scraping off burnt layers and hello to consistently delightful results!
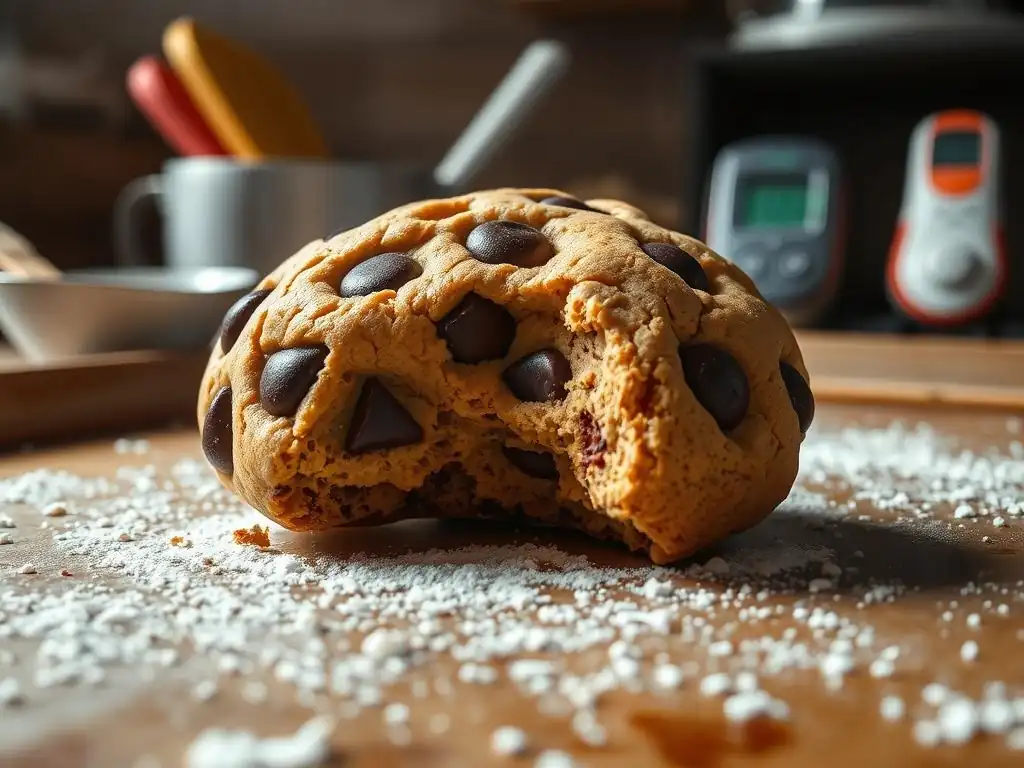
Scorched cookie bases are often the result of heat being applied too intensely or unevenly to the bottom surface of the cookie. Several factors contribute to this problem, working individually or in combination. A primary culprit is often an oven that isn't heating accurately or uniformly, leading to some areas being hotter than others. Another significant factor is the surface the cookies are baking on – dark metal sheets, for instance, absorb and transfer heat much more efficiently than lighter ones, potentially causing the bottoms to brown too quickly before the tops are fully baked.
Furthermore, placing the baking sheet too close to the lower heating element in the oven can dramatically increase the direct heat exposure to the cookie bottoms, almost guaranteeing a burnt result. The thickness and moisture content of the cookie dough itself can also play a role; thinner, drier doughs may cook and burn faster than thicker, moister ones. Understanding these underlying causes is the first step in effectively preventing burnt drop cookie bottoms.
Many home ovens, even relatively new ones, can have significant temperature fluctuations and inaccuracies. An oven set to 350°F might actually be heating to 375°F or even higher, especially at certain points in its heating cycle. This elevated temperature accelerates the baking process, and since the cookie bottom is in direct contact with the hot baking sheet and exposed to radiant heat from below, it often cooks and burns faster than the rest of the cookie. This is a leading cause of issues when trying to bake drop cookies evenly.
For example, if a recipe calls for baking chocolate chip cookies at 350°F for 10-12 minutes, but your oven is consistently running 25 degrees hot, those cookies might be fully baked and starting to burn on the bottom in just 8 or 9 minutes. Relying solely on the oven's display can be misleading, and this discrepancy is a major hurdle in preventing burnt drop cookie bottoms. Knowing your oven's true temperature is crucial for consistent baking results.
Hot Spots: Identifying Problem Areas in Your Oven
Beyond just inaccurate average temperatures, ovens often have "hot spots" – specific areas within the oven cavity that are significantly hotter than others. These hot spots are typically caused by uneven heat distribution from the heating elements or poor air circulation. If you place a baking sheet of drop cookies such that some cookies are directly over a hot spot, those cookies (or at least their bottoms) will cook much faster and are highly susceptible to burning compared to cookies in cooler areas of the oven.
Identifying hot spots can be done by baking a tray of something simple like toast or biscuits spread evenly across the sheet; areas that brown faster indicate hotter spots. Once you know where your oven's hot spots are, you can make conscious decisions about how to position your baking sheets or implement strategies like rotating the sheets during baking to mitigate their effect. Addressing these inconsistencies is key to achieving uniform baking and preventing burnt drop cookie bottoms across the entire batch.
Dark Baking Sheets: Absorbing Too Much Heat
The color and material of your baking sheet have a profound impact on how heat is transferred to your cookies. Dark-colored baking sheets, especially those made from materials like dark aluminum or non-stick coated steel, absorb radiant heat much more efficiently than lighter, shiny ones. This increased heat absorption means the surface the cookie dough is resting on gets hotter, faster, leading to accelerated browning and often burning of the cookie bottoms.
Consider two identical batches of classic peanut butter cookies baked for the same time and temperature, one on a bright, shiny aluminum sheet and the other on a dark, non-stick sheet. The cookies on the dark sheet are far more likely to have significantly darker, potentially burnt bottoms, while those on the light sheet will likely be evenly golden. This simple factor is one of the easiest to control when you're focusing on preventing burnt drop cookie bottoms.
Step 1: Calibrating Your Oven for Accurate Baking Temperatures
Accurate oven temperature is foundational to successful baking. If you suspect your oven isn't heating correctly, consider having it professionally calibrated. Many appliance repair services offer this. Calibration involves adjusting the oven's thermostat to align with the actual temperature inside. While this might seem like an advanced step, it provides the most reliable solution for chronic temperature issues.
Alternatively, you can check your oven's accuracy yourself using an oven thermometer (discussed in the next step) and adjust your baking temperature accordingly. For example, if your oven consistently reads 25°F hot, you might set it to 325°F when the recipe calls for 350°F. Understanding and compensating for your oven's quirks is a critical step in preventing burnt drop cookie bottoms.
An inexpensive oven thermometer is one of the best investments a baker can make. These small, metal thermometers hang or stand inside your oven and provide a real-time reading of the actual temperature. Don't trust the dial or digital display on your oven; they often show the set temperature, not the actual temperature, which can fluctuate significantly.
Place the oven thermometer in the center of your oven or near where you typically place your baking sheets. Preheat your oven and watch the thermometer to see if it reaches and holds the desired temperature. You might find your oven runs consistently high or low, or that it fluctuates. This knowledge is invaluable for making necessary adjustments to temperature or baking time, directly contributing to preventing burnt drop cookie bottoms by ensuring the cookies bake at the correct heat.
Step 3: Using Parchment Paper or Silicone Baking Mats
Placing a barrier between your cookie dough and the hot baking sheet is a highly effective method for preventing burnt drop cookie bottoms. Parchment paper and silicone baking mats serve this purpose beautifully. They create a layer of insulation that slows down the direct transfer of heat from the metal sheet to the cookie base, allowing the top and center of the cookie more time to bake before the bottom becomes overdone.
Using these liners also offers the added benefit of making cleanup significantly easier, as cookies won't stick to the sheet. This simple step is often the first line of defense recommended for bakers struggling with scorched cookie bottoms. It's a small change that yields big results in achieving evenly baked, perfectly golden cookies.
Why Parchment Paper Prevents Burning
Parchment paper is treated paper that is heat-resistant and non-stick. When placed on a baking sheet, it provides a thin, disposable layer that prevents direct contact between the cookie dough and the hot metal surface. This barrier effectively reduces the rate at which heat is transferred from the sheet to the bottom of the cookie.
Think of it like wearing gloves when handling something warm; the glove (parchment paper) insulates your hand (cookie bottom) from the direct heat of the object (baking sheet). This slower, more controlled heat transfer allows the cookie to bake through evenly, drastically reducing the likelihood of the bottom burning before the top is done. It's an essential tool in preventing burnt drop cookie bottoms.
Silicone Mats: Reusable Protection Against Burnt Cookie Bases
Silicone baking mats, like brands such as Silpat, are reusable alternatives to parchment paper. Made from food-grade silicone reinforced with fiberglass, they offer excellent non-stick properties and provide a similar insulating layer between the cookie dough and the baking sheet. They are slightly thicker than parchment paper, offering perhaps a bit more insulation.
These mats distribute heat very evenly across their surface, further promoting uniform baking. While they are an initial investment, they are durable and can be used thousands of times, making them an economical and environmentally friendly choice for preventing burnt drop cookie bottoms batch after batch. Simply wash them with soap and water after use.
Step 4: Choosing the Right Baking Sheet Material and Color
As mentioned earlier, the type of baking sheet you use makes a significant difference. For delicate items like drop cookies where preventing burnt bottoms is a priority, bright, shiny aluminum baking sheets are generally preferred. Their light, reflective surface bounces radiant heat away, resulting in gentler, more even cooking of the cookie bottoms.
Avoid older, darkened, or non-stick sheets if you're having trouble with burning, unless you're using a protective layer like parchment or a silicone mat. If you must use a dark sheet without a liner, you'll likely need to significantly reduce the baking temperature or time. Choosing the right sheet is a fundamental step in preventing burnt drop cookie bottoms.
Light-Colored Baking Sheets: Reflecting Heat for Even Baking
Light-colored, shiny aluminum baking sheets are the go-to choice for achieving evenly baked cookies without scorched bottoms. Their polished, reflective surface doesn't absorb radiant heat as readily as darker surfaces. This means the heat transfer to the bottom of the cookie is less intense, allowing the cookie to bake through at a more balanced rate.
Many professional bakers rely on these types of sheets for consistent results, particularly for cookies, pastries, and other items prone to burning on the bottom. If you're serious about preventing burnt drop cookie bottoms, investing in one or two good quality light-colored aluminum sheets is highly recommended.
Avoiding Dark Baking Sheets for Delicate Cookies
While dark baking sheets are excellent for achieving deep browning and crisp crusts on items like roasted vegetables or pizzas, they are often detrimental to delicate cookies. Their ability to absorb and transfer heat efficiently means the cookie bottoms can quickly become over-baked or burnt before the tops are even golden brown.
If a recipe specifically calls for a dark baking sheet or suggests reducing the temperature when using one, pay close attention. Otherwise, for standard drop cookie recipes where you want soft centers and chewy edges without a burnt base, it's best to stick to light-colored sheets, preferably used in conjunction with parchment paper or a silicone mat for the ultimate protection against scorched bases.
Step 5: Adjusting Oven Rack Position for Balanced Baking
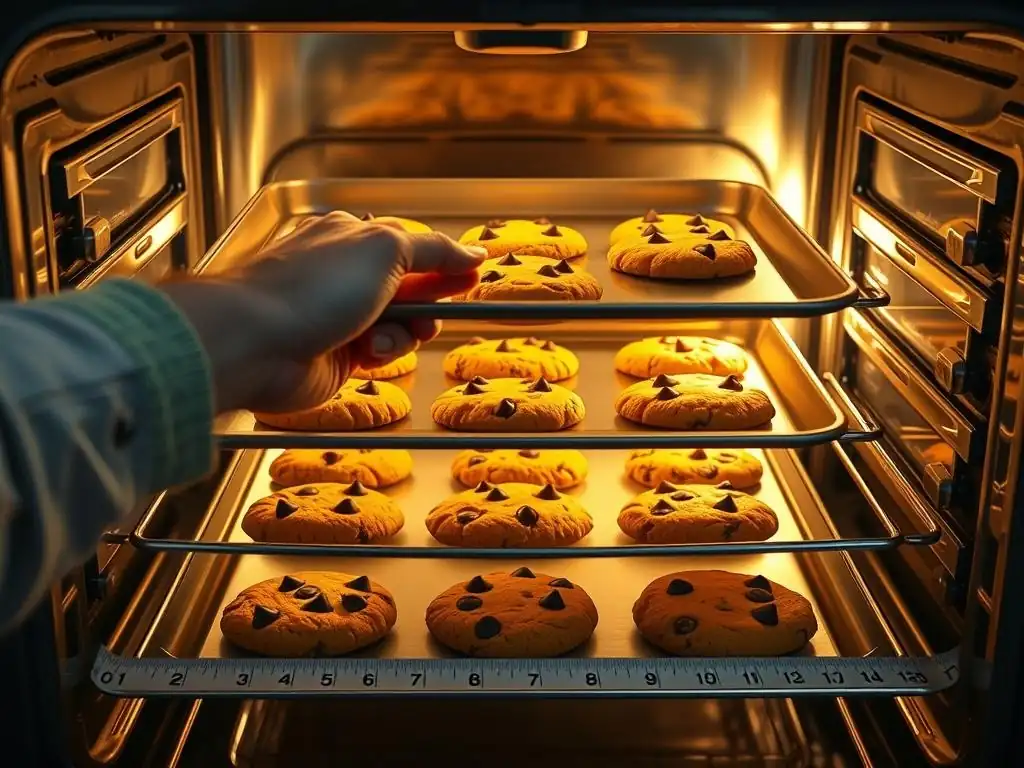
The position of your baking sheet within the oven cavity directly affects which heating elements are most influencing the cookies. Most ovens have heating elements at the bottom and often at the top (for broiling). Placing your cookies too close to the lower element is a surefire way to end up with burnt bottoms, as they receive intense direct heat.
For most drop cookies, the middle rack position is ideal. This placement allows the cookies to be exposed to circulating hot air and radiant heat from both the top and bottom elements relatively equally, promoting even baking throughout the cookie. Adjusting the rack is a simple yet effective technique for preventing burnt drop cookie bottoms.
Middle Rack: The Sweet Spot for Drop Cookies
Placing your baking sheet on the middle oven rack is widely considered the best practice for baking most types of cookies, including drop cookies. This position provides the most balanced heat distribution, ensuring that the cookies receive heat from both the top and bottom elements without being overly exposed to either one.
In the middle position, air circulates more freely around the baking sheet, further promoting even baking. Unless a specific recipe instructs otherwise, always start by baking your drop cookies on the middle rack for the most reliable results and as a primary strategy for preventing burnt drop cookie bottoms.
Lower Rack: Use with Caution to Avoid Burning
Using the lower oven rack should generally be avoided when baking drop cookies, especially if you are already struggling with burnt bottoms. This position places the baking sheet much closer to the lower heating element, which provides significant direct heat. This intense heat source will cause the bottoms of your cookies to brown and potentially burn very quickly, often before the rest of the cookie is properly baked.
While some recipes might suggest using the lower rack for specific purposes (like achieving a very crisp bottom crust on certain types of bread), it is counterproductive when your goal is preventing burnt drop cookie bottoms. Stick to the middle rack for best results.
Step 6: Rotating Baking Sheets During Baking
Even in ovens without obvious hot spots, heat distribution is rarely perfectly uniform. Air currents and radiant heat can vary slightly from front to back or side to side. Rotating your baking sheet halfway through the baking time helps to compensate for these minor variations, ensuring that all cookies on the sheet are exposed to roughly the same amount of heat over the entire baking period.
For example, if you are baking cookies for 12 minutes, rotate the sheet 180 degrees after 6 minutes. This simple action promotes more even browning and baking across the entire batch and is a valuable technique in preventing burnt drop cookie bottoms, especially when baking multiple sheets or larger batches.
Even Heat Distribution Through Rotation
Rotating the baking sheet ensures that cookies that were closer to a slightly hotter area (like the back of the oven) are moved to a cooler area (like the front), and vice versa. This balances the heat exposure for every cookie on the tray.
This technique is particularly useful if you notice that cookies on one side or corner of your baking sheet consistently bake faster or darker than others. Incorporating a mid-bake rotation into your routine significantly improves the uniformity of your cookies and is a key step in preventing burnt drop cookie bottoms.
Step 7: Reducing Oven Temperature Slightly
If, after implementing other strategies like using parchment paper and light-colored sheets, you still find your cookie bottoms are burning, slightly reducing the oven temperature can help. Lowering the temperature by just 10-20°F (e.g., from 350°F to 330°F or 340°F) allows the cookies to bake more slowly and gently.
While this might slightly increase the overall baking time, the slower rate of heat transfer gives the center and top of the cookie more time to catch up to the bottom, leading to a more evenly baked result. This adjustment is particularly useful for recipes that are prone to burning or if your oven tends to run hot despite other efforts at preventing burnt drop cookie bottoms.
Lowering the Temperature for Longer, Gentler Baking
Baking at a slightly lower temperature over a slightly longer period is a strategy used to achieve more even cooking throughout many baked goods. For cookies, it means the edges and bottoms don't set and brown too quickly while the inside is still raw.
By reducing the temperature, you decrease the intensity of the heat hitting the cookie bottom, giving the interior structure more time to develop and the top to set. This gentle approach is effective in preventing burnt drop cookie bottoms and often results in cookies with a more uniform texture from edge to center.
Troubleshooting: Addressing Persistent Burning Issues
Checking for Oven Hot Spots and Correcting Them
If you've tried the basic steps and are still experiencing burnt bottoms, it's time to specifically test for hot spots. As mentioned before, placing slices of bread or dollops of meringue across a baking sheet and baking them can reveal exactly where your oven is hottest.
- [ ] Preheat oven to
350°F. - [ ] Arrange plain white bread slices or meringue dollops evenly on a baking sheet.
- [ ] Bake for 5-10 minutes, observing browning patterns.
- [ ] Note which areas brown fastest – these are your hot spots.
Once identified, you can try to avoid placing cookies directly in these areas, or be extra diligent about rotating your baking sheets to minimize the impact of hot spots on your efforts at preventing burnt drop cookie bottoms.
Adjusting Recipe Baking Time for Your Oven
Every oven is different, and even with calibration and temperature adjustments, you may find that the baking time specified in a recipe isn't perfect for your specific appliance. If cookies are consistently burning before they look done on top, your oven might be heating faster or hotter than average, or the recipe's time might be optimized for a different oven type.
Be prepared to slightly reduce the baking time listed in the recipe. Start checking the cookies a couple of minutes before the minimum time recommended. Look for visual cues like the edges setting and becoming lightly golden, while the centers still look slightly soft. This proactive approach, combined with temperature control, is vital for preventing burnt drop cookie bottoms. For example, if a recipe says 10-12 minutes, check at 8 minutes the first time you bake it in your oven.
Using a Double Baking Sheet for Extra Protection
For recipes that are particularly prone to burning on the bottom, or if you have an oven with a very strong bottom element or persistent hot spot issues, using a double baking sheet can provide an extra layer of insulation. This technique involves placing your main baking sheet (with cookies on parchment or a silicone mat) directly on top of another identical or similarly sized baking sheet.
The air pocket created between the two sheets acts as an additional buffer against the direct heat from the oven's bottom element. This significantly slows down the rate of heat transfer to the bottom of the top sheet, offering excellent protection against scorching. It's an effective, albeit simple, method for preventing burnt drop cookie bottoms when other techniques aren't quite enough.
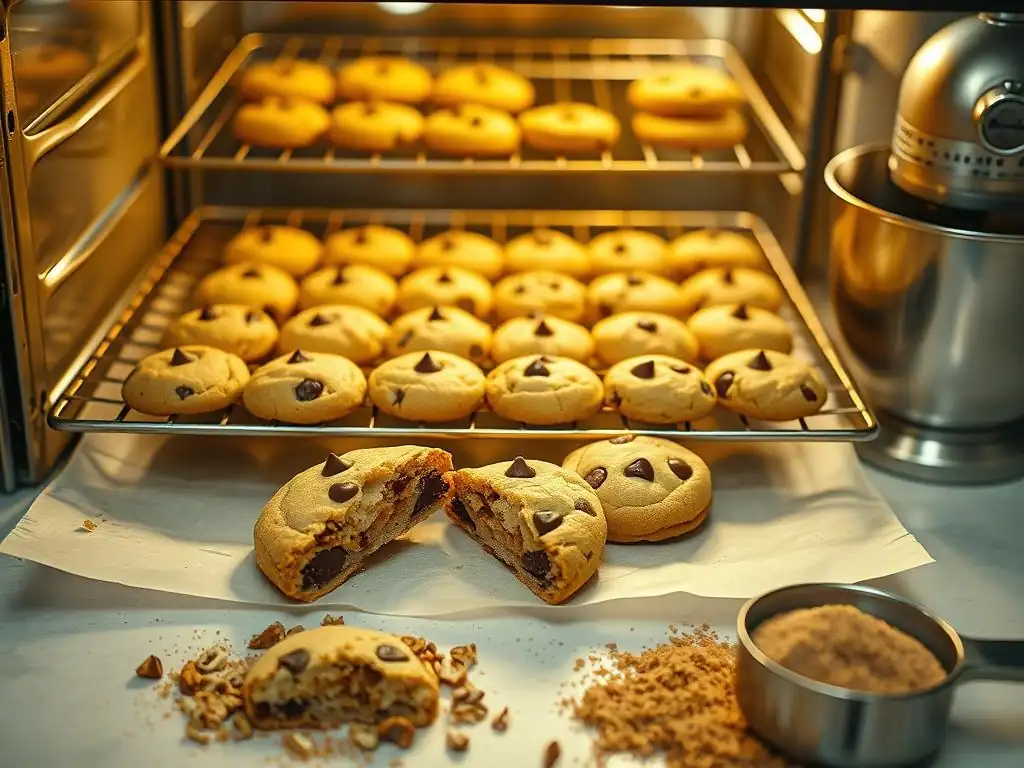
The consistency of your cookie dough plays a role in how it bakes. Dough that is too thin or spread out excessively is more likely to cook and burn quickly, especially on the edges and bottom. Dough that is too cold or stiff might not spread enough, leading to uneven baking.
Ensure your dough is at the correct temperature specified by the recipe (usually room temperature or slightly chilled). Scoop uniform balls of dough so they are all the same size and thickness, which promotes even baking across the entire sheet. Dough that holds its shape reasonably well but isn't hard as a rock is often ideal for preventing burnt drop cookie bottoms and achieving uniform results.
Avoiding Overcrowding the Baking Sheet
It can be tempting to fit as many cookies as possible onto a single baking sheet to save time. However, overcrowding restricts air circulation around the cookies. This can lead to uneven baking, with cookies on the edges of the sheet baking faster than those in the center, and can also exacerbate issues like burnt bottoms if heat isn't circulating properly.
Leave adequate space (usually 1.5 to 2 inches) between each cookie dough portion on the baking sheet. This allows hot air to circulate freely around each cookie, ensuring they bake evenly from all sides, including the bottom. Baking in batches might take longer, but it's essential for quality and preventing burnt drop cookie bottoms.
The baking process doesn't instantly stop the moment you pull the cookies from the oven. They continue to cook slightly from their residual heat, especially if left on the hot baking sheet. Leaving cookies on a hot sheet for too long after baking can lead to their bottoms becoming overdone or even burning, even if they looked perfect when they first came out.
Most cookie recipes instruct you to let the cookies cool on the baking sheet for just a few minutes (typically 2-5 minutes) before transferring them to a wire cooling rack to cool completely. This brief period allows them to set slightly without continuing to cook intensely from the hot sheet. Transferring them to a rack allows air to circulate around the bottoms, stopping the cooking process and preventing burnt drop cookie bottoms during the cooling phase.
Preventing burnt drop cookie bottoms is a common challenge for many bakers, but it's one that can be overcome with knowledge and attention to detail. By understanding the factors that contribute to burning – oven temperature, baking sheet type, rack position, and baking time – you gain control over the baking process. Implementing strategies like using an oven thermometer, parchment paper or silicone mats, light-colored baking sheets, and rotating your trays are powerful tools in your baking arsenal.
Achieving that perfect, golden-brown cookie bottom consistently is incredibly rewarding. It means every bite of your homemade drop cookies is delicious, with the ideal texture and flavor you intended. Keep practicing these techniques, pay attention to your oven's behavior, and soon you'll be confidently baking batch after batch of flawlessly baked drop cookies, free from the frustration of scorched bases. Happy baking!
Frequently Asked Questions
The most common causes are oven temperature being too high or baking sheets being too dark. Use an oven thermometer to ensure accuracy and bake on light-colored baking sheets or parchment paper.
Light-colored, uncoated aluminum baking sheets are generally the best. Dark baking sheets absorb more heat, leading to faster and uneven baking and potentially burnt bottoms.
While not strictly necessary, parchment paper is highly recommended. It creates a barrier between the cookie dough and the hot baking sheet, preventing excessive browning and burning.
Generally, 350°F (175°C) is a good starting point, but follow your recipe's instructions closely. An oven thermometer can help verify that your oven is accurate and not running too hot.
Yes, even at the correct temperature, over-baking can result in burnt cookie bottoms. Start checking for doneness a minute or two before the recipe's suggested time and remove them when the edges are set and the centers are still slightly soft.
The quest for the flawlessly golden-brown drop cookie, free from the dreaded burnt bottom, is a universal baking struggle. But as we've explored, achieving this culinary perfection isn't about luck; it's about understanding the science behind baking and applying a few simple, effective techniques. Mastering these steps elevates your baking game from frustrating to fulfilling.
The journey to the perfect cookie bottom has revealed more than just baking techniques; it's a reflection of our desire for control and precision in the kitchen. It's about transforming a potentially disappointing outcome into a moment of pride and delicious satisfaction. As Julia Child wisely said, A party without cake is just a meeting.
And a perfectly baked cookie, free from burnt bottoms, elevates any gathering, big or small, to a true celebration. The impact extends beyond the individual baker, influencing the joy shared with family and friends through the simple act of baking.
Now, consider your own baking experiences. Have you ever felt the frustration of a burnt bottom? Remember that feeling, and let it fuel your next baking adventure. Take the knowledge gained from this article, experiment with these techniques, and discover the joy of consistently achieving perfectly baked cookies. Don't let burnt bottoms define your baking journey; let them be a stepping stone to mastering the art of creating delicious, golden-brown treats that bring joy to you and those you share them with.
Thanks for taking the time to perfect your drop cookie game! You've now got the secrets to avoiding those frustrating burnt bottoms. Ready to put your newfound skills to the test?
- Bake a batch of your favorite drop cookies tonight, using the tips you just learned! Let us know how they turn out!
- Share this article with your fellow baking enthusiasts – let’s spread the deliciousness (and prevent more burnt bottoms! ).
- Try experimenting with a different cookie recipe, putting your new knowledge into practice. What flavor will you conquer next?
What’s your favorite drop cookie recipe, and what's your biggest baking challenge? Let's chat in the comments!