
Quick Bread Magic: Easy Recipes That Taste Incredible

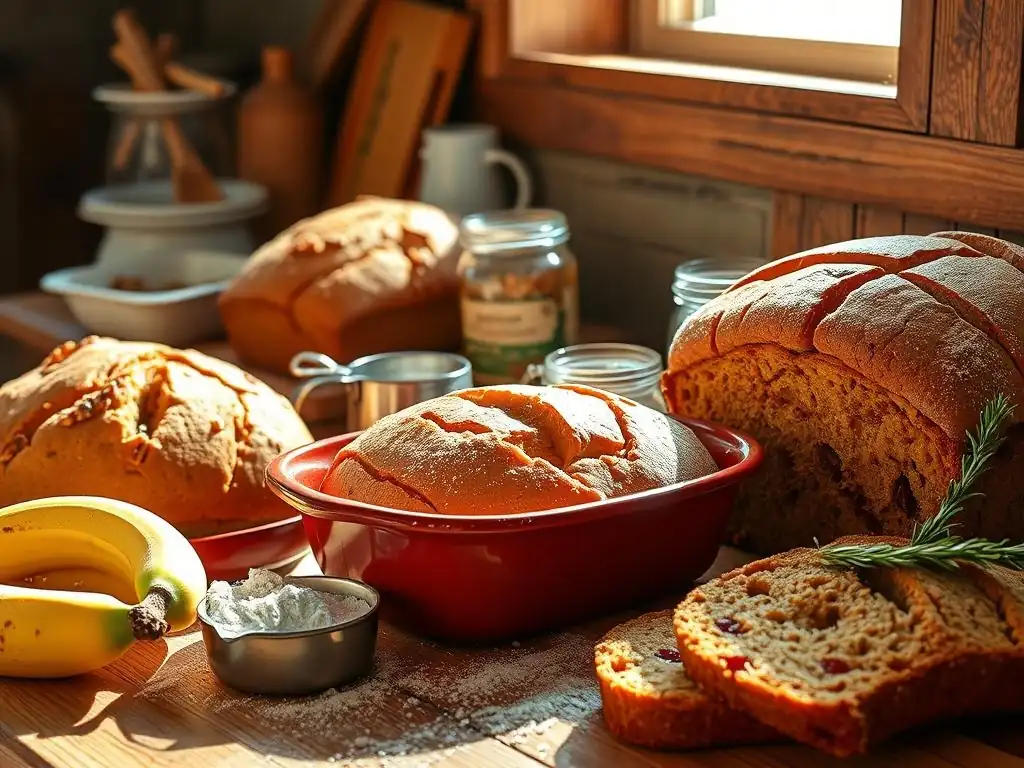
Welcome to BakeWithEase, where the world of baking becomes a delightful adventure! Whether you're new to the kitchen or looking to refine your skills, our site is your ultimate companion in mastering the art of baking. Dive into our featured article on Easy sourdough bread recipes simple, designed specifically for beginners eager to create mouthwatering loaves with minimal fuss. With our straightforward step-by-step guides and accessible ingredients, you'll soon be whipping up delicious breads, pastries, and more. Ready to unlock the magic of quick bread? Let’s get started!
- Quick Bread Delights: Simple Recipes for Home Bakers - BakeWithEase
- Introduction to Effortless Quick Bread Baking
- Key Ingredients for Successful Quick Breads
- Three Delicious & Simple Quick Bread Recipes
- Quick Bread Baking Essentials: BakeWithEase's Tips
- Expanding Your Quick Bread Skills
- Conclusion: Embracing the Joy of Quick Bread Baking
-
Frequently Asked Questions
- What makes a sourdough recipe "easy" according to BakeWithEase?
- How can I find easy sourdough bread recipes on BakeWithEase.com?
- What are some common challenges beginners face when making sourdough bread, and how does BakeWithEase address them?
- Do I need special equipment to bake easy sourdough bread recipes from BakeWithEase?
- What kind of support does BakeWithEase offer if I'm having trouble with an easy sourdough bread recipe?
- Final Reflection: The Enduring Allure of Simple Sourdough
- Unleash Your Inner Baker: Taste the Magic Today!
Quick Bread Delights: Simple Recipes for Home Bakers - BakeWithEase
Introduction to Effortless Quick Bread Baking
Understanding Quick Breads: Definition and Advantages
Quick breads are a fantastic entry point into the world of baking, offering delicious results without the time commitment required for yeast-leavened loaves. Unlike traditional breads that rely on the metabolic activity of yeast to rise, quick breads use chemical leavening agents like baking powder and baking soda. This fundamental difference means there's no lengthy kneading or proofing (rising) time involved.
From start to finish, many quick bread recipes can be mixed and in the oven in under 15-20 minutes, compared to the hours or even days needed for yeasted breads or complex sourdough bread recipes. This speed and simplicity make them incredibly appealing for busy home bakers looking for satisfying results quickly.
The advantages of quick bread baking extend beyond just speed. They are remarkably versatile, encompassing a wide range of baked goods from moist loaves and muffins to tender biscuits and scones. Their forgiving nature also makes them ideal for beginners; small errors in mixing or measuring are less likely to result in complete failure compared to the precise science often required for yeast doughs. The reliance on common pantry staples means you can often whip up a batch of something delicious on a whim, transforming simple ingredients into comforting treats with minimal effort.
The Simplicity of Quick Breads: No Yeast Required
The core of quick bread's simplicity lies in its independence from yeast. Yeast is a living organism that requires specific conditions – warm temperatures, food (sugar), and time – to produce the carbon dioxide gas that makes bread rise. Managing yeast activity can be challenging for new bakers, involving steps like proofing the yeast, precise water temperatures, and multiple lengthy rise cycles.
Quick breads bypass all of this by using chemical reactions instead. Baking powder is a complete leavener, containing both an acid and a base, which reacts with liquid and then heat to produce gas. Baking soda, a base, requires an acidic ingredient (like buttermilk, yogurt, or brown sugar) to react and create lift.
This chemical leavening system eliminates the need for time-consuming steps like kneading to develop gluten structure for trapping yeast gases or waiting for dough to double in size over one or two hours (or even overnight for some methods). Instead, the leavening happens almost instantly upon mixing or when heat is applied in the oven.
This means you can go from combining ingredients to having a fully baked product, like a batch of muffins, in under 30-40 minutes total. This straightforward process makes quick breads an incredibly accessible and simple bread recipe option for anyone starting their baking journey, offering a taste of successful bread making without the complexities associated with yeast or maintaining a sourdough starter.
BakeWithEase's Approach to Accessible Quick Bread Recipes
At BakeWithEase, we believe baking should be a joyful and accessible experience for everyone, especially beginners. Our approach to quick bread recipes focuses on clarity, reliability, and using ingredients you likely already have on hand. We break down each recipe into simple, actionable steps, explaining the why behind certain techniques, like why you shouldn't overmix the batter or why ingredient temperatures matter. We aim to demystify the baking process, building your confidence with each successful bake.
Our quick bread collection is curated to showcase the versatility and ease of this baking category. From classic banana bread and pumpkin loaves to simple biscuits and muffins, we provide foundational recipes that serve as excellent starting points. We include helpful tips and troubleshooting advice specific to quick breads, addressing common questions like how to ensure a moist crumb or prevent sinking tops. By focusing on foolproof methods and clear guidance, BakeWithEase makes it easy for you to achieve delicious, consistent results, proving that simple bread recipes can indeed taste incredible.
Key Ingredients for Successful Quick Breads
Flour Selection: All-Purpose vs. Other Varieties
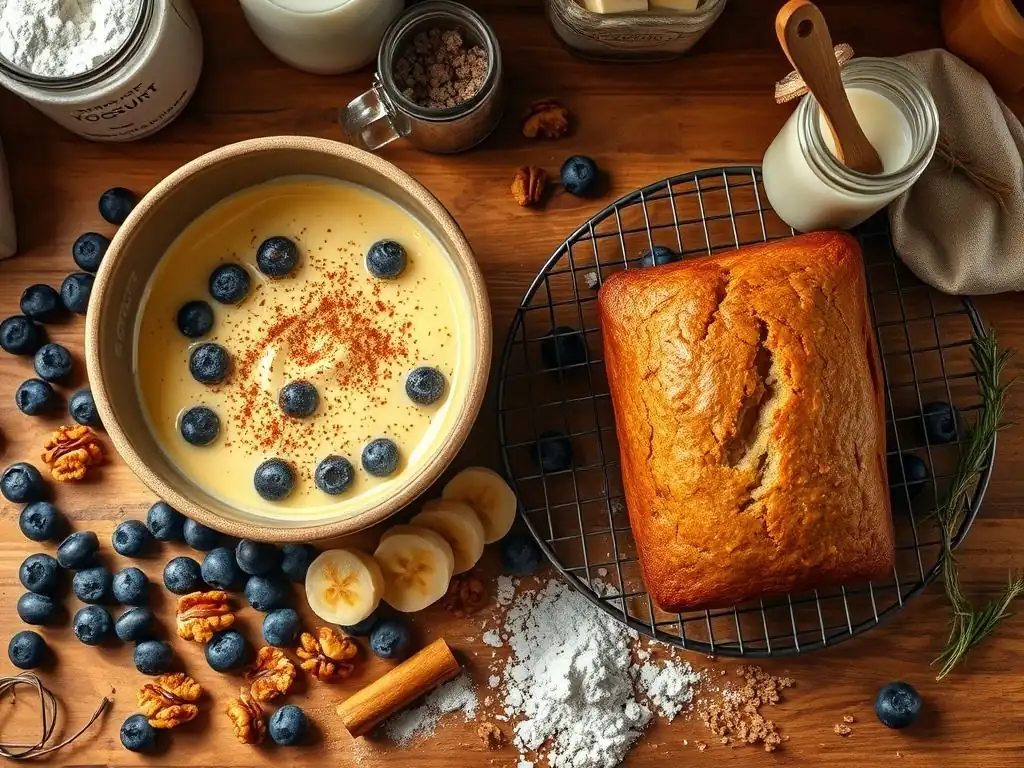
The type of flour you choose significantly impacts the texture of your quick bread. All-purpose flour is the most common choice for quick breads and the standard in most simple recipes. It has a moderate protein content, typically ranging from 10% to 12%, which provides enough structure to hold the quick bread's shape without making it overly tough.
Its versatility makes it reliable for everything from tender muffins to sturdier loaves. When a recipe calls for "flour," all-purpose is usually implied, and sifting is often recommended, although not always strictly necessary, to aerate the flour and ensure accurate measurement by volume.
While all-purpose flour is the workhorse, exploring other varieties can yield interesting results. Whole wheat flour, with its higher protein content (around 13-14%) and inclusion of the bran and germ, adds fiber, nutrients, and a nutty flavor but can result in a denser, heavier quick bread. Often, recipes will call for a mix of whole wheat and all-purpose flour to balance flavor and texture.
Pastry flour, with its lower protein (8-9%), creates a very tender crumb, ideal for delicate cakes or scones, but might lack structure for a large loaf. Gluten-free flour blends are also available, formulated with a mix of starches and gums to mimic wheat flour's structure, allowing those with dietary restrictions to enjoy simple bread recipes.
Sweeteners: Granulated Sugar, Brown Sugar, and Alternatives
Sweeteners in quick breads do more than just add sweetness; they play crucial roles in texture, moisture, and browning. Granulated sugar is the most common sweetener, providing clean sweetness and contributing to the crispness of the crust. It also helps tenderize the crumb by interfering with gluten development. In many standard quick bread recipes, the amount of sugar is roughly equivalent to 1/2 to 1 part sugar by weight for every part of flour, though measured by volume, a typical recipe might use 1 cup of sugar for 1.5 to 2 cups of flour.
Brown sugar, either light or dark, contains molasses, which adds moisture, a richer flavor profile, and results in a softer, chewier texture. Using brown sugar can also enhance the golden-brown color of your quick bread's crust. Liquid sweeteners like honey or maple syrup can also be used, but they add significant moisture and can affect the batter's consistency, potentially requiring adjustments to other liquid ingredients.
Artificial sweeteners are also an option, but they often don't contribute to the structural or moisture-retaining aspects in the same way sugar does, which can sometimes lead to different results in texture and volume. Experimenting with different sweeteners can be a fun way to customize your simple bread recipes.
Leavening Agents: Baking Powder and Baking Soda Explained
The magic behind quick bread's rapid rise comes from chemical leavening agents: baking powder and baking soda. Baking powder is a complete leavener, containing both an acid (like cream of tartar) and a base (baking soda), along with a starch filler. Most baking powders are "double-acting," meaning they produce gas twice: once when mixed with liquid, and again when heated in the oven. This provides a reliable and sustained lift. A common ratio is about 1 teaspoon of baking powder per cup of flour, though this can vary based on other ingredients and the desired rise.
Baking soda, on the other hand, is just a base (sodium bicarbonate) and requires an acid to react and produce carbon dioxide gas. Common acidic ingredients in quick bread recipes include buttermilk, yogurt, sour cream, molasses, brown sugar, vinegar, or even fruit purees like pumpkin or banana. The reaction between baking soda and acid is immediate upon mixing, so it's crucial to get the batter into the oven relatively quickly to capture the gas.
Recipes using baking soda often also include some baking powder for additional lift and structure. A typical ratio might be 1/4 teaspoon of baking soda per cup of flour when an acidic ingredient is present. Understanding how these leaveners work is key to successful quick bread baking.
Liquid Choices: Milk, Yogurt, and Their Impact
Liquids are essential in quick bread recipes as they hydrate the flour, dissolve sugar and salt, activate leavening agents, and contribute to the batter's consistency and the final product's moisture. Milk is a common liquid, providing moisture and richness. Whole milk adds more fat, contributing to tenderness, while skim milk works perfectly fine with minimal difference in structure. The amount of liquid is crucial for achieving the right batter consistency – usually thick but pourable for loaves and muffins, or just enough to bring ingredients together for biscuits.
Buttermilk or yogurt are frequently used, especially when baking soda is the primary leavener, because of their acidity. Beyond activating baking soda, they also contribute a pleasant tang and result in a remarkably tender and moist crumb. The acid in buttermilk or yogurt helps to break down gluten strands, preventing toughness.
Fruit juices (like orange or apple) or purees (like applesauce) can also serve as liquids, adding flavor and natural sweetness, but their acidity and sugar content will affect the batter and require careful consideration of other ingredients. Using warm liquids slightly can help ingredients combine more easily, but avoid hot liquids which can prematurely activate leaveners.
Fats and Oils: Butter, Oil, and Their Role in Texture
Fats and oils are vital for tenderizing quick breads, adding moisture, richness, and flavor. They coat the flour particles, inhibiting gluten development, which is desirable in quick breads to achieve a soft, tender crumb rather than a chewy, elastic one. Butter is a popular choice for its flavor, especially in recipes like biscuits or scones where cold, solid butter is cut into the dry ingredients to create flaky layers as it melts during baking. For loaf cakes and muffins, melted butter or softened butter creamed with sugar is often used, contributing to both flavor and tenderness.
Liquid oils, such as vegetable oil, canola oil, or melted coconut oil, are also frequently used. Because oil is liquid at room temperature, it coats flour particles more thoroughly and uniformly than solid fat, often resulting in a quick bread with exceptional moisture and a very tender crumb that stays moist longer.
The choice between butter and oil often depends on the desired outcome: butter for flavor and flakiness (when cut in), oil for maximum moisture and tenderness. A typical quick bread recipe might use anywhere from 1/4 cup to 1/2 cup of fat per cup of flour, significantly contributing to the overall texture and richness.
Three Delicious & Simple Quick Bread Recipes
Recipe 1: Foolproof Chocolate Chip Banana Bread
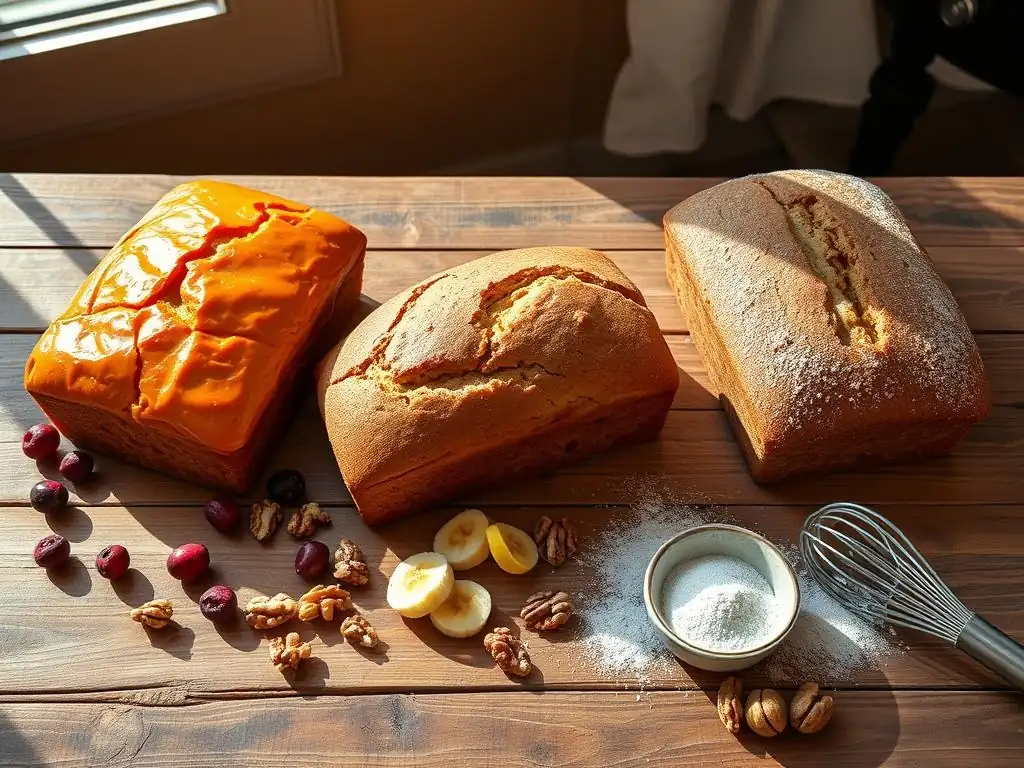
Banana bread is arguably the most classic and beloved quick bread, and for good reason. It's incredibly easy to make, perfect for using up overripe bananas, and yields a consistently moist and flavorful loaf that appeals to everyone. This recipe is designed to be foolproof, requiring minimal effort and delivering delicious results every time. The combination of sweet bananas and chocolate chips creates a comforting treat that's perfect for breakfast, a snack, or even dessert. It's a fantastic starting point for anyone new to quick bread baking, demonstrating just how simple and rewarding baking can be.
This version focuses on straightforward steps and common ingredients, making it ideal for beginners. The moistness comes naturally from the mashed bananas and oil, while baking soda provides the necessary lift. The addition of chocolate chips is optional but highly recommended for an extra layer of sweetness and texture. This recipe typically yields one standard loaf (about 8-10 slices) and bakes in approximately 50-60 minutes. It's a simple bread recipe that proves you don't need complicated techniques or special equipment to bake something truly wonderful at home.
Chocolate Chip Banana Bread Ingredients
- 1 3/4 cups all-purpose flour
- 1 teaspoon baking soda
- 1/4 teaspoon salt
- 1/2 cup (1 stick) unsalted butter, melted
- 3/4 cup granulated sugar
- 2 large eggs
- 1 teaspoon vanilla extract
- 3 very ripe bananas, mashed (about 1 1/2 cups)
- 1 cup chocolate chips
Easy-to-Follow Chocolate Chip Banana Bread Instructions
- Preheat your oven to 350°F (175°C). Grease and flour a 9x5 inch loaf pan.
- In a medium bowl, whisk together the flour, baking soda, and salt.
- In a large bowl, whisk together the melted butter and granulated sugar until combined.
- Add the eggs one at a time, whisking after each addition. Stir in the vanilla extract.
- Add the mashed bananas to the wet ingredients and stir until just combined.
- Pour the dry ingredients into the wet ingredients. Stir gently with a spoon or spatula just until no dry streaks remain. Do not overmix. A few lumps are okay.
- Fold in the chocolate chips.
- Pour the batter into the prepared loaf pan and spread evenly.
- Bake for 50-65 minutes, or until a wooden skewer inserted into the center comes out clean.
- Let the loaf cool in the pan for 10 minutes before transferring it to a wire rack to cool completely.
Tips for Moist and Flavorful Banana Bread
- Use bananas that are very ripe, with lots of brown spots. They are sweeter and easier to mash, and contribute significantly to moisture.
- Do not overmix the batter after adding the dry ingredients. Overmixing develops gluten, resulting in a tough loaf. Mix just until the flour is incorporated.
- Check for doneness using a wooden skewer or toothpick. If it comes out with moist crumbs attached (not wet batter), it's done. If it comes out clean, it might be slightly overbaked, but still likely moist if not overmixed.
- If the top starts browning too quickly, tent the loaf loosely with aluminum foil for the remainder of the baking time.
- Allow the bread to cool almost completely before slicing for cleaner cuts and better texture.
Recipe 2: Perfectly Simple Buttermilk Biscuits
Buttermilk biscuits are a cornerstone of simple, comforting baking. Unlike yeast rolls, they come together in minutes and bake up into tender, flaky delights perfect for breakfast, dinner, or alongside soup or stew. This recipe relies on cold butter cut into the dry ingredients and the tangy acidity of buttermilk reacting with baking soda to create lift and tenderness. Mastering the technique of cutting in cold fat is key here, but it's a straightforward skill that yields impressive results.
These biscuits are a fantastic example of how simple ingredients and a specific technique can produce a wonderfully textured quick bread. The cold butter creates steam pockets as it melts in the hot oven, resulting in those coveted flaky layers. The buttermilk ensures a soft interior and adds a subtle richness. This recipe typically yields 8-12 biscuits depending on size and shape, and they bake quickly in about 12-18 minutes. They are a truly simple bread recipe that feels special but requires minimal fuss.
Beginner Buttermilk Biscuit Ingredients
- 2 cups all-purpose flour
- 2 teaspoons baking powder
- 1/2 teaspoon baking soda
- 1/2 teaspoon salt
- 6 tablespoons cold unsalted butter, cut into small cubes
- 3/4 cup cold buttermilk
Straightforward Buttermilk Biscuit Baking Instructions
- Preheat your oven to 425°F (220°C).
- In a large bowl, whisk together the flour, baking powder, baking soda, and salt.
- Add the cold butter cubes to the dry ingredients. Use a pastry blender, two forks, or your fingertips to cut the butter into the flour mixture until it resembles coarse crumbs with some pea-sized pieces of butter remaining.
- Pour in the cold buttermilk. Stir with a fork or spatula just until the mixture is moistened and comes together into a shaggy dough. Be careful not to overmix.
- Turn the dough out onto a lightly floured surface. Gently pat or roll the dough to about 1/2 to 3/4 inch thickness.
- Use a biscuit cutter or a sharp knife to cut out biscuits. Press straight down without twisting to ensure clean edges that will rise properly. Gather scraps gently and pat/cut again.
- Place the biscuits on an ungreased baking sheet, or a sheet lined with parchment paper, about 1 inch apart for crispier sides or touching for softer sides.
- Bake for 12-18 minutes, or until the biscuits are golden brown on top and bottom.
- Serve warm.
Variations and Serving Suggestions for Biscuits
- Add 1/4 cup chopped fresh herbs (like chives or rosemary) or 1/2 cup shredded cheese (cheddar, parmesan) to the dry ingredients for savory biscuits.
- For slightly sweeter biscuits, add 1-2 tablespoons of sugar to the dry ingredients.
- Brush the tops of the biscuits with melted butter immediately after they come out of the oven for extra richness and shine.
- Serve warm biscuits split open with butter and jam, honey, or maple syrup. They are also excellent served with gravy (sausage gravy is a classic pairing) or as a side with fried chicken or soup.
Recipe 3: Moist and Delicious Pumpkin Bread
Pumpkin bread is a seasonal favorite that embodies the cozy spirit of autumn, but this simple recipe is delightful any time of year using canned pumpkin puree. Like banana bread, it's incredibly moist and flavorful thanks to the pumpkin and oil, and it's spiced perfectly with warm autumnal flavors. This recipe is straightforward, following the easy "muffin method" of combining wet and dry ingredients separately before mixing them together just until combined. It's a wonderfully aromatic quick bread that fills your kitchen with inviting scents as it bakes.
This recipe provides a consistently moist and tender crumb, making it a reliable choice for beginners. The pumpkin puree not only adds moisture and flavor but also contributes a beautiful orange hue. The combination of baking soda and baking powder ensures a good rise, resulting in a well-domed loaf. This recipe typically yields one standard loaf and bakes in approximately 55-65 minutes. It's another excellent example of a simple bread recipe that delivers complex flavor and a comforting texture with minimal effort.
Easy Pumpkin Bread Ingredients
- 1 3/4 cups all-purpose flour
- 1 teaspoon baking soda
- 1/2 teaspoon baking powder
- 1/2 teaspoon salt
- 1 teaspoon ground cinnamon
- 1/2 teaspoon ground nutmeg
- 1/4 teaspoon ground cloves
- 1 1/2 cups granulated sugar
- 1/2 cup vegetable oil (or melted butter)
- 2 large eggs
- 1 teaspoon vanilla extract
- 1 cup canned pumpkin puree (not pumpkin pie filling)
Step-by-Step Pumpkin Bread Baking Instructions
- Preheat your oven to 350°F (175°C). Grease and flour a 9x5 inch loaf pan.
- In a large bowl, whisk together the flour, baking soda, baking powder, salt, cinnamon, nutmeg, and cloves.
- In a separate medium bowl, whisk together the granulated sugar, vegetable oil, eggs, and vanilla extract until well combined.
- Stir the pumpkin puree into the wet ingredients until smooth.
- Pour the wet ingredients into the dry ingredients. Stir gently with a spoon or spatula just until combined and no dry streaks are visible. Do not overmix.
- Pour the batter into the prepared loaf pan and spread evenly.
- Bake for 55-70 minutes, or until a wooden skewer inserted into the center comes out clean.
- Let the loaf cool in the pan for 10 minutes before transferring it to a wire rack to cool completely.
Enhancing Pumpkin Bread Flavor and Texture
- Add 1/2 to 1 cup of chopped nuts (pecans, walnuts) or chocolate chips to the batter along with the dry ingredients for added texture and flavor.
- Use pumpkin pie spice blend instead of individual spices for convenience (typically use 1-1.5 teaspoons).
- Ensure you are using 100% pure canned pumpkin puree, not sweetened or spiced pumpkin pie filling.
- As with other quick breads, avoid overmixing to prevent a tough texture.
- For an extra flourish, sprinkle the top of the batter with a little granulated sugar or turbinado sugar before baking for a slightly crisp crust.
Quick Bread Baking Essentials: BakeWithEase's Tips
Mixing Techniques for Optimal Results
The primary mixing technique for most quick breads, especially muffins and loaves, is often called the "muffin method." This involves whisking all the dry ingredients together in one bowl and all the wet ingredients (including melted fat or oil) in another. The wet ingredients are then poured into the dry ingredients, and the mixture is stirred just until everything is combined.
The key is to stop mixing as soon as the last streaks of dry flour disappear. The batter will likely look lumpy, and that's perfectly fine – it's even desirable! Overmixing develops gluten, which is great for chewy yeast breads but leads to tough, dense quick breads.
For quick breads like biscuits or scones, a different technique is used: cutting in cold, solid fat. This involves incorporating cold butter or shortening into the dry ingredients until the mixture resembles coarse crumbs or small peas. This method creates pockets of fat within the dough. As the quick bread bakes, the fat melts, creating steam that pushes apart the layers of dough, resulting in a tender, flaky texture. Whether using the muffin method or cutting in fat, the goal is minimal mixing once wet and dry ingredients meet to ensure a light, tender crumb.
Temperature and Timing: Ensuring Even Baking
Accurate oven temperature and proper baking time are critical for successful quick breads. Always preheat your oven fully before putting your quick bread in. Most quick bread loaves bake at a moderate temperature, typically between 325°F and 375°F (160°C to 190°C), with 350°F (175°C) being very common. Muffins and biscuits often bake at slightly higher temperatures, around 375°F to 425°F (190°C to 220°C), to promote a good rise and golden crust quickly. Using an oven thermometer can help verify your oven's accuracy, as they can often be off by 25°F or more.
Baking time varies significantly depending on the size and shape of your quick bread. Muffins might bake in just 20-25 minutes, biscuits in 12-18 minutes, while a standard loaf can take anywhere from 50 to 70 minutes. Always use the recipe's suggested time as a guideline, but check for doneness using the skewer test (insert a wooden skewer or toothpick into the center; it should come out clean or with a few moist crumbs).
If the top is browning too fast before the inside is cooked, loosely tent the quick bread with aluminum foil. Baking until just done prevents a dry texture, while underbaking can lead to a sunken center.
Addressing Common Quick Bread Issues
Even simple bread recipes can sometimes present challenges. One common issue is a quick bread that sinks in the center. This can be caused by several factors: opening the oven door too early during baking (especially in the first 2/3 of the bake time), underbaking, using too much leavening, or having ingredients (like pumpkin puree) that are too wet. Ensuring accurate measurements, proper baking time, and resisting the urge to peek too soon can help prevent this.
Another issue is a tough or tunnels-filled texture. This is almost always due to overmixing the batter. Remember to mix only until the dry ingredients are just incorporated – a few lumps are fine! A dry or crumbly quick bread can result from overbaking, using too much flour, or not enough fat or liquid. Ensure you measure flour correctly (spoon it lightly into the measuring cup and level off) and follow the recipe's fat and liquid amounts precisely. By understanding the common pitfalls, you can troubleshoot and improve your quick bread baking results.
Storage Solutions for Maintaining Freshness
Proper storage is key to keeping your quick breads moist and delicious. Once your quick bread is baked, allow it to cool in the pan for the time specified in the recipe (usually 10-15 minutes for loaves) before transferring it to a wire rack to cool completely. Slicing a warm quick bread can lead to a gummy texture. Once fully cooled, quick bread loaves and muffins can typically be stored at room temperature for 3-4 days.
To store, wrap the quick bread tightly in plastic wrap, then place it in an airtight container or a resealable plastic bag. This prevents it from drying out. For longer storage, quick breads freeze exceptionally well. Wrap individual slices or the whole, cooled loaf tightly in plastic wrap, then wrap again in aluminum foil or place in a freezer-safe bag.
Frozen quick bread can last for several months (typically up to 2-3 months for best quality). Thaw at room temperature. Biscuits are best eaten fresh, but can be stored in an airtight container at room temperature for a day or two or frozen similarly.
Expanding Your Quick Bread Skills
Experimenting with Flavors and Ingredients
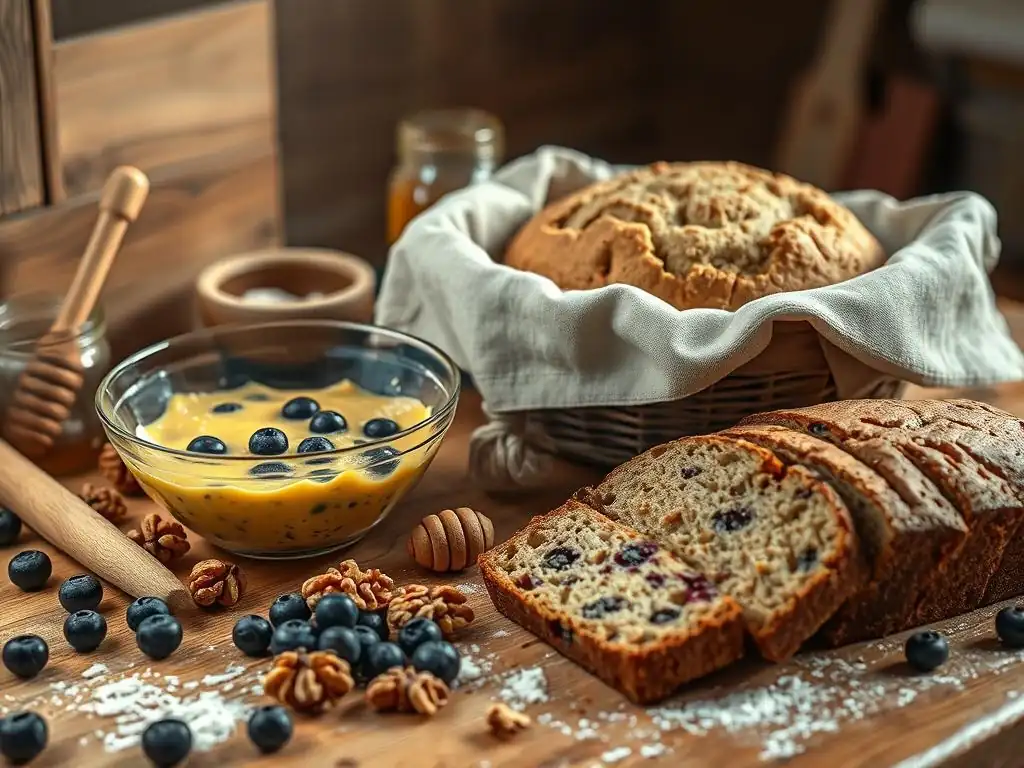
Once you're comfortable with basic simple bread recipes like banana or pumpkin bread, the world of quick bread experimentation opens up! You can easily customize recipes by adding various mix-ins. Common additions include chopped nuts (walnuts, pecans, almonds), dried fruits (cranberries, raisins, apricots), fresh berries (blueberries, raspberries), or chocolate chips and chunks. A general rule of thumb is to add about 1/2 cup to 1 cup of mix-ins per loaf or about 1/4 to 1/2 cup per batch of 12 muffins.
Beyond mix-ins, you can play with flavorings like citrus zest (lemon, orange), extracts (almond, maple, rum), or spices. You can also experiment with different flours, substituting a portion of the all-purpose flour with whole wheat, oat flour, or nut flours (like almond flour), keeping in mind that these substitutions will affect the texture and moisture absorption. Substituting some of the liquid with sour cream or yogurt can also add richness and tenderness. Small, incremental changes are best when you're starting to experiment to see how they affect the final quick bread.
Exploring Quick Bread Variations: Muffins, Scones, and Loaves
The fundamental principles of quick bread baking apply across various forms, allowing you to explore different textures and serving styles. Loaves are dense and moist, baked in a loaf pan, and perfect for slicing. Muffins are individual, portion-controlled quick breads baked in muffin tins, often lighter in texture than loaves and with a characteristic domed top. Scones, while sometimes debated as a separate category, often use the quick bread method of cutting in cold fat, resulting in a flakier, less sweet product than muffins, often baked in wedge or round shapes.
Understanding how the base quick bread batter or dough translates to these forms is key. Muffin batters are typically wetter than loaf batters to ensure a tender crumb in a smaller format. Scone dough is handled minimally and shaped differently to encourage flaking. By mastering a basic quick bread recipe, you gain the skills needed to tackle variations like cornbread (often baked in a skillet), Irish soda bread (another type of quick bread using baking soda and buttermilk), or even some types of pancakes and waffles, which are essentially very thin quick breads cooked on a griddle.
BakeWithEase's Guide to Advanced Quick Bread Techniques
Taking your quick bread skills further involves exploring techniques that add extra layers of flavor and texture. This could include adding streusel toppings, creating simple glazes or icings, incorporating swirls of jam or cream cheese into batters, or working with less common flours or alternative fats. Learning to adjust recipes based on ingredient substitutions (like using applesauce for some of the oil) or environmental factors (like high altitude baking) also falls under advanced techniques. BakeWithEase offers resources to help you continue your baking journey beyond the basics.
Conclusion: Embracing the Joy of Quick Bread Baking
Quick Breads: A Gateway to Confident Baking
Quick breads offer a wonderfully simple and rewarding entry point into the world of baking. Their reliance on chemical leaveners eliminates the complexities of yeast, making them fast, forgiving, and perfect for beginners.
From mixing the batter in minutes to enjoying a warm slice fresh from the oven, the process is designed for ease and quick satisfaction. Mastering a few simple quick bread recipes builds foundational baking skills and confidence, paving the way for you to explore more complex baked goods in the future, should you choose to venture into the realm of yeast breads or even tackle easy sourdough bread recipes down the line.
By starting with quick breads, you learn essential techniques like proper ingredient measurement, understanding the role of different components like leaveners and fats, and recognizing the signs of a perfectly baked product. These skills are transferable to countless other baking endeavors. BakeWithEase is here to guide you every step of the way, providing clear instructions and helpful tips to ensure your quick bread journey is successful and enjoyable. Embrace the magic of quick breads and discover how simple bread baking can be.
We love seeing what our community bakes! Quick breads are perfect for sharing, whether with family, friends, or online. Your baking successes inspire others and help build a supportive community of home bakers. Don't hesitate to showcase your delicious quick bread creations.
Frequently Asked Questions
What makes a sourdough recipe "easy" according to BakeWithEase?
An easy sourdough recipe focuses on simplified techniques and readily available ingredients, making it accessible even for beginner bakers. It prioritizes a shorter proofing time and less hands-on effort.
How can I find easy sourdough bread recipes on BakeWithEase.com?
BakeWithEase.com offers a curated selection of easy sourdough bread recipes categorized for simple browsing. Look for recipes specifically marked as "beginner-friendly" or featuring step-by-step guides.
What are some common challenges beginners face when making sourdough bread, and how does BakeWithEase address them?
Beginners often struggle with starter maintenance and understanding the proofing process. BakeWithEase provides detailed guides and tips on these aspects, ensuring consistent results.
Do I need special equipment to bake easy sourdough bread recipes from BakeWithEase?
While some tools enhance the baking process, BakeWithEase emphasizes recipes requiring minimal specialized equipment. You can often achieve excellent results with basic kitchen essentials.
What kind of support does BakeWithEase offer if I'm having trouble with an easy sourdough bread recipe?
BakeWithEase provides detailed troubleshooting tips within each recipe and encourages questions in the comments section. They aim to foster a supportive community where bakers can share their experiences and get help.
Final Reflection: The Enduring Allure of Simple Sourdough
The ease and deliciousness of sourdough bread, once a culinary enigma, is now within everyone's reach. This accessibility, fueled by readily available starter cultures and simplified techniques, has sparked a global baking revolution. No longer confined to artisan bakeries, the satisfying crust and tangy interior of homemade sourdough are becoming a staple in kitchens worldwide.
The journey of mastering sourdough, even with simplified recipes, is a testament to the enduring human connection with food creation. It's a process that fosters patience, observation, and a deep appreciation for the natural fermentation process. This connection transcends mere sustenance; it's about nurturing something alive, watching it grow, and ultimately sharing the fruits of your labor. Bread is the staff of life,
a simple phrase that holds profound truth, especially when considering the rewarding experience of baking your own sourdough.
Now, consider your own kitchen. Imagine the aroma of freshly baked sourdough filling your home, the satisfying thud of the loaf hitting the cooling rack, the pride in sharing a slice with loved ones. Don't let the perceived complexity of sourdough intimidate you. Embrace the simplicity of these recipes, experiment with different flours and additions, and discover the joy of creating something truly special, one loaf at a time. The magic awaits.
Unleash Your Inner Baker: Taste the Magic Today!
Thanks for joining us on this delicious journey into the world of quick breads! We hope you've discovered some new favorite recipes and the confidence to create baking magic in your own kitchen. Now it's time to put your newfound skills to the test!
- Bake your first quick bread masterpiece today! Choose your favorite recipe from the article and get baking. Don't be afraid to experiment with flavors and ingredients—that's where the real fun begins!
- Share your baking creations! Post a picture of your finished loaf on social media and tag us – we'd love to see your culinary triumphs!
- Challenge a friend to a quick bread bake-off! See who can create the most impressive (and delicious) loaf.
What surprising flavor combination will you try in your next quick bread adventure?