
Cooling Rack Magic: Get Perfect Classic Cookies Every Time

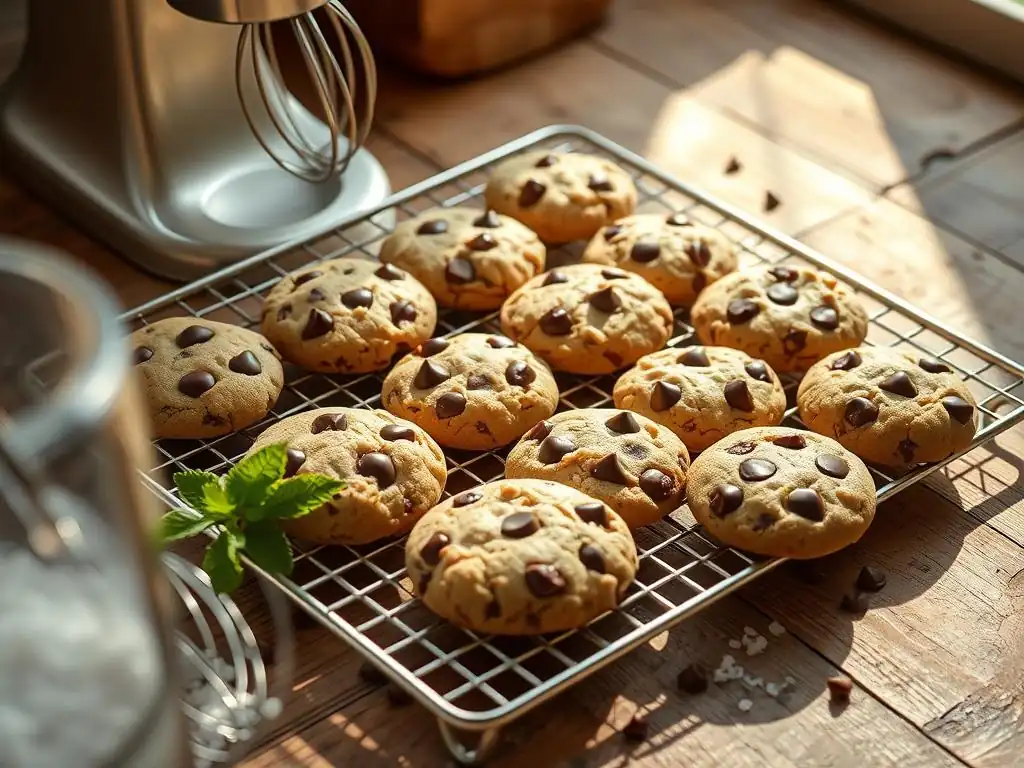
Welcome to BakeWithEase, your kitchen companion for baking bliss! Ever wonder how to achieve that perfect, crisp edge on your classic cookies? The secret might just be simpler than you think. Discover the magic behind the perfect classic cookie cooling rack and unlock the secrets to consistently delicious, bakery-worthy cookies. Ready to elevate your baking game? Let's get started!
- Introduction: Achieving Cookie Perfection with Proper Cooling
- The Science Behind Cooling: How It Affects Cookie Texture
- Choosing the Right Cooling Rack for Your Cookie Recipes
- Step-by-Step Guide: Cooling Your Cookies Like a Pro
- Troubleshooting Common Cooling Issues for Cookies
- Beyond the Basics: Advanced Cooling Techniques for Cookies
- Maintaining Your Cooling Racks: Cleaning and Storage Tips
- Conclusion: Unlock the Secret to Perfect Cookies with Proper Cooling
- Frequently Asked Questions
- Final Reflection: The Enduring Allure of the Perfectly Cooled Cookie
- Unlock Your Cookie Baking Potential!
When you pull a batch of classic cookies from the oven, they aren't finished baking yet! They are still incredibly hot and delicate. Placing them directly on a flat surface like a countertop or baking sheet traps heat and moisture underneath, leading to over-baking on the bottom and a soggy texture. This is where a perfect classic cookie cooling rack becomes indispensable. It elevates the cookies, allowing air to circulate freely around them, which is crucial for stopping the baking process effectively and setting the final structure.
A good cooling rack ensures that the heat dissipates evenly from all sides of the cookie. Imagine a typical chocolate chip cookie; you want a slightly crisp edge and a soft, chewy center. Without a cooling rack, the residual heat from the baking sheet continues to cook the bottom, potentially turning that soft center into a dry, crumbly mess.
Studies show that cookies left on a hot baking sheet can increase their internal temperature by several degrees even after being removed from the oven, significantly altering their texture compared to those transferred immediately to a rack. Using the right cooling method is just as important as getting the recipe ingredients correct for achieving that desired classic cookie texture.
The Secret to Even Cooling: Preventing Soggy Bottoms
The primary secret to preventing soggy bottoms on your classic cookies lies in maximizing airflow. A cooling rack, particularly one with an open wire design, creates a space between the hot cookie and the surface below. This allows the hot air and steam escaping from the cookie to rise and dissipate quickly, rather than condensing and making the bottom mushy. Think of it like airing out a damp cloth; you spread it out so air can reach all surfaces.
Effective cooling on a rack ensures that the moisture within the cookie redistributes properly as it cools. As the cookie transitions from a hot, fluid state to a solid one, the sugars and fats set. If this process happens too slowly on the bottom due to trapped heat and moisture, the structure doesn't firm up correctly.
Using a cooling rack facilitates a rapid drop in temperature on the underside, promoting a crispier bottom edge while the top and center cool more gradually, preserving a tender interior. This balanced cooling is key to the perfect classic cookie texture that bakers strive for.
Understanding Carryover Baking: The Cooling Process Continues
Carryover baking, also known as residual heat cooking, is a critical concept in baking. Even after you remove cookies from the oven, the heat retained by the cookies and the baking sheet continues to cook them. This is particularly true for the first few minutes. For example, a standard 3-inch sugar cookie might register an internal temperature of around 190°F (88°C) when it comes out of a 350°F (175°C) oven. If left on the hot baking sheet, its temperature can continue to rise by 5-10°F (3-6°C) before it starts to cool down significantly.
Transferring cookies promptly to a perfect classic cookie cooling rack is essential to halt this carryover baking process effectively. The elevated position allows cooler room air to surround the cookie immediately, dramatically increasing the rate of heat loss compared to leaving them on a hot surface. This rapid cooling stops the internal cooking faster, preventing the cookies from becoming over-baked, dry, or overly crisp, especially around the edges. It's this controlled cooling environment provided by the rack that helps lock in moisture and achieve the desired chewiness in many classic cookie recipes.
Moisture Management: Cooling Racks Prevent Condensation
Moisture management is another vital function of a cooling rack. When hot cookies are placed directly on a cool, flat surface, the steam rising from the cookies hits the cooler surface, condenses, and forms moisture. This moisture then sits directly against the bottom of the cookie, creating that undesirable soggy texture. This is particularly noticeable with cookies high in butter or sugar, which release a good amount of steam as they cool.
A cooling rack's open structure allows this steam to escape upwards and dissipate into the air, preventing condensation from forming underneath the cookie. This is similar to how a wire rack inside a roasting pan keeps meat elevated from dripping juices.
By keeping the cookie elevated and allowing air circulation, the rack ensures that the bottom surface dries and sets properly as it cools, contributing to a firmer, more stable structure and preventing the dreaded soggy bottom. Proper moisture management during cooling is just as important as the correct ratio of wet and dry ingredients in the dough itself for achieving that perfect classic cookie result.
Wire Rack Material: Considerations for Best Results
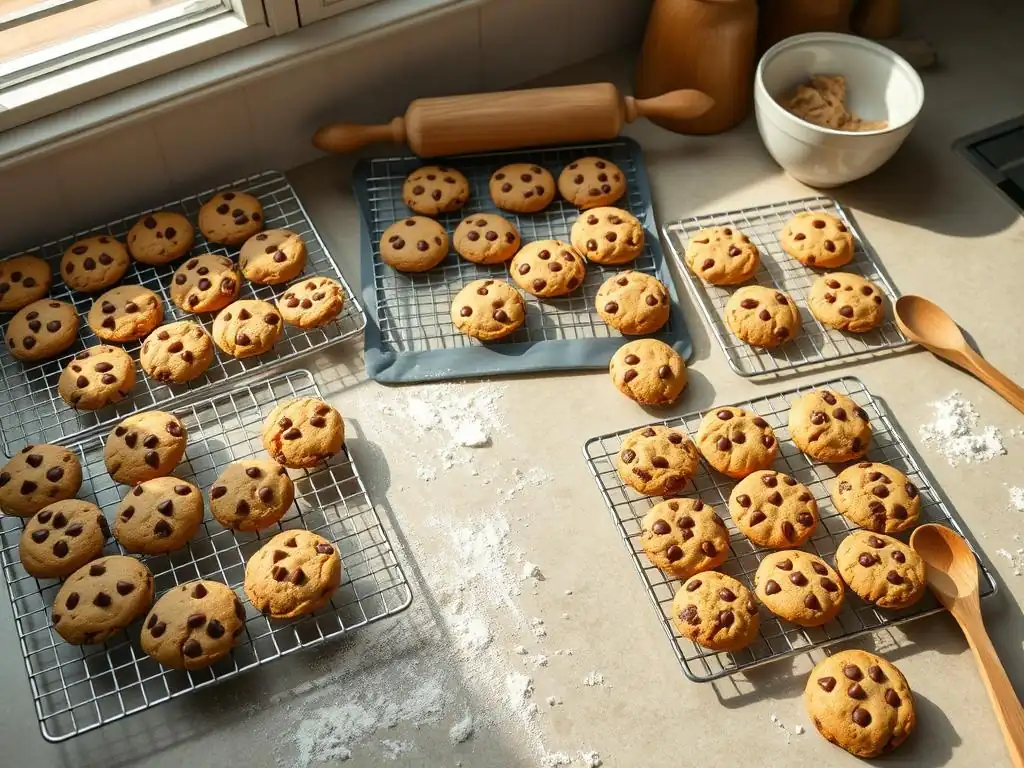
Cooling racks are typically made from stainless steel, chrome-plated steel, or aluminum. Stainless steel is often considered the best option for a perfect classic cookie cooling rack due to its durability, rust resistance, and non-reactive properties. It won't warp easily under heat and is generally dishwasher safe.
Chrome-plated steel is a more budget-friendly option but can be prone to rusting over time, especially if the plating is scratched or if it's frequently washed in a dishwasher. Aluminum racks are lightweight and conduct heat well, which can sometimes speed up cooling slightly, but they can also react with acidic foods and may warp at high temperatures (though this is less of a concern for cooling).
For regular baking and easy maintenance, investing in a good quality stainless steel cooling rack is highly recommended. Look for racks labeled "18/8" or "18/10" stainless steel, indicating the chromium and nickel content, which signifies higher quality and rust resistance. While a basic chrome rack might suffice for occasional use, a stainless steel one offers better longevity and reliability for consistently achieving perfect classic cookies.
Cooling Rack Size and Spacing: Ensuring Adequate Airflow
The size of your cooling rack should be appropriate for the batch sizes you typically bake. A rack that is too small will require you to stack cookies too closely, hindering airflow. A standard half-sheet pan size (roughly 16x11 inches or 40x28 cm) is a popular choice as it fits a typical oven batch and provides ample space. However, having multiple smaller racks or a larger full-sheet size rack (18x26 inches or 46x66 cm) can be beneficial if you bake large quantities.
Equally important is the spacing of the wires on the rack. Wires that are too far apart can cause smaller or more delicate cookies to sag or fall through the gaps. Look for a rack with a grid pattern or closely spaced parallel wires.
A good rule of thumb is that the spacing should be tight enough to support even a delicate cookie without allowing significant sagging, typically with gaps no wider than about 0.5 to 0.75 inches (1.2 to 1.9 cm). Adequate spacing between the wires ensures the cookie is well-supported, while the overall design of the rack (its height and open structure) ensures optimal airflow around the cookie for perfect classic cookie cooling.
Types of Cooling Racks: Flat, Stackable, and Multi-Tier
There are several types of cooling racks available, each offering different advantages. Flat cooling racks are the most common type. They are simple, effective, and easy to store. You can place them directly on a counter or a baking sheet. They come in various sizes and materials, making them versatile for most baking needs. A good quality flat rack is often the first perfect classic cookie cooling rack a baker acquires.
Stackable cooling racks are designed with legs or supports that allow you to place one rack on top of another. This is incredibly useful when baking multiple batches and space is limited. Some stackable racks come as multi-tier units with built-in supports. While they save space, ensure that there is enough vertical clearance between the tiers for proper air circulation around your cookies, especially thicker ones. Multi-tier racks are excellent for high-volume baking but can be bulkier to store when not in use. Consider your typical baking volume and storage space when choosing between flat and stackable options.
Preparing Your Cooling Rack Station: A Baker's Checklist
Before your cookies even come out of the oven, it's crucial to have your cooling station ready. This prevents frantic searching and ensures you can transfer cookies promptly, stopping carryover baking immediately. Your checklist should include:
- At least one, preferably two, clean perfect classic cookie cooling racks. Ensure they are dry.
- Enough counter space clear of clutter to place the racks.
- A sturdy, wide spatula or offset spatula suitable for lifting delicate cookies. A metal offset spatula is often preferred for its thin, flexible blade that slides easily under cookies.
- Optional: Parchment paper or silicone mats if dealing with particularly sticky or delicate cookies.
Having your racks ready means you can smoothly transition from oven to cooling, minimizing the time the cookies spend on the hot baking sheet. For example, if you've just baked a batch of snickerdoodles, which are soft and puffy when hot, having the rack waiting allows you to transfer them before they start to firm up too much on the sheet, preserving their delicate texture.
Transferring hot, fresh-from-the-oven cookies requires a gentle touch. They are often very fragile and prone to breaking. Wait just 1-2 minutes after taking the baking sheet out of the oven before attempting to move them. This brief pause allows the cookies to set slightly, making them more stable. Use a thin, wide spatula, ideally an offset spatula, to carefully slide under each cookie, lifting it cleanly from the baking sheet.
Place the cookies onto the cooling rack with sufficient space between them – aim for at least an inch (about 2.5 cm) of space around each cookie. This ensures optimal airflow. Don't overcrowd the rack.
If you have many cookies, use multiple racks or wait to transfer the next batch until a rack is free. For instance, if you're cooling about two dozen standard 3-inch chocolate chip cookies, you'll likely need at least two average-sized cooling racks to give them adequate space. Patience and a steady hand are key here to avoid crumbling your perfect classic cookies before they're ready to enjoy.
The cooling time for cookies varies depending on their size, thickness, and the specific recipe, but there are general guidelines. Most standard-sized cookies (like chocolate chip, sugar, or peanut butter) need to cool on the rack for at least 10-15 minutes to finish setting and reach a temperature safe and pleasant for eating. Some recipes, especially those resulting in chewier cookies, might benefit from cooling completely on the rack, which can take 30 minutes or even longer.
You'll know your cookies are ready when they are firm enough to handle without bending or breaking and are no longer radiating significant heat. For example, a thin lace cookie might be ready in 5-7 minutes, while a thick drop cookie could take 20 minutes to cool sufficiently. Allowing cookies to cool completely on a perfect classic cookie cooling rack before storing them is also crucial; storing warm cookies will create condensation in the container, leading to sogginess. Always err on the side of longer cooling if you're unsure.
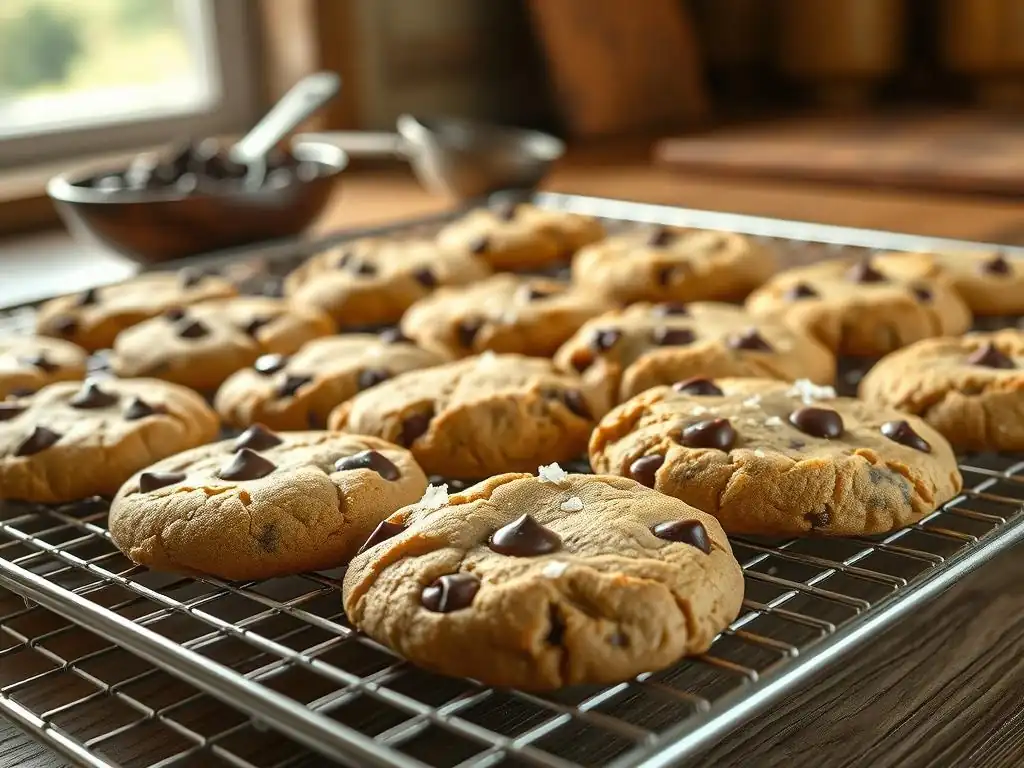
It can be frustrating when your perfect classic cookies stick to the cooling rack. This often happens with very soft or sticky cookies, or if the rack isn't properly seasoned or cleaned. To prevent sticking, ensure your cooling rack is clean and dry before use. For new racks or those prone to sticking, you can lightly spray them with a non-stick cooking spray or wipe them with a little oil, though this isn't usually necessary with good quality, well-maintained stainless steel racks.
If cookies do stick, try gently nudging them with a spatula. If they are firmly stuck, sometimes waiting a few more minutes can help as they continue to set. For future batches, consider transferring very delicate or sticky cookies onto squares of parchment paper on the cooling rack. For example, if baking molasses cookies which are quite soft and sticky, transferring them on small pieces of parchment paper cut to size can prevent them from welding themselves to the wires of your perfect classic cookie cooling rack.
While preventing soggy bottoms is key, sometimes cookies can cool too quickly, especially in a very cool or drafty environment, leading to a harder texture than desired. This is less common than cooling too slowly but can affect cookies designed to be very soft and tender. If you find your cookies are consistently becoming too hard after cooling, consider moving your cooling station away from drafts or open windows.
For recipes where maximum softness is desired, you might slightly reduce the cooling time on the rack before transferring them to an airtight container. However, ensure they are cool enough not to create condensation in the container (usually just warm to the touch is acceptable for very soft cookies).
Another technique is to place a clean tea towel loosely over the cookies on the rack once they've cooled for about 5-10 minutes; this can help trap a little residual warmth and moisture, promoting a softer set. Experimentation based on your specific recipe and environment is key to finding the perfect balance on your perfect classic cookie cooling rack.
Uneven cooling can lead to some cookies being perfectly textured while others are too hard or too soft. This is often caused by overcrowding the cooling rack, which restricts airflow to the cookies in the center or those closest together. Another reason can be placing the cooling rack in an area with uneven temperature distribution, such as too close to a heat source or a cold draft on one side.
To ensure consistent texture across your batch of perfect classic cookies, always space them generously on the cooling rack, leaving at least an inch between each one. If baking multiple sheets, rotate which rack goes where if using multiple cooling stations to ensure no single spot is consistently hotter or colder. Using multiple racks simultaneously allows for better spacing and faster overall cooling. For instance, if you bake four dozen cookies, using four racks with a dozen cookies each will result in much more even cooling than trying to cram them onto two racks.
When baking large quantities, stacking cookies on a cooling rack can be a tempting way to save space. However, simply piling them up will prevent airflow and lead to uneven cooling and potential breakage. Layered cooling refers to using stackable cooling racks or carefully placing a second rack directly on top of the first once the cookies on the bottom rack have cooled sufficiently to bear weight without being crushed.
A more effective method for layered cooling involves purpose-built stackable racks or using small risers (like canning rings or inverted ramekins) at the corners of a flat rack to support another rack placed on top. This creates multiple tiers with adequate vertical space for airflow between them.
For example, using three stackable racks can cool three times as many cookies in the footprint of one, provided there's sufficient height between layers (e.g., 3-4 inches or 7-10 cm) to allow air to circulate freely around each cookie. This technique is invaluable when preparing large batches of perfect classic cookies for events or holidays.
Cooling with a Fan: Speeding Up the Process
In situations where you need to cool cookies quickly, using a fan can significantly speed up the process. Placing a fan (like a small desk fan or box fan) a few feet away from the cooling rack and directing a gentle breeze over the cookies increases the rate of convection, carrying away heat and moisture more rapidly. This can reduce cooling time by 25-50%, depending on the fan speed and room temperature.
However, be cautious not to use too strong a fan speed or place it too close, as this can cool the outside of the cookies too quickly while the inside is still warm, potentially leading to a less desirable texture (e.g., a hard exterior with a still-too-soft interior) or even blowing lightweight cookies off the rack. A low to medium setting from a moderate distance is usually sufficient. This method is particularly useful when you need to reuse baking sheets quickly for subsequent batches of perfect classic cookies.
For exceptionally delicate cookies, such as Florentines, thin butter cookies, or those with sticky additions like caramel or nuts, transferring them directly to a bare wire rack can cause them to break or stick. In these cases, a simple yet effective technique is to transfer the cookies while they are still on the parchment paper or silicone mat they were baked on.
After removing the baking sheet from the oven, gently slide the entire sheet of parchment paper (with the cookies still on it) directly onto the perfect classic cookie cooling rack. The rack still provides the essential elevation and airflow underneath, while the parchment paper offers a stable, non-stick surface for the fragile cookies to cool and firm up on. Once the cookies are completely cool and sturdy, they can then be carefully peeled off the parchment paper. This method ensures your delicate perfect classic cookies maintain their shape and integrity during the crucial cooling phase.
Maintaining Your Cooling Racks: Cleaning and Storage Tips
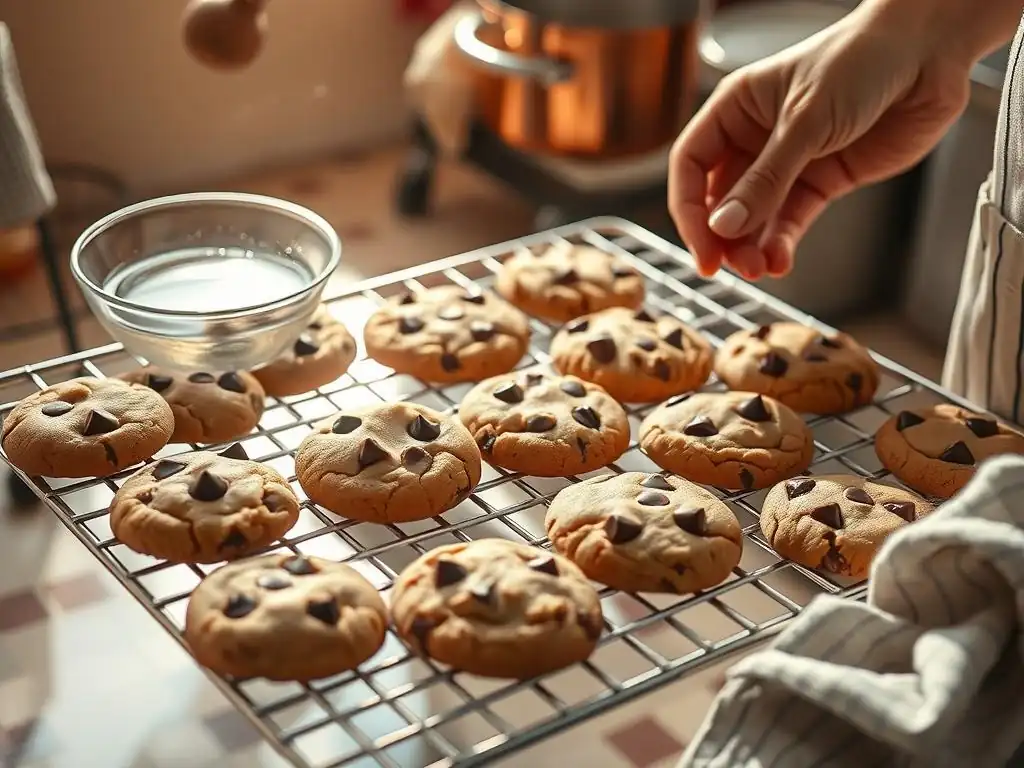
Proper cleaning of your cooling racks is essential for hygiene and to prevent sticking in the future. After use, remove any large crumbs or stuck-on bits immediately while the rack is still slightly warm (but cool enough to handle). For most residues, washing the rack by hand in warm, soapy water using a dish brush or sponge is effective. Pay attention to the intersections of the wires where crumbs can accumulate.
For stubborn, baked-on residue, you might need to soak the rack in hot, soapy water for 15-30 minutes before scrubbing. A paste of baking soda and water can also help lift tough spots. If your perfect classic cookie cooling rack is stainless steel and dishwasher safe, running it through a dishwasher cycle is often the easiest method. Always ensure the rack is thoroughly dried after washing to prevent rust, especially with chrome-plated racks.
Storing Your Cooling Racks: Keeping Them in Top Condition
Storing your cooling racks properly helps protect them from damage and keeps them clean. Ensure racks are completely dry before storing to prevent rust. Flat cooling racks are typically easiest to store; they can often be stacked neatly on top of each other or slid vertically into narrow spaces next to baking sheets in your pantry or under cabinets.
If you have stackable racks, they might require more dedicated space. Some come apart for easier storage. To prevent scratching or bending, avoid placing heavy items on top of them during storage. Keeping them clean and stored properly ensures they remain in excellent condition, ready to perform their magic every time you bake a batch of perfect classic cookies. Consider dedicating a specific shelf or section in your kitchen storage for all your baking racks and sheets.
The Importance of the Perfect Cooling Rack in Your Baking Journey
Mastering the art of baking classic cookies involves more than just getting the ingredients and oven temperature right. The often-overlooked step of proper cooling on a cooling rack is absolutely fundamental to achieving the desired texture, structure, and preventing common pitfalls like soggy bottoms or overly hard edges. A perfect classic cookie cooling rack isn't just a piece of equipment; it's an essential tool that completes the baking process, allowing carryover baking to cease gracefully and moisture to dissipate correctly.
Investing in a good quality cooling rack and understanding how to use it effectively can dramatically improve the consistency and quality of your cookies. From preventing condensation to allowing even cooling, the rack plays a critical role in setting the sugars and fats, resulting in that perfect balance of crispness and chewiness that defines a truly great classic cookie. Don't underestimate the power of this simple rack in your quest for cookie perfection.
BakeWithEase: Your Resource for Mastering the Art of Baking
At BakeWithEase, we believe that anyone can master the art of baking with the right guidance and tools. Understanding the purpose and proper use of essential equipment like the perfect classic cookie cooling rack is part of that journey. We provide simple, step-by-step recipes and practical tips designed for bakers of all levels, helping you navigate everything from mixing dough to the crucial cooling phase.
Whether you're baking your first batch of chocolate chip cookies or perfecting your signature shortbread, we're here to help you achieve delicious results. Explore our collection of classic cookie recipes and baking guides to further enhance your skills. With the knowledge you've gained about cooling rack magic and the resources available at BakeWithEase, you're well on your way to baking perfect classic cookies every time. Happy Baking!
Frequently Asked Questions
A cookie cooling rack is a wired grid used to allow air to circulate around freshly baked cookies. This prevents soggy bottoms and ensures they cool evenly, maintaining their texture.
Look for a rack with a tight grid pattern to prevent cookies from falling through. It should also be made of a heat-resistant material like stainless steel and have feet for elevation.
Using a cooling rack allows air to circulate, preventing condensation and ensuring a crispier, less chewy cookie. Without it, the bottom can become soft and sticky.
While you can use other racks, a dedicated cookie cooling rack offers the optimal grid size and height for proper airflow. Other racks might not provide sufficient support or ventilation.
Most cookie cooling racks are dishwasher safe. For baked-on residue, soak it in warm, soapy water before scrubbing with a non-abrasive sponge.
The seemingly simple act of cooling cookies on a rack is far more impactful than one might initially assume; it's the often-overlooked key to achieving that perfect, crisp-edged, chewy-centered classic cookie we all crave. Mastering this seemingly minor detail elevates the entire baking experience, transforming a simple treat into a truly memorable one. The difference between a perfectly cooled cookie and a soggy, unevenly baked one is, quite simply, night and day.
The impact of a properly cooled cookie extends beyond mere texture and taste; it speaks to a deeper appreciation for the craft of baking itself. It's about taking pride in the details, understanding the science behind the process, and appreciating the small victories that contribute to a larger sense of accomplishment. As Julia Child once wisely said, Find something you're passionate about and keep tremendously interested in it.
For me, that passion lies in the pursuit of the perfect cookie, and the cooling rack plays a surprisingly crucial role in that journey.
Now, I invite you to consider your own baking journey. What small details have you overlooked that might be holding you back from achieving your culinary goals? Perhaps it's time to reassess your cooling techniques, invest in a quality cooling rack, and rediscover the joy of a perfectly crisp-edged, chewy-centered cookie. Embrace the "magic" of the cooling rack, and unlock a new level of baking satisfaction. The perfect cookie awaits!
Thanks for joining us on this cookie-baking adventure! We hope you've gained some delicious insights into achieving perfectly crispy edges and chewy centers. Ready to take your skills to the next level?
- Master the Cooling Rack Technique: Practice the cooling rack method from the article – you'll be amazed by the difference it makes! Try it with your favorite recipe tonight.
- Share Your Success: Show off your perfectly baked cookies by tagging us on social media with #BakeWithEaseCoolingRack. We can't wait to see your creations!
- Experiment with Variations: Try adjusting your baking time or experimenting with different cookie dough recipes, now armed with your new cooling knowledge.
So, what amazing cookie creations will you bake next, empowered by the cooling rack magic?