
Making Gelato Without an Ice Cream Maker: Is It Possible?

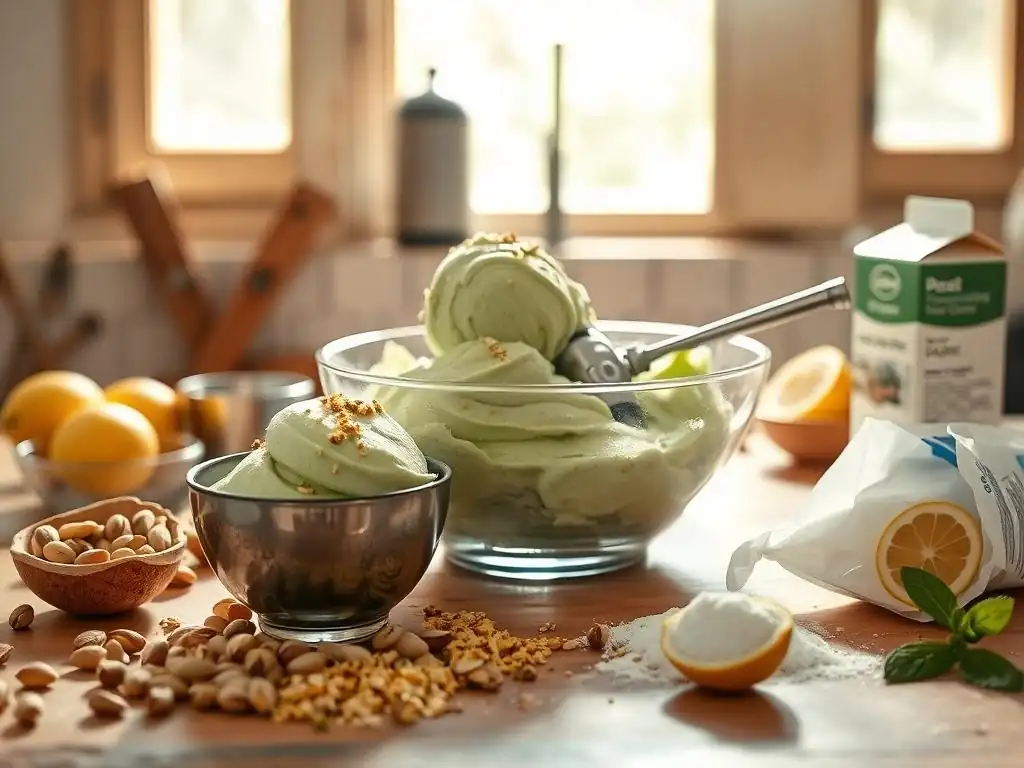
Welcome to BakeWithEase, your trusted guide to the sweet world of baking! Ever dreamed of indulging in creamy, authentic gelato but lack an ice cream maker? Discover the surprisingly simple secrets behind crafting easy gelato without an ice cream maker. Is it truly possible? Keep reading to unlock a delectable experience and transform your kitchen into a gelato paradise!
- Introduction: Delicious Gelato at Home, No Ice Cream Maker Needed
- Understanding Gelato vs. Ice Cream: The Key Differences
- The Challenge: Recreating Gelato Without Specialized Equipment
- The No-Churn Gelato Method: A Step-by-Step Guide
- Tips and Tricks for Perfect No-Churn Gelato
- Troubleshooting Common No-Churn Gelato Problems
- No-Churn Gelato Recipe: A Practical Example
- Conclusion: Enjoy Homemade Gelato, the Easy Way
-
Frequently Asked Questions
- Can you really make gelato at home without an ice cream maker?
- What are the essential ingredients for making gelato without an ice cream maker?
- How often do I need to stir the gelato mixture while it's freezing?
- What kind of container is best for freezing gelato without an ice cream maker?
- How long does it take for gelato to freeze properly without an ice cream maker?
- Final Reflection: The Sweet Simplicity of Homemade Gelato
- Unlock Your Gelato Dreams: Homemade Heaven Awaits!
Introduction: Delicious Gelato at Home, No Ice Cream Maker Needed
Craving Gelato? Learn How to Make it Easily at Home
Imagine the smooth, intense flavor of authentic gelato, melting slowly on your tongue. For many, this delightful frozen treat seems only accessible from a specialized shop, often requiring expensive equipment like an ice cream maker. But what if you could whip up incredibly delicious, creamy gelato right in your own kitchen, using just a few common tools? The good news is, it's not only possible, but it's also surprisingly straightforward, making it a fantastic project for home bakers and dessert lovers.
This guide will walk you through the simple steps and clever techniques needed to create easy gelato without an ice cream maker. We'll demystify the process, showing you how to achieve that signature dense texture and vibrant flavor without relying on specialized machinery. Get ready to discover a world of homemade frozen desserts that are both impressive and incredibly easy to make, proving that you don't need a professional setup to enjoy gourmet treats at home.
BakeWithEase.com Presents: A Guide to No-Churn Gelato
Here at BakeWithEase.com, our mission is to make baking and dessert creation accessible and enjoyable for everyone, regardless of experience level or equipment availability. We believe that the joy of crafting delicious treats shouldn't be limited by complex processes or expensive tools. That's why we're thrilled to present this comprehensive guide on how to make easy gelato without an ice cream maker.
We've tested and refined techniques that bypass the traditional churning process while still delivering a result remarkably close to authentic gelato. This method focuses on simple ingredients, minimal equipment, and patient technique to achieve the desired texture and flavor intensity. Follow along as we break down the science and the steps, empowering you to create luscious, homemade gelato that will impress your friends and family, all thanks to this easy method for gelato.
Understanding Gelato vs. Ice Cream: The Key Differences
Gelato's Unique Texture and Flavor Profile
Gelato and ice cream are both delightful frozen desserts, but they possess distinct characteristics that set them apart. Gelato, which means "frozen" in Italian, is traditionally made with more milk and less cream than ice cream, and often contains no egg yolks, unlike many ice cream bases. This difference in dairy fat content contributes significantly to gelato's texture and flavor. With less fat coating the taste buds, the primary flavors in gelato tend to be more intense and pronounced, offering a purer taste of ingredients like fruit, nuts, or chocolate.
Beyond the ingredient ratios, the serving temperature also plays a role. Gelato is typically served at a slightly warmer temperature than ice cream, around 7 to 12°F (-14 to -11°C), compared to ice cream's 0 to 5°F (-18 to -15°C). This warmer temperature means the gelato is less frozen, allowing its flavors to be more readily perceived by the palate and contributing to its characteristic smooth, almost elastic texture.
Why Gelato Requires Less Air Than Ice Cream
One of the most significant differences between gelato and ice cream lies in the amount of air incorporated during the freezing process. Ice cream is churned rapidly, which whips in a considerable amount of air, often resulting in a final product that is 50% or more air by volume (known as overrun). This high air content gives ice cream its light, fluffy texture.
Gelato, on the other hand, is churned at a much slower speed or mixed using methods that incorporate less air. Traditional gelato machines churn slowly, and our no-churn method aims to minimize air introduction. The goal is to keep the air content lower, typically between 20% and 35%. This lower overrun results in a denser, richer, and more intensely flavored dessert. Achieving this density is crucial for making easy gelato without an ice cream maker.
The Challenge: Recreating Gelato Without Specialized Equipment
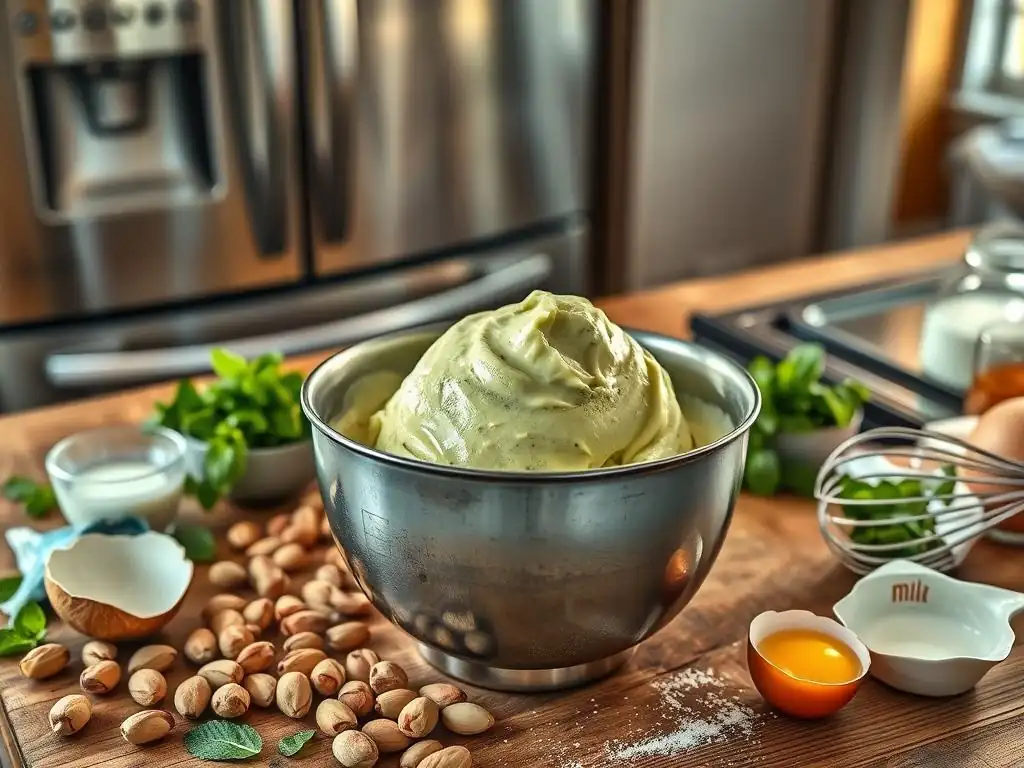
The Importance of Churning in Traditional Gelato Making
Traditional churning is a vital step in creating the desired texture of both ice cream and gelato. As the base mixture freezes, ice crystals begin to form. Churning constantly agitates the mixture, breaking up these ice crystals as they form and distributing them evenly throughout the base. This process prevents large ice crystals from developing, which would result in a grainy or icy texture.
Furthermore, churning incorporates air into the mix. As discussed, the amount of air differs between ice cream and gelato, but some level of air is necessary to prevent the dessert from becoming a solid, hard block of ice. The agitation also helps to create a smooth, creamy consistency by keeping the fat molecules and water in a stable emulsion as they freeze.
Overcoming the No-Churn Obstacle: Techniques for Success
Replicating the results of constant churning without an ice cream maker presents a challenge, primarily the risk of developing large ice crystals and a hard, icy texture. However, there are effective techniques to mitigate this. The core strategy involves using ingredients that naturally interfere with ice crystal formation and employing manual agitation during the freezing process.
Ingredients like condensed milk or certain stabilizers (though we'll focus on simple ingredients here) can help keep the texture smooth. More importantly for easy gelato without an ice cream maker, manual stirring or whisking at regular intervals during the initial freezing stage is key. This mimics the crystal-breaking action of a churner, ensuring your homemade gelato remains creamy and delicious. Patience and regular attention during freezing are your best allies in this no-churn endeavor.
The No-Churn Gelato Method: A Step-by-Step Guide
Step 1: Preparing Your Gelato Base
The foundation of any great gelato is its base. For a no-churn method, we often rely on a base that is naturally smooth and less prone to large ice crystals. A common approach involves combining a rich dairy element with a sweetener and flavoring. Unlike traditional gelato which starts with heating milk, sugar, and sometimes egg yolks, many easy no-churn methods simplify this significantly.
A popular and effective base for easy gelato without an ice cream maker uses sweetened condensed milk combined with whipped cream. Sweetened condensed milk is thick and contains sugar, which lowers the freezing point and helps inhibit ice crystal formation. Whipped cream adds the necessary fat and airy lightness (though less air than ice cream), contributing to a smooth mouthfeel.
Choosing the Right Ingredients for No-Churn Gelato
Selecting high-quality ingredients is paramount for the best flavor. Use heavy cream (with a fat content typically around 36% or higher) for whipping, as it provides the necessary richness and stability. Full-fat sweetened condensed milk is essential for its texture-enhancing properties. Avoid low-fat versions, as they won't deliver the same creamy result.
For flavoring, use real ingredients. Vanilla extract should be pure vanilla, not imitation. Cocoa powder should be unsweetened and of good quality for chocolate variations. Fresh fruit purees work wonderfully for fruit-flavored gelato, but ensure they are concentrated to avoid adding too much water, which can promote ice crystals. Aim for about 1 to 1.5 cups of concentrated puree per batch (roughly 4-6 servings).
Step 2: Cooling and Flavor Infusion
Once your base ingredients are combined (e.g., gently folding whipped cream into sweetened condensed milk), it's crucial to ensure the mixture is thoroughly chilled before freezing. If you are making a base that involves heating (like infusing milk with vanilla beans or steeping coffee grounds), cooling is even more vital. Rapid cooling helps the fat molecules solidify properly and prepares the mixture for efficient freezing.
Allowing your base to cool slowly in the refrigerator also provides time for flavors to meld and deepen. If you've added flavorings like vanilla, coffee, or citrus zest, a period of chilling allows these aromas and tastes to infuse more thoroughly into the dairy base, resulting in a more complex and satisfying final product. This is a simple but effective step for enhancing the quality of your easy gelato without an ice cream maker.
Maximizing Flavor Extraction in Your Gelato Base
To get the most intense flavor, consider infusing your dairy before combining with other ingredients. For vanilla, steep a split vanilla bean in warm cream for at least 30 minutes, or ideally, overnight in the refrigerator after warming. For coffee, steep finely ground coffee (about 1/4 cup per 2 cups of cream) in warm cream for 15-30 minutes, then strain thoroughly.
Fruit purees should be reduced on the stovetop if they are very watery. Simmering a fruit puree for 10-15 minutes can evaporate excess water and concentrate the fruit's natural sugars and flavor. Ensure the reduced puree is completely cooled before incorporating it into your chilled cream/condensed milk base. This attention to flavor preparation elevates your easy homemade gelato.
Allowing the Base to Cool Thoroughly
After preparing your base and infusing flavors, transfer the mixture to a clean bowl or container, cover it, and refrigerate for at least 2-3 hours. The goal is to get the mixture as cold as possible, ideally below 40°F (4°C), before it goes into the freezer. A colder starting temperature means the mixture will pass through the ice crystal formation zone more quickly in the freezer, reducing the time available for large crystals to grow.
Using a shallow container for chilling can help speed up the cooling process. Ensure the container is covered to prevent the mixture from absorbing odors from the refrigerator. This cooling step is non-negotiable for achieving a smooth texture in easy gelato without an ice cream maker. Don't rush this; patience here pays off in the final texture.
Step 3: Achieving a Smooth Texture Without Churning
Since we're not using a machine to constantly churn and break up ice crystals, we need to manually intervene during the freezing process. This is the most critical step for achieving a smooth, creamy texture akin to traditional gelato. Skipping this step will almost certainly result in an icy, hard block.
The technique involves taking the partially frozen mixture out of the freezer at regular intervals and vigorously stirring or mixing it. This manual agitation breaks down the small ice crystals that are forming and redistributes them, preventing them from clumping together and growing into larger, undesirable crystals. It requires a bit of effort, but it's the secret to successful easy gelato without an ice cream maker.
The Importance of Frequent Mixing for Creamy Gelato
You will need to mix your gelato base multiple times during the freezing process. The frequency depends on your freezer's temperature and the volume of your mixture, but a good rule of thumb is to mix every 30-45 minutes for the first 2-3 hours of freezing. Set a timer to remind yourself.
When you remove the container from the freezer, the edges will likely be frozen solid while the center is still soft. Use a sturdy fork, whisk, or immersion blender to thoroughly break up the frozen sections and incorporate them back into the softer middle. Scrape down the sides and bottom of the container to ensure everything is evenly mixed. The mixture will become progressively harder to mix with each interval.
Using a Fork or Immersion Blender for Texture
For manual mixing, a sturdy fork is a simple and effective tool. Vigorously drag the fork through the mixture, scraping the frozen parts and whisking the center. This action breaks up ice crystals and helps maintain a smooth consistency. Repeat until the entire mixture is roughly the same consistency.
Alternatively, an immersion blender (stick blender) can make this process easier, especially as the mixture hardens. Use the immersion blender to pulse and blend the mixture, ensuring you reach all parts of the container, including the edges and bottom. This method is very efficient at breaking up ice crystals and creating a smooth texture, making your easy homemade gelato even easier to manage during freezing.
Step 4: Freezing and Maturing Your Gelato
After the initial period of frequent mixing (typically 2-3 hours), your gelato will still be relatively soft but should have a consistent, smooth texture without large ice crystals. At this point, you can stop the frequent mixing and allow the gelato to freeze completely.
Transfer the partially frozen, well-mixed gelato to its final storage container. An airtight container is best to prevent freezer burn. Press plastic wrap directly onto the surface of the gelato before putting the lid on; this creates a barrier against air and moisture.
Optimal Freezing Time for No-Churn Gelato
The final freezing time depends on your freezer's temperature and the size of your container. Generally, no-churn gelato will need another 4-6 hours to firm up to a scoopable consistency after the initial mixing period is complete. For the best texture, aim for at least 6 hours of undisturbed freezing.
Placing the container in the coldest part of your freezer (usually towards the back) can help it freeze more quickly and evenly. Avoid placing it in the freezer door, which is subject to temperature fluctuations. A total freezing time of 6-8 hours, including the initial mixing phase, is typical for a batch of easy gelato without an ice cream maker.
The Benefits of Maturing Gelato
While you can technically eat the gelato once it's scoopable, allowing it to "mature" in the freezer for an additional few hours, or even overnight, can further improve its texture and flavor. During this maturation period, the fat molecules solidify further, and the remaining water freezes completely, resulting in a firmer, more stable structure.
The flavors also have more time to fully develop and integrate. Gelato that has matured often has a smoother mouthfeel and a more intense taste. So, if time allows, let your easy homemade gelato rest in the freezer for at least 8-12 hours total before serving for the absolute best results.
Tips and Tricks for Perfect No-Churn Gelato
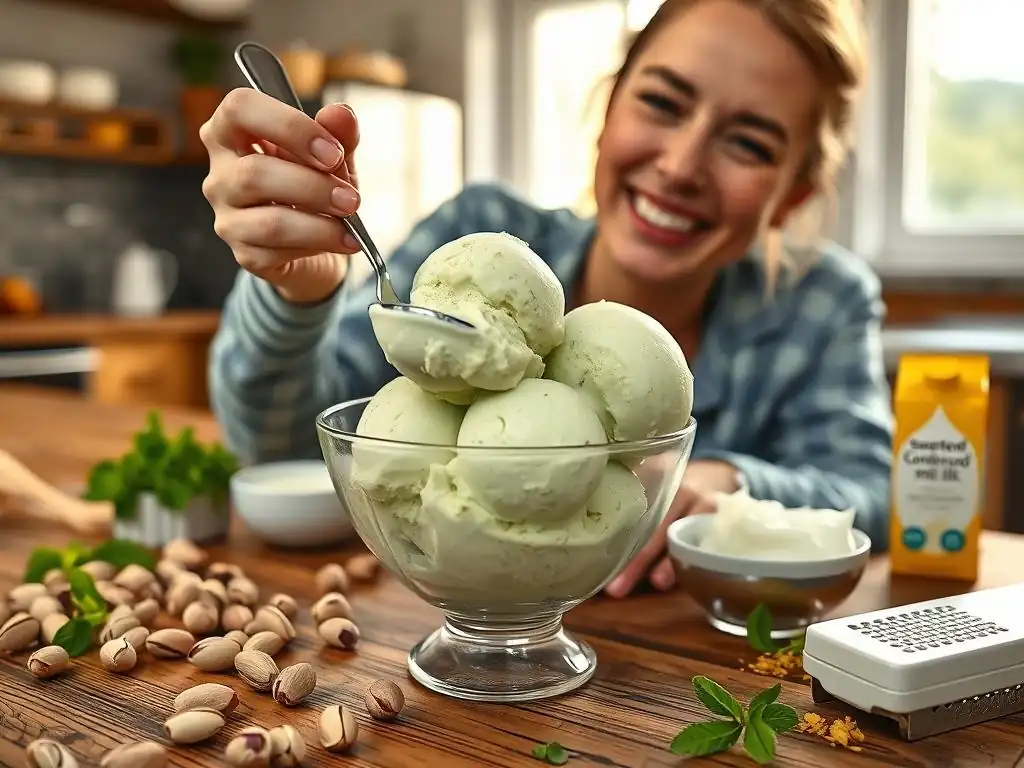
Achieving a Creamy Texture: Key Techniques
Beyond the regular mixing during freezing, starting with a base rich in fat (from heavy cream) and sugar (from condensed milk) is fundamental. These components naturally interfere with ice crystal growth. Ensuring your base is very cold before freezing also helps.
Another trick is to use a shallow, wide container for freezing during the mixing phase. This allows the mixture to freeze more quickly and evenly, making the manual stirring more effective at breaking up crystals. Once the frequent mixing is done, you can transfer it to a different container if desired, but the initial freezing container matters.
Preventing Ice Crystals in Homemade Gelato
The primary defense against ice crystals in easy gelato without an ice cream maker is the manual mixing process described in Step 3. Do not skip or shorten this step. Aim for at least 4-6 thorough mixes in the first few hours of freezing.
Additionally, ensuring your base isn't too watery is critical. If adding fruit puree, reduce it first. Avoid adding extra liquid flavorings like extracts in large quantities; use potent, concentrated flavors. Finally, storing the finished gelato in an airtight container with minimal air exposure helps prevent freezer burn, which can also lead to icy patches over time.
Flavor Variations: Expanding Your No-Churn Gelato Repertoire
The basic no-churn base of whipped cream and condensed milk is incredibly versatile. Once you've mastered the plain version, you can easily adapt it to create a wide array of flavors, making easy homemade gelato a regular treat.
Coffee Gelato Variation
To make coffee gelato, dissolve 2-3 tablespoons of instant espresso powder or very finely ground coffee (like Turkish coffee grind) in a small amount of hot water (just enough to make a paste, perhaps 2-3 tablespoons). Let it cool completely, then whisk it into the sweetened condensed milk before folding in the whipped cream. Alternatively, infuse warm cream with coffee grounds as described earlier, strain, cool, and then proceed with the recipe.
Chocolate Gelato Variation
For a rich chocolate gelato, sift 1/2 cup of unsweetened cocoa powder into the sweetened condensed milk and whisk until completely smooth before folding in the whipped cream. For an even richer flavor, you can gently melt 4-6 ounces of good quality dark or milk chocolate (depending on preference) and whisk it into the condensed milk while it's still warm (but not hot), then cool completely before proceeding. This yields a decadent, easy homemade gelato.
Troubleshooting Common No-Churn Gelato Problems
Dealing with a Grainy Texture
A grainy or icy texture is the most common issue when making easy gelato without an ice cream maker. This almost always indicates that large ice crystals have formed. The main culprit is insufficient or infrequent mixing during the initial freezing stage.
To fix this in a batch that isn't completely frozen solid, you can try taking it out of the freezer, letting it soften slightly (but not melt completely), and then using an immersion blender or sturdy whisk to vigorously re-mix it. Return it to the freezer, ensuring you mix it more frequently (every 30 minutes) until it reaches the desired soft-freeze consistency before the final freeze. For future batches, commit to the regular manual stirring schedule.
Addressing a Too-Hard Gelato
If your finished gelato is too hard to scoop easily, it might be frozen too cold or hasn't been allowed to temper slightly before serving. Unlike ice cream, gelato is served warmer. Take the container out of the freezer and let it sit on the counter for 10-15 minutes before scooping. This allows it to soften to the perfect, slightly pliable consistency.
If the gelato is consistently too hard even after tempering, ensure you used the correct ratio of sweetened condensed milk, as its sugar content helps keep the gelato softer. Also, verify your freezer temperature isn't set excessively low (standard is around 0°F or -18°C).
Correcting an Overly Sweet Gelato
Since sweetened condensed milk is a primary ingredient in many easy no-churn methods, the resulting gelato can sometimes be too sweet for some palates. While you can't remove sugar once it's added, you can balance the sweetness in future batches or add elements when serving.
For future batches of easy homemade gelato, consider adding a pinch of salt to the base, which helps to balance sweetness. You can also use unsweetened flavorings like bitter cocoa powder or tart fruit purees to counteract the sweetness. When serving, pairing the gelato with less sweet toppings like fresh berries, a sprinkle of unsweetened cocoa, or toasted nuts can provide a pleasant contrast.
No-Churn Gelato Recipe: A Practical Example
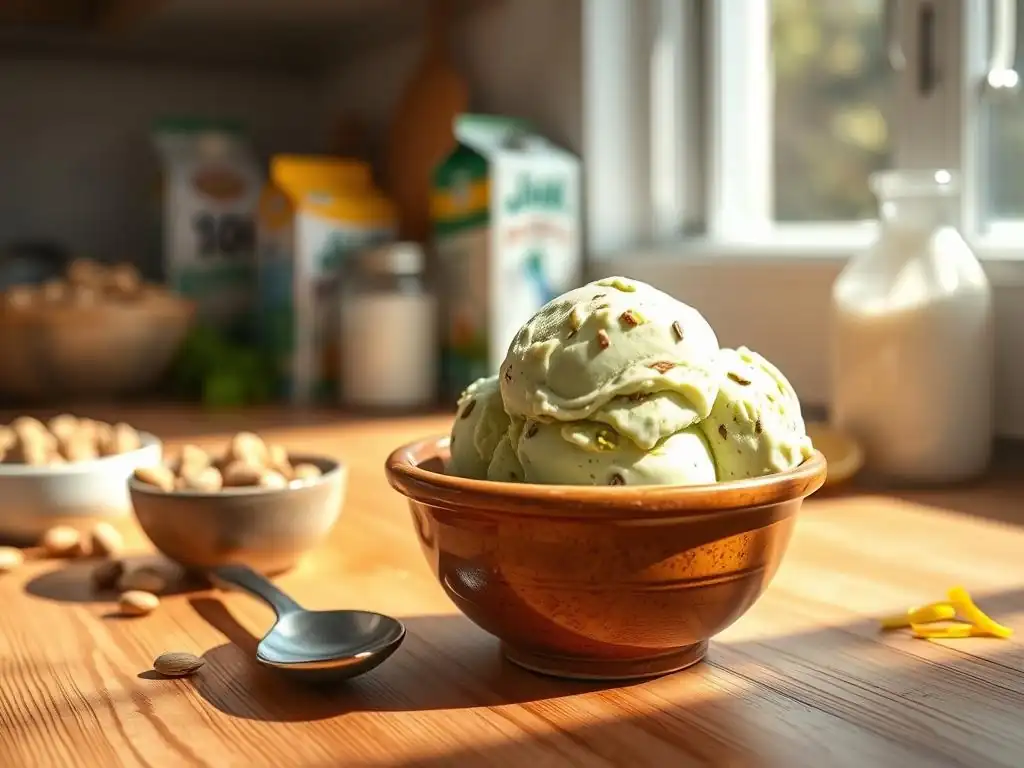
Let's put it all together with a simple recipe for Strawberry Gelato, perfect for making easy gelato without an ice cream maker. This recipe yields approximately 4-6 servings.
Ingredients List for Strawberry Gelato
- 2 cups (about 1 pint) fresh strawberries, hulled and roughly chopped
- 1/4 cup granulated sugar (adjust slightly based on strawberry sweetness)
- 1 teaspoon fresh lemon juice (optional, brightens flavor)
- 1 can (14 ounces) sweetened condensed milk
- 2 cups cold heavy cream (whipping cream)
- 1 teaspoon pure vanilla extract
Step-by-Step Instructions with Detailed Explanations
-
Prepare the Strawberry Puree: Combine the chopped strawberries and granulated sugar in a medium saucepan. Cook over medium heat, stirring occasionally, until the strawberries soften and release their juices, about 5-7 minutes.
Simmer for another 5-10 minutes, stirring more frequently, until the mixture has thickened slightly and the strawberries are very soft. You want to reduce some of the water content. Remove from heat, stir in lemon juice (if using), and let cool slightly.
-
Blend the Puree: Transfer the cooled strawberry mixture to a blender or food processor. Blend until very smooth. For an extra smooth texture, you can strain the puree through a fine-mesh sieve to remove seeds, pressing with a spoon to extract all the liquid.
Chill the strawberry puree in the refrigerator for at least 1 hour, or until completely cold. This cold puree is essential for the texture of your easy gelato without an ice cream maker.
-
Whip the Cream: In a large, chilled bowl, whip the cold heavy cream using an electric mixer (or whisk vigorously by hand) until stiff peaks form. Be careful not to over-whip into butter.
Stiff peaks mean the cream holds its shape firmly when the whisk is lifted. This incorporated air is crucial for the gelato's structure.
-
Combine Ingredients: In a separate bowl, whisk the cold sweetened condensed milk with the cold strawberry puree and vanilla extract until well combined and smooth.
This mixture forms the base flavor component. Ensure the puree is fully incorporated with the condensed milk.
-
Fold Together: Gently fold the whipped cream into the condensed milk and strawberry mixture. Use a spatula and a gentle, sweeping motion to combine the two mixtures without deflating the whipped cream too much.
Continue folding just until no white streaks of cream remain. The mixture should be airy but dense. This careful folding helps maintain the desired low air content compared to ice cream.
-
Initial Freeze and Mixing: Pour the mixture into a shallow, freezer-safe container (like a loaf pan or baking dish). Cover tightly with plastic wrap, pressing it directly onto the surface of the mixture.
Place the container in the freezer. Freeze for 30-45 minutes, then remove and vigorously stir and scrape the frozen edges into the center using a fork or immersion blender. Repeat this mixing process every 30-45 minutes for the next 2-3 hours, or until the gelato is uniformly thick and slushy, with no large ice crystals.
- [ ] First mix
- [ ] Second mix
- [ ] Third mix
- [ ] Fourth mix (or more, as needed)
-
Final Freeze and Maturing: Once the gelato has been mixed thoroughly during the initial phase and has a smooth consistency, transfer it to a final airtight storage container if desired. Press plastic wrap onto the surface and secure the lid.
Freeze for at least another 4-6 hours, or preferably overnight, until completely firm and scoopable. This final freezing allows the easy homemade gelato to mature and develop its final texture.
-
Serve: When ready to serve, let the gelato sit at room temperature for 10-15 minutes to soften slightly to the ideal serving consistency. Scoop and enjoy your delicious homemade easy gelato without an ice cream maker!
Conclusion: Enjoy Homemade Gelato, the Easy Way
Mastering the Art of No-Churn Gelato
Making delicious, creamy gelato at home without a specialized ice cream maker is absolutely possible and incredibly rewarding. By understanding the key differences between gelato and ice cream – particularly the lower air content and serving temperature – and by employing smart techniques like using a condensed milk base and implementing regular manual mixing during freezing, you can achieve a texture remarkably close to the real deal.
This guide has shown you that the path to enjoying easy homemade gelato doesn't require fancy equipment, just a few simple ingredients, some patience, and a willingness to stir. From preparing the flavorful base to the crucial steps of cooling, mixing during freezing, and finally maturing, each stage contributes to the final exquisite result. You've now mastered the fundamental techniques for creating beautiful, easy gelato without an ice cream maker.
We hope this guide inspires you to try making easy gelato without an ice cream maker in your own kitchen. The satisfaction of creating such a delightful dessert from scratch, using accessible methods, is immense. Don't stop at the strawberry variation; use the principles you've learned to experiment with different flavors and ingredients.
We love seeing what our community creates! Share photos of your easy homemade gelato masterpieces and tell us about your favorite flavor combinations. Join the conversation and connect with other baking enthusiasts on BakeWithEase.com. Happy scooping!
Frequently Asked Questions
Can you really make gelato at home without an ice cream maker?
Yes, you absolutely can! The key is to use a freezer-friendly method and stir frequently to break up ice crystals and achieve a smooth, creamy texture.
What are the essential ingredients for making gelato without an ice cream maker?
You'll need high-quality milk and cream, sugar, and your desired flavorings (fruits, chocolate, etc.). A little alcohol, like vodka, can also help prevent ice crystals.
How often do I need to stir the gelato mixture while it's freezing?
Stir the gelato mixture every 30-45 minutes for the first 2-3 hours. This frequent stirring is crucial for creating a smooth texture without an ice cream maker.
What kind of container is best for freezing gelato without an ice cream maker?
A shallow, airtight container is recommended. This allows the gelato to freeze more evenly and makes it easier to stir.
How long does it take for gelato to freeze properly without an ice cream maker?
It typically takes around 4-6 hours for the gelato to reach a scoopable consistency. However, freezing time can vary depending on your freezer and the exact recipe used.
Final Reflection: The Sweet Simplicity of Homemade Gelato
Making gelato without an ice cream maker is not just possible; it's a surprisingly accessible and rewarding experience that unlocks a world of flavor and creativity in your own kitchen. The techniques explored in this article demonstrate that achieving creamy, delicious gelato doesn't require expensive equipment or complicated processes. This accessibility democratizes the joy of gelato-making, putting the power of artisanal dessert creation directly into the hands of anyone with a freezer and a passion for sweet treats.
The persistent pursuit of homemade gelato, even without specialized machinery, reflects a broader cultural shift towards valuing handcrafted goods and experiencing the satisfaction of creating something delicious from scratch. This resonates deeply with the growing interest in mindful consumption and a return to simpler pleasures. The best things in life are simple,
a sentiment often repeated, rings especially true when savoring a scoop of homemade gelato, knowing the effort and love poured into its creation. The process itself becomes a meditative act, a connection to tradition and a celebration of simple ingredients transformed into something extraordinary.
Now, it's your turn. Consider the recipes and techniques outlined in this article, and let them inspire you to experiment in your own kitchen. Don't be afraid to try new flavor combinations, to adjust the sweetness to your preference, and to embrace the imperfections that add to the unique charm of homemade gelato. The journey of creating your own perfect scoop is just as rewarding as the final taste, so embrace the process and enjoy the sweet fruits of your labor. What delicious gelato adventure will you embark on next?
Unlock Your Gelato Dreams: Homemade Heaven Awaits!
Thanks for taking the time to explore the delicious world of homemade gelato! You've just learned how surprisingly easy it is to create creamy, dreamy gelato without any fancy equipment. Now it's time to put your newfound knowledge into action.
- Dive into your first batch: Grab those ingredients and make your own gelato today! Follow our recipe, experiment with flavors, and enjoy the satisfying process of creation.
- Share your gelato journey: Post a picture of your masterpiece on social media and tag us! Let's inspire others to embark on their own gelato adventures. #BakeWithEaseGelato #HomemadeGelato
- Explore flavor combinations: What unexpected ingredients will you blend into your next batch? Think beyond the classic – what unique flavors might delight your taste buds?
So, what exciting gelato creation will you unveil next?