
No Ice Cream Maker? No Problem! Simple Frozen Dessert Recipes

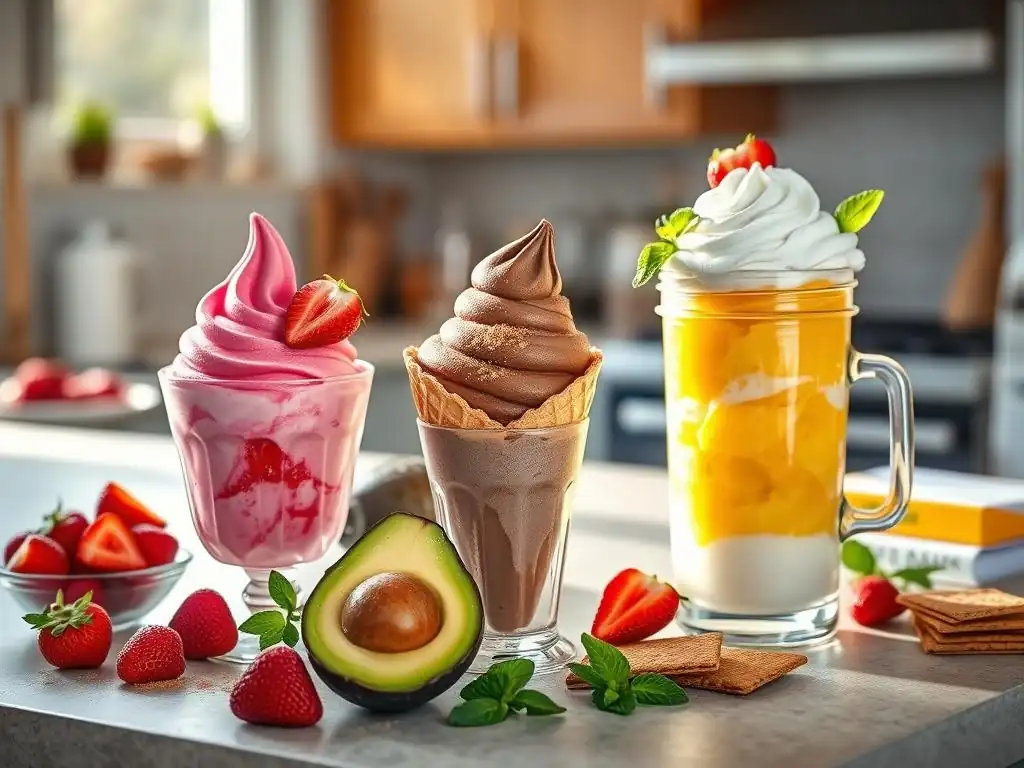
Welcome to BakeWithEase, your haven for stress-free baking! Ever craved a creamy, dreamy frozen dessert but balked at the thought of hauling out (or even owning!) an ice cream maker? You're in the right place. Discover our collection of easy no ice cream recipes that prove delicious, homemade treats are within everyone's reach. Prepare to be amazed by the simplicity and flavor – let's dive in and unlock a world of frozen delights!
- No Ice Cream Maker? No Problem! Simple Frozen Dessert Recipes for BakeWithEase
- Introduction: Delicious Frozen Treats Without an Ice Cream Maker
- Why You Don't Need an Ice Cream Maker for Amazing Frozen Desserts
- Easy No Ice Cream Recipes: Our Top Picks
- Mastering the No-Churn Technique: Key Tips and Tricks
- Serving and Enjoying Your Homemade Frozen Desserts
- Conclusion: Enjoying Easy and Delicious Frozen Desserts All Summer Long
-
Frequently Asked Questions
- What defines an easy no-ice-cream-maker recipe, according to BakeWithEase?
- Can I really make frozen desserts without an ice cream maker, and will they taste good?
- What are some common ingredients used in these no-ice-cream-maker recipes?
- How long do these no-ice-cream-maker desserts typically take to prepare?
- Are these "No Ice Cream Maker" recipes suitable for beginners?
- Final Reflection: The Sweet Simplicity of Homemade Happiness
- Unlock Your Inner Dessert Artist!
No Ice Cream Maker? No Problem! Simple Frozen Dessert Recipes for BakeWithEase
Introduction: Delicious Frozen Treats Without an Ice Cream Maker
Craving a scoop of something cool and creamy on a warm day, but don't own an ice cream maker? You're definitely not alone! Many home bakers wonder if they can truly achieve that smooth, delightful texture without specialized equipment. The good news is, absolutely!
Making fantastic frozen desserts at home is entirely possible using just a few common kitchen tools and some smart techniques. Forget the fuss and expense of dedicated machines; we're diving into the wonderful world of easy no ice cream recipes that deliver incredible flavor and texture with minimal effort. Get ready to explore simple, accessible ways to whip up everything from classic favorites to healthier options, proving that delicious frozen treats are within everyone's reach.
Why You Don't Need an Ice Cream Maker for Amazing Frozen Desserts
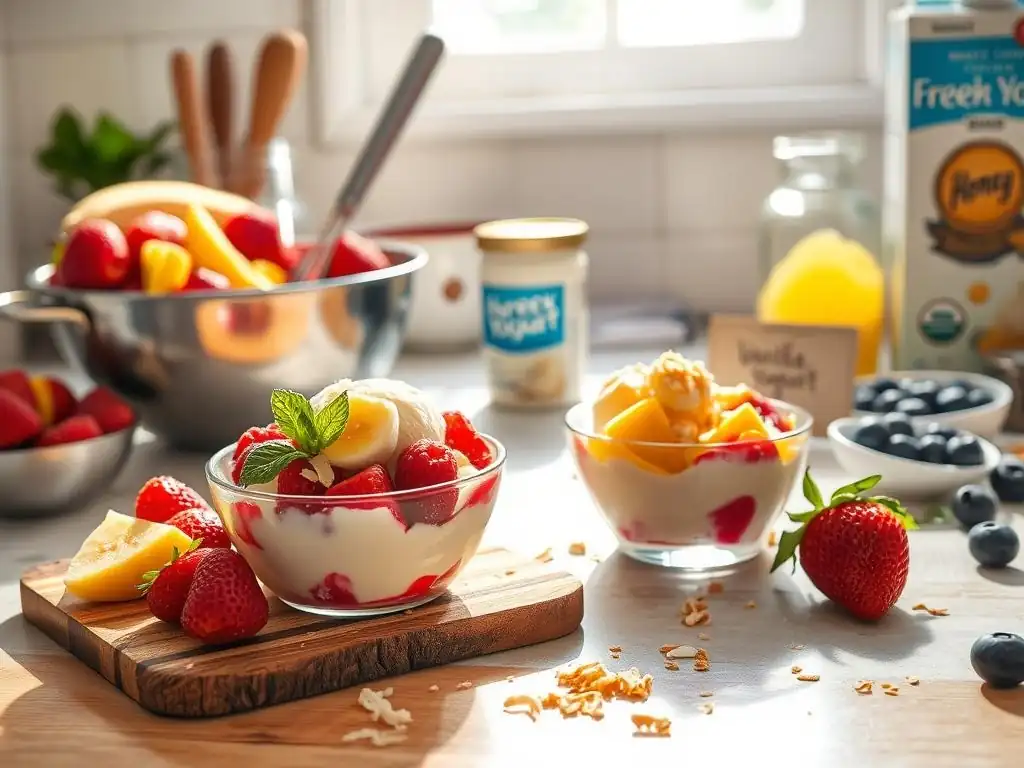
For years, the idea of making homemade ice cream seemed synonymous with owning a specific machine. These appliances, whether they rely on frozen bowls, compressors, or rock salt and ice, are designed to churn the mixture while it freezes, incorporating air and preventing large ice crystals from forming. However, this process can be replicated and even bypassed with clever ingredient choices and handling techniques. The core challenge in making smooth frozen desserts is controlling ice crystal formation.
Large crystals result in a hard, icy texture, while small crystals create that desirable creaminess. Traditional churning manages this by constantly scraping ice crystals off the freezing surface as they form, keeping them small. But what if certain ingredients naturally inhibit large crystal growth? That's where the magic of easy no ice cream recipes begins.
Debunking the Myth: Ice Cream Makers Aren't Essential
The notion that an ice cream maker is a prerequisite for homemade frozen desserts is a common misconception. While they certainly can produce excellent results, they come with their own set of requirements and limitations. For example, many popular models require the freezer bowl to be frozen solid for 12 to 24 hours before use.
This demands significant planning and freezer space, often holding a bulky bowl at around -18°C (0°F) or colder. Compressor models eliminate the pre-freezing step but are considerably more expensive, often costing upwards of $200-$300 compared to basic no-churn ingredients that might total less than $10 for a batch. Furthermore, traditional churning often yields a denser result initially, requiring a "hardening" period in the freezer anyway.
Consider the simplicity of the no-churn approach. It typically requires just a hand mixer or stand mixer to whip ingredients, a spatula for folding, and a loaf pan or container for freezing. There's no waiting for a bowl to freeze overnight, no specialized equipment taking up counter space, and the cost of entry is virtually zero if you already own standard baking tools.
This accessibility is why easy no ice cream recipes have surged in popularity, making homemade frozen delights achievable spontaneously, not just after a day of preparation. The convenience factor alone makes the no-churn method a compelling alternative for busy individuals or those with limited kitchen space.
The Secret to Creamy No-Churn Frozen Desserts
The primary secret behind the success of many easy no ice cream recipes lies in using ingredients that interfere with ice crystal formation and provide inherent creaminess and structure. The two stars of most no-churn ice cream bases are sweetened condensed milk and heavy cream. Sweetened condensed milk is crucial because of its high sugar content (typically around 40-45%) and low water content.
Sugar acts as an antifreeze, lowering the freezing point of the mixture and preventing large ice crystals from bonding together. This results in a softer, smoother texture straight from the freezer compared to a mixture made with milk and sugar alone.
Heavy cream, whipped to stiff peaks, serves a different but equally vital purpose. Whipping the cream incorporates air into the mixture, creating a light, airy base. This air, combined with the fat in the cream (usually 36% or more), contributes significantly to the perceived creaminess and smooth mouthfeel.
When the whipped cream is gently folded into the sweetened condensed milk, it creates a stable, airy emulsion that freezes beautifully without the need for constant churning. This simple combination, often in a ratio of roughly 1 part condensed milk to 2-3 parts whipped cream by volume, forms a perfect canvas for adding various flavors and mix-ins, proving that simple ingredients can achieve sophisticated results in easy no ice cream recipes.
Easy No Ice Cream Recipes: Our Top Picks
Ready to get started? Here are some fantastic easy no ice cream recipes that you can whip up in no time using basic kitchen tools. These recipes are designed for simplicity and maximum flavor without the need for any specialized machinery.
Recipe 1: Classic No-Churn Vanilla Ice Cream
This is the foundational recipe for many easy no ice cream variations. Its simplicity allows the pure, creamy vanilla flavor to shine. It's perfect on its own or as a base for endless additions.
Ingredients for Vanilla No-Churn Ice Cream
- 2 cups (470ml) cold heavy cream (minimum 36% fat)
- 1 can (14 ounces or about 400g) sweetened condensed milk
- 1-2 teaspoons pure vanilla extract
- Pinch of salt (optional, enhances flavor)
- 2 cups cold heavy cream
- 1 can sweetened condensed milk
- 1-2 tsp vanilla extract
- Pinch of salt (optional)
Step-by-Step Instructions for No-Churn Vanilla
- Chill Your Bowl: For best results, chill a large mixing bowl and whisk attachment in the freezer for about 15-20 minutes before starting. This helps the cream whip faster and more efficiently.
- Whip the Cream: Pour the cold heavy cream into the chilled bowl. Using a hand mixer or stand mixer fitted with the whisk attachment, beat the cream on medium-high speed until stiff peaks form. This means the cream should hold its shape firmly when the whisk is lifted. Be careful not to overbeat, or it may turn grainy.
- Combine Liquids: In a separate medium bowl, whisk together the sweetened condensed milk, vanilla extract, and optional pinch of salt until well combined.
- Fold Gently: Pour the condensed milk mixture into the bowl with the whipped cream. Using a spatula, gently fold the two mixtures together until no streaks of condensed milk remain. Be careful not to deflate the whipped cream; the air is essential for texture.
- Transfer and Freeze: Pour the mixture into a loaf pan (a standard 9x5 inch pan works well, holding about 1.5 quarts or 1.4 liters) or another freezer-safe container. Smooth the top with the spatula.
- Cover and Freeze: Cover the surface of the ice cream directly with plastic wrap, then cover the pan tightly with foil or a lid. This prevents ice crystals from forming on the surface. Freeze for at least 6-8 hours, or until firm.
Tips for Perfect Vanilla Ice Cream Without a Machine
- Use Cold Ingredients: Ensure your heavy cream is very cold. This is crucial for successful whipping.
- Don't Overmix: Once the condensed milk mixture is added, fold gently. Overmixing will deflate the whipped cream, resulting in a denser, icier texture.
- Experiment with Vanilla: Use high-quality vanilla extract for the best flavor. You could also use vanilla bean paste or scrape seeds from half a vanilla bean for a more intense, speckled vanilla.
- Add Mix-ins: Once the base is mixed but before freezing, gently fold in your favorite additions like chocolate chips, chopped nuts, cookie pieces, or swirls of caramel or fruit puree. About 1 to 1.5 cups of mix-ins per batch is a good starting point.
Recipe 2: Strawberry Frozen Yogurt - A Healthy Treat
Looking for something a little lighter and tangier? This easy no ice cream recipe for strawberry frozen yogurt is a refreshing alternative. It uses frozen fruit and yogurt for a simple, satisfying dessert.
Ingredients for Strawberry Frozen Yogurt
- 4 cups (about 600g) frozen strawberries
- 1 cup (about 240g) plain Greek yogurt (full-fat or low-fat)
- 2-4 tablespoons honey, maple syrup, or agave nectar (adjust to taste)
- 1 tablespoon fresh lemon juice (optional, brightens flavor)
- 4 cups frozen strawberries
- 1 cup plain Greek yogurt
- 2-4 tbsp sweetener (honey/maple syrup)
- 1 tbsp lemon juice (optional)
Instructions for Making Strawberry Frozen Yogurt at Home
- Process Ingredients: Place the frozen strawberries, Greek yogurt, sweetener (start with 2 tablespoons), and lemon juice (if using) into the bowl of a food processor or a high-powered blender.
- Blend Until Smooth: Pulse the mixture initially to break up the frozen fruit. Then, process continuously, scraping down the sides as needed, until the mixture is completely smooth and has the consistency of soft-serve ice cream. This may take a few minutes depending on your equipment. Be patient and scrape frequently.
- Taste and Adjust: Taste the frozen yogurt and add more sweetener if desired. Process briefly again to incorporate.
- Serve Immediately or Freeze: You can serve this immediately as a soft-serve style treat. For a firmer consistency, transfer the mixture to a freezer-safe container and freeze for at least 2-3 hours. It will become quite firm, similar to scooped ice cream.
Variations: Other Fruits for Frozen Yogurt
This easy no ice cream method isn't limited to strawberries! You can substitute the frozen strawberries with an equal amount of other frozen fruits.
- Mango: Use frozen mango chunks for a tropical twist. Mango's natural sweetness means you might need less added sweetener.
- Blueberry: Frozen blueberries work well, creating a vibrant purple dessert.
- Mixed Berry: Combine frozen raspberries, blueberries, and blackberries for a tangy, antioxidant-rich option.
- Banana: Frozen banana chunks create a naturally creamy base, often requiring less added sugar. Combine with cocoa powder for "nice cream."
When using different fruits, especially those with more seeds like raspberries, you might prefer to strain the mixture after blending for an extra smooth texture, though this is optional. The key is to use fruit that is already frozen solid.
Recipe 3: Chocolate Avocado Mousse Popsicles
For a surprisingly rich and decadent frozen dessert that's also dairy-free and uses a secret healthy ingredient, these chocolate avocado popsicles are a must-try. They are incredibly easy and require no churning at all.
Ingredients for Chocolate Avocado Mousse Popsicles
- 2 ripe avocados, peeled and pitted
- 1/2 cup (120ml) unsweetened cocoa powder
- 1/2 cup (120ml) maple syrup or other liquid sweetener
- 1/2 cup (120ml) plant-based milk (like almond or oat milk)
- 1 teaspoon vanilla extract
- Pinch of salt
- 2 ripe avocados
- 1/2 cup unsweetened cocoa powder
- 1/2 cup maple syrup
- 1/2 cup plant-based milk
- 1 tsp vanilla extract
- Pinch of salt
Making Chocolate Avocado Mousse Popsicles: A Step-by-Step Guide
- Combine Ingredients: Add all ingredients (avocados, cocoa powder, maple syrup, plant-based milk, vanilla extract, and salt) to a blender or food processor.
- Blend Until Smooth: Process on high speed, scraping down the sides as needed, until the mixture is completely smooth, creamy, and free of any avocado lumps. This should resemble a thick chocolate mousse.
- Taste and Adjust: Taste the mixture and add more sweetener if desired, or a splash more milk if it's too thick to pour.
- Pour into Molds: Carefully pour the mixture into popsicle molds. Leave a little space at the top as the mixture may expand slightly when frozen.
- Insert Sticks: Insert popsicle sticks into the molds.
- Freeze: Freeze for at least 4-6 hours, or until completely solid.
- Unmold: To remove popsicles, run the mold under warm water for a few seconds, then gently pull the popsicle out.
Why Avocado Works Wonders in Frozen Desserts
Using avocado in easy no ice cream recipes, particularly for creamy bases like this, might sound unconventional, but it's a brilliant technique. Avocados are packed with healthy monounsaturated fats, which provide an incredible richness and smooth texture. When blended thoroughly, the avocado's natural creaminess mimics the mouthfeel typically provided by dairy fat, but without the dairy.
Furthermore, the fat content helps keep the frozen dessert from becoming too icy, contributing to a smoother bite straight from the freezer. In this chocolate recipe, the strong flavor of cocoa powder and sweetener completely masks any subtle avocado taste, leaving only a decadent, fudgy texture that is surprisingly healthy. It's an excellent example of how unexpected ingredients can create delicious and easy no ice cream treats.
Recipe 4: Quick and Easy Frozen Banana Bites
For the ultimate in simple, healthy, and quick frozen treats, look no further than frozen banana bites. These require zero mixing beyond a quick dip and are perfect for snacking.
Ingredients for Frozen Banana Bites
- 2-3 ripe but firm bananas
- 1 cup (about 170g) chocolate chips (dark, milk, or white)
- 1 tablespoon coconut oil (optional, helps with melting and coating consistency)
- Optional toppings: chopped nuts, sprinkles, shredded coconut, crushed freeze-dried berries
- 2-3 ripe bananas
- 1 cup chocolate chips
- 1 tbsp coconut oil (optional)
- Optional toppings (nuts, sprinkles, etc.)
Instructions for Preparing Frozen Banana Bites
- Prepare Bananas: Peel the bananas and slice them into rounds about 1/2 to 1 inch thick.
- Arrange on Tray: Place the banana slices in a single layer on a baking sheet or plate lined with parchment paper or a silicone mat.
- Pre-freeze: Pop the tray of banana slices into the freezer for about 1-2 hours, or until they are solid. This step prevents them from falling apart when dipped in chocolate.
- Melt Chocolate: In a microwave-safe bowl, combine the chocolate chips and coconut oil (if using). Microwave in 30-second intervals, stirring between each, until the chocolate is completely melted and smooth. Alternatively, melt the chocolate in a double boiler on the stovetop.
- Dip Banana Slices: Remove the frozen banana slices from the freezer. Using a fork or toothpick, dip each banana slice into the melted chocolate, turning to coat completely. Let excess chocolate drip off.
- Add Toppings (Optional): Immediately after dipping, sprinkle the chocolate-covered banana bite with your desired toppings while the chocolate is still wet.
- Freeze Again: Place the dipped and topped banana bites back onto the parchment-lined tray. Return the tray to the freezer and freeze for another 30-60 minutes, or until the chocolate is firm.
- Store: Once frozen solid, transfer the banana bites to an airtight freezer-safe container or zip-top bag for storage. They are best enjoyed within 1-2 months.
Topping Ideas for Your Banana Bites
The beauty of these easy no ice cream bites is how customizable they are with toppings!
- Classic: Chopped peanuts or walnuts provide a nice crunch.
- Kid-Friendly: Rainbow sprinkles are always a hit.
- Tropical: Shredded coconut (toasted or untoasted) pairs perfectly with banana.
- Fruity: Crushed freeze-dried raspberries or strawberries add a burst of tartness and color.
- Decadent: Drizzle with white chocolate, caramel sauce, or peanut butter after the chocolate coating has set.
You can create a whole assortment of different bites from a single batch of bananas and chocolate, making them a fun activity and a versatile snack.
Mastering the No-Churn Technique: Key Tips and Tricks
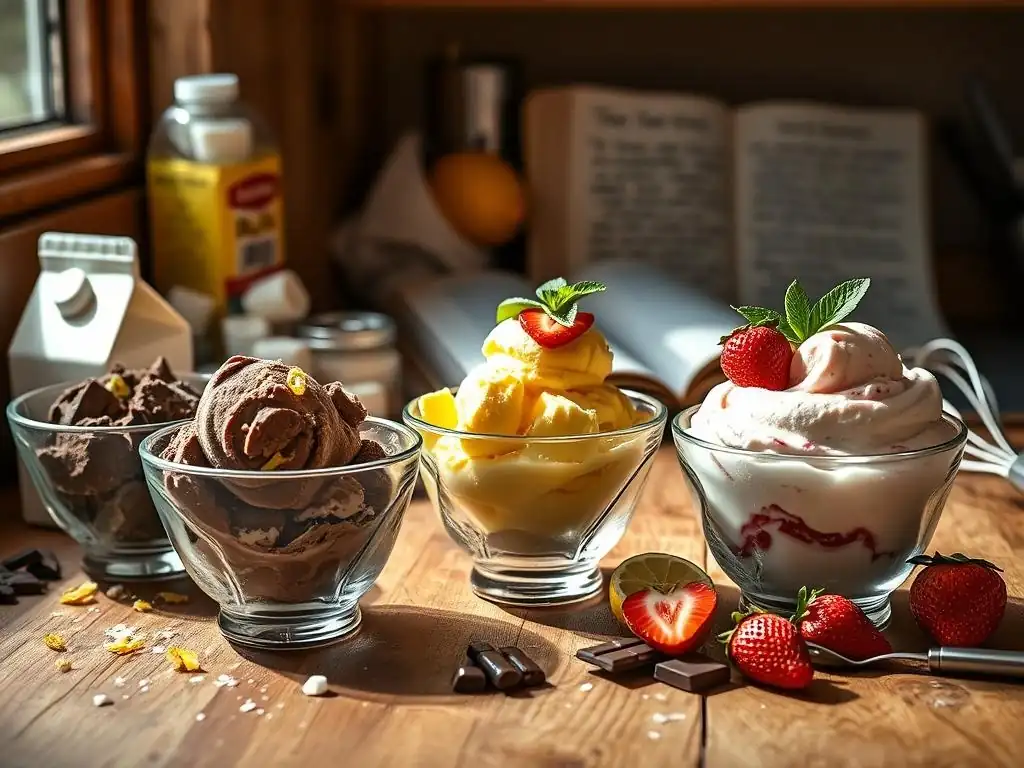
While easy no ice cream recipes simplify the process, understanding a few core principles can elevate your results from good to absolutely amazing. These tips focus on texture, storage, and unlocking creative flavor potential.
Achieving the Right Texture: Mixing and Freezing
The texture of your no-churn frozen dessert is primarily determined by two factors: the amount of air incorporated and the rate of freezing. When making whipped cream-based no-churn ice cream, achieving stiff peaks in your heavy cream is paramount. Stiff peaks indicate that sufficient air has been whipped into the cream, creating a stable structure that will lend lightness and creaminess to the final product.
Under-whipped cream won't hold the air, resulting in a denser, potentially icier dessert. Over-whipped cream can separate and become grainy, which is also undesirable. Aim for peaks that stand up straight when the whisk is lifted.
Equally important is the gentle folding of the whipped cream into the condensed milk mixture. Aggressive mixing will knock the air out of the whipped cream, defeating the purpose of whipping it to stiff peaks. Use a large spatula and a gentle figure-eight or cutting motion to combine the mixtures until just blended.
For freezing, ensure your container is relatively shallow (like a loaf pan) rather than deep. A larger surface area and shallower depth allow the mixture to freeze more quickly and evenly, further helping to minimize the formation of large ice crystals. Freezing at a consistent, cold temperature (ideally -18°C / 0°F or colder) for the recommended time (usually 6-8 hours) is essential for proper setting and texture.
Preventing Ice Crystals: The Importance of Proper Storage
One of the biggest challenges with any homemade frozen dessert, especially easy no ice cream recipes, is preventing those dreaded ice crystals that can make the texture unpleasantly icy. Sugar, particularly from the condensed milk, plays a significant role by lowering the freezing point, but proper storage is your next line of defense. Air and fluctuating temperatures are the enemies of smooth texture. When air comes into contact with the surface of the frozen dessert, moisture can condense and freeze, forming crystals. Repeatedly thawing and refreezing (even slightly, from opening the freezer door) also encourages crystal growth.
To combat this, always store your no-churn frozen desserts in an airtight container. Pressing a layer of plastic wrap directly onto the surface of the dessert before sealing the container creates a barrier against air exposure. This technique is highly effective at preventing surface crystals.
Furthermore, try to store the container in the coldest part of your freezer, usually towards the back, where temperatures are most stable and least affected by the door being opened. While no-churn desserts are generally quite resistant to large crystal formation due to their composition, these storage tips will help maintain their creamy texture for longer, allowing you to enjoy your easy no ice cream creation at its best.
Flavor Combinations: Experimenting with No-Churn Recipes
The basic no-churn ice cream base (whipped cream + condensed milk) is incredibly versatile, serving as a blank canvas for countless flavor variations. Once you've mastered the simple vanilla version, the possibilities are truly endless. Think beyond just vanilla or chocolate. You can swirl in fruit purees (like raspberry or passion fruit), add extracts (peppermint, almond, coffee), or incorporate spices (cinnamon, nutmeg, cardamom). Mix-ins can range from chopped cookies and brownies to candy pieces, nuts, dried fruit, or even pretzels for a salty crunch.
Consider popular flavor profiles:
- Chocolate Peanut Butter: Fold in cocoa powder into the condensed milk mixture and swirl in peanut butter.
- Cookies 'n Cream: Crush about 1.5 cups of chocolate sandwich cookies and fold them into the base.
- Mint Chocolate Chip: Add peppermint extract and fold in mini chocolate chips.
- Fruity Swirl: Swirl in about 1/2 cup of thickened fruit compote or jam.
When adding liquid flavorings or extracts, start with a small amount (like 1/2 teaspoon) and taste the condensed milk mixture before folding in the cream, as cold dulls sweetness and flavor. For mix-ins, add them just before transferring to the freezer container. Don't be afraid to get creative; many successful easy no ice cream flavors come from simply combining your favorite dessert elements with the basic no-churn base.
Serving and Enjoying Your Homemade Frozen Desserts
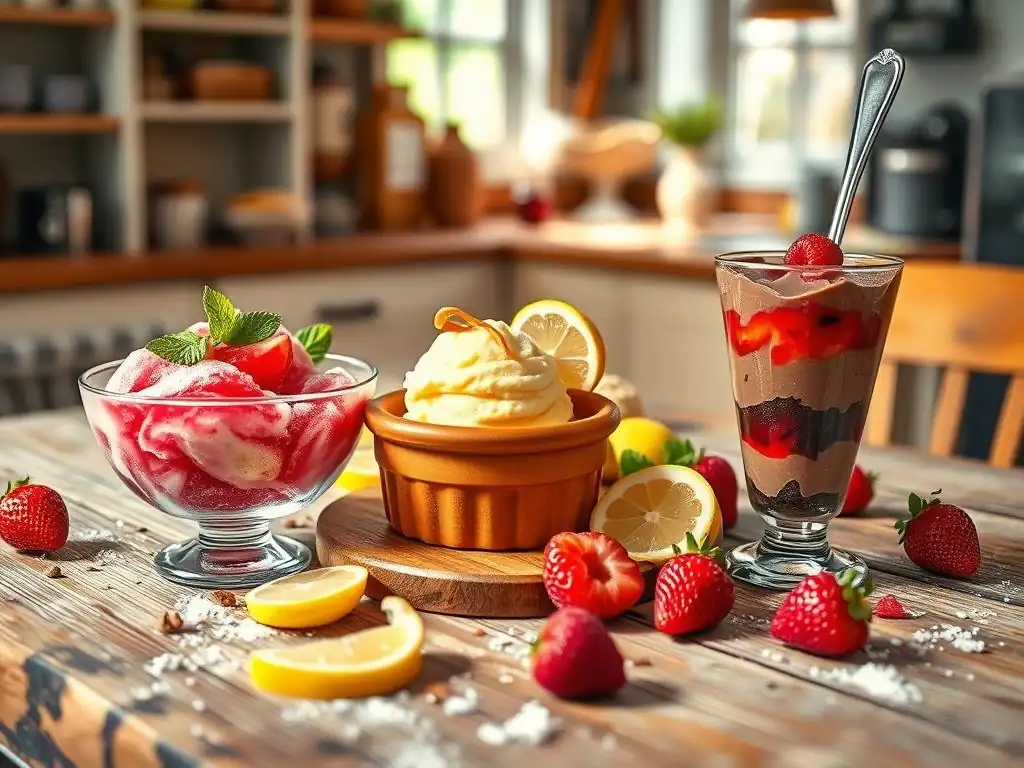
You've put in the minimal effort to create delicious, easy no ice cream treats without a machine – now it's time to enjoy the fruits of your labor! Serving homemade frozen desserts can be just as fun as making them.
Creative Serving Ideas for No-Churn Ice Cream
Serving your homemade no-churn ice cream doesn't have to be limited to a simple scoop in a bowl. Get creative to make the experience more special!
- Sundae Bar: Set up a station with various toppings like hot fudge, caramel sauce, sprinkles, chopped nuts, whipped cream, and fresh berries. Let everyone customize their own masterpiece. This is especially fun for parties.
- Affogato: Pour a shot of hot espresso over a scoop of vanilla or coffee-flavored no-churn ice cream. The contrast of hot and cold is divine.
- Ice Cream Sandwiches: Use homemade or store-bought cookies (like chocolate chip or shortbread) and sandwich a scoop of your no-churn creation between two. Roll the edges in sprinkles or mini chocolate chips.
- Milkshakes: Blend a couple of scoops with milk (dairy or non-dairy) and optional flavorings (like malt powder or fruit) for a thick, creamy milkshake.
- Brownie or Cookie A La Mode: Serve a warm brownie or cookie with a scoop of your homemade ice cream on top. The melting ice cream adds moisture and richness.
These easy no ice cream serving ideas elevate the simple pleasure of homemade dessert and make it a memorable experience.
Perfect Pairings: Desserts to Serve Alongside Your Frozen Treats
Homemade no-churn frozen desserts are fantastic on their own, but they also pair beautifully with other baked goods and desserts.
- Cakes: A slice of pound cake, angel food cake, or even a simple butter cake is wonderful with a scoop of vanilla or fruit-flavored no-churn ice cream.
- Pies and Crumbles: Apple pie, berry crumble, or peach cobbler served warm with melting ice cream is a classic and comforting combination. The creamy, cold texture contrasts perfectly with the warm, often slightly tart or spiced fruit filling and crisp topping.
- Cookies: As mentioned with ice cream sandwiches, cookies are a natural partner. Serve a plate of assorted cookies alongside small scoops for a delightful dessert spread.
- Brownies and Blondies: Rich, fudgy brownies or chewy blondies are complemented by the creamy texture and cooling effect of ice cream, especially chocolate or vanilla flavors.
Consider the flavor profiles – a rich chocolate no-churn ice cream pairs well with a simple vanilla cake, while a tangy strawberry frozen yogurt might be excellent with a lemon pound cake or almond biscotti.
Storage Tips for Homemade Frozen Desserts
Proper storage is key to enjoying your easy no ice cream creations over several days or weeks.
- Airtight Container: Always transfer the frozen dessert to an airtight container after the initial freezing period. This minimizes exposure to air and freezer odors.
- Surface Contact: Press plastic wrap directly onto the surface of the dessert before putting the lid on. This is one of the most effective ways to prevent ice crystal formation on top.
- Stable Temperature: Store the container in the coldest part of your freezer, typically the back, away from the door. Avoid storing it in the freezer door itself, as temperatures fluctuate most there.
- Scooping: For easiest scooping, let the container sit on the counter for 5-10 minutes before serving, especially if it's very hard. Alternatively, run a hot spoon under warm water before scooping.
- Shelf Life: While homemade frozen desserts are best enjoyed within 1-2 weeks for optimal texture, they can typically be stored for up to 1-2 months if properly sealed. Beyond that, the texture may degrade slightly, though they will likely still be safe to eat.
Following these storage tips will help ensure that every scoop of your easy no ice cream is as creamy and delicious as the first.
Conclusion: Enjoying Easy and Delicious Frozen Desserts All Summer Long
Who knew that achieving creamy, delightful frozen desserts at home could be so simple, even without an ice cream maker? As we've explored, the secrets lie in clever ingredient choices like sweetened condensed milk and whipped cream, or the natural creaminess of ingredients like frozen fruit and avocado. From classic no-churn vanilla ice cream and refreshing strawberry frozen yogurt to decadent chocolate avocado popsicles and fun frozen banana bites, there's an easy no ice cream recipe out there for every taste and occasion.
These methods save you money, time, and kitchen space while still allowing for endless creativity with flavors and mix-ins. By understanding a few basic techniques for mixing, freezing, and storing, you can consistently produce smooth, delicious results that will impress your family and friends. So, next time the craving strikes, don't let the lack of specialized equipment hold you back. Embrace the simplicity and joy of easy no ice cream recipes and enjoy homemade frozen treats whenever you please!
Frequently Asked Questions
What defines an easy no-ice-cream-maker recipe, according to BakeWithEase?
An easy recipe, as defined by BakeWithEase, prioritizes simple steps and readily available ingredients. It also means no specialized equipment is needed, like an ice cream maker.
Can I really make frozen desserts without an ice cream maker, and will they taste good?
Yes! These recipes focus on techniques that create a creamy texture without churning. While not exactly like churned ice cream, they are delicious and satisfying frozen treats.
What are some common ingredients used in these no-ice-cream-maker recipes?
Typical ingredients include condensed milk, heavy cream, fruit purees, and sometimes yogurt or cream cheese. These create a rich base that freezes well.
How long do these no-ice-cream-maker desserts typically take to prepare?
The preparation time is often quite short, usually around 15-30 minutes. However, the freezing time can take several hours, so plan ahead.
Are these "No Ice Cream Maker" recipes suitable for beginners?
Absolutely! BakeWithEase specializes in beginner-friendly recipes. These simplified instructions and easy-to-find ingredients make them perfect for new bakers.
Final Reflection: The Sweet Simplicity of Homemade Happiness
The accessibility of delicious frozen treats shouldn't be limited by fancy equipment. This article has explored the surprisingly simple world of no-ice-cream-maker desserts, proving that creamy, refreshing indulgence is within everyone's reach, regardless of their kitchen gadgets. The joy of creating something delicious and unique from readily available ingredients is a powerful experience.
The enduring appeal of homemade desserts lies not just in their taste, but in the connection they foster. They represent a tangible link to simpler times, a chance to slow down and appreciate the process of creation. As Julia Child wisely said, Find something you're passionate about and keep tremendously interested in it.
For me, that passion lies in sharing the joy of accessible cooking, and these easy frozen dessert recipes are a perfect embodiment of that. The positive feedback I've received from readers, sharing their own successful creations and family moments centered around these recipes, has been incredibly rewarding.
Now, it's your turn. Don't let the lack of a specialized appliance hold you back from exploring the delightful world of homemade frozen treats. Experiment with the recipes in this article, adapt them to your own tastes, and most importantly, share the sweet results with loved ones. The memories you create, alongside the delicious desserts, will be the most rewarding ingredient of all.
Unlock Your Inner Dessert Artist!
Thanks for joining us on this delicious journey into the world of no-churn frozen treats! You've just discovered how easy it is to create amazing desserts without fancy equipment. Ready to take your newfound skills to the next level?
- Master your first no-ice cream maker recipe: Choose your favorite flavor combination from the article and get whisking! It’s simpler than you think.
- Share your creation: Post a picture of your frozen dessert masterpiece on social media and tag us @BakeWithEase! We'd love to see your culinary success.
- Explore other frozen dessert possibilities: Think beyond the recipes in this article – what unique flavor combinations will you invent?
What incredible frozen dessert will you create first? Let us know in the comments below!