
Unlock the Flavor: How to Toast Nuts for Christmas Baking

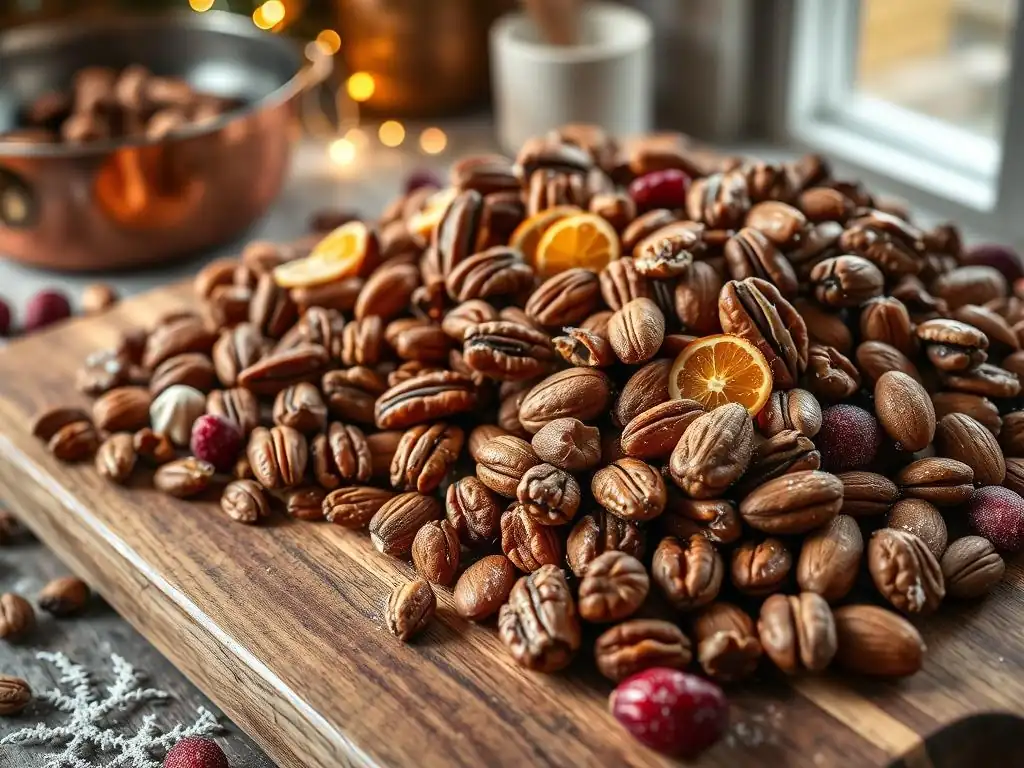
Welcome to BakeWithEase, your kitchen companion on the journey to baking brilliance! Ever wondered how to elevate your holiday treats from good to unforgettable? The secret might be simpler than you think. This season, unlock a new dimension of flavor and texture by learning how to achieve perfectly toasted nuts for baking. Discover the transformative power of this simple technique and prepare to impress with every bite – let's get baking!
- Why Toasting Nuts is Essential for Christmas Baking
- Choosing the Right Nuts for Your Christmas Baking Recipes
- Step-by-Step Guide to Toasting Nuts for Christmas Treats
- Tips and Tricks for Achieving Perfectly Toasted Nuts Every Time
- Storing Toasted Nuts to Maintain Freshness and Flavor
- Using Toasted Nuts in Your Favorite Christmas Baking Recipes
- Elevate Your Christmas Baking with the Perfect Nut Toast
-
Frequently Asked Questions
- How does toasting nuts enhance their flavor in baking?
- What's the best method for toasting nuts for Christmas baking: oven, stovetop, or microwave?
- How do I prevent nuts from burning while toasting?
- Can I toast nuts in advance for Christmas baking?
- What types of nuts benefit most from toasting for Christmas baking recipes?
- Final Reflection: The Enduring Magic of Perfectly Toasted Nuts
- Unleash Your Inner Baker: Toast Those Nuts!
Why Toasting Nuts is Essential for Christmas Baking
Elevating Christmas Baking with Perfectly Toasted Nuts
Christmas baking is all about creating warm, comforting, and unforgettable flavors that evoke the spirit of the season. While festive spices and rich ingredients play a big role, the subtle difference that perfectly toasted nuts for baking can make is truly remarkable. Raw nuts often have a flatter, sometimes slightly bitter taste and a softer texture. Toasting them transforms these characteristics, bringing out their inherent sweetness and depth, adding a satisfying crunch, and making them significantly more aromatic. This simple step can elevate everything from delicate shortbread cookies to robust fruitcakes, ensuring your holiday treats stand out.
Imagine biting into a piece of holiday bark where the almonds are dull and chewy versus one where they are crisp and bursting with nutty goodness. That difference is the power of toasting. For example, adding perfectly toasted nuts for baking to a classic gingerbread recipe or sprinkling them over a festive tart doesn't just add texture; it integrates a deeper layer of flavor that complements the spices and sweetness beautifully. This process isn't just about changing texture; it's about unlocking the full flavor potential hidden within each nut, making your Christmas baking truly shine.
The Impact of Toasting on Nut Flavor and Texture
Toasting fundamentally changes the chemical composition of nuts, leading to a richer flavor profile and a desirable crisp texture. When nuts are exposed to heat, their natural oils are released, and complex reactions occur that break down starches and sugars. This process intensifies their inherent sweetness and nutty flavor notes, making them more pronounced and aromatic. The texture also changes dramatically; the moisture content decreases, resulting in a crunchier, more brittle consistency compared to the softer, chewier nature of raw nuts.
Consider pecans, for instance. Raw pecans can be slightly soft and buttery, but when toasted, they develop a deeper, almost caramel-like richness and a satisfying snap. Walnuts can sometimes carry a bitter edge when raw, but toasting mellows this bitterness and enhances their earthy, complex notes. Achieving perfectly toasted nuts for baking ensures you get this optimal balance of intensified flavor and improved texture, making them a superior addition to any baked good compared to their raw counterparts. This step is quick and easy but yields significant rewards in the final product.
Understanding the Maillard Reaction in Nut Toasting
The magic behind the flavor transformation during toasting is largely due to the Maillard reaction, a complex chemical process that occurs when amino acids and reducing sugars are heated together. This reaction is responsible for the browning and development of savory, often complex flavors in many foods, including nuts. While the Maillard reaction typically starts becoming significant above 280°F (140°C), it occurs alongside caramelization (the browning of sugars) in nuts at typical toasting temperatures, which often range from 300°F to 350°F (150°C to 175°C).
As nuts toast, the Maillard reaction creates hundreds of new flavor compounds, contributing to their signature roasted taste and aroma. This is different from simply drying the nuts out; it's a chemical transformation that creates deliciousness. Achieving perfectly toasted nuts for baking means carefully controlling the heat and time to encourage this reaction without burning the nuts, which would introduce bitter, unpleasant flavors. Understanding that you're facilitating this complex chemical dance helps appreciate why monitoring the process closely is key to unlocking the best flavor.
Choosing the Right Nuts for Your Christmas Baking Recipes
Best Nuts for Christmas Baking: A Comprehensive Guide
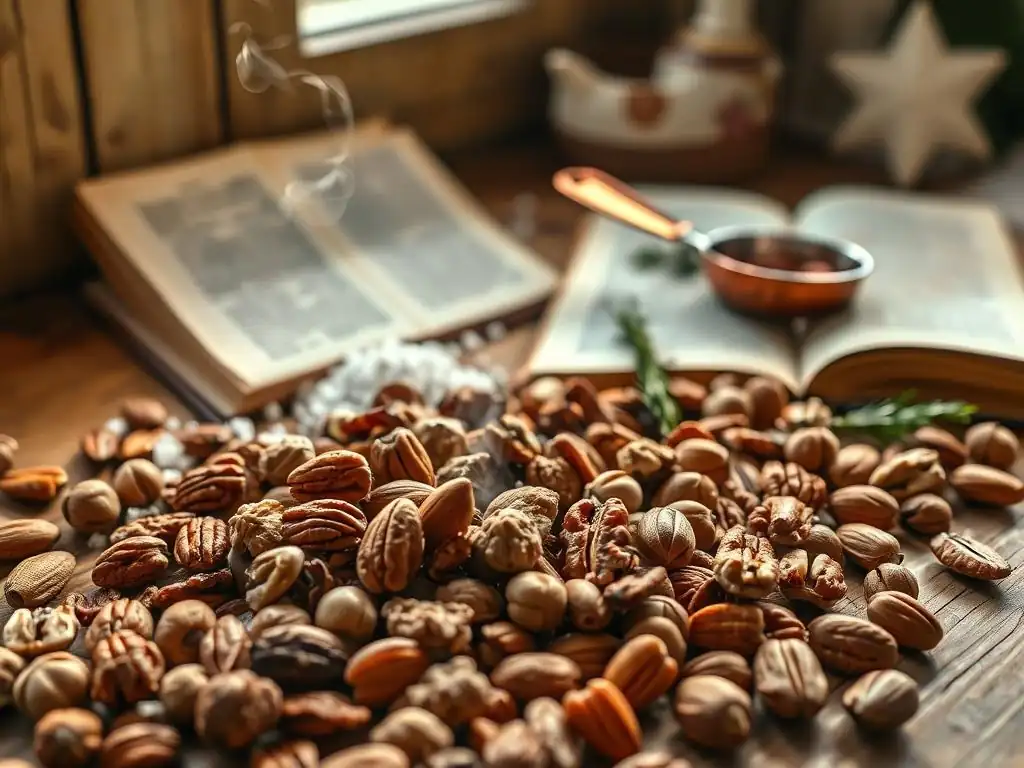
Christmas baking offers a wonderful opportunity to incorporate a variety of nuts, each bringing its unique flavor and texture to holiday treats. Some of the most popular choices include almonds, pecans, walnuts, and hazelnuts, but don't overlook others like pistachios or macadamia nuts for a touch of luxury. When selecting nuts for your festive recipes, consider the overall flavor profile you want to achieve. Almonds offer a sweet, delicate flavor, perfect for biscotti or marzipan-based treats. Pecans provide a rich, buttery taste that pairs beautifully with caramel and chocolate, making them ideal for pies and bars.
Walnuts add an earthy, slightly tannic note that complements spices and fruits, often found in fruitcakes and spiced cookies. Hazelnuts have a distinctive, slightly sweet flavor that marries exceptionally well with chocolate, famously used in gianduja and praline. Thinking about how the perfectly toasted nuts for baking will interact with other ingredients is crucial. For a spiced apple cake, walnuts might be a better fit than delicate almonds. For a rich chocolate tart, hazelnuts or pecans could be superb choices.
Selecting Fresh, High-Quality Nuts for Optimal Flavor
The quality of your raw nuts directly impacts the flavor of your perfectly toasted nuts for baking. Always start with the freshest nuts possible. Nuts contain oils that can go rancid over time, resulting in off-flavors that no amount of toasting can fix. Look for nuts that are plump, uniform in color, and free from shriveling, discoloration, or mold. If buying in bulk, smell them – they should have a mild, clean, nutty aroma, not a harsh or paint-like smell, which indicates rancidity.
Purchasing nuts from stores with high turnover or those stored properly (ideally refrigerated or frozen) increases the likelihood of getting fresh product. While pre-shelled nuts are convenient, nuts in their shells often stay fresher longer. If you buy nuts in bulk, transfer them to an airtight container as soon as possible and store them in a cool, dark place, or even the refrigerator or freezer, especially if you won't use them quickly. Starting with fresh nuts is the foundational step to achieving truly delicious perfectly toasted nuts for baking.
Exploring Almonds, Pecans, Walnuts, and Hazelnuts for Baking
These four nuts are staples in Christmas baking for good reason, each offering a distinct contribution when perfectly toasted for baking.
- Almonds: Versatile and readily available, almonds toast beautifully, developing a sweet, slightly nutty flavor. They are fantastic in cookies (like classic shortbread or Italian biscotti), cakes (think financiers or almond flour cakes), and as a topping for pastries. Toasting transforms raw almond slivers or chopped pieces into crisp, golden additions.
- Pecans: Known for their rich, buttery flavor, pecans become even more decadent when toasted. This process enhances their natural sweetness and creates a delightful crunch. They are essential for pecan pie, excellent in holiday bars, and a wonderful addition to brownies, muffins, and even savory-sweet dishes like sweet potato casserole. Perfectly toasted pecans for baking are synonymous with Southern holiday treats.
- Walnuts: With their earthy, slightly bitter notes, walnuts provide a lovely contrast to sweet baked goods. Toasting rounds out their flavor and reduces any potential bitterness. They are a classic pairing for chocolate, coffee, and fruits like apples and bananas, making them perfect for fruitcakes, spiced loaves, and chocolate chip cookies. Perfectly toasted walnuts for baking add complexity and crunch.
- Hazelnuts: Often associated with chocolate (hello, Nutella! ), hazelnuts have a unique, slightly sweet, and intensely nutty flavor that is significantly enhanced by toasting. Toasting also helps loosen their skins, which can be rubbed off after cooling if desired (though leaving them on is fine for many recipes). They are superb in cookies, cakes, tarts, and particularly in chocolate-based desserts. Perfectly toasted hazelnuts for baking bring a sophisticated, nutty depth.
Step-by-Step Guide to Toasting Nuts for Christmas Treats
The Ultimate Guide to Perfectly Toasted Nuts for Baking
Achieving perfectly toasted nuts for baking is a simple process, but it requires attention. The goal is to heat the nuts just enough to bring out their flavor and aroma without burning them. Different nuts, and even different sizes of the same nut (whole vs. chopped), will toast at different rates. It's crucial to monitor them closely, regardless of the method you choose. The key indicators of doneness are a noticeable change in aroma (they'll smell distinctly nutty and roasted) and a slightly darker color.
Remember that nuts continue to cook slightly from residual heat even after they are removed from the heat source. For this reason, it's best to remove them just before they look perfectly done and transfer them to a cool surface immediately to stop the cooking process. This prevents them from going from perfectly toasted nuts for baking to burnt nuts in seconds.
Method 1: Toasting Nuts in the Oven - A Detailed Walkthrough
Oven toasting is arguably the most hands-off method and is excellent for toasting larger batches of nuts evenly. It's a reliable way to produce perfectly toasted nuts for baking with consistent results.
Preparing Your Nuts for Oven Toasting
Start by spreading your raw nuts in a single layer on a baking sheet. Using a rimmed baking sheet helps prevent nuts from rolling off. For best results, use a light-colored baking sheet, as dark pans can absorb more heat and cause the nuts to toast faster or unevenly.
You can line the baking sheet with parchment paper for easier cleanup, but this isn't strictly necessary. Ensure the nuts are spread out and not piled on top of each other; overcrowding will lead to steaming rather than toasting. If toasting different types or sizes of nuts, toast them separately as they will have different timing needs.
Setting the Ideal Oven Temperature and Time
Preheat your oven to a moderate temperature, typically between 300°F and 350°F (150°C to 175°C). A lower temperature like 300°F allows for more controlled toasting, reducing the risk of burning, while 350°F is quicker but requires closer monitoring. For whole nuts like pecans or walnuts, 325°F (160°C) is a good starting point. For smaller nuts or pieces like slivered almonds, you might opt for 300°F (150°C).
The time required varies significantly based on the type and size of the nut, as well as your oven's calibration. It can range from 8 minutes for slivered almonds to 15 minutes or more for whole walnuts. For example, whole pecans might take 10-12 minutes at 325°F. Perfectly toasted nuts for baking in the oven are achieved through patience and observation.
Monitoring and Ensuring Even Toasting
Once the nuts are in the preheated oven, set a timer for the minimum expected time (e.g., 8 minutes). After this time, check the nuts. Stir them with a spatula to promote even browning. Return them to the oven and check every 1-2 minutes thereafter. You'll start to smell their distinct nutty aroma as they get closer to being done. Visually, they should turn a light to medium golden brown.
Listen for subtle crackling sounds, which also indicate they are toasting. To test for doneness, carefully remove a nut (it will be hot!) and let it cool for a few seconds before tasting it. It should be crisp and flavorful, not raw or burnt. As soon as they reach the desired color and aroma, remove the baking sheet from the oven immediately and transfer the nuts to a plate or another cool surface to stop the cooking process. This step is critical for perfectly toasted nuts for baking.
Method 2: Toasting Nuts on the Stovetop - A Quick and Easy Approach
Toasting nuts on the stovetop is faster than oven toasting and is ideal for smaller quantities or when you need perfectly toasted nuts for baking in a hurry. It requires constant attention, however, as nuts can go from perfectly toasted to burnt in mere seconds.
Choosing the Right Pan for Stovetop Toasting
Use a dry, heavy-bottomed skillet or frying pan. Heavy-bottomed pans distribute heat more evenly, which helps prevent hot spots that can lead to uneven toasting and burning. Stainless steel or cast iron pans work well. Avoid non-stick pans if possible, as some non-stick coatings aren't designed for the dry heat of toasting and can release fumes at high temperatures. Ensure the pan is completely dry before adding the nuts; any moisture will steam them instead of toasting.
Achieving Even Toasting on the Stovetop
Place the nuts in a single layer in the dry skillet over medium heat. Do not add any oil or fat; the nuts' natural oils are sufficient. As the pan heats up, the nuts will begin to warm and release their aroma. Stir or toss the nuts frequently – every 30 seconds to a minute – using a wooden spoon or by shaking the pan. This constant movement is essential for achieving perfectly toasted nuts for baking evenly on the stovetop and preventing hot spots from burning some nuts while others remain raw.
The toasting time is significantly shorter than in the oven, often ranging from 5 to 10 minutes depending on the heat level and the nuts. For instance, chopped walnuts might take around 5-7 minutes on medium heat, while whole almonds could take 7-10 minutes. Keep a close eye on them throughout the entire process.
Preventing Burning: Tips for Stovetop Toasting
The biggest risk with stovetop toasting is burning. The nuts can toast very quickly once they get going. To prevent this, never walk away from the pan. Keep the heat at medium; high heat is too aggressive and will likely burn the outsides before the insides are properly toasted. Stir or toss constantly.
Watch for the color change and listen for the nuts becoming more fragrant. As soon as they reach a light golden brown color and smell richly nutty, immediately remove the pan from the heat. Transfer the perfectly toasted nuts for baking to a plate or baking sheet to cool down completely. Leaving them in the hot pan will cause them to continue cooking and potentially burn.
Method 3: Toasting Nuts in the Microwave - A Time-Saving Option
Microwave toasting is the fastest method, making it a viable option when you need a small quantity of perfectly toasted nuts for baking in a pinch. While it doesn't always achieve the same depth of flavor as oven or stovetop methods due to the different heating mechanism (microwave energy heats water molecules), it's a quick way to improve texture and aroma.
Microwave Toasting: A Quick and Simple Method
Spread a single layer of nuts on a microwave-safe plate. Avoid piling them up. The plate should be large enough to hold the nuts without overlapping too much. This method works best for smaller amounts, typically no more than about half a cup to a cup at a time, to ensure even heating.
Microwave toasting relies on the water content within the nuts. As the water heats and turns to steam, it helps cook and crisp the nut. While it won't produce the same Maillard reaction browning as dry heat methods, it does improve the nut's texture and release some oils for flavor. It's a convenient shortcut for getting reasonably perfectly toasted nuts for baking quickly.
Adjusting Microwave Settings for Different Nuts
Microwave wattages vary significantly, so timing is highly dependent on your specific microwave. Start with short intervals. For about half a cup of nuts, begin by microwaving on high power for 1 minute. Stir the nuts thoroughly. Return to the microwave and heat for additional 30-second intervals, stirring well after each one.
Larger or denser nuts like whole almonds or walnuts might require slightly longer total time than smaller or flatter nuts like pecans or slivered almonds. For example, half a cup of whole almonds might take 2-3 minutes total, while chopped pecans might take 1.5-2.5 minutes. Always check and stir frequently. The key to perfectly toasted nuts for baking in the microwave is patient, incremental heating.
Ensuring Even Toasting in the Microwave
Even toasting in the microwave is the biggest challenge. Microwaves often have hot and cold spots, and the nuts can heat unevenly. Stirring frequently between heating intervals is absolutely essential to redistribute the nuts and ensure they all get exposed to the microwave energy relatively equally.
Watch the nuts closely. They might not change color as dramatically as with other methods, but they will become fragrant and feel warm to the touch. Carefully taste a cooled nut to check for crispness and flavor. Stop microwaving before they look or feel completely done, as they will continue to crisp as they cool. Once done, transfer the perfectly toasted nuts for baking to a cool surface immediately.
Tips and Tricks for Achieving Perfectly Toasted Nuts Every Time
Expert Tips for Toasting Nuts Like a Pro
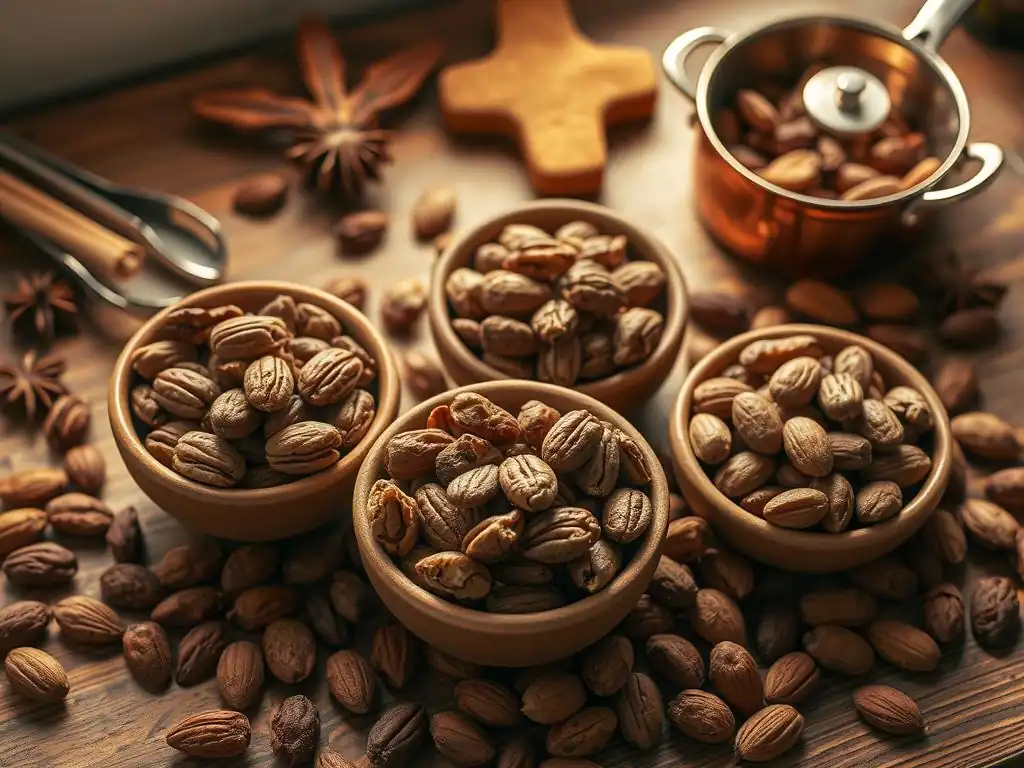
Toasting nuts is a skill that improves with practice, but a few expert tips can help you achieve perfectly toasted nuts for baking consistently. Firstly, always start with nuts that are at room temperature, not cold from the fridge or freezer, as cold nuts will take longer to heat through evenly.
Secondly, consider the final application: if the nuts will be baked again in a recipe (like in a pie or bar), toast them slightly less than you would if they were being used as a garnish or mixed into a no-bake item. They will finish toasting in the oven.
Another pro tip is to toast nuts in slightly larger batches than you think you'll need for a single recipe. Perfectly toasted nuts for baking store well, and having them ready means you can easily add them to multiple Christmas treats without having to toast them each time. Just be sure not to overcrowd the pan or baking sheet when toasting.
Preventing Burning and Achieving Even Toasting
Preventing burning is the most critical aspect of toasting nuts. Here are some key strategies:
- Lower Temperature, Longer Time (Oven): Opting for 300-325°F (150-160°C) instead of 350°F (175°C) gives you more control and a wider margin for error.
- Constant Monitoring: Never leave nuts unattended, especially on the stovetop or in the microwave.
- Frequent Stirring/Tossing: This is non-negotiable for even toasting, regardless of the method. Stir oven-toasted nuts every 5-7 minutes, stovetop nuts almost constantly, and microwave nuts every 30-60 seconds.
- Single Layer: Always spread nuts in a single layer to ensure direct heat exposure and prevent steaming.
- Cool Immediately: As soon as the nuts are done, transfer them off the hot surface onto a plate or cool baking sheet to stop the cooking process.
Following these steps will dramatically increase your success rate in producing perfectly toasted nuts for baking.
Identifying When Your Nuts are Perfectly Toasted
Knowing when your nuts are perfectly toasted for baking comes down to using your senses:
- Smell: Raw nuts have little aroma. As they toast, they will release a warm, nutty, roasted fragrance. This is often the first indicator they are getting close.
- Color: Nuts will change color from pale to a light or medium golden brown. The exact shade depends on the nut type. Avoid dark brown, which indicates they are likely burnt. Compare toasted nuts to raw ones to see the change.
- Sound: Listen for subtle crackling or popping sounds, especially in the oven or on the stovetop, which signals that moisture is escaping and the nuts are crisping.
- Taste and Texture (after cooling): The final test. Carefully taste a nut that has cooled for a minute or two. It should be crisp, not chewy, and have a rich, pronounced nutty flavor without any bitterness.
Trust your senses, and don't rely on time alone, as it's just an estimate.
Troubleshooting Common Toasting Mistakes
Even experienced bakers can make mistakes when toasting nuts. Here are a few common issues and how to fix them or prevent them next time:
- Uneven Toasting: Usually caused by not stirring enough or overcrowding the pan/sheet. Ensure nuts are in a single layer and stir frequently. Check your oven for hot spots if using that method.
- Burning: This is the most common issue, often from high heat or lack of monitoring. Lower the temperature (oven), use medium heat (stovetop), stir constantly, and watch them like a hawk. If nuts are slightly singed but not completely black, they might still be usable in strongly flavored recipes, but ideally, you want to avoid this.
- Still Soft/Chewy After Toasting: They weren't toasted long enough, or the temperature was too low to drive off enough moisture. Return them to the heat source and continue toasting, monitoring closely. Ensure they are cooled completely before assessing final texture; they crisp up as they cool.
- Nuts Taste Rancid: This means the raw nuts were already bad. Toasting won't fix rancidity. Discard them and start with fresh, high-quality nuts.
Mastering perfectly toasted nuts for baking means learning from these experiences and adjusting your technique.
Storing Toasted Nuts to Maintain Freshness and Flavor
Properly Storing Toasted Nuts for Optimal Freshness
Once you've achieved perfectly toasted nuts for baking, proper storage is key to maintaining their crisp texture and intensified flavor. Toasted nuts, because their oils have been brought to the surface and heated, are more susceptible to going rancid than raw nuts. Therefore, they require more careful storage. The enemies of nuts are air, light, heat, and moisture.
Allow the toasted nuts to cool completely to room temperature on a plate or baking sheet before storing them. Storing warm nuts will create condensation inside the container, making them soft and potentially promoting mold growth. Once cool, transfer them to an airtight container. Glass jars, plastic containers with tight-fitting lids, or heavy-duty zip-top bags are all good options.
Maintaining the Flavor of Toasted Nuts for Christmas Baking
To best preserve the delicious flavor of your perfectly toasted nuts for baking, minimize their exposure to oxygen and light. Store the airtight container in a cool, dark place, such as a pantry or cupboard away from the oven or windows. For longer storage, especially if you've toasted a large batch, the refrigerator or freezer is ideal.
The cold temperatures significantly slow down the oxidation process that leads to rancidity. When stored in the refrigerator, toasted nuts can last for several weeks (perhaps 3-4 weeks for optimal flavor). In the freezer, they can maintain their quality for several months, easily covering your entire Christmas baking season and beyond. Just be sure the container is truly airtight to prevent them from absorbing odors from the fridge or freezer.
Storing Toasted Nuts: Shelf Life and Best Practices
The shelf life of perfectly toasted nuts for baking depends heavily on the storage method.
- Room Temperature (Cool, Dark Pantry): Use within 1-2 weeks for best flavor and texture.
- Refrigerator: Can last 3-4 weeks while maintaining good quality.
- Freezer: Can last 3-6 months or even longer, though quality may slowly decline over time.
When ready to use frozen toasted nuts, measure out the amount needed and let them come to room temperature before adding them to your recipe. This prevents condensation from making them soggy. Do not refreeze nuts once they have been thawed. By following these storage guidelines, you ensure that the perfectly toasted nuts for baking you worked hard to prepare will enhance your Christmas treats whenever you're ready to bake.
Using Toasted Nuts in Your Favorite Christmas Baking Recipes
Christmas Baking Recipes Featuring Perfectly Toasted Nuts
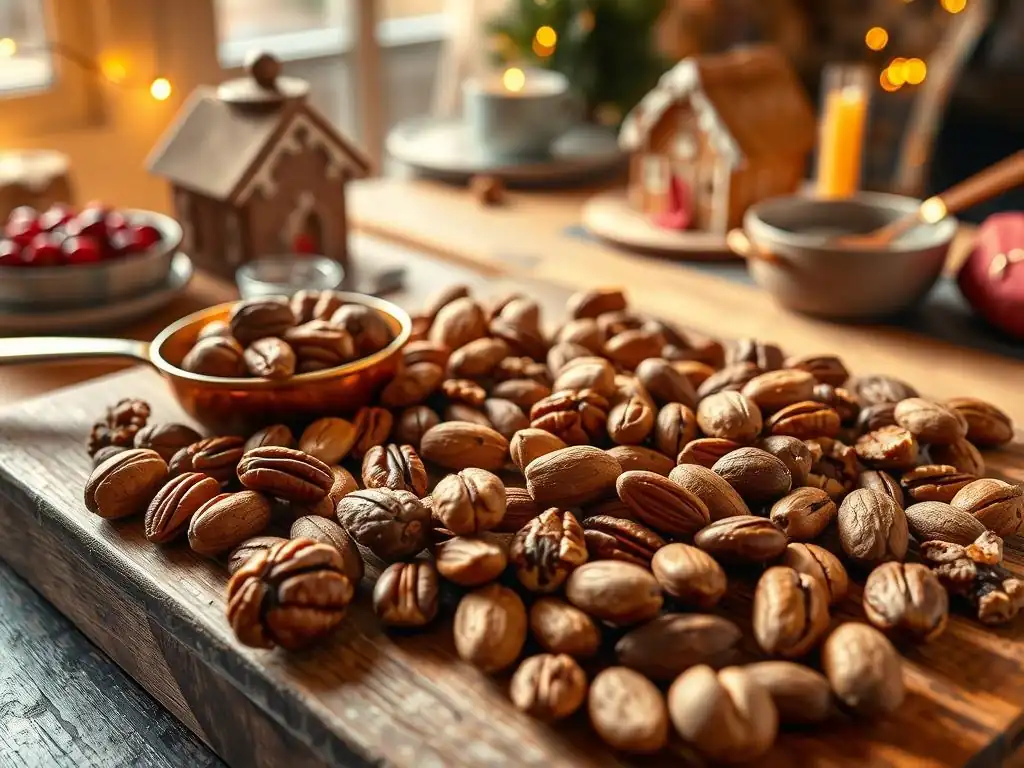
Perfectly toasted nuts for baking are a versatile ingredient that can elevate a wide range of Christmas treats. They add crunch and a depth of flavor that raw nuts simply cannot match. Consider incorporating them into your favorite holiday recipes, from classic cookies and brownies to festive cakes and tarts. They are particularly wonderful in recipes where their texture and flavor can shine, whether mixed into the dough, sprinkled on top, or used as a filling.
Some popular ways to use perfectly toasted nuts for baking include adding them to cookie dough (like shortbread or chocolate chip), incorporating them into brittle or toffee, using them as a crunchy topping for muffins or quick breads, mixing them into fruitcake or panforte, or featuring them prominently in pies and bars. The recipes below highlight how specific toasted nuts can transform classic holiday bakes.
Toasted Almond Biscotti Recipe
Biscotti, those twice-baked Italian cookies, are a Christmas classic, perfect for dipping in coffee or hot chocolate. Adding perfectly toasted nuts for baking, specifically almonds, takes them to the next level. The toasting process enhances the sweet, delicate flavor of the almonds and ensures they are extra crisp within the already crunchy cookie.
- Toast whole or slivered almonds until golden brown and fragrant.
- Let the nuts cool completely.
- Roughly chop the toasted almonds if using whole nuts.
- Prepare your favorite biscotti dough (typically flour, sugar, eggs, leavening, flavoring like anise or citrus zest).
- Fold the perfectly toasted nuts for baking into the dough just before shaping. A typical recipe for about 2 dozen biscotti might use 1 cup (approx. 100-120g) of toasted almonds.
- Shape the dough into logs, bake until firm, cool slightly, slice, and bake again until dry and crisp. The toasted almonds provide a wonderful crunch and nutty flavor throughout the cookie.
Pecan Pie Bars with Toasted Pecans Recipe
Pecan pie is a holiday staple, but making it in bar form makes it easier to share and transport. Using perfectly toasted nuts for baking, especially pecans, in the filling is essential for the best flavor and texture. Toasting brings out the rich, buttery, slightly caramel notes of the pecans, which perfectly complement the sweet, gooey filling.
- Toast whole or chopped pecans until fragrant and slightly darker.
- Let the nuts cool completely.
- Prepare a shortbread or cookie crust and press it into a baking pan (e.g., 9x13 inch). Partially bake the crust.
- While the crust bakes, make the filling: typically corn syrup, brown sugar, butter, eggs, and vanilla.
- Stir the perfectly toasted nuts for baking (pecans) into the filling mixture. A recipe for a 9x13 pan might use 1.5 to 2 cups (approx. 150-200g) of toasted pecans.
- Pour the filling over the warm, partially baked crust and bake until the filling is set and the nuts are golden brown. The toasted pecans provide structure and intense flavor to the rich filling.
Elevate classic chocolate chip cookies for the holidays by adding perfectly toasted nuts for baking, specifically hazelnuts, and perhaps using milk or dark chocolate chunks that pair well with their flavor. Toasting hazelnuts not only enhances their unique nutty taste but also helps make their skins easier to remove if you choose to do so (though leaving them on adds fiber and a rustic look).
- Toast whole hazelnuts until fragrant and skins are loosened.
- While warm, rub the nuts in a clean towel to remove most of the skins (optional).
- Let the nuts cool completely.
- Roughly chop the perfectly toasted nuts for baking (hazelnuts).
- Prepare your favorite chocolate chip cookie dough.
- Fold the chopped toasted hazelnuts and chocolate chips into the dough. A standard batch of cookies might use 1 cup (approx. 100-120g) of toasted hazelnuts.
- Portion and bake the cookies as usual. The toasted hazelnuts add a delightful crunch and a sophisticated, nutty flavor that complements the chocolate wonderfully, making these cookies extra special for Christmas.
Elevate Your Christmas Baking with the Perfect Nut Toast
Mastering the Art of Toasting Nuts for Unforgettable Christmas Treats
Taking a few extra minutes to toast your nuts is one of the simplest yet most impactful steps you can take to improve your Christmas baking. Whether you're making cookies, cakes, pies, or candies, incorporating perfectly toasted nuts for baking will add a layer of flavor, aroma, and texture that raw nuts simply cannot provide. We've explored why toasting is essential, how different nuts respond to the process, and detailed step-by-step methods for the oven, stovetop, and microwave.
Remember the key principles: start with fresh nuts, spread them in a single layer, use moderate heat, monitor constantly using your senses (smell, color, sound), stir frequently, and cool them immediately after toasting. Store your perfectly toasted nuts for baking properly in airtight containers to keep them fresh for future use throughout the busy holiday season. By mastering this easy technique, you unlock the full potential of nuts, ensuring your Christmas treats are the most flavorful and memorable they can be. Happy baking!
Frequently Asked Questions
How does toasting nuts enhance their flavor in baking?
Toasting nuts releases their natural oils, which intensifies their nutty flavor and aroma. This process also creates a crispier texture, making them more enjoyable in baked goods.
What's the best method for toasting nuts for Christmas baking: oven, stovetop, or microwave?
While all methods work, oven toasting generally provides the most even and consistent results. Stovetop toasting is faster but requires careful monitoring to prevent burning. Microwaving is not recommended for large batches.
How do I prevent nuts from burning while toasting?
Keep a close eye on the nuts, regardless of the toasting method. Stir frequently, especially on the stovetop. Remove them from the heat as soon as they become fragrant and lightly golden brown.
Can I toast nuts in advance for Christmas baking?
Yes, toasting nuts in advance is a great time-saver. Once cooled, store them in an airtight container at room temperature for up to a week to maintain their freshness and flavor.
What types of nuts benefit most from toasting for Christmas baking recipes?
Almost all nuts benefit, but pecans, walnuts, almonds, and hazelnuts are particularly delicious when toasted. Toasting brings out their rich, buttery notes that complement festive flavors.
Final Reflection: The Enduring Magic of Perfectly Toasted Nuts
The simple act of toasting nuts elevates holiday baking from good to extraordinary. It's more than just a step in a recipe; it's a transformative process that unlocks a depth of flavor and aroma, adding a layer of warmth and complexity that perfectly complements the festive spirit. This seemingly small detail makes a significant difference in the overall quality of your Christmas treats.
The impact of perfectly toasted nuts extends beyond the immediate sensory experience. It's a connection to tradition, a reminder of cherished family recipes passed down through generations, and a symbol of the care and attention we put into creating something special. The best things in life are simple,
and the satisfying crunch of a perfectly toasted nut is a testament to that truth. The subtle nuances in flavor – from the nutty richness to the hint of caramel – are a reward for taking the time to master this simple technique.
Now, as you prepare for your own holiday baking, I invite you to consider the power of this seemingly small detail. Don't just follow the recipe; experience the process. Smell the intoxicating aroma as the nuts release their fragrant oils, listen to the satisfying crackle as they toast to perfection. Embrace the mindful act of creating something delicious and meaningful. This Christmas, let the perfectly toasted nut be a symbol of the care and love you pour into your baking, transforming ordinary treats into extraordinary memories.
Unleash Your Inner Baker: Toast Those Nuts!
Thanks for taking the time to explore the art of perfectly toasted nuts! You've just unlocked a secret weapon for elevating your Christmas baking. Now it's time to put your newfound knowledge into action.
- Toast your own nuts today! Grab a batch of your favorite nuts and try out the method you enjoyed most from the article. Notice the difference in flavor and texture.
- Share your perfectly toasted nut creations on social media using #BakeWithEaseChristmas. Let's inspire each other!
- Experiment with different nut varieties and roasting times – find your new favorite nut-roasting combination!
What unique flavor profile will your perfectly toasted nuts bring to your Christmas baking this year?