
Your First Quick Bread: A StepbyStep Success Story

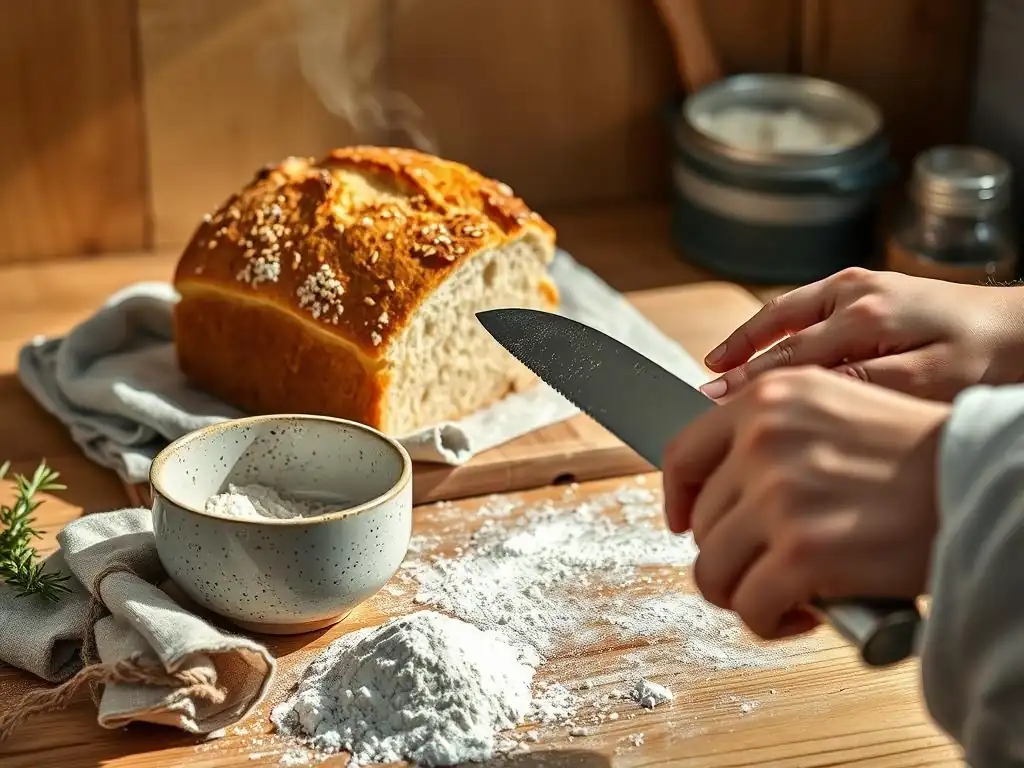
Welcome to BakeWithEase, your partner in creating delightful baked goods! Ever dreamt of the tangy aroma of freshly baked sourdough filling your kitchen? Our Easy sourdough bread recipe for beginners is your starting point. Unlock the secrets of this seemingly complex bread with our simple, step-by-step guide and transform your kitchen into a bakery. Ready to bake your first loaf? Let's get started...
- Bake Easy Bread: A Beginner's Guide to Quick Breads
- Mastering the Basics: Your First Easy Bread Recipe
- Step-by-Step Instructions: Baking Your First Quick Bread
- Troubleshooting Your First Quick Bread Attempt
- Variations and Add-Ins: Elevating Your Easy Bread Recipe
- Storing and Serving Your Delicious Quick Bread
- Beyond the Basics: Exploring More Beginner Baking Recipes at BakeWithEase
-
Frequently Asked Questions
- How is this recipe different from a traditional sourdough recipe?
- What makes this sourdough bread recipe "easy" for beginners?
- What equipment do I absolutely need to make this easy sourdough bread?
- Can I substitute ingredients in this easy sourdough bread recipe?
- How long does this easy sourdough bread take to make from start to finish?
- Final Reflection: The Joy of Sourdough, Simply Achieved
- Unleash Your Inner Baker: From Zero to Delicious Loaf!
Bake Easy Bread: A Beginner's Guide to Quick Breads
Welcome to the World of Quick Breads: The Perfect Starting Point
Embarking on your baking journey can feel daunting, especially when faced with recipes involving yeast, kneading, and long proofing times. Quick breads offer a fantastic alternative, making them an ideal first project for anyone looking to bake easy bread. Unlike traditional yeast-leavened loaves, quick breads rely on chemical leaveners like baking powder and baking soda to achieve their rise, meaning they go from mixing bowl to oven in a fraction of the time.
This simplicity makes them incredibly forgiving and perfect for building confidence in the kitchen. Think of classic examples like banana bread, muffins, or even scones – these are all forms of quick bread. They require minimal hands-on time and deliver delicious results relatively quickly, providing that satisfying feeling of accomplishment that comes with baking something from scratch. For anyone searching for a simple bread recipe to start with, quick breads are a guaranteed path to success.
Why Choose Quick Bread for Your First Baking Adventure?
Quick breads are specifically designed for speed and ease, making them superior to many other types of bread for beginners. The absence of yeast fermentation eliminates variables like water temperature, proofing environment, and kneading technique, which can be tricky for newcomers. Instead, the leavening happens instantly when wet and dry ingredients combine, activated by heat in the oven. This drastically reduces the overall time commitment – a typical quick bread loaf can be mixed and baked within 60-90 minutes, compared to several hours or even days for some yeast breads or easy sourdough bread recipes for beginners.
Furthermore, the mixing method for most quick breads is incredibly straightforward: combine dry ingredients, combine wet ingredients, and then mix them together just until combined. This "muffin method" or similar simple approaches minimize the risk of overworking the dough, a common pitfall in other baking areas. The forgiving nature of the batter means small inaccuracies are less likely to result in complete failure, ensuring a higher success rate for your very first attempt at baking easy bread. It's a rewarding experience that encourages you to keep exploring more beginner baking recipes.
Mastering the Basics: Your First Easy Bread Recipe
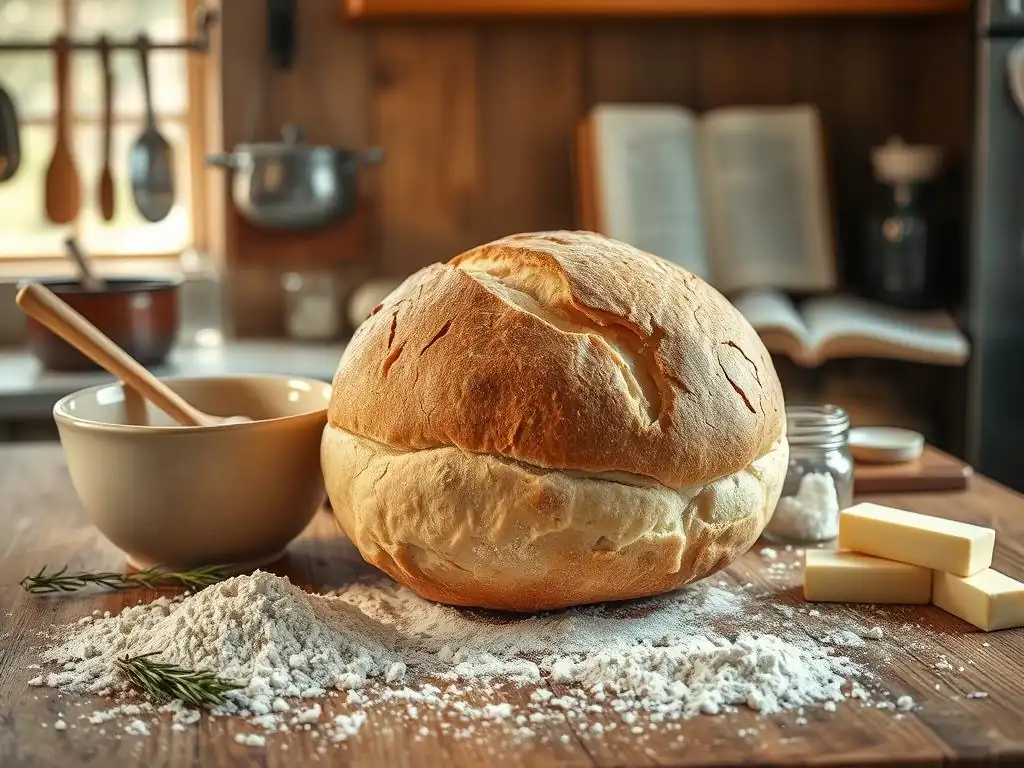
Simple Bread Recipe for Beginners: Ingredients You'll Need
To bake your first successful quick bread, you'll need a few basic ingredients commonly found in most pantries. This simple bread recipe focuses on a classic vanilla or plain quick bread base, which is incredibly versatile. You'll need:
- All-Purpose Flour: Approximately 1 and 3/4 cups (about 210 grams). This provides the structure.
- Granulated Sugar: Around 1/2 cup (about 100 grams). Adds sweetness and tenderness.
- Baking Powder: About 2 teaspoons. This is a primary leavener.
- Salt: Approximately 1/2 teaspoon. Enhances flavor.
- Eggs: 2 large eggs. Provide structure and richness.
- Milk: About 1 cup (240 ml). Adds moisture and helps activate leaveners. Whole milk is often preferred for richness.
- Vegetable Oil or Melted Butter: Around 1/2 cup (120 ml). Adds moisture and tenderness.
- Vanilla Extract (Optional): 1 teaspoon. Adds flavor.
These specific quantities are calibrated for a standard 9x5 inch loaf pan, yielding a loaf that serves about 8-10 slices. Having your ingredients measured out before you start mixing, often called "mise en place," is a simple step that dramatically improves the baking process for beginners.
Essential Baking Tools for Quick Bread Success
You don't need a professional kitchen setup to bake a delicious quick bread. A few basic tools will make the process smooth and enjoyable. Having the right equipment ensures accuracy and efficiency, crucial for a positive first experience with beginner baking recipes.
Here are the essential tools you'll need:
- Two mixing bowls: One for dry ingredients, one for wet ingredients.
- Whisk: For combining dry ingredients and beating eggs slightly.
- Rubber spatula or wooden spoon: For mixing the batter.
- Measuring cups (dry and liquid): Accuracy is key in baking. Use dry cups for flour/sugar and liquid cups for milk/oil.
- Measuring spoons: For baking powder, salt, and vanilla.
- 9x5 inch loaf pan: The standard size for this recipe. A metal pan conducts heat efficiently.
- Wire cooling rack: Essential for cooling the bread evenly after baking.
While not strictly essential, a kitchen scale can provide even greater accuracy for measuring flour and sugar (as noted with gram measurements above). However, for your first easy bread attempt, standard measuring cups and spoons will work perfectly well.
Step-by-Step Instructions: Baking Your First Quick Bread
Step 1: Preparing Your Ingredients for Easy Bread Baking
Preparation is the foundation of successful beginner baking. Start by preheating your oven to 350°F (175°C). While the oven heats, prepare your loaf pan. Grease the inside thoroughly with butter, shortening, or baking spray, then lightly flour it. This prevents the quick bread from sticking. If you prefer, you can also line the pan with parchment paper, leaving an overhang on the sides to easily lift the baked loaf out later. This simple step saves frustration down the line.
Next, accurately measure all your ingredients. For dry ingredients like flour, gently spoon it into your measuring cup and level off the excess with a straight edge (like the back of a knife). Avoid scooping directly from the bag, as this can compact the flour and result in using too much, leading to a dry quick bread. Crack your eggs into the wet ingredient bowl and have your milk, oil, and vanilla ready. This organized approach makes the subsequent mixing steps much faster and less prone to errors, simplifying the process of baking this easy bread recipe.
Step 2: Mixing the Dough: A Simple Bread Dough Recipe
Quick bread dough (or batter, more accurately) uses a straightforward mixing technique. In your first mixing bowl, whisk together the dry ingredients: the 1 and 3/4 cups all-purpose flour, 1/2 cup sugar, 2 teaspoons baking powder, and 1/2 teaspoon salt. Whisking ensures the leaveners and salt are evenly distributed throughout the flour.
In the second bowl, whisk together the wet ingredients: the 2 large eggs, 1 cup milk, 1/2 cup vegetable oil or melted butter, and 1 teaspoon vanilla extract (if using). Once both bowls are prepared, pour the wet ingredients into the bowl with the dry ingredients. Use your rubber spatula or wooden spoon to gently mix them together just until the dry ingredients are incorporated and no streaks of flour remain.
The batter might still look a little lumpy, and that's perfectly fine – in fact, it's desired! Overmixing develops gluten, which can lead to a tough, dense quick bread. A few lumps are a sign you haven't overdone it, keeping this a truly simple bread dough recipe.
Step 3: Baking Your Quick Bread to Golden Perfection
Now that your quick bread batter is mixed, pour it into your prepared 9x5 inch loaf pan. Use your spatula to spread the top evenly. Place the pan in your preheated oven at 350°F (175°C). The baking time will vary depending on your oven, but it typically takes between 45 to 60 minutes for a standard loaf.
To check if your quick bread is done, insert a toothpick or a thin skewer into the center of the loaf. If it comes out clean or with just a few moist crumbs attached, the bread is ready. If it comes out with wet batter, continue baking for another 5-10 minutes and test again.
If the top is browning too quickly before the inside is done, you can loosely tent the pan with aluminum foil. Baking to the correct internal temperature, usually around 200-210°F (93-99°C) if you have a thermometer, ensures it's cooked through without being dry. This step is key to baking your quick bread successfully.
Step 4: Cooling and Slicing Your Homemade Easy Bread
Patience is a virtue, especially when it comes to cooling baked goods! Once your quick bread is out of the oven and passes the toothpick test, resist the urge to immediately remove it from the pan. Let the loaf cool in the pan for about 10-15 minutes on a wire rack. This allows the structure to set as it cools slightly, preventing it from breaking apart when you try to remove it.
After the initial cooling period in the pan, carefully invert the pan onto the wire rack to release the bread. If you used parchment paper, simply lift it out using the overhang. Let the quick bread cool completely on the wire rack before slicing.
Slicing a hot quick bread can result in a gummy texture. Allowing it to cool fully, which might take another hour or two depending on the size, ensures the crumb structure is firm and the flavors have a chance to meld. Once fully cooled, use a serrated knife for clean slices of your beautiful homemade easy bread.
Troubleshooting Your First Quick Bread Attempt
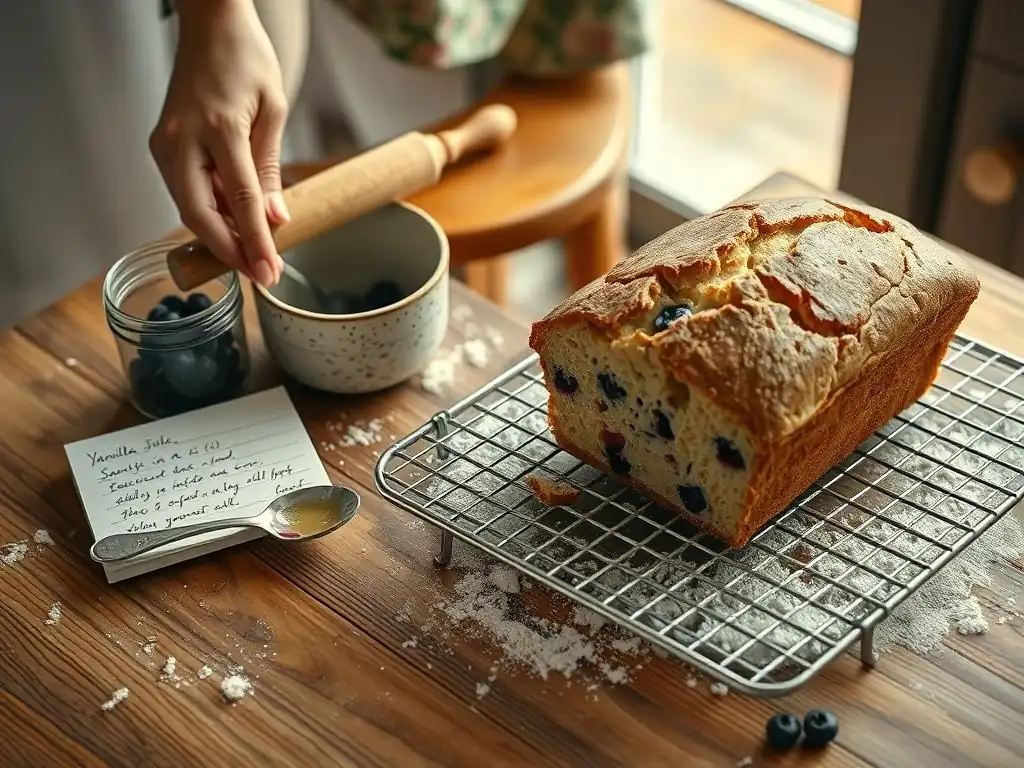
Common Mistakes and How to Avoid Them in Easy Bread Baking
Even with a simple bread recipe, small missteps can happen, but don't get discouraged! Understanding common mistakes is part of the beginner baking learning curve. One frequent issue is overmixing the batter after adding the wet ingredients to the dry. This develops gluten, resulting in a tough or rubbery texture instead of a tender crumb. To avoid this, mix only until the dry ingredients are just incorporated – a few lumps are fine.
Another common pitfall is inaccurate ingredient measurement, particularly with flour. Scooping flour directly from the bag can add up to 20-30% more flour than intended, leading to a dry loaf. Always spoon flour into your measuring cup and level it off. Using expired baking powder or baking soda is another culprit; if your leavener is old, your quick bread won't rise properly.
Check the expiration dates! Finally, baking at the wrong temperature or for too long can ruin the texture, making the loaf dry or burnt. Always preheat your oven fully and use the toothpick test to check for doneness rather than relying solely on the clock. Avoiding these simple errors dramatically improves your easy bread baking results.
What if My Quick Bread is Too Dry?
A dry quick bread is often the result of too much flour, not enough liquid or fat, or simply overbaking. If your loaf turned out dry, consider how you measured the flour. Were you spooning and leveling, or scooping? Scooping is a common reason for adding excess flour. For your next attempt, try weighing the flour if possible (1 and 3/4 cups should be around 210 grams) or be extra careful with the spoon-and-level method.
Another factor could be the baking time or temperature. Did you bake it longer than recommended, or was your oven running too hot? An oven thermometer can help ensure your oven is accurate. If the top was browning too quickly, tenting it with foil earlier in the baking process might help future loaves bake through without drying out the exterior and interior. Ensure your ingredients like milk and oil were measured accurately. While you can't fix a dry loaf after it's baked, understanding the potential causes helps you adjust for your next successful simple bread recipe.
A dense quick bread typically points to issues with leavening or mixing. The most common cause of density is overmixing the batter. Remember, mixing activates gluten development, which is desirable in yeast breads for chewiness, but undesirable in quick breads where tenderness is key. Mixing until just combined, even if lumpy, is crucial.
Expired or inactive baking powder or baking soda is another major reason for a lack of rise and resulting density. Baking powder has a shelf life; test yours by putting a teaspoon in hot water – it should fizz vigorously. Baking soda needs an acid (like milk or yogurt in the recipe) to react; test it by adding a little vinegar – it should fizz.
Ensure you used the correct type and amount of leavener specified in the simple bread recipe. Using too little, or using baking soda when baking powder is needed (or vice versa without proper acid/base balance), will result in a dense loaf.
Variations and Add-Ins: Elevating Your Easy Bread Recipe
Adding Flavor: Simple Bread Recipe Variations
Once you've mastered the basic quick bread, the fun really begins! The plain base is incredibly versatile, allowing you to easily introduce new flavors and textures. A simple way to add flavor is by incorporating spices. Try adding 1-2 teaspoons of ground cinnamon, nutmeg, or cardamom to the dry ingredients for a warm, spiced quick bread. Citrus zest is another excellent addition; the zest of one lemon or orange mixed into the wet ingredients provides a bright, fresh note.
For added texture and flavor, mix-ins are your best friend. Fold about 1/2 cup to 1 cup of ingredients like chocolate chips, chopped nuts (walnuts, pecans), dried fruit (raisins, cranberries), or fresh berries (blueberries, raspberries) into the batter just before pouring it into the pan. Be careful not to overmix when adding these. For fruit like blueberries that might sink, tossing them lightly with a tablespoon of flour first can help them distribute more evenly throughout your easy bread.
From Sweet to Savory: Expanding Your Quick Bread Horizons
While often associated with sweet treats like banana bread or pumpkin bread, quick breads can easily venture into savory territory. The basic batter structure can be adapted by reducing the sugar significantly (or omitting it entirely depending on the recipe) and adding savory elements. This opens up a whole new world of beginner baking possibilities beyond the sweet loaves.
Consider adding ingredients like shredded cheese (cheddar, Parmesan), chopped fresh herbs (rosemary, chives, thyme), minced garlic, sun-dried tomatoes, or even cooked and crumbled bacon. A savory quick bread can be a wonderful accompaniment to soups or salads, or enjoyed on its own. For example, a simple cheese and herb quick bread might use about 1 cup of shredded cheese and 2-3 tablespoons of mixed fresh herbs added to the batter. This demonstrates the flexibility of the quick bread method and how easily you can expand your easy bread repertoire.
Storing and Serving Your Delicious Quick Bread
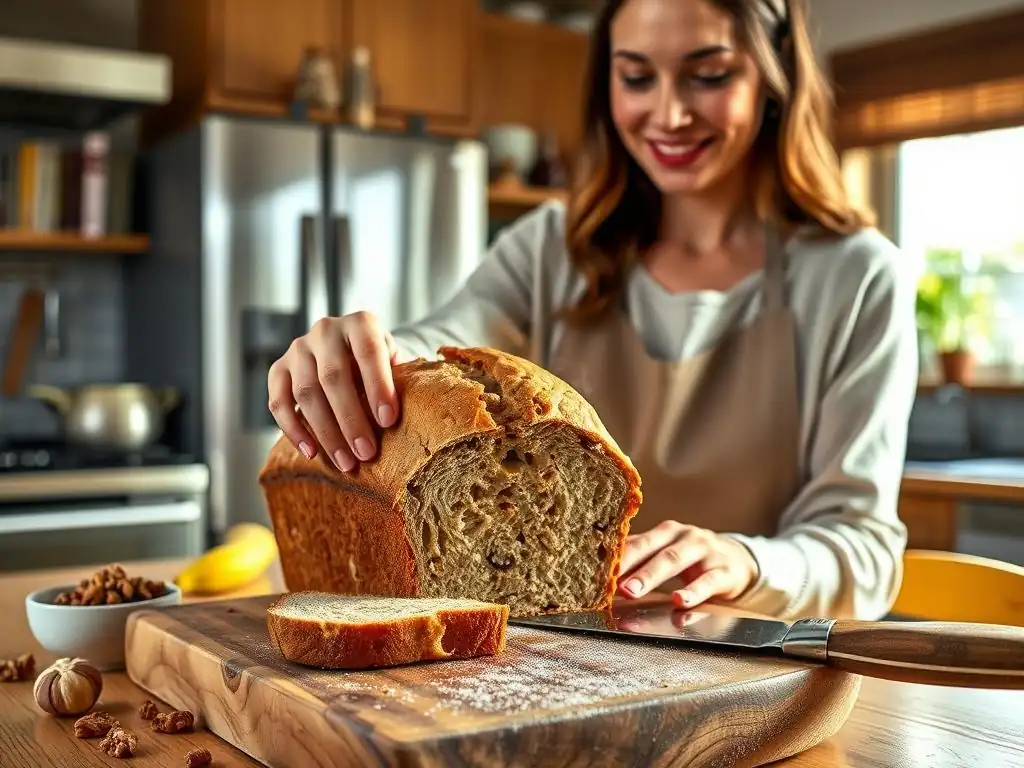
Keeping Your Homemade Easy Bread Fresh
Proper storage is key to enjoying your homemade easy bread for as long as possible. Once your quick bread has completely cooled on the wire rack, store it in an airtight container or wrap it tightly in plastic wrap or aluminum foil. Storing it at room temperature is usually best for maintaining texture, especially if it's a moist loaf like banana bread.
At room temperature, a quick bread typically stays fresh for about 2 to 3 days. If you won't finish it within that time, or if your kitchen is particularly warm or humid, you can store it in the refrigerator for up to a week. For longer storage, quick breads freeze exceptionally well. Wrap the cooled loaf tightly in plastic wrap, then in a layer of aluminum foil or place it in a freezer-safe bag. Frozen quick bread can last for 2-3 months. Thaw it at room temperature before serving. This ensures your delicious quick bread remains enjoyable.
Serving Suggestions for Your First Quick Bread
Your first quick bread is a triumph, and there are many delightful ways to enjoy it! The simplest way is often the best: sliced and served plain, allowing the flavor and texture you created to shine. A slice of warm quick bread with a pat of butter is a classic and comforting combination.
Depending on the type of quick bread you made, different accompaniments can elevate the experience. Sweet quick breads pair wonderfully with jam, jelly, honey, cream cheese, or even a dollop of whipped cream. Savory quick breads are excellent alongside a bowl of soup or chili, served with a meal instead of traditional dinner rolls, or even toasted and topped with an egg for breakfast. Don't hesitate to get creative and find your favorite way to savor your successful first attempt at baking easy bread.
Beyond the Basics: Exploring More Beginner Baking Recipes at BakeWithEase
Next Steps in Your Baking Journey: Other Simple Bread Recipes to Try
Congratulations on baking your first quick bread! This success is just the beginning of your baking adventure. Quick breads provide an excellent foundation, and there are many other simple bread recipes that build upon these basic skills. Consider trying muffins next – they use a very similar mixing method and bake much faster, offering quicker gratification. Scones are another great option, involving slightly different techniques but still relying on chemical leaveners.
As you gain confidence, you might feel ready to explore yeast breads. Starting with a simple no-knead loaf or easy focaccia can introduce you to yeast without the complexity of traditional kneading. While tackling an easy sourdough bread recipe for beginners is a more advanced step involving wild yeast and longer fermentation, mastering quick breads and simple yeast breads first provides valuable experience with dough handling, rising, and baking temperatures. Each new recipe on BakeWithEase helps you expand your skills.
Discover More at BakeWithEase: Beginner Baking Recipes for Every Taste
BakeWithEase.com is designed to support you at every stage of your baking journey, from your very first loaf of easy bread to more intricate creations. We offer a wide variety of beginner baking recipes, complete with step-by-step instructions, helpful tips, and troubleshooting advice just like you found here. Whether you're interested in mastering classic cookies, creating decadent cakes, or eventually diving into the world of yeast breads and beyond, you'll find accessible guides to help you succeed.
Explore our sections on muffins, scones, simple cakes, and cookie recipes specifically curated for beginners. Each recipe is tested and written with clarity to ensure you have a positive and rewarding baking experience. Your successful quick bread is proof that you have what it takes to bake delicious things from scratch. Keep baking, keep learning, and discover all the wonderful possibilities waiting for you at BakeWithEase.
Frequently Asked Questions
How is this recipe different from a traditional sourdough recipe?
This recipe is a quick bread version, meaning it doesn't rely solely on natural fermentation for leavening. It incorporates baking powder or baking soda for a faster rise.
What makes this sourdough bread recipe "easy" for beginners?
The recipe uses simple ingredients and avoids the complex steps of maintaining a traditional sourdough starter. It offers clear, step-by-step instructions designed for first-time bakers.
What equipment do I absolutely need to make this easy sourdough bread?
You'll need basic baking tools like a mixing bowl, a measuring cup and spoons, and a baking pan. No specialized equipment like a Dutch oven is required.
Can I substitute ingredients in this easy sourdough bread recipe?
While some substitutions are possible, it's important to maintain the correct ratios of wet and dry ingredients. Experiment with different flours, but be mindful of how it affects the texture.
How long does this easy sourdough bread take to make from start to finish?
This quick bread takes significantly less time than traditional sourdough. Expect a total time of around 1-2 hours, including mixing, rising, and baking.
Final Reflection: The Joy of Sourdough, Simply Achieved
Baking your first sourdough bread is a gateway to a world of culinary creativity, and it's more accessible than you might think. The seemingly daunting task of nurturing a starter and shaping a loaf can be demystified with the right guidance, as this step-by-step guide has hopefully demonstrated. Mastering this fundamental skill opens doors to countless variations and a deeper connection with the food you create.
The impact of sourdough baking extends beyond the delicious, tangy loaf itself. It's a journey of patience, observation, and connection with a living organism – your starter. It's a process that encourages mindfulness and a slower pace in a fast-paced world. The best things in life are worth waiting for,
and this certainly rings true for the rewarding experience of baking your own sourdough bread. This simple act of baking can become a meditative practice, a source of pride, and a way to share something truly special with loved ones.
Now, it's your turn. Don't be intimidated by the seemingly complex process. Take the leap, nurture your starter, and experience the satisfaction of creating something beautiful and delicious from scratch. Remember the steps, embrace the process, and most importantly, enjoy the journey. The taste of your first homemade sourdough loaf will be a testament to your perseverance and a delicious reward for your efforts. You might even find yourself hooked on the magic of sourdough, forever changed by the simple act of baking.
Unleash Your Inner Baker: From Zero to Delicious Loaf!
Thanks for joining us on this baking adventure! We hope you gained the confidence to tackle your first quick bread – and maybe even discovered a newfound love for the process. Ready to take your baking to the next level?
- Bake your own masterpiece: Choose your favorite quick bread recipe (or try one of our many others!) and get baking! Don't be afraid to experiment with flavors and add-ins.
- Share your creation: Snap a picture of your delicious loaf and share it on social media using #BakeWithEase – we’d love to see your success!
- Try a new technique: Explore our advanced quick bread techniques – learn about different kneading methods or explore variations with different flours!
What unique twist will you add to your next quick bread creation? Let us know in the comments!