
Decadent Baked Chocolate Mousse

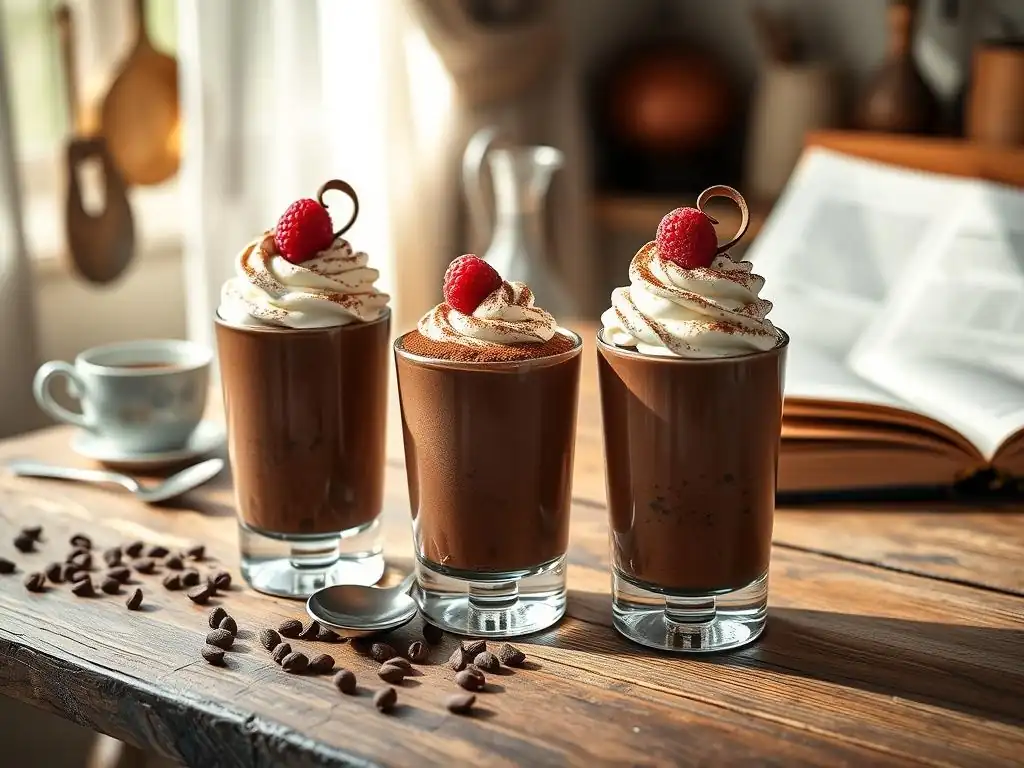
Welcome to BakeWithEase, your kitchen companion on the journey to baking brilliance! Are you ready to unlock the secrets to creating truly unforgettable desserts? This time, we're diving headfirst into the world of rich, velvety indulgence with an easy decadent chocolate mousse recipe that will redefine your understanding of simplicity and sophistication. But is it really possible to achieve such a luxurious texture without hours of painstaking work? Prepare to be amazed as we unveil the secrets within... Read on and let the baking begin!
- Decadent Baked Chocolate Mousse: An Easy Recipe from Sally's Baking Addiction
- Indulge in the Ultimate Chocolate Dessert: Baked Chocolate Mousse Recipe
- Why Bake Your Mousse? The Secret to a Richer Chocolate Experience
- Easy Decadent Chocolate Mousse Recipe: Step-by-Step Guide
- Variations and Additions to Your Baked Chocolate Mousse
- Troubleshooting Your Baked Chocolate Mousse: Common Issues and Solutions
- Storing and Serving Your Easy Chocolate Mousse Recipe
- The Perfect Baked Chocolate Mousse: A Sally's Baking Addiction Guarantee
- Frequently Asked Questions
- Final Reflection: The Enduring Allure of Effortless Indulgence
- Unleash Your Inner Chocolatier: Bake This Mousse Today!
Decadent Baked Chocolate Mousse: An Easy Recipe from Sally's Baking Addiction
Indulge in the Ultimate Chocolate Dessert: Baked Chocolate Mousse Recipe
There are few desserts as universally loved as chocolate mousse. Its airy, melt-in-your-mouth texture combined with deep chocolate flavor makes it a classic for a reason. While traditional chocolate mousse is often a no-bake affair, relying on whipped cream and egg whites for its lightness, baked chocolate mousse offers a different, often richer, experience. This method results in a dessert that is somewhere between a classic mousse and a delicate chocolate custard, providing a slightly firmer, intensely flavored treat that holds its shape beautifully.
This easy decadent chocolate mousse recipe, inspired by the techniques championed by bakers like Sally of Sally's Baking Addiction, takes the simple concept of chocolate mousse and elevates it through a gentle baking process. The result is a dessert that is surprisingly straightforward to make but tastes incredibly sophisticated. It's perfect for special occasions or simply when you crave a truly luxurious chocolate indulgence that is both easy to prepare and deeply satisfying.
Why Bake Your Mousse? The Secret to a Richer Chocolate Experience
Understanding the Benefits of Baking Chocolate Mousse
Baking chocolate mousse, unlike its no-bake counterpart, introduces gentle heat into the process, typically using a water bath (bain-marie). This method provides significant benefits for the final texture and flavor. The heat gently cooks the egg yolks, which contribute to the richness and stability of the mousse, preventing the raw egg taste that some people find off-putting in traditional recipes. Furthermore, the controlled heat helps to emulsify the chocolate and fat components more thoroughly, leading to a smoother, more velvety consistency.
The baking process also slightly concentrates the chocolate flavor. While a no-bake mousse relies solely on the quality of the chocolate and cocoa, baking can subtly deepen these notes. The gentle heat allows the chocolate's volatile flavor compounds to develop without burning, locking in that intense, decadent taste.
This baked approach also results in a dessert that is less prone to collapsing and holds its shape better when served, making it ideal for individual ramekins and beautiful presentation. It transforms a light, airy dessert into something more substantial, akin to a dense, fudgy chocolate custard with a delicate, melt-away quality.
Sally's Baking Addiction's Tips for the Perfect Texture
Achieving the perfect texture in baked chocolate mousse, often described as fudgy yet airy, relies on a few key techniques, many of which align with principles found in popular baking resources like Sally's Baking Addiction. One crucial tip is using a water bath. Placing the ramekins in a larger pan filled with hot water insulates the mousse from the direct heat of the oven, ensuring it cooks gently and evenly.
This prevents the edges from setting too quickly or becoming tough, resulting in a uniformly smooth interior. Without a water bath, the mousse is likely to bake too fast, leading to a curdled texture or cracks on the surface.
Another important consideration, often highlighted in reliable baking guides, is the temperature of your ingredients and the mixing technique. Ensuring your melted chocolate is slightly cooled before combining it with the egg mixture prevents scrambling. Similarly, gently folding in whipped egg whites or whipped cream (depending on the specific recipe variation) is essential for incorporating air without deflating the mixture.
Overmixing at this stage will lead to a dense, heavy mousse instead of the desired delicate texture. Following precise mixing instructions, perhaps involving specific whisking times or folding techniques, is key to capturing that signature light-yet-rich consistency that defines a truly easy decadent chocolate mousse recipe.
Easy Decadent Chocolate Mousse Recipe: Step-by-Step Guide
Gathering Your Ingredients for the Chocolate Mousse
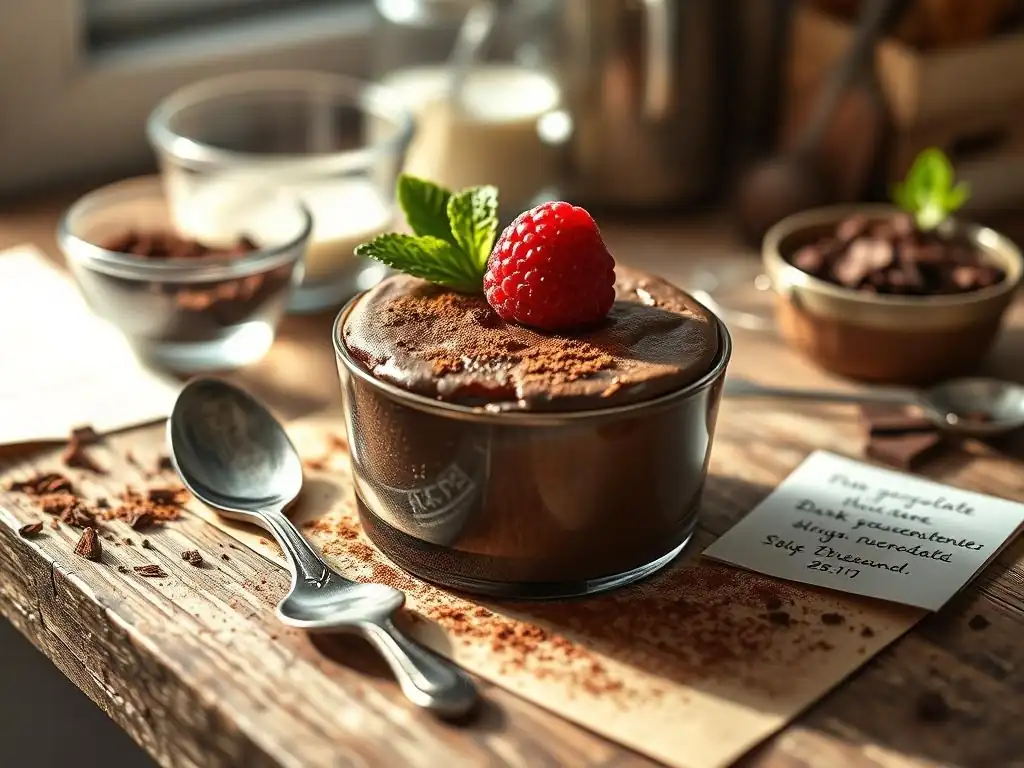
To embark on creating this easy decadent chocolate mousse recipe, you'll need a few key ingredients. High-quality chocolate is paramount – aim for about 8 ounces (around 225 grams) of bittersweet or semi-sweet chocolate with at least 60% cocoa content for a rich flavor. You'll also need approximately 1/2 cup (100 grams) of granulated sugar, 4 large eggs separated into yolks and whites, and about 1/4 cup (50 grams) of unsalted butter. Some recipes also call for a splash of heavy cream or milk, perhaps 1/4 to 1/2 cup (60-120 ml), to adjust consistency.
Additional common ingredients include a pinch of salt to enhance the chocolate flavor, and a teaspoon of vanilla extract for warmth. If you desire an even deeper chocolate profile, consider adding 1-2 tablespoons of unsweetened cocoa powder to the mix. Ensure all your ingredients are measured accurately before you begin. Having everything prepped and ready makes the assembly process much smoother and helps prevent errors that could affect the final texture of your easy decadent chocolate mousse recipe.
Essential Baking Equipment for Perfect Results
Having the right tools on hand is crucial for the success of this easy decadent chocolate mousse recipe. You will need several mixing bowls of various sizes – one for melting chocolate, one for whisking egg yolks and sugar, and a clean, grease-free bowl for whipping egg whites. Ramekins or small oven-safe dishes are necessary for baking the individual mousses; four to six ramekins, each holding about 6-8 ounces, are typical for this recipe quantity.
A whisk is essential for incorporating air into the egg yolks and whites. You'll also need a double boiler setup or a microwave-safe bowl for melting the chocolate and butter gently. A larger baking pan (such as a roasting pan or 9x13 inch casserole dish) is required to create the water bath, large enough to comfortably hold your ramekins with space between them. Finally, measuring cups and spoons, a rubber spatula for folding, and an oven are, of course, indispensable.
Preparing the Chocolate Mousse Batter: A Simple Process
The preparation of the batter for this easy decadent chocolate mousse recipe involves a few distinct steps. First, melt the chocolate and butter together gently. This can be done in a double boiler over simmering water or carefully in the microwave in 30-second intervals, stirring until smooth. Set this mixture aside to cool slightly. In a separate bowl, whisk the egg yolks with the sugar until the mixture becomes pale yellow and slightly thickened, which usually takes about 2-3 minutes. This step is important for dissolving the sugar and building some structure.
Next, gradually whisk the slightly cooled melted chocolate mixture into the egg yolk mixture until fully combined. If using cream or milk, whisk it in here as well. In a clean bowl, whisk the egg whites until they hold medium to stiff peaks – they should stand up when the whisk is lifted but the very tips can curl over slightly. This aeration is key to the mousse's texture.
Finally, gently fold the whipped egg whites into the chocolate-yolk mixture in two or three additions, using a rubber spatula. The goal is to combine everything without deflating the airy egg whites, resulting in a light, uniform batter. Avoid overmixing to preserve the delicate structure required for a perfect easy decadent chocolate mousse recipe.
Baking the Chocolate Mousse to Perfection
Baking this easy decadent chocolate mousse recipe requires a gentle approach, primarily utilizing a water bath. Preheat your oven to a relatively low temperature, typically around 325°F (160°C). While the oven preheats, arrange your filled ramekins in the larger baking pan. Carefully pour hot water into the larger pan so that it comes halfway up the sides of the ramekins. This water bath ensures even, gentle cooking and prevents the mousse from cracking.
Carefully transfer the baking pan with the water bath and ramekins to the preheated oven. Bake for approximately 30 to 40 minutes. The exact time will vary depending on your oven and the size of your ramekins.
The mousse is done when the edges appear set and slightly puffed, but the center still has a slight jiggle when gently shaken. Do not overbake, as this can lead to a dry or rubbery texture. Carefully remove the baking pan from the oven, then lift the ramekins out of the water bath and place them on a wire rack to cool slightly before chilling.
Chilling and Serving Your Decadent Chocolate Creation
Once the baked chocolate mousses have cooled on a wire rack for about 20-30 minutes, they need to be chilled thoroughly. This is a critical step for allowing the mousse to fully set and for the flavors to meld. Cover each ramekin loosely with plastic wrap once they are cool enough to handle, or wait until they are completely cool before covering tightly. Refrigerate for at least 4 hours, but preferably overnight, for the best texture and flavor.
Serving this easy decadent chocolate mousse recipe is a simple pleasure. The chilled mousse should be firm yet spoonable. Serve them directly in their ramekins. You can add a garnish just before serving, such as a dusting of cocoa powder, a dollop of whipped cream, or fresh berries. The cold temperature enhances the dense, rich chocolate flavor and provides a delightful contrast to potential warm toppings or accompaniments. Enjoy this luxurious dessert knowing that its easy preparation belies its sophisticated taste.
Variations and Additions to Your Baked Chocolate Mousse
Adding Flavors: Experimenting with Extracts and Spices
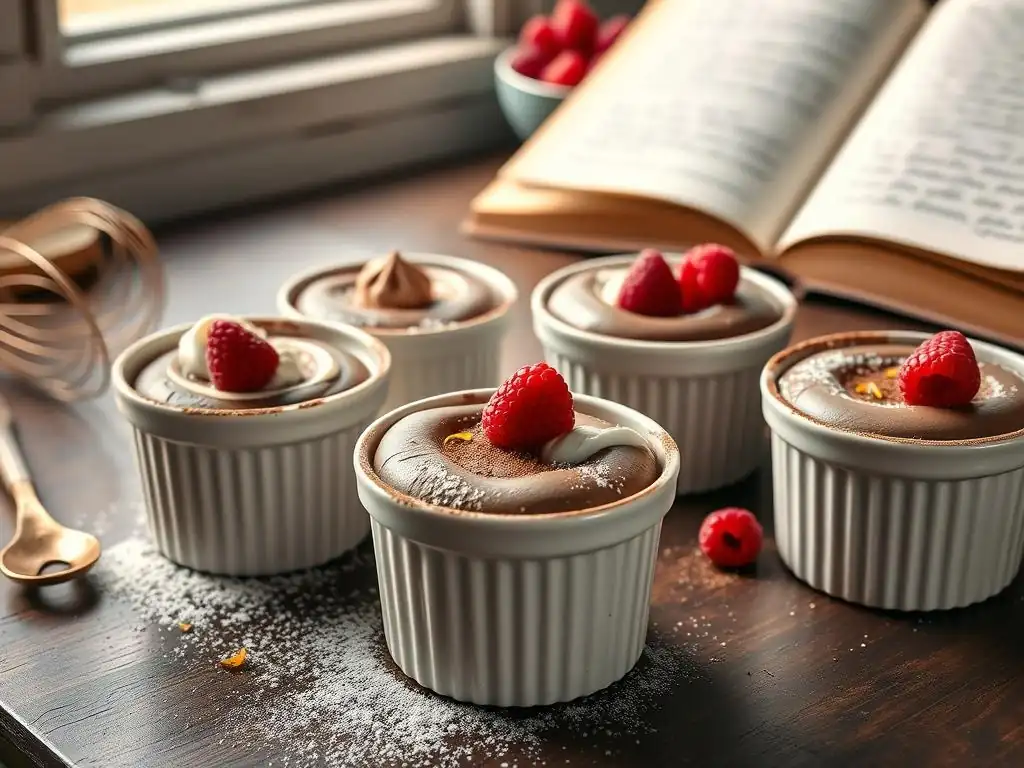
While the classic easy decadent chocolate mousse recipe is sublime on its own, it also serves as an excellent base for flavor variations. Adding a touch of espresso powder (about 1 teaspoon per recipe) to the melted chocolate can significantly deepen the chocolate flavor and add a subtle mocha note, a common technique used in many chocolate desserts to enhance richness. Alternatively, infusing the mousse with citrus can be delightful; the zest of one orange, added to the melted chocolate or the egg yolk mixture, pairs wonderfully with dark chocolate.
Beyond coffee and citrus, consider warm spices. A pinch of cayenne pepper (just a tiny amount, like 1/8 teaspoon) can add a surprising, pleasant kick that highlights the sweetness of the chocolate. A dash of cinnamon or nutmeg can also introduce complexity. Extracts like almond extract (1/4 teaspoon) or a good quality peppermint extract (1/2 teaspoon, used sparingly) can create distinct flavor profiles. Experimenting with these additions allows you to customize your easy decadent chocolate mousse recipe to your personal taste preferences.
Topping Ideas for an Extra Touch of Decadence
Elevating your easy decadent chocolate mousse recipe presentation and flavor is simple with the right toppings. A classic choice is a generous dollop of freshly whipped cream, perhaps lightly sweetened with powdered sugar and a hint of vanilla. The light, airy texture and cool creaminess of the whipped cream provide a perfect contrast to the dense richness of the baked mousse.
For even more chocolate indulgence, consider adding chocolate shavings or curls on top. You can create these by running a vegetable peeler or knife along the edge of a chocolate bar. Fresh berries, such as raspberries or strawberries, offer a bright, slightly tart counterpoint to the sweet chocolate. A simple ganache drizzle, made by melting chocolate with a bit of warm cream, can also add an extra layer of chocolate intensity and a beautiful glossy finish.
Chocolate Mousse with a Twist: Raspberry Chocolate Mousse
A particularly popular and delightful variation of the easy decadent chocolate mousse recipe is infusing it with raspberry. The bright, slightly tart flavor of raspberries cuts through the richness of the chocolate beautifully. There are a couple of ways to achieve this. One method is to gently fold in about 1/2 cup (approximately 100-120 grams) of seedless raspberry puree into the cooled chocolate mixture before adding the egg whites. Ensure the puree isn't too watery, as this can affect the mousse's set.
Another approach is to add a tablespoon or two of raspberry liqueur (like Chambord) to the chocolate mixture. This adds a concentrated raspberry flavor without adding excess moisture. For a simpler touch, you can simply serve the plain baked chocolate mousse with a generous topping of fresh raspberries or a quick raspberry sauce made by simmering raspberries with a touch of sugar and water. This raspberry chocolate mousse twist adds a vibrant dimension to the classic easy decadent chocolate mousse recipe.
Troubleshooting Your Baked Chocolate Mousse: Common Issues and Solutions
Avoiding Cracks in Your Mousse: Temperature Control
Cracks on the surface of your baked chocolate mousse can be disappointing, though they don't usually affect the flavor. This issue is most often caused by the mousse baking too quickly or cooling too rapidly. The most effective way to prevent cracking is by using a water bath during baking. The water bath ensures that the mousse cooks evenly and gently, preventing the edges from setting and shrinking faster than the center, which pulls and causes cracks. Ensure the water is hot when you pour it into the baking pan.
Furthermore, avoid sudden temperature changes during cooling. Once the mousse is done baking, turn off the oven and prop the door open slightly, allowing the mousse in the water bath to cool down gradually inside the warm oven for 15-20 minutes before removing the pan. Then, lift the ramekins out and let them cool completely on a wire rack before chilling in the refrigerator. This slow, controlled cooling process significantly reduces the risk of cracking, helping you achieve a picture-perfect easy decadent chocolate mousse recipe.
Achieving the Right Consistency: Baking Time Adjustments
The ideal consistency for a baked chocolate mousse is fudgy and dense but still delicate and melt-in-your-mouth, with a slight jiggle in the center when hot. If your mousse turns out too firm or rubbery after chilling, it was likely overbaked. If it is too runny or doesn't set properly, it needed more baking time. Oven temperatures can vary, so the suggested baking time (typically 30-40 minutes at 325°F/160°C) should be used as a guideline.
To check for doneness, gently nudge a ramekin; the edges should look set, and the center about 1-2 inches across should still look soft and jiggle slightly. It will continue to set as it cools and chills. If after 30 minutes it still looks very liquid across the entire surface, give it another 5-10 minutes and check again. Making slight adjustments based on visual cues and oven performance is key to perfecting your easy decadent chocolate mousse recipe.
Rescue a Runny Mousse: Increase Baking Time
Encountering a runny baked chocolate mousse after chilling can be frustrating. The primary reason for this is usually insufficient baking time. The heat is needed to gently cook the egg yolks and provide structure. If the center was still too liquid when it came out of the oven, it won't set properly in the fridge. Unfortunately, re-baking a chilled mousse is generally not recommended as it can ruin the texture.
Prevention is the best strategy here – ensure you bake it until the center has that slight jiggle, but not liquid. If you find yourself with a batch that is too runny, you might be able to serve it as a thick chocolate sauce or pudding instead, perhaps warming it slightly. For future attempts at this easy decadent chocolate mousse recipe, pay close attention to the visual cues of doneness and err on the side of slightly longer baking if unsure, as long as the edges aren't becoming dry.
Storing and Serving Your Easy Chocolate Mousse Recipe
Best Practices for Storing Baked Mousse
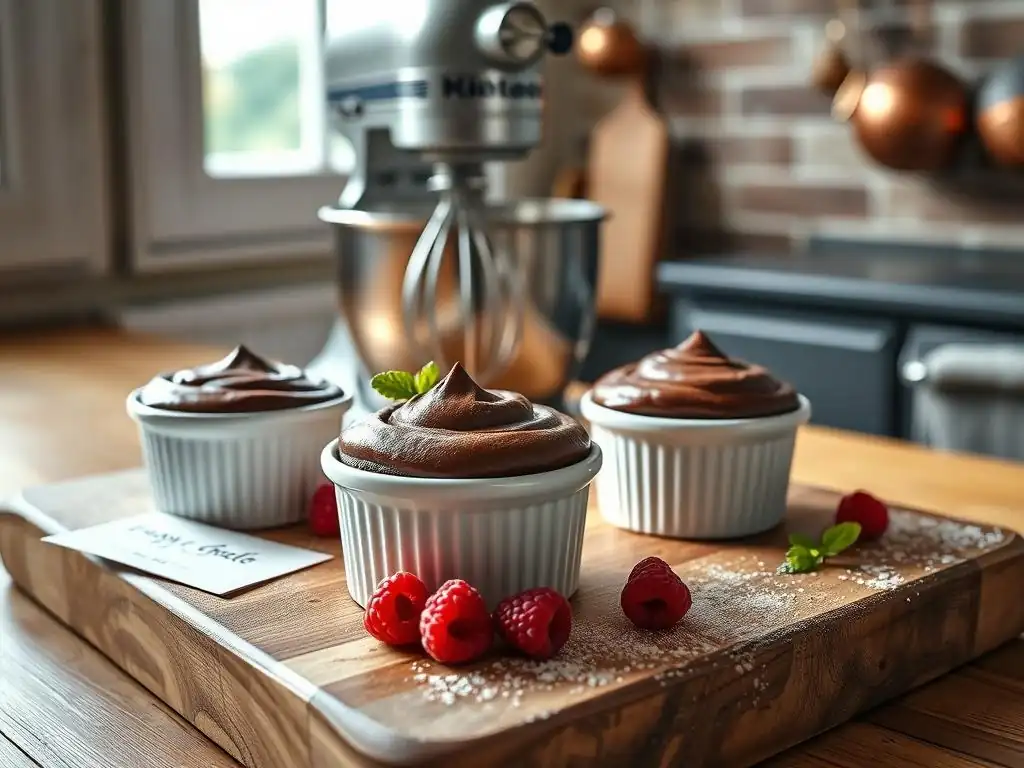
Proper storage is key to maintaining the delicious texture and flavor of your easy decadent chocolate mousse recipe. Once the mousses have fully cooled after baking and chilling, they should be covered tightly. Using plastic wrap pressed directly onto the surface of the mousse in each ramekin helps prevent a skin from forming and protects against absorbing refrigerator odors.
Store the covered ramekins in the refrigerator. Baked chocolate mousse typically keeps well for 3 to 4 days when stored correctly. While it might be safe to eat for a bit longer, the texture and freshness are best within this timeframe. Freezing baked mousse is generally not recommended as the delicate texture can be compromised upon thawing, resulting in a less desirable consistency.
Serving Suggestions for Maximum Enjoyment
Serving this easy decadent chocolate mousse recipe is straightforward, as it's typically enjoyed chilled and directly from the ramekin. For the best flavor and texture, ensure the mousse has been thoroughly chilled for at least 4 hours, or preferably overnight. The cold temperature enhances the richness and allows the mousse to set perfectly.
Before serving, you can add garnishes like a dusting of cocoa powder, a dollop of whipped cream, fresh berries, or chocolate shavings. These additions provide visual appeal and complementary flavors/textures. Serve with small spoons, inviting guests to savor each spoonful of the rich, easy decadent chocolate mousse recipe you've created.
The Perfect Baked Chocolate Mousse: A Sally's Baking Addiction Guarantee
Creating a truly easy decadent chocolate mousse recipe that delivers on flavor and texture is a rewarding experience. While this article outlines general techniques inspired by reliable baking principles, resources like Sally's Baking Addiction are renowned for providing meticulously tested recipes and helpful tips that guide bakers to consistent success. Following a well-developed recipe from a trusted source ensures you have precise measurements and timing tailored for optimal results, minimizing guesswork.
The beauty of baking, and particularly a recipe like baked chocolate mousse, lies in the balance of science and art. Understanding the role of each ingredient and technique – from the gentle heat of the water bath to the careful folding of egg whites – is what transforms simple components into a luxurious dessert. By applying these principles, perhaps learned from or reinforced by detailed guides found on sites like Sally's Baking Addiction, you are well on your way to mastering this delightful treat and impressing anyone who tastes it.
Once you've successfully baked your easy decadent chocolate mousse recipe, sharing your accomplishment is part of the fun! Many bakers find inspiration and community by sharing their results online. If you used a specific recipe or were inspired by techniques found on resources like Sally's Baking Addiction, tagging your photos with relevant hashtags is a great way to connect with other baking enthusiasts and showcase your beautiful dessert.
Using hashtags such as #SallysBakingAddiction, #BakedChocolateMousse, or #EasyDecadentChocolateMousseRecipe allows others to discover your creation and celebrate your baking success. It's also a wonderful way to see how others have interpreted the recipe or added their own personal touches. So, snap a photo of your perfectly set, rich chocolate mousse before you dive in and share the deliciousness with the online baking community!
Frequently Asked Questions
What makes this chocolate mousse recipe "easy"?
This recipe is considered "easy" because it uses simple ingredients and features clear, step-by-step instructions. It avoids complex techniques often found in traditional mousse recipes.
What makes it "decadent"?
The decadence comes from the high-quality chocolate and the rich, creamy texture achieved through the baking process. This creates a luxurious and satisfying dessert experience.
Is this recipe suitable for beginner bakers?
Yes, the Decadent Baked Chocolate Mousse recipe is designed with beginner bakers in mind. The instructions are straightforward and require minimal baking experience.
Can I substitute ingredients in this recipe?
While substitutions can be made, it's recommended to stick to the original recipe for the best results. Substituting chocolate or dairy products might affect the final texture and flavor profile.
Why is this mousse baked, unlike traditional mousses?
Baking the mousse creates a unique texture that is both creamy and slightly firm. It also allows the mousse to be served warm or cold, offering more versatility.
Final Reflection: The Enduring Allure of Effortless Indulgence
The pursuit of decadent desserts needn't be a Herculean task. This recipe for easy decadent chocolate mousse proves that rich, satisfying treats can be achieved with minimal effort, a fact particularly resonant in our busy modern lives. The simplicity of the method doesn't compromise on the luxurious experience; in fact, it enhances it, allowing the pure, intense chocolate flavor to take center stage.
The enduring appeal of chocolate, particularly in its most decadent forms, speaks to a primal human desire for comfort and celebration. It's a taste that transcends cultures and generations, a small indulgence that can elevate even the most ordinary day. Life is uncertain. Eat dessert first.
This sentiment perfectly captures the joy and spontaneity that a simple, yet exquisite, dessert like this chocolate mousse can bring. It's a reminder to savor the small pleasures and to find moments of sweetness amidst the everyday.
Now, I invite you to consider this recipe not just as a set of instructions, but as a gateway to culinary exploration. Don't be afraid to experiment with different types of chocolate, perhaps adding a pinch of sea salt or a swirl of espresso for an extra layer of complexity. Most importantly, share this deliciousness with those you love.
The act of creating and sharing something beautiful and delicious is a powerful way to connect and create lasting memories. Let the rich aroma and velvety texture of this easy decadent chocolate mousse be a reminder to embrace simplicity and indulge in the sweet moments life offers.
Unleash Your Inner Chocolatier: Bake This Mousse Today!
Thanks for joining us on this delicious journey into the world of decadent chocolate mousse! We hope you've picked up some tips and tricks to create your own masterpiece. Ready to take your baking skills to the next level?
- Whip up a batch of this amazing mousse: Don't just read about it – experience the rich, velvety texture and intense chocolate flavor for yourself! It's easier than you think.
- Share your creation: Post a picture of your finished mousse on social media and tag us – we'd love to see your baking prowess! Use #BakeWithEaseMousse.
- Explore our other chocolate recipes: Dive deeper into the world of chocolate desserts! We have a treasure trove of recipes waiting for you on our website.
What unique twist will you add to your own decadent chocolate mousse? Let us know in the comments!