
Unlock the World of Quick Breads: Your Beginner's Guide

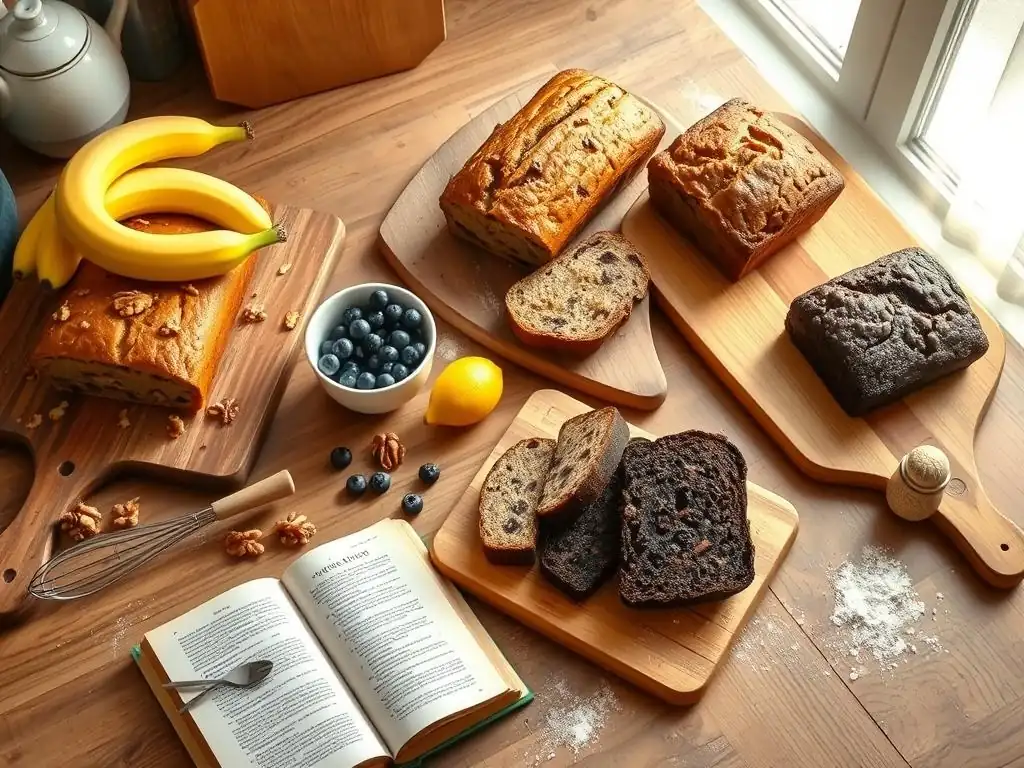
Welcome to BakeWithEase, where baking becomes a joy, not a chore! Are you ready to dive into the delightful world of bread-making without the fuss of yeast? Then you're in the right place. Today, we're unlocking the secrets to easy beginner quick bread recipes, proving that delicious, homemade bread is within everyone's reach. But that's just the beginning... what other baking adventures await? Keep reading to find out!
- Introduction to Easy Beginner Quick Bread Recipes
- Understanding the Basics of Quick Bread Baking
- Easy Beginner Quick Bread Recipes: Step-by-Step Guides
- Troubleshooting Common Quick Bread Baking Problems
- Tips and Tricks for Baking Delicious Quick Breads
- Beyond the Basics: Exploring More Quick Bread Recipes
- Conclusion: Embrace the Joy of Easy Quick Bread Baking
- Frequently Asked Questions
- Final Reflection: The Enduring Allure of Quick Breads
- Unleash Your Inner Baker: Start Baking Today!
Introduction to Easy Beginner Quick Bread Recipes
Baking can feel intimidating, with its precise measurements and often lengthy proofing times. But what if there was a category of baked goods that offered instant gratification, minimal fuss, and delicious results? Enter quick breads! These delightful treats skip the yeast and the long waiting game, relying instead on chemical leavening agents like baking powder or baking soda to rise quickly in the oven. This makes them incredibly accessible for anyone just starting their baking journey. Mastering a few easy beginner quick bread recipes can build your confidence and open the door to a world of simple, satisfying baking.
Whether you're craving a warm slice of banana bread, a fluffy muffin, or a savory piece of cornbread, quick breads deliver flavor fast. They are perfect for busy schedules, impromptu gatherings, or simply satisfying a sudden baking urge. Unlike yeast breads that can take hours from start to finish, many easy beginner quick bread recipes can be mixed and baked within an hour. This speed and simplicity are exactly why they are the ideal starting point for novice bakers looking for rewarding results without the complexity often associated with traditional bread making.
What are Quick Breads and Why Are They Perfect for Beginners?
Quick breads are baked goods that don't use yeast as a leavening agent. Instead, they use chemical leaveners, primarily baking powder, baking soda, or a combination of both, which react with other ingredients (like liquids or acids) to produce carbon dioxide gas. This gas creates bubbles in the batter, causing the bread to rise quickly when heated in the oven. Common examples include muffins, scones, biscuits, cornbread, banana bread, and other loaf-style sweet or savory breads. The key characteristic is their rapid preparation time compared to yeast-leavened doughs that require fermentation and proofing.
For beginners, quick breads offer a forgiving entry into baking. The process is generally straightforward: combine dry ingredients, combine wet ingredients, mix the two gently, and bake. There's no kneading, no waiting for dough to rise (sometimes for hours!
), and less risk of failure due to improper yeast handling or proofing issues. The techniques involved, such as the muffin method (wet ingredients mixed separately from dry, then combined) or the creaming method (fat and sugar creamed together), are foundational baking skills that are easier to master with quick breads before tackling more complex recipes. This low barrier to entry makes easy beginner quick bread recipes the perfect confidence boosters.
Understanding the Basics of Quick Bread Baking
Getting started with easy beginner quick bread recipes requires understanding a few fundamental principles. While quick breads are forgiving, knowing the role of each ingredient and piece of equipment can significantly improve your results. It's not about becoming a master baker overnight, but about appreciating how simple components come together to create something delicious. This foundational knowledge will make following any quick bread recipe much easier and help you troubleshoot if something doesn't go exactly as planned.
The beauty of quick bread baking lies in its relative simplicity. Unlike yeast breads where temperature and humidity can play significant roles in proofing, quick breads are more about accurate measuring and gentle mixing. Learning the basic methods, like the "muffin method" where wet and dry ingredients are mixed separately before combining, or the "creaming method" used for loaf cakes, provides a solid framework. These methods ensure ingredients are properly incorporated without overdeveloping gluten, which can lead to tough quick breads.
Essential Ingredients for Easy Quick Breads
Every easy beginner quick bread recipe relies on a few core ingredients working together to create texture, flavor, and rise. Understanding these components is key to successful baking.
These basic ingredients form the backbone of most quick bread recipes. Getting familiar with their functions will empower you to bake with confidence and even start experimenting down the line. For instance, knowing that baking soda needs an acid to react explains why some recipes call for buttermilk or lemon juice.
Flour: Choosing the Right Type for Your Quick Bread Recipe
All-purpose flour is the most commonly used flour for easy beginner quick bread recipes, and for good reason. It has a moderate protein content (typically around 10-12%), which provides enough structure for cakes and muffins without making them tough. Its versatility makes it a reliable choice for a wide range of quick bread types, from sweet loaves to savory cornbreads. Using bleached or unbleached all-purpose flour usually yields similar results in quick breads, though some bakers prefer unbleached for perceived flavor differences.
While all-purpose flour is standard, some recipes might call for other types. Cake flour (lower protein, about 7-9%) can be used for a tender, finer crumb, but it's less common in basic quick bread recipes. Whole wheat flour can be incorporated for added fiber and nutrients, but it absorbs more liquid and can result in a denser texture.
Beginners should generally stick to the flour specified in the recipe, usually all-purpose, for consistent results. Remember to measure your flour accurately – typically by spooning it into the measuring cup and leveling it off, rather than scooping directly from the bag, which can compact it and lead to using too much.
Leavening Agents: Baking Powder vs. Baking Soda in Quick Breads
Leavening agents are what make quick breads "quick" and light. The two main players are baking powder and baking soda. Baking soda is a single chemical (sodium bicarbonate) that requires an acid (like buttermilk, yogurt, brown sugar, or molasses) and liquid to react and produce carbon dioxide gas. Recipes using only baking soda usually contain a significant acidic ingredient. For example, a recipe with buttermilk might use just baking soda.
Baking powder, on the other hand, is a complete leavening system. It contains baking soda, an acid (like cream of tartar), and usually cornstarch to keep it dry. Most commercially available baking powders are "double-acting," meaning they produce a small amount of gas when mixed with liquid and then a second, more significant release of gas when heated in the oven.
Many easy beginner quick bread recipes use baking powder alone or in combination with baking soda, especially if the recipe doesn't contain a strong acid. A typical ratio might be around 1 to 1.5 teaspoons of baking powder per cup of flour, though this varies widely by recipe.
Liquids: The Role of Milk, Buttermilk, and Other Liquids
Liquids in quick breads serve several crucial functions: they hydrate the flour, dissolve sugar and salt, activate chemical leaveners, and help bind the ingredients together. Common liquids include milk (whole, skim, or plant-based), buttermilk, yogurt, water, fruit juice (like orange or lemon), or even pureed fruits or vegetables. The type of liquid used significantly impacts the texture and flavor of the final quick bread.
Buttermilk is a popular choice in many quick bread recipes because its acidity reacts with baking soda, contributing to a tender crumb and a slight tang. Whole milk adds richness and moisture, while water or juice can add specific flavors. The amount of liquid is critical; too little results in a dry quick bread, while too much can make it dense or soggy. Following the recipe's specified amount is important, but sometimes slight adjustments might be needed based on factors like humidity or how accurately the flour was measured.
Fats: Achieving the Perfect Texture with Butter, Oil, or Shortening
Fats contribute moisture, tenderness, and flavor to quick breads. The most common fats are butter, oil, and shortening. Melted butter is often used in muffins and loaves, providing a rich flavor and helping to create a tender texture. Softened butter is used in the creaming method, trapping air bubbles with sugar to contribute to lift and tenderness, often seen in pound cakes or denser quick breads.
Vegetable oil (like canola, sunflower, or corn oil) is another popular fat, especially in recipes using the muffin method. Oil coats the flour particles, preventing excessive gluten development, which results in a very moist and tender crumb. Recipes using oil are often simpler as there's no need to cream butter. Shortening is less common in modern easy beginner quick bread recipes but can be used for tenderness, although it lacks the flavor of butter. Each fat behaves differently, so sticking to the fat specified in your easy beginner quick bread recipe is generally best for predictable results.
Essential Equipment for Baking Quick Breads
You don't need a professional kitchen to bake delicious quick breads. A few basic tools are sufficient for most easy beginner quick bread recipes.
Having the right tools makes the baking process smoother and helps ensure consistent results. You likely have most of these items already in your kitchen!
Mixing Bowls and Measuring Tools
You'll need at least two mixing bowls for most quick bread recipes – one for dry ingredients and one for wet. Medium-sized bowls are usually sufficient. Glass, ceramic, or metal bowls all work well. For measuring, accurate tools are non-negotiable. You'll need dry measuring cups (for flour, sugar, etc.) that you can level off with a straight edge, and liquid measuring cups (with a spout and markings on the side) for liquids like milk or oil. A set of measuring spoons is also essential for smaller quantities of leaveners, salt, and flavorings.
Using the correct measuring technique is as important as having the right tools. For dry ingredients like flour, gently spoon it into the measuring cup until it overflows, then level it off with a straight edge (like a knife or spatula) without packing it down. For liquids, place the liquid measuring cup on a flat surface and read the measurement at eye level. Small errors in measuring, especially flour or leaveners, can significantly impact the final texture and rise of your quick bread.
Baking Pans: Choosing the Right Size and Material
The type and size of your baking pan are critical for quick breads. Loaf pans are used for breads like banana bread or zucchini bread. Standard sizes are 9x5 inches or 8.5x4.5 inches. Muffins and cupcakes require muffin tins (standard 12-cup is common). Scones and biscuits might be baked on a baking sheet. Using the size specified in the recipe ensures the quick bread bakes evenly and rises correctly within the pan's dimensions.
The material of the pan also affects baking. Metal pans (aluminum or steel) are excellent conductors of heat and are most commonly recommended. Dark metal pans absorb more heat and can cause faster browning, sometimes leading to darker crusts. Glass pans heat up slower but retain heat longer; if using a glass loaf pan for a recipe developed for metal, you might need to reduce the oven temperature slightly (e.g., by 25°F or about 15°C) and potentially increase the baking time. Always grease and flour your pan (or use parchment paper) unless the recipe specifies otherwise, to prevent sticking.
Ovens and Temperature Control for Quick Breads
Your oven is the final crucial piece of equipment. Quick breads rely on consistent, even heat to rise and bake properly. Most quick bread recipes call for temperatures between 350°F (175°C) and 400°F (200°C). A properly preheated oven is vital; placing batter in a cool oven will affect the rise and texture. It's a good idea to use an oven thermometer to verify your oven's actual temperature, as they can sometimes be off by 25°F or more.
Once the quick bread is in the oven, try to avoid opening the door frequently, especially in the first two-thirds of the baking time. Opening the door causes the oven temperature to drop significantly, which can cause the quick bread to fall or bake unevenly. Place the pan in the center of the middle oven rack for optimal heat circulation. Understanding your oven's quirks – like hot spots – can help you position your quick bread for the best results.
Easy Beginner Quick Bread Recipes: Step-by-Step Guides

Ready to put your knowledge into practice? Here are a few classic easy beginner quick bread recipes to get you started. These recipes are chosen for their simplicity and delicious results, perfect for building confidence.
- Classic Banana Bread
- Simple Blueberry Muffins
- Easy Cornbread
These recipes use fundamental quick bread techniques and common ingredients, making them ideal starting points for anyone exploring easy beginner quick bread recipes.
Classic Banana Bread Recipe for Beginners
Banana bread is a quintessential easy beginner quick bread recipe. It's forgiving, uses readily available ingredients, and is incredibly delicious, especially when made with overripe bananas. The natural moisture and sweetness from the bananas make it difficult to mess up.
This recipe uses the creaming method for a tender, moist loaf. Using very ripe, almost black bananas is key – they mash easily and provide the most flavor and moisture. A standard loaf pan (9x5 inch) is perfect for this recipe.
Ingredients for Beginner Banana Bread
- 1 and 3/4 cups (about 210g) all-purpose flour
- 1 teaspoon baking soda
- 1/4 teaspoon salt
- 1/2 cup (1 stick or 113g) unsalted butter, softened
- 1/2 cup (100g) granulated sugar
- 1/4 cup (50g) packed brown sugar
- 2 large eggs
- 1 teaspoon vanilla extract
- 3 very ripe bananas, mashed (about 1 and 1/2 cups)
- 1/4 cup (60ml) milk
Step-by-Step Instructions for Baking Banana Bread
- Preheat your oven to 350°F (175°C). Grease and flour a 9x5 inch loaf pan, or line it with parchment paper.
- In a medium bowl, whisk together the flour, baking soda, and salt. Set aside.
- In a large bowl, cream together the softened butter and both sugars until light and fluffy, about 2-3 minutes using an electric mixer or vigorously by hand.
- Beat in the eggs one at a time, mixing well after each addition. Stir in the vanilla extract.
- Add the mashed bananas to the wet ingredients and mix until just combined.
- In a separate small bowl or cup, measure the milk.
- Add the dry ingredients to the wet ingredients in three additions, alternating with the milk (starting and ending with dry). Mix on low speed or with a spatula until just combined. Do not overmix; a few streaks of flour are okay.
- Pour the batter into the prepared loaf pan and spread evenly.
- Bake for 55-70 minutes, or until a toothpick inserted into the center comes out clean. If the top browns too quickly, you can loosely tent it with foil after about 40-45 minutes.
- Let the banana bread cool in the pan for 10-15 minutes before transferring it to a wire rack to cool completely.
Tips for Perfect Banana Bread Every Time
- Use very ripe bananas. The riper, the sweeter and easier to mash they are, and the more moisture they provide. Black spots are your friend!
- Do not overmix the batter after adding the dry ingredients. Overmixing develops gluten, leading to a tough, dense quick bread instead of a tender one. Mix until just combined.
- Ensure your butter is properly softened, not melted or hard. Softened butter creams properly with sugar, incorporating air for a better texture.
- An average ripe banana weighs about 100-120g, so three medium-large ripe bananas should yield roughly 1.5 cups mashed. Adjust slightly depending on the size of your bananas.
- Cooling is important. Letting it cool in the pan briefly allows it to set, and cooling on a wire rack prevents the bottom from getting soggy.
Simple Blueberry Muffin Recipe for Beginners
Blueberry muffins are another fantastic easy beginner quick bread recipe. They are quick to mix and bake, and the burst of fresh blueberries makes them irresistible. This recipe typically uses the muffin method, which is straightforward and minimizes gluten development for a tender crumb.
This recipe is designed for minimal steps and maximum flavor. Using fresh or frozen blueberries works, though frozen berries should be added frozen (don't thaw) and might slightly color the batter. A standard 12-cup muffin tin is used.
Ingredients for Beginner Blueberry Muffins
- 1 and 3/4 cups (about 210g) all-purpose flour
- 1/2 cup (100g) granulated sugar
- 2 teaspoons baking powder
- 1/4 teaspoon salt
- 1 large egg
- 1/2 cup (120ml) milk
- 1/4 cup (60ml) vegetable oil (or melted butter)
- 1 teaspoon vanilla extract
- 1 cup (about 150g) fresh or frozen blueberries
Step-by-Step Instructions for Baking Blueberry Muffins
- Preheat your oven to 400°F (200°C). Line a 12-cup muffin tin with paper liners or grease and flour the cups.
- In a large bowl, whisk together the flour, sugar, baking powder, and salt.
- In a separate medium bowl, whisk together the egg, milk, oil (or melted butter), and vanilla extract.
- Pour the wet ingredients into the bowl with the dry ingredients. Stir with a spatula or wooden spoon until just combined. The batter will be lumpy; do not overmix.
- Gently fold in the blueberries. If using frozen blueberries, do not thaw them first.
- Divide the batter evenly among the prepared muffin cups, filling each about two-thirds full.
- Bake for 18-22 minutes, or until the tops are golden brown and a toothpick inserted into the center of a muffin comes out clean.
- Let the muffins cool in the tin for 5-10 minutes before transferring them to a wire rack to cool completely.
Variations: Adding Lemon Zest or Other Fruits
This simple blueberry muffin recipe is a perfect base for variations. Adding the zest of one lemon to the wet ingredients before combining them with the dry adds a bright, complementary flavor to the blueberries. Lemon and blueberry is a classic pairing for a reason!
You can also swap out the blueberries for other fruits. Try using 1 cup of chopped strawberries, raspberries, or even diced apples. If using larger fruits like apples, you might want to toss them with a tablespoon of flour before adding them to the batter to prevent them from sinking to the bottom. Other delicious additions include chocolate chips (1/2 to 1 cup), nuts (1/2 cup chopped walnuts or pecans), or a sprinkle of cinnamon and sugar on top before baking.
Easy Cornbread Recipe for Beginners
Cornbread is a savory quick bread that's incredibly simple and satisfying. It pairs wonderfully with chili, soups, or stews, or can be enjoyed on its own. This recipe focuses on ease and yields a moist, tender cornbread using basic ingredients.
This recipe often uses the muffin method or a simple one-bowl approach. Using cornmeal provides the characteristic texture, while flour adds structure. The liquid and fat contribute moisture.
Ingredients for Beginner Cornbread
- 1 and 1/4 cups (about 150g) all-purpose flour
- 1 cup (about 120g) yellow cornmeal
- 1/4 cup (50g) granulated sugar (optional, adjust to sweetness preference)
- 2 teaspoons baking powder
- 1/2 teaspoon salt
- 1 large egg
- 1 cup (240ml) milk or buttermilk
- 1/4 cup (60ml) vegetable oil or melted butter
Step-by-Step Instructions for Baking Cornbread
- Preheat your oven to 400°F (200°C). Grease and flour an 8x8 inch square baking pan or a 9-inch round pan. Alternatively, you can use a well-seasoned cast iron skillet, preheating it with a tablespoon of butter or oil inside the oven while it preheats for an extra crispy crust.
- In a large bowl, whisk together the flour, cornmeal, sugar (if using), baking powder, and salt.
- In a separate medium bowl, whisk together the egg, milk (or buttermilk), and oil (or melted butter).
- Pour the wet ingredients into the bowl with the dry ingredients. Stir with a spatula or wooden spoon until just combined. Do not overmix.
- Pour the batter into the prepared hot pan or skillet and spread evenly.
- Bake for 20-25 minutes, or until the edges are golden brown and a toothpick inserted into the center comes out clean.
- Let the cornbread cool in the pan for a few minutes before slicing and serving.
Serving Suggestions for Your Homemade Cornbread
Homemade cornbread is incredibly versatile. Serve it warm with a pat of butter and a drizzle of honey or maple syrup for a slightly sweet treat. It's a classic accompaniment to hearty meals like chili, beef stew, or collard greens.
For a savory twist, you can add shredded cheddar cheese, chopped jalapeños, or cooked and crumbled bacon to the batter before baking. Approximately 1/2 cup of cheese or 2-3 tablespoons of jalapeños would work well in this size batch. Leftover cornbread can be crumbled and used in stuffing or bread pudding. The simple, rustic flavor of easy beginner quick bread recipes like cornbread makes them a comforting addition to almost any meal.
Troubleshooting Common Quick Bread Baking Problems
Even with easy beginner quick bread recipes, sometimes things don't turn out exactly as planned. Don't get discouraged! Most common issues have simple explanations and are easy to fix for your next baking attempt.
Understanding why a problem occurred is the first step to preventing it in the future. Most issues relate back to ingredient ratios, mixing technique, or oven temperature.
Why is My Quick Bread Dry?
A dry quick bread is often the result of too much flour or too little liquid/fat. Over-measuring flour is a very common culprit, especially if you scoop it directly from the bag instead of spooning and leveling. Using too little fat (butter, oil) or liquid (milk, buttermilk) will also lead to a dry crumb because these ingredients provide moisture and richness.
Another reason for dryness can be overbaking. Baking for too long, or at too high a temperature, evaporates too much moisture from the quick bread. Ensure you're checking for doneness using the toothpick test at the minimum recommended baking time and only continue baking until it's just done.
Why is My Quick Bread Dense?
Density in quick breads is usually caused by overmixing the batter. When you mix flour with liquid, gluten develops. While some gluten is needed for structure, too much (developed by excessive mixing) makes the quick bread tough and heavy instead of light and tender. Especially when using the muffin method, mix only until the dry ingredients are just incorporated into the wet; a few lumps are perfectly fine.
Using expired leavening agents (baking powder or baking soda) can also result in a dense quick bread because they don't produce enough gas to help the bread rise properly. Check the expiration date on your leaveners and store them in a cool, dry place. Incorrect leavener amount (too little) or incorrect ratio (e.g., using baking soda without enough acid) can also cause density.
Why is My Quick Bread Not Rising?
If your quick bread didn't rise, the most likely culprits are inactive or insufficient leavening agents. As mentioned, expired baking powder or baking soda won't produce the necessary lift. Baking powder generally has a shelf life of 6-12 months once opened. You can test baking powder by putting a teaspoon in hot water; it should fizz immediately. Baking soda can be tested by adding a teaspoon to a few tablespoons of vinegar; it should bubble vigorously.
Other factors include overmixing (which can deflate the air bubbles created by the leaveners) or an oven that isn't properly preheated or isn't hot enough. If the oven temperature is too low, the leaveners won't react effectively to provide the necessary rise before the structure sets. Ensure your oven is preheated correctly and consider using an oven thermometer.
Why is My Quick Bread Overcooked or Burnt?
Overcooking or burning is primarily an issue of temperature and time. Baking at too high a temperature or for too long will result in a dry, hard, or burnt crust and potentially a dry interior. Always check the quick bread for doneness at the minimum time specified in the recipe.
Ensure your oven temperature is accurate; use an oven thermometer if necessary. If the top or edges are browning too quickly while the center isn't done, you can loosely tent the pan with aluminum foil for the remainder of the baking time. This reflects heat and prevents the exterior from burning while the interior finishes baking. Using a dark metal pan might also require slightly lower temperatures or shorter baking times compared to lighter metal or glass pans.
Tips and Tricks for Baking Delicious Quick Breads
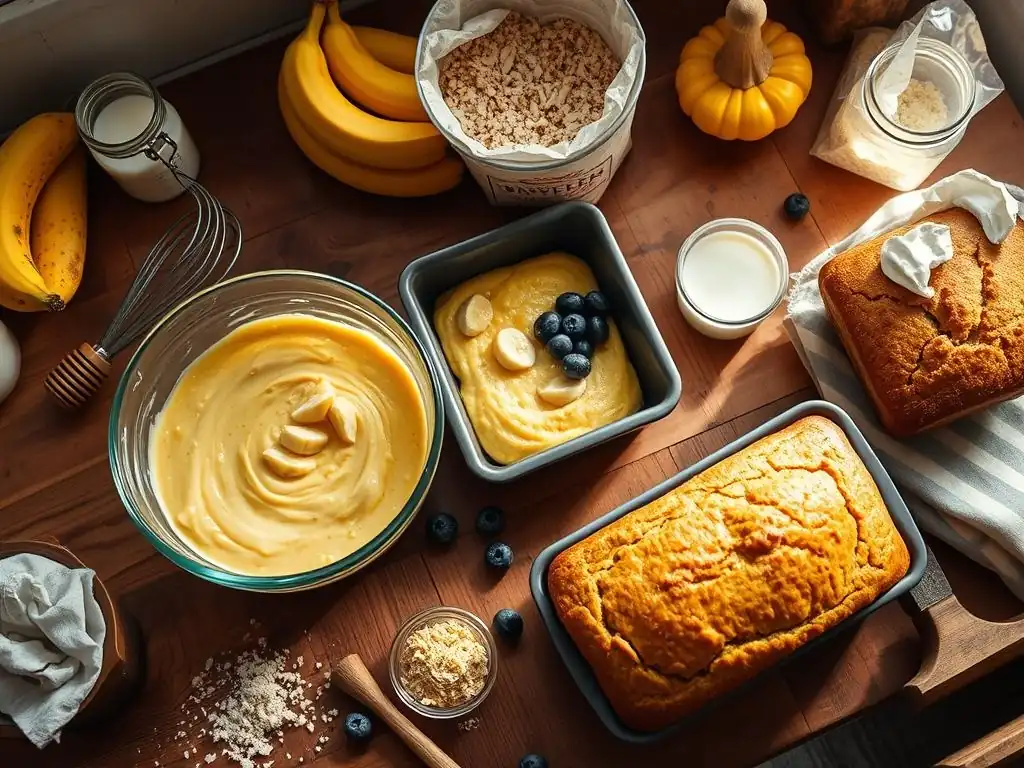
Beyond troubleshooting, incorporating a few simple tips can elevate your easy beginner quick bread recipes from good to great. These are little things that make a big difference in the final outcome.
Mastering these small techniques will make your baking more consistent and enjoyable. They are easy habits to adopt and will improve any quick bread you bake.
Measuring Ingredients Accurately for Best Results
Accurate measuring is arguably the most critical step in baking, especially with easy beginner quick bread recipes. Baking is a science, and changing ingredient ratios, even slightly, can impact the chemical reactions that make quick breads rise and set correctly. As mentioned earlier, improperly measuring flour (scooping instead of spooning and leveling) is a common error that adds too much flour, leading to a dry, dense quick bread.
Investing in a simple kitchen scale is highly recommended for the most accurate results. Many recipes, particularly those from professional sources, provide measurements in grams. Measuring by weight (grams) is much more precise than measuring by volume (cups), as a cup of flour can vary significantly in weight depending on how it's packed. For instance, a cup of spooned and leveled all-purpose flour typically weighs around 120-125 grams, while a scooped cup might weigh 140 grams or more. For consistent easy beginner quick bread recipes, weighing ingredients is a game-changer.
Avoiding Overmixing the Batter
Overmixing is the nemesis of tender quick breads. Once you combine the wet and dry ingredients, the goal is simply to hydrate the flour and distribute the leavening agents and other components evenly. Mixing beyond this point develops gluten, the protein network in flour that gives structure to yeast breads but makes quick breads tough and chewy.
When mixing, stop as soon as you no longer see streaks of dry flour. The batter will look lumpy – this is normal and desirable for muffins and many quick bread loaves. Think of it as mixing just enough to bring everything together. A good rule of thumb is about 10-15 gentle stirs after the wet and dry ingredients meet. This gentle touch is key to achieving a light and tender crumb in your easy beginner quick bread recipes.
Properly Preparing Your Baking Pan
Proper pan preparation prevents your delicious quick bread from sticking, ensuring it releases cleanly and looks beautiful. The method depends on the type of quick bread and pan. For loaf pans and muffin tins, greasing and flouring is standard unless using liners. Use softened butter, shortening, or non-stick cooking spray to coat the inside surfaces thoroughly, then add a tablespoon or two of flour, shake it around to coat, and tap out the excess.
For easy release, especially with sticky batters like banana bread, lining the pan with parchment paper is highly effective. For loaf pans, cut a piece of parchment that fits the bottom and extends up the two long sides like a sling. This makes lifting the baked loaf out incredibly easy. Muffin liners are convenient and usually eliminate the need to grease the muffin tin cups, although spraying the top of the tin can prevent muffin tops from sticking if they overflow slightly.
Checking for Doneness: The Toothpick Test
Knowing when your quick bread is perfectly baked is crucial. Overbaking leads to dryness, while underbaking results in a raw, doughy center. The most reliable method for quick breads is the toothpick test. About 5-10 minutes before the minimum baking time specified in the recipe, insert a wooden toothpick or a thin cake tester into the thickest part of the quick bread (usually the center).
If the toothpick comes out clean or with just a few moist crumbs attached, the quick bread is done. If it comes out with wet batter clinging to it, it needs more time. Check again in 2-3 minute intervals. For quick breads with add-ins like chocolate chips or fruit, a melted chocolate chip or a bit of fruit pulp on the toothpick doesn't mean it's not done; look for actual batter. This simple test is essential for achieving the right texture in your easy beginner quick bread recipes.
Cooling and Storing Your Quick Breads
Allowing your quick bread to cool properly is just as important as baking it correctly. When it first comes out of the oven, the quick bread is still very tender and completing its internal cooking process through residual heat. Let loaf-style quick breads and muffins cool in their pans for 5-15 minutes (follow the recipe's specific time) before attempting to remove them. This allows the structure to set slightly, making them less likely to break apart when handled.
After the initial cooling in the pan, transfer the quick bread to a wire rack to cool completely. A wire rack allows air circulation around all sides, preventing the bottom from becoming soggy from trapped steam. Storing quick breads depends on how quickly you plan to eat them.
At room temperature, they are best stored in an airtight container or wrapped tightly in plastic wrap to prevent them from drying out. Most quick breads stay fresh at room temperature for 2-3 days. For longer storage, quick breads freeze beautifully when wrapped tightly in plastic wrap and then foil or placed in a freezer bag; they can last for several months.
Beyond the Basics: Exploring More Quick Bread Recipes
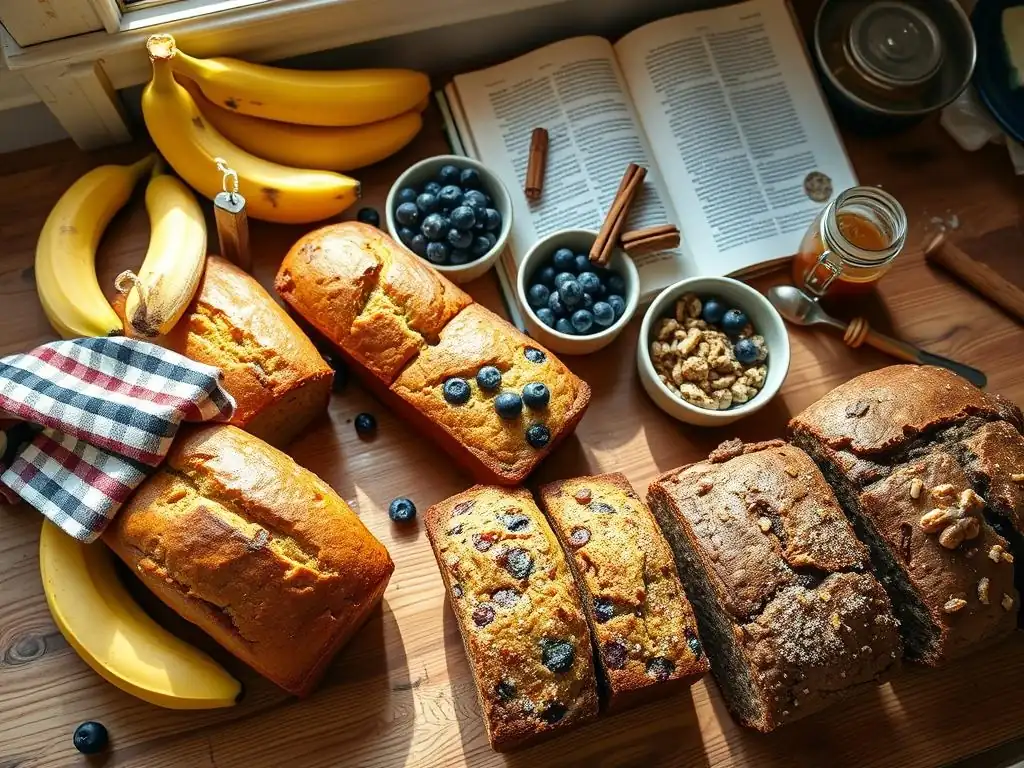
Once you've mastered the classic easy beginner quick bread recipes, you might feel ready to explore more variations. The principles remain the same, but you can experiment with different flavors and add-ins. Here are a few ideas for your next baking adventure.
- Chocolate Chip Quick Bread
- Cranberry Orange Quick Bread
- Apple Cinnamon Quick Bread
These variations build upon the fundamental techniques you've learned, allowing you to expand your quick bread repertoire with confidence.
Easy Chocolate Chip Quick Bread Recipe
Adding chocolate chips to a simple vanilla or plain quick bread batter is a guaranteed crowd-pleaser. This variation is just as easy as the basic recipes but delivers a delightful burst of chocolate in every slice.
This recipe uses a simple loaf base and incorporates chocolate chips. Approximately 1/2 to 1 cup of chocolate chips (semi-sweet, milk, or dark) can be used depending on how chocolatey you like it. Toss the chocolate chips with a tablespoon of flour before adding them to the batter; this helps prevent them from sinking to the bottom during baking.
Easy Cranberry Orange Quick Bread Recipe
Cranberry orange is a vibrant flavor combination that works beautifully in a quick bread. The tartness of the cranberries complements the bright citrus flavor of the orange zest and juice. This quick bread is perfect for holidays or any time you want a taste of something fresh and zesty.
This recipe typically involves adding fresh or dried cranberries (about 1 cup) and the zest of one orange, plus a tablespoon or two of orange juice, to a standard quick bread batter base. Fresh cranberries should be halved or roughly chopped. If using dried cranberries, you might want to soak them in hot water or orange juice for 10-15 minutes and drain them before adding to plump them up.
Easy Apple Cinnamon Quick Bread Recipe
Apple cinnamon is a comforting and aromatic pairing that makes for a wonderfully moist quick bread. Using finely diced or grated apple ensures moisture and even distribution throughout the loaf.
This recipe usually incorporates about 1 to 1.5 cups of finely diced or grated apple (like Gala, Honeycrisp, or Granny Smith) and 1-2 teaspoons of ground cinnamon into a basic quick bread batter. You can also add a pinch of nutmeg or allspice for extra warmth. Tossing the apple pieces with a tablespoon of the measured flour helps prevent them from sinking. A simple streusel topping made from flour, sugar, cinnamon, and butter can also be added before baking for extra texture and flavor.
Conclusion: Embrace the Joy of Easy Quick Bread Baking
You've now got the knowledge and some fantastic easy beginner quick bread recipes to start your baking adventure. Quick breads are truly a gateway to the joys of baking, offering delicious results without the complexities of yeast. From moist banana bread to fluffy muffins and savory cornbread, the possibilities are vast and incredibly rewarding.
Don't be afraid to try these easy beginner quick bread recipes. Start with one that appeals to you, follow the steps carefully, and pay attention to the simple tips like accurate measuring and gentle mixing. Each loaf or batch of muffins you bake will build your confidence and skill. So preheat your oven, gather your ingredients, and unlock the wonderful world of quick breads. Happy baking!
Frequently Asked Questions
What exactly is a quick bread?
Quick breads are baked goods that don't rely on yeast for leavening. They use baking powder or baking soda to rise, making them much faster to prepare than traditional yeast breads.
What makes a quick bread "easy" for beginners?
Easy quick bread recipes typically involve simple ingredients, minimal kneading or rising time, and straightforward instructions. They are designed for success even for those new to baking.
What are some common ingredients found in beginner-friendly quick bread recipes?
Common ingredients include flour, sugar, baking powder or soda, salt, eggs, milk or buttermilk, and oil or melted butter. Many recipes also incorporate fruits, nuts, or spices for added flavor and texture.
What are some examples of popular quick bread recipes perfect for beginners?
Popular examples include banana bread, muffins (blueberry, chocolate chip), scones, and cornbread. These recipes are relatively simple and offer a great starting point for learning basic baking techniques.
How can I ensure my quick bread turns out moist and not dry?
Avoid overmixing the batter, as this can develop the gluten too much and result in a tough, dry bread. Also, accurately measure your ingredients and don't overbake the bread.
Final Reflection: The Enduring Allure of Quick Breads
The simplicity of quick bread baking belies its profound impact on our lives; it's more than just a recipe, it's a gateway to culinary creativity and connection. From the comforting aroma filling a kitchen to the joy of sharing homemade treats, quick breads offer a tangible experience that transcends mere sustenance. This ease of preparation, coupled with the endless possibilities for flavor combinations, makes it a perfect entry point for aspiring bakers of all ages.
The enduring appeal of quick breads lies in their ability to bridge generations and cultures. They represent a comforting tradition, a link to simpler times, and a testament to the power of shared meals. Baking is at once child's play and adult joy. And love, of course.
– This sentiment perfectly encapsulates the heart of quick bread baking; it's a process that can be enjoyed by everyone, regardless of skill level, and the results are often infused with love and care.
Now, it's your turn. Don't let the simplicity of these recipes fool you; they are a powerful tool for self-expression, stress relief, and connection. So, gather your ingredients, embrace the process, and unlock the joy of creating your own delicious quick breads. Experiment with flavors, share your creations with loved ones, and discover the magic that awaits you in the world of simple, yet extraordinary, baking.
Unleash Your Inner Baker: Start Baking Today!
Thanks for joining us on this quick bread journey! We hope you've gained the confidence to tackle delicious, homemade treats. Now it's time to put your new skills to the test.
- Bake your first quick bread! Choose a recipe from the article and get baking. Even a simple loaf will boost your confidence.
- Share your baking success! Post a photo of your creation on social media and tag us—we love to see your creations!
- Explore our other recipes for even more quick bread inspiration. What flavors will you discover next?
Ready to transform your kitchen into a bakery? What's the first quick bread recipe you'll conquer?